


MKR1000 Pinout Explained: The Go‑To Board for IoT Development
Inarguably, Arduino products are taking the tech world by storm. Their board designs include several controllers and microprocessors. Furthermore, they have analog and digital input/output pins that can interface with circuit and expansion boards.
An example is the MKR1000 Arduino board. MRK1000 brings a compatible and compact device for IoT applications or projects.
Let us now get into further details.
Arduino MKR1000 Pinout Description
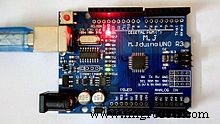
Arduino compatible board with attached power LED and an overall pinout diagram.
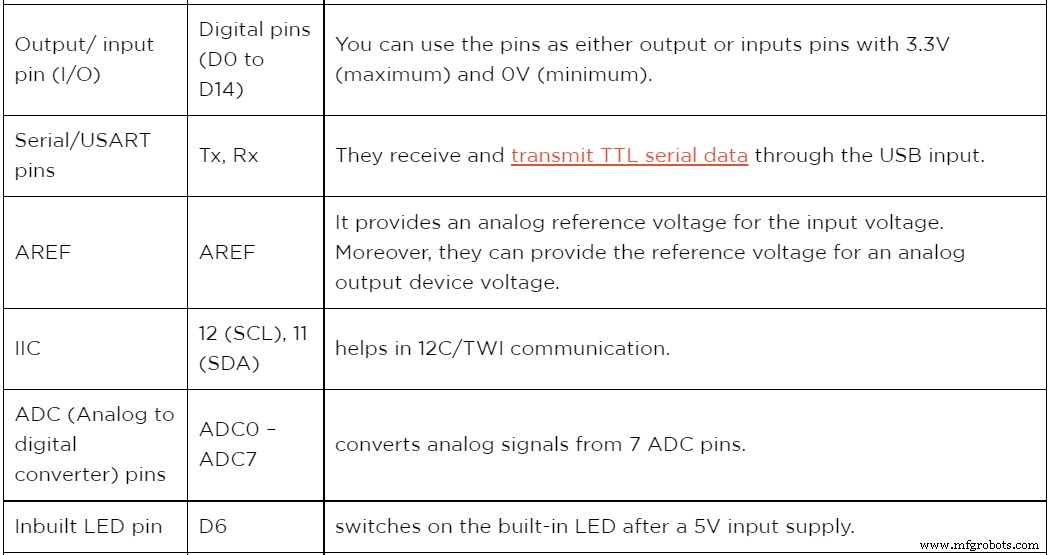
The table below summarizes the board pins of Arduino MKR1000.
The Introduction of Mkr1000
Arduino MKR1000 is a smartboard composed of EEC508 CryptoAuthentication, a power WINC1500 wifi, and an Arduino board (SAMD21 Cortex). The three are blocks of the ATSAMW25 System on Chip.
They are favorable in many situations, like having multiple sensors that need an analog input signal. Moreover, they’re a popular choice because of their functionality, encryption chip, and numerous pins (effective for IoTs).
Features / Technical Specifications
Some impressive specifications and features are as follows.
- The DC on the 3.3V pin is 50 mA, whereas the DC on the I/O pin is 7mA.
- Further, it has an operating voltage of 3.3V, with the required input voltage for the Vin pin being a regulated 5V.
- In terms of quantity, MRK1000 has 15 digital output /input pins, 12 PWM pins, and 7 (A0-A6) analog input pins. Additionally, UART, SPI, and I2C each have one channel.
- It has a flash memory of 256 KB, while its SRAM is 32 KB. However, it lacks an EEPROM.
- Its microcontroller specification comprises a 32bit low-power ARM MCU + SAMD21 Cortex-M0.
- Also, it has a clock speed/frequency of 32.768 kHz (RTC), 46 MHz.
- Lastly, it conducts communication via USART, SPI, and IIC.
MKR1000 Pinout: Other Development boards
Additional development boards include Intel Edison, ARV Development Board, Raspberry Pi, ESP32, MSP430 Launchpad, and PIC Development Board.
(Intel Edison microchip)
Furthermore, you can use other IoT development boards like Arduino Yun, ESP8266, BLE, NFR2401, NodeMCU, ESP12, or LoRa.
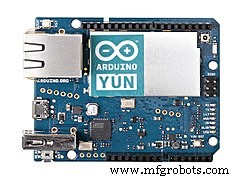
Arduino Yun
MKR1000 Pinout: How to power the Arduino MKR1000?
The four ways you can power your MKR1000 include the following
Vcc pin: The first one directly provides a regulated +3.3V power supply to an Arduino Vcc pin.
Vin pin: Secondly, supply power through the Vin pin to the board using a regulated +5V.
USB jack: You can connect a mini-USB jack to your computer or phone using a cable. The USB will consequently draw the necessary power for the board. However, since the committee works on a maximum voltage of 3.3V, the USB’s 5V gets regulated to 3.3V. A process achieved by an onboard regulator.
Li-Po battery connector: Lastly, we have the lithium polymer battery connector plus its circuit that comes with aboard. The connector charges up the board’s battery external module through a USB.
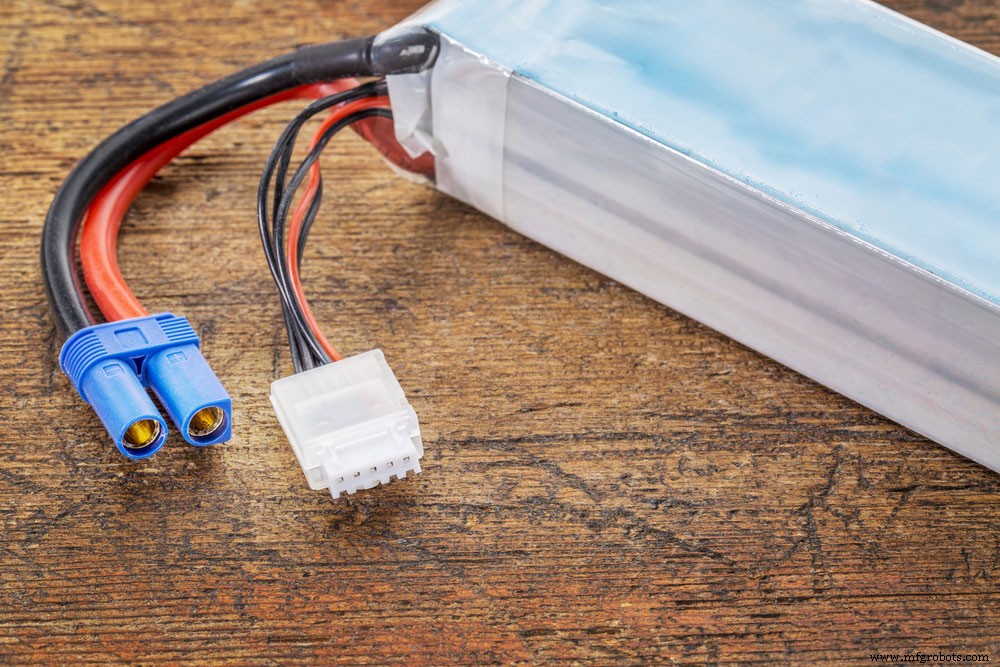
(lithium polymer battery)
How to use Arduino MKR1000?
Uploading the first program into MRK1000 Arduino is usually simple and takes about 5-10 minutes. Therefore, you’ll need an MRK1000 board, a USB cable, and an Arduino IDE.
MKR1000 Pinout:Arduino MKR1000 Connection
Use the steps to connect your Arduino MRK1000.
Step 1; Downloading and Installing Arduino
First, we begin with a free download of the latest version of Arduino IDE (1.6.8 and above recommended). Afterward, you’ll also install drivers of your choice. The driver enables communication between the Arduino and your computer.
Step 2; Installing the board package and uploading your program
In all the cases, Arduino IDE lacks an MKR1000 board in the tools’ menu by default. Therefore, you’ll need to open the board manager then download and install the MKR1000 board details. After installing, use a USB cable to connect your board to the PC.
Next, select the COM / serial port and needed board.
Finally, to check the recommended working of the board, upload a sample program. And now you can browse your way to quality projects.
Conclusion
The MKR1000 wifi board is a powerful IoT board based on its functionality. Further, it is a practical choice for tech enthusiasts (even inexperienced ones) interested in designing IoT projects.
For further inquiries, feel free to contact us.
Industrial Technology
- Fog vs. Cloud: Optimizing IoT Deployments for Speed and Scale
- Why IoT Projects Often Fail – Insights & Practical Strategies
- 7 Proven Strategies to Keep Your IoT Projects on Track
- Build a Cost-Effective Lightning Detector with Arduino Uno
- Build a Reliable Arduino RC Receiver for Models & Projects
- Why Edge Computing is Essential for the IoT: Unlocking Real-Time Performance
- Top 10 Essential Online Resources for Electrical Engineering Students
- Best DIY Solar Panel Projects for Hobbyists
- Micro:bit Projects: 11 Engaging Starter Ideas for Beginners
- Advanced Techniques for Large-Scale Heavy Fabrication Projects