


6 Proven Strategies to Cut CNC Prototyping Costs
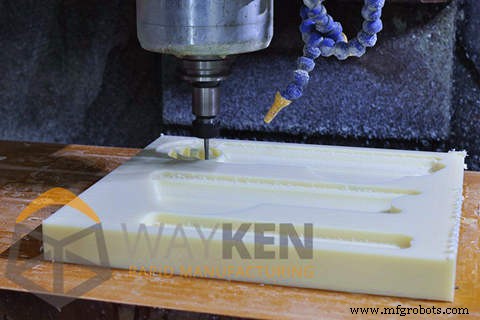
Posted on June 10th, 2019 | By Tony, WayKen Project Manager CNC prototyping cost isn’t cheap despite all the advances in modern technology, and that is understandable. After all, it requires highly-qualified specialists, professional equipment and sometimes the use of expensive alloys. Taking prototype production at the design stage will serve you a long way in reducing the overall cost of the total project cost of CNC prototyping. In order to understand how to cut the costs of prototype machining, let’s first see the list of main expenses. So, having analyzed all the expenses that influence the final CNC rapid prototyping cost, we can come to the conclusion and make a list of tips that will help you cut the CNC prototyping cost of your project. A lot of beginners don’t really think about the material. They either put in default construction steel or go for something cooler like titanium or stainless steel to prevent rust. Both choices may be wrong or may be right. What you should understand here is that the price of the alloy is not the deciding factor. For example, if you have a large volume to be machined, it is better to pick aluminum since you will process it much faster and the economy from machining time will cover additional machining costs. Another issue is when you need some special property of the material, for example, for it to withstand high temperatures but you go overboard and pick a material that is a grade higher than could be. For example, you need to have 800 degrees Celsius and you go for 950 degrees, a material much harder to process and much more expensive but those additional 150 degrees are not needed. Decreasing set-up time is possible by adding special surfaces to the part, which can be consistently used to fix the product prototype blank on the machine tool. For example, if you are making a shaft-type part, you could add two taper holes on its faces so it is possible to fix the part into the lathe centers. Or if the part is box-type to be milled, add a plane with two holes perpendicular to it. Complex surfaces with high surface finish smoothness in CNC parts are not welcome if your option is fast prototyping. The reason for that is that complex surfaces are usually finished by a small end-mill with a spherical tip. It has an extremely small stepover ( around 0.1-0.05 mm) and it has to counter the whole surface from one side ( if it goes both ways, there will be small ribs). When the area of a complex surface is large, you’ll need hours to finish. CNC prototyping involves a lot of force and friction. Cutting forces must be large to be able to chop off a piece of steel or another alloy. This force doesn’t only go to the cut. If the tool is blunt or the cutting parameters are too large, the part itself may be bent a little bit. This can be neglected if there is a lot of metal to the part and its rigidity is high, but the thinner and longer the part is, the more you will notice the deformation due to cutting forces. It can be somewhat countered by decreasing the cutting parameters, but that will lead to an increase in machining time. So, prototype machined parts should have thicker walls. If there is a slight possibility that you will need more than one prototype for testing, you should order a small batch right away rather than ordering later since it will be much cheaper. The machine shop will only have to set-up its machine tools once instead of twice. A lot of designers think that the more precise a part is the better, the higher the surface finishes the better it will look ( glossy polished parts look cool, yes?) but high tolerances and extreme surface finishes mean that the prototype manufacturer will have to use grinding machines in order to achieve such sizes and surface finishes. And in order to grind parts, they need to have a minimum amount of hardness. And that ensues heat treatment. Now, heat treatment takes at least a day because you need to heat up the part, leave it there, and then cool it down. So, it is preferable that the majority of the surfaces are IT9 or lower with a surface finish of Ra 3,2 or worse and only the most important surfaces with higher tolerances. What CNC Prototyping Cost Consists Of
Tips to Reduce the Cost of the Prototype
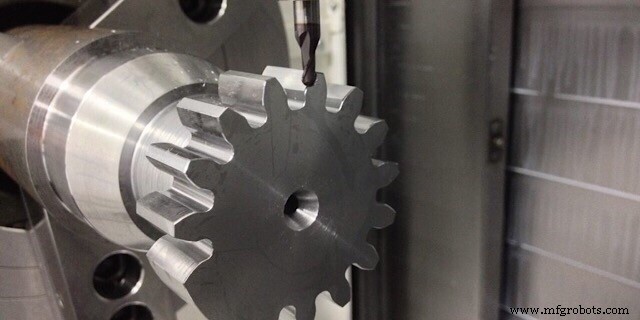
Choose the metal correctly
Add base elements
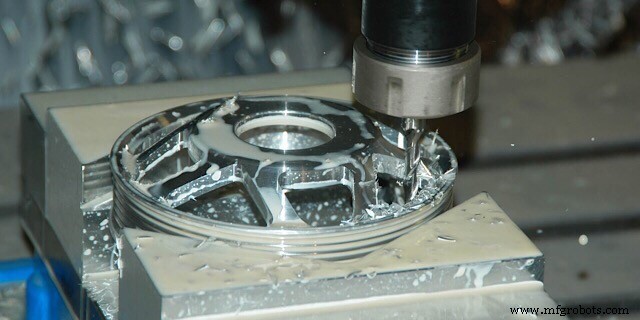
Avoid complex surfaces
Avoid thin walls and deep pockets
Order a small batch instead of one part

Set the precision right
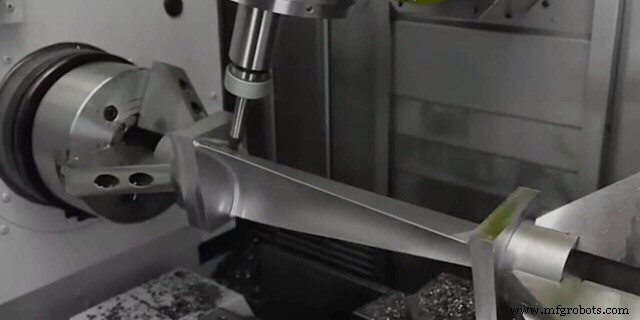
CNC Machine
- 14 Proven Design Strategies to Cut CNC Machining Costs
- CNC Prototyping Costs Explained: Balancing Price and Quality
- Cut CNC Machining Costs: Proven Strategies for Precision & Savings
- Cut CNC Machining Costs: A Proven Guide for Beginners
- Fast CNC Machining: 2 Proven Methods to Cut Production Time
- 3 Proven Strategies to Cut CNC Prototyping Costs
- 10 Proven Strategies to Cut Costs on CNC Machined Parts
- 10 Proven Strategies to Minimize CNC Machining Costs
- Reduce CNC Machining Costs: Expert Tips for Precision Parts
- Cut CNC Prototype Costs: 3 Proven Strategies for Designers