


Servoradar: Arduino-Based Ultrasonic Radar System
Components and supplies
 |
| × | 1 | |||
 |
| × | 1 | |||
 |
| × | 1 | |||
 |
| × | 1 | |||
 |
| × | 1 |
About this project
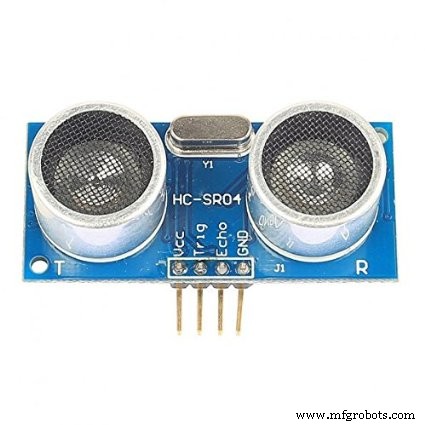
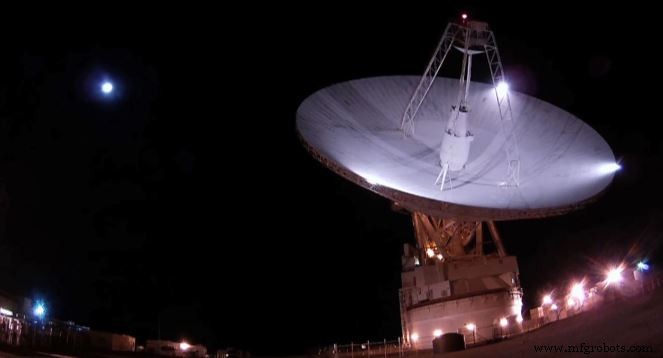
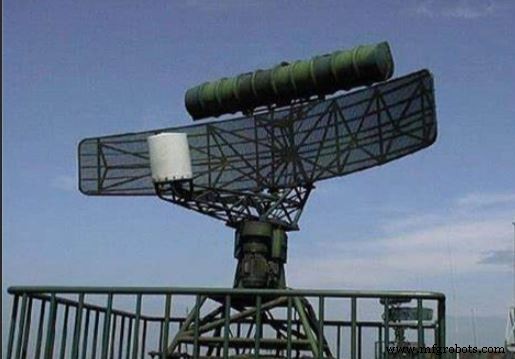
As we know for detecting satellites, celestial objects, asteroids signals,etc from space we need to have an radar for many purposes. nasa uses many of the radars for our milltary purposes and space purposes.Actually my project is an radar which displays 'object detected' on the serial monitor when a object is in 10cm from the radar. this works using the fundamental of ultrasoundwaves which travels in sonic bursts so we will need an ultrasonic sensor.
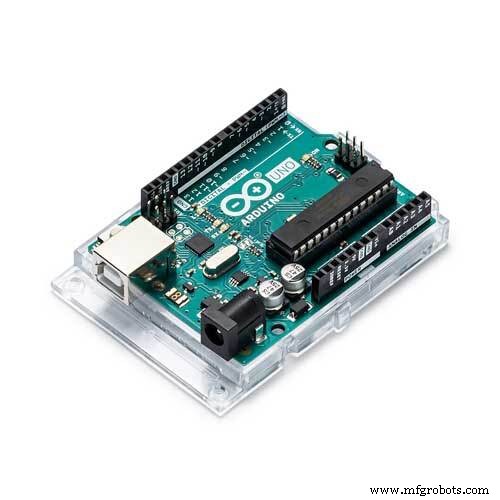
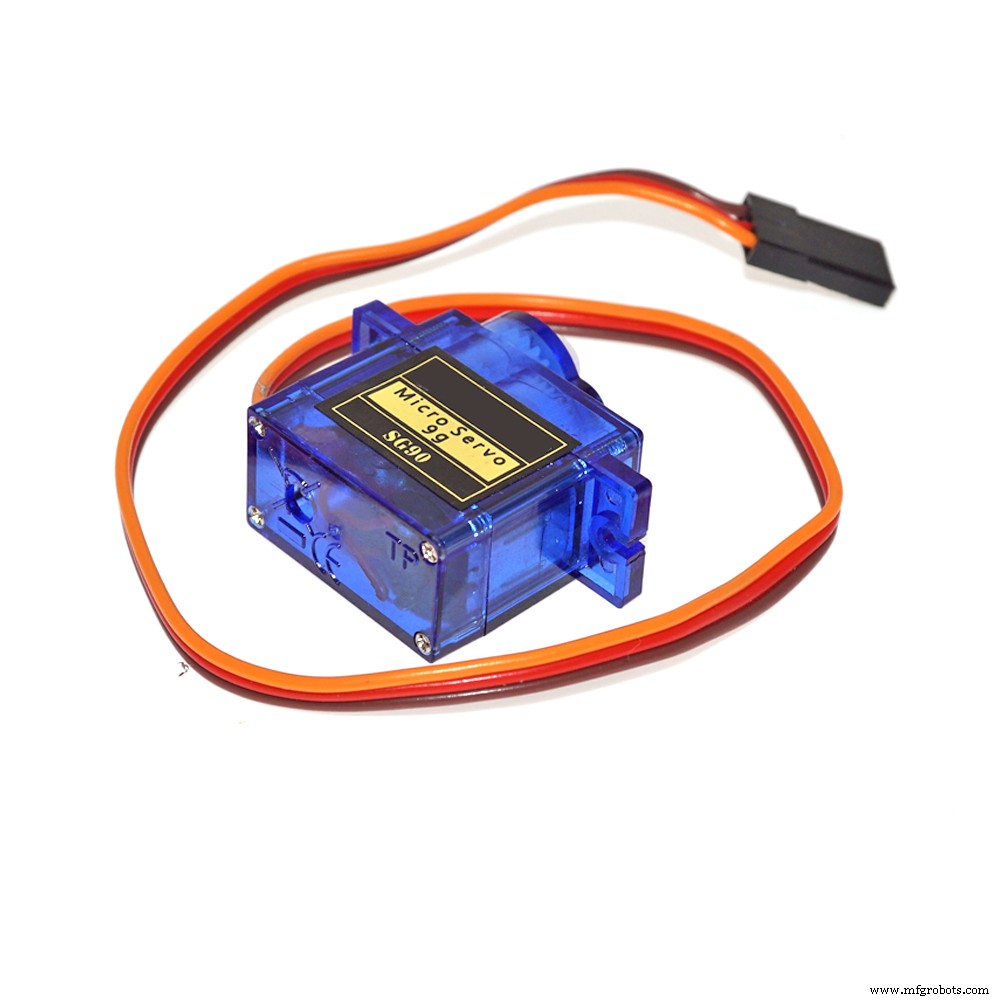
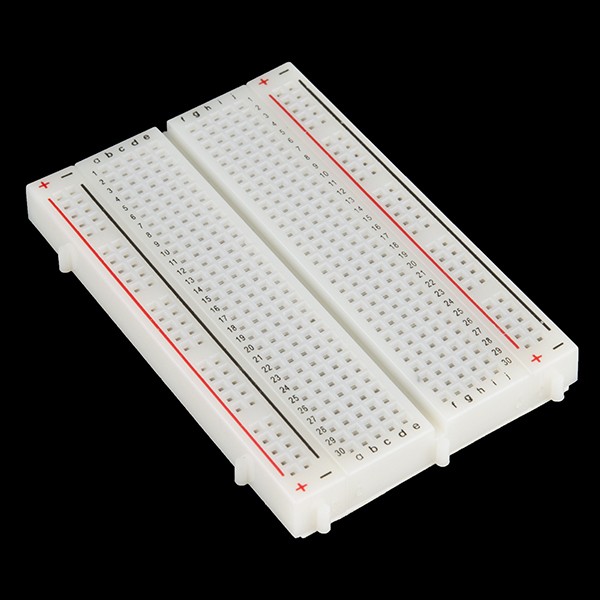
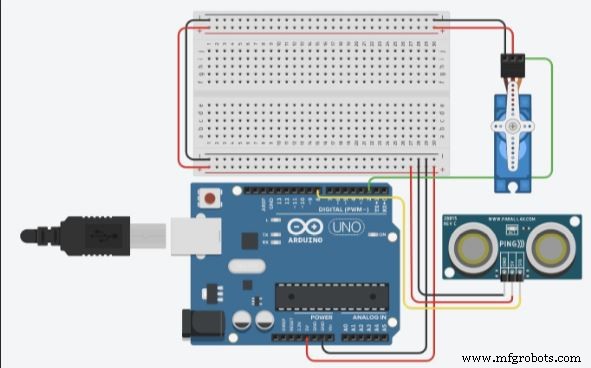
next for the programming and for the execution of the code to make it work we will need Arduino(any board but try using UNO); as per me I think arduino is perfect for the project as it has a great type of data storage and display. While hearing the word display we'll also need to use the serial monitor. now to turn the sensor to spread it's waves and collect back to calculate the distance we'll need servo. now for the communication between the hardware we'll need Jumper wires and breadboard.
Now let's see how it works the ultrasonic sensor send waves and which create an ultrasonic burst of 8 cycles per minute and then reccieve it using the pins then it gives the data to the board which calculates the distance and then upload it in the serial monitor. the servo keeps rotating from 0 degrees to 180 degrees and the arduino keeps calculating the the angle it moved and uploads it on the serial monitor. When the ultrasonic sensor detects that the distance is less than 10 cm so the arduino gets to know that an object and prints "object detected" on the serial monitor.
using this fundamental my arduino servoradar works.
If you like my radar then please respect my project and if the radar dosen't work properly or there is some mistake you think then please say me in the comments and I will clear the mistake.
Code
- servoradar code
servoradar codeArduino
the diagram may differ a bit from the code so please try following the code#include <Servo.h>
Servo myservo;
int Ang = 0;
long duration;
int distance;
const int trigpin = 8;
const int echopin = 11;
void setup() {
Serial.begin(9600);
myservo.attach(3);
pinMode(trigpin, OUTPUT);
pinMode(echopin, INPUT);
}
void loop() {
for (Ang = 0; Ang <= 180; Ang += 1) {
myservo.write(Ang);
delay(15);
} for (Ang = 180; Ang >= 0; Ang -= 1) {
myservo.write(Ang);
delay(200);
digitalWrite(trigpin, LOW);
delayMicroseconds(2);
digitalWrite(trigpin, HIGH);
delayMicroseconds(15);
digitalWrite(trigpin, LOW);
duration = pulseIn(echopin, HIGH);
distance = duration * 0.034 / 2;
Serial.println("Distance");
Serial.println(distance);
Serial.println("Angle");
Serial.println(Ang);
if (distance <= 10)
Serial.println("object detected");
}
}
Schematics
connect the followingSensor Arduino
VCC - 5V
trigpin - 8
echopin - 11
gnd - gnd
servo Arduino
positive pin - 5V
negative pin - gnd
pin - 3
please follow the above
Manufacturing process
- Mastering CMMS Training: Practical Planning Tips for Success
- COVID-19 Detector: Responding to the Crisis with Innovative Technology
- Understanding Gantries: Types, Uses, and Relocation Tips
- Is a Gearbox Replacement Necessary? Expert Guidance & Cost-Effective Repairs
- Do Resin 3D Printers Require Supports? Find Out Now
- Understanding Office Maintenance: Key Tasks & Outsourcing Benefits
- Professional CNC Milling Solutions for Precision Parts
- Electric Pipe Bender – Precise EMT & Rigid Conduit Flexibility
- Benefits of Using a Mechanical Ironworker for Precision Metal Fabrication
- Why Beverage Robots Are Essential for Modern Hospitality