



Elegoo Neptune 4 Review – Fast, Feature‑Rich FDM Printer for $260
Elegoo has long been a trusted name in the 3D printing world, offering both consumer‑grade FDM and resin machines. The latest addition, the Elegoo Neptune 4, builds on that reputation with a suite of upgrades aimed at delivering faster, more reliable prints.
In this review we’ll walk through its standout features, specifications, bed‑leveling process, real‑world print quality, and whether the $260 price tag delivers value for both beginners and seasoned users.
Key Features
- Ultra‑fast printing up to 500 mm/s (recommended 250 mm/s)
- Klipper firmware on a 1.5 GHz ARM64 processor with 8 GB RAM
- Four‑fan cooling block behind the hot‑end
- Dual‑gear direct‑drive extruder with 5.2:1 reduction ratio
- XY knob belt tensioners for quick adjustment
- 300 °C high‑temperature nozzle and 250 W heated bed (110 °C max)
- 4.3‑inch capacitive touch screen with intuitive UI
- 36‑point auto‑bed‑leveling (6×6 grid)
Speed and Precision
The Neptune 4’s top speed of 500 mm/s might sound impressive, but the printer’s firmware is engineered to keep quality high. Input shaping dampens mechanical vibrations, while pressure advance smooths filament flow, reducing ringing, ghosting, and oozing even at the highest speeds.
Klipper Firmware Advantage
Running Klipper on a quad‑core ARM board gives users granular control over acceleration, jerk, and temperature profiles. Remote‑control via Wi‑Fi (add‑on) or USB makes it easy to tweak settings on the fly.
Cooling Design
Four side‑by‑side fans behind the print head provide rapid heat dissipation, which is essential when printing at 250–500 mm/s. The design keeps the filament cool enough to solidify before the nozzle returns.
Extruder and Hot‑End
The dual‑gear direct‑drive extruder delivers consistent filament pressure, and its copper‑titanium all‑metal throat helps prevent clogging when printing abrasive or high‑temperature materials like nylon or metal‑filled filaments.
Touchscreen and UI
The 4.3‑inch capacitive display is responsive and can be mounted on a magnetic base. The menu is clean, supporting multiple languages, and allows you to preview, pause, or resume prints directly from the screen.
High‑Temp Nozzle & Bed
A 300 °C nozzle and a 250 W heated bed that reaches 110 °C enable a wide material range: PLA, PETG, ABS, TPU, nylon, wood‑filled, and more. The extended hot‑end improves heat transfer for consistent extrusion.
Auto‑Bed Leveling
After a quick manual bed height calibration with the paper test, the 36‑point auto‑leveling scans a 6×6 grid to map any unevenness. Adjust the Z‑offset on the screen to lock in the first‑layer height.
Belts & Tensioners
XY knob tensioners simplify belt adjustment, reducing the need for a screwdriver and ensuring smooth axis motion.
Specifications
- Frame: CNC‑machined aluminum extrusion
- Build volume: 225 × 225 × 265 mm
- Print speed: 30–500 mm/s (250 mm/s recommended)
- Max nozzle temp: 300 °C
- Max bed temp: 110 °C
- File transfer: USB, Wi‑Fi (add‑on)
- File formats: .STL, .OBJ, .AMF
- Filament: PLA, ABS, TPU, PETG, wood, marble, nylon, etc.
- Languages: English, French, German, Russian, Italian, Spanish, Japanese, Chinese
- Resume print: Yes
- Filament detection: Yes
- Weight: 8.3 kg
Pros
- Speeds up to 500 mm/s cut print times in half.
- USB slot replaces the older SD card, offering a firmer connection.
- Dual LEDs provide excellent lighting for detailed inspection.
- Robust fan array keeps pace with high speeds.
- High‑temp hot‑end handles abrasive filaments.
- Knob tensioners simplify belt setup.
- Print‑resume after power loss.
Cons
- No native Wi‑Fi (requires add‑on).
- The new fan array can be loud during extended runs.
- Extruder maintenance is challenging due to limited accessibility.
- Bed‑leveling procedure is more involved than some competitors.
Unboxing & Assembly
The Neptune 4 arrives in a robust cardboard case with foam inserts. Inside you’ll find the pre‑assembled gantry, a magnetic PEI sheet, the 4.3‑inch touch screen, power cable, and all fasteners.
Assembly follows the manual’s step‑by‑step instructions. Key steps include securing the gantry to the base with HM545 screws, mounting the LCD, attaching the filament spool holder, and routing the ribbon cable to the extruder. Once powered on, the printer boots into the Klipper menu and prompts for a bed‑leveling sequence.
Bed‑Leveling Process
Start with the manual paper test at the center and corners. Then run the 36‑point auto‑leveling. After the grid scan, adjust the Z‑offset to achieve a 0.2 mm first‑layer height. Save the settings and run a calibration test from the USB stick to confirm accuracy.
Customer Feedback
Users praise the Neptune 4’s value for money and speed, noting that a few initial tweaks can unlock its full potential. One reviewer who already owned a Neptune 3 Pro felt the speed advantage was the primary upgrade, while another highlighted ease of use after minor slicer adjustments.
Print Quality Demo
Thor (GoW)
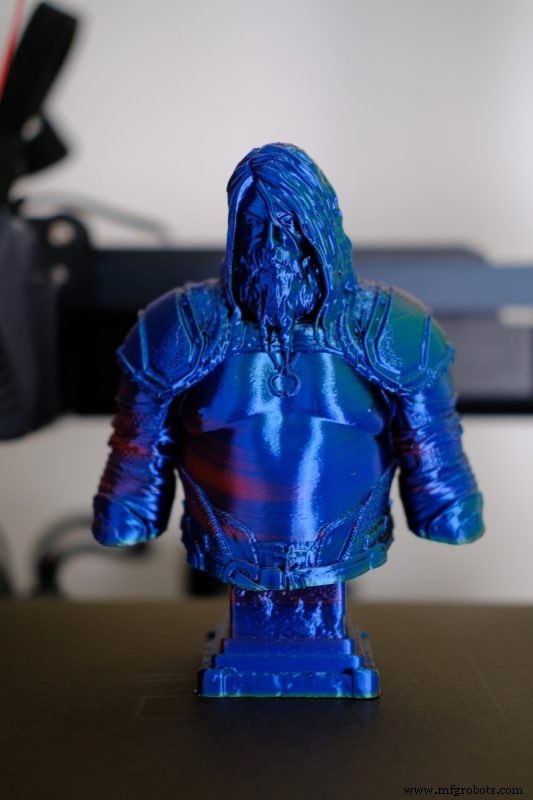
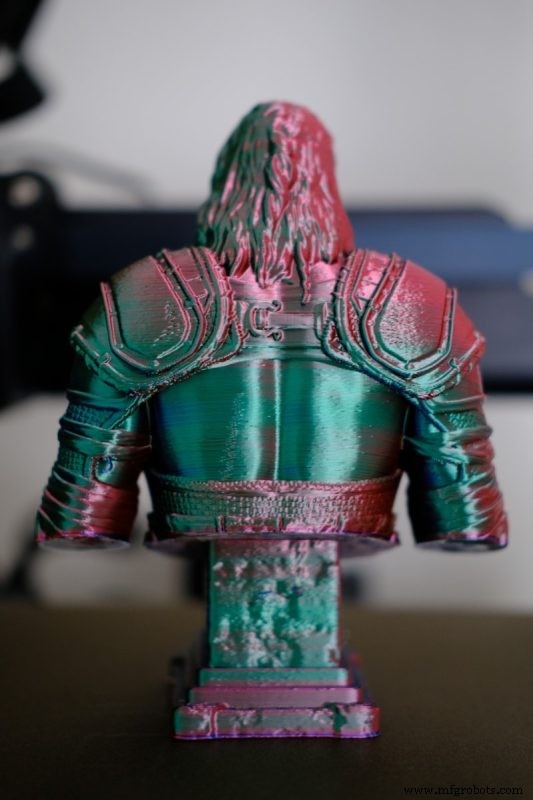
Air Spinner
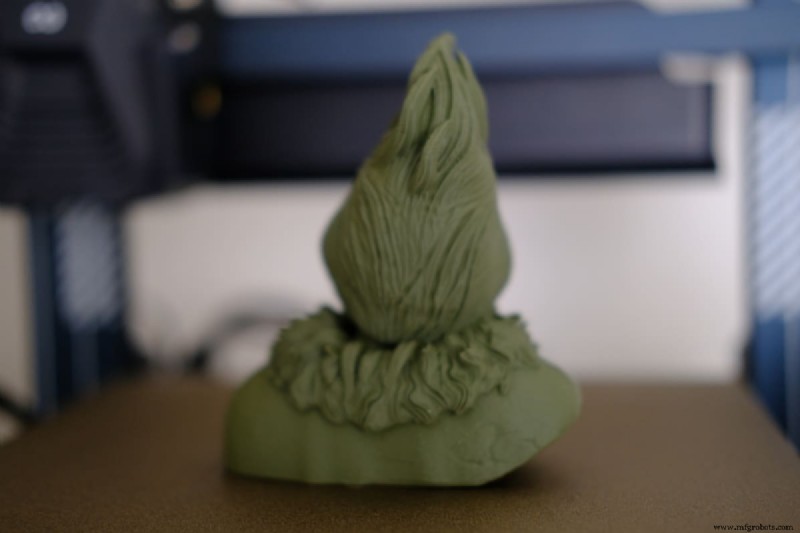
Grinch
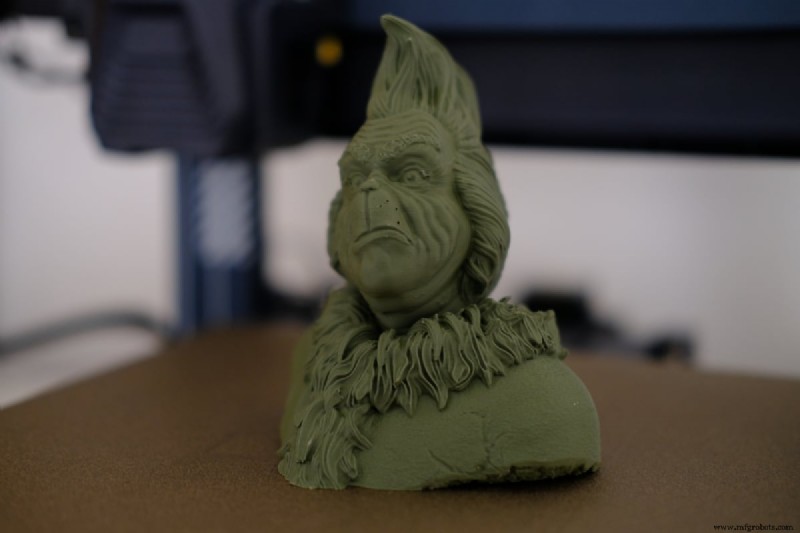
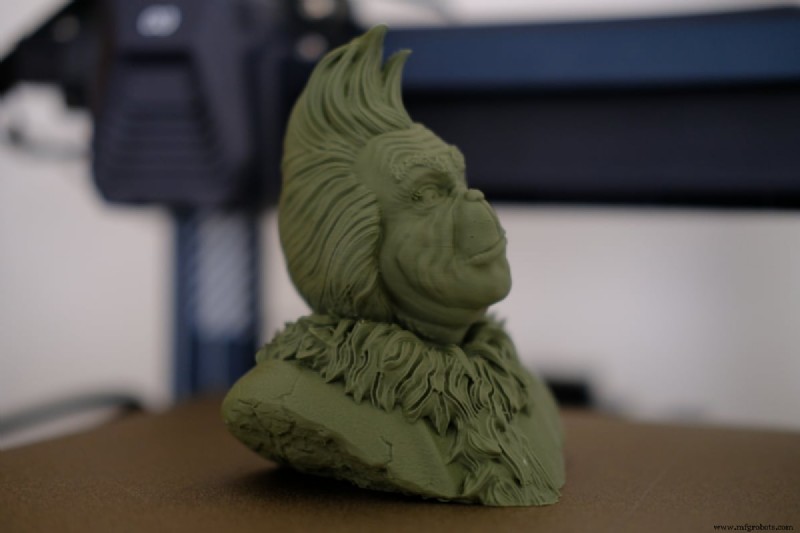
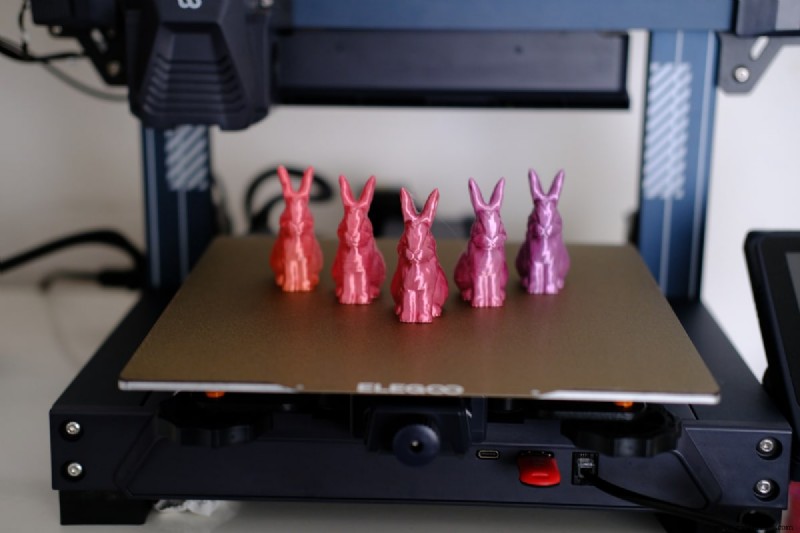
Bunny Rabbits (SD Card)
Verdict
The Elegoo Neptune 4 delivers on its promises: fast, versatile, and packed with features that ease the learning curve. For hobbyists looking for a solid second printer or newcomers seeking an entry‑level machine that can handle advanced materials, the $260 price point makes it a compelling choice.
Ready to take the leap? Buy the Neptune 4 today and experience FDM printing at a new speed.

Michael Dwamena
Michael Dwamena is the founder of 3D Printerly, a platform dedicated to simplifying 3D printing for hobbyists and professionals alike. With over 20 3D printers in his arsenal, he has authored more than 900 articles, guiding millions through the nuances of 3D printing.
3D printing
- Investing in a 3D Printer: Is It Worth Your Money?
- Revolutionizing Sand Casting with Stratasys FDM Technology
- Explore 3D Printing: Types, Techniques, and Applications
- Essential Environmental Glossary: Key Terms Explained
- Silencing the Ender 3 Series: Proven Tips for a Quieter 3D Printing Experience
- Designing with Markforged Composite Filaments: Minimum Feature Sizes for Optimal Reinforcement
- ABS vs Nylon in 3D Printing: Key Differences Explained
- Top 3D Printing Infill Patterns: Which One Offers the Most Strength?
- Why Additive Manufacturing Is Revolutionizing Production: Key Benefits
- Markforged Reflects on DEVELOP3D Live 2016: Insights, Innovation, and the Mark Two Experience