



Anycubic Kobra 2 Pro Review: Fast, User‑Friendly 3D Printing – Is It Worth Your Investment?
The Anycubic Kobra 2 Pro is a budget‑friendly 3D printer that blends speed, ease of use, and solid build quality. Built on the proven Kobra 2 platform, it adds a suite of upgrades that make it a compelling option for both newcomers and seasoned hobbyists.
Key Features of the Anycubic Kobra 2 Pro
- Fast Print Speeds – up to 500 mm/s
- LeviQ 2.0 Automatic Bed Leveling with Z‑offset sensor
- Dual Z‑Axis Threaded Rods for enhanced stability
- PEI‑Coated Magnetic Spring Build Plate
- 4.3‑inch Color Touchscreen
- Double Metal Spindle with SG15 Bearings on X/Y axes
- Smart Printing Features: Vibration Compensation & Flow Control
- Anycubic App Support for remote control and firmware updates
Ultra‑Fast Printing
Thanks to a 400 W power supply and a high‑torque stepper motor, the Kobra 2 Pro can hit a maximum speed of 500 mm/s while maintaining print fidelity. Acceleration is capped at 2000 mm/s², ensuring smooth motion even at the upper speed range.
LeviQ 2.0 Automatic Bed Leveling
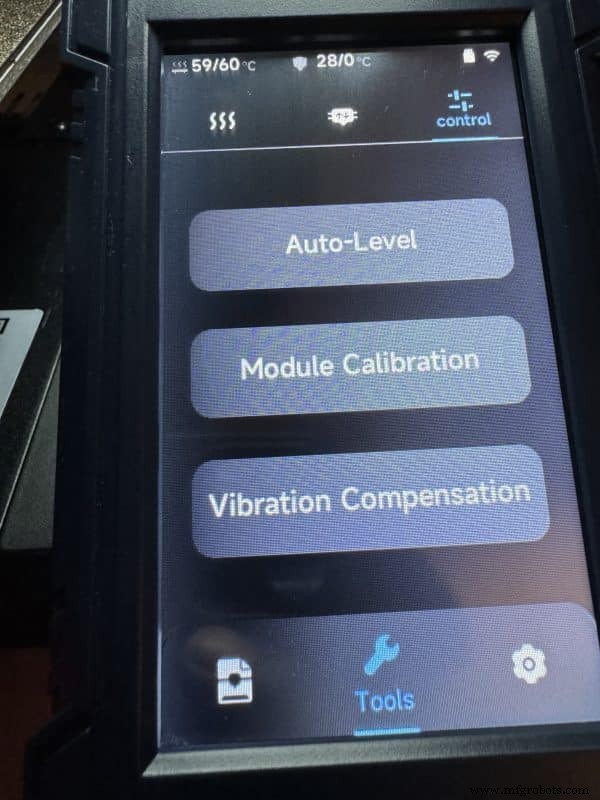
The integrated LeviQ 2.0 system couples a proximity sensor with a smart Z‑offset routine. This eliminates manual bed leveling and guarantees a perfectly flat first layer every time.
Built‑In 8 GB Storage
With 8 GB of onboard memory, you can store G‑code files, firmware, and over 400 pre‑loaded test models directly on the printer. This is especially handy when you’re on the go or have limited computer space.
Dual Z‑Axis Rods
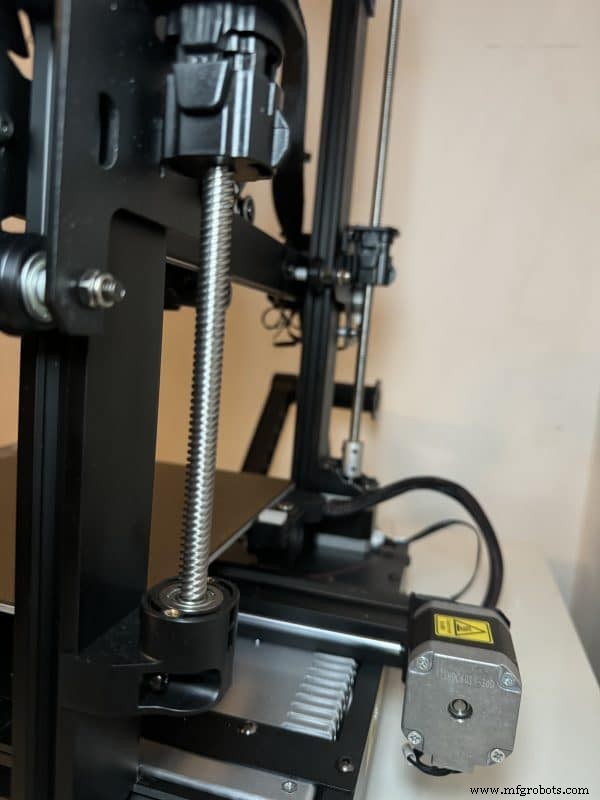
Two threaded rods, driven by a single belt‑connected motor, keep the Z‑axis stable during rapid movement. While it uses slightly less power than dual‑motor setups, the resulting print quality is comparable for most use cases.
PEI Magnetic Spring Steel Build Plate
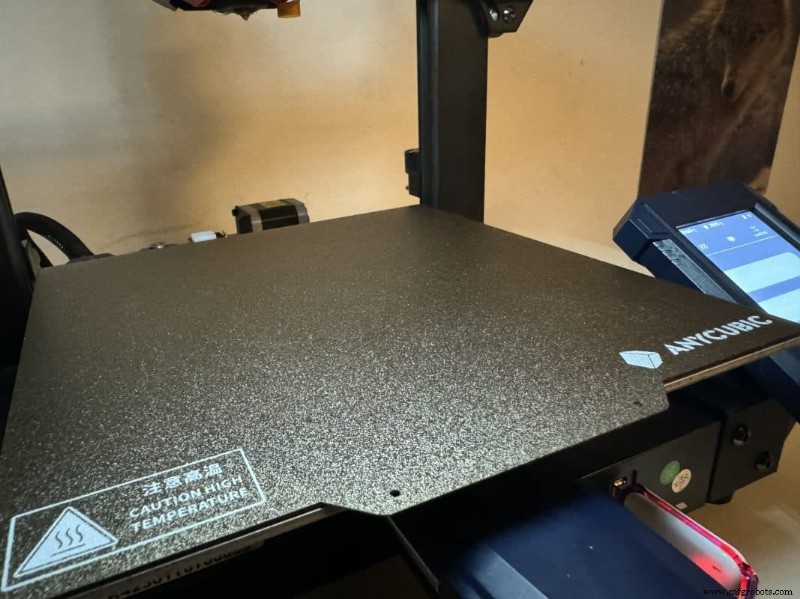
PEI provides excellent adhesion for a wide range of filaments, while the magnetic spring steel sheet allows for easy removal and reusability. Its textured surface minimizes warping on larger prints.
High‑Quality Bearings
SG15 metal bearings on the X and Y axes reduce friction, leading to smoother motion and fewer wear issues over time.
4.3‑inch Touchscreen
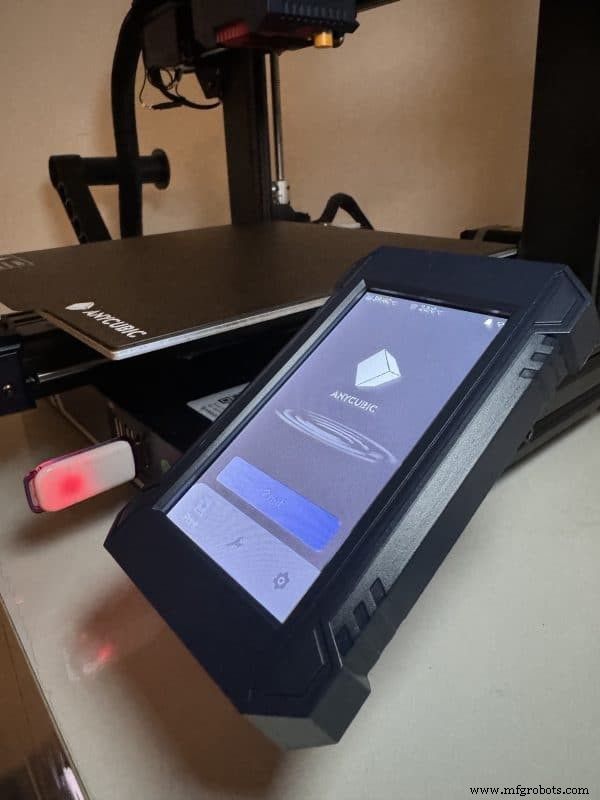
The responsive display offers a clear interface for bed leveling, temperature adjustments, and language settings, all without the need for a connected computer.
Smart Printing Controls
Vibration compensation automatically detects and corrects resonance frequencies, while Flow Control adjusts retraction and refill to keep layers even and detail sharp.
Anycubic App Integration
Remote monitoring, firmware updates, and on‑the‑fly slicing are all accessible via the Anycubic mobile app. Future updates promise even tighter integration with the open model library.
Specifications
- Build Platform: PEI‑Coated Spring Steel Sheet
- Technology: FDM (Fused Deposition Modeling)
- Power: 400 W, 115 V/230 V, 50/60 Hz
- Build Volume: 250 × 220 × 220 mm
- Overall Size: 486 × 435 × 463 mm
- Nozzle Temp: 260 °C
- Bed Temp: 110 °C
- Connectivity: USB, Wi‑Fi
- Nozzle Diameter: 0.4 mm
- Print Speed: up to 500 mm/s (recommended 300 mm/s)
- Display: 4.3‑inch Color Touchscreen
- File Formats: STL, OBJ, JPG, PNG
- Filament: PLA, ABS, TPU, PETG
- Resume Printing: Yes
- Filament Detection: Yes
- Weight: 8.4 kg
Benefits
- High speeds with precision, thanks to vibration compensation.
- Rapid assembly and plug‑and‑play setup.
- Automatic leveling removes manual labor.
- Multiple USB ports and a dedicated camera slot for flexibility.
- Wi‑Fi enables remote control via the Anycubic app.
- Optimized extruder design improves filament flow.
- Onboard storage expands printing capacity.
Limitations
- No USB host, so OctoPrint is unsupported.
- Side‑mounted spool holder increases footprint; a top‑mount alternative can be 3D printed.
Unboxing & Assembly
The printer arrives neatly packaged with foam‑lined compartments. The first layer contains the PEI sheet, gantry, manuals, and accessories; the second layer holds the base, LCD, and extruder assembly.
- Attach the frame to the base with four M5.5 screws and an Allen key (size 4). Secure the PEI sheet to the base.
- Mount the extruder onto the X‑axis using an Allen key (size 2.5) and three M3 screws.
- Secure the LCD with three M3 × 6 screws.
- Connect limit switches and stepper cables, selecting the correct voltage for your region.
- Tension the belt using the gantry knobs.
- Attach the filament holder to the left side of the base.
Once assembled, power on the printer to initiate bed leveling.
Bed Leveling
Power the unit, insert the USB drive, and let the machine home its axes, heat the nozzle, and wipe. The sensor automatically calibrates the Z‑offset, then the inductive sensor scans a 5 × 5 grid across the bed. An accelerometer calibrates the input shaper to further reduce resonance.
After leveling, run a test print to verify results.
For a visual walkthrough, watch this tutorial by Aurora Tech.
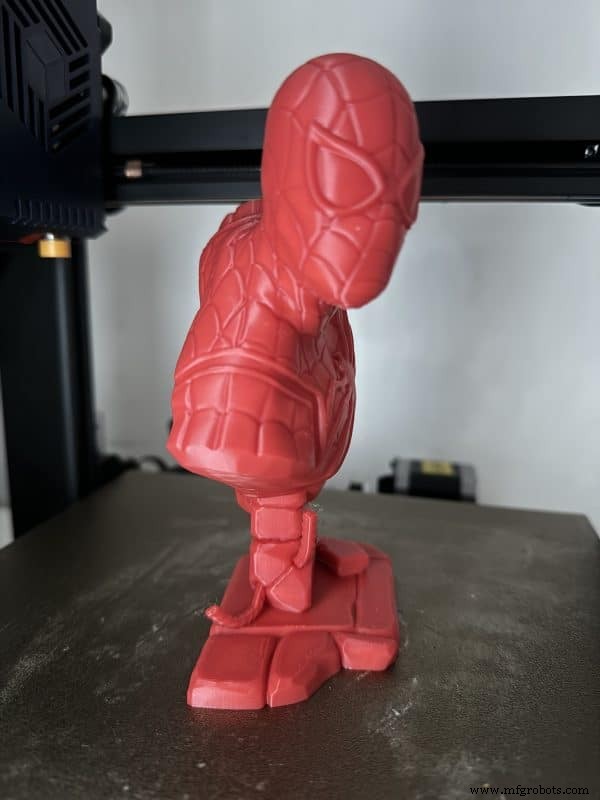
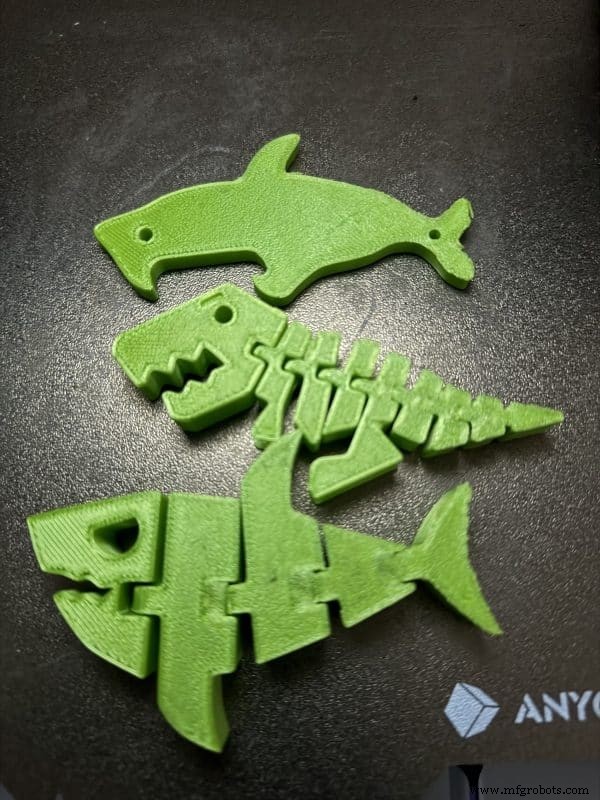
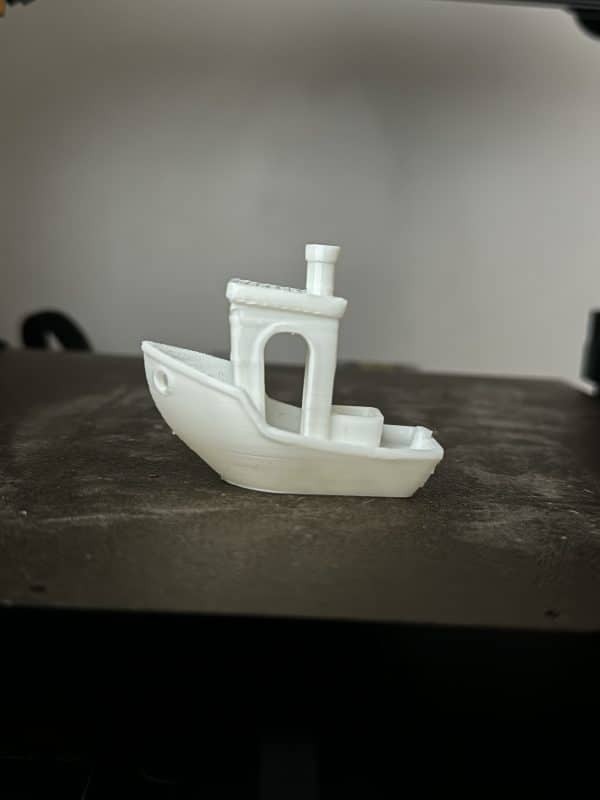
Print Results
Spiderman (Eastman)
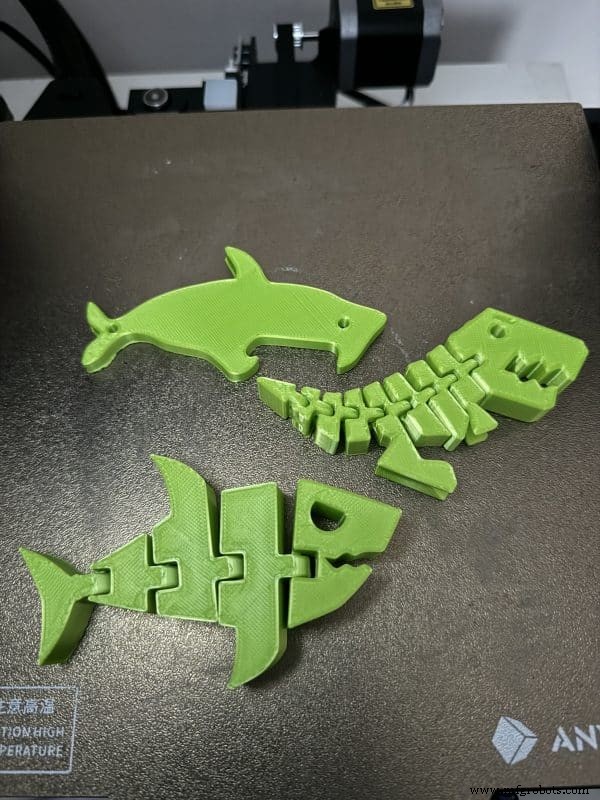
SD Card Models
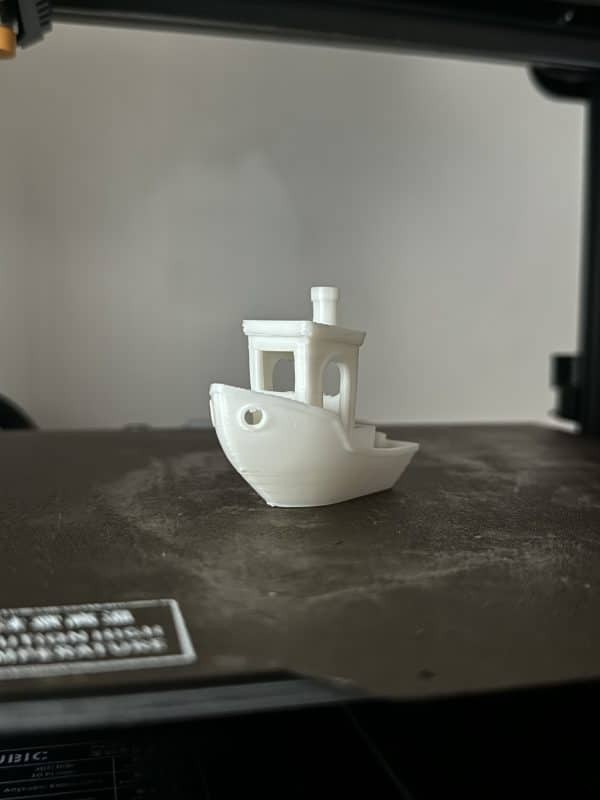
3D Benchy
Customer Feedback
Users praise the Kobra 2 Pro for its speed, reliability, and beginner‑friendly interface. One reviewer highlighted the printer’s smooth operation across PLA, PLA+, and PETG, noting the app’s convenience but wishing for broader network support beyond Anycubic’s ecosystem.
Another enthusiast appreciated the high‑speed capabilities and the robust build, although they mentioned that wall‑speed settings in third‑party slicers need tweaking to match the printer’s performance.
Overall, the consensus is that the Kobra 2 Pro delivers excellent value for its price point.
For an in‑depth review, watch OrignaldoBo’s video.
Verdict
The Anycubic Kobra 2 Pro stands out as a fast, reliable, and user‑friendly 3D printer. Its enhanced features—particularly the automatic leveling and smart printing controls—make it a strong upgrade over its predecessor and a worthy investment for both beginners and seasoned users.
Ready to bring high‑quality prints into your home? The Kobra 2 Pro offers a compelling combination of performance and affordability.

Michael Dwamena
Michael Dwamena is the founder of 3D Printerly, a platform dedicated to simplifying 3D printing for hobbyists and professionals alike. With ownership of over 20 3D printers (filament and resin) and authorship of more than 900 articles, Michael has helped millions navigate the exciting world of 3D printing.
3D printing
- Can Acetone Effectively Dissolve PLA? What You Need to Know
- Understanding the Key Differences Between FDM and SLA 3D Printing Technologies
- Revit vs AutoCAD: Choosing the Right Autodesk CAD Tool for Your Projects
- Choosing 1.75mm vs 3mm 3D Printing Filament: Pros, Cons, and Expert Guidance
- Isotropic Fiber Fill: Building the Strongest 3D-Printed Parts – Part 2
- How 3D Printing Gave MIT Motorsports Team a Competitive Edge in Formula SAE
- Understanding the Economics of 3D Printing: ROI & Cost Analysis
- Markforged’s In‑House 3D‑Printed Tooling: Rapid Solutions for Everyday Shop Challenges
- South by Southwest 2019: Spotlight on Boston's Trailblazing Startups
- Closing the AM Skills Gap: How Universities Are Driving Additive Manufacturing Innovation