


Setting Up a Home Electronics Lab: Tools, Work Area, and Supplies
To build the circuits covered in this volume, you’ll need a dedicated workspace, a handful of essential tools, and key supplies. This section outlines how to set up a reliable home electronics laboratory.
Work Area
Your bench should be a spacious table or desk—ideally wooden—to host circuit assembly and accommodate 120 V AC power for soldering equipment, power supplies, and test instruments. Many affordable computer desks serve this purpose well. Avoid metal surfaces, which conduct electricity and can pose shock hazards or cause unintended short circuits when components touch the tabletop. Vinyl and plastic benches are also discouraged because they can generate static that damages sensitive parts and melt when exposed to hot soldering irons.
If a wooden surface isn’t available, lay a sheet of plywood over any table. For those comfortable with woodworking, a custom desk made from plywood and 2×4 boards is a worthwhile investment.
A well‑lit, comfortable area improves focus. I keep a small radio on my bench for music or news while working. My bench features a built‑in power strip with a single switch that cuts power to all 120 V devices—useful if a short occurs.
Tools
Basic electronics work requires a few inexpensive, high‑quality tools. Thrift stores and pawn shops are good places to find them at low cost. Even older tools can serve effectively if they remain functional.
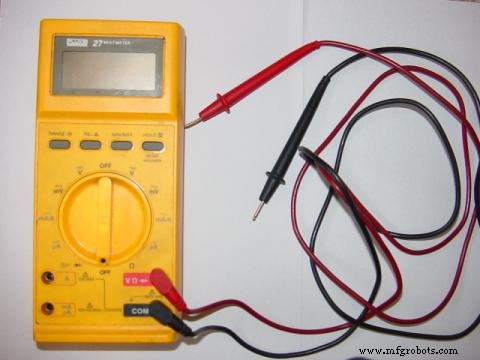
Multimeter
A multimeter measures voltage, current, resistance, and more. Digital meters (e.g., the Fluke 27 I use, purchased in 1987) provide precision, while analog meters offer a tactile sense of range and sensitivity. Having both types balances cost and functionality.
For a sensitive voltage detector, consider building a simple audio detector: a headphone set with an attenuator and limiting diodes. It audibly indicates low‑intensity DC or AC signals, providing intuition about frequency and amplitude when an oscilloscope isn’t available. I constructed mine from scrap parts—an old radio’s transformer and jack—and it cost under $15.
Sensitive Voltage/Audio Detector
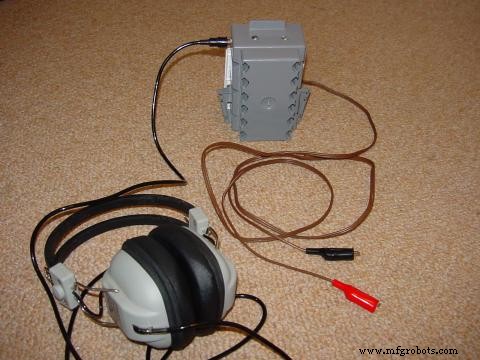
Higher‑quality headphones (greater dB rating) improve sensitivity and double as entertainment gear. The enclosure can be a simple switch box; test leads can be made from a section of lamp cord.
Solderless Breadboard
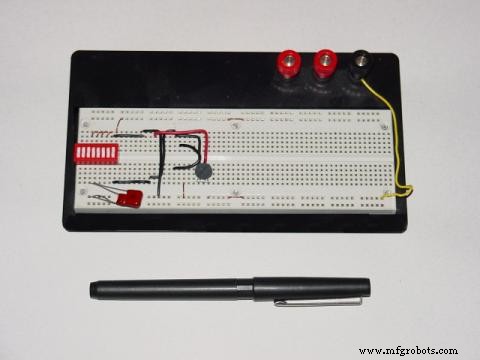
A breadboard lets you prototype without solder. Use 22‑gauge, solid‑copper wire for connections.
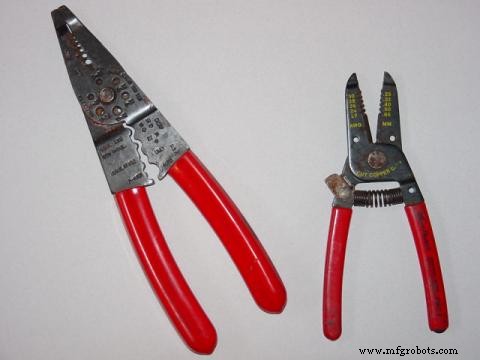
Wire Stripping Pliers
These pliers have knife‑edged jaws that strip insulation without nicking copper. I keep two sizes for different wire gauges.
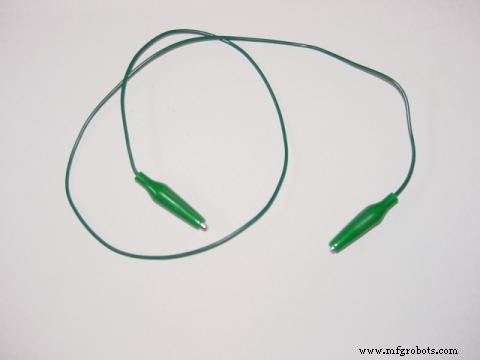
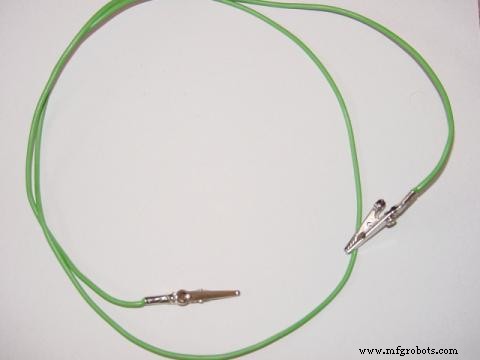
Jumper Wires
Alligator‑jaw clips at each end allow quick, temporary connections. Store them in a case, or make your own with insulated or bare‑metal clips depending on your circuit density.
Needle‑Nose Pliers
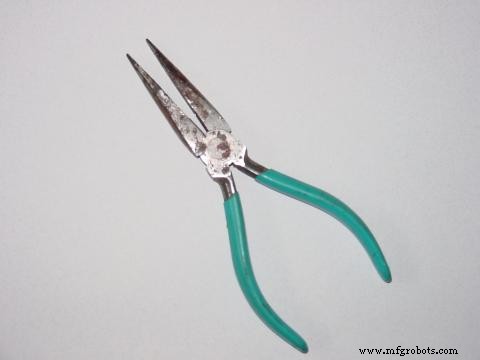
Ideal for pulling wires into tight breadboard holes.
Screwdrivers
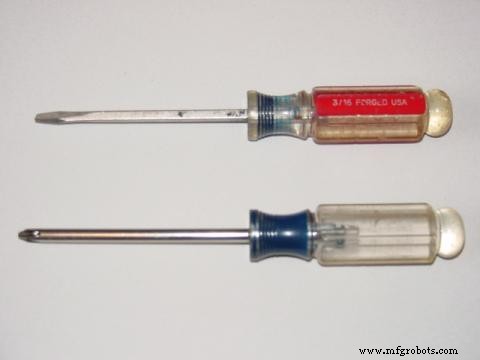
A 3/16‑inch slotted and a #2 Phillips are a solid starting set. Later, consider jeweler’s screwdrivers for tiny fasteners.
Soldering Iron & Rosin‑Core Solder
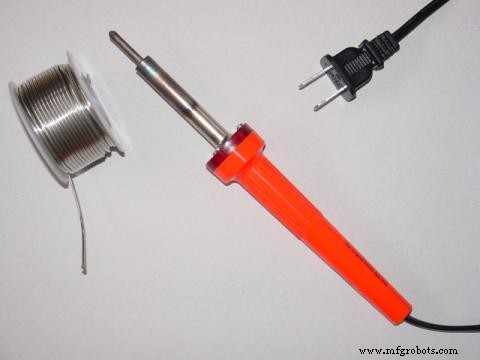
For PCB work, a 25‑W soldering iron and thin, rosin‑core solder (no lead, no acid core) are essential. Avoid acid‑core solder, which can corrode wires, and use silver‑alloy solder for clean joints. Safety glasses protect against accidental splashes of molten solder.
Soldering Gun
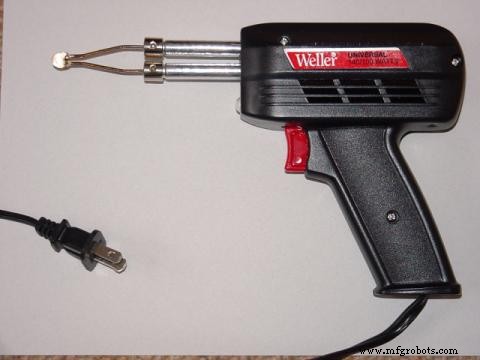
When you need to join larger wires, a soldering gun supplies the extra heat required.
Utility Knife
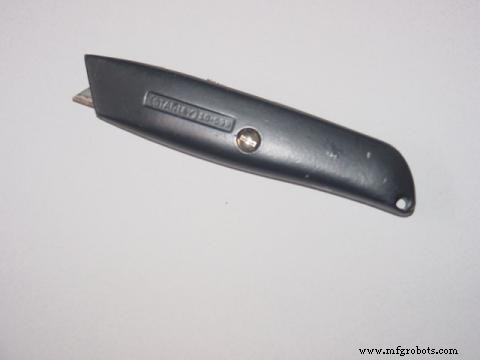
A retractable blade knife is handy for cutting insulation and other materials.
Slip‑Joint & Adjustable‑Joint Pliers
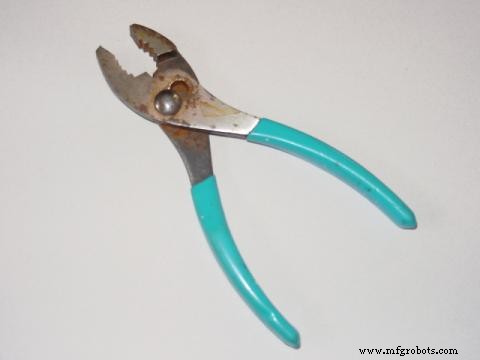
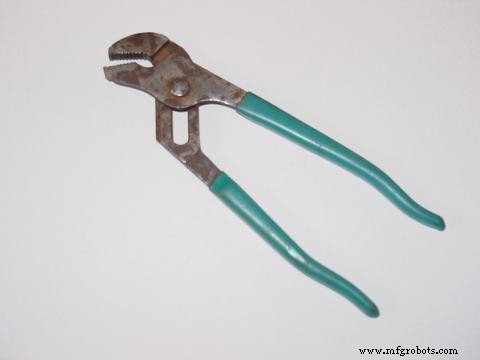
These are useful for assembling or disassembling device chassis.
Hand Drill

A hand‑crank drill is inexpensive, quiet, and sufficient for drilling through plastic, wood, and most metals.
Audio Signal Source
For experiments requiring audio‑frequency signals, a commercial signal generator can be expensive. An electronic keyboard works well as an alternative: press any key, plug the headphone jack into your circuit, and you have a ready signal source. This method is detailed in Chapter 4 (AC).
Supplies
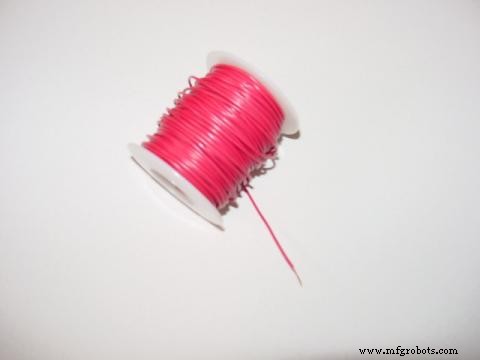
For breadboarding, use 22‑gauge solid‑copper wire—spools are available at electronics or hardware stores in various insulation colors. Color coding helps identify wire functions in complex circuits.
22‑Gauge Solid Copper Wire
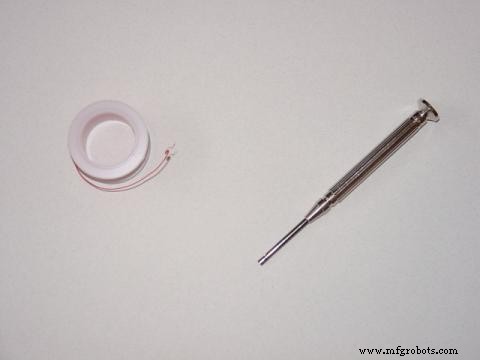
Wire‑wrap is an alternative that avoids solder. It uses 30‑gauge solid copper wire wrapped around component terminals on a fiberglass board. The process yields durable, often stronger connections than soldering.
Wire‑Wrap Wire & Tool
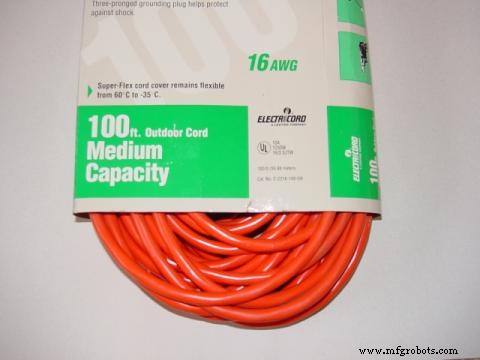
For high‑current circuits, 14‑gauge or larger wire may be needed. Cheap extension cords (often sold in packs) provide stranded copper and 120‑V connectors. Extract the internal wires carefully with a utility knife, cutting the outer insulation at one end and peeling it away rather than slicing the entire length.
Extension Cord Package
Keeping small components organized is easier with a plastic organizer box—think fishing tackle containers. Label each compartment with permanent ink for quick identification.
Component Organizer
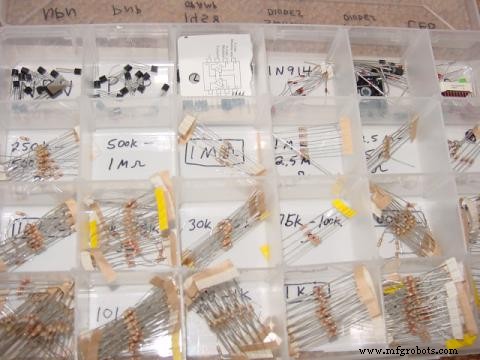
This box holds resistors, transistors, diodes, and ICs neatly, reducing the risk of losing parts.
Industrial Technology
- Why Cloud Computing Experts Thrive Working Remotely
- Optimizing Work Management: Planning, Scheduling, and Reliability
- 3 Essential Factors for Managing Remote Employees Effectively
- Efficient Tool and Work Offset Configuration Using G10 Programmable Data Entry
- 5 Expert Tips to Launch Your First Prototyping Lab
- Optimizing Work Instructions for Industry 4.0: Enhancing Efficiency and Compliance
- Understanding Standard Work: Key to Quality and Waste Reduction
- Fishbowl Inventory Manufacturing Option: Powerful Tools for Streamlined Production Management
- Best 12 Video Conferencing Tools for Remote Work in 2020
- Essential Tools for Working with Different Sheet Metal Types