


LED Buttons: Enhancing Projects with Stylish and Functional LED Controls
LEDs are versatile components that can create beautiful projects and even serve as indicators. While there are many ways to utilize LEDs, we present a way to merge beauty and notification: “The LED button.”
However, the concept of the LED button can have two meanings. It could mean a button that controls a bunch of LEDs or an LED in the form of a button.
This article will look at the LED as a button and how it works. You’ll also learn how to control LEDs from your phone.
Are you ready? Let’s start!
What is an LED Button?
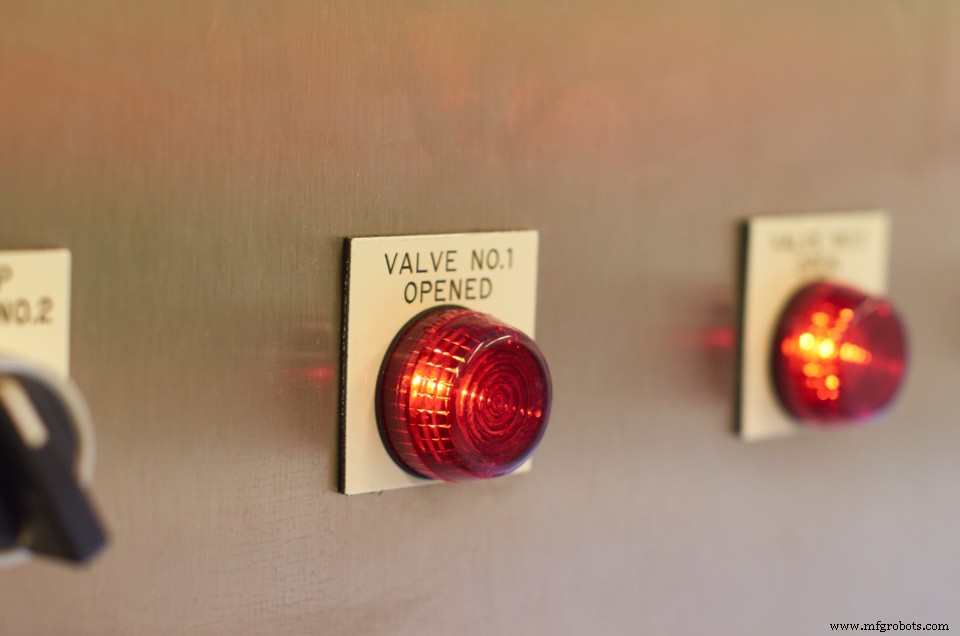
Two LED Buttons
Do you remember those buttons that glow green or red when you push them? They are perfect examples of LED buttons.
LED buttons are similar to regular buttons, but they light up when pressed. In short, they give visual feedback to indicate when a circuit is running or not. Interestingly, it can help add beauty to your project.
These buttons come in different colors (red, yellow, or green), and you can arrange them to indicate different statuses—like regular LEDs.
LED buttons have four leg structures that allow electricity to flow through the connected circuit when pressed.
How does it Work?
When we connect one button pin through a 5v supply and the other with an LED via a resistor, the LED button get sets to glow.
When it’s in an idle state, the button breaks the circuit, and there won’t be any current flow. However, pressing the button will complete the circuit and allow current flow.
The complete circuit will light up the button and run the desired action. It can be a push LED button that will break the circuit once you stop pushing. Alternatively, it could be a regular button that requires a second push to deactivate the circuit.
Features
Here are amazing features you can enjoy from an LED button:
- LED buttons don’t wear out quickly and can operate for extended periods.
- It’s pretty easy to use an LED button, and it’s easy to install it on any circuit.
- LED buttons also have low power consumption.
Specifications
Here are the specifications of a Grove-LED button:
- The LED button has a 3.3v to 5v operating voltage.
- It also has a 50mA LED-rated current.
- An LED button only weighs 4.3 grams.
- It’s small in size with the following measurements; L: 40mm, W: 20mm, and H: 13mm.
- You can use the Grove-LED button 100,000 times without load.
- Pressing resistance is lesser than 100mΩ.
- Its release resistance is greater than 100mΩ.
How to Control an LED with a Phone?
Controlling LEDs with a remote or button is normal. But, things can get more exciting when you try controlling your LED strips with your mobile phone.
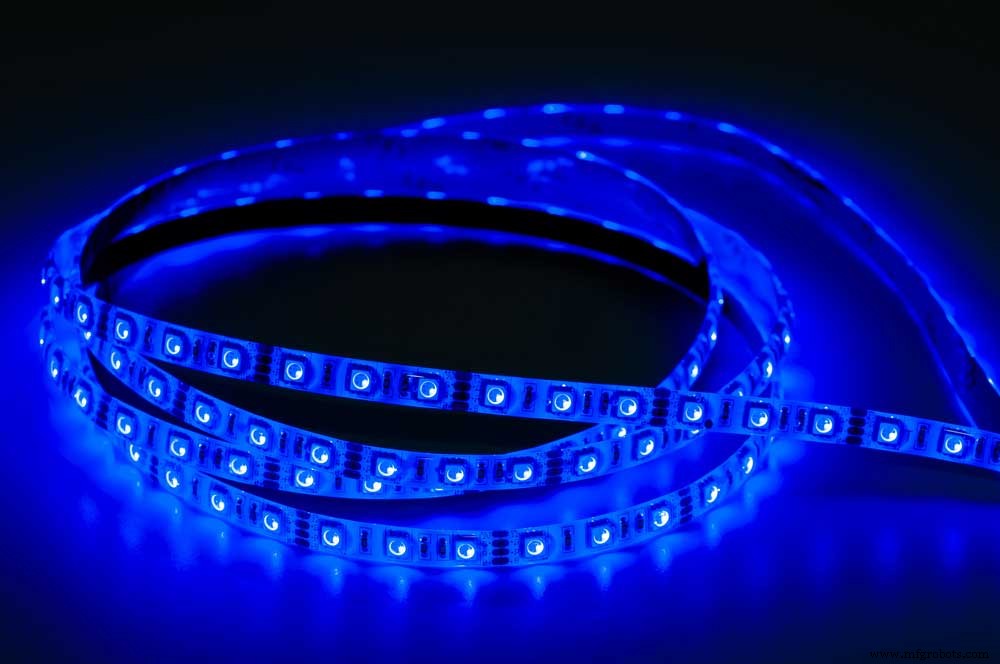
LED Strip
Yes, it’s possible, and we’ll show you how.
Components you Need
Let’s take a look at the electronic components you need to make the magic happen:
- Bluetooth Module (HC05)
- RGB LED strip
- Jumper cables
- Evive
You’ll also need some software:
- PictoBlox
- Dabble
Steps
Step 1: Make your Connections
Take your RGB LED strip and make the following connections:
- Connect the RGB LED’s VCC to the Evive’s +5v.
- Then, connect the LED’s DIN to the Evive’s digital pin 7.
- Finally, connect the GND to the Evive’s GND.
Step 2: Make it Work.
Dabble is an app we use for controlling the RGB LED strip. You can find this app on the Andriod play store.
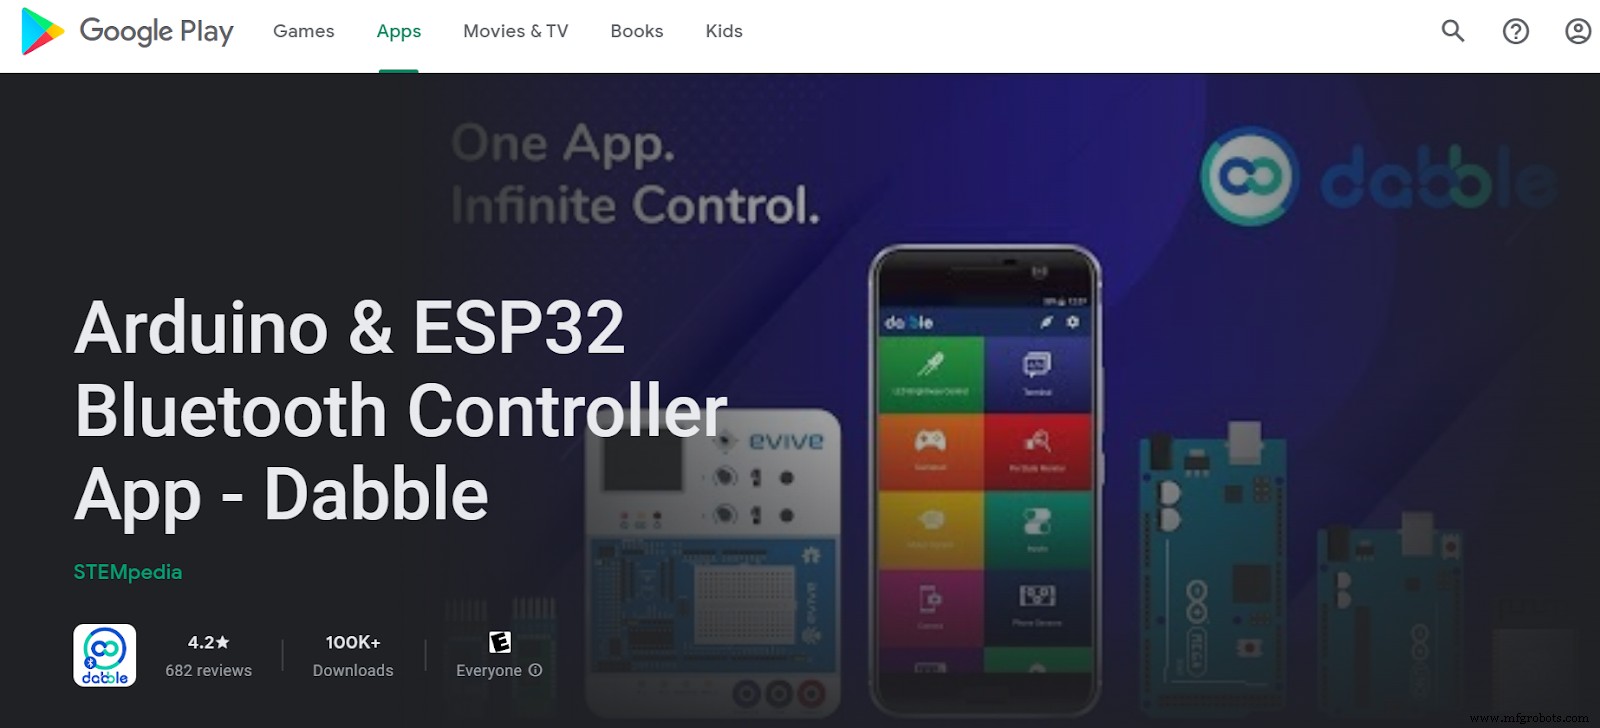
Dabble App
Before using the app, connect your phone’s Bluetooth to the Bluetooth module. It should be on the Evive. Once you’ve successfully connected it, you can open the app and the Gamepad module.
Now, each button of the gamepad module performs a different action on the RGB strip. Here are the actions you can perform:
- Rainbow (up button)
- Rainbow cycle (down button)
- Theater chase (right)
- Theatherchase rainbow (left)
- Color wipe blue (triangle)
- Color wipe sky blue (square)
- Wipe red (circle)
- Color wipe yellow (cross)
Note: the pattern and color of the strips are fully customizable. So, you can change them according to your taste.
Step 3: Time to Code
We’ll use PictoBlox for our code. It’s a Scratch 3.0-based software that makes coding enjoyable. You can also interface Evive with your computer and program it with codes.
Follow this link to download the PictoBlox software. You can also download the PictoBlox code file for this project here.
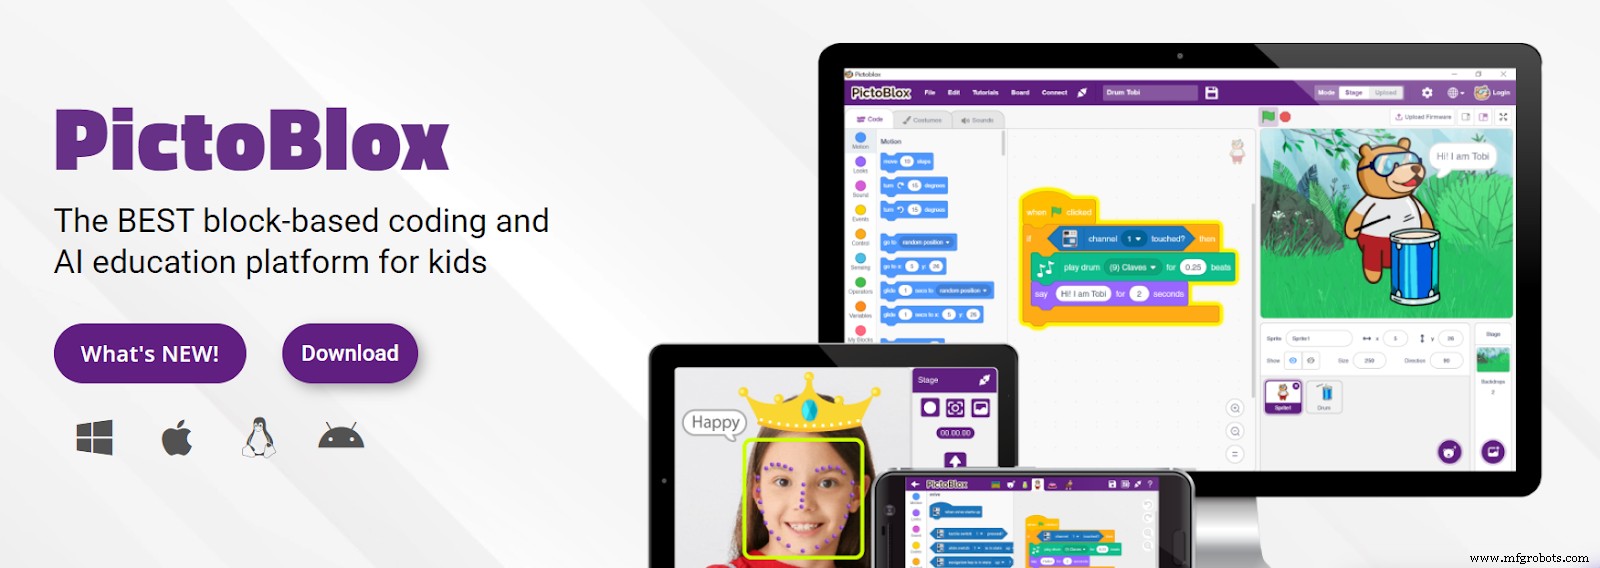
PictoBlox Software
Source: Screenshot from Official Website
LED Button Arduino
Interestingly, you can play around with your LED button and an Arduino. And it’s pretty easy to interface the two and produce results. Here’s how to get this electronic project done.
Components Required
For this little project, you’ll need the following basic components:
- Grove – LED button
- Seeeduino V4.2
- Grove-Base shield
Hardware Setup
Follow the steps below to set up the hardware for this interactive project:
- First, use your connector wire to plug the Grove-LED button into the Grove-Base shield’s port D3.
- Next, connect the Grove-Base shield to Seeeduino.
- Finally, plug the Seeeduino into your computer using a USB cable.
Software Setup
Here’s how to set up the software for this project:
- Start by opening your Arduino IDE and creating a new file. If you’ve not worked with Arduino before, we recommend learning the basics first.
- Copy the following code into the new file to create a demo.
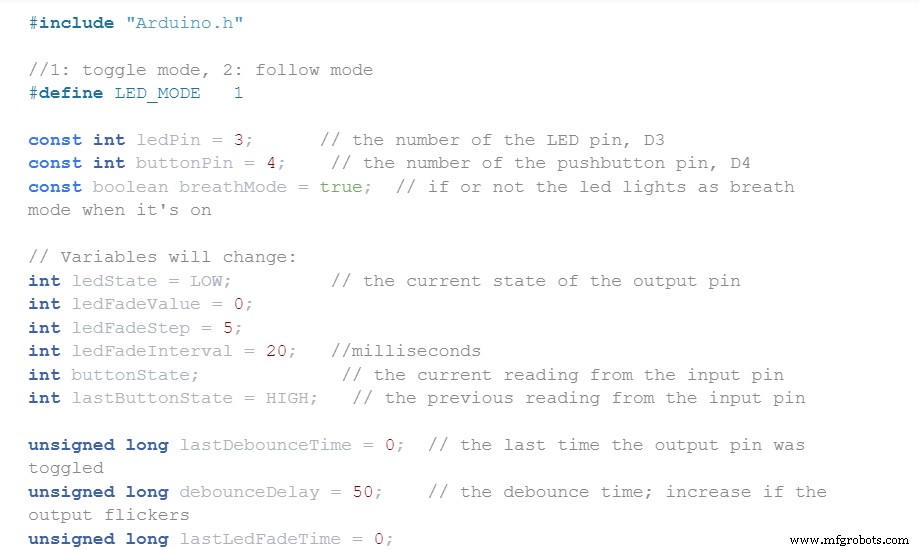
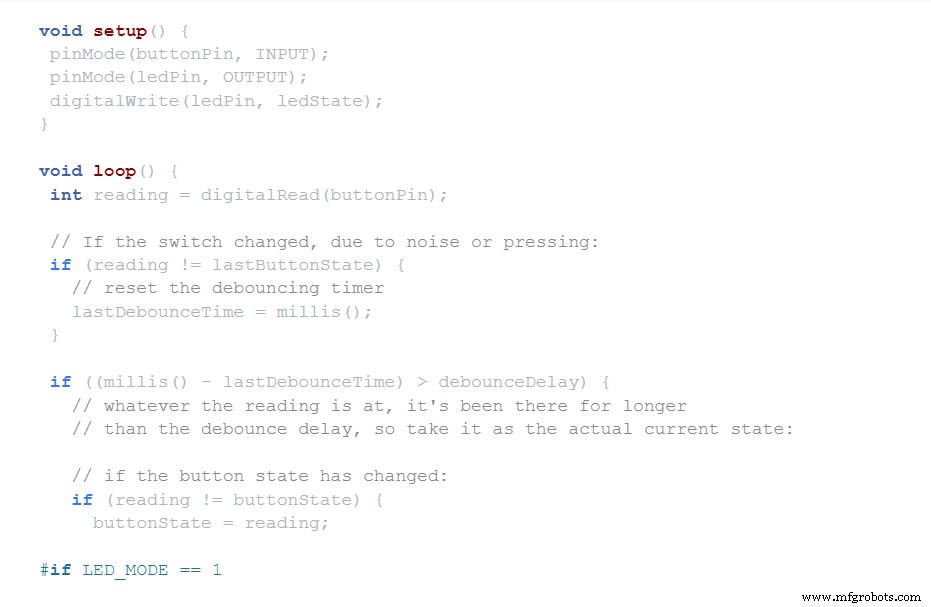
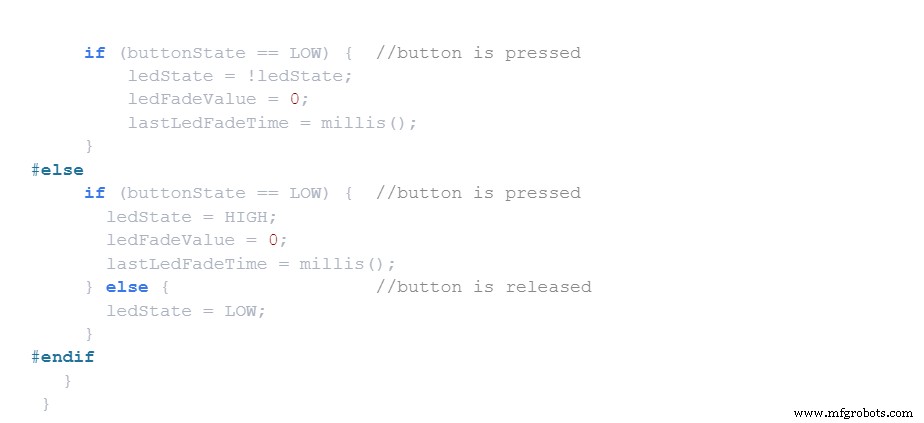

Arduino Code
- Now, upload the demo to your Seeduino.
- After that, try pressing the LED button. It should display a Fade in/out effect.
Last Words
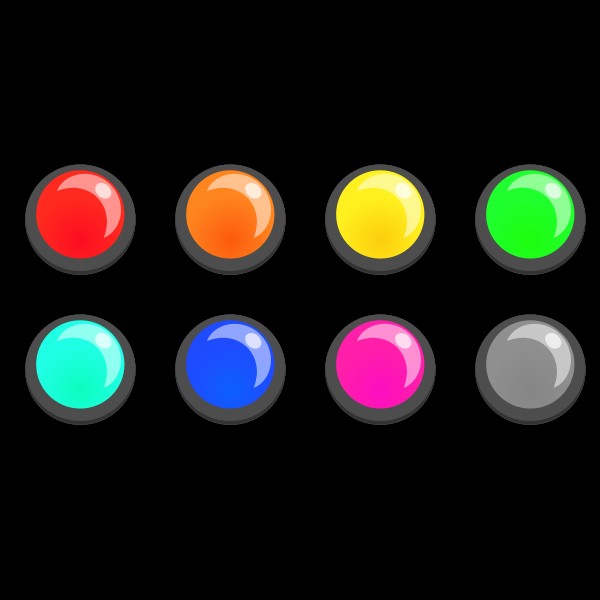
Different Colors of LED Buttons
LEDs are fun, but the LED button is even better. It’s like killing two birds with one stone. You get the functions of a button, and an LED in one component.
On top of that, you can arrange several colors of LED buttons to indicate different statuses when you press them.
You can enjoy Arduino coding and create pulsing effects with your LEDs button. Plus, you can get a LEDs button at budget-friendly prices.
So, would you add an LED button to your circuit? Contact us if you have any questions.
Industrial Technology
- DIY Hot Glue LED Matrix Lamp – Build Your Own Colorful Display
- Smart Staircase RGB LED Lighting System – Motion-Activated & Easy to Install
- Mastering RGB LEDs with Arduino: A Step-by-Step Tutorial
- Revolutionary Materials Power Next-Gen LED Data Communications
- COB LEDs Explained: Benefits, Types, and Applications
- LED Circuit Boards: 7 Essential Tips for Choosing the Right Supplier
- Choosing the Right LED: A Guide to Types and Applications for Your Next Project
- Mastering the QX5252 Solar LED Driver IC: A Complete Guide for DIY Projects
- Maximize Fleet Efficiency: Expert Strategies for Using Telematics Data
- Underground Rigid Rail: The Latest Structural Solution for Rugged Environments