Control Your Arduino Robot Arm via a Dedicated Android App
Components and supplies
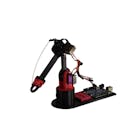
LittleArm
×
1
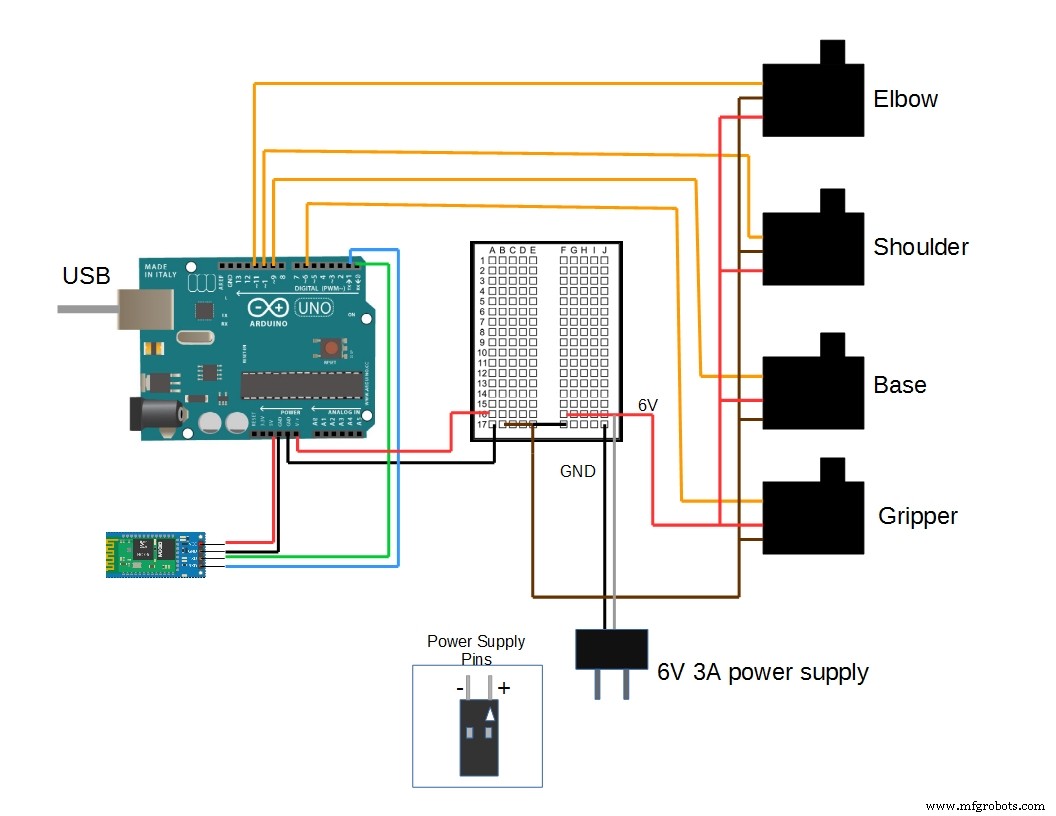
Arduino UNO
×
1
HC-05 Bluetooth Module
×
1
Android device
×
1
LittleArm - Full Kit
×
1
Apps and online services
Android
Arduino IDE
About this project
This tutorial is based on resources from this page.
The LittleArm is a traditionally controlled using a free desktop computer application that runs on Windows and Linux. But this requires that the LittleArm be connected to a computer to be controlled. We finally completed the app for the LittleArm so that you can control the Arduino wirelessly with Bluetooth.
The app allows you to control all the DOF's of the LittleArm but also record sets of commands and play them back. The code for the Arduino does not change from our traditional code in the software packages from here.
The LittleArm app for this project can be downloaded here.
Code
Arduino code
Arduino codeArduino
This code can be used with either the desktop or android app via either bluetooth or usb
#include <Servo.h>  //arduino library
#include <math.h>   //standard c library

#define PI 3.141

Servo baseServo;
Servo shoulderServo;
Servo elbowServo;
Servo gripperServo;

int command;

struct jointAngle{
  int base;
  int shoulder;
  int elbow;
};

int desiredGrip;
int gripperPos;

int desiredDelay;

int servoSpeed = 15;
int ready = 0;

struct jointAngle desiredAngle; //desired angles of the servos

//+++++++++++++++FUNCTION DECLARATIONS+++++++++++++++++++++++++++

int servoParallelControl (int thePos, Servo theServo );
//+++++++++++++++++++++++++++++++++++++++++++++++++++++++++++

void setup()
{
  Serial.begin(9600);
  baseServo.attach(9);        // attaches the servo on pin 9 to the servo object
  shoulderServo.attach(10);
  elbowServo.attach(11);
  gripperServo.attach(6);

  Serial.setTimeout(50);      //ensures the the arduino does not read serial for too long
  Serial.println("started");
  baseServo.write(90);        //intial positions of servos
  shoulderServo.write(150);
  elbowServo.write(110);
  ready = 0;
}

//primary arduino loop
void loop()
{
  if (Serial.available()){
    ready = 1;
    desiredAngle.base = Serial.parseInt();
    desiredAngle.shoulder = Serial.parseInt();
    desiredAngle.elbow = Serial.parseInt();
    desiredGrip = Serial.parseInt();
    desiredDelay = Serial.parseInt();

    if(Serial.read() == '\n'){               // if the last byte is 'd' then stop reading and execute command 'd' stands for 'done'

        Serial.flush();                     //clear all other commands piled in the buffer
          //send completion of the command
        Serial.print('d');
    }
  }

  int status1 = 0;
  int status2 = 0;
  int status3 = 0;
  int status4 = 0;
  int done = 0 ;

  while(done == 0 && ready == 1){
    //move the servo to the desired position
    status1 = servoParallelControl(desiredAngle.base, baseServo, desiredDelay);
    status2 = servoParallelControl(desiredAngle.shoulder,  shoulderServo, desiredDelay);
    status3 = servoParallelControl(desiredAngle.elbow, elbowServo, desiredDelay);
    status4 = servoParallelControl(desiredGrip, gripperServo, desiredDelay);

    if (status1 == 1 & status2 == 1 & status3 == 1 & status4 == 1){
      done = 1;

    }

  }// end of while


}

//++++++++++++++++++++++++++++++FUNCTION DEFITNITIONS++++++++++++++++++++++++++++++++++++++++++

int servoParallelControl (int thePos, Servo theServo, int theSpeed ){

    int startPos = theServo.read();        //read the current pos
    int newPos = startPos;
    //int theSpeed = speed;

    //define where the pos is with respect to the command
    // if the current position is less that the actual move up
    if (startPos < (thePos-5)){

       newPos = newPos + 1;
       theServo.write(newPos);
       delay(theSpeed);
       return 0;

    }

   else if (newPos > (thePos + 5)){

      newPos = newPos - 1;
      theServo.write(newPos);
      delay(theSpeed);
      return 0;

    }

    else {
        return 1;
    }


}