


Control Multiple Servos via Bluetooth: Arduino & Android App
Components and supplies
 |
| × | 1 | |||
| × | 1 | ||||
| × | 6 | ||||
 |
| × | 1 | |||
 |
| × | 1 |
About this project

Hello world! I made a 1 servo control app yesterday and I said that I would make a multi control, so here is the multi control app! I also made a better Arduino code. Follow the next step for the schematic, code, parts list and app.
Get the app on: GOOGLE PLAY
Contact me if you want the source code!
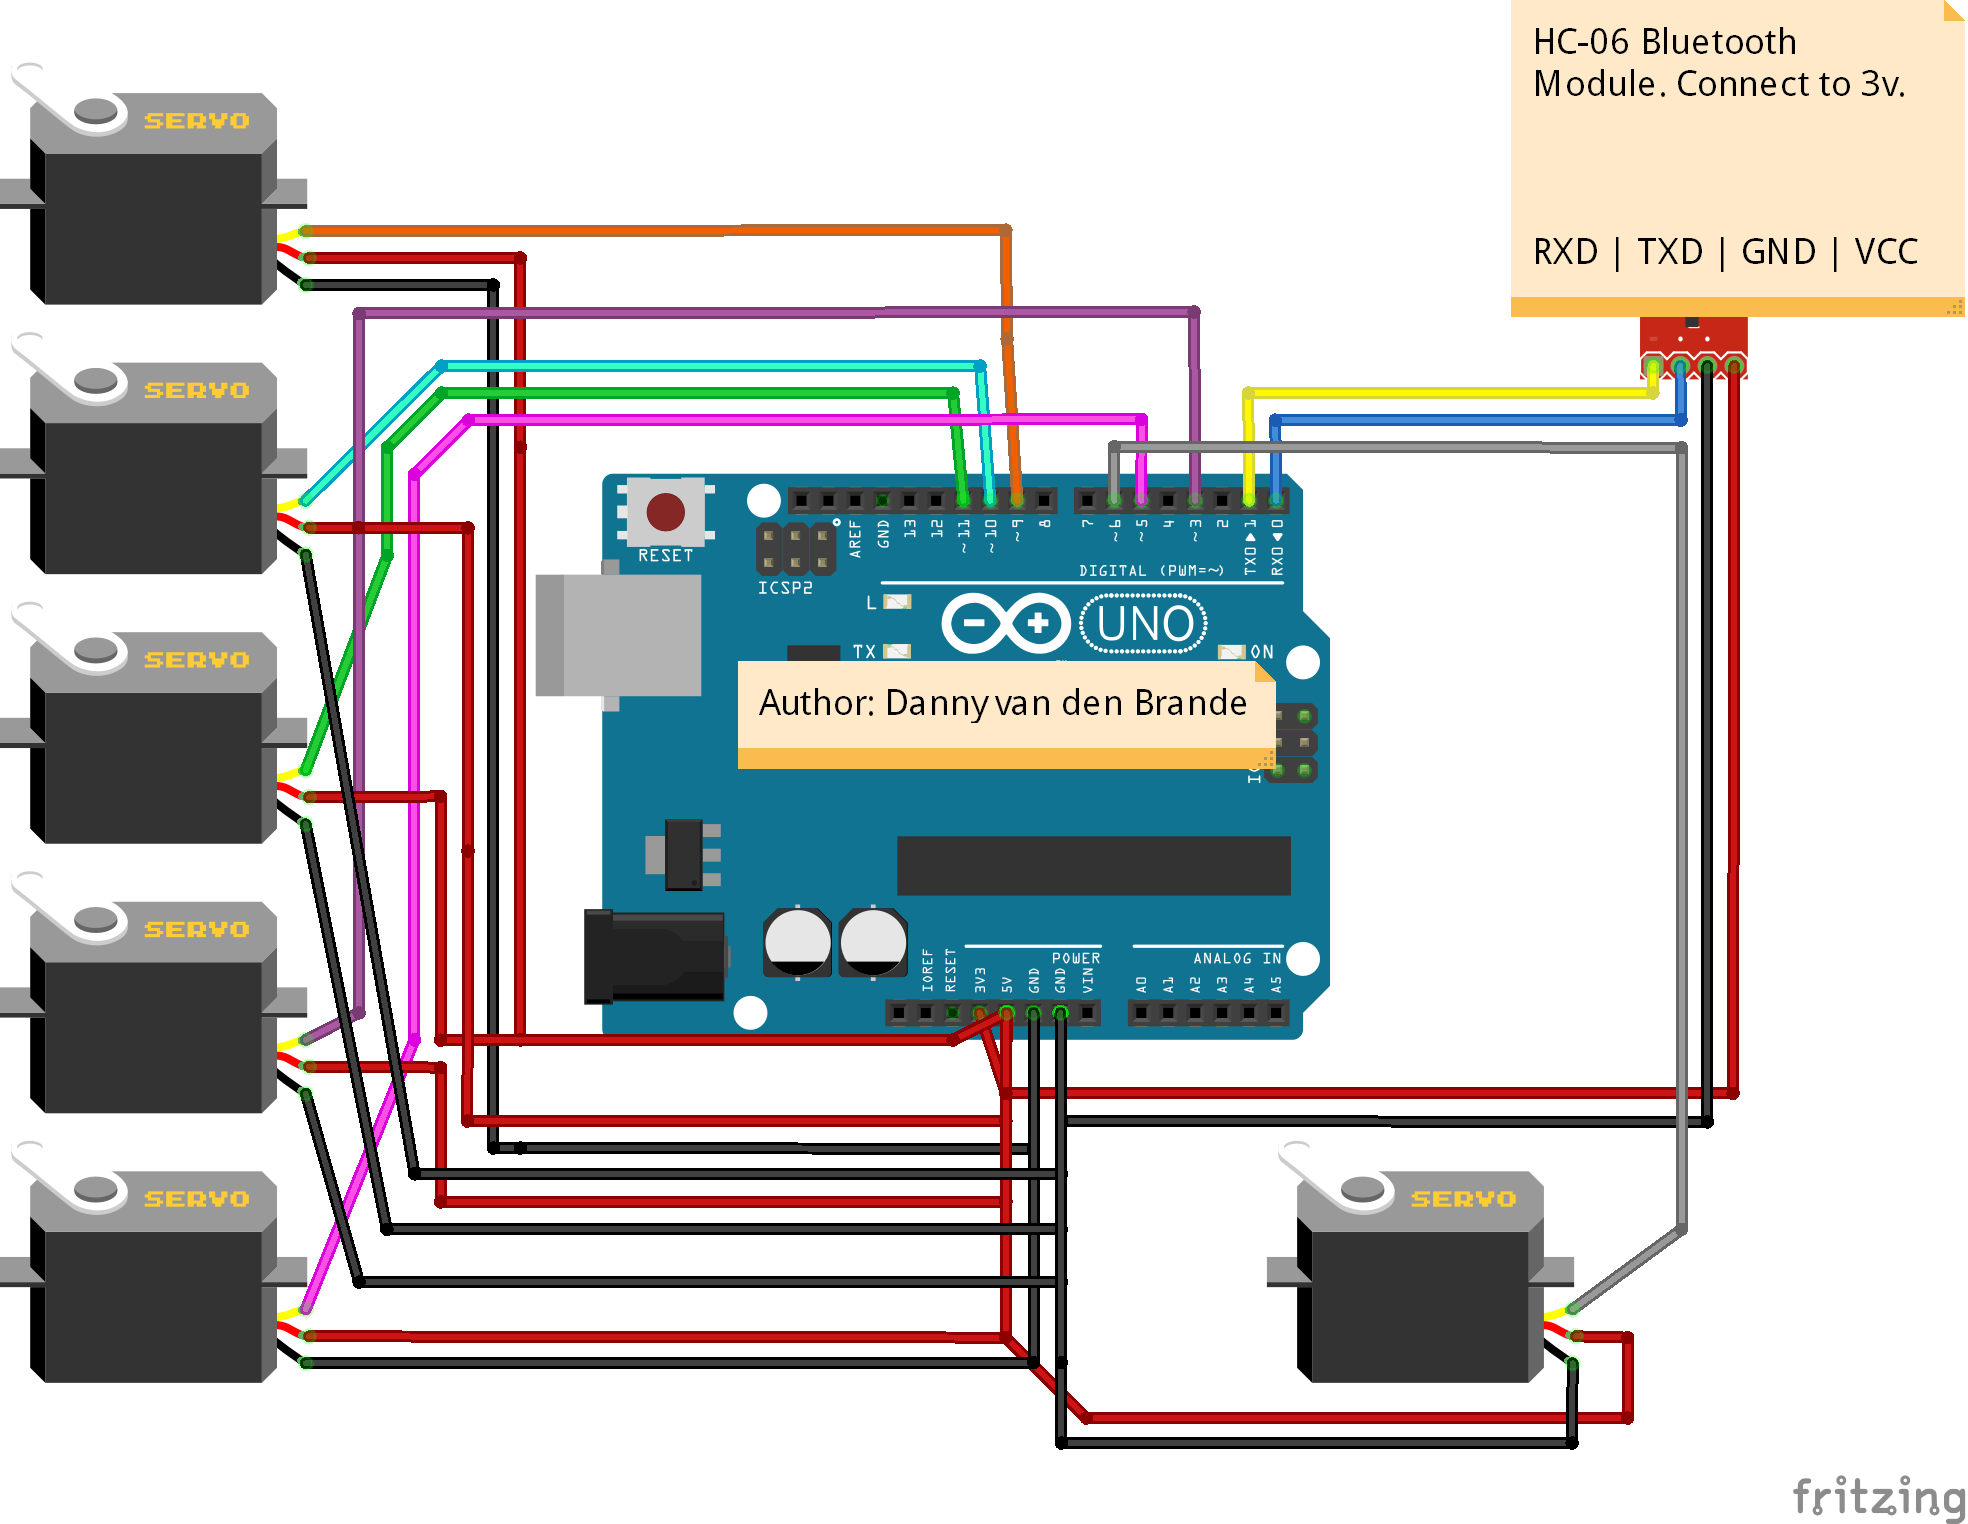
Step 1: Parts listConnect everything as in the schematic, upload the code, download the app, connect Bluetooth after pairing the devices and it should work. Make sure to connect RXD to TX and TXD to RX.
Also make sure NOT to connect the Bluetooth module when uploading.
Parts list:
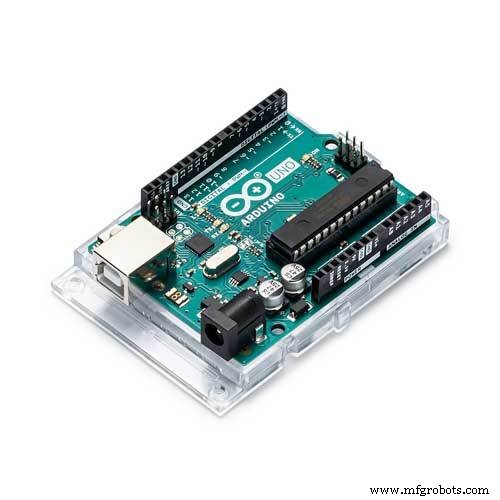
- Arduino Uno, (Use a Mega if you want to use more then 6 Servos!) I used the RobotDyn Uno.
- HC-06 Bluetooth module, or any other.
- 6 x Servo motor. (Can test with one to of course)
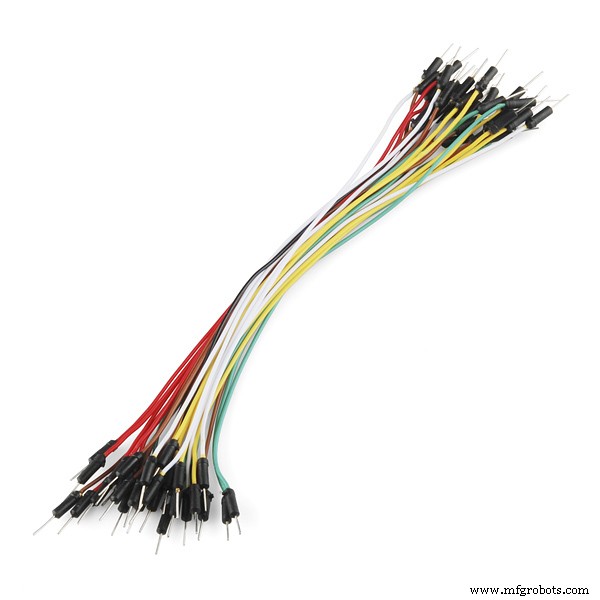
- Jumper wires set MM/FF/MF
- Android phone.
Good luck!
Follow the next step to find out how to change your Bluetooth module its name, pin & baud rate. (optional)
Step 2: How to change the name of your HC-06What is needed?
- 1 x USB to TTL microcontroller programmer to connect to your HC-06
How to connect the Programmer?
- VCC to VCC
- GND to GND
- RXD to TX
- TXD to RX
Lets get started:
- Connect the USB TTL programmer to the HC-06.
- Plug in the USB and open up the Arduino IDE.
- Open the serial monitor.
- Type "AT" without quotes. You should see a respond in the Serial monitor saying "OK".
- Type "AT+NAMExyz". Sets the module name to “xyz” (Replace xyz with the name you want.) response should be OKsetname.
- Type "AT+PIN1234". Sets the pin to 1234 (replace 1234 with your desired pin) respond should be OKsetPIN. For more info on changing baudrate etc. i included a PDF file. Good luck!
Code
- BLUETOOTH_Servo_Control_Multi_Servo.ino
BLUETOOTH_Servo_Control_Multi_Servo.inoArduino
Code to control multiple servos./*
Author: Danny van den Brande.
With this code you can control multiple servo motors by using a android app.
You can add as many as you like untill your pins run out. You can add more Servos in the code.
If you want the source of the app just contact me.
*/
#include <Servo.h>
Servo myservo1, myservo2, myservo3, myservo4, myservo5, myservo6, myservo7, myservo8, myservo9, myservo10;
byte serialA;
void setup()
{
myservo1.attach(9);
myservo2.attach(10);
myservo3.attach(11);
myservo4.attach(3);
myservo5.attach(5);
myservo6.attach(6);
// myservo7.attach(); fill in pin numbers if you use more then 6 servos i left them blank
// myservo8.attach();
// myservo9.attach();
// myservo10.attach();
Serial.begin(9600);//change your baudrate to your Bluetooth modules baudrate if needed.
}
void loop()
{
if (Serial.available() > 2) {serialA = Serial.read();Serial.println(serialA);}
{
unsigned int servopos = Serial.read();
unsigned int servopos1 = Serial.read();
unsigned int realservo = (servopos1 *256) + servopos;
Serial.println(realservo);
if (realservo >= 1000 && realservo <1180){
int servo1 = realservo;
servo1 = map(servo1, 1000,1180,0,180);
myservo1.write(servo1);
Serial.println("servo 1 ON");
delay(10);
}
if (realservo >=2000 && realservo <2180){
int servo2 = realservo;
servo2 = map(servo2,2000,2180,0,180);
myservo2.write(servo2);
Serial.println("servo 2 On");
delay(10);
}
if (realservo >=3000 && realservo < 3180){
int servo3 = realservo;
servo3 = map(servo3, 3000, 3180,0,180);
myservo3.write(servo3);
Serial.println("servo 3 On");
delay(10);
}
if (realservo >=4000 && realservo < 4180){
int servo4 = realservo;
servo4 = map(servo4, 4000, 4180,0,180);
myservo4.write(servo4);
Serial.println("servo 4 On");
delay(10);
}
if (realservo >=5000 && realservo < 5180){
int servo5 = realservo;
servo5 = map(servo5, 5000, 5180,0,180);
myservo5.write(servo5);
Serial.println("servo 5 On");
delay(10);
}
if (realservo >=6000 && realservo < 6180){
int servo6 = realservo;
servo6 = map(servo6, 6000, 6180,0,180);
myservo6.write(servo6);
Serial.println("servo 6 On");
delay(10);
}
// if (realservo >=7000 && realservo < 7180){ //UNCOMMENT if using more then 6 Servos.
// int servo7 = realservo;
// servo7 = map(servo7, 7000, 7180,0,180);
// myservo7.write(servo7);
// Serial.println("servo 7 On");
// delay(10);
// }
//
// if (realservo >=8000 && realservo < 8180){
// int servo8 = realservo;
// servo8 = map(servo8, 8000, 8180,0,180);
// myservo8.write(servo8);
// Serial.println("servo 8 On");
// delay(10);
// }
//
// if (realservo >=9000 && realservo < 9180){
// int servo8 = realservo;
// servo8 = map(servo9, 9000, 9180,0,180);
// myservo8.write(servo8);
// Serial.println("servo 9 On");
// delay(10);
// }
//
// if (realservo >=10000 && realservo < 10180){
// int servo10 = realservo;
// servo10 = map(servo10, 10000, 10180,0,180);
// myservo10.write(servo10);
// Serial.println("servo 10 On");
// delay(10);
// }
}
}
Schematics
Manufacturing process
- Build a Universal Android Remote with Arduino, 1Sheeld & IR Control
- Build an Android‑Controlled Remote Vehicle with Raspberry Pi Motor Shield
- Servo‑Driven Obstacle‑Avoiding Robot: Build with Arduino & HC‑SR04
- Control an LED via Bluetooth with Arduino – Simple DIY Guide
- Control Your Arduino Robot Arm via a Dedicated Android App
- Bluetooth Integration with Arduino & Android: Build Wireless Projects
- Bluetooth‑Controlled Servo Motor with Arduino Uno & HC‑05
- Remote Control of a 6‑DOF Arduino Robot Arm via Web Interface
- Master Brushless Motor Control with Arduino, ESC, and BLDC – Step‑by‑Step Tutorial
- Master SG‑90 Servos: Precise Arduino Control for Mini‑Size Motors