


Bluetooth‑Controlled Servo Motor with Arduino Uno & HC‑05
Components and supplies
 |
| × | 1 | |||
 |
| × | 1 | |||
|
| × | 1 | |||
 |
| × | 1 | |||
 |
| × | 1 |
Apps and online services
 |
|
About this project
In this project I am going to show you how you can control a servo motor with the help of a smartphone application via Bluetooth.
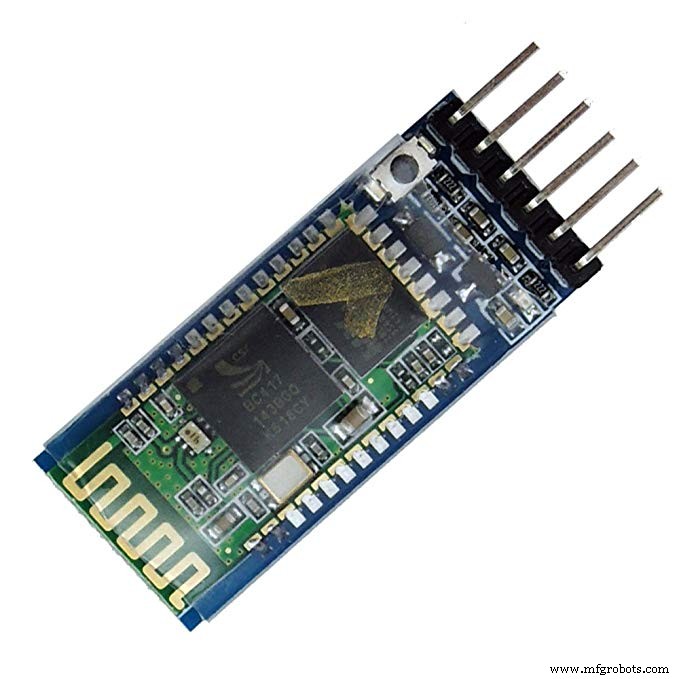
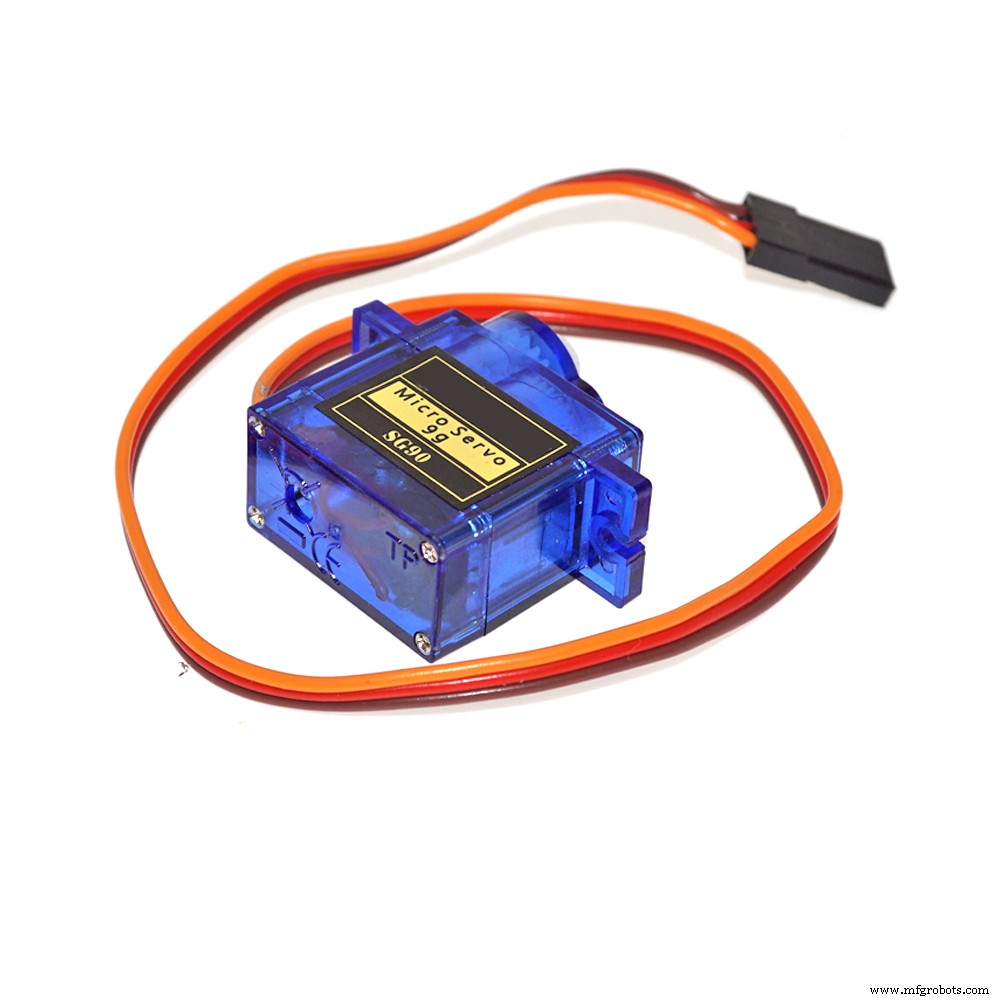
For this project we will be using a Bluetooth HC-05 module with an Arduino Uno to control a servo 9g.
--> How does this project works?This project has two parts:
1. The android application - This application will be sending various data packets to our HC-05 Bluetooth module. (click here to download the application)
(p.s. This app is not developed by me.)
2. The hardware - This consists of HC-05 Bluetooth module, an Arduino Uno and a servo motor.
--> This is how it works --The android app sends data packets to the Bluetooth module. The Bluetooth modules sends this data packet to Arduino Uno through Serial Communication. Arduino Uno is programmed to generate control signal for the servo motor depending upon the value of the data packet. Here is a flowchart for better understanding.

--> How to get Started
1. Download the android application. (click here)
2. Upload the code on the Arduino uno.
3. Make the connections.
Please note that the bluetooth HC-05 module needs to be connected with 3.3v and not with 5v vcc as it can damage the module.
4. Connect Bluetooth module to android app - When you power up your Hardware the Bluetooth module will become visible. So open the application and click on find nearby devices. Select HC-05. Once it shows connected you are good to go!
You can use the slider or enter the value manually to control the servo arm.
Code
- Bluetooth controlled servo
Bluetooth controlled servoC/C++
this code id to uploaded on to the Arduino uno.#include<SoftwareSerial.h>
#include<Servo.h>
Servo x;
int bttx=9; //tx of bluetooth module is connected to pin 9 of arduino
int btrx=10; //rx of bluetooth module is connected to pin 10 of arduino
SoftwareSerial bluetooth(bttx,btrx);
void setup()
{
x.attach(11); // servo is connected to pin 11 of arduino
Serial.begin(9600);
bluetooth.begin(9600);
}
void loop()
{
if(bluetooth.available()>0) //if bluetooth module is transmitting data
{
int pos=bluetooth.read(); // store the data in pos variable
Serial.println(pos);
x.write(pos); //move servo head to the given position
}
}
Schematics
This is how the circuit has to be made.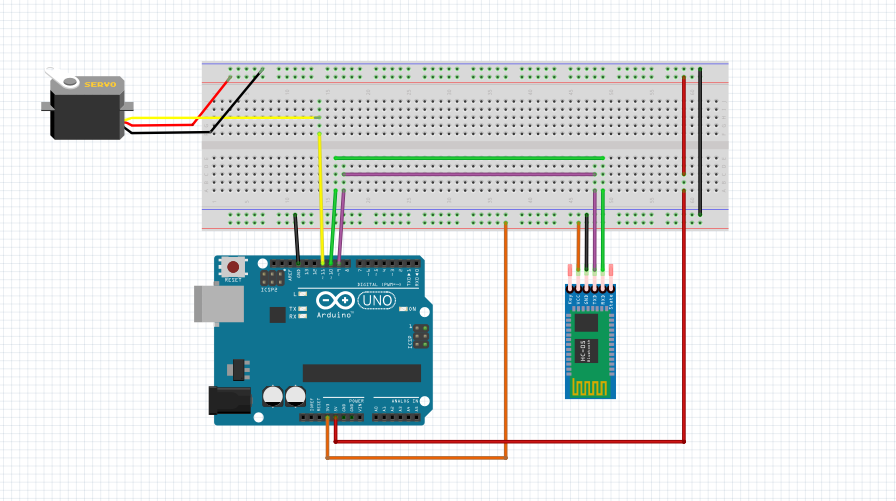
Manufacturing process
- Build a Bluetooth‑Controlled Raspberry Pi Robot with Audio Feedback
- Arduino Tic Tac Toe with MAX7219 LED Matrix and Cardboard Enclosure
- Build a Reliable Arduino Countdown Timer with SparkFun 7‑Segment Display
- Voice-Activated Home Appliances: Bluetooth Control with Google Assistant
- Build a Bluetooth‑Controlled Arduino Car: A Complete DIY Guide
- Smartphone‑Controlled Bluetooth Mouse: Build Your Own Virtual Joystick
- Control Multiple Servos via Bluetooth: Arduino & Android App
- Bluetooth‑Controlled Car: DIY Arduino Remote Vehicle
- Build an Arduino Color Sorter: Simple Guide with TCS3200 & Servos
- Build an Arduino Radar System with Ultrasonic Sensor & Servo – Step‑by‑Step Guide