


Bluetooth‑Controlled Car: DIY Arduino Remote Vehicle
Components and supplies
 |
| × | 1 | |||
| × | 2 | ||||
| × | 1 | ||||
 |
| × | 1 | |||
 |
| × | 1 | |||
 |
| × | 1 |
Apps and online services
 |
|
About this project
Hello there!
Anything that can be controlled is great. Isn't it? We humans love controlling stuff and that is why automation and robotics so fascinating.
This tutorial will teach you how to create your own Bluetooth controlled car. So lets get started.
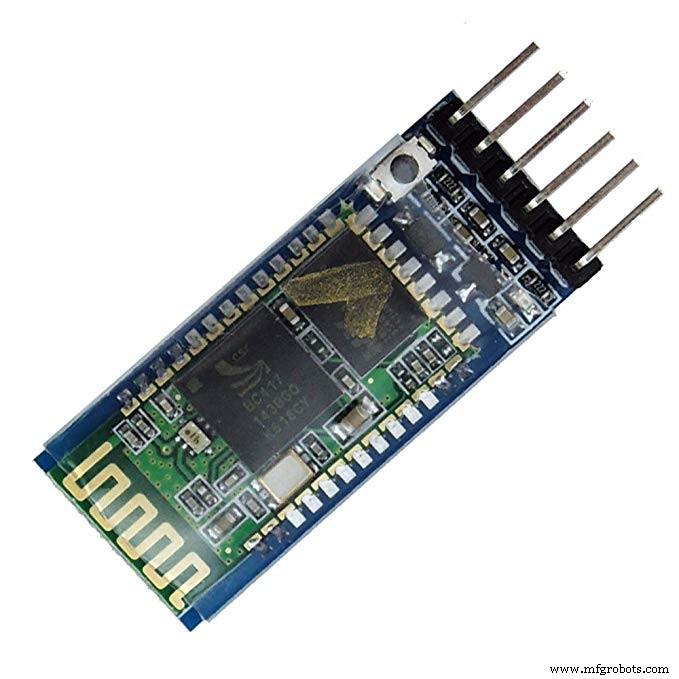
This will be a Bluetooth controlled car so for this project we will be using HC-05 Bluetooth module to receive the controlling data packets.
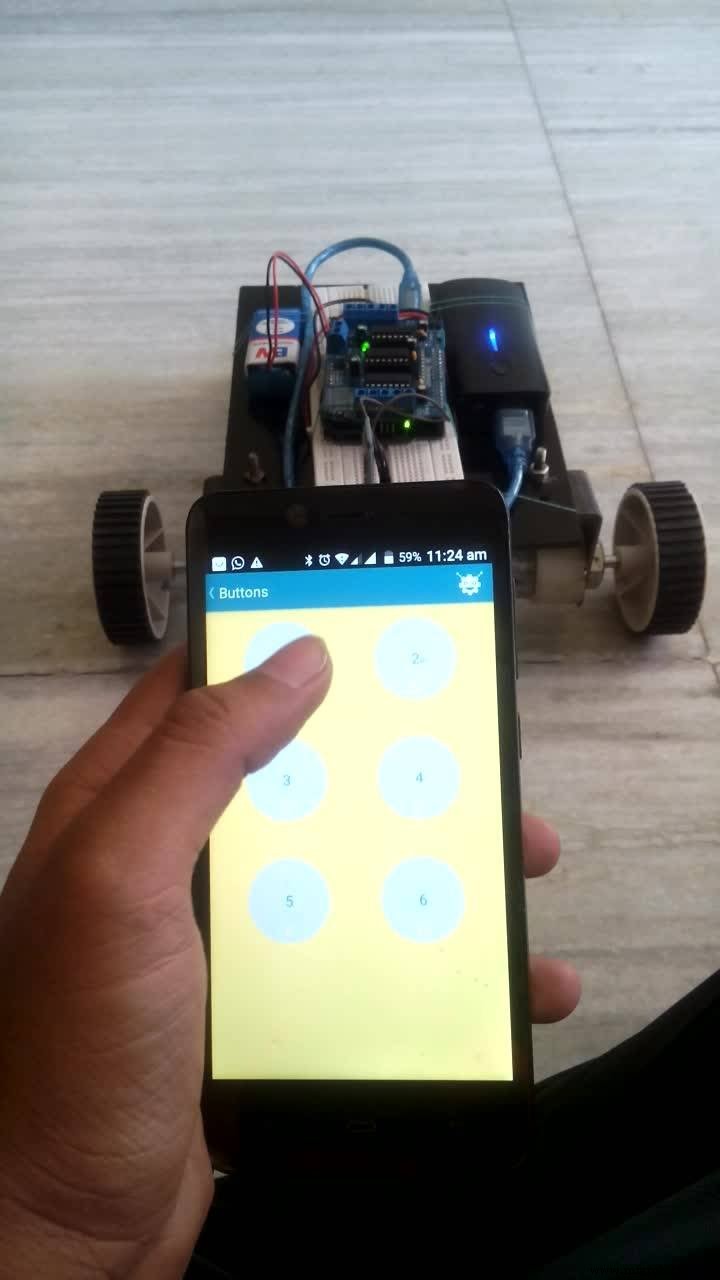
We will also need an android app which will be sending the controlling data packets to the Bluetooth module. We will use a third party application (click here to download) for this purpose.
- -> Okay folks! Let's build the hardware.
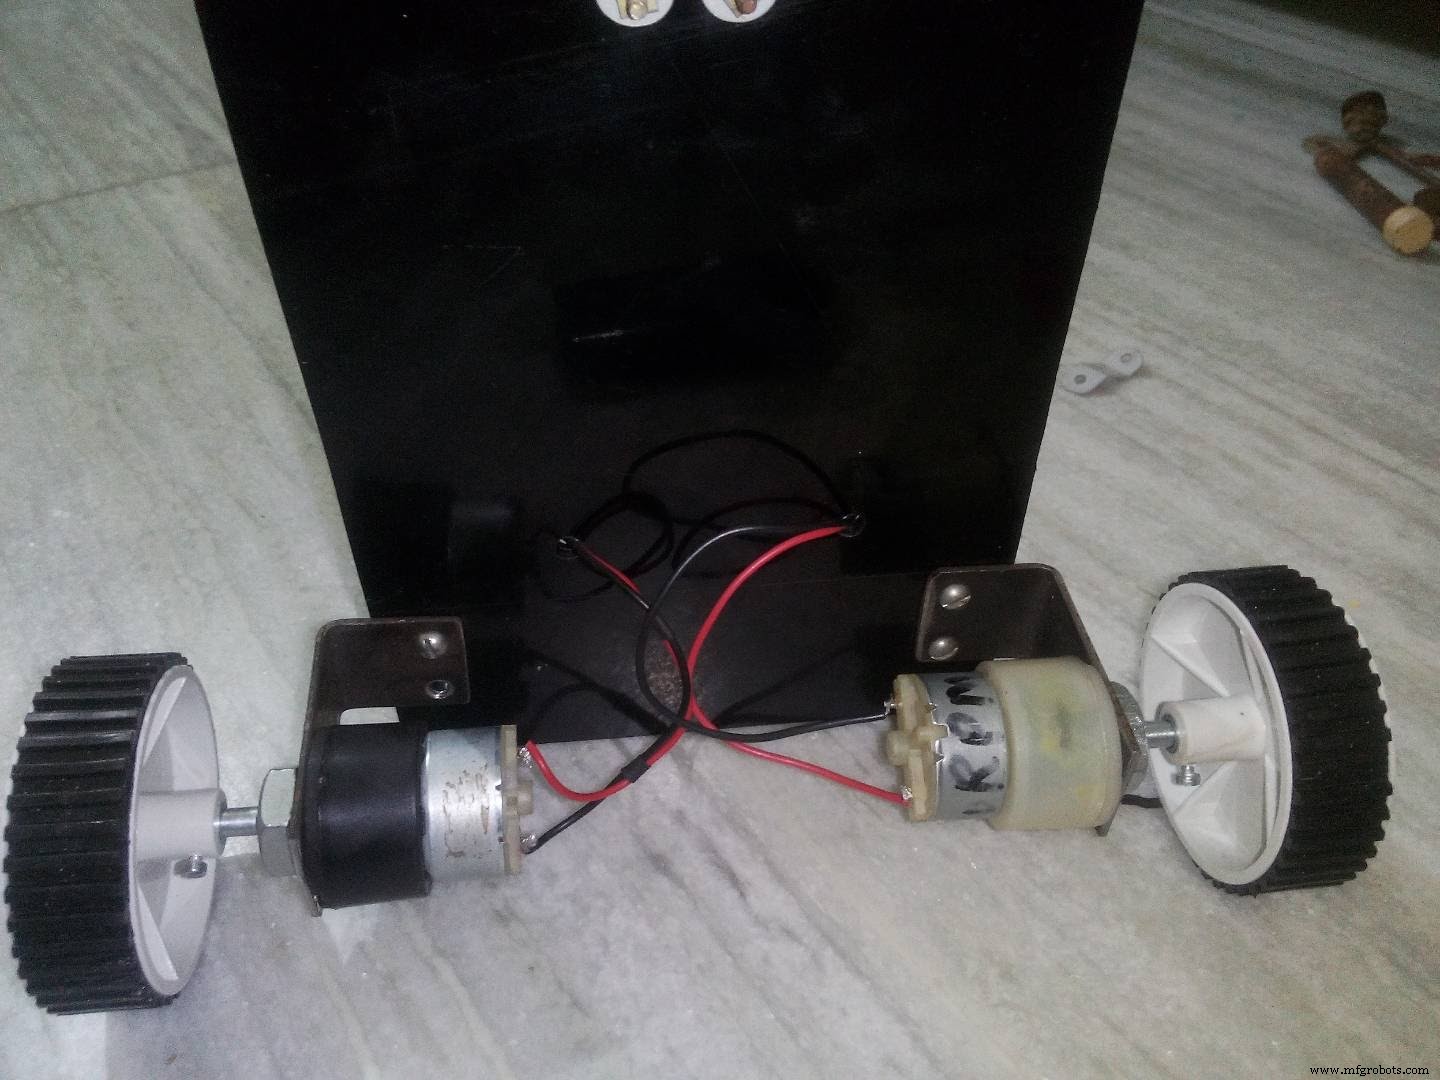
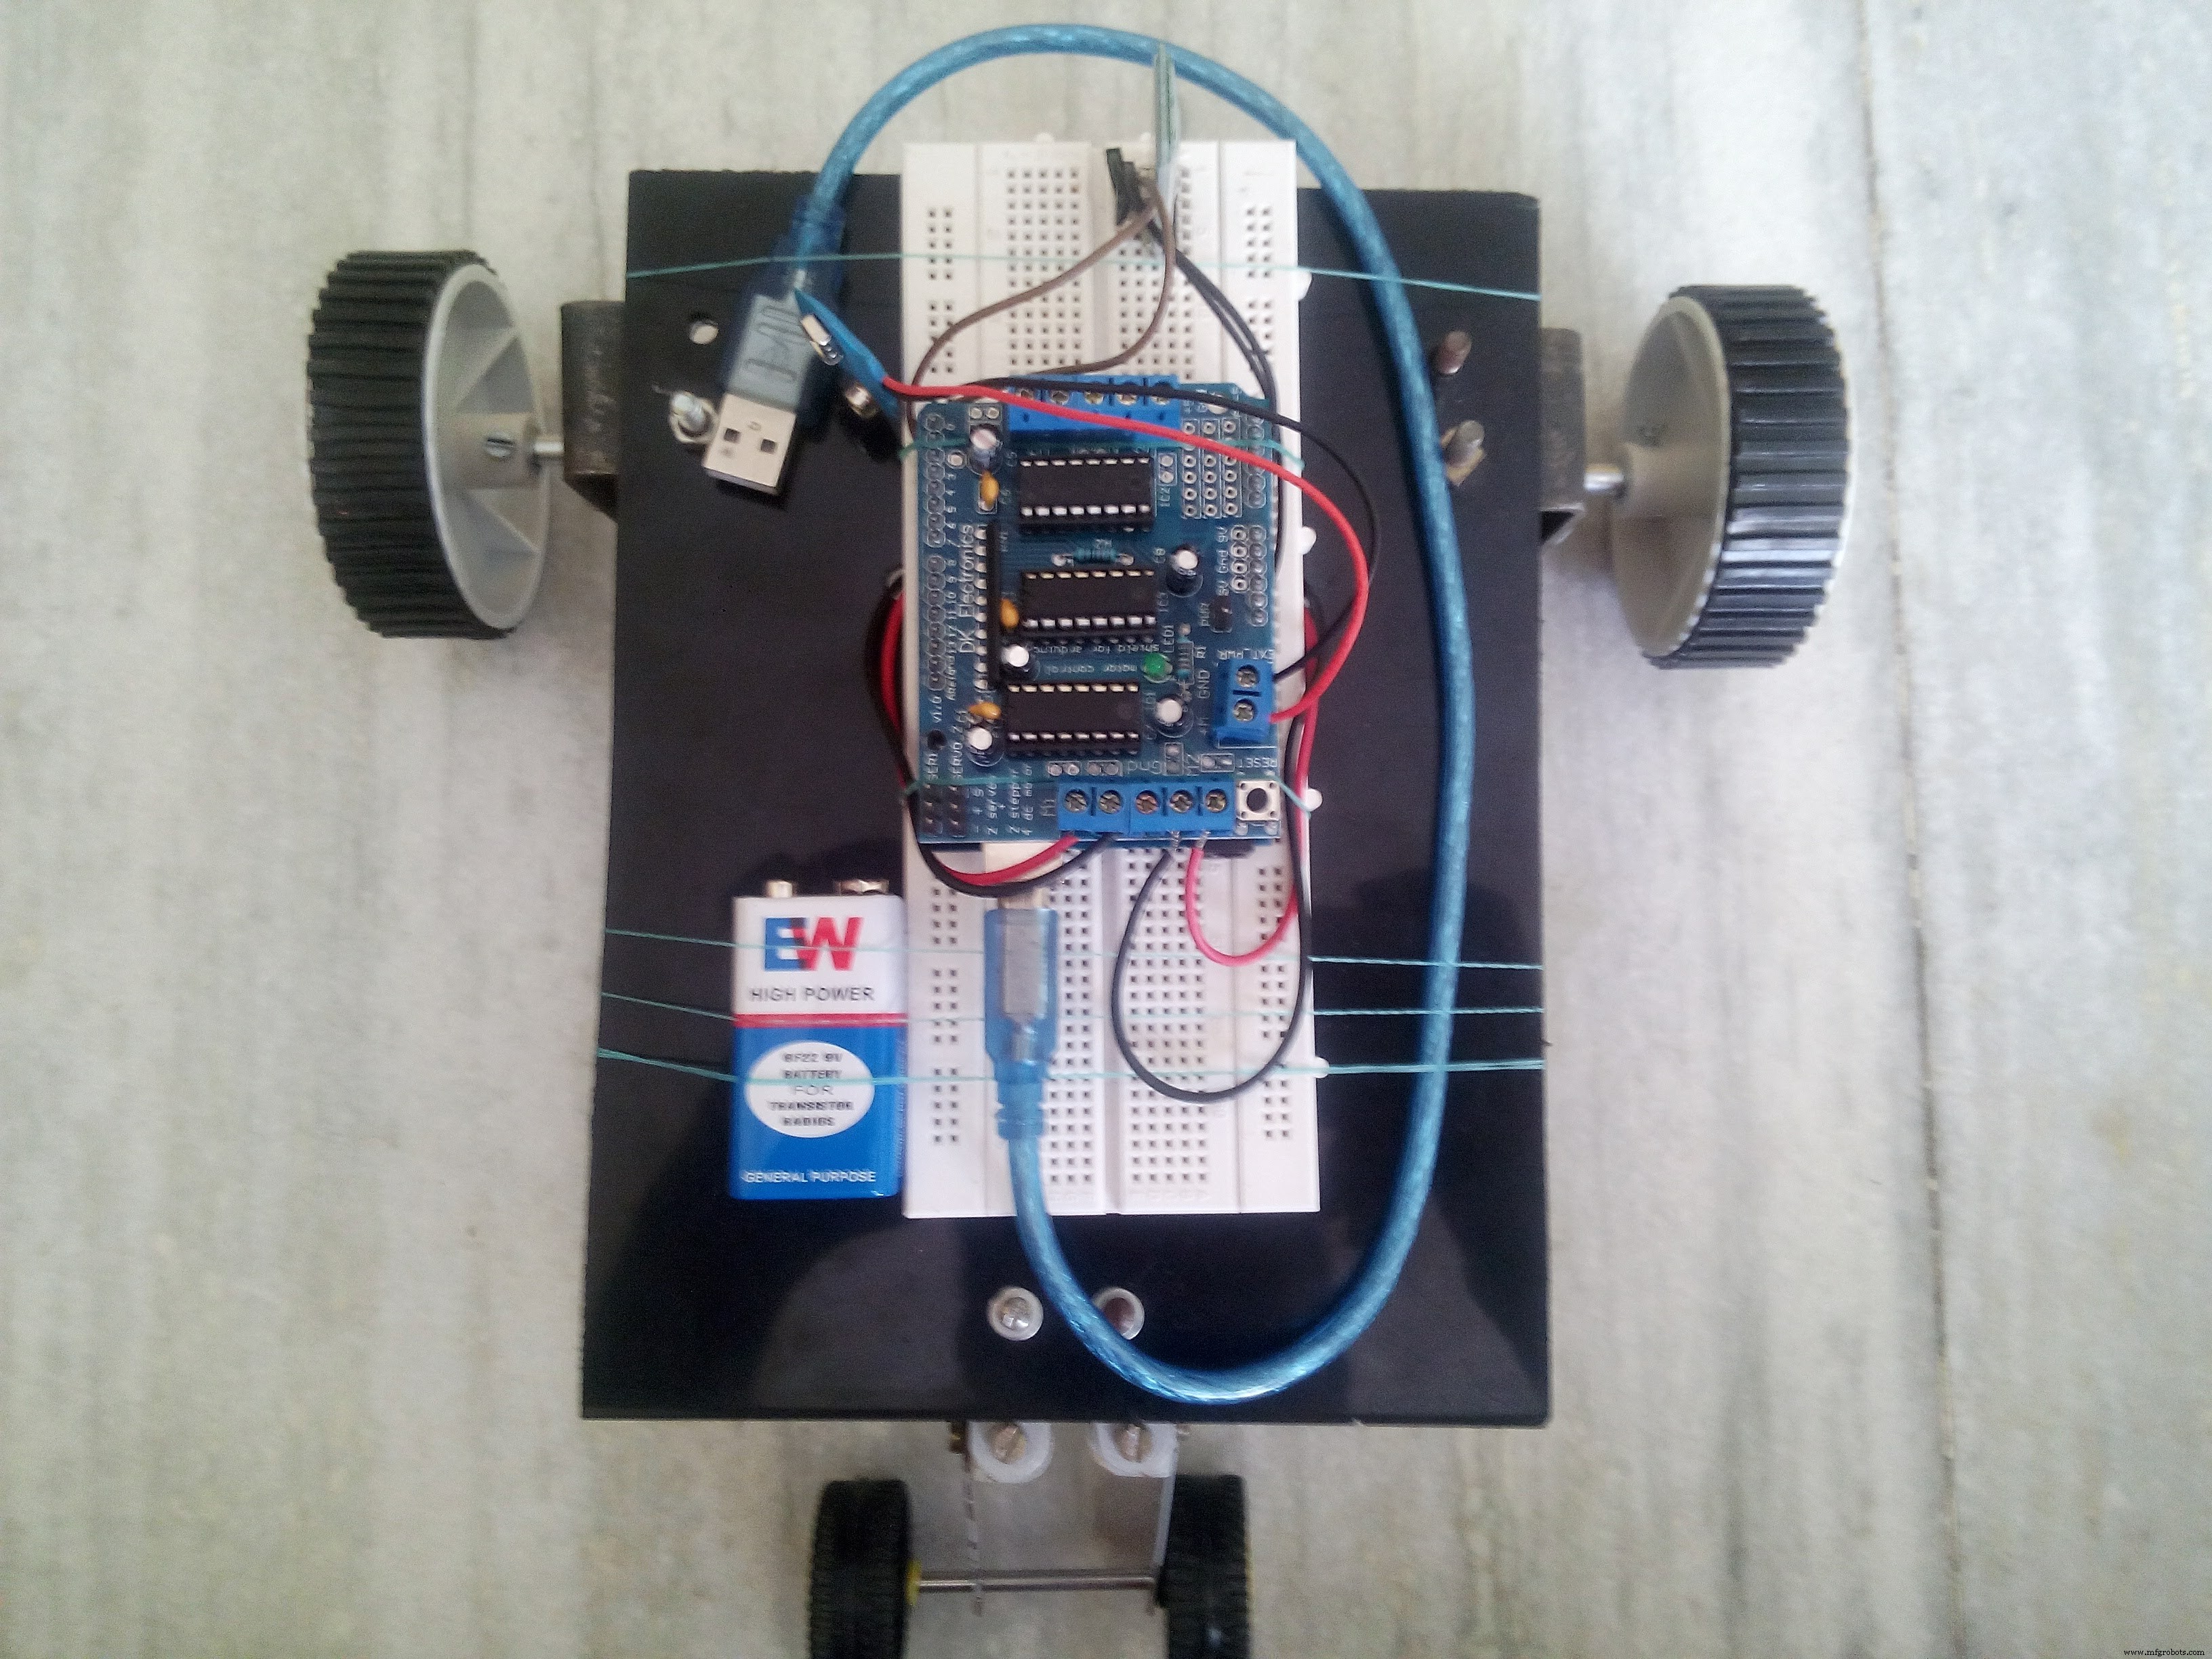
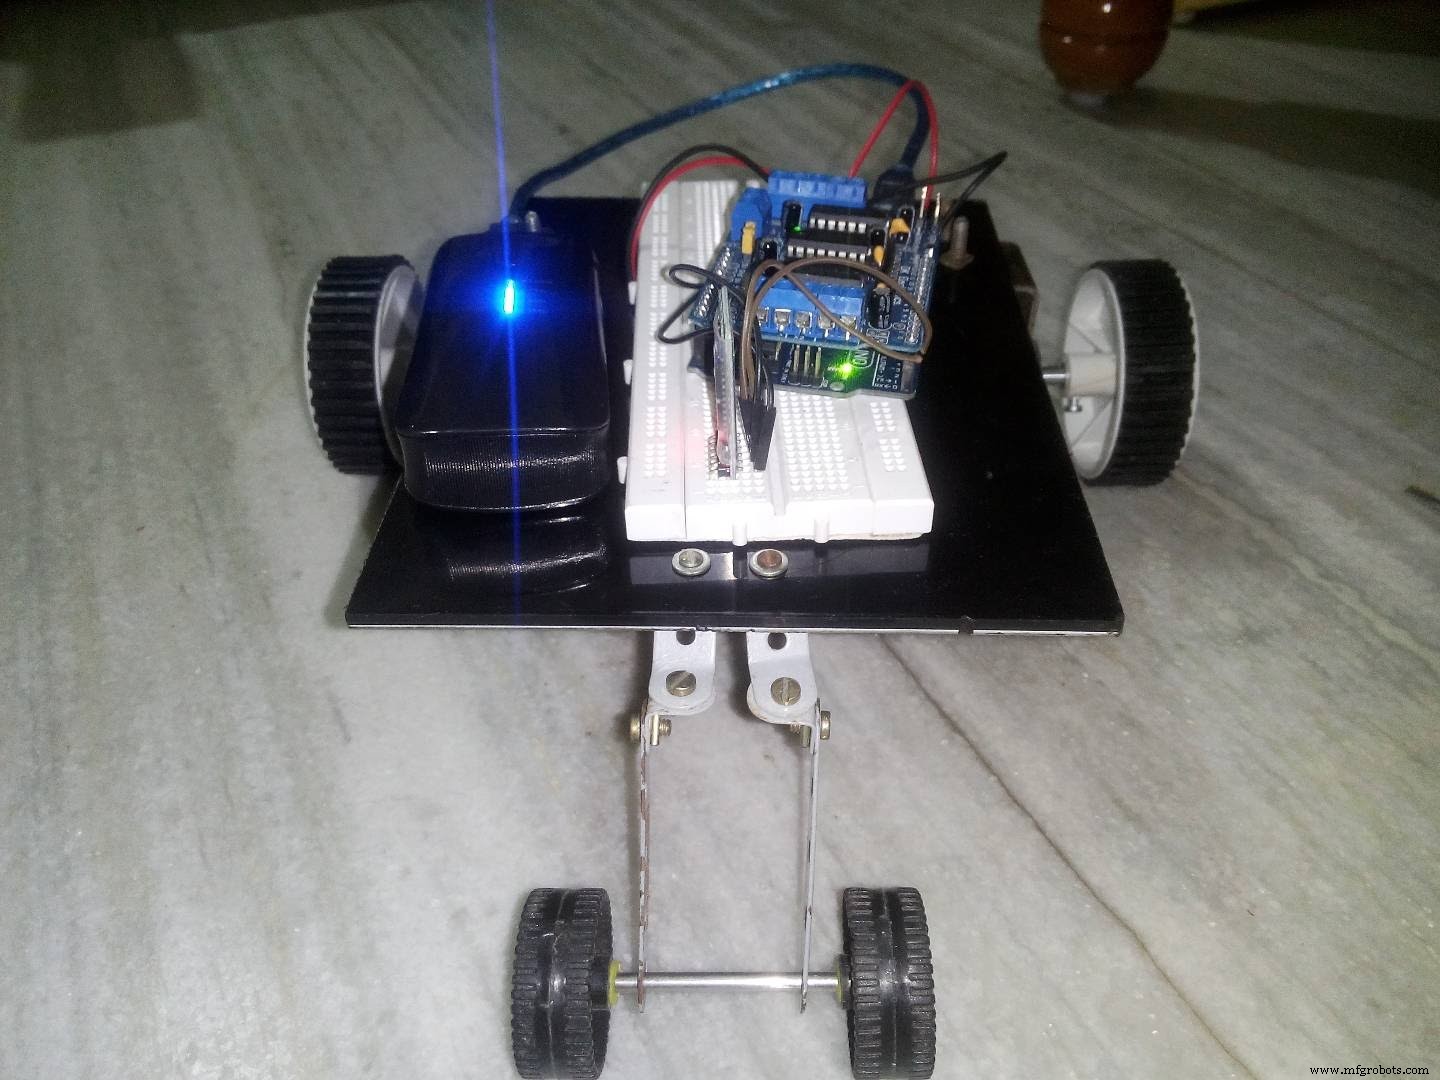
- -> Body of the car.
The car which we are building for this project will be a dual motor car. I used two 12 v 200 rpm DC motors. You can use a ready made chassis. I used a PVC sheet as chassis.
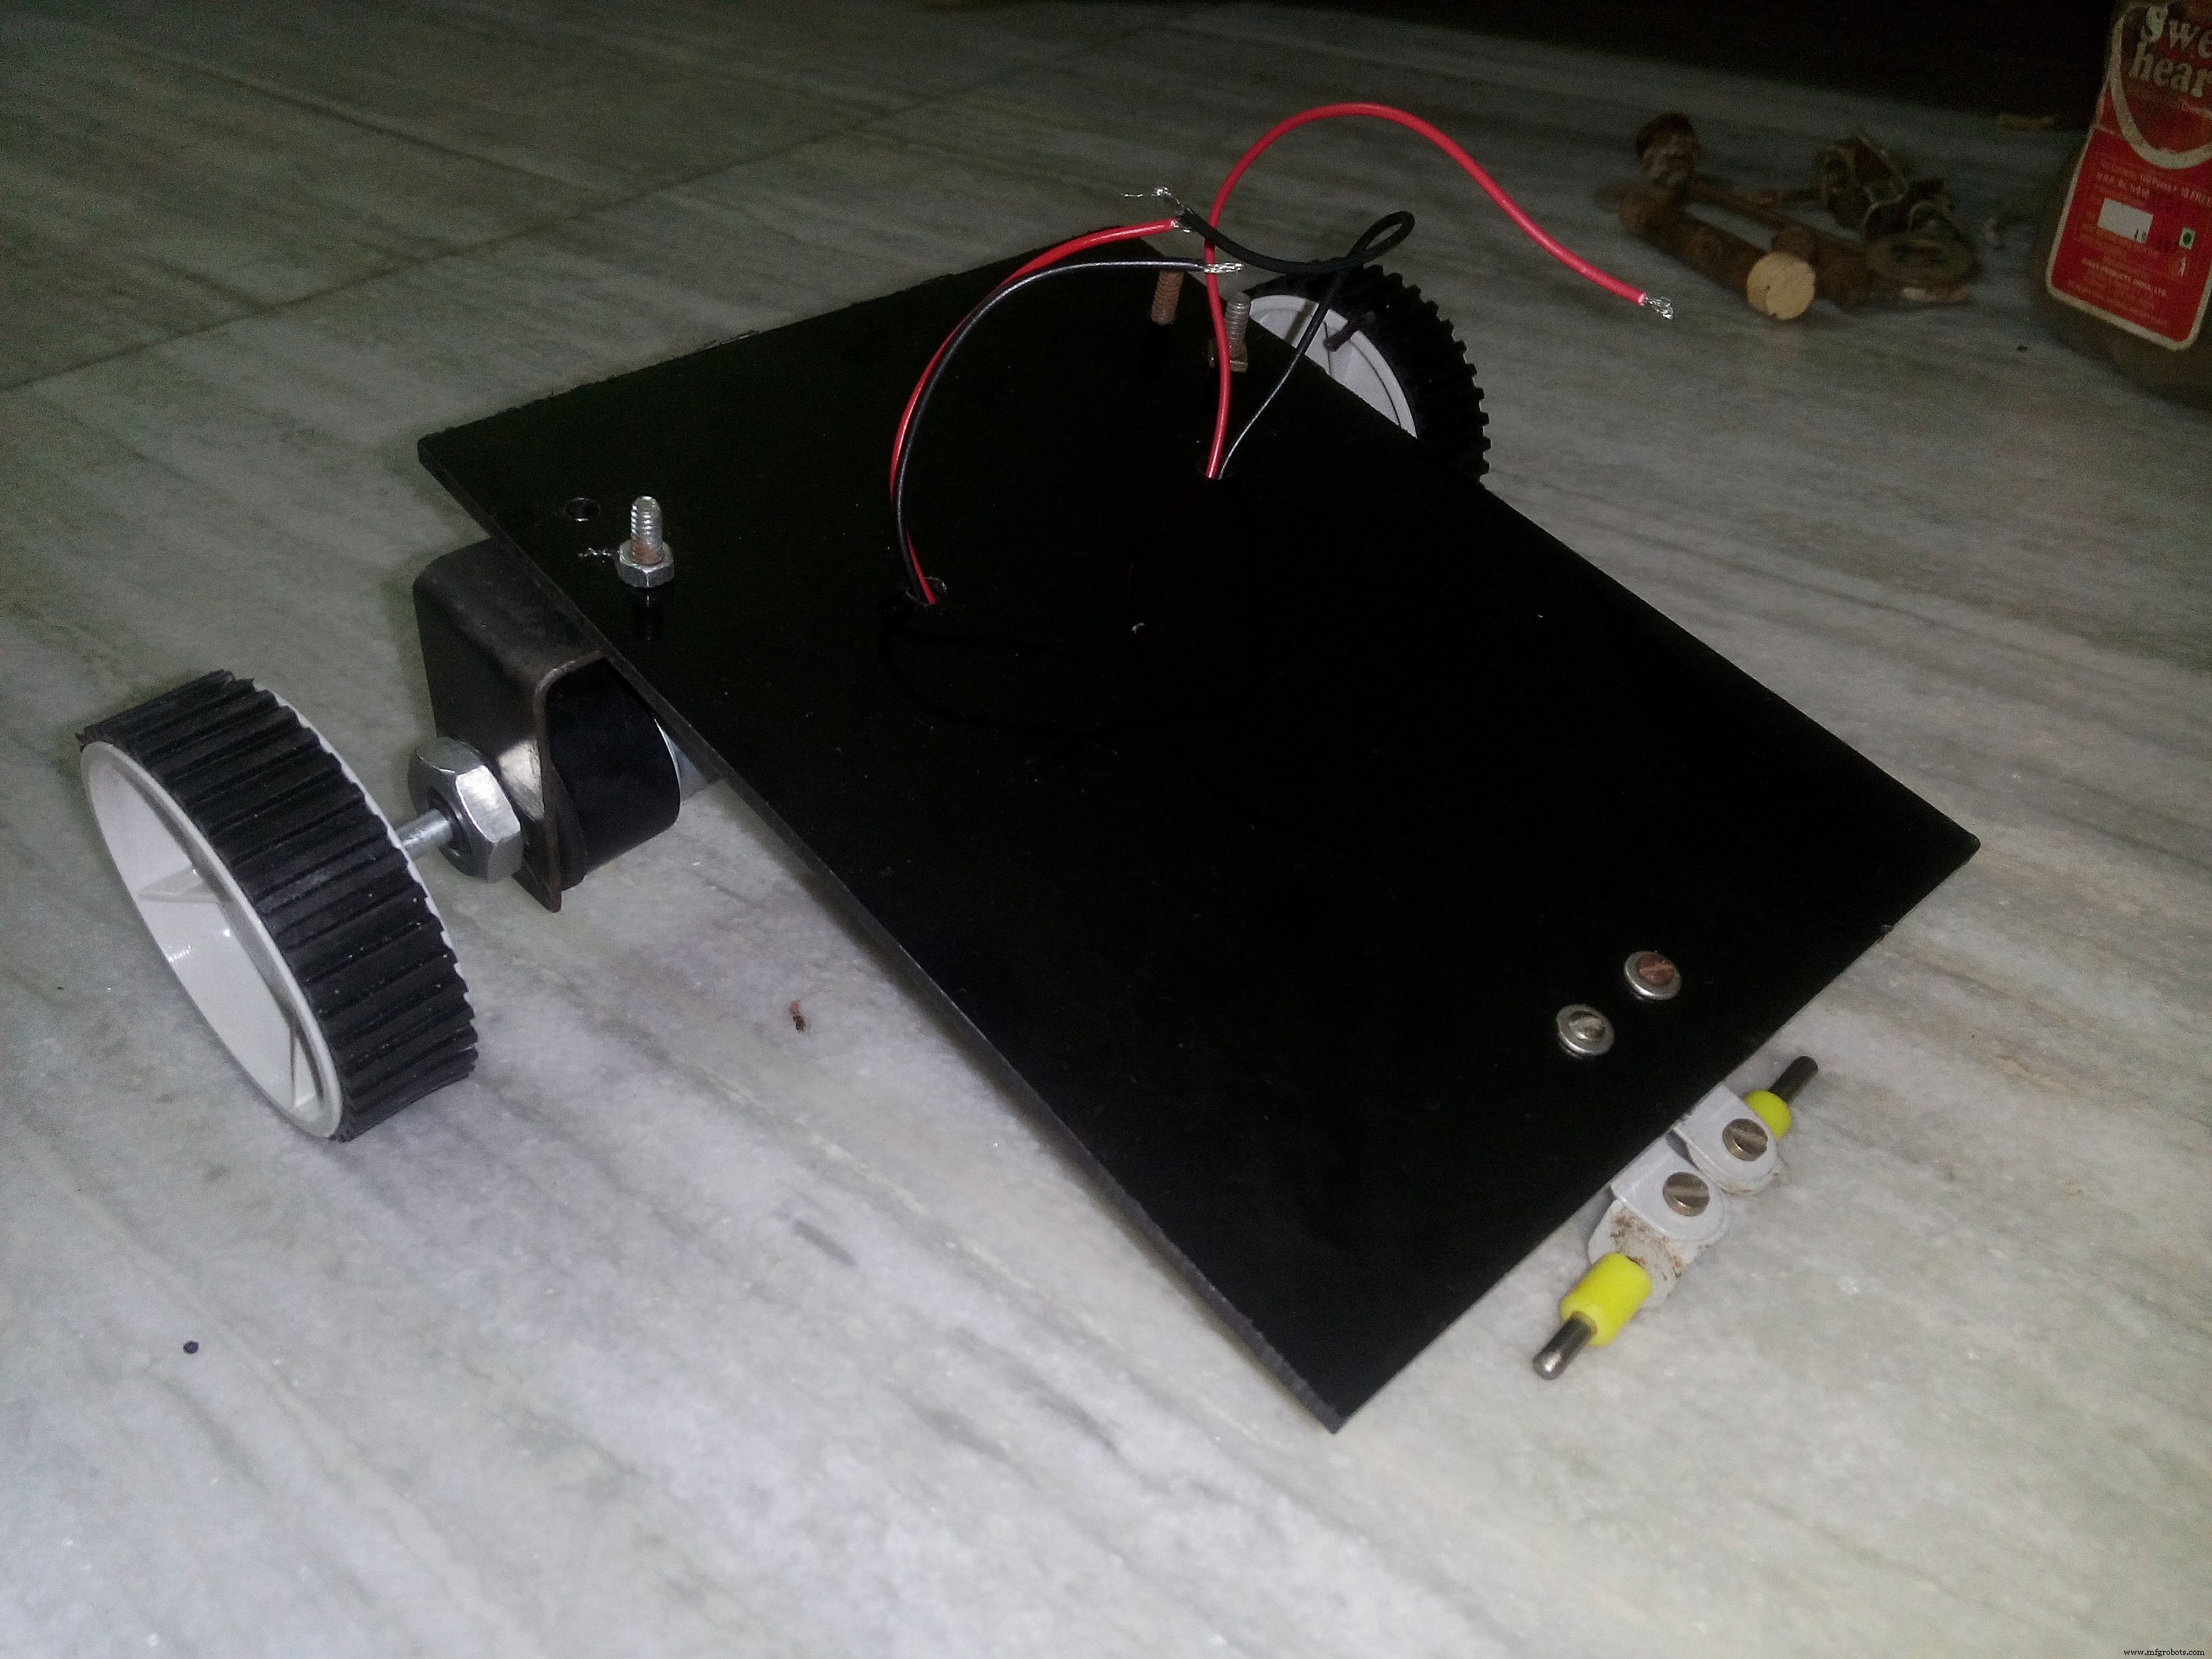
Thus the basic structure of our car is ready. You can use this design or you can develop your very own design but remember keep the weight as low as possible as this is a two motor design.
--> CircuitNow let us build the circuit
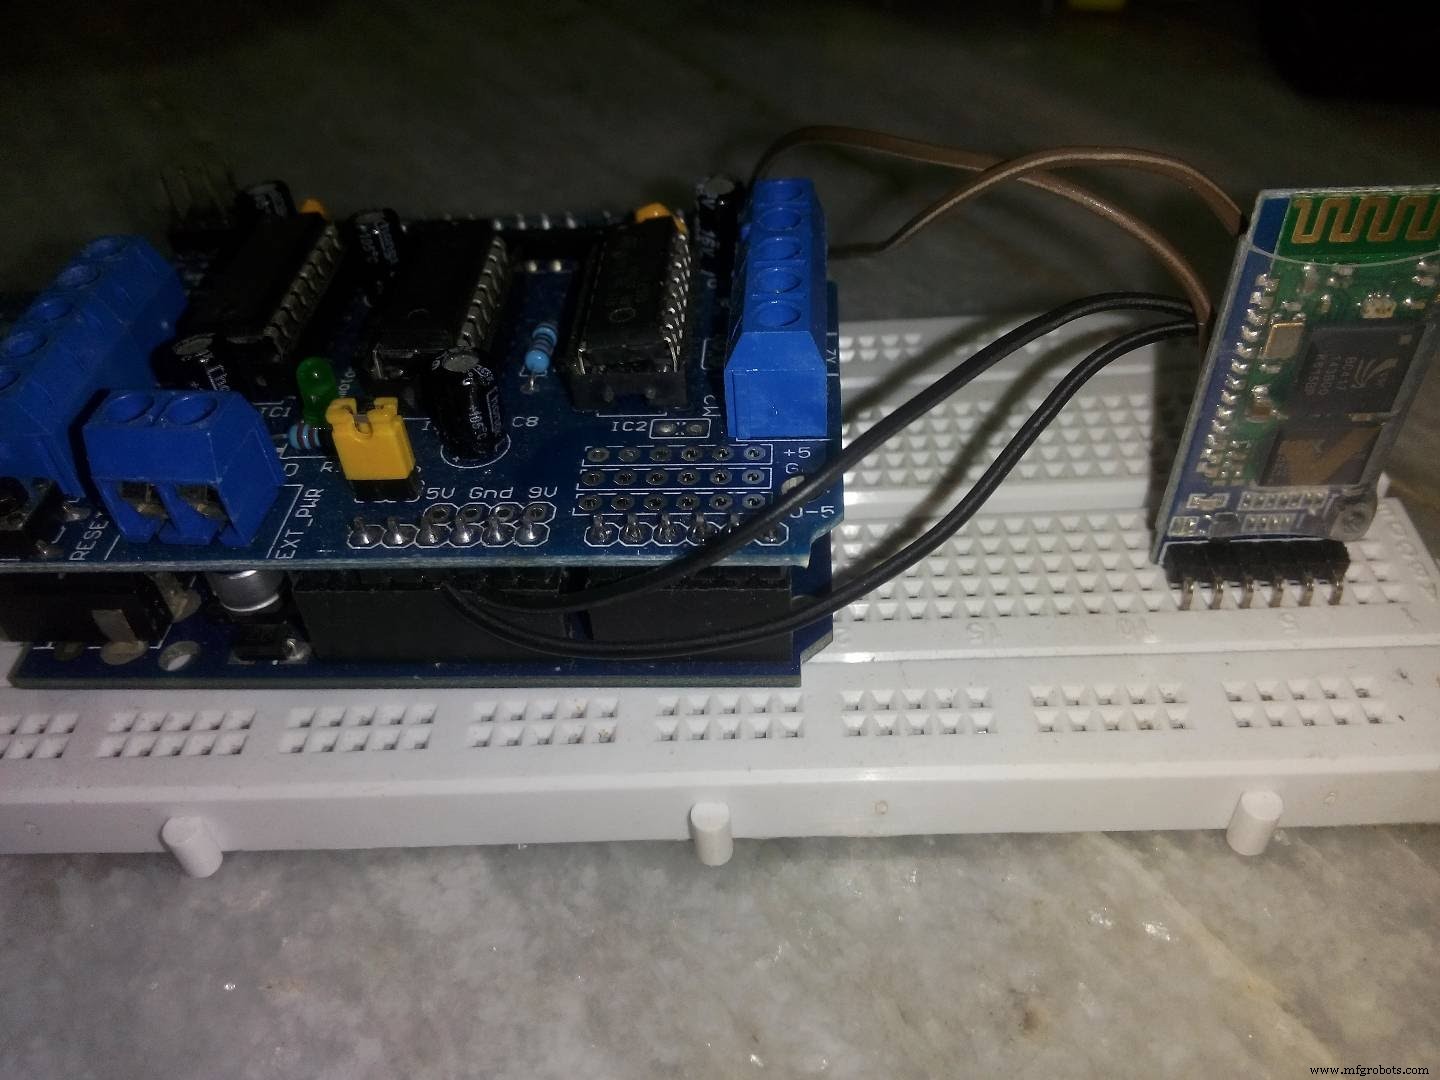
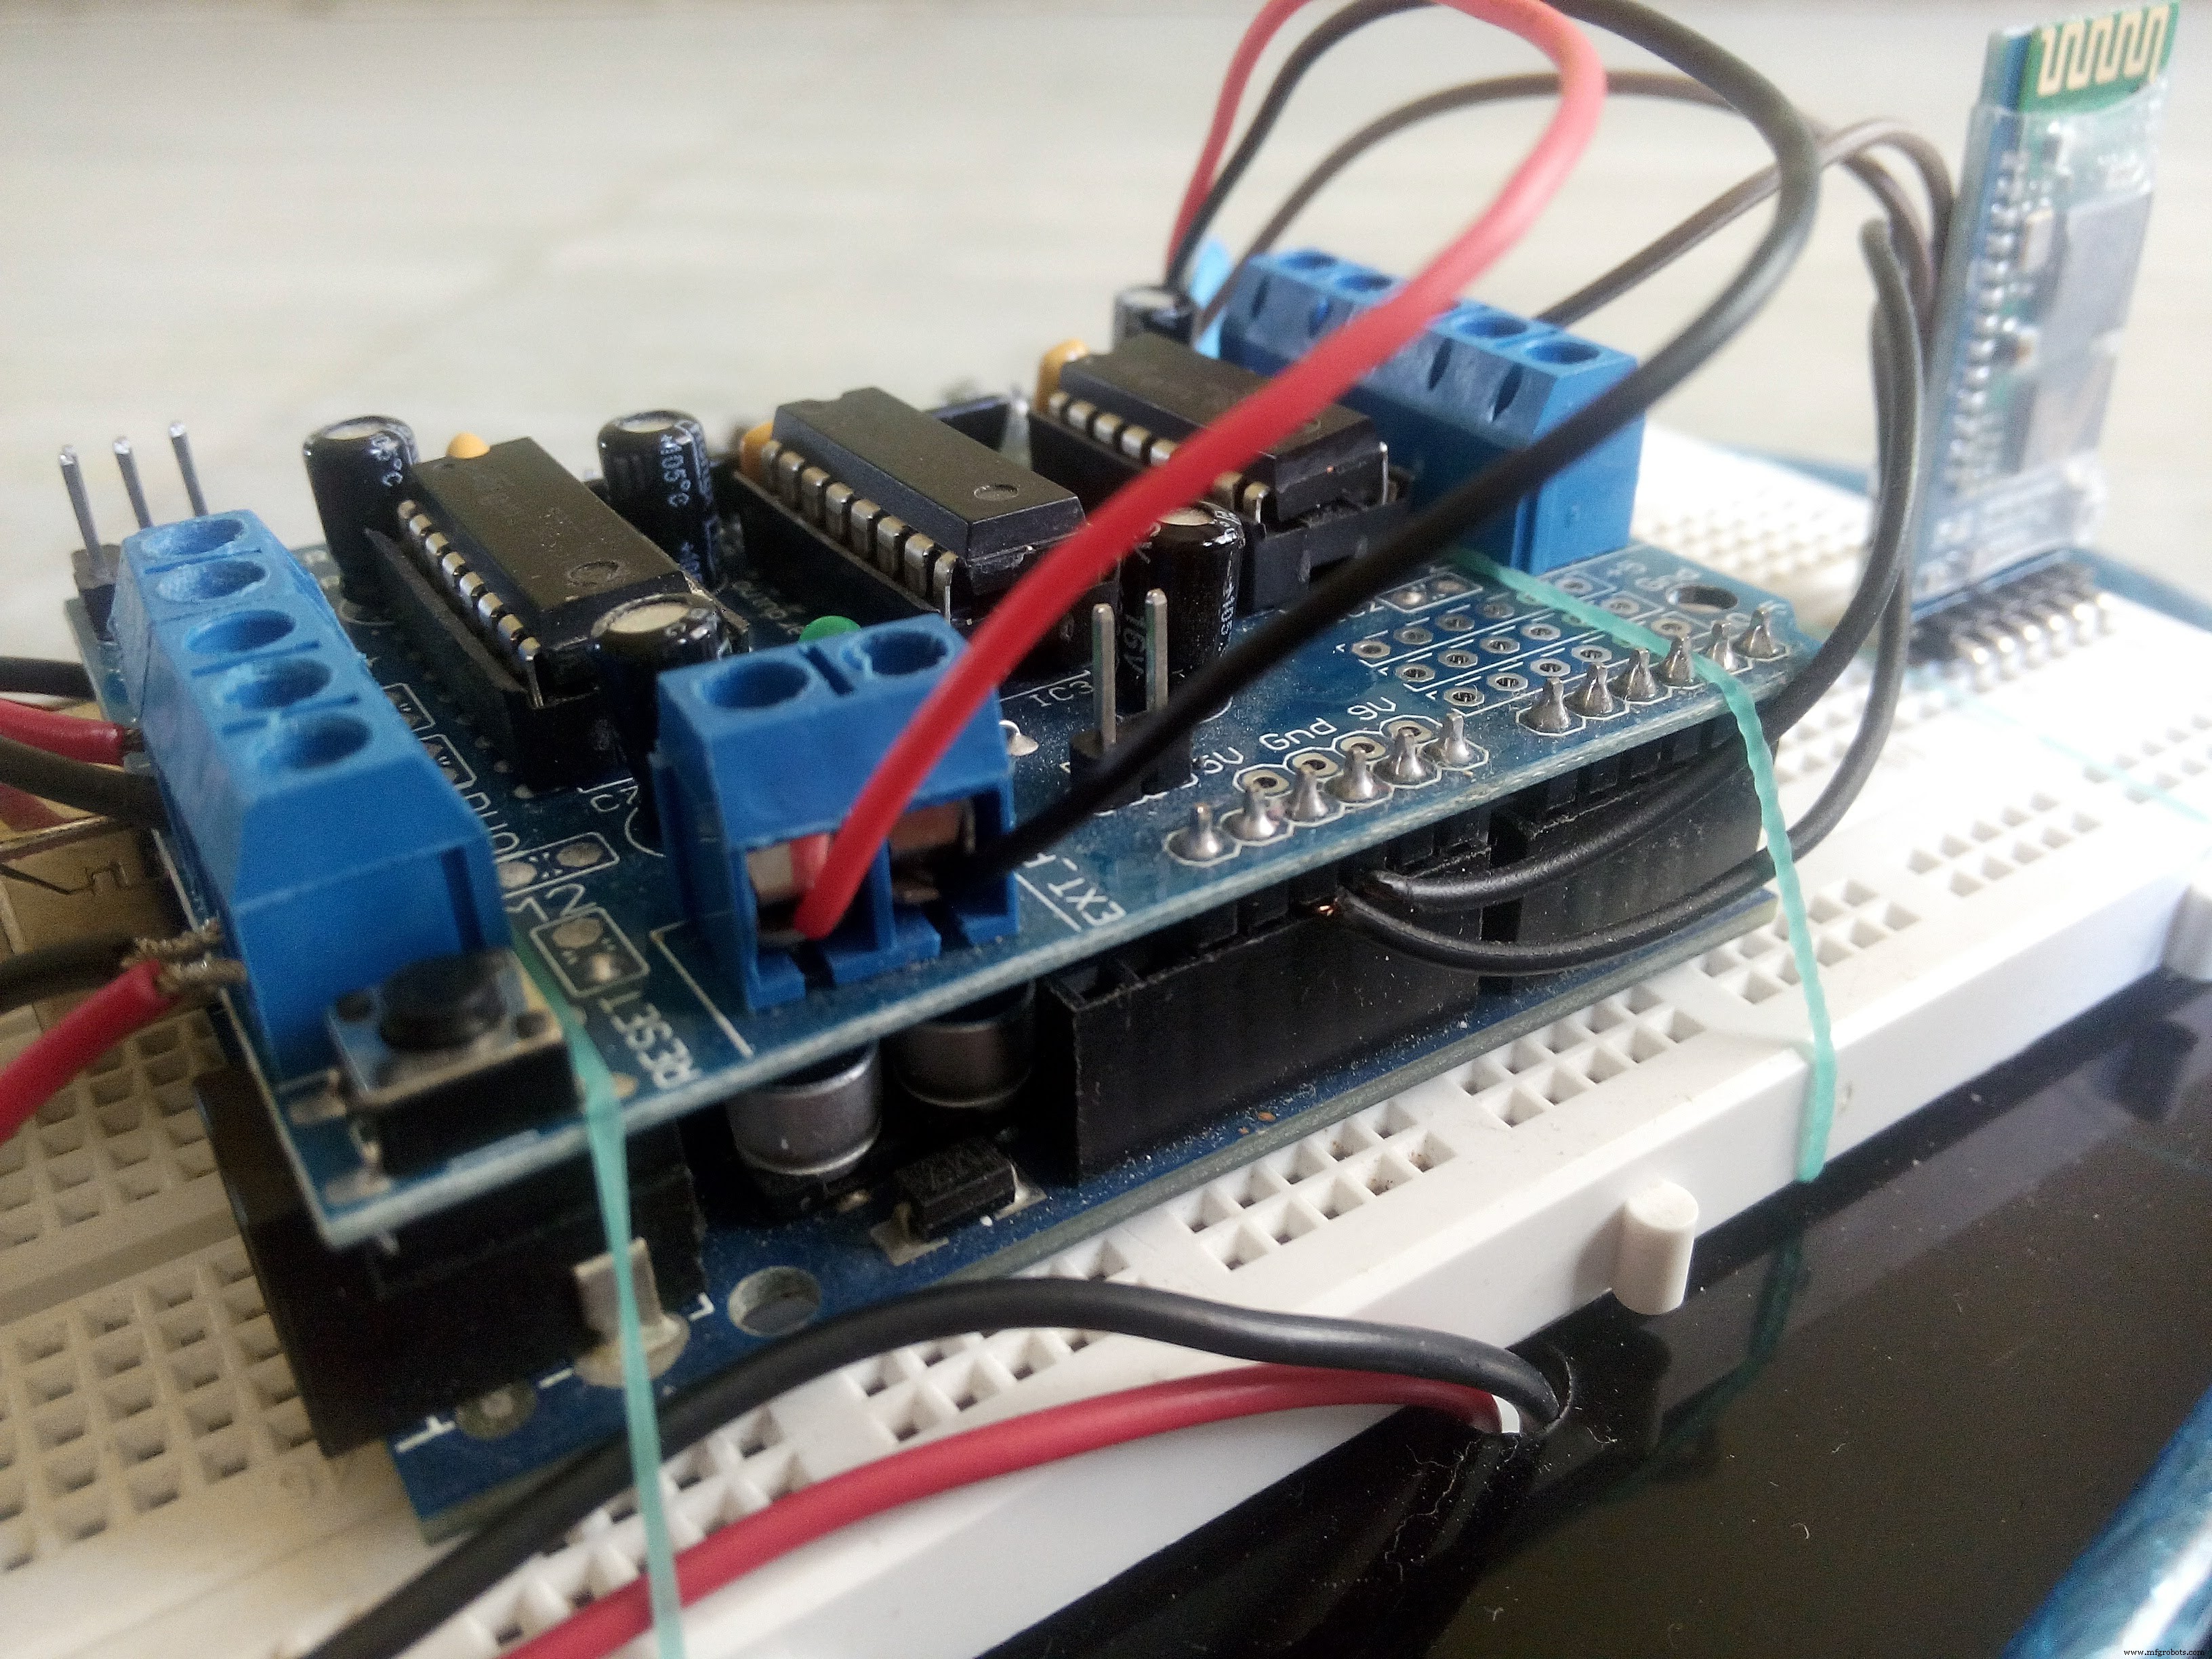
Follow the schematic to make the connections. This is how it will look after all connections are made.
--> Power supplyNow this is a bit crucial.
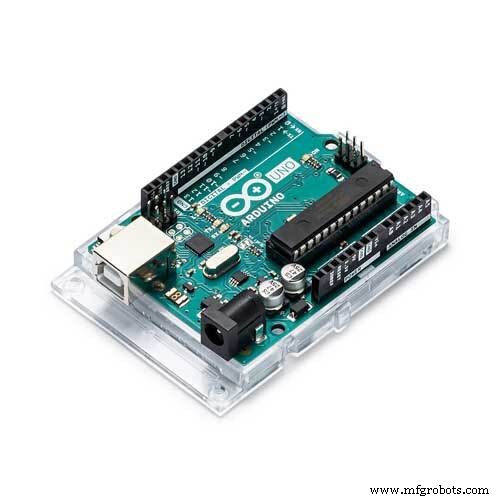
For powering the Arduino Uno is used a power bank with 5v output voltage. This is not enough to drive those 12v dc motors. So we need an addition power source.
I used two 9v batteries in series to get 18v supply. The major problem here was that here a good amount of current was also required.
My batteries were not able to supply sufficient current and so the performance of this car was not 100% satisfactory. It was working but the motors ran at very low speed.
So I recommend to use a 12v battery or else you would have to compromise with the speed.
-->CodeHere we will use the direction of rotation of motors to control the direction of the car.
Forward - Both motors move in forward direction
Backward - Both motors move in backward direction
Left - Left motor moves backwards and right motor moves Forward
Right - Left motor moves forwards and right motor moves backward
Stop - Both motors stop
void forward()
{
    motor1.run(FORWARD);
    motor2.run(FORWARD);
}
void backward()
{
    motor1.run(BACKWARD);
    motor2.run(BACKWARD);
}
void left()
{
    motor1.run(BACKWARD);
    motor2.run(FORWARD);
}
void right()
{
     motor1.run(FORWARD);
     motor2.run(BACKWARD);
}
void Stop()
{
     motor1.run(RELEASE);
     motor2.run(RELEASE);
}
--------------------------------------------------------------------------------------
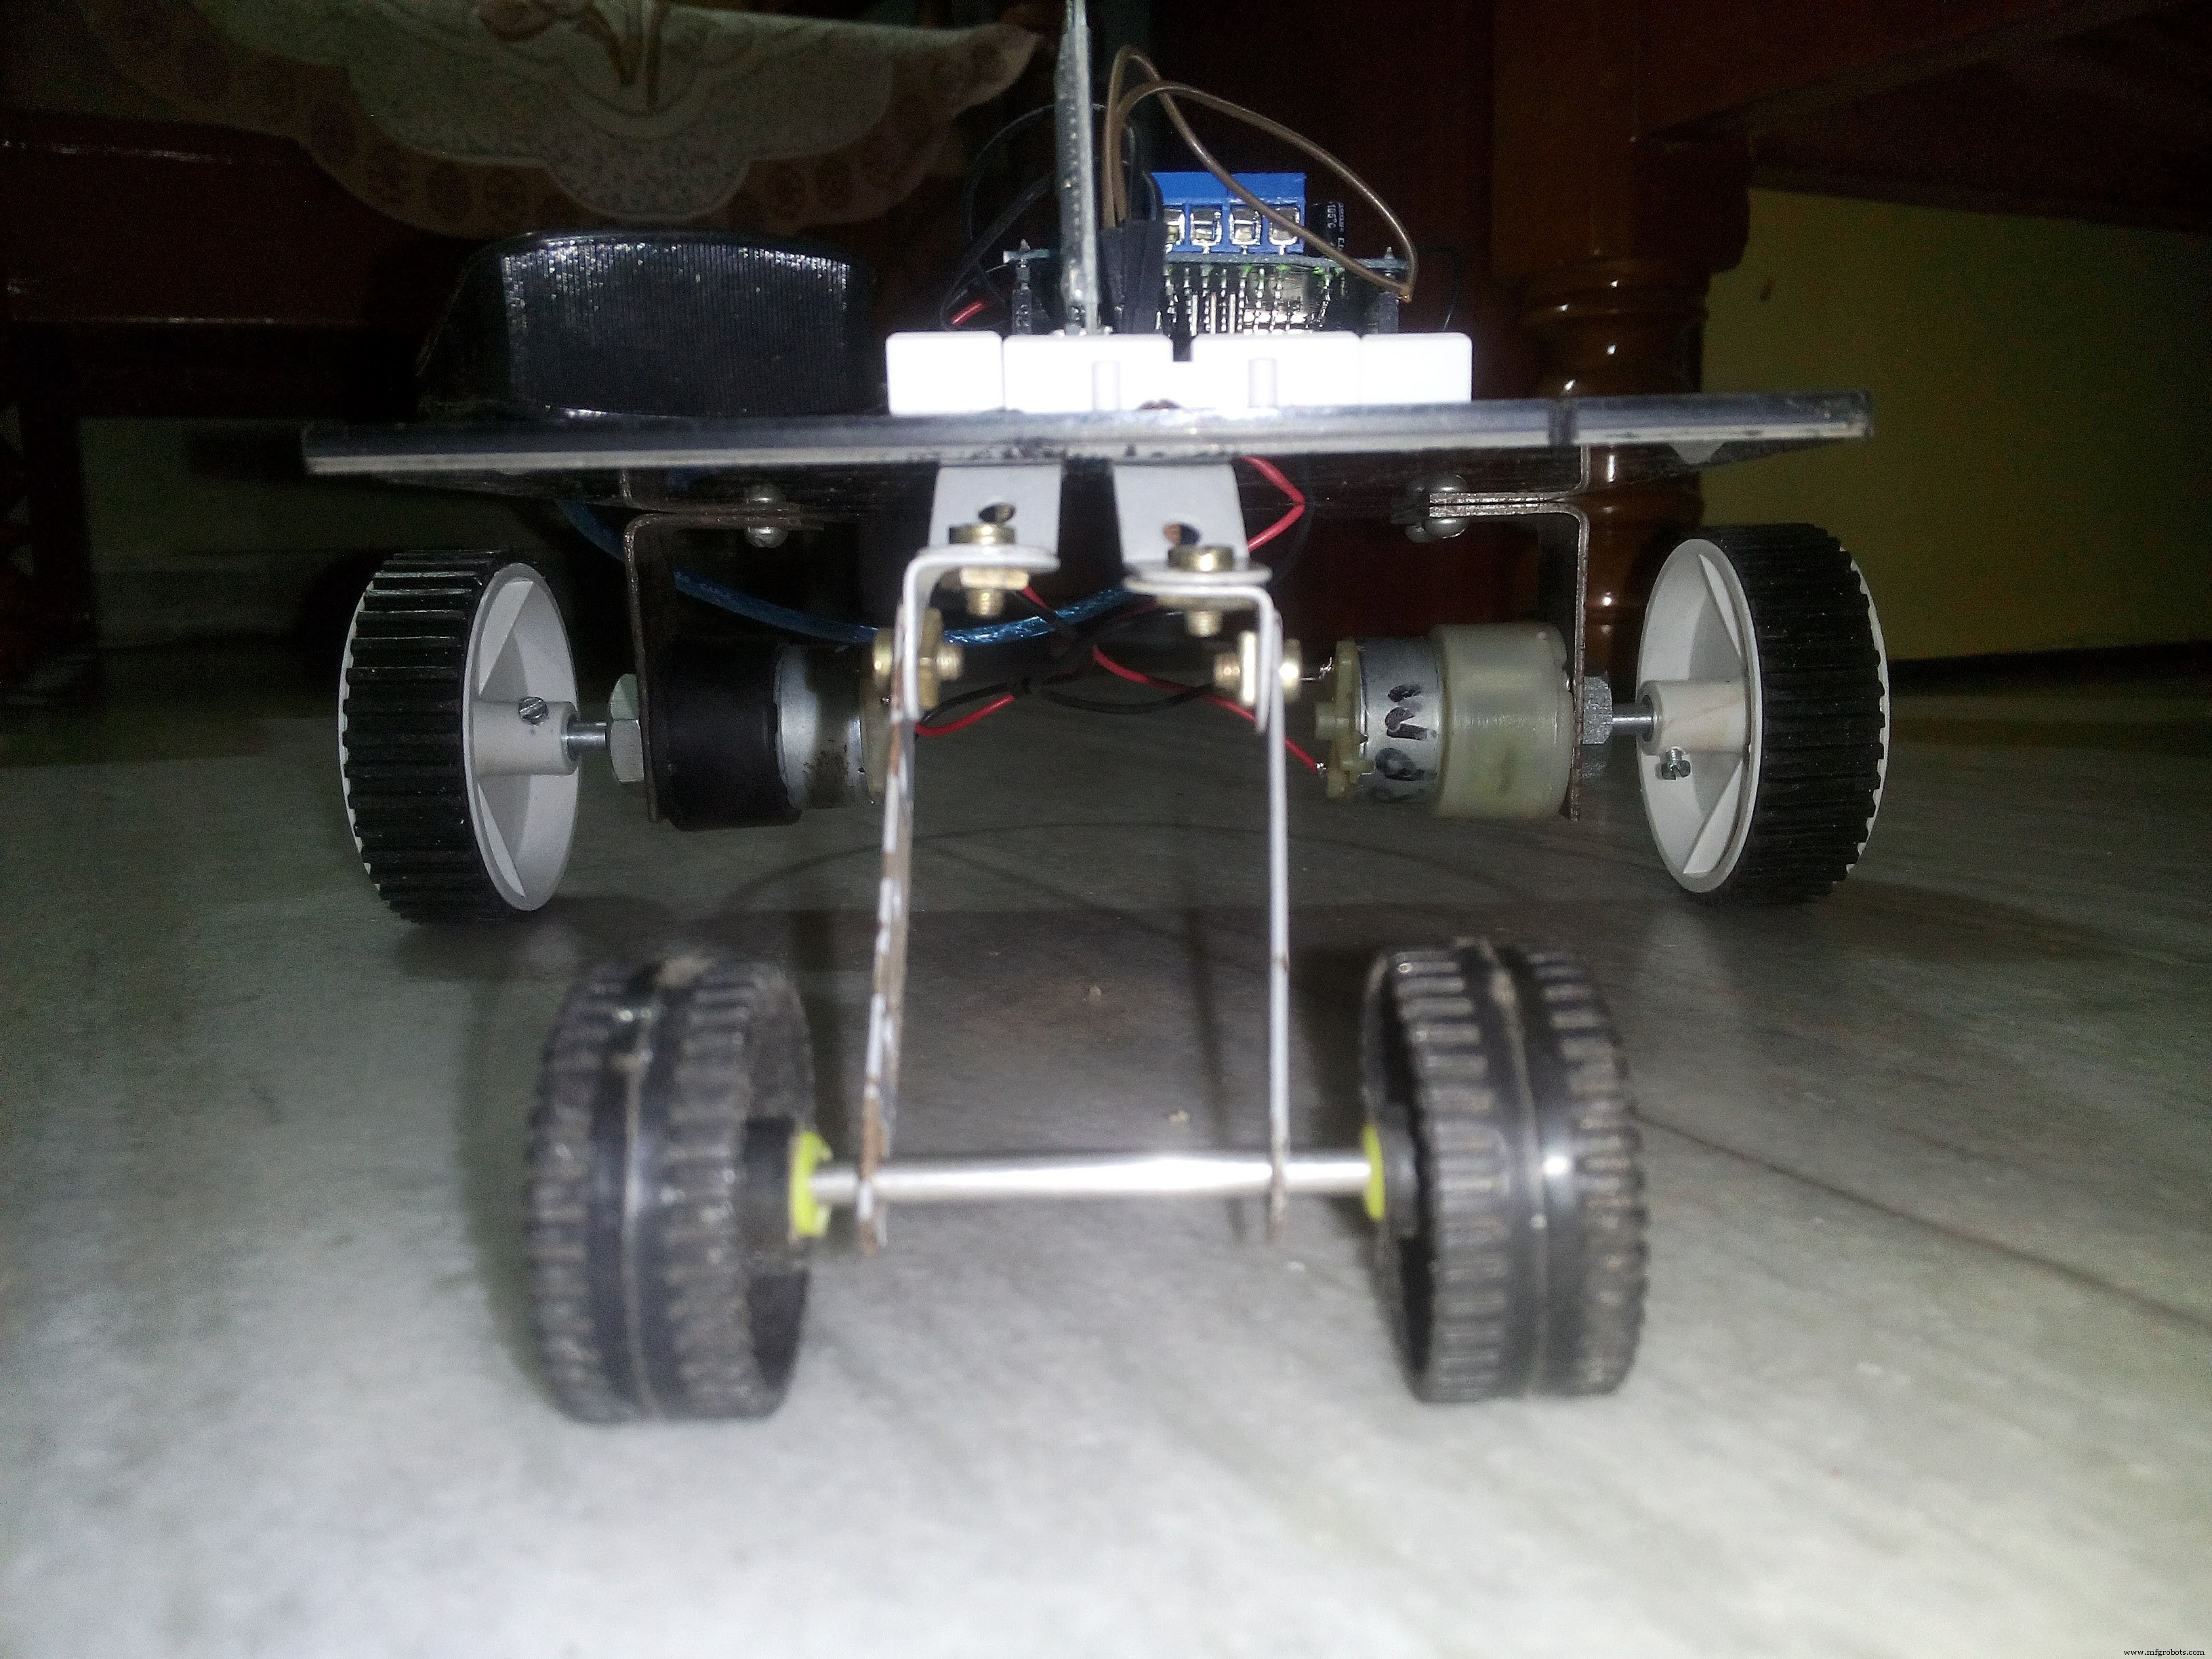
So that was it!
1. Just upload the code on to the Arduino.
2. Make the connections.
3. Launch the app.
4. Connect your phone to the car.
Here is our finished BEAUTY!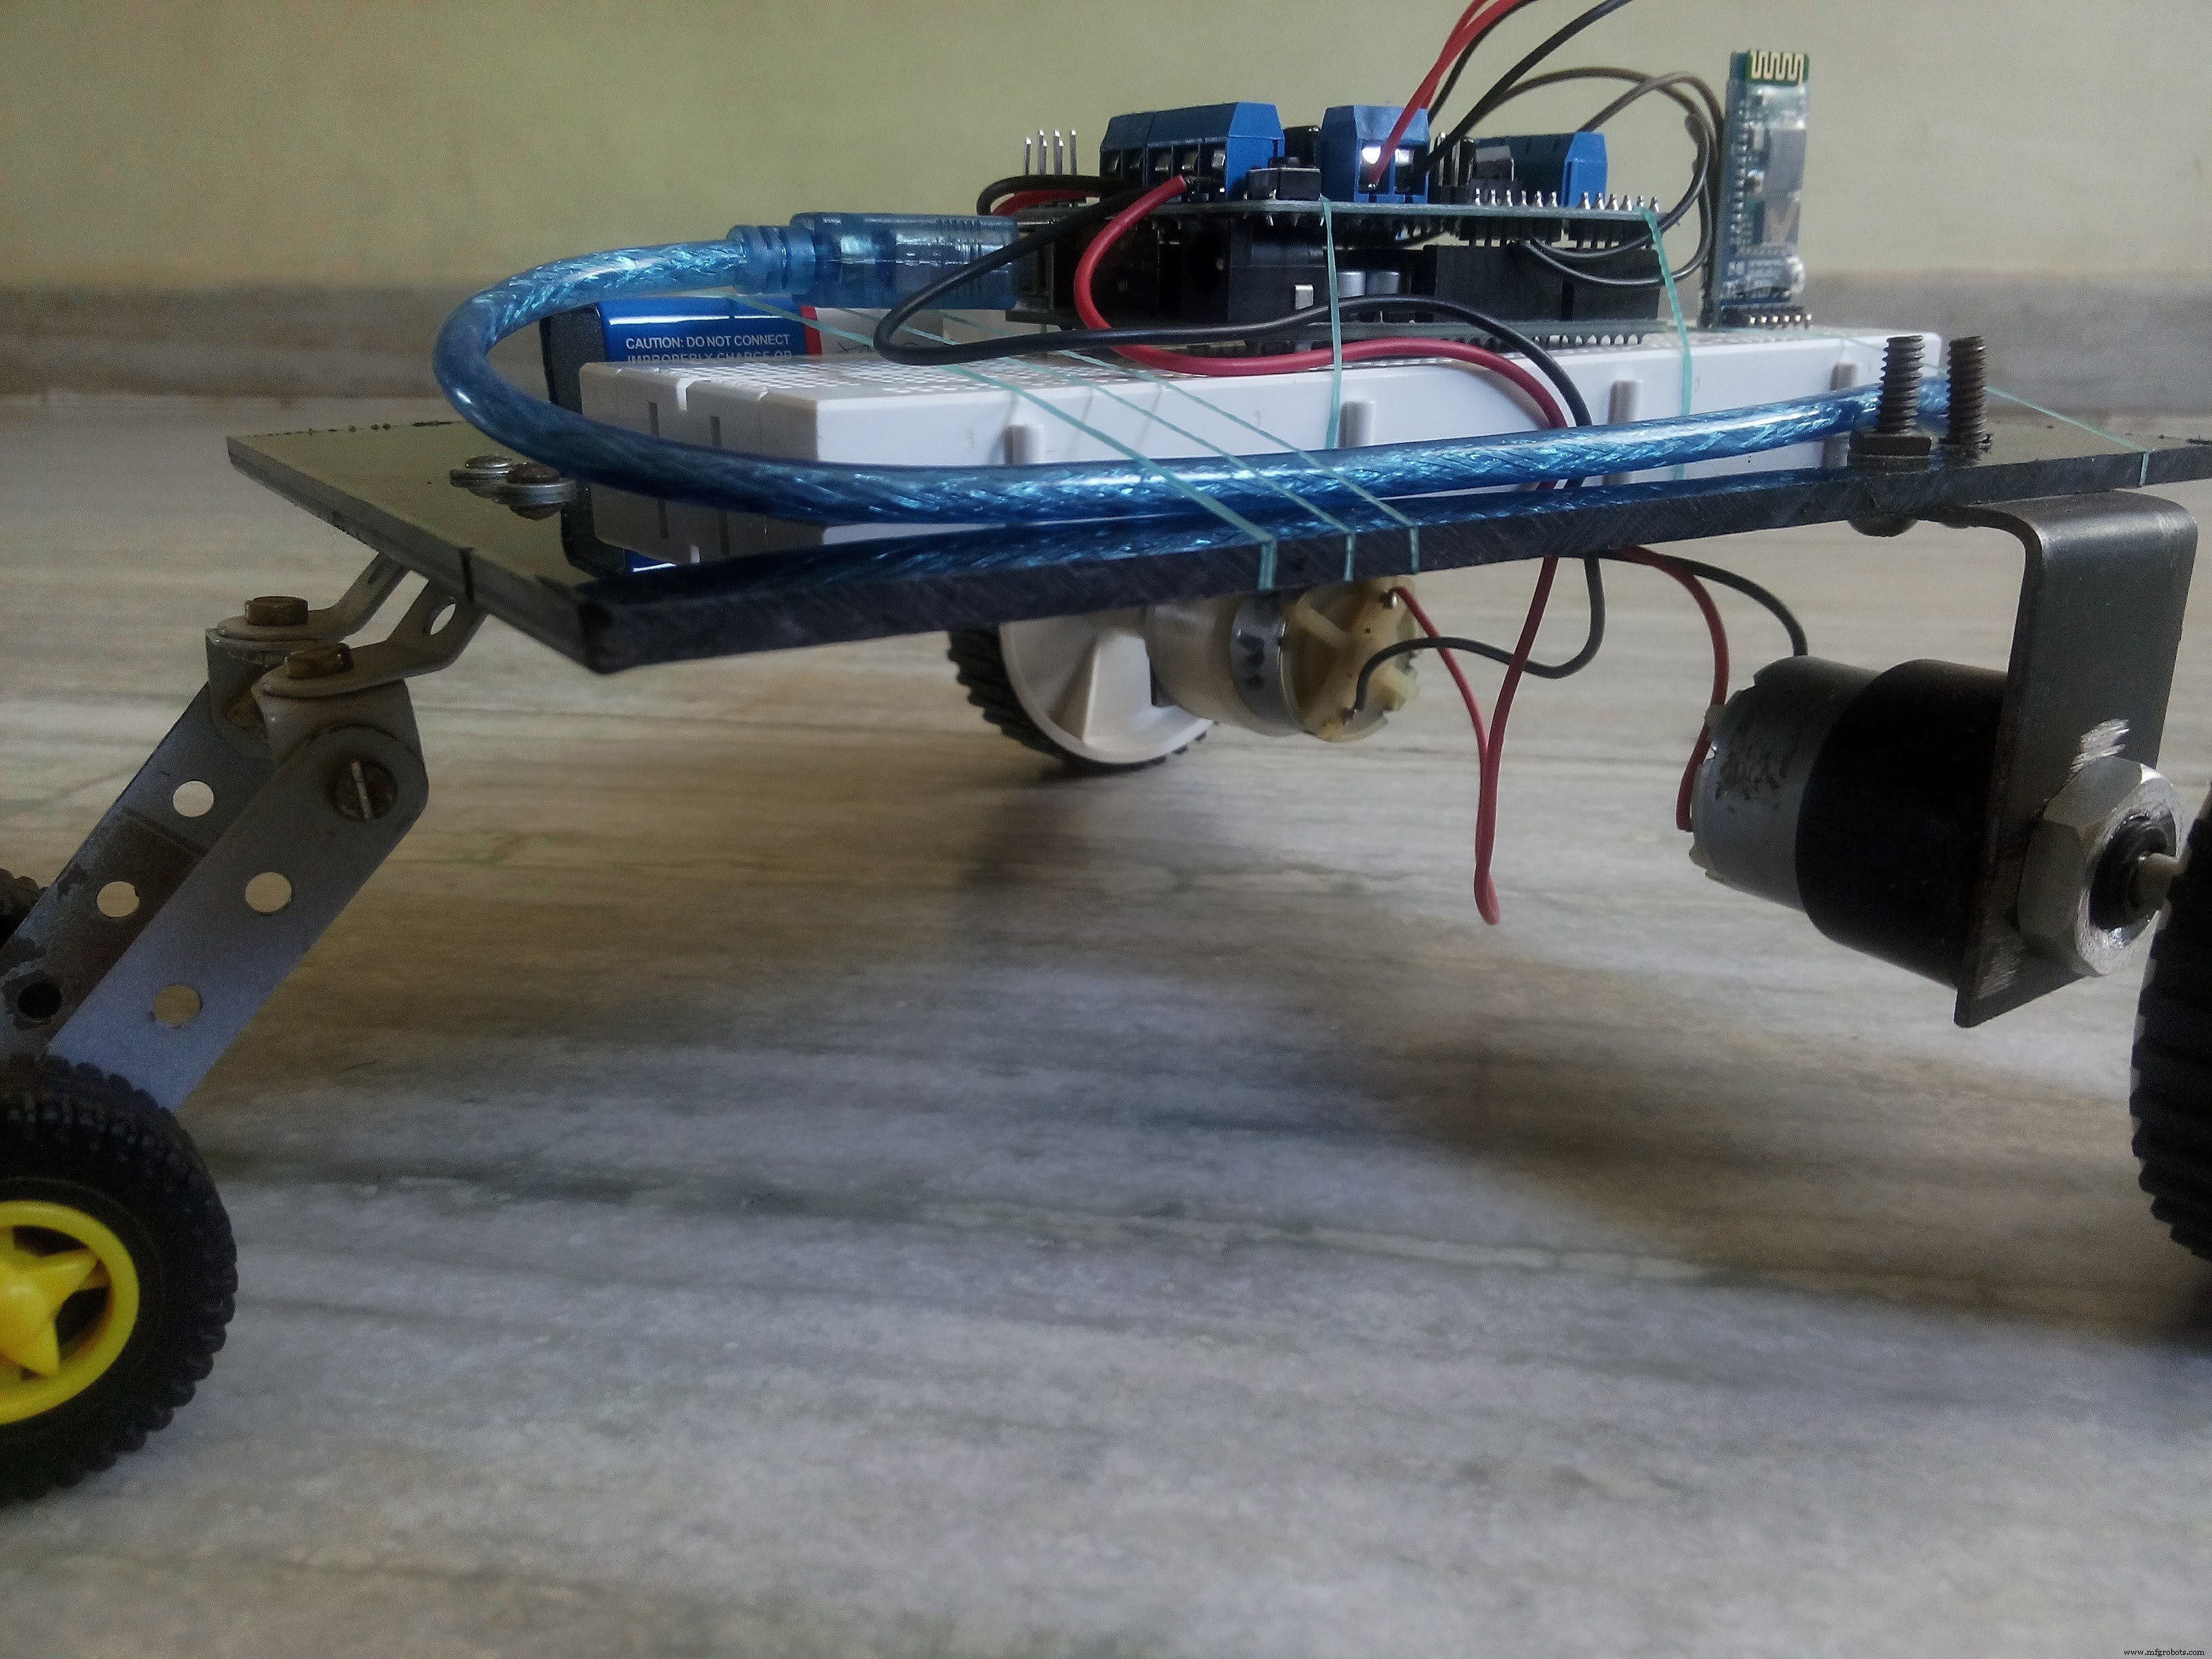

I hope this tutorial was good enough to get you going. If you got any suggestions for some changes or further addition to this project then please let me know in the comment section.
Code
- The code
The codeC/C++
This code has to uploaded on Arduino Uno#include <AFMotor.h>
AF_DCMotor motor1(1); //motor1 is the left motor
AF_DCMotor motor2(2); //motor2 is the right motor
int val;
void setup()
{
Serial.begin(9600);
motor1.setSpeed(255); //motor speed is set
motor2.setSpeed(255);
Stop();
}
void loop() {
bt=Serial.read();
if(val=='1') //when the bluetooth module recieves 1 the car moves forward
{
forward();
}
if(val=='2') //when the bluetooth module recieves 2 the car moves backward
{
backward();
}
if(val=='3') //when the bluetooth module recieves 3 the car moves left
{
left();
}
if(val=='4') //when the bluetooth module recieves 4 the car moves right
{
right();
}
if(val=='5') //when the bluetooth module recieves 5 the car stops
{
Stop();
}
}
void forward()
{
motor1.run(FORWARD);
motor2.run(FORWARD);
}
void backward()
{
motor1.run(BACKWARD);
motor2.run(BACKWARD);
}
void left()
{
motor1.run(BACKWARD);
motor2.run(FORWARD);
}
void right()
{
motor1.run(FORWARD);
motor2.run(BACKWARD);
}
void Stop()
{
motor1.run(RELEASE);
motor2.run(RELEASE);
}
Schematics
These are the connections. Connect 12v power source to the motor driver shield. Please note that the schematic does not include the external power source.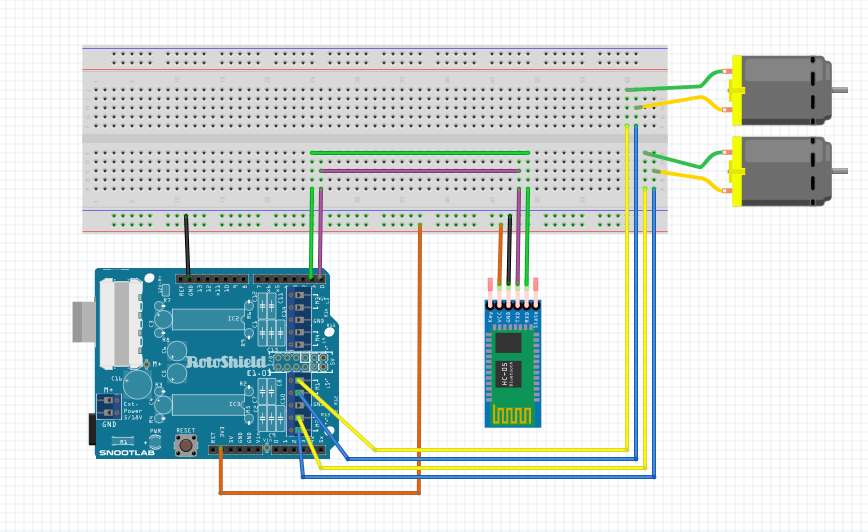
Manufacturing process
- Build a Bluetooth‑Controlled Raspberry Pi Robot with Audio Feedback
- Transform Your RC Car Into a Bluetooth‑Controlled Vehicle
- Transform an Old RC Car into a Joystick‑Controlled Vehicle with Arduino
- Build a Portable Persistence of Vision Display with Arduino UNO and ATtiny85
- Voice-Activated Home Appliances: Bluetooth Control with Google Assistant
- Wi-Servo: Control Servomotors Over Wi‑Fi Using a Web Browser
- Remote Car Control Using Arduino Uno & Bluetooth: A Step‑by‑Step Guide
- Build a Bluetooth‑Controlled Arduino Car: A Complete DIY Guide
- Smartphone‑Controlled Bluetooth Mouse: Build Your Own Virtual Joystick
- Bluetooth‑Controlled Servo Motor with Arduino Uno & HC‑05