


Smartphone‑Controlled Bluetooth Mouse: Build Your Own Virtual Joystick
Components and supplies
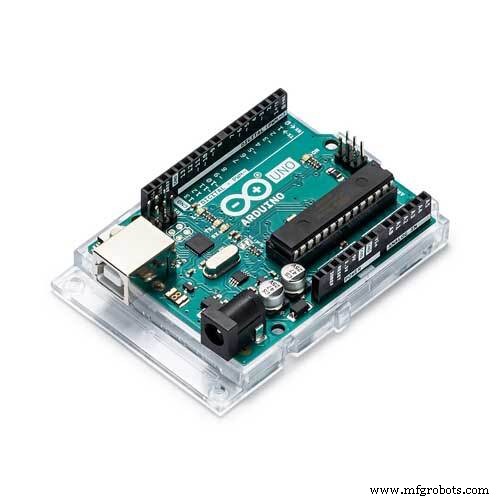 |
| × | 1 | |||
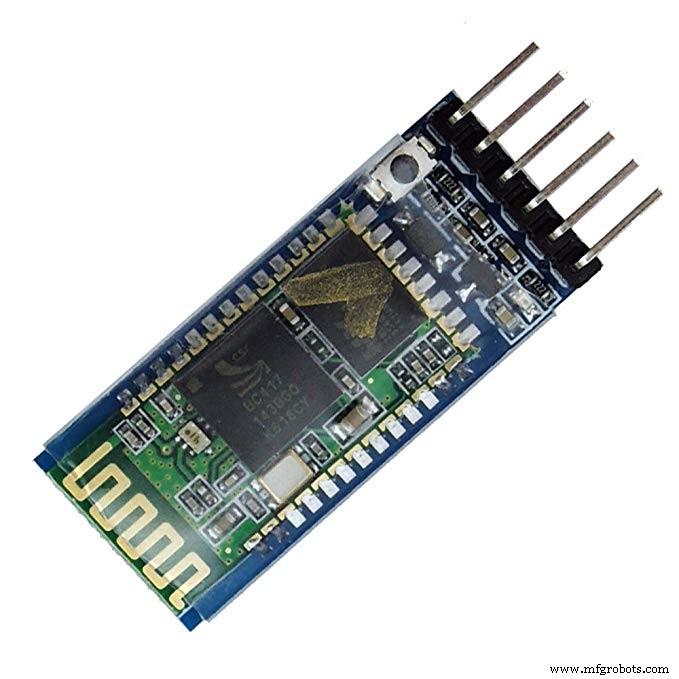 |
| × | 1 | |||
 |
| × | 1 |
Apps and online services
 |
| |||
| ||||
|
About this project
This project is similar to my previous work where I have used a joystick to control a PC cursor. The key difference is that I have created a smartphone application that contains 2 virtual joystick to move the cursor as well as scroll the screen and also does left and right click just like a regular trackpad.
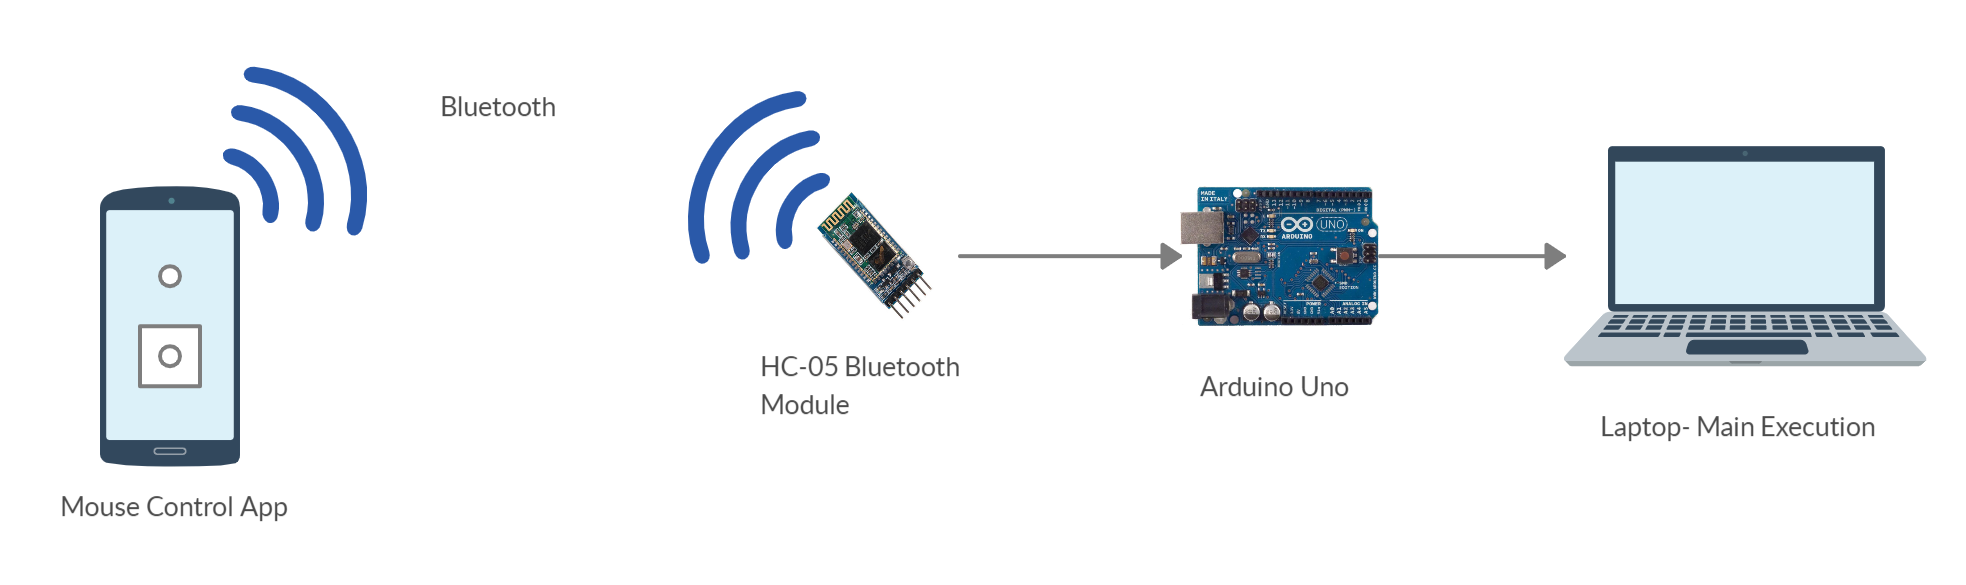
WorkingThe project involves a smartphone application that sends the joystick's x and y axis data, scroll status, left and right click status using bluetooth to the Arduino Uno connected to the HC-05 bluetooth module. These data upon reception to the Arduino is manipulated to make changes in the current cursor's position to obtain a new position. The resulting data along with scroll and button status is then printed as the output that is recognized to be read by the Python sketch. The Python sketch is made to execute mouse actions using the mouse module.
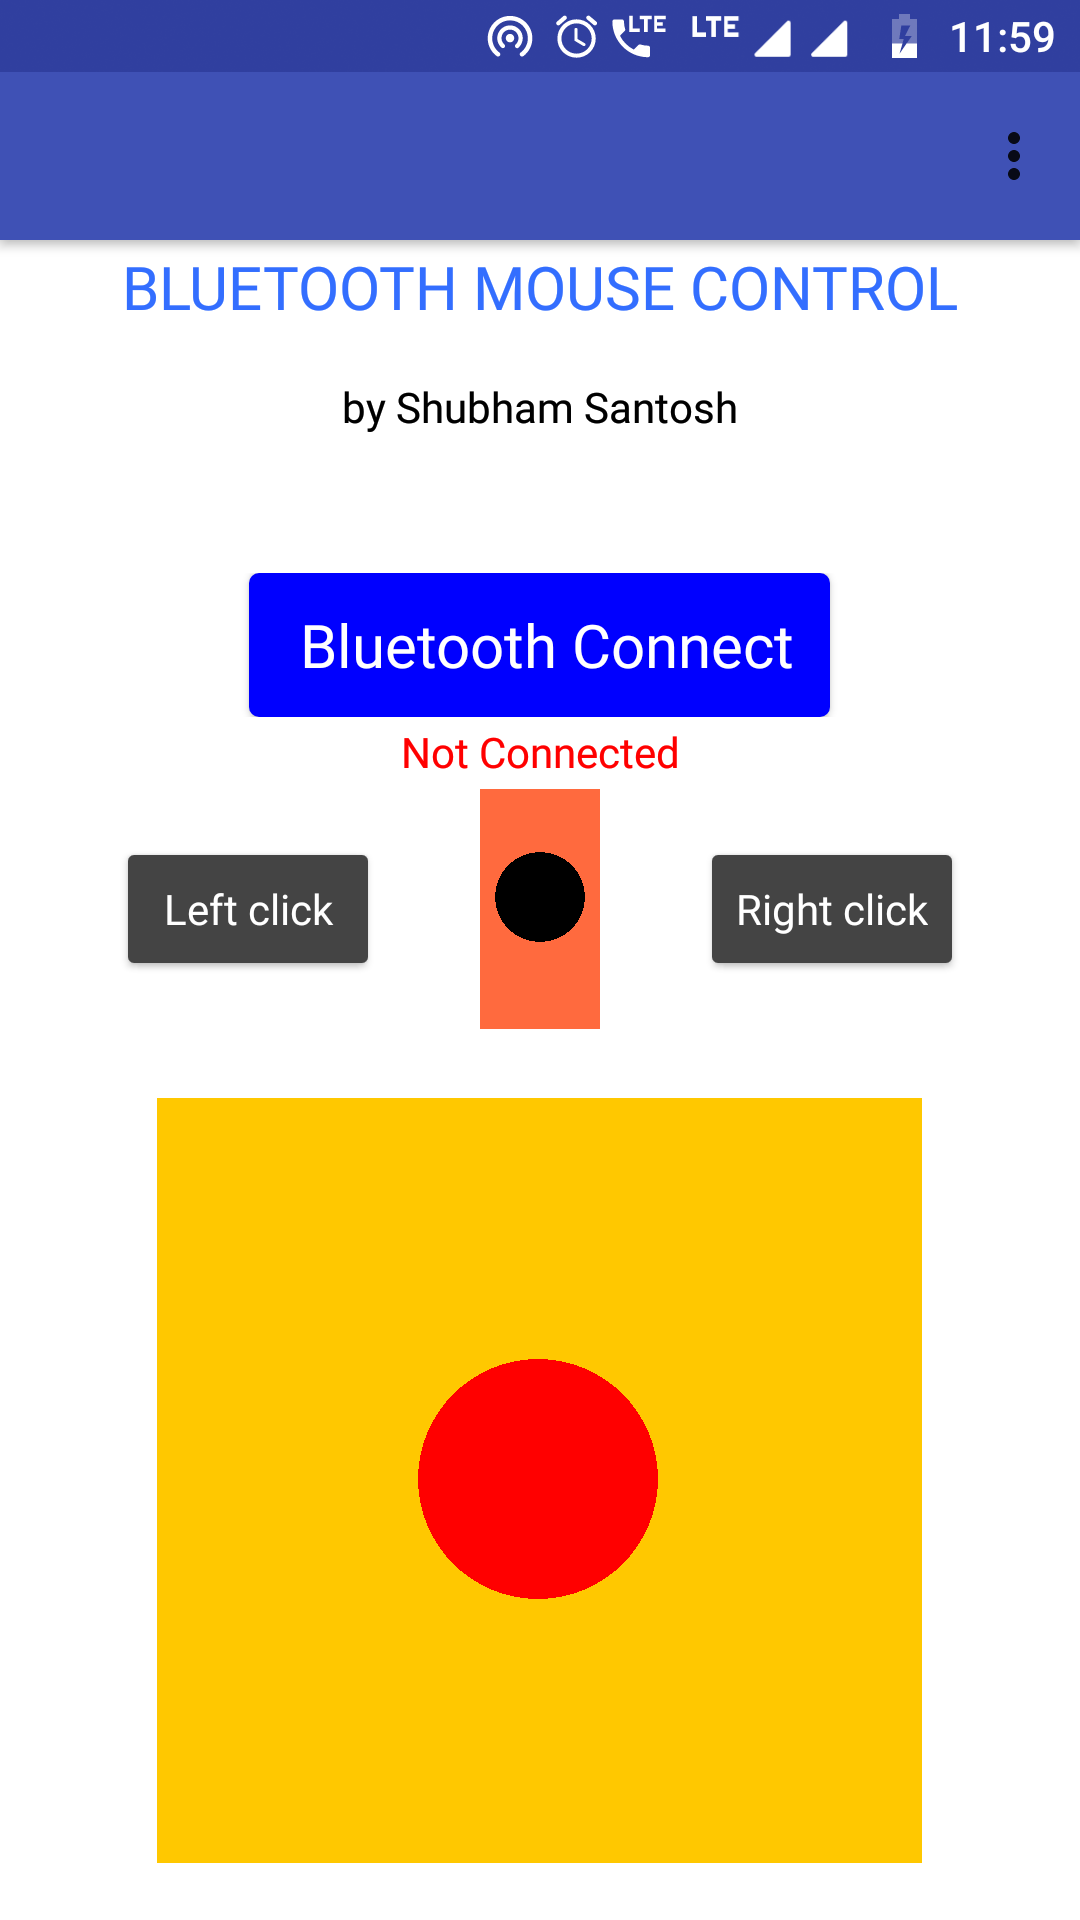
The smartphone application is created using the MIT-App Inventor. Creating the app is simple as you just need to add the desired blocks to build your required application.I have referred to the Tabletop robotics tutorial on making them. The main screen of the application is as follows-
Before sending the main information to the HC-05 module, the application first sends a one byte number(255) to denote the start of information. The sequence of data transfer is as follows-
1. Send '255' to denote start
2. Send 1 byte joystick x-axis value
3. Send 1 byte joystick y-axis value
4. Send status of left click, right click button and scroll status(1 byte).
The data from the application is sent every 20 milliseconds to the Arduino UNO.
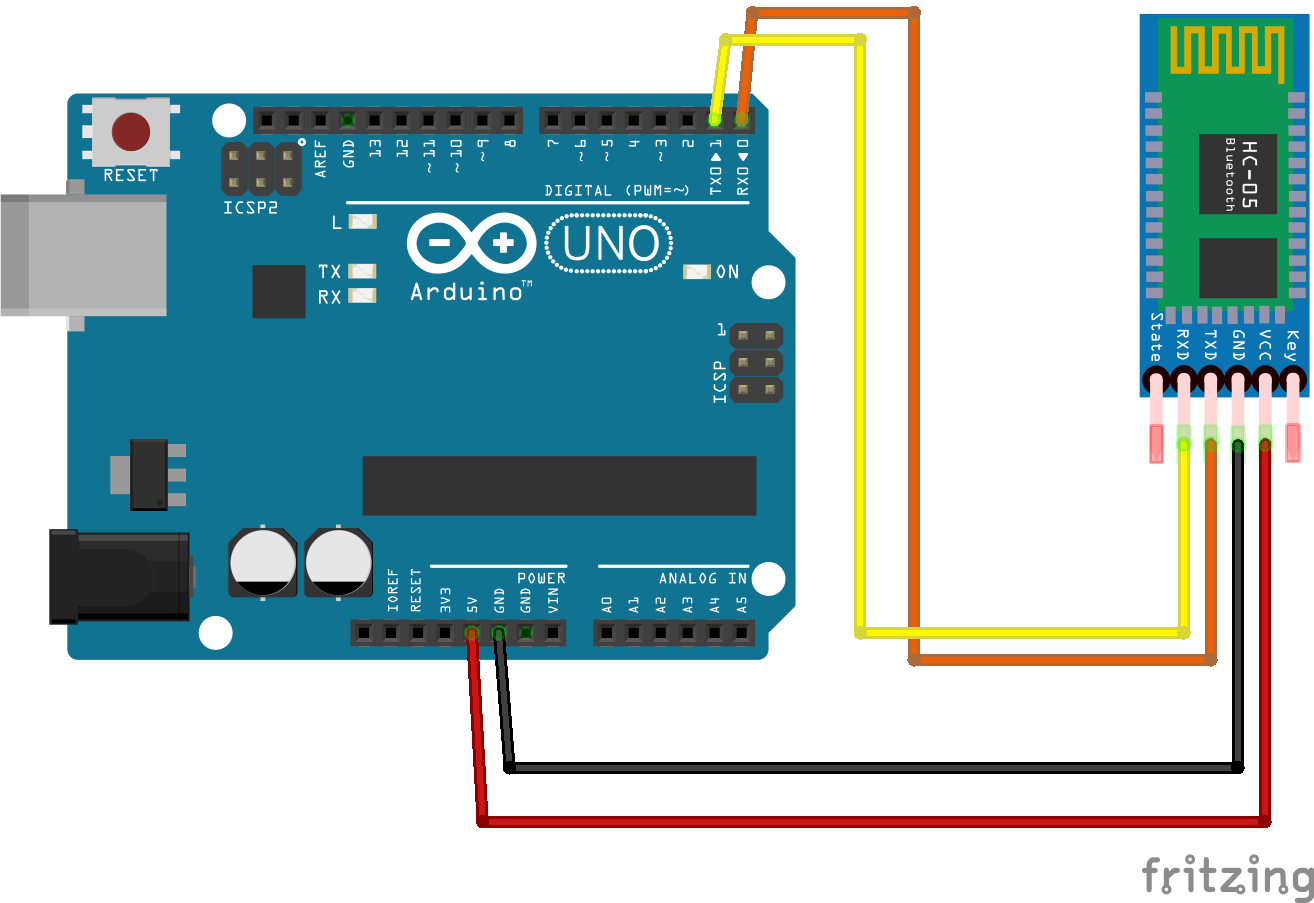
Arduino's SideThe data bytes from the Application is received by the Arduino with the help of HC-05 Bluetooth module. The Arduino contains the current coordinates of the cursor where The x coordinates range form 0 to 1279 and the y coordinates range from 0 to 799. I have obtained these extreme coordinates form the python function mouse.get_position() that returns the coordinates when the cursor is moved (not used in the main sketch).
Based on the data received upon moving the joystick, the current cursor's position (x and y coordinates) is then added/subtracted with the data received by the application to move the cursor to the new desired coordinate. The final data is then printed on the Serial monitor in sequence given below.
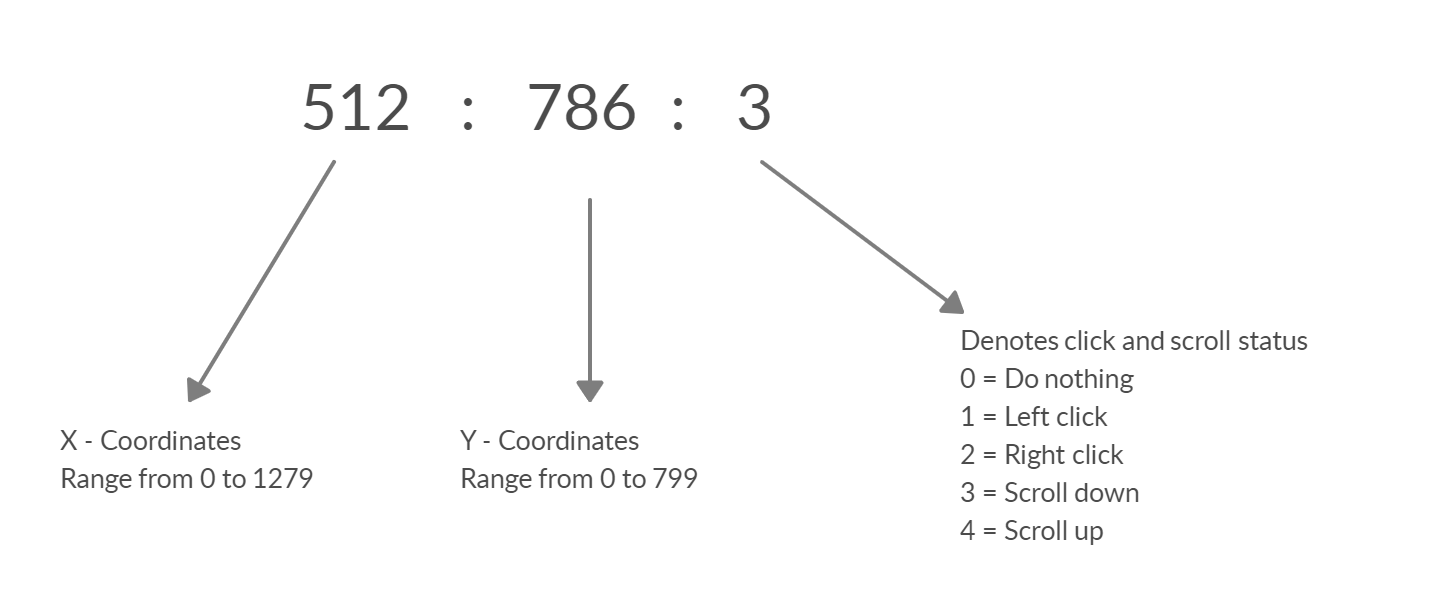
The following data sequence is finally read by the python program to execute it. For this, we will need to download additional modules namely mouse and pyserial in the steps given below.
Python ProgrammingThe user must have python 3 installed on their laptop/computer. It can be downloaded from the here.
(For Windows)
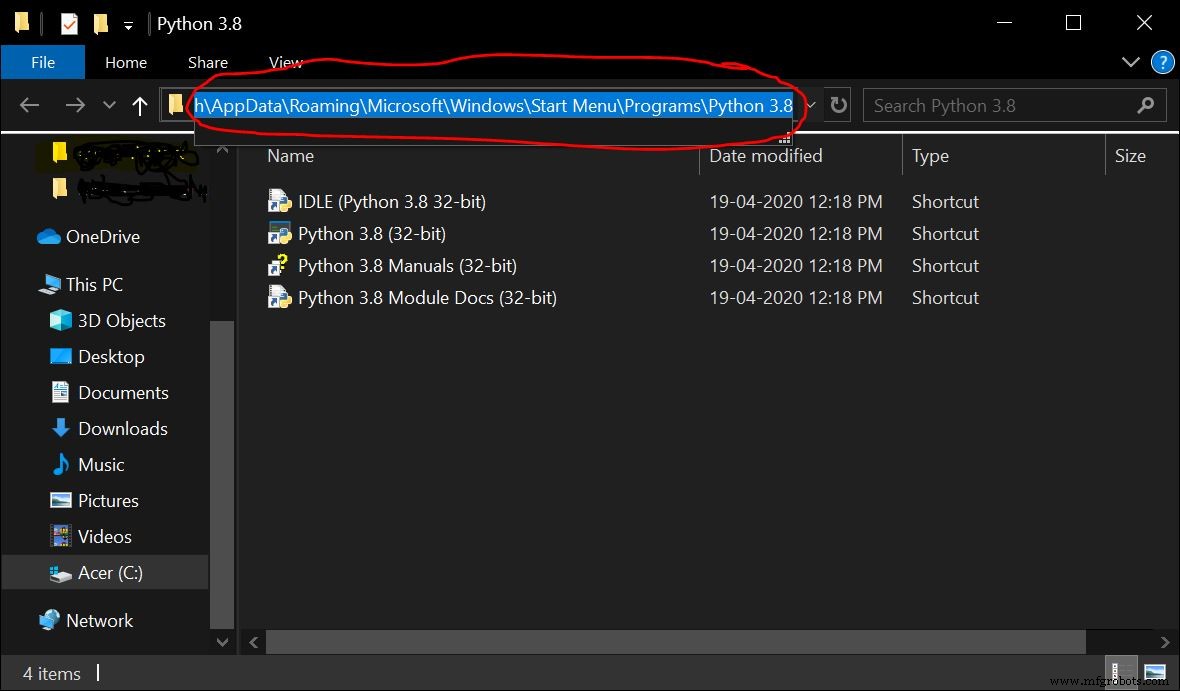
After installation, Copy the path of the python file location.
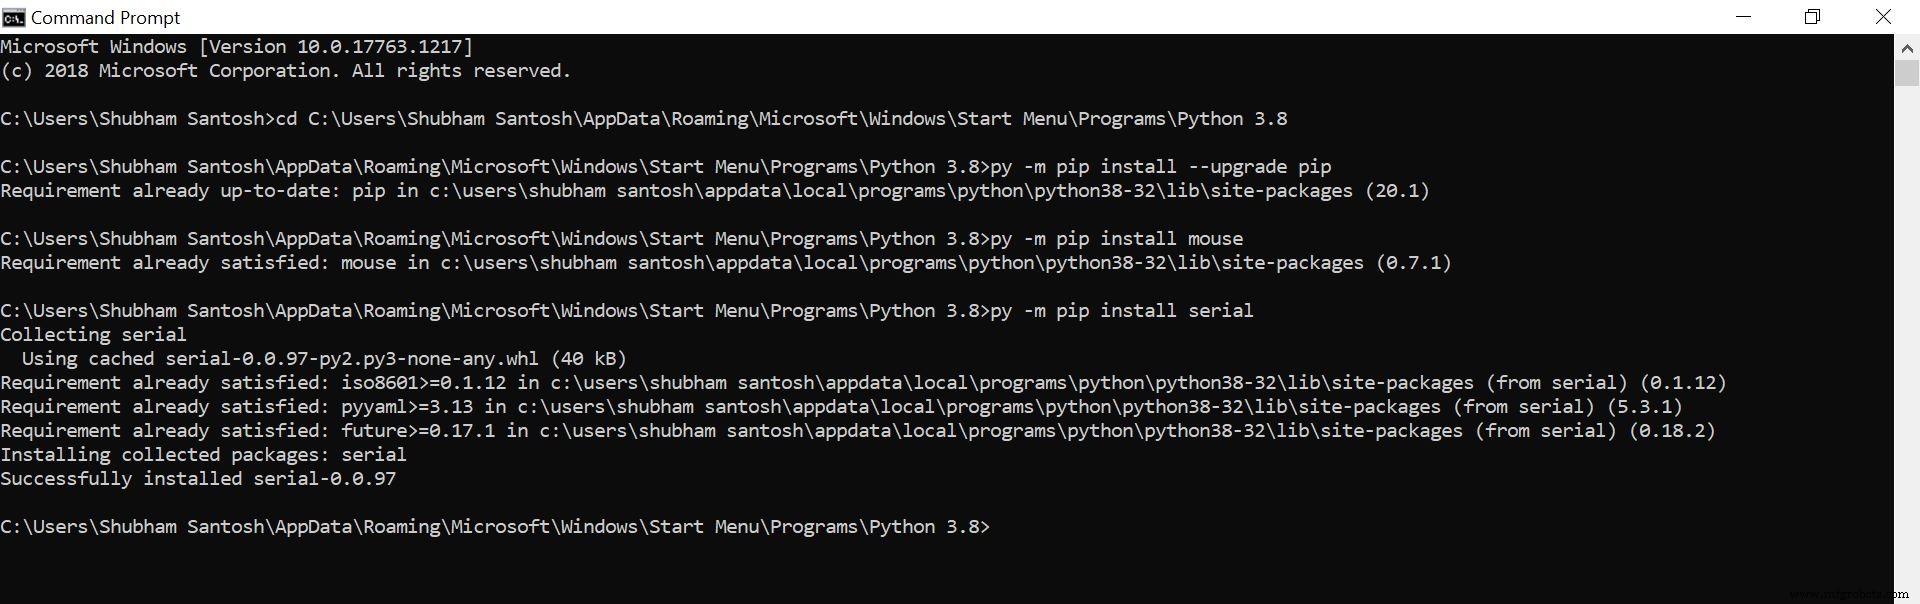
The following steps are to be performed on the command prompt. Open command prompt and enter the following-
1. cd <paste the path of the python file>
2. py –m pip install –-upgrade pip
3. py –m pip install mouse
4. py -m pip install pyserial
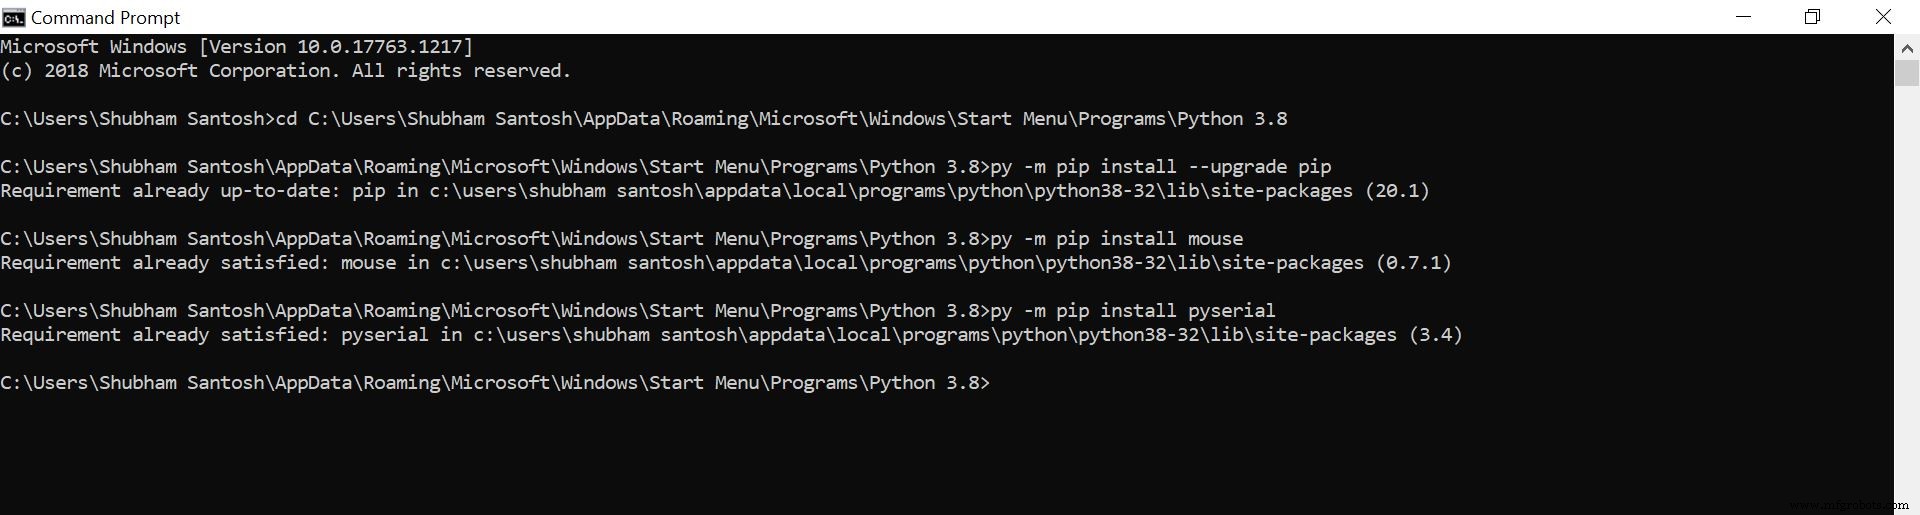
The mouse module is used to perform mouse actions and pyserial module is used to send/receive data from the arduino. I had already installed the necessary modules, so I got this
Install the Bluetooth Mouse Control app on your smartphone device.
Upload the Arduino sketch to your Arduino UNO and follow the circuit as given in the schematic.
Python side-
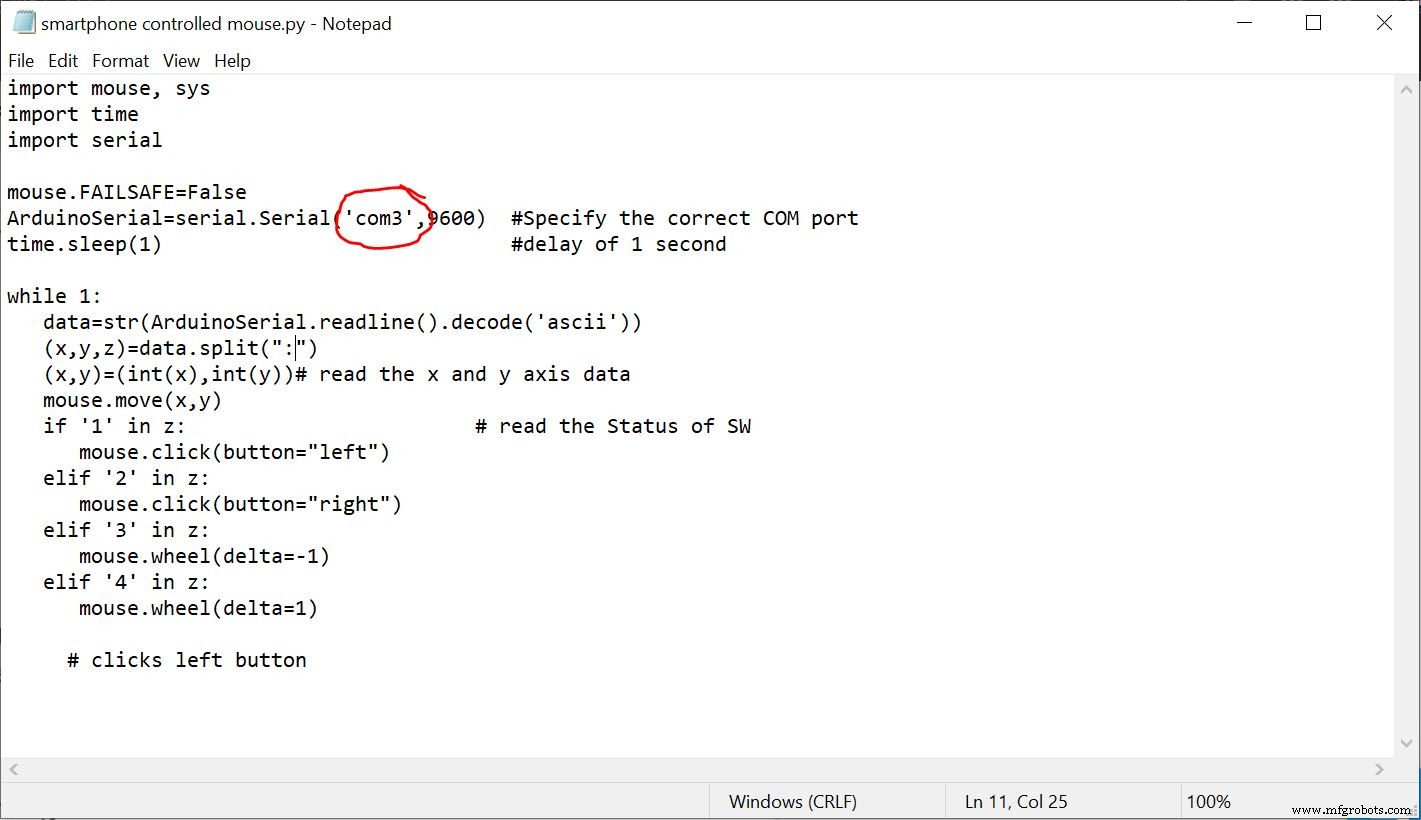
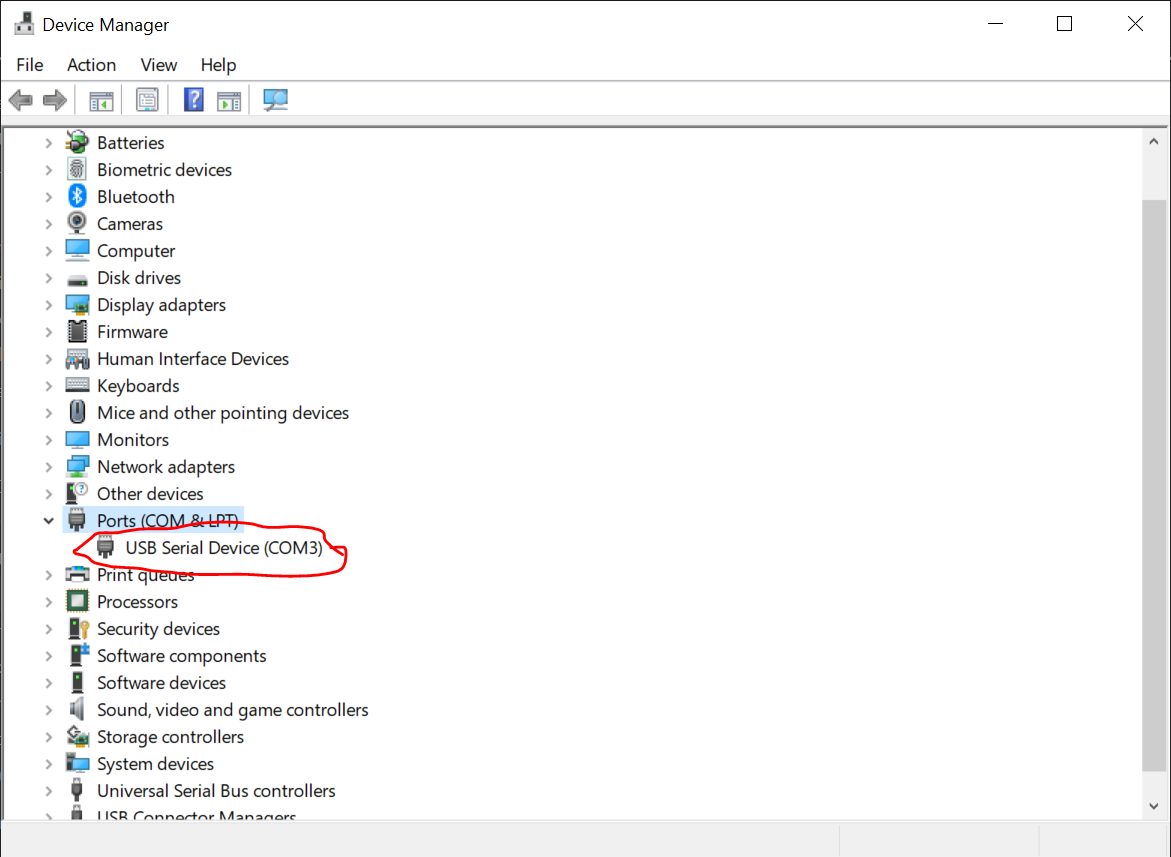
1. Copy paste the python code in a notepad file. Change the COM port to your Arduino UNO's COM port and save it as '.py'.
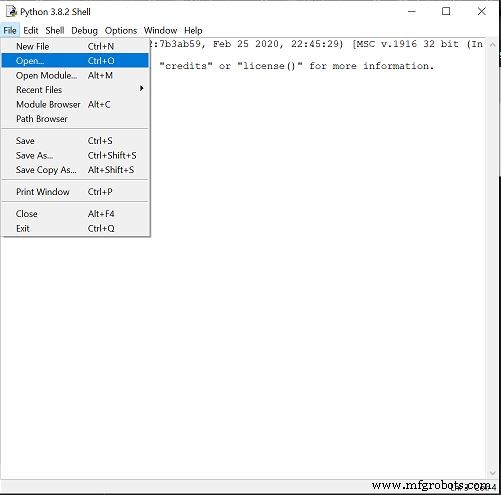
2. Open the python IDLE and open the notepad file form it.

3. Run the Sketch.
You will then be directed back to screen in fig 2.2.
Open the smartphone application and connect to the bluetooth module and you will notice the cursor movement upon changing the direction of the joystick.
Code
- Arduino Code
- Python Code
Arduino CodeArduino
int datareceived[5] {0,0,0,0};          // To store byte from phone
int in_byte = 0;
int array_index = 0;
int l_prev=0,r_prev=0; // previous status of mouse left and right click
void setup() {
Serial.begin (9600); // starts the serial monitor
}
 int height=0,width=0;
void loop() {
  int clicks=0;
  int sensitivity=20;       // you can adjust the sensitivity
  int xpos=0,ypos=0;
if (Serial.available() > 0) {  //recieve byte from phone
  in_byte= Serial.read(); //store in byte into a variable
  if (in_byte == (255)) { // if the variable is 0 stet the array inxed to 0.
    array_index = 0;
  }
  datareceived[array_index] = in_byte;  //store number into array
  array_index = array_index +1;

if(datareceived[1]>=110)
xpos=map(datareceived[1],110,172,0,sensitivity);       // When moved right
if(datareceived[1]<=70)
xpos=map(datareceived[1],60,1,0,-sensitivity);        // When moved left
if(datareceived[2]>=110)
ypos=map(datareceived[2],110,255,0,sensitivity);     // When moved down
if(datareceived[2]<=60)
ypos=map(datareceived[2],70,1,0,-sensitivity);       // When moved up


if(datareceived[3]==1 && l_prev==0)      // TO recognise a single button press
  clicks=1;
else if(datareceived[3]==2 && r_prev==0)
clicks=2;
else if(datareceived[3]==3 || datareceived[3]==4)
clicks=datareceived[3];  //  scroll

l_prev=datareceived[3];
r_prev=datareceived[3];

if(xpos!=0 or ypos!=0 or clicks!=0)       // when either of the joystick is moved or the button is pressed or scrolled
{
height=height+ypos;
width=width+xpos;
if(height>=799)
height=799;
if(height<=0)
height=0;
if(width>=1279)
width=1279;
if(width<=0)
width=0;
Serial.print(width);
Serial.print(":");
Serial.print(height);
Serial.print(":");
Serial.println(clicks);
clicks=0;
}
}
}
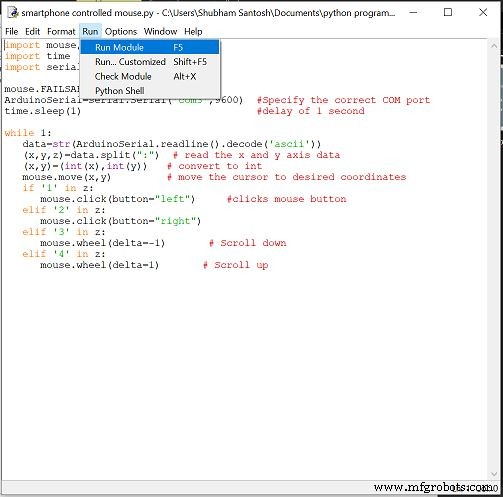
Python CodePython
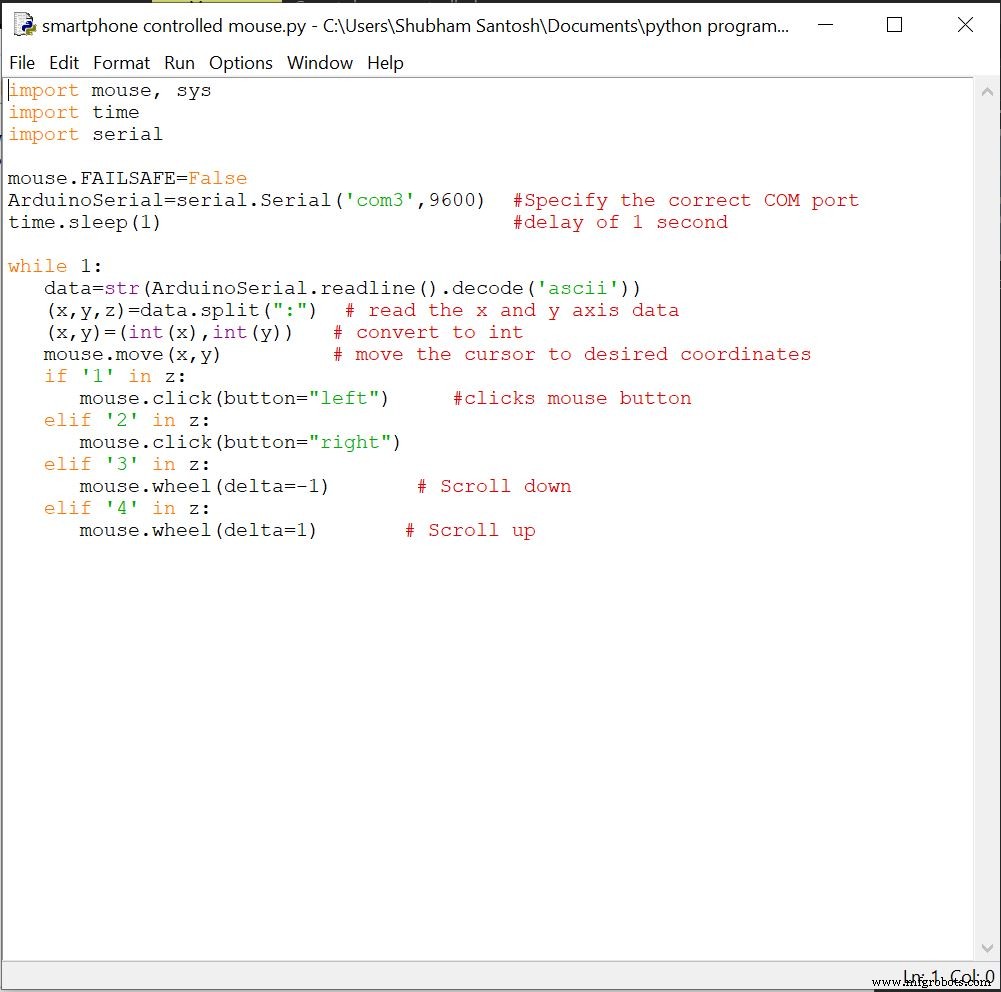
import mouse, sys
import time
import serial

mouse.FAILSAFE=False
ArduinoSerial=serial.Serial('com3',9600)  #Specify the correct COM port
time.sleep(1)                             #delay of 1 second

while 1:
   data=str(ArduinoSerial.readline().decode('ascii'))
   (x,y,z)=data.split(":")  # read the x and y axis data
   (x,y)=(int(x),int(y))   # convert to int
   mouse.move(x,y)         # move the cursor to desired coordinates
   if '1' in z:
      mouse.click(button="left")     #clicks mouse button
   elif '2' in z:
      mouse.click(button="right")
   elif '3' in z:
      mouse.wheel(delta=-1)       # Scroll down
   elif '4' in z:
      mouse.wheel(delta=1)       # Scroll up
Schematics
Manufacturing process
- Build a Bluetooth‑Controlled Raspberry Pi Robot with Audio Feedback
- Transform an Old RC Car into a Joystick‑Controlled Vehicle with Arduino
- MobBob: Build Your Own Arduino Robot, Controlled Seamlessly via Android Smartphone
- Voice-Activated Home Appliances: Bluetooth Control with Google Assistant
- DIY Arduino USB Trackpad: Convert an Old Laptop Pad into a Modern Input Device
- Build a Bluetooth‑Controlled Arduino Car: A Complete DIY Guide
- Smartphone G‑Sensor Controlled Robot Car with Arduino and Bluetooth
- Bluetooth‑Controlled Servo Motor with Arduino Uno & HC‑05
- Bluetooth‑Controlled Car: DIY Arduino Remote Vehicle
- Arduino Joystick‑Controlled Mouse: Precise Cursor Navigation