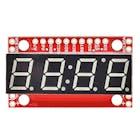
Code
The codeArduino
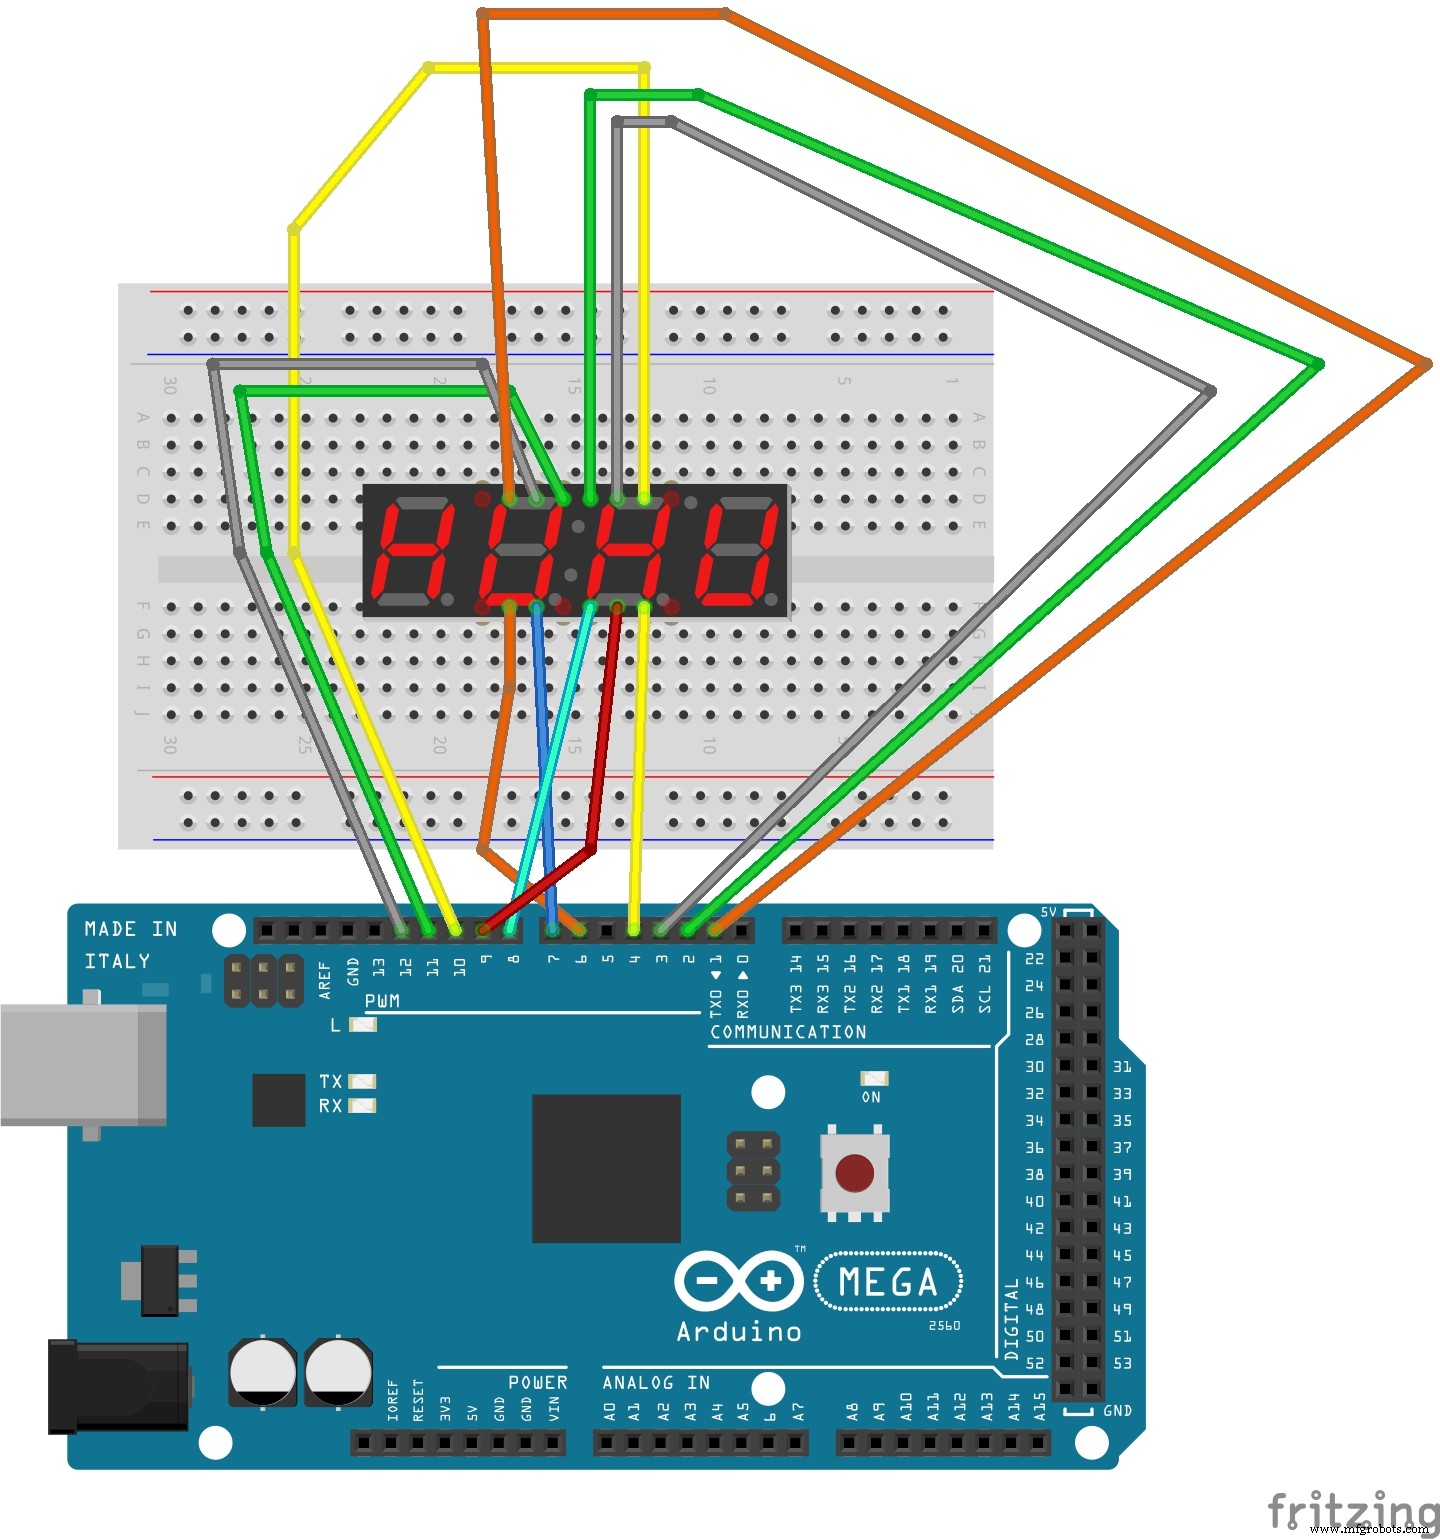
Use this code to run your countdown timer//7 segement pin number - 7 segement light - arduino pin number
//pin 11 - A = 12
//pin 7 - B = 10
//pin 4 - C = 8
//pin 2 - D = 7
//pin 1 - E = 6
//pin 10 - F = 11
//pin 5 - G = 9
//pin 3 is decimal
/*
12 11 10 9 8 7
| | | | | |
A
---
F | | B
| G |
---
E | | C
| |
--- . dec
D
| | | | | |
1 2 3 4 5 6
*/
//pin 12 - first digit = 1
//pin 9 - second digit = 2
//pin 8 - third digit = 3
//pin 6 fourth digit = 4
const int a = 12;
const int b = 10;
const int c = 8;
const int d = 7;
const int e = 6;
const int f = 11;
const int g = 9;
int p = 0;
int startStopReset = 13;
const int d1 =1;
const int d2 =2;
const int d3 =3;
const int d4 =4;
long n = 60000; //start time -> CAN CHANGE TO WHATEVER TIME YOU WANT
int x = 100;
int del = 55; //delay value
void setup()
{
pinMode(d1, OUTPUT);
pinMode(d2, OUTPUT);
pinMode(d3, OUTPUT);
pinMode(d4, OUTPUT);
pinMode(a, OUTPUT);
pinMode(b, OUTPUT);
pinMode(c, OUTPUT);
pinMode(d, OUTPUT);
pinMode(e, OUTPUT);
pinMode(f, OUTPUT);
pinMode(g, OUTPUT);
pinMode(p, OUTPUT);
pinMode(startStopReset, INPUT);
digitalWrite(startStopReset, HIGH);
}
void loop()
{
digitalWrite (p, HIGH);
clearLEDs();
pickDigit(1);
pickNumber((n/x/1000)%10);
delayMicroseconds(del);
clearLEDs();
pickDigit(2);
pickNumber((n/x/100)%10);
delayMicroseconds(del);
clearLEDs();
pickDigit(3);
dispDec(3);
pickNumber((n/x/10)%10);
delayMicroseconds(del);
clearLEDs();
pickDigit(4);
pickNumber(n/x%10);
delayMicroseconds(del);
n--; //'n++' for stopwatch
if (digitalRead(13) == LOW)
{
n = 60000; //re-start time -> CHANGE TO WHATEVER TIME YOU ORIGONALLY SET (start time)
}
}
void pickDigit(int x) //changes digit
{
digitalWrite(d1, HIGH);
digitalWrite(d2, HIGH);
digitalWrite(d3, HIGH);
digitalWrite(d4, HIGH);
switch(x)
{
case 1:
digitalWrite(d1, LOW);
break;
case 2:
digitalWrite(d2, LOW);
break;
case 3:
digitalWrite(d3, LOW);
digitalWrite(p, HIGH); //new
break;
default:
digitalWrite(d4, LOW);
break;
}
}
void pickNumber(int x) //changes value of number
{
switch(x)
{
default:
zero();
break;
case 1:
one();
break;
case 2:
two();
break;
case 3:
three();
break;
case 4:
four();
break;
case 5:
five();
break;
case 6:
six();
break;
case 7:
seven();
break;
case 8:
eight();
break;
case 9:
nine();
break;
}
}
void dispDec(int x)
{
digitalWrite(p, LOW);
}
void clearLEDs()
{
digitalWrite(a, LOW);
digitalWrite(b, LOW);
digitalWrite(c, LOW);
digitalWrite(d, LOW);
digitalWrite(e, LOW);
digitalWrite(f, LOW);
digitalWrite(g, LOW);
digitalWrite(p, LOW);
}
void zero()
{
digitalWrite(a, HIGH);
digitalWrite(b, HIGH);
digitalWrite(c, HIGH);
digitalWrite(d, HIGH);
digitalWrite(e, HIGH);
digitalWrite(f, HIGH);
digitalWrite(g, LOW);
}
void one()
{
digitalWrite(a, LOW);
digitalWrite(b, HIGH);
digitalWrite(c, HIGH);
digitalWrite(d, LOW);
digitalWrite(e, LOW);
digitalWrite(f, LOW);
digitalWrite(g, LOW);
}
void two()
{
digitalWrite(a, HIGH);
digitalWrite(b, HIGH);
digitalWrite(c, LOW);
digitalWrite(d, HIGH);
digitalWrite(e, HIGH);
digitalWrite(f, LOW);
digitalWrite(g, HIGH);
}
void three()
{
digitalWrite(a, HIGH);
digitalWrite(b, HIGH);
digitalWrite(c, HIGH);
digitalWrite(d, HIGH);
digitalWrite(e, LOW);
digitalWrite(f, LOW);
digitalWrite(g, HIGH);
}
void four()
{
digitalWrite(a, LOW);
digitalWrite(b, HIGH);
digitalWrite(c, HIGH);
digitalWrite(d, LOW);
digitalWrite(e, LOW);
digitalWrite(f, HIGH);
digitalWrite(g, HIGH);
}
void five()
{
digitalWrite(a, HIGH);
digitalWrite(b, LOW);
digitalWrite(c, HIGH);
digitalWrite(d, HIGH);
digitalWrite(e, LOW);
digitalWrite(f, HIGH);
digitalWrite(g, HIGH);
}
void six()
{
digitalWrite(a, HIGH);
digitalWrite(b, LOW);
digitalWrite(c, HIGH);
digitalWrite(d, HIGH);
digitalWrite(e, HIGH);
digitalWrite(f, HIGH);
digitalWrite(g, HIGH);
}
void seven()
{
digitalWrite(a, HIGH);
digitalWrite(b, HIGH);
digitalWrite(c, HIGH);
digitalWrite(d, LOW);
digitalWrite(e, LOW);
digitalWrite(f, LOW);
digitalWrite(g, LOW);
}
void eight()
{
digitalWrite(a, HIGH);
digitalWrite(b, HIGH);
digitalWrite(c, HIGH);
digitalWrite(d, HIGH);
digitalWrite(e, HIGH);
digitalWrite(f, HIGH);
digitalWrite(g, HIGH);
}
void nine()
{
digitalWrite(a, HIGH);
digitalWrite(b, HIGH);
digitalWrite(c, HIGH);
digitalWrite(d, HIGH);
digitalWrite(e, LOW);
digitalWrite(f, HIGH);
digitalWrite(g, HIGH);
}