


Build IoT Devices with Arduino and Octoblu’s The Tentacle—No Coding Required
Components and supplies
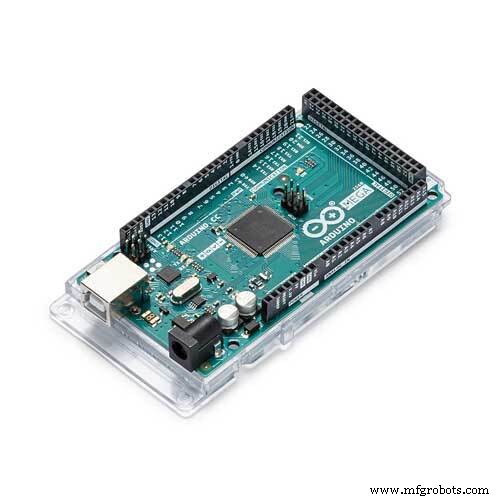 |
| × | 1 | |||
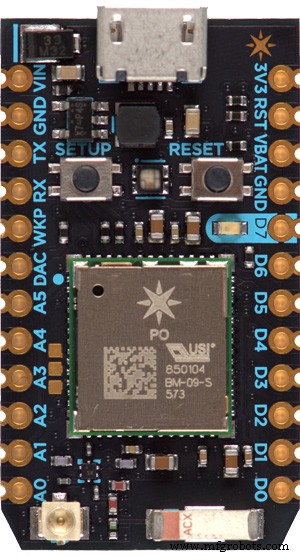 |
| × | 1 | |||
| × | 1 | ||||
| × | 1 | ||||
| × | 1 |
Apps and online services
 |
|
About this project
If you want to do anything in the Internet of Things space, there's nothing easier to do it than to use Octoblu. With the recent release of our new microcontroller library The Tentacle, any Arduino-ish microcontroller can be used in our flows in a matter of minutes - without writing any custom code!
Read more about The Tentacle at it's official documentation page, http://tentacle.readme.io
Controlling a microcontroller in Octoblu's Flow Designer
Getting an Octoblu Account
first step when it comes to connecting a microcontroller to Octoblu is to, well, get an account with Octoblu. It's free (and always will be) and can be done in less than a minute @ https://app.octoblu.com
Create a Device in Octoblu
this step generates an ID for device in Meshblu, Octoblu's open-source message routing system. This lets us send messages to and from the microcontroller.
Once you've registered with Octoblu, navigate to the Things section.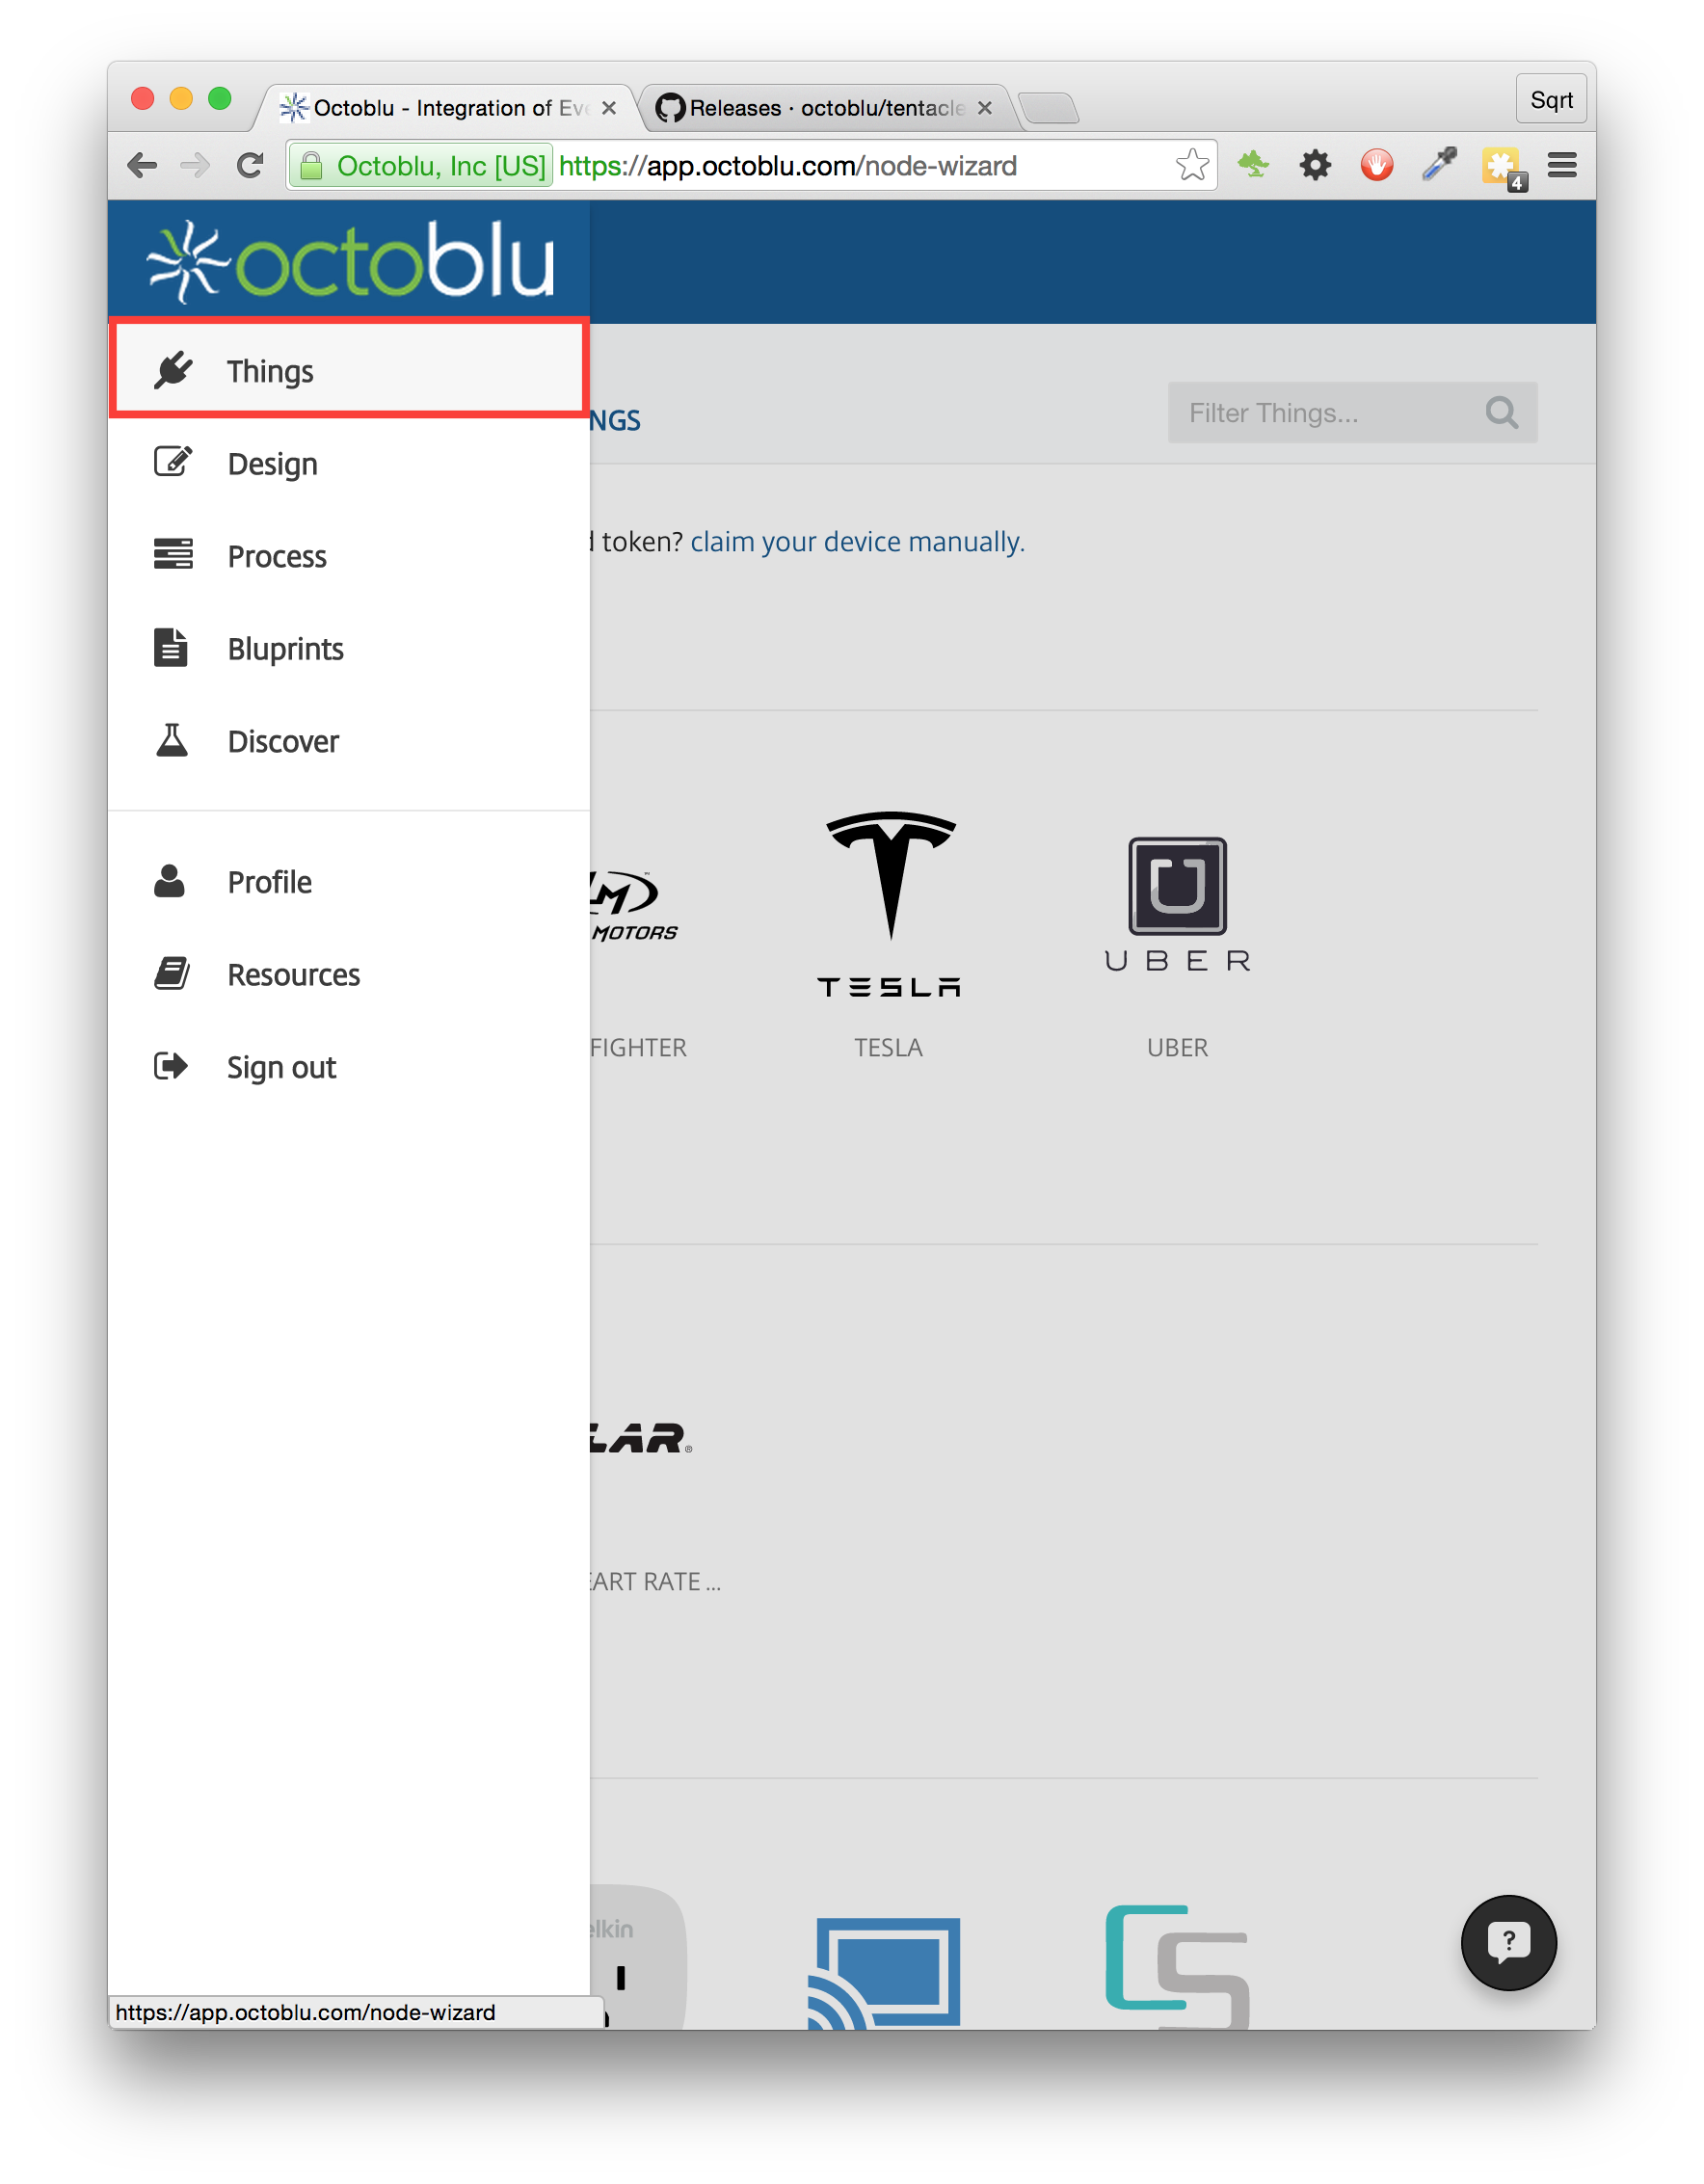


Right now, Octoblu redirects you to the Flow Designer by default. So make sure you head back to the Things page to continue.
Back at the things page, click on the "Connected Things" tab. This shows the Things you've added to the platform. Click on your new Tentacle.
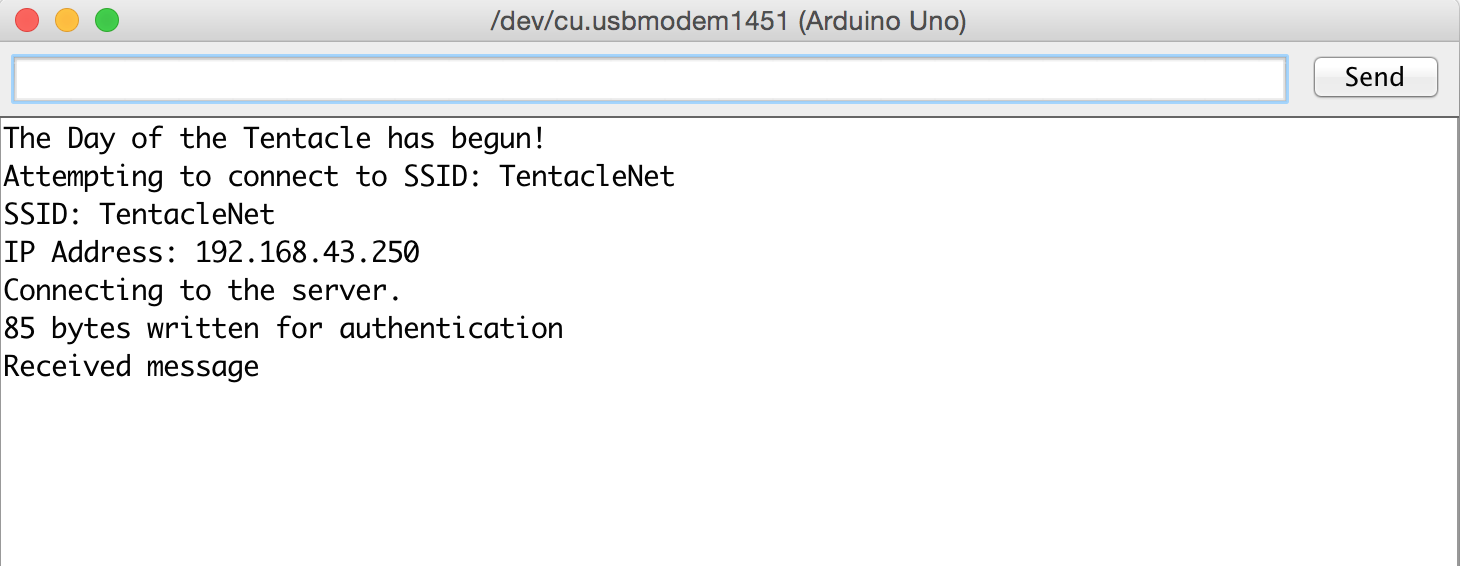
Now, leave this page open - We're going to do some stuff on the Arduino side for a bit!
Enabling The Tentacle on your Arduino
Note: although we prefer the Photon at Octoblu, we know that Arduinos are by far the most common microcontrollers out there these days. For the Photon, the steps are similar, but using their website at http://build.particle.io . The library is called "tentacle-particle", and can be found here.
Download the library from github. Make sure to use the zip file of the latest release!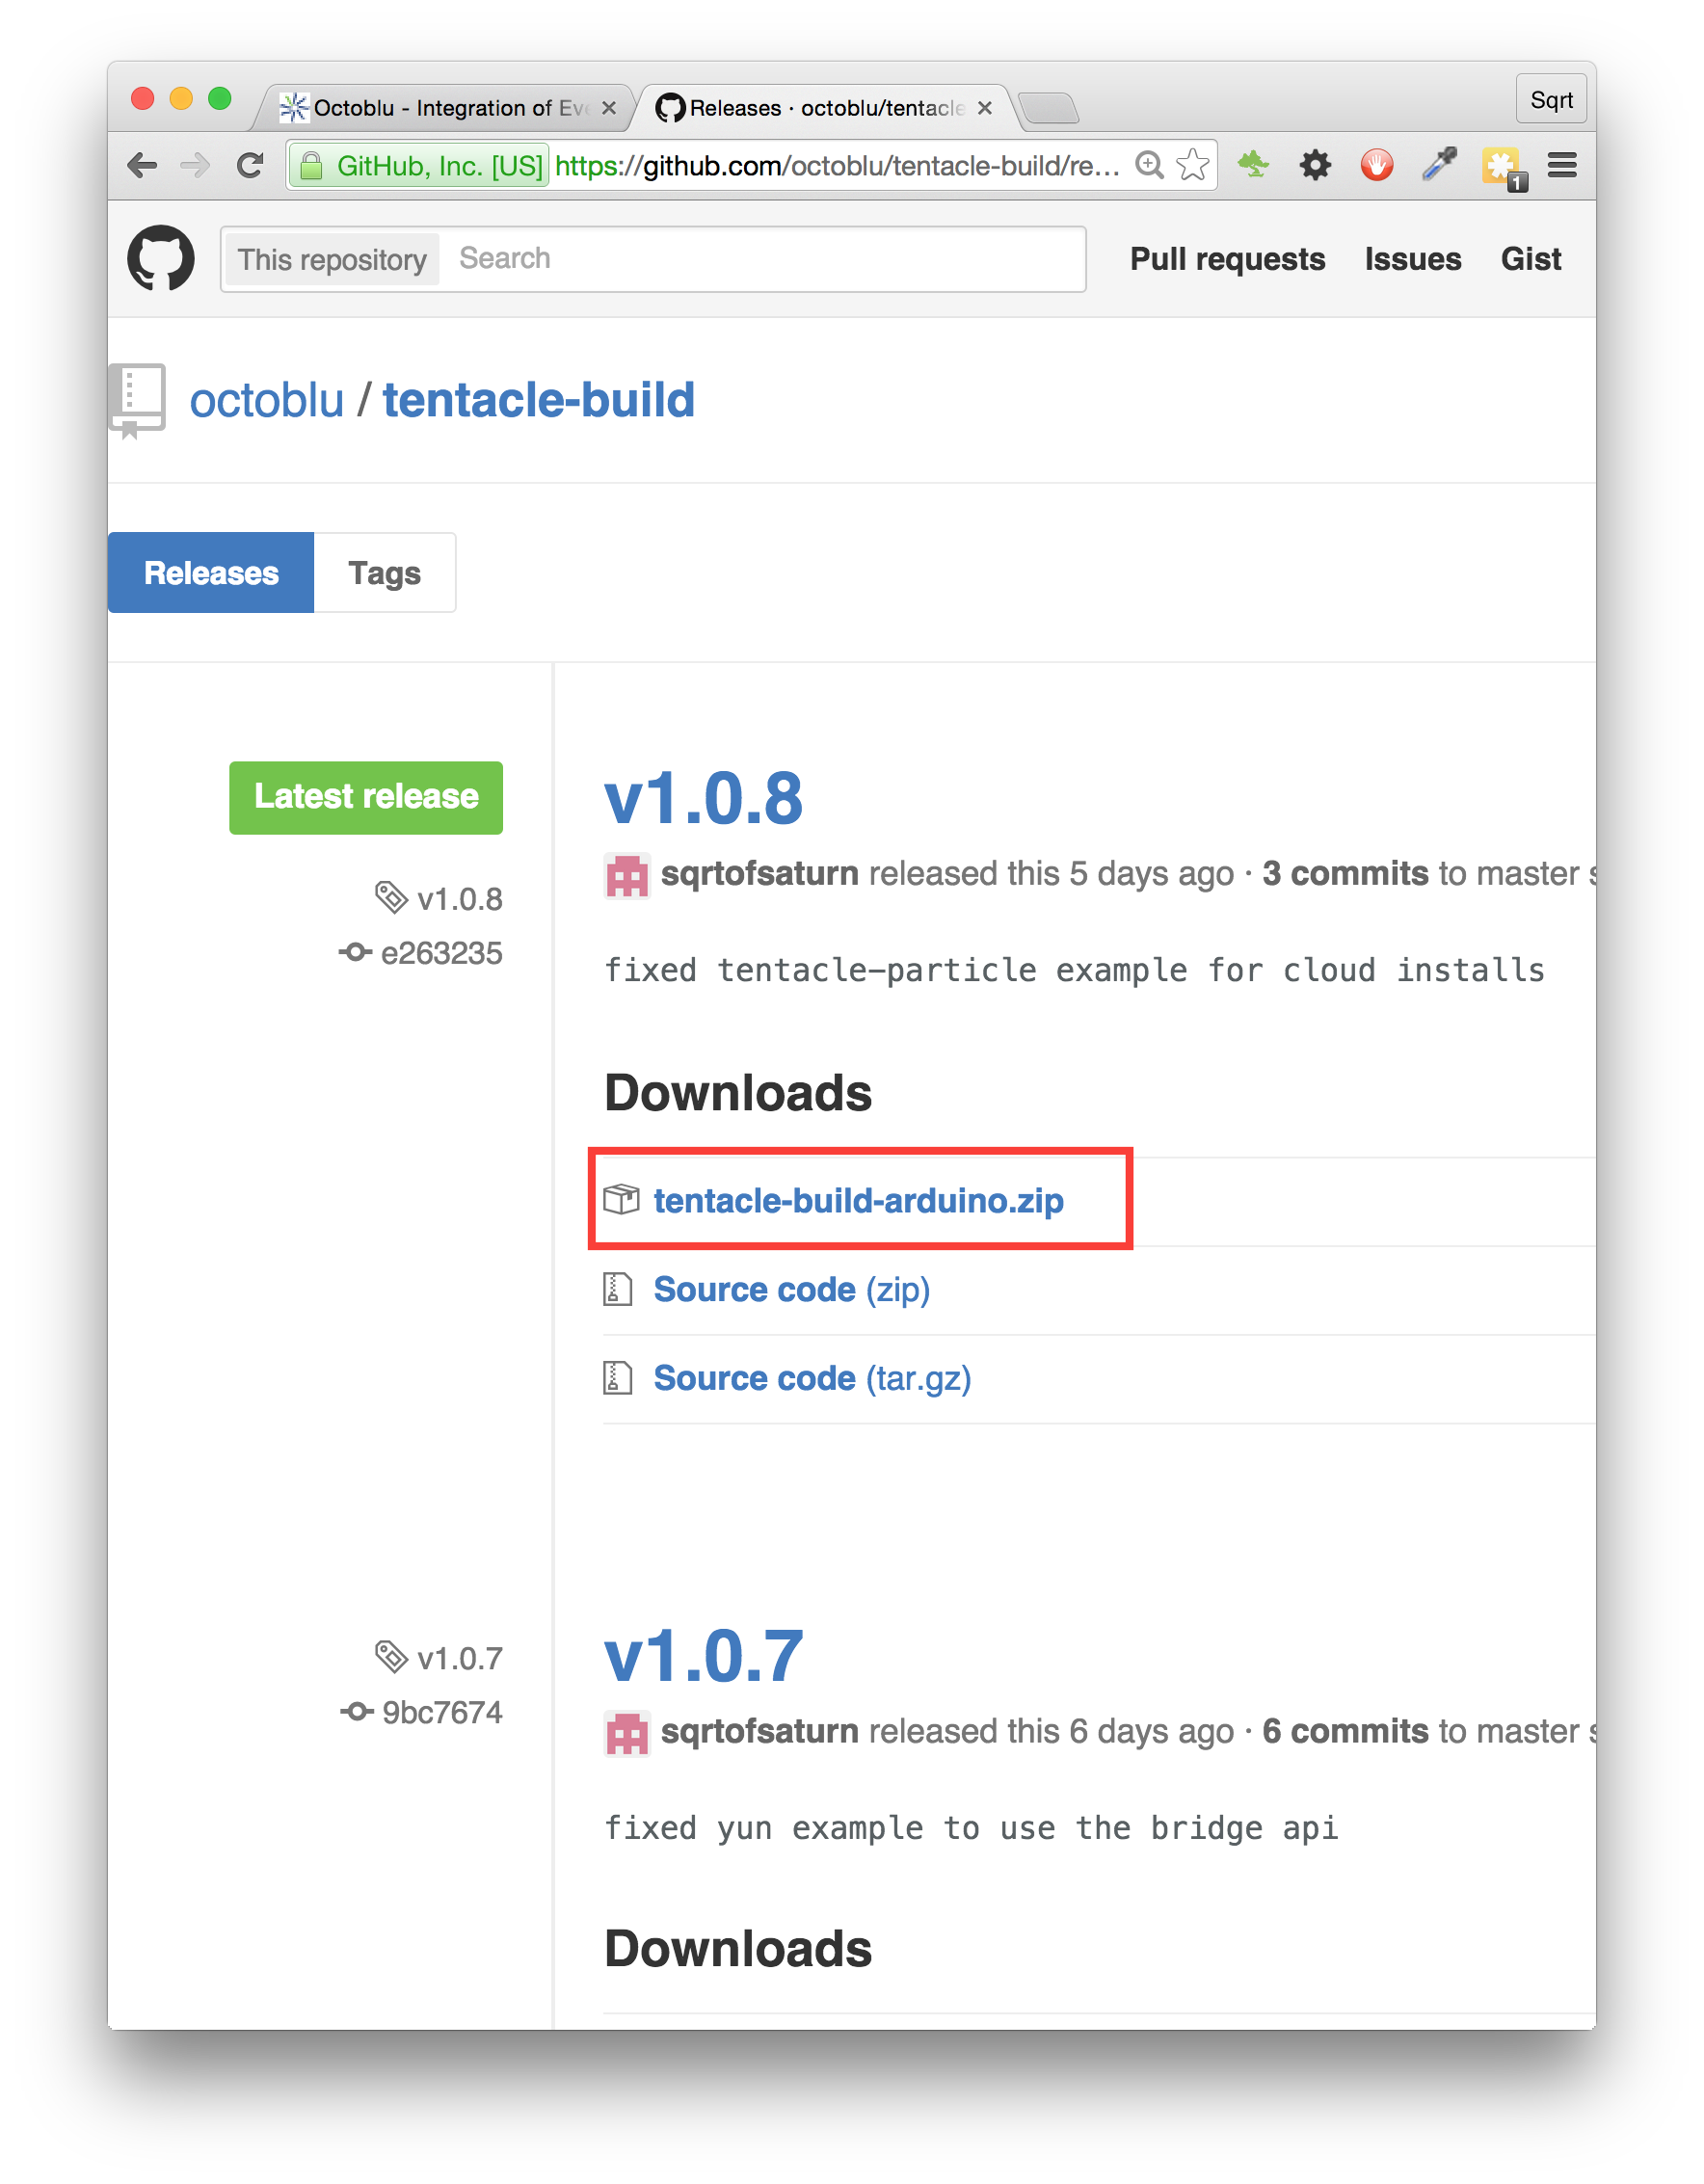
The latest release of the library can be found here. Make sure to download tentacle-build-arduino.zip. The source for this repo sets up the project, and is not the code for the project itself.
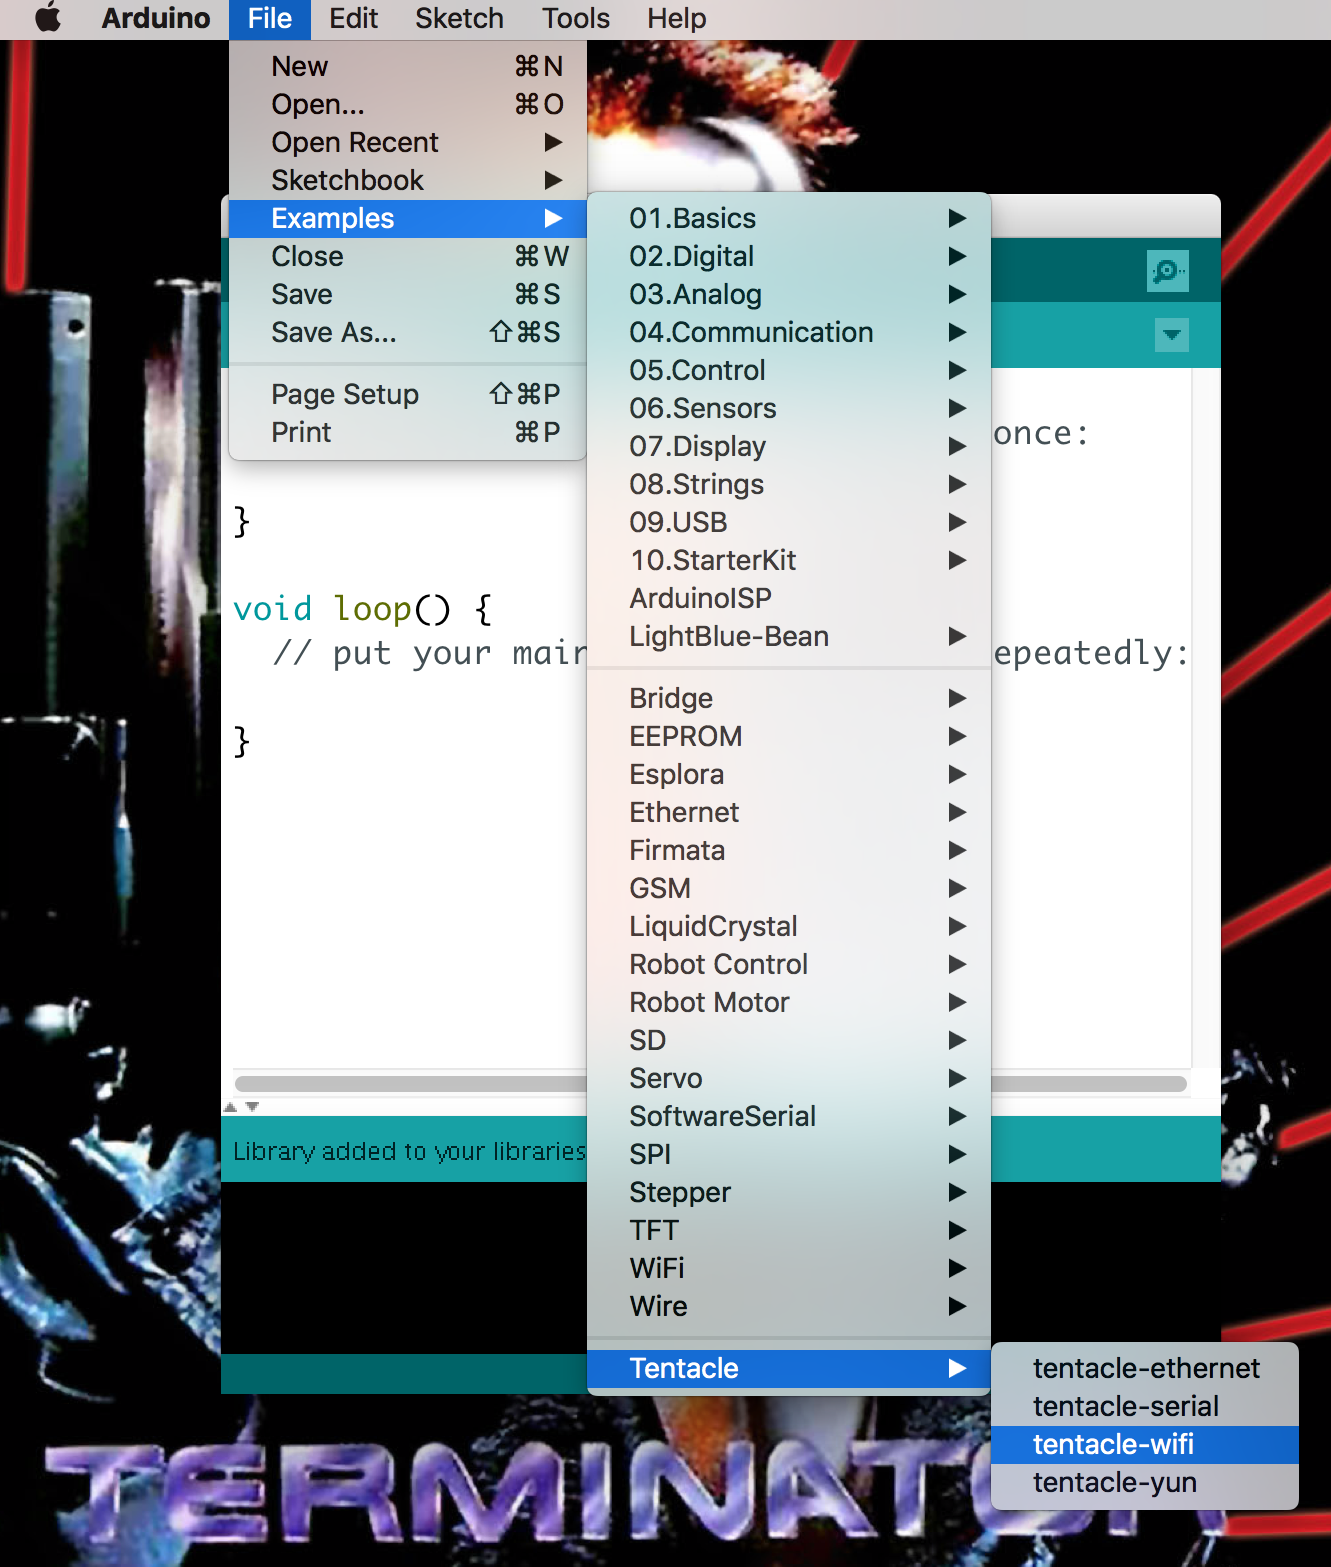
Once The Tentacle has been downloaded, add it to the Arduino IDE by selecting Sketch -> Include Library -> Add .ZIP Library... from the menu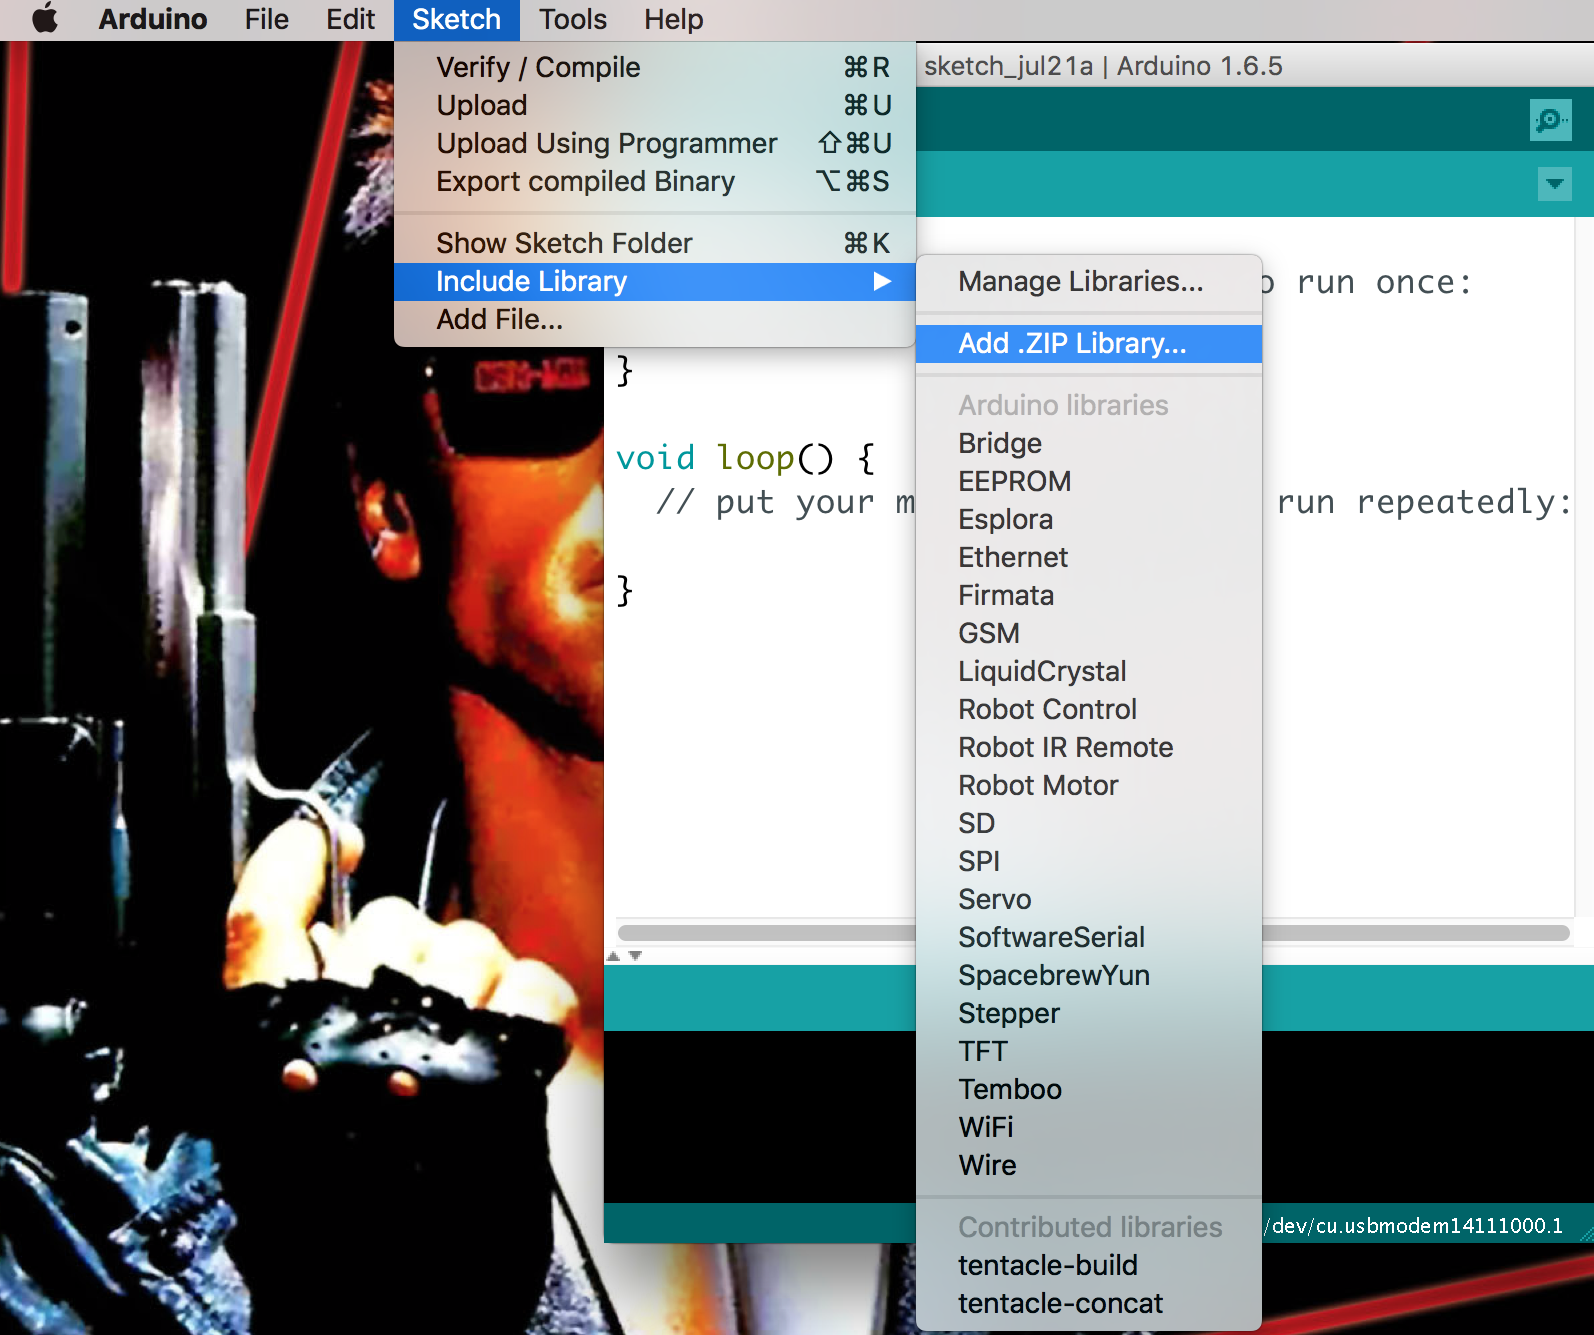
Add Octoblu's Thing UUID to your sketch
In you're device's configuration page, copy and paste it's UUID into the "uuid[]" variable in the sketch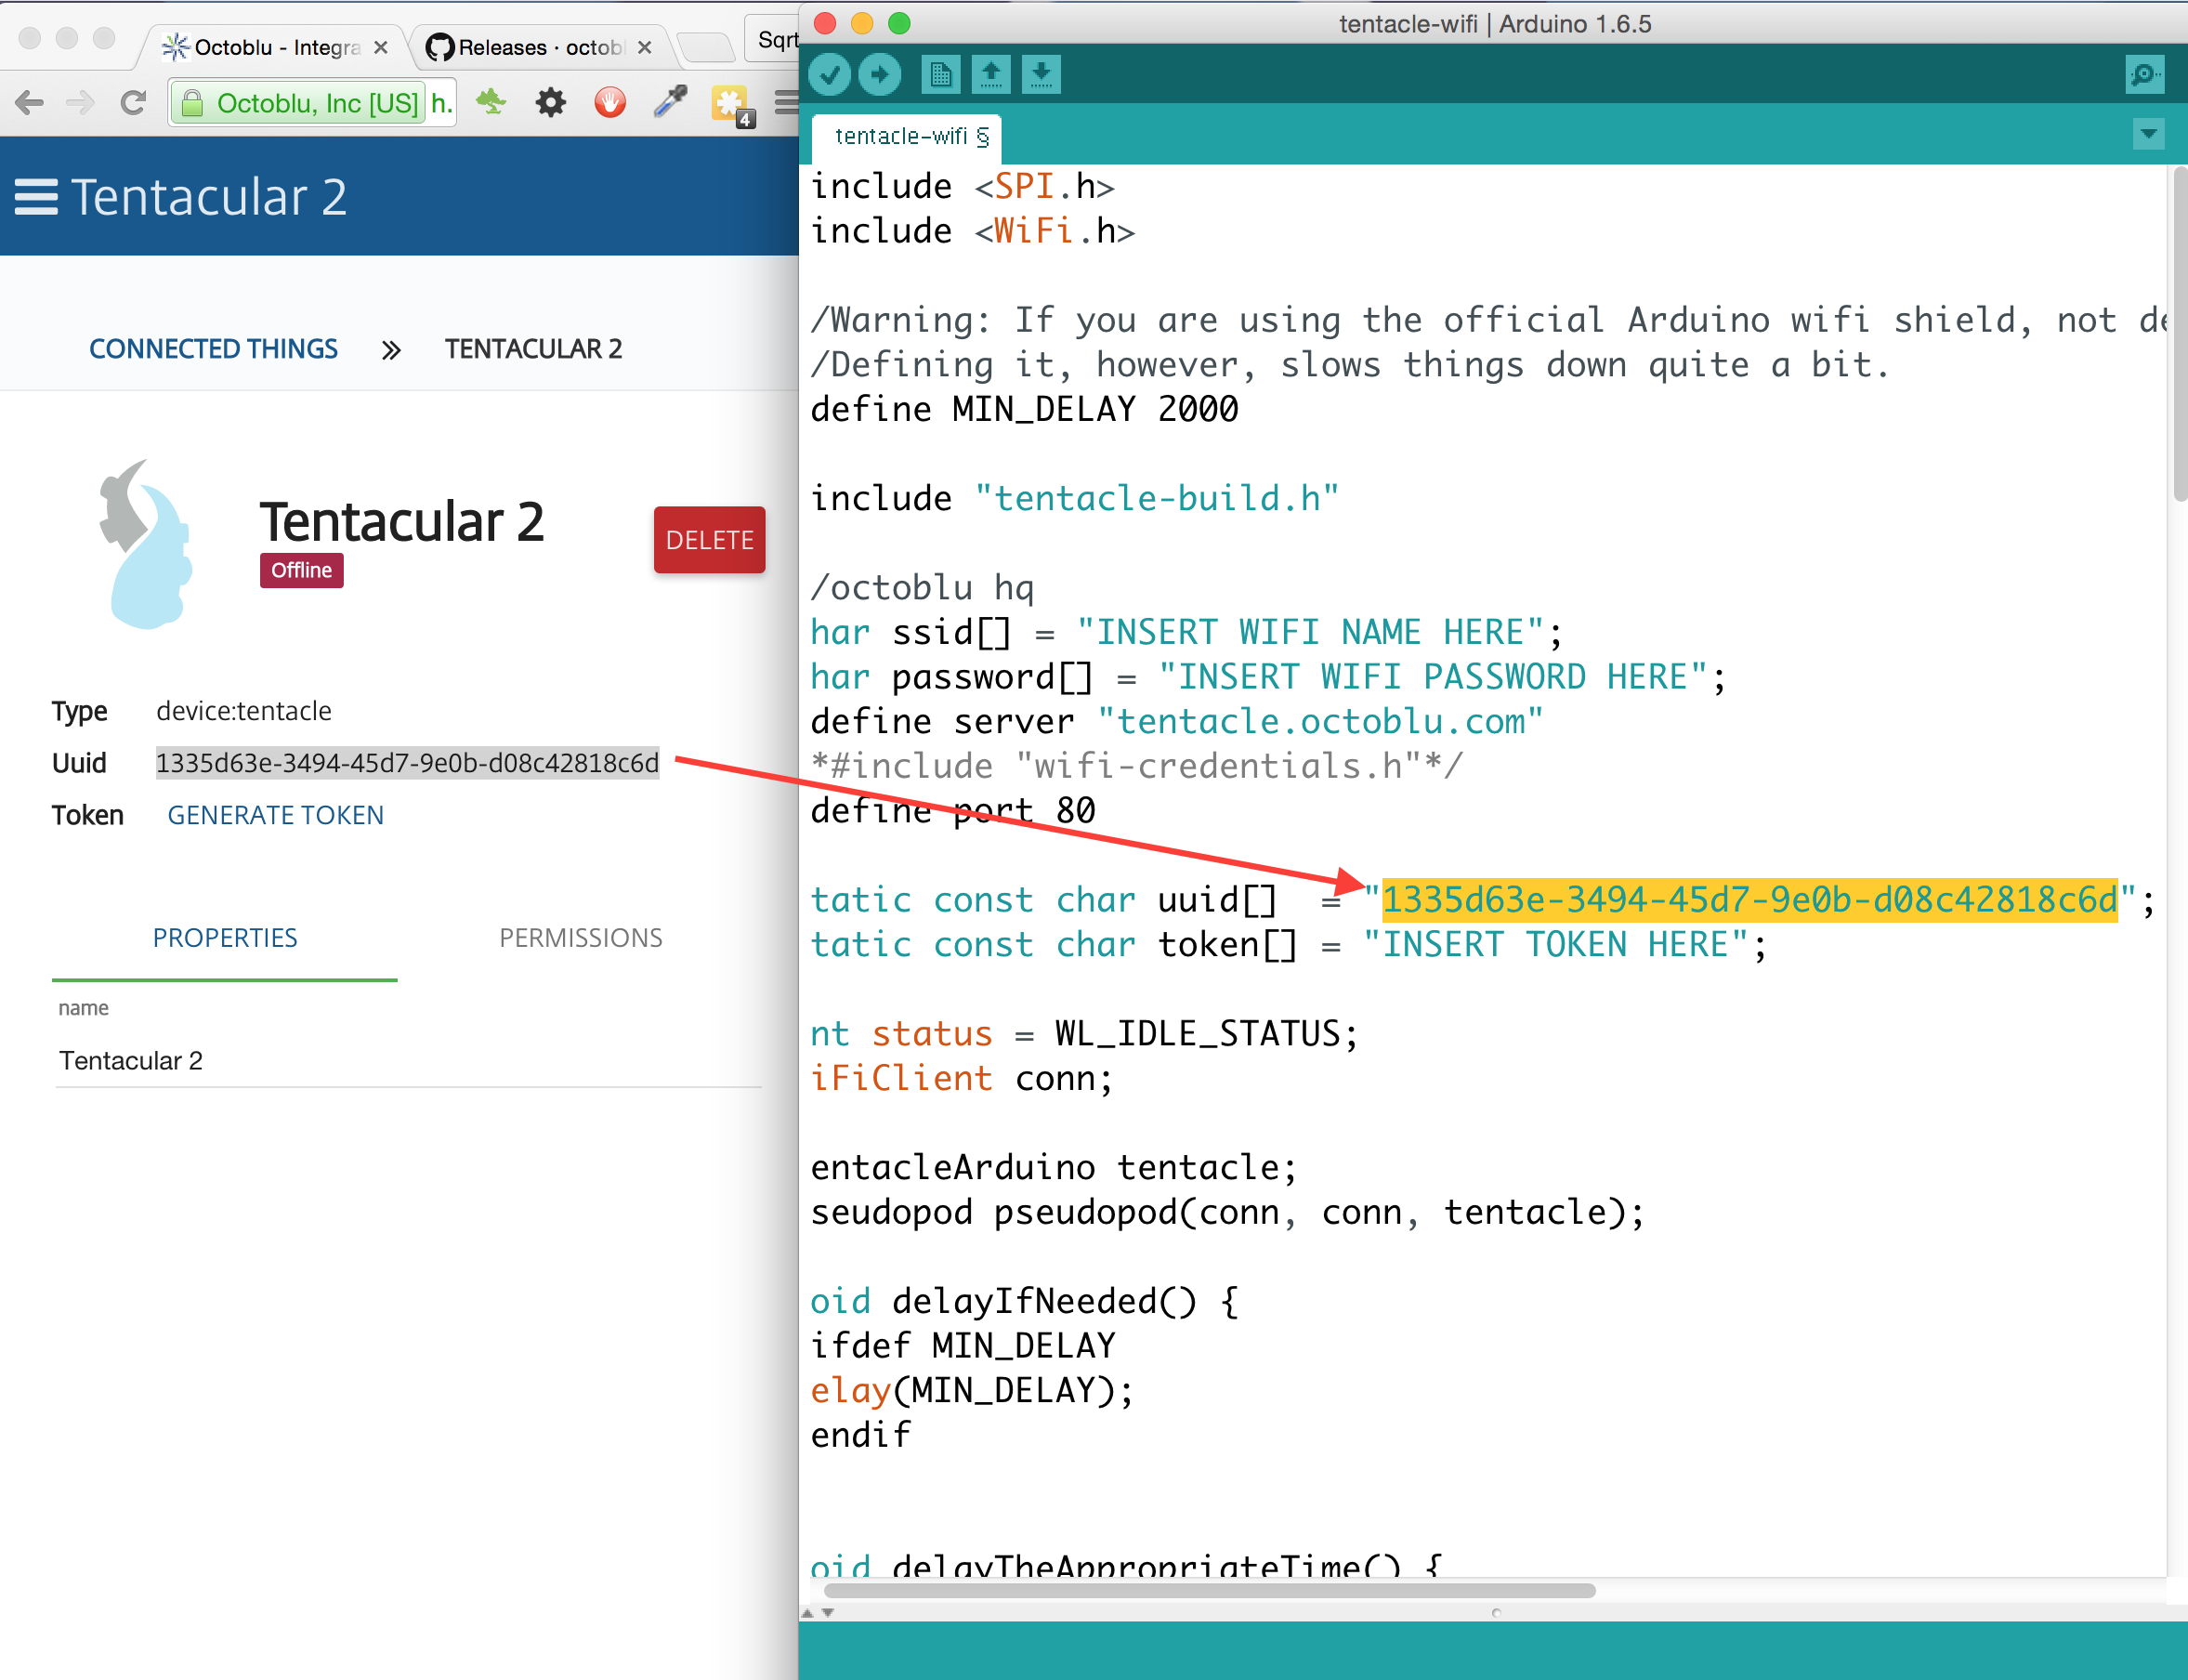


Congratulations! You can now drop your microcontroller into the Flow Designer and control it with anything else in the Internet of Things!
Note: one limitation of The Tentacle is that you can't specify analog pins by their usual A* designations (A0, A1, A2, etc). We hope to change this soon. In the meantime, this means you just have to reference the pins by their actual numbers - such as 16 instead of A0, and so on.
Code
The Tentacle
Make sure you use the version in Releases!https://github.com/octoblu/tentacle-buildManufacturing process
- How 5G Fuels IoT: Current State, Opportunities, and Key Challenges
- Capture Water Droplets in Action Using Arduino Nano – DIY High-Speed Photography
- Build a SmartThings‑Enabled IR Bridge with Arduino UNO & ThingShield
- IoT Integration: Remote Arduino Control via Windows 10 UWP Apps
- Voice-Controlled LED Project: Arduino Micro + BitVoicer Server for Speech Recognition
- Build Your Own AI Assistant Robot Using Arduino & Python
- Build Stunning Web-Driven LED Animations with Raspberry Pi & Arduino
- Building an IoT Device with ESP8266‑01 and Arduino Nano: A Complete Guide
- Control Your Arduino with Google Assistant – A Complete Step‑by‑Step Tutorial
- Master the ADS1115: Features, Pinouts, and Arduino Integration Guide