


Control Your Arduino with Google Assistant – A Complete Step‑by‑Step Tutorial
Components and supplies
 |
| × | 1 | |||
 |
| × | 1 |
Apps and online services
 |
| |||
 |
|
About this project
In this project, we’ll Learn how to make a connection between an internet service and Arduino boards. At the end of this article, you will:
- know how to get data from Google Assistant
- know how to use IFTTT protocol
- be familiar to webhooks and http requests
- be able to speak to your Arduino
The Google Assistant is an artificial intelligence-powered virtual assistant developed by Google that is primarily available on mobile and smart home devices. Unlike the company’s previous virtual assistant, Google Now, the Google Assistant can engage in two-way conversations. It can recognize your words better than any devices and respond fast and correctly to your commands. Users primarily interact with the Google Assistant through natural voice, though keyboard input is also supported. In the same nature and manner as Google Now, the Assistant is able to search the Internet, schedule events and alarms, adjust hardware settings on the user’s device, and show information from the user’s Google account. Google has also announced that the Assistant will be able to identify objects and gather visual information through the device’s camera, and support purchasing products and sending money, as well as identifying songs.
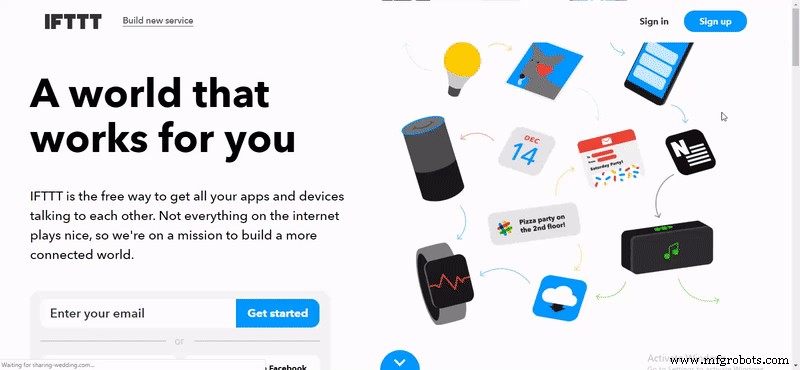
If This Then That, also known as IFTTT, is a free web-based service to create chains of simple conditional statements, called applets. An applet is triggered by changes that occur within other web services such as Gmail, Facebook, Telegram, Instagram, or Pinterest. For example, an applet may send an e-mail message if the user tweets using a hashtag, or copy a photo on Facebook to a user’s archive if someone tags a user in a photo. In addition to the web-based application, the service runs on iOS and Android. In February 2015, IFTTT renamed its original application to IF, and released a new suite of apps called Do, which lets users create shortcut applications and actions. As of 2015, IFTTT users created about 20 million recipes each day. All of the functionalities of the Do suite of apps have since been integrated into a redesigned IFTTT app.

A webhook in web development is a method of augmenting or altering the behaviour of a web page, or web application, with custom callbacks. These callbacks may be maintained, modified, and managed by third-party users and developers who may not necessarily be affiliated with the originating website or application. The term “webhook” was coined by Jeff Lindsay in 2007 from the computer programming term hook.
In computing, JavaScript Object Notation (JSON) is an open-standard file format that uses human-readable text to transmit data objects consisting of attribute–value pairs and array data types (or any other serializable value). It is a very common data format used for asynchronous browser–server communication, including as a replacement for XML in some AJAX-style systems.

In this project, we want to control different parts of an Arduino like I/O pins, PWM, Serial port and so on by sending a string from Google Assistant to Arduino Serial port. First of all, We need to define some specific phrases for Google Assistant to find out what we mean. Then we will make an applet in IFTTT website and make a connection between Google Assistant and our database. After that we read data from database by ESP8266 module and send it to the Arduino. Let’s get started!
Circuit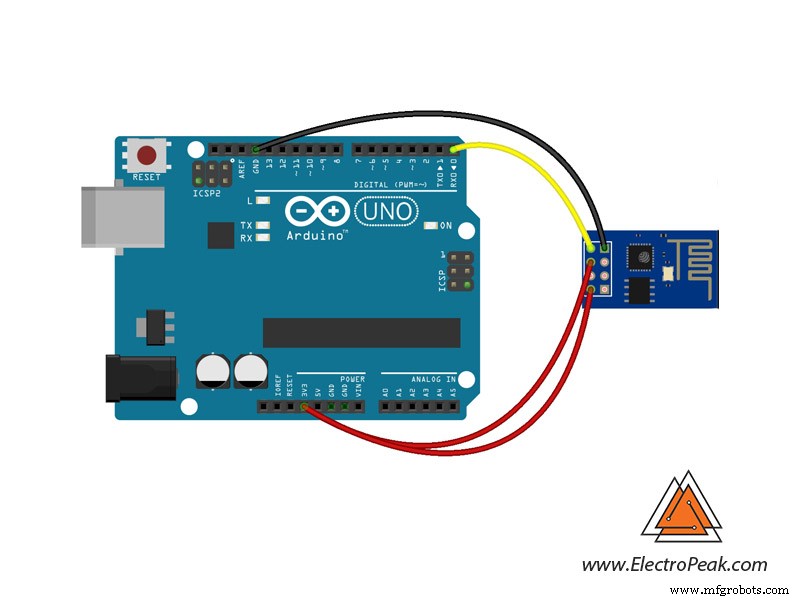
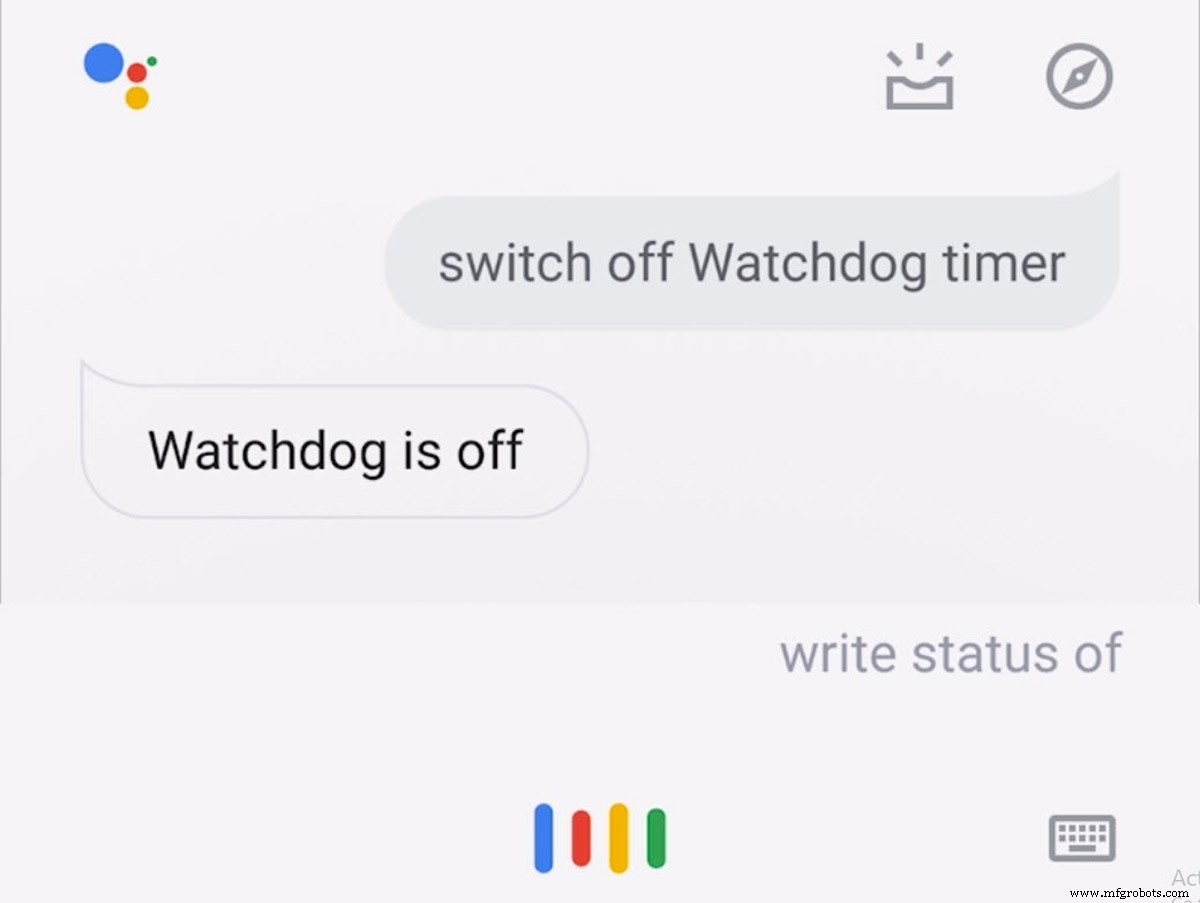
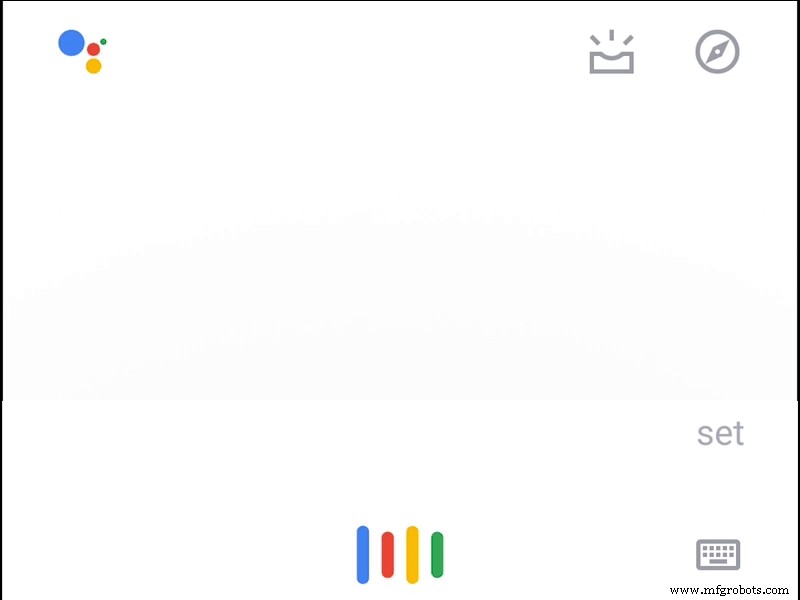
First of all, you need a device to run your Google assist. Go to assistant.google.com and see all devices that support the assistant. In this project, we use an Android phone device. Open ifttt.com and create an account. After signing in, Click on My Applets then click on New Applet. Now you can add your service as THIS in your applet. Click on THIS and search for Google Assistant. You have 4 choices to define your phrase for google assist. Choose phrase with a number ingredient. In the next page you can add your phrase. For example you want to say “Set PWM of pin 9 to 255”. Just type it as your phrase and replace “255” with a “#” symbol. You can add more phrases with the same meaning like “PWM 9 to 255”. Now add a response so that the Google Assistant can let you know that your command was understood and the necessary action was taken, for example “The PWM is updated”. When you are done click on Create Trigger. In “THAT” part of your applet you have lots of services to choose form search for “Webhooks” and choose that. Click “Make a web request." Add URL of your Server to receive data. Set method on POST and select Application/json for content type. Now you should add a body of content. Something like this: {“Number”:”{{NumberField}}”}. Now click on “Create action."
We write sample code for Server to get data from IFTTT and store in database. You can change models to make your data stored as your interest. Download from Here.
ESP8266 & Arduino CodeFirst we write a code for ESP-01 to get data from database and send it to the Arduino via Serial port. Then we write another code for Arduino to get data from ESP-01 and execute the command (e.g. change the PWM). You can use Arduino IDE to compile both codes and Upload them to the boards.
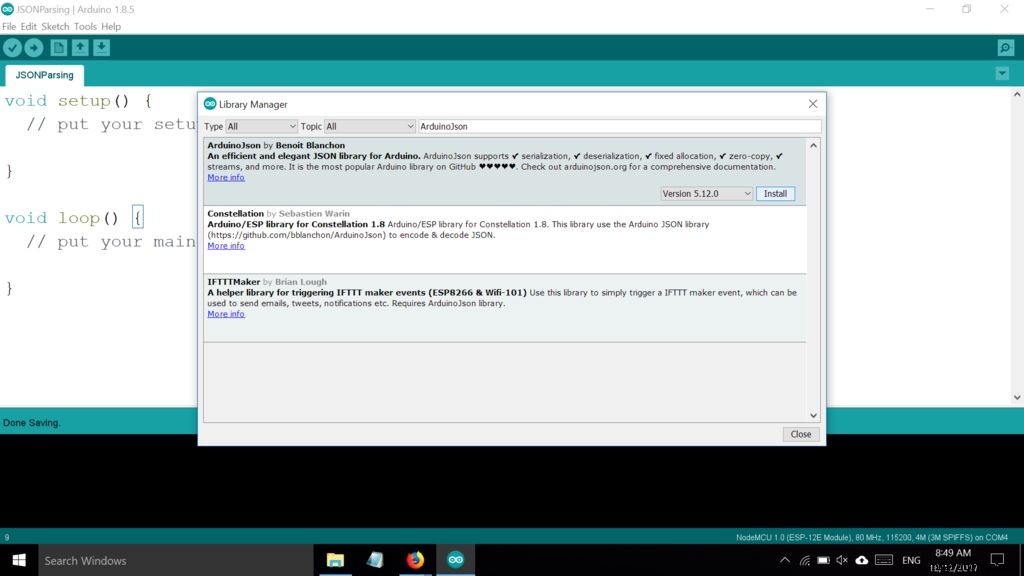
Before you can use the ArduinoJson library, you have to make sure the library is installed on your computer. To do a quick check, head over to the library manager in the Arduino IDE (Sketch > Include Library > Manage Libraries) and type “ArduinoJson” in the text box, if you see a green colored “INSTALLED” label beside the name of the library, that means you are all good to go and you can proceed on to the next step. If you don’t see the label, click on the box/division once and you will see the “Install” button. Hit install and you are all set for the next step.
Now, Upload this code onto ESP-01
#include "ESP8266WiFi.h"
#include "ESP8266HTTPClient.h"
#include "ArduinoJson.h"
// WiFi Parameters
const char* ssid = "YOUR_SSID";
const char* password = "YOUR_PASSWORD";
void setup() {
 Serial.begin(115200);
 WiFi.begin(ssid, password);
 while (WiFi.status() != WL_CONNECTED) {
   delay(1000);
   Serial.println("Connecting...");
 }
}
void loop() {
 // Check WiFi Status
 if (WiFi.status() == WL_CONNECTED) {
   HTTPClient http;  //Object of class HTTPClient
   http.begin("http://yourip/api/Home/GetAllApp");
   int httpCode = http.GET();
   //Check the returning code
   if (httpCode > 0) {
     // Get the request response payload
     String payload = http.getString();
     // TODO: Parsing
     Serial.println(payload);
   }
   http.end();   //Close connection
 }
 // Delay
 delay(3000);
}
And this is the code for Arduino to get orders from Google Assistant and perform them.
String inputString = "";         // a String to hold incoming data
String buff;
bool stringComplete = false;  // whether the string is complete
bool id;
int f,buf;
char x;
void setup() {
 // initialize serial:
 Serial.begin(9600);
 // reserve 200 bytes for the inputString:
 inputString.reserve(200);
}
void loop() {
 // print the string when a newline arrives:
 if (stringComplete) {
   while (f < 100)
   { if (inputString.substring(f) == "id")
     {
       id = true;
       break;
     } f++;
   }
   if (id == true)
   {
     x = inputString.charAt(f + 4);
   }
   if (x == '4')
   { f = 0;
     while (f < 100)
     { if (inputString.substring(f) == "number")
       { f += 9;
         for (int i = 0; i < 3; i++)
         { if (inputString.charAt(f + i) == '"') i = 3;
           else buff += inputString.charAt(f + i);
         }
         buf = buff.toInt();
         analogWrite(9, buf);
         break;
       }
       f++;
     }
   }
   // clear the string:
   inputString = "";
   stringComplete = false;
 }
}
void serialEvent() {
 while (Serial.available()) {
   // get the new byte:
   char inChar = (char)Serial.read();
   // add it to the inputString:
   inputString += inChar;
   // if the incoming character is a newline, set a flag so the main loop can
   // do something about it:
   if (inChar == '\n') {
     stringComplete = true;
   }
 }
}
You can improve this project as you wish. Here are a few suggestions:
- Try to add your favorite commands like controlling your output pins, you can use a relay module and control you rooms light.
- Try to send data from Arduino to Google Assistant.
Manufacturing process
- Integrated QR, RFID, and Temperature Verification Access Control System
- Build a Smart Piggy Bank: Control a Coin Acceptor with Arduino Nano
- Control an LED via Bluetooth with Arduino – Simple DIY Guide
- Control Two Stepper Motors with Arduino Nano & Joystick – Simple Tutorial
- Real-Time RFID Attendance System Powered by Arduino & Google Sheets
- Remote Car Control Using Arduino Uno & Bluetooth: A Step‑by‑Step Guide
- Voice-Controlled LED Project: Arduino Micro + BitVoicer Server for Speech Recognition
- Build Your Own AI Assistant Robot Using Arduino & Python
- Bluetooth-Enabled Smart Thermostat & Lighting Control System
- Master Stepper Motor Control with Arduino & A4988 Driver – Step-by-Step Guide