


AirOwl: Real‑Time Air Quality Monitoring for Healthier Breathing
Components and supplies
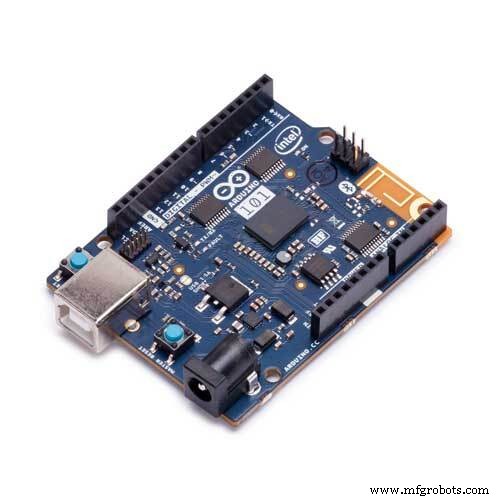 |
| × | 1 | |||
| × | 1 | ||||
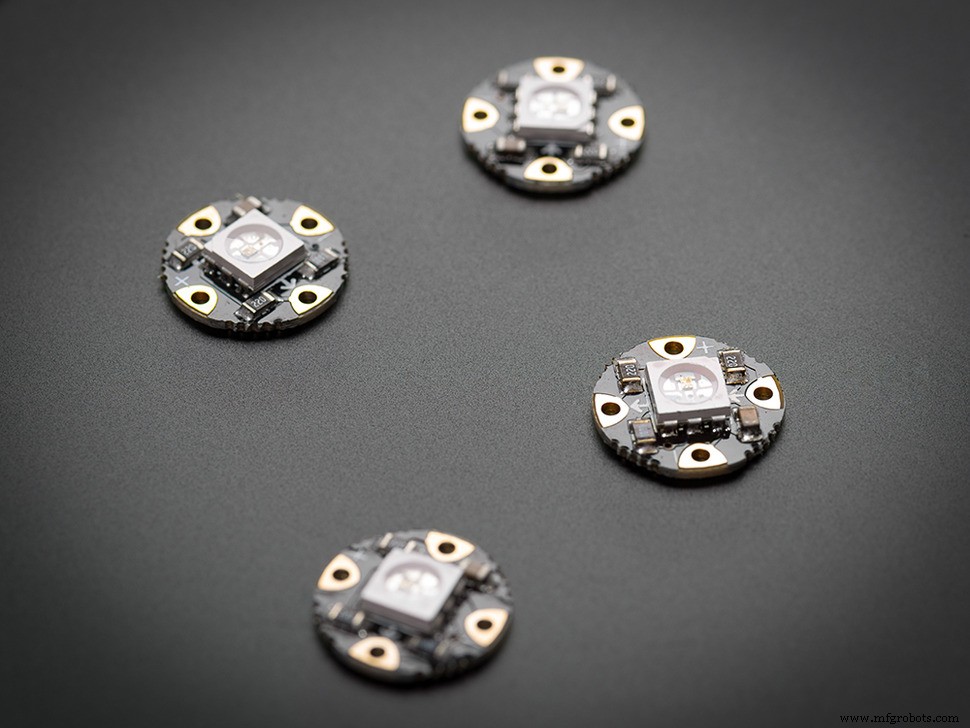 |
| × | 1 | |||
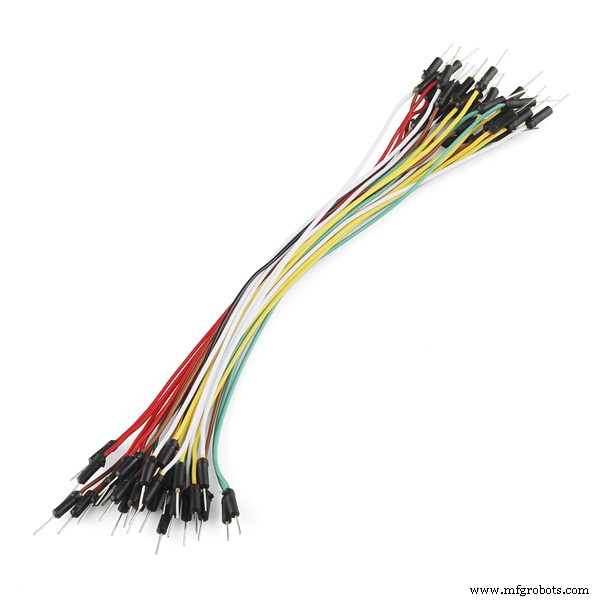 |
| × | 10 | |||
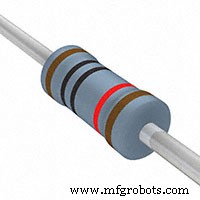 |
| × | 3 |
Apps and online services
 |
| |||
 |
|
About this project
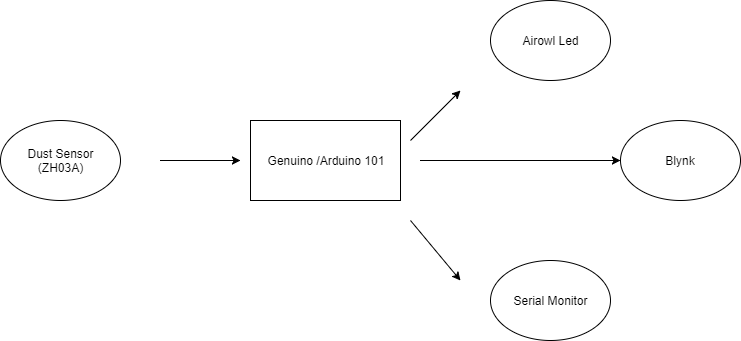
AirOwl is the real time air quality monitoring device. It is used to monitor air quality and fetches data from the sensor and gives output on Blynk app using BLE of Arduino/Genuino 101. A project that can help us know What we Breath!
Human activities are effecting the Environment. So we decided to make a device that helps to know surrounding environment and take steps according to it.
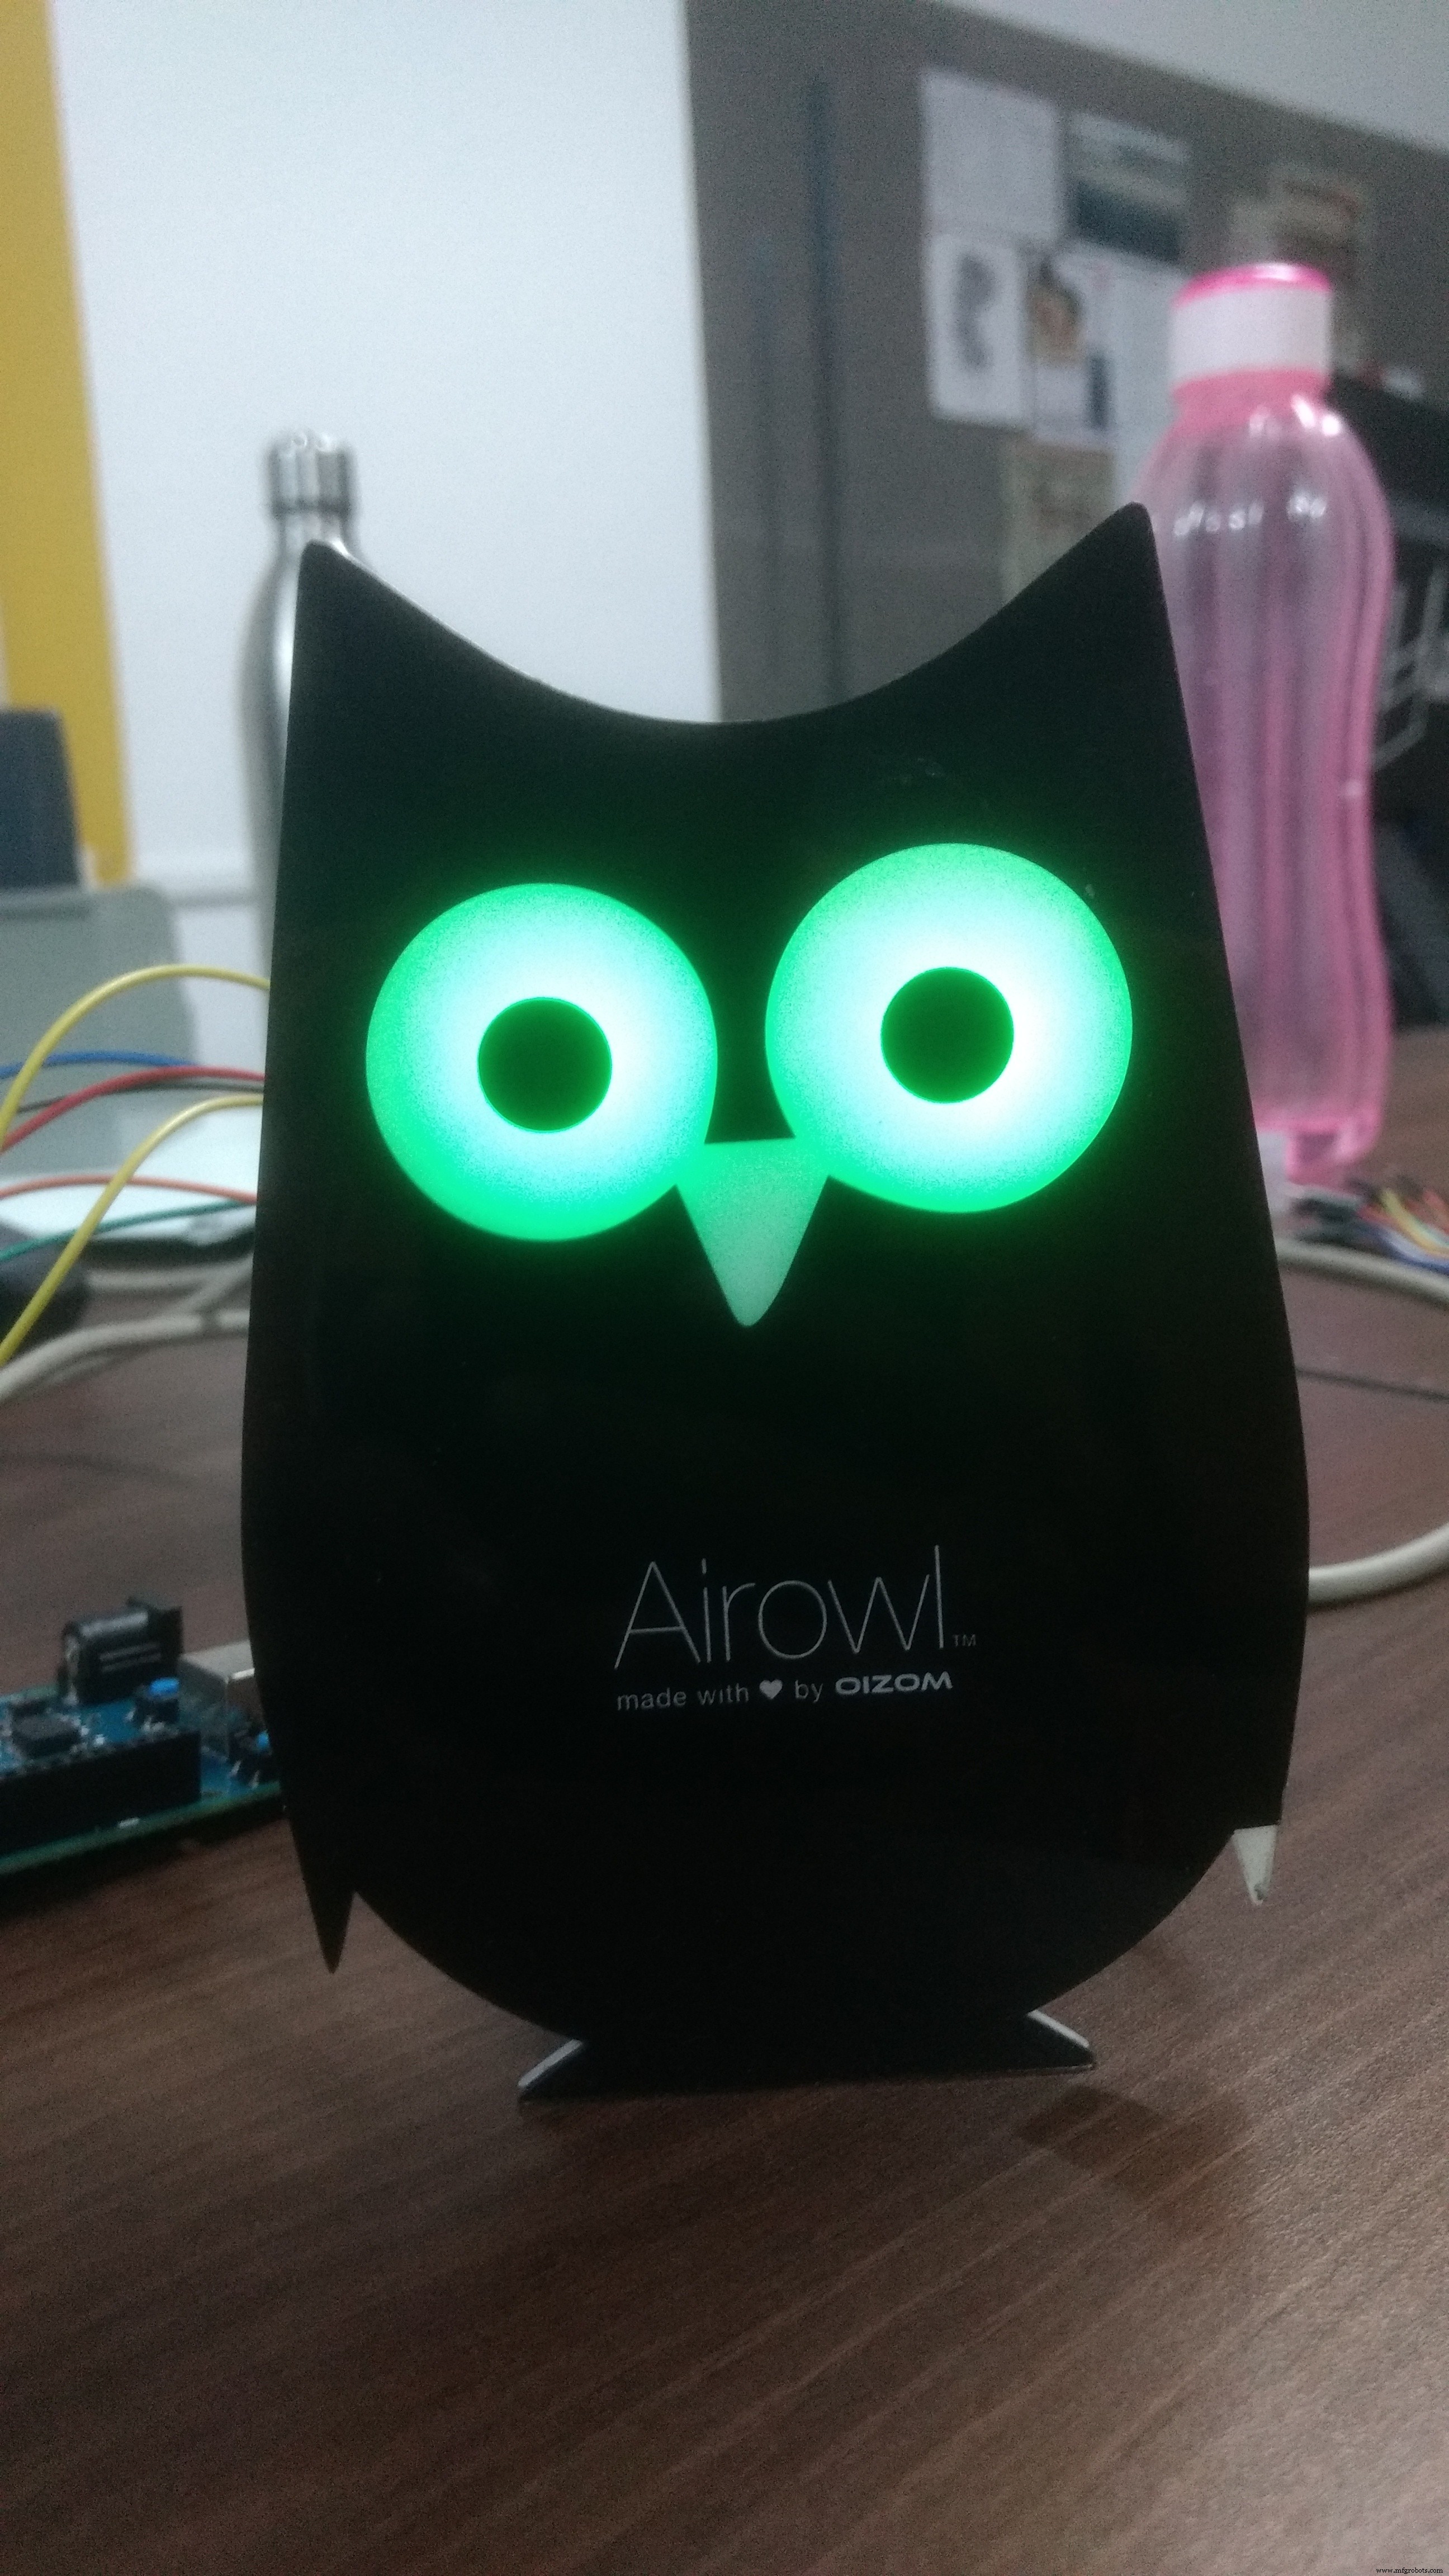
The below image is the image of the AirOwl running on arduino 101.
Air quality can be know through 3 factors:-
1) Blynk app(BLE)
2) Color of the eyes of Airowl

If eyes color is Green, you are in safer environment.
if eyes color is Blue, need to take care.
if eyes color is Red, there is danger.
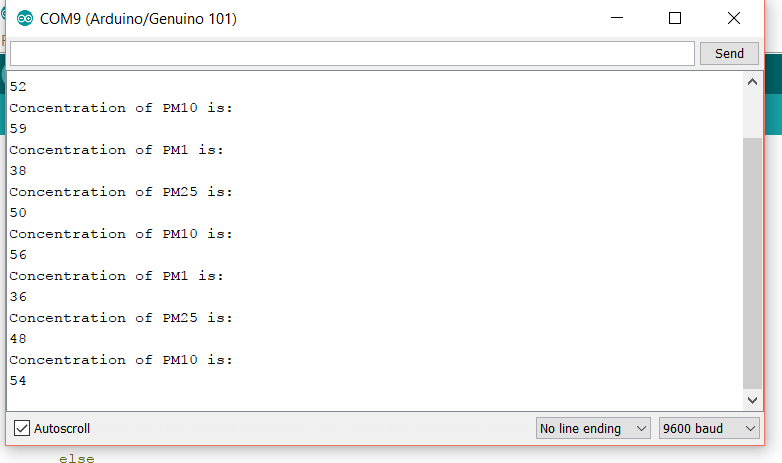
3) Serial Monitor
For the schematics and design of the Airowl please visit:-
https://github.com/anithp/AirOwl_Genuino101
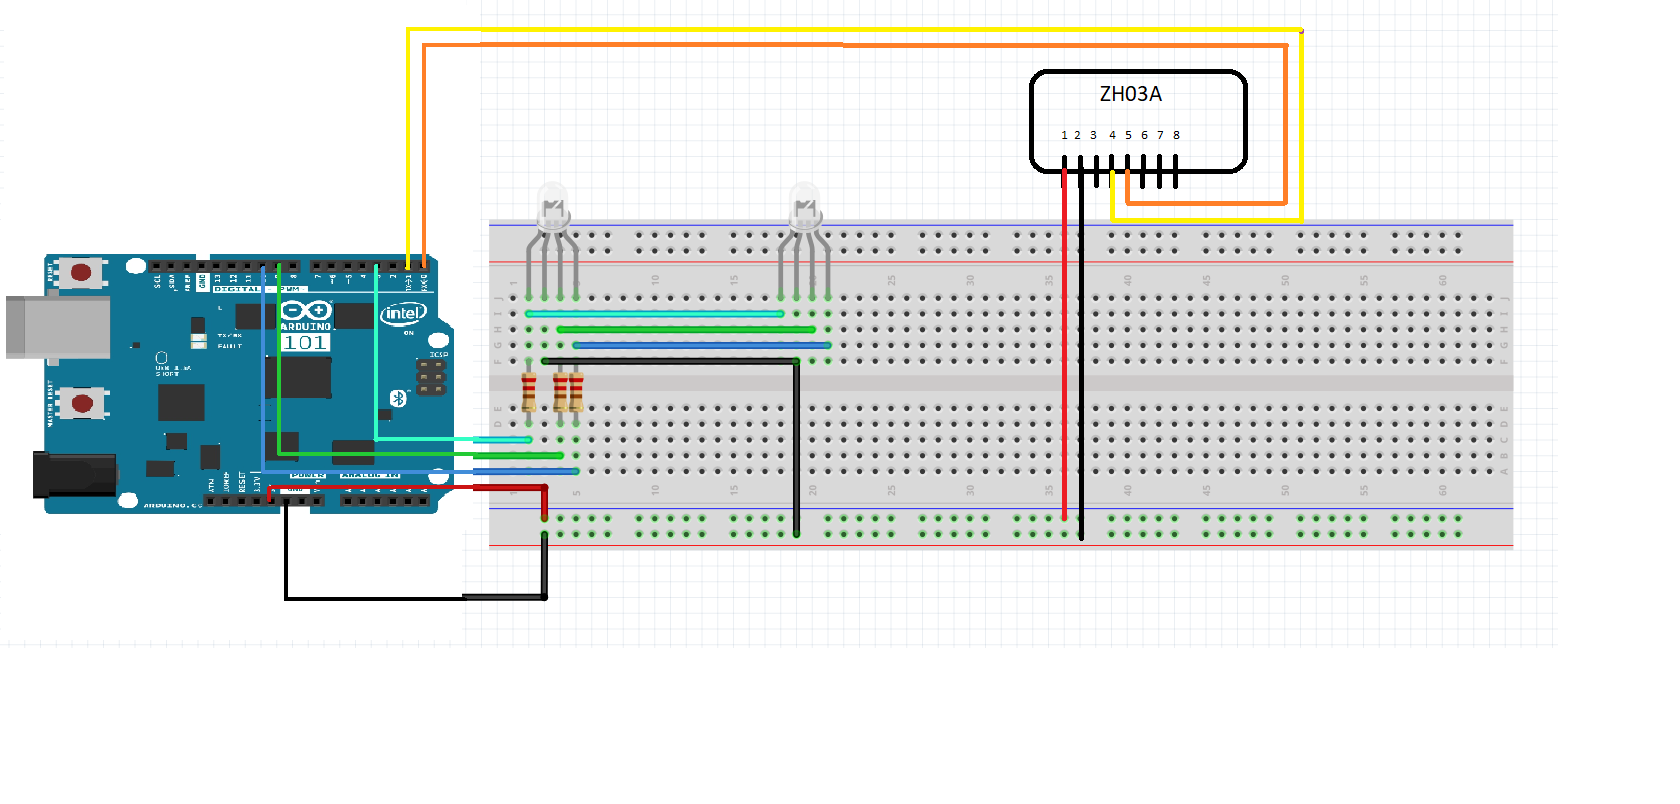
After going through the schematics connect circuit.
A basic diagram for the project is shown below.
Datasheet of the dust sensor is given below for further information on sensor:
https://goo.gl/17Vgeg
Now lets start making thing:-
After making connections from schematics, upload the code.(Assuming you have installed required libraries.)
For further information refer:- http://docs.blynk.cc/
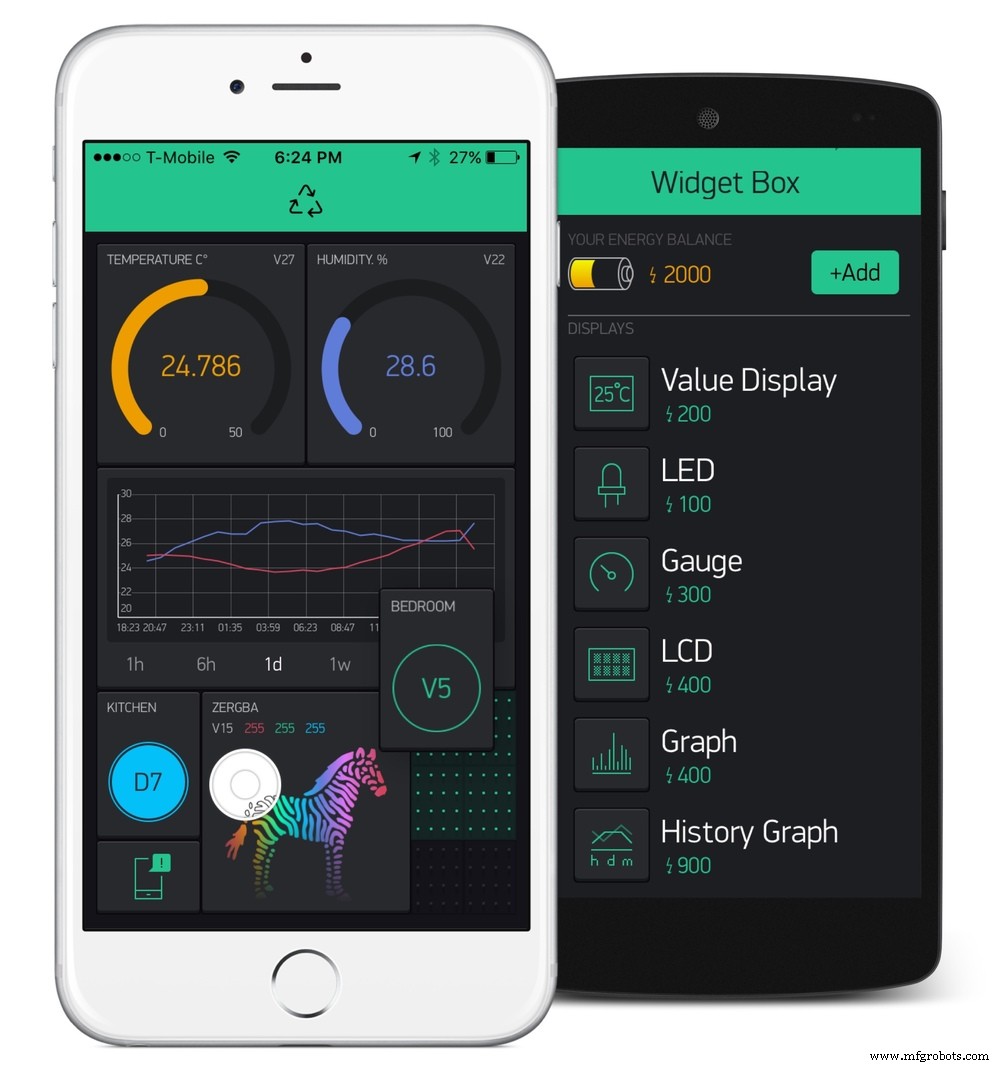
Now lets setup blynk:
First intall blynk from playstore/appstore
Playstore - https://play.google.com/store/apps/details?id=cc.blynk&hl=en
Appstore - https://itunes.apple.com/us/app/blynk-iot-for-arduino-rpi-particle-esp8266/id808760481?mt=8
After installing, make a account.
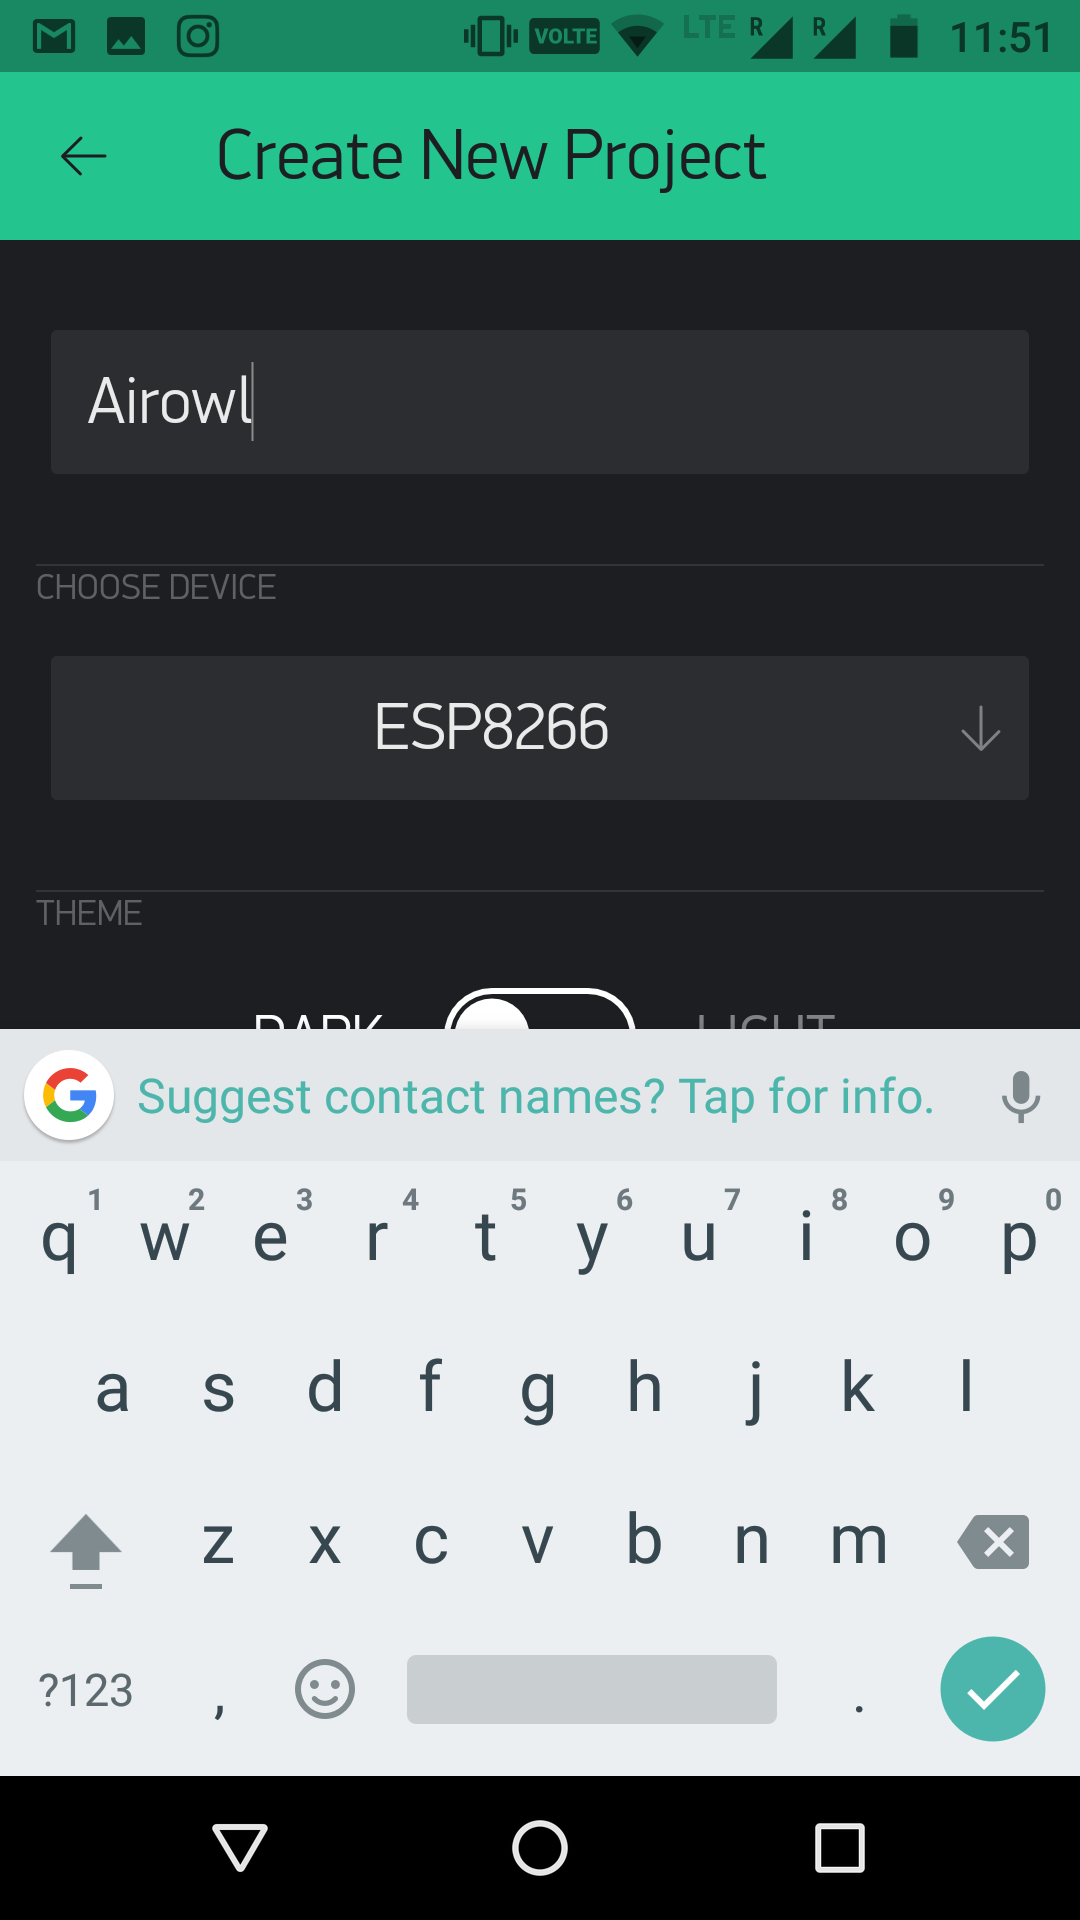
First Create New Project in Blynk
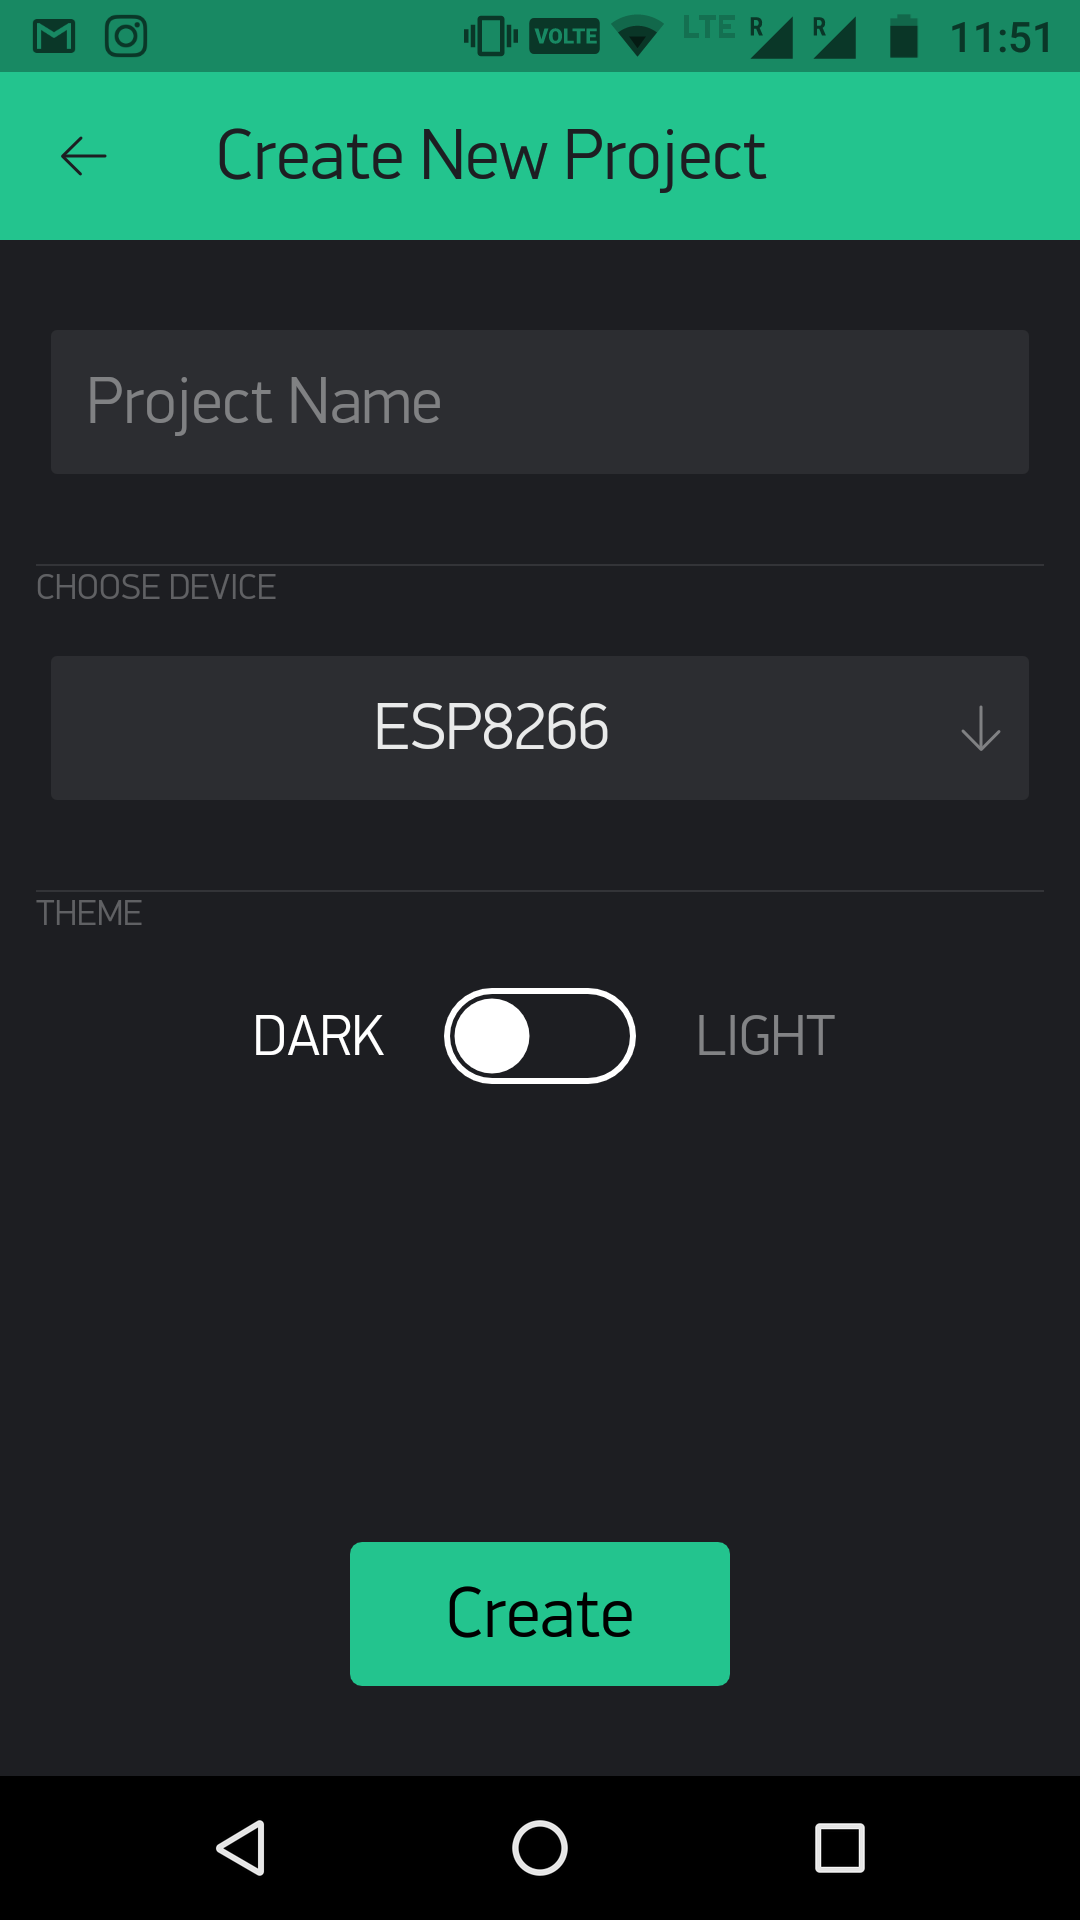
Then Select Board and give project name
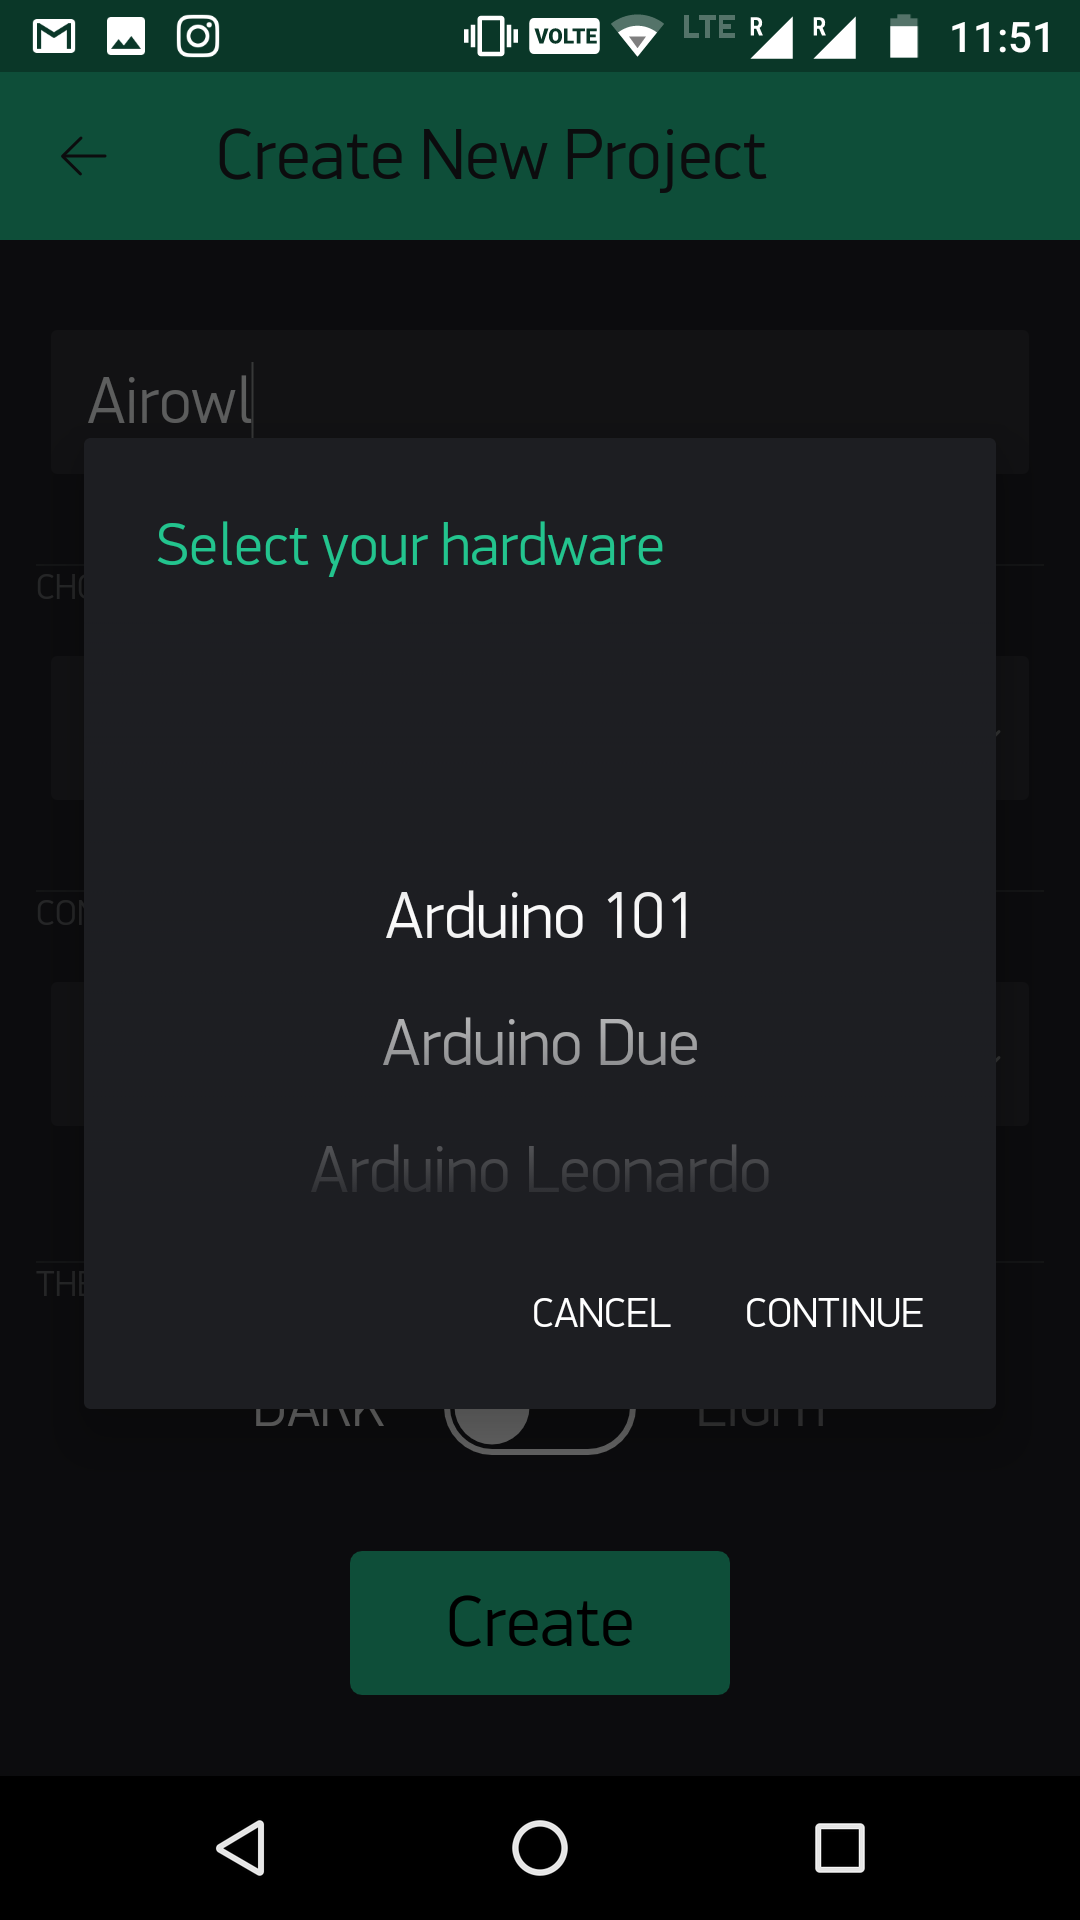

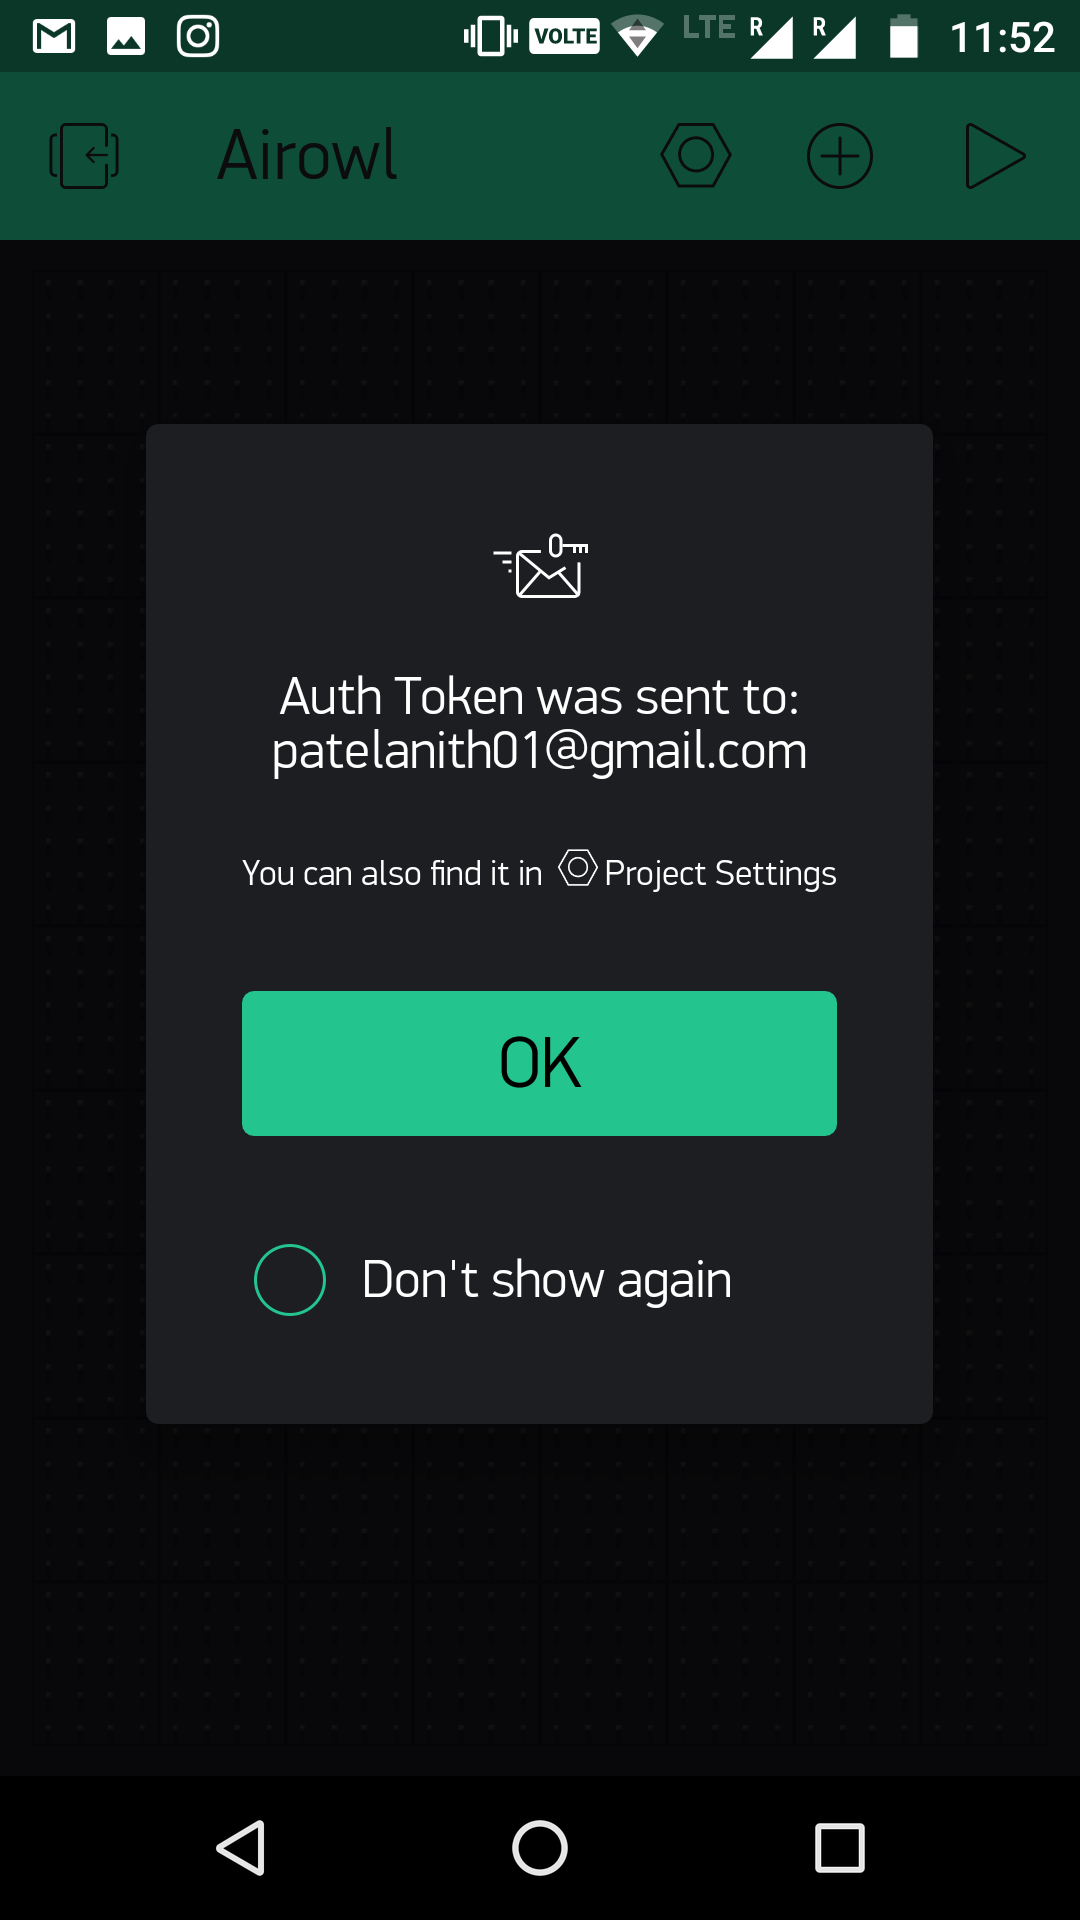
After selecting board, click on create.
After you select create, it will send authentication key to your registered account. And you can also resend email from setting.
Now a window will open where we will see a blank work space.
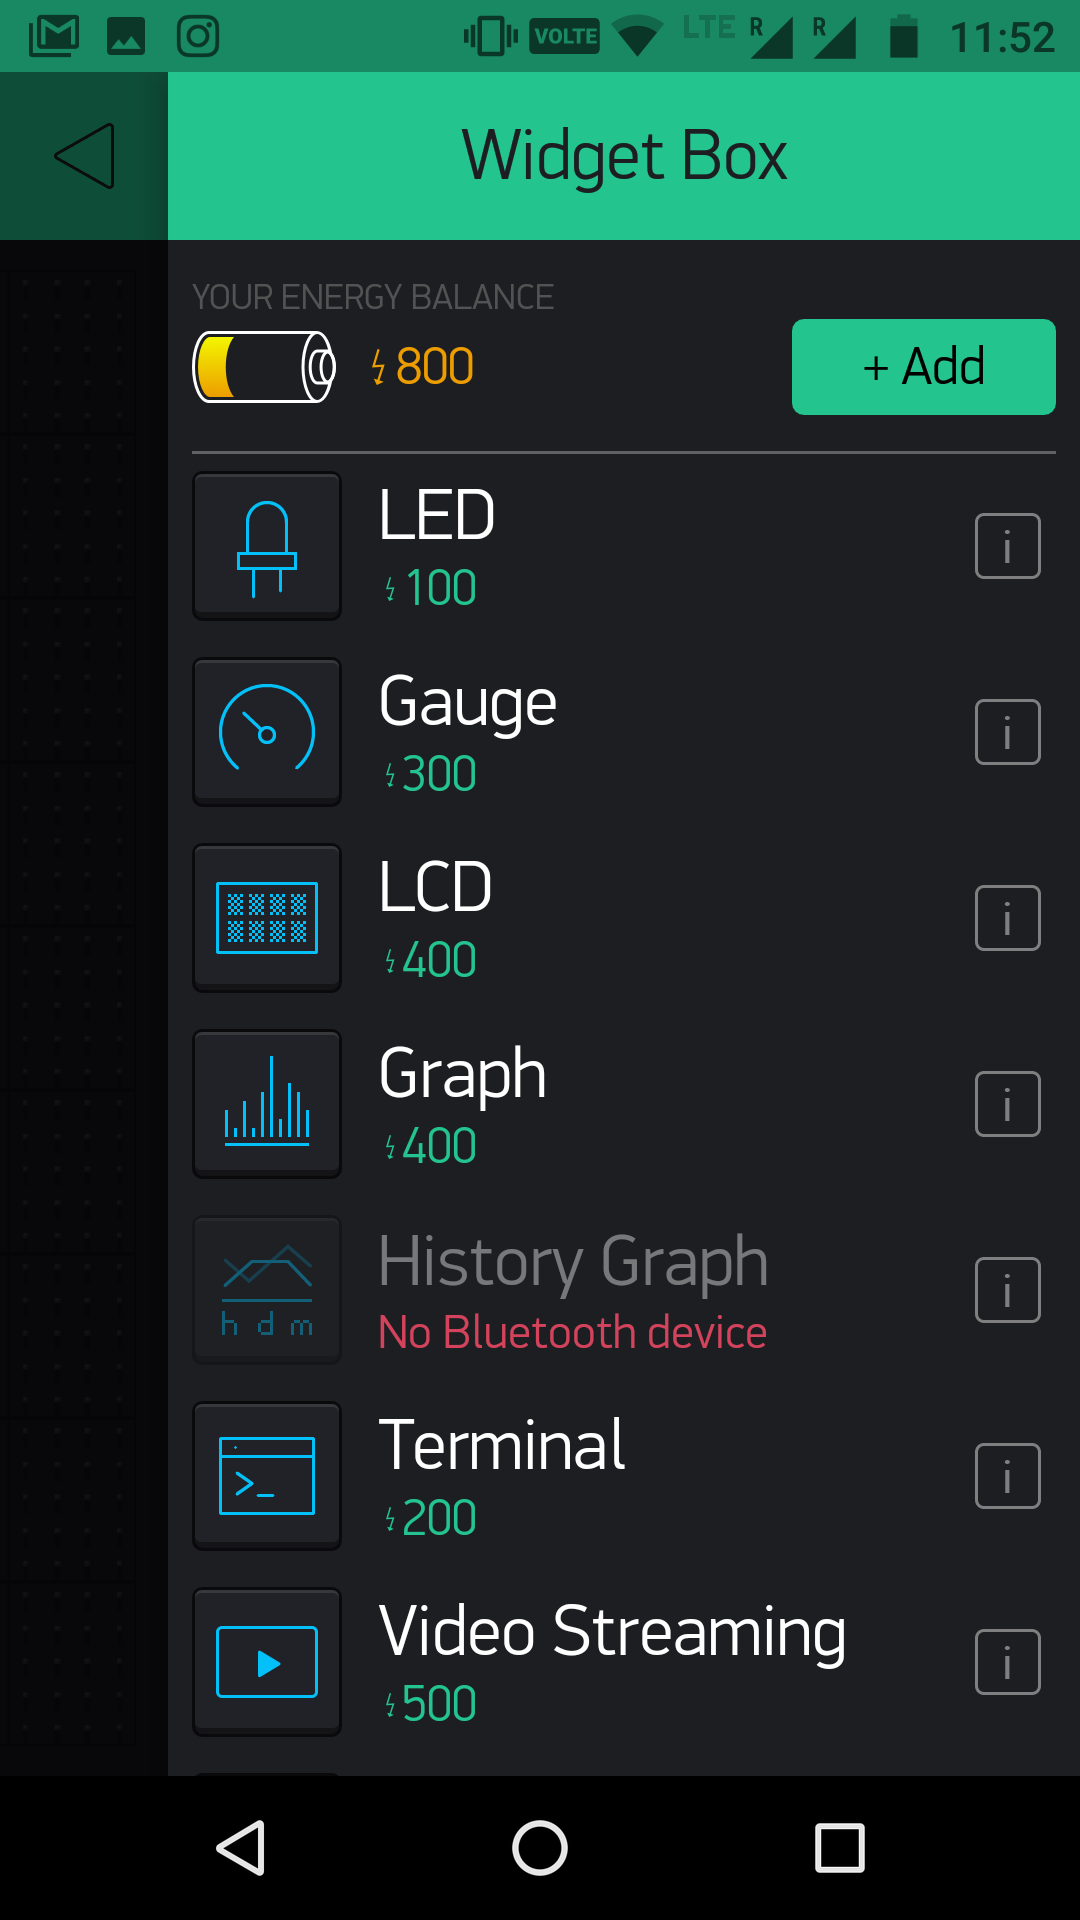
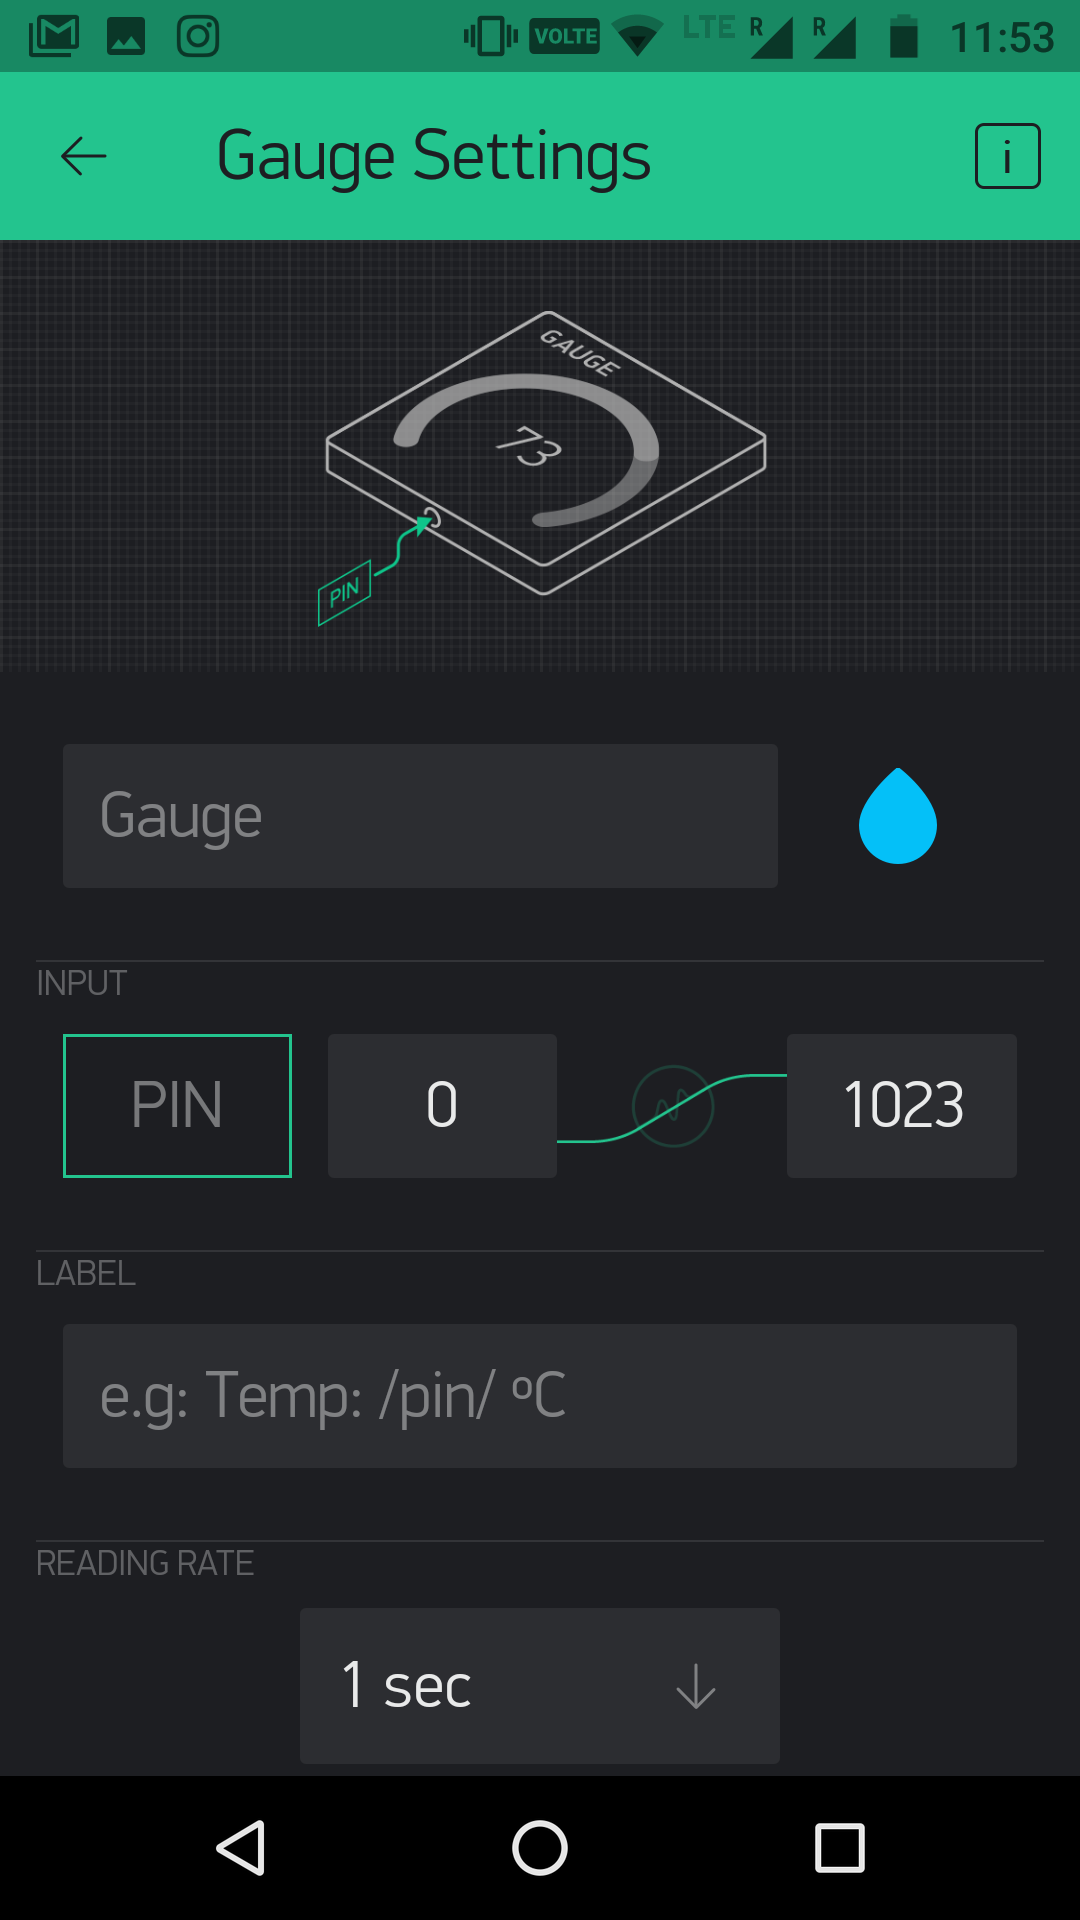
Click on add button and add BLE, and 3 Guage.
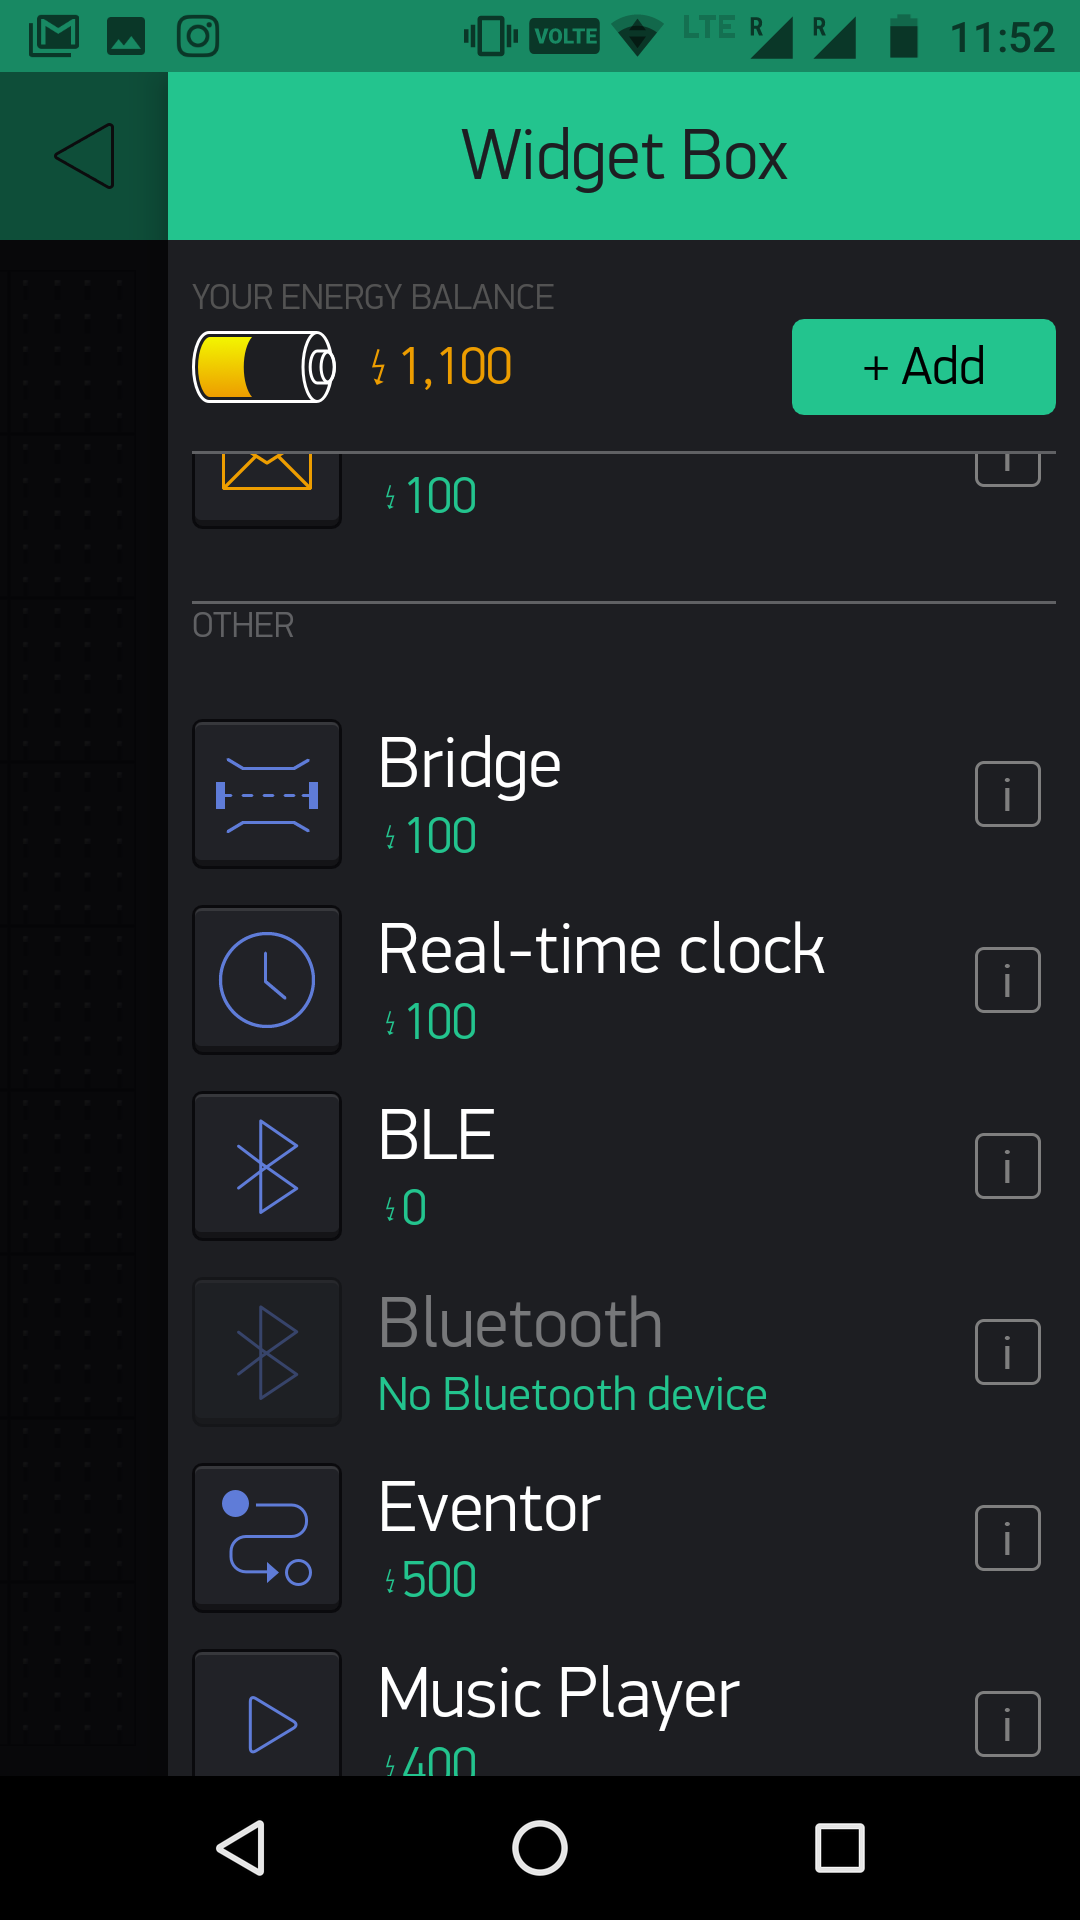
After selecting gauge, on work space click on guage and select pin as V1, V2, V3 for all guages respectively.
After setting this final work space will look like

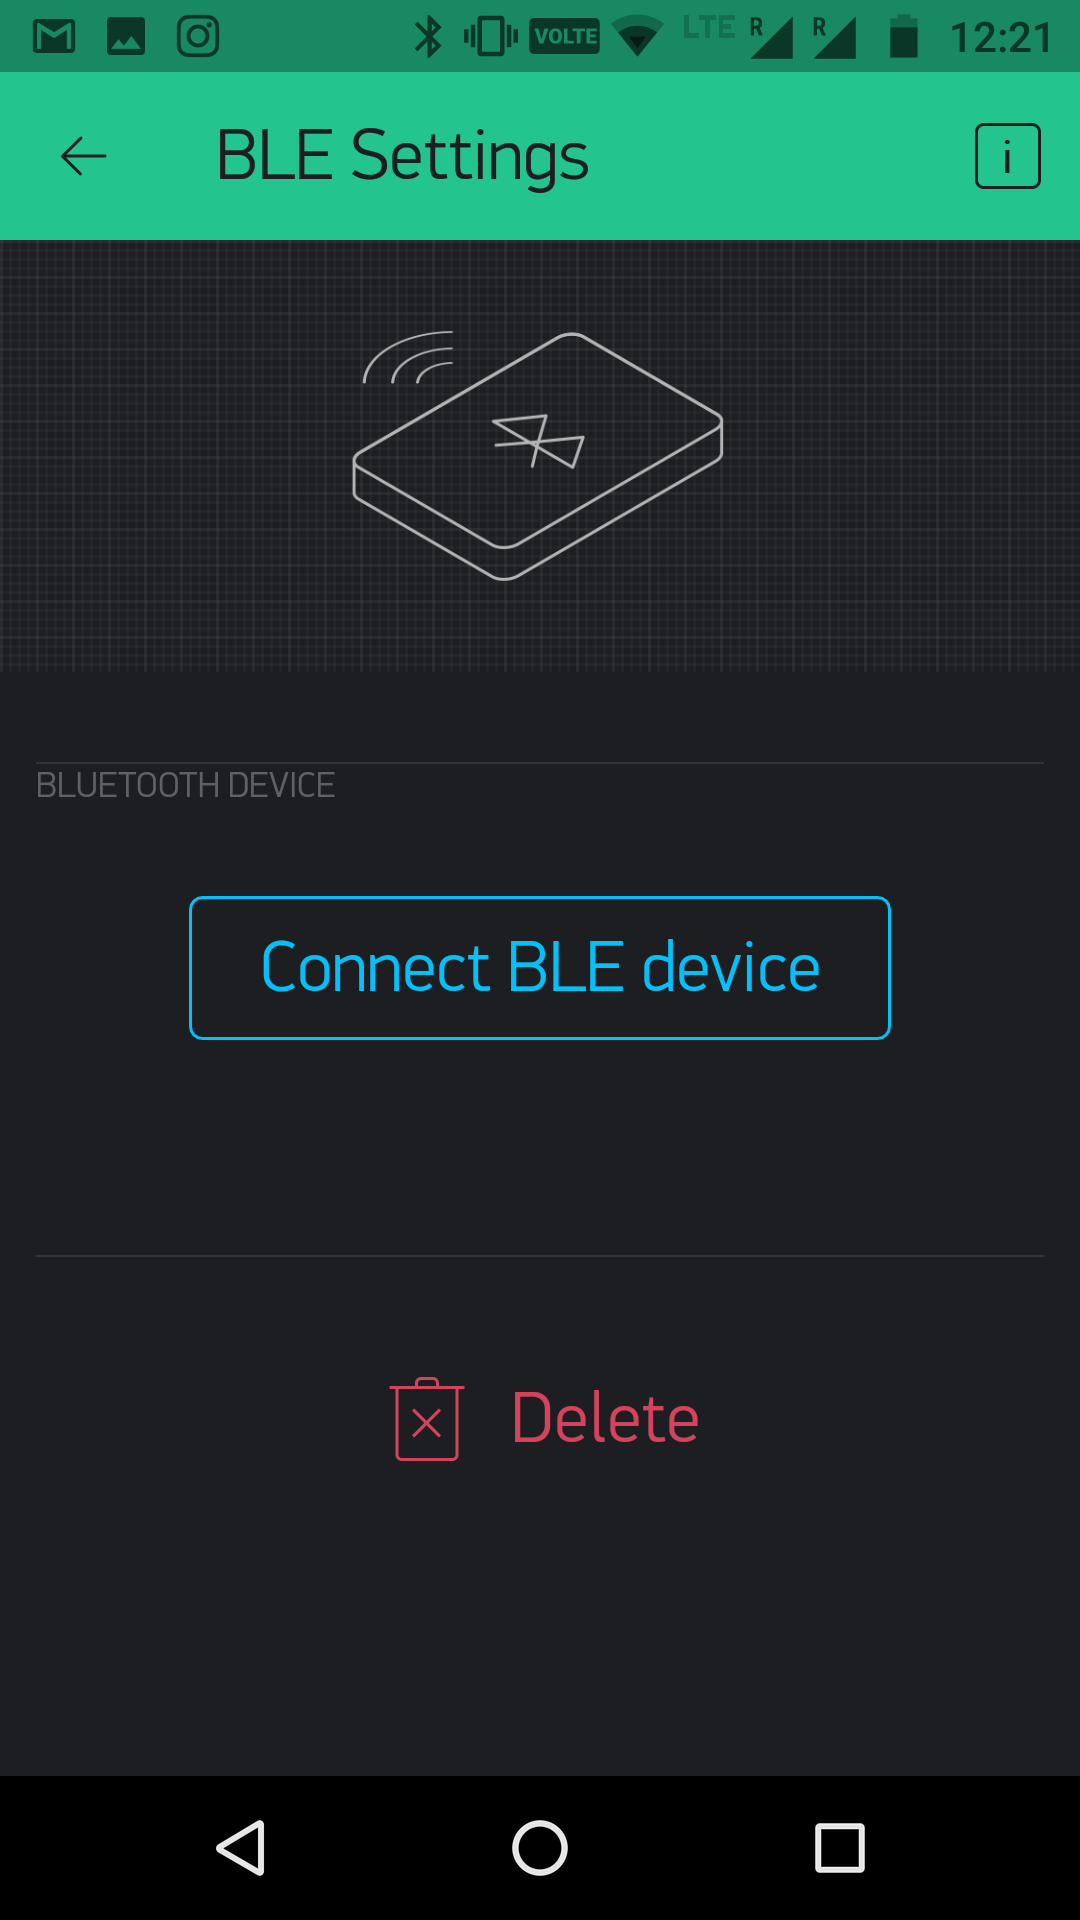
Now keep the arduino 101 connected to power supply and then select Bluetooth icon on work space to set bluetooth (PS- Keep bluetooth of mobile ON).
And then go to the main work space and start simulating the project.
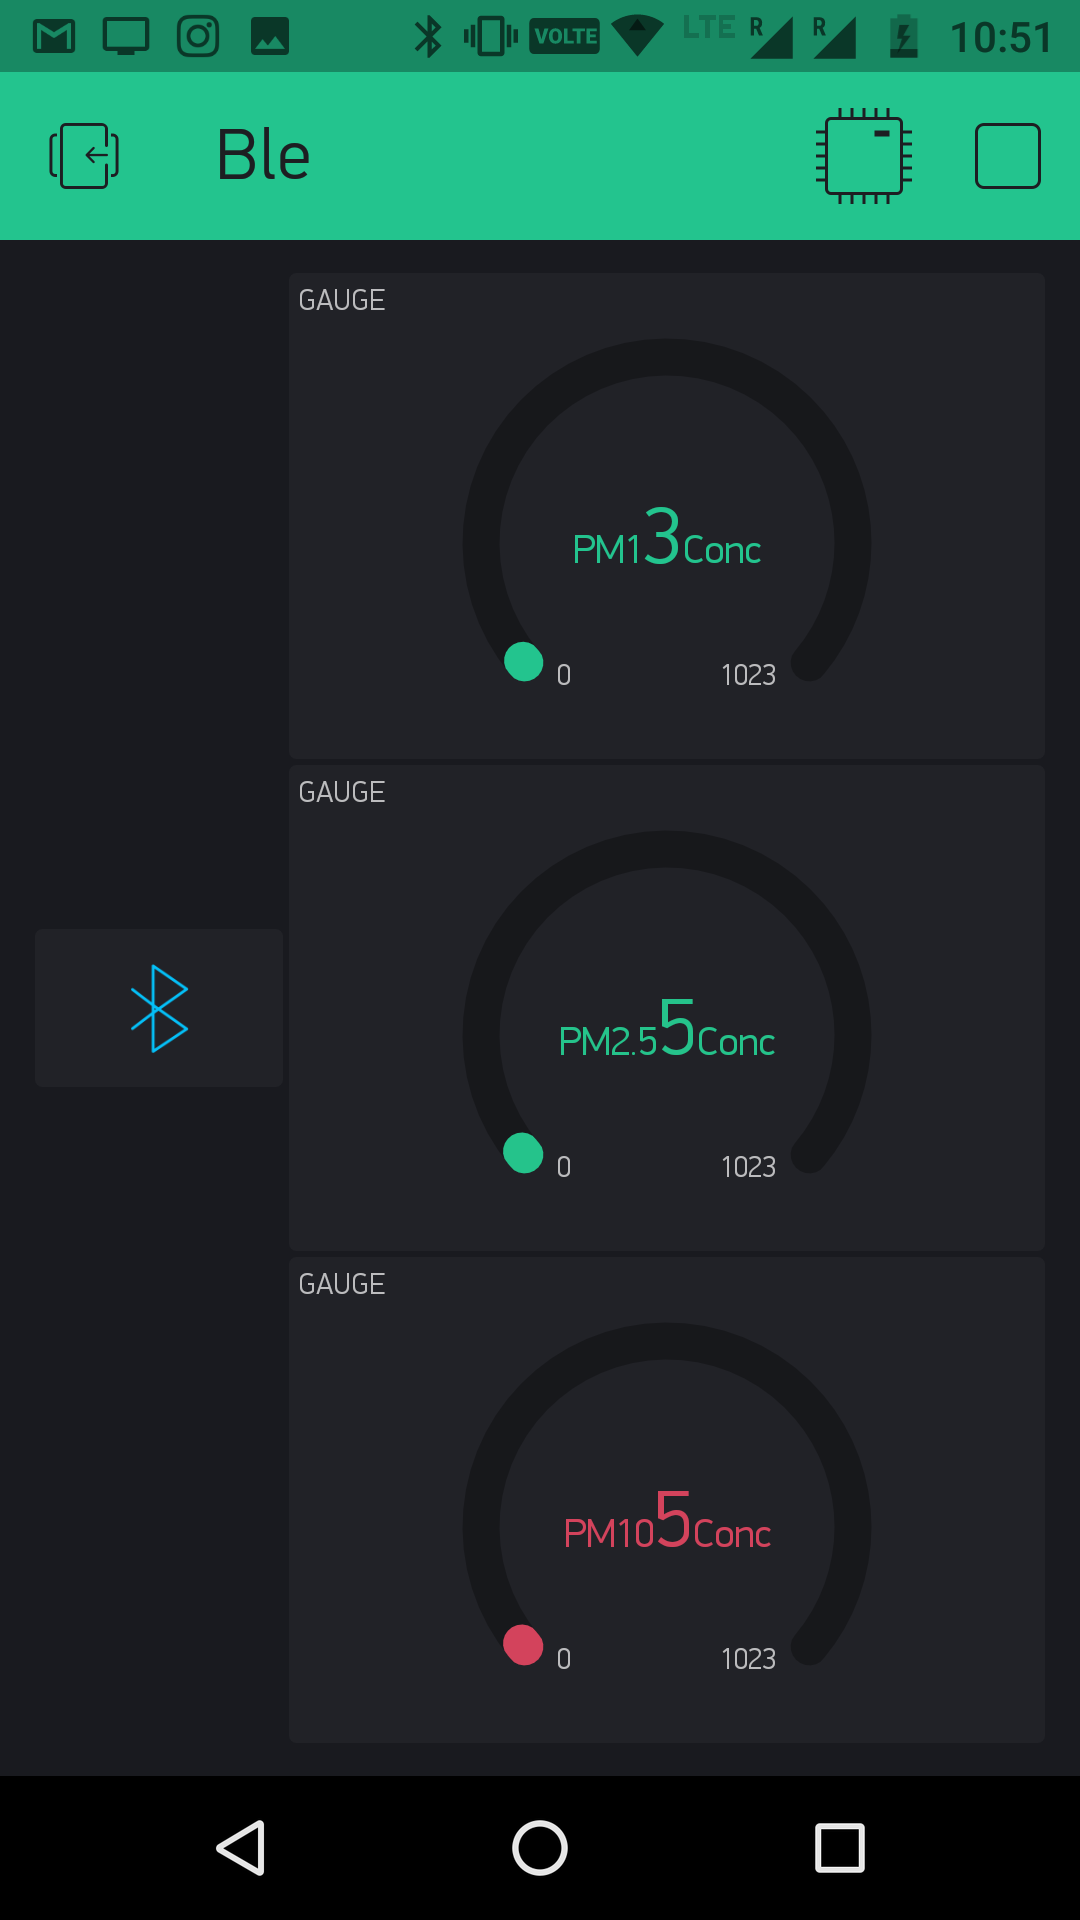
Data will be shown in the blynk window.
For the one who wants to prototype this using breadboard, the following schematic is for you, hope it can make your experience with Airowl awesome.
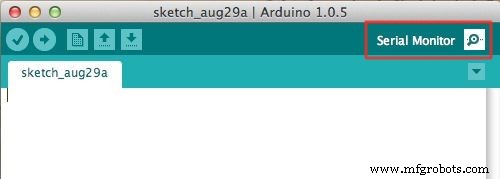
Data can also be seen on serial monitor.
Schematic of the PCB is shown below.

Board file is shown below.
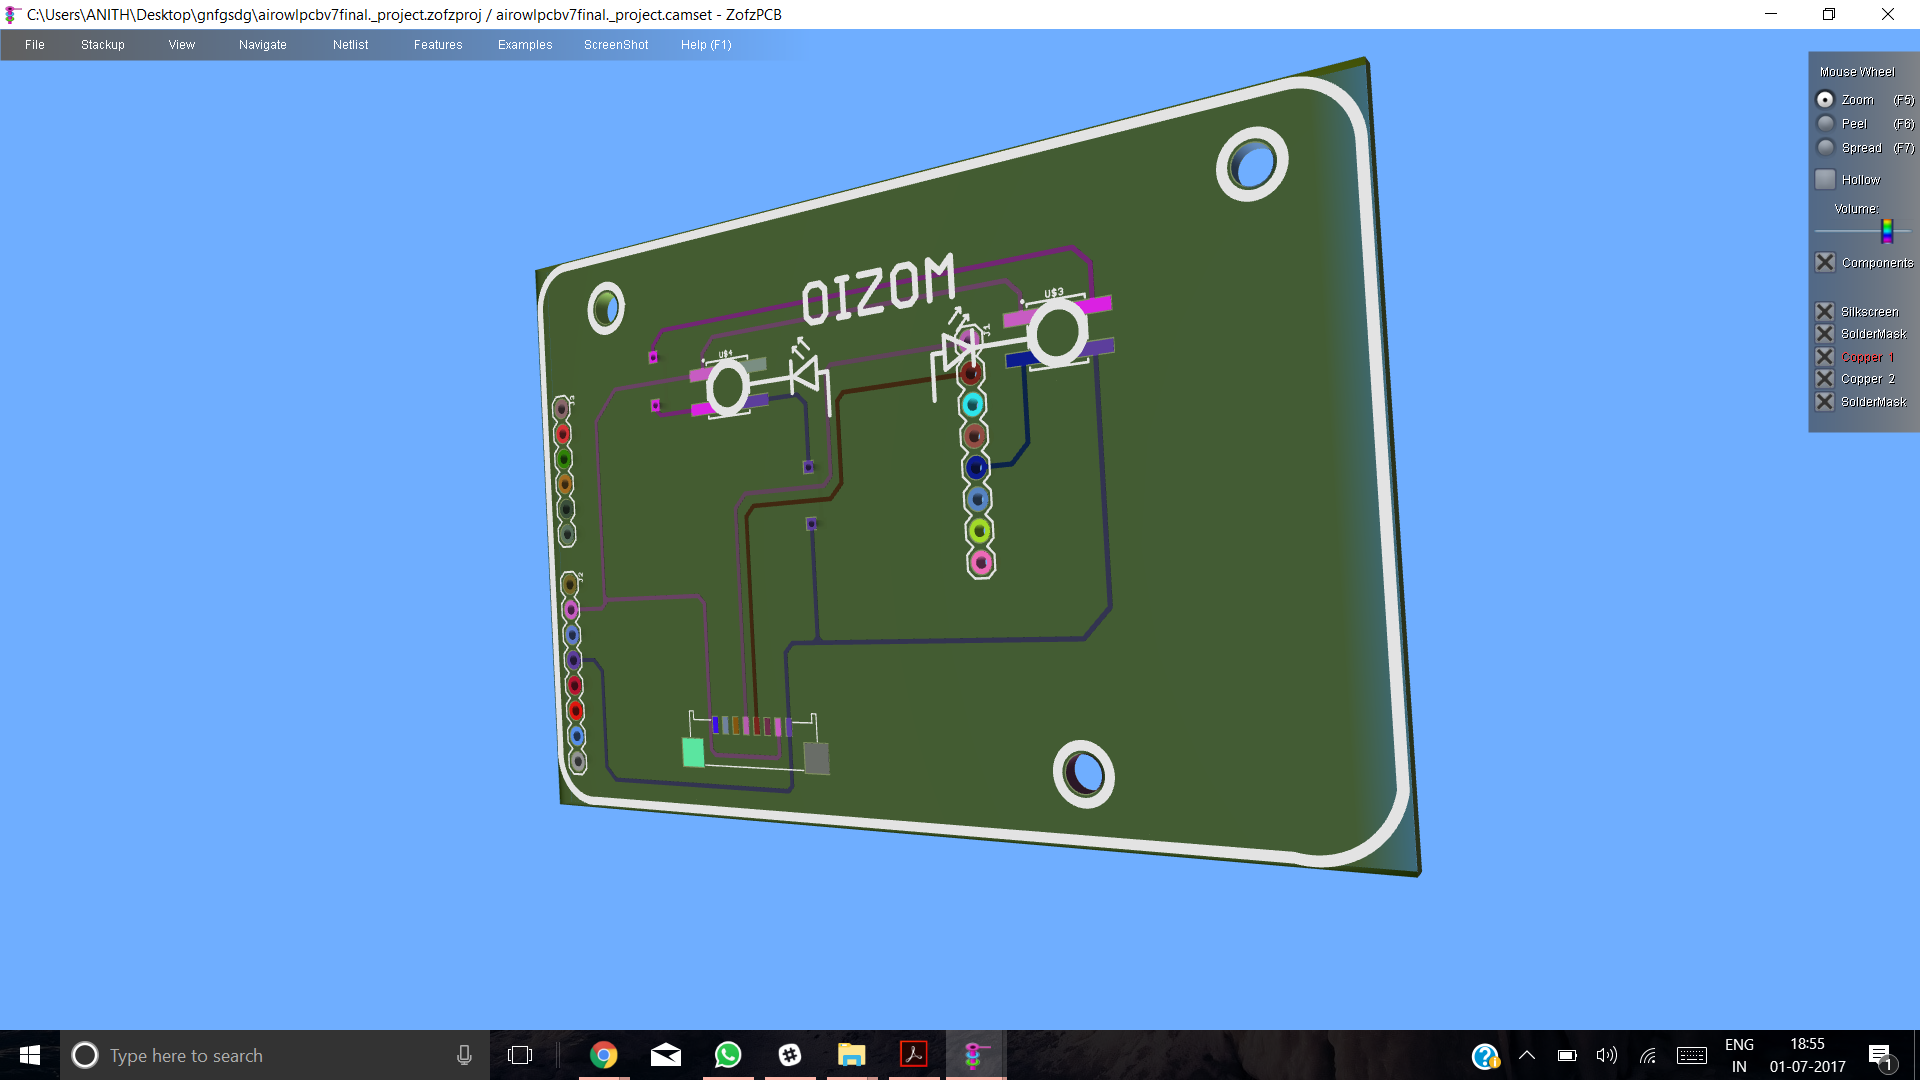
3D image of pcb looks like.
All the files of this images can found on github link mentioned below.
https://github.com/anithp/AirOwl_Genuino101
Now you can use the Airowl and know what you breath, hope it helps.
Thanks :)
Code
- Air_owl
Air_owlC/C++
/*  Copyright (C)  2017  Anith Patel and Sohil Patel.
    Permission is granted to copy, distribute and/or modify this document
    under the terms of the GNU Free Documentation License, Version 1.3
    or any later version published by the Free Software Foundation;
    with no Invariant Sections, no Front-Cover Texts, and no Back-Cover Texts.
    A copy of the license is included in the section entitled "GNU
    Free Documentation License". */


#include<BlynkSimpleCurieBLE.h>
#include<CurieBLE.h>

#define BLYNK_SERIAL Print //writing data for blynk

byte data[24];//refer datasheet of the dust sensor

unsigned int PM1 = 0; //initializing values for the particulate matter
unsigned int PM25 = 0;
unsigned int PM10 = 0;
unsigned int count = 0;

const int PIN1 = 3;
const int PIN2 = 5;
const int PIN3 = 6;

char auth[] = "Auth key"; //paste auth key of Blynk

BLEPeripheral blePeripheral;


void setup()
{
  blePeripheral.setLocalName("Airowl");     //setting BLE for blynk
  blePeripheral.setDeviceName("Airowl");
  blePeripheral.setAppearance(384);
  Blynk.begin(blePeripheral, auth);
  blePeripheral.begin();
  Serial1.begin(9600);                      //initialization of uart communication
  Serial.begin(9600);
  pinMode(PIN1, OUTPUT);                   //led setup
  pinMode(PIN2, OUTPUT);
  pinMode(PIN3, OUTPUT);
}


void loop()
{
 Blynk.run();                               //calls blynk
 blePeripheral.poll();
 Serial.println("Concentration of PM1 is:"); //prints in serial monitor
 Serial.println(PM1/count);
 Serial.println("Concentration of PM25 is:");
 Serial.println(PM25/count);
 Serial.println("Concentration of PM10 is:");
 Serial.println(PM10/count);
 delay(500);
 WriteData();                                //calls writedata function
 if ((PM1+PM25+PM10)/3 <= 100){
  LedColor(0, 255, 0);
  delay(500);
  }
 else if ((PM1+PM25+PM10)/3 <= 300 && (PM1+PM25+PM10)/3 > 100){
  LedColor(255, 0, 0);
  delay(500);
  }
 else{
  LedColor(0, 0, 255);
  delay(500);
  }                                          //logic for the led data
}

void LedColor(int red, int blue, int green){
  analogWrite(PIN1, red);
  analogWrite(PIN2, blue);
  analogWrite(PIN3, green);
  }

void getWinsenData(void)                //function for getting data from sensor
{                                       //for understanding this logic do refer datasheet of the sensor
  byte i = 0;
  int checksum = 0;
  Serial1.flush();
  while (Serial1.available()) {
    data[i] = Serial1.read();                //reads serial data from sensor
    if (i <= 21)                            //condition for the sensor reading data
    {
      checksum += data[i];
    }
    if (i == 23) {
      if (checksum == ((256 * data[22]) + data[23]))
      {
        if (data[0] == 66)
        {
          if (data[1] == 77)
          {
            if (i == 23)
            {
              PM1 += ((data[4] * 256) + data[5]);
              //retrives and stores data for PM1
              PM25 += ((data[6] * 256) + data[7]);
              //retrives and stores data for PM2.5
              PM10 += ((data[8] * 256) + data[9]);
              //retrives and stores data for PM10
              count++;
              Serial1.flush(); //waits for serial data to transmit
              break;
            }
          }
        }
      }
      else
      {
        break;
      }
    }
    i++;
    delay(10);
  }
 }


void WriteData()                              //sending data to blynk
{
  getWinsenData();                            //calls getWinsendata function
  Blynk.virtualWrite(V1, PM1/count);          //write data to Blynk
  Blynk.virtualWrite(V2, PM25/count);
  Blynk.virtualWrite(V3, PM10/count);
  delay(1000);

  }
Custom parts and enclosures
AirOwl
https://github.com/IndiaOpenDataAssociation/AirOwlSchematics
AirOwl Genuino 101
https://github.com/anithp/AirOwl_Genuino101Manufacturing process
- SLA vs. PolyJet: Choosing the Right 3D Printing Technology for Your Project
- 7 Essential React Libraries Every Developer Should Master
- Complete Arduino 16×2 LCD Tutorial: Connect, Program, and Display Data
- Unlock Efficiency: Key Advantages of Lean Manufacturing
- AC vs DC Motors: Key Differences & How to Choose the Right One
- Master PCB Fabrication: Essential Tips for Prototyping Success
- D880 Transistor Explained: Features, Specs, and Use Cases
- Exploring EDM: How Electrical Discharge Machining Works & Why It Matters
- Understanding Stamping: The Key Process Behind Coke Can Production
- CNC Copper Machining: Precision, Applications & Industry Benefits