


Valentine's Sunflower: Build a Smart Arduino Project
Components and supplies
 |
| × | 1 | |||
| × | 1 | ||||
| × | 1 |
Necessary tools and machines
 |
|
Apps and online services
 |
| |||
 |
|
About this project
With Valentine’s Day coming up, we started looking for project ideas with a romantic twist. While searching for clues around us our eyes fell on a plastic sunflower that we had on our office window. Truth be told, it was quite ugly, but it gave us an idea - what if we made a flower that moves according to light, just like a real sunflower. After a few revisions (and a bunch of filament) we give you this Valentine's Sunflower! Spread the love.
The ElectronicsIf you’ve been following our tutorials, you should already know the drill:
1. Click on this magic link on circuito.io with the exact components you need for this project.
2. Make adjustments if needed. For example, if you want to use a battery instead of the wall adapter or if you have a different type of Arduino. We used a pro-mini for this project. If you want to use a different one, make sure that it fits in the flower.
3. Click on Generate (the red button at the bottom of the builder.
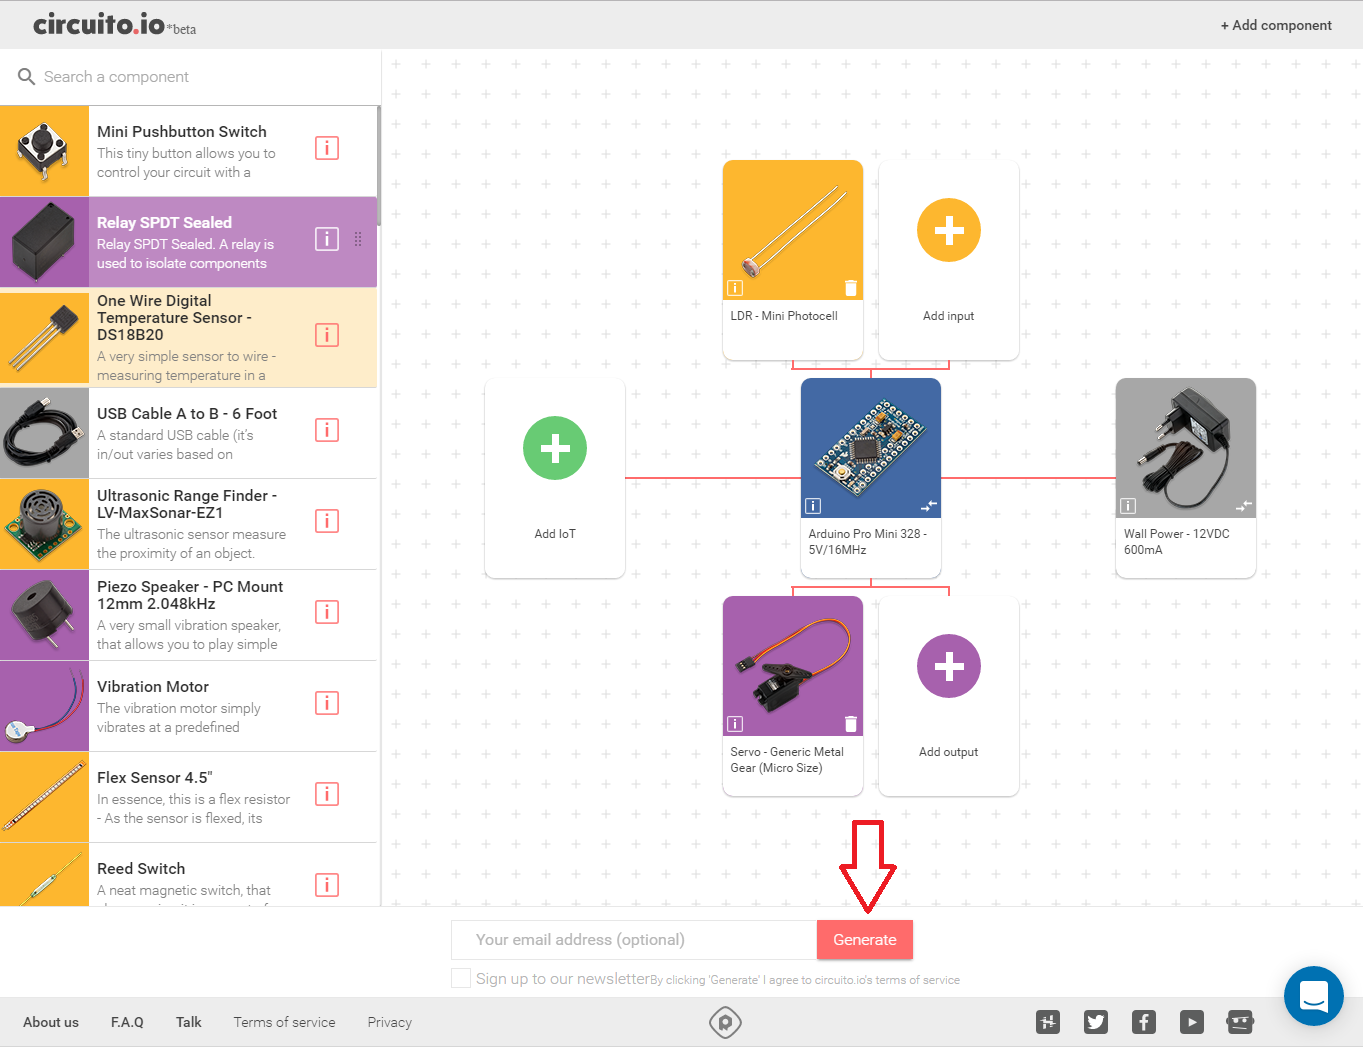
4. Check that you have all the parts you need, including the peripherals - resistors, cables, jumper wires etc. The list will appear in the first step of the Step-by-Step guide.
You can click on the different parts on the list (on the app) and you’ll be redirected to a website where you can purchase them if needed.
5. Wiring - Scroll down a bit in the reply you got, and you’ll see a step-by-step guide that will navigate you through the wiring of your circuit.

6. You’ve reached the code section. Here you have an example code that integrates all the components used in the project.
- Download the code
- Unzip\extract it to your computer
- Open it with Arduino IDE (which you can download here)
- Upload it to your Arduino
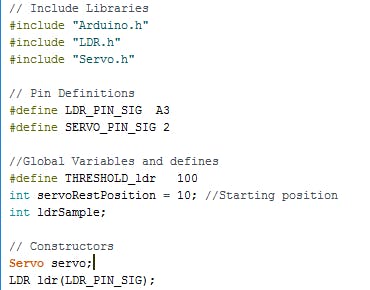
After you see that everything is working properly, copy the new code from the code section below, and paste it into the "firmware" tab in the code you are already working on, so that you have all the libraries already set-up. Make sure to leave the first part at the top of the code, which defines the pins and libraries (the part in the image below).
3D Print the different parts of the flower. You can find all the .STL files in the links below or in this link.
You will need to print:
- 1 X base
- 1 X bar
- 1 X tie
- 1 X sepal
- 6 X pedals
- 10 X grass - when printing this part, make sure to use soft\flexible filament. We used Filaflex
Assembly:
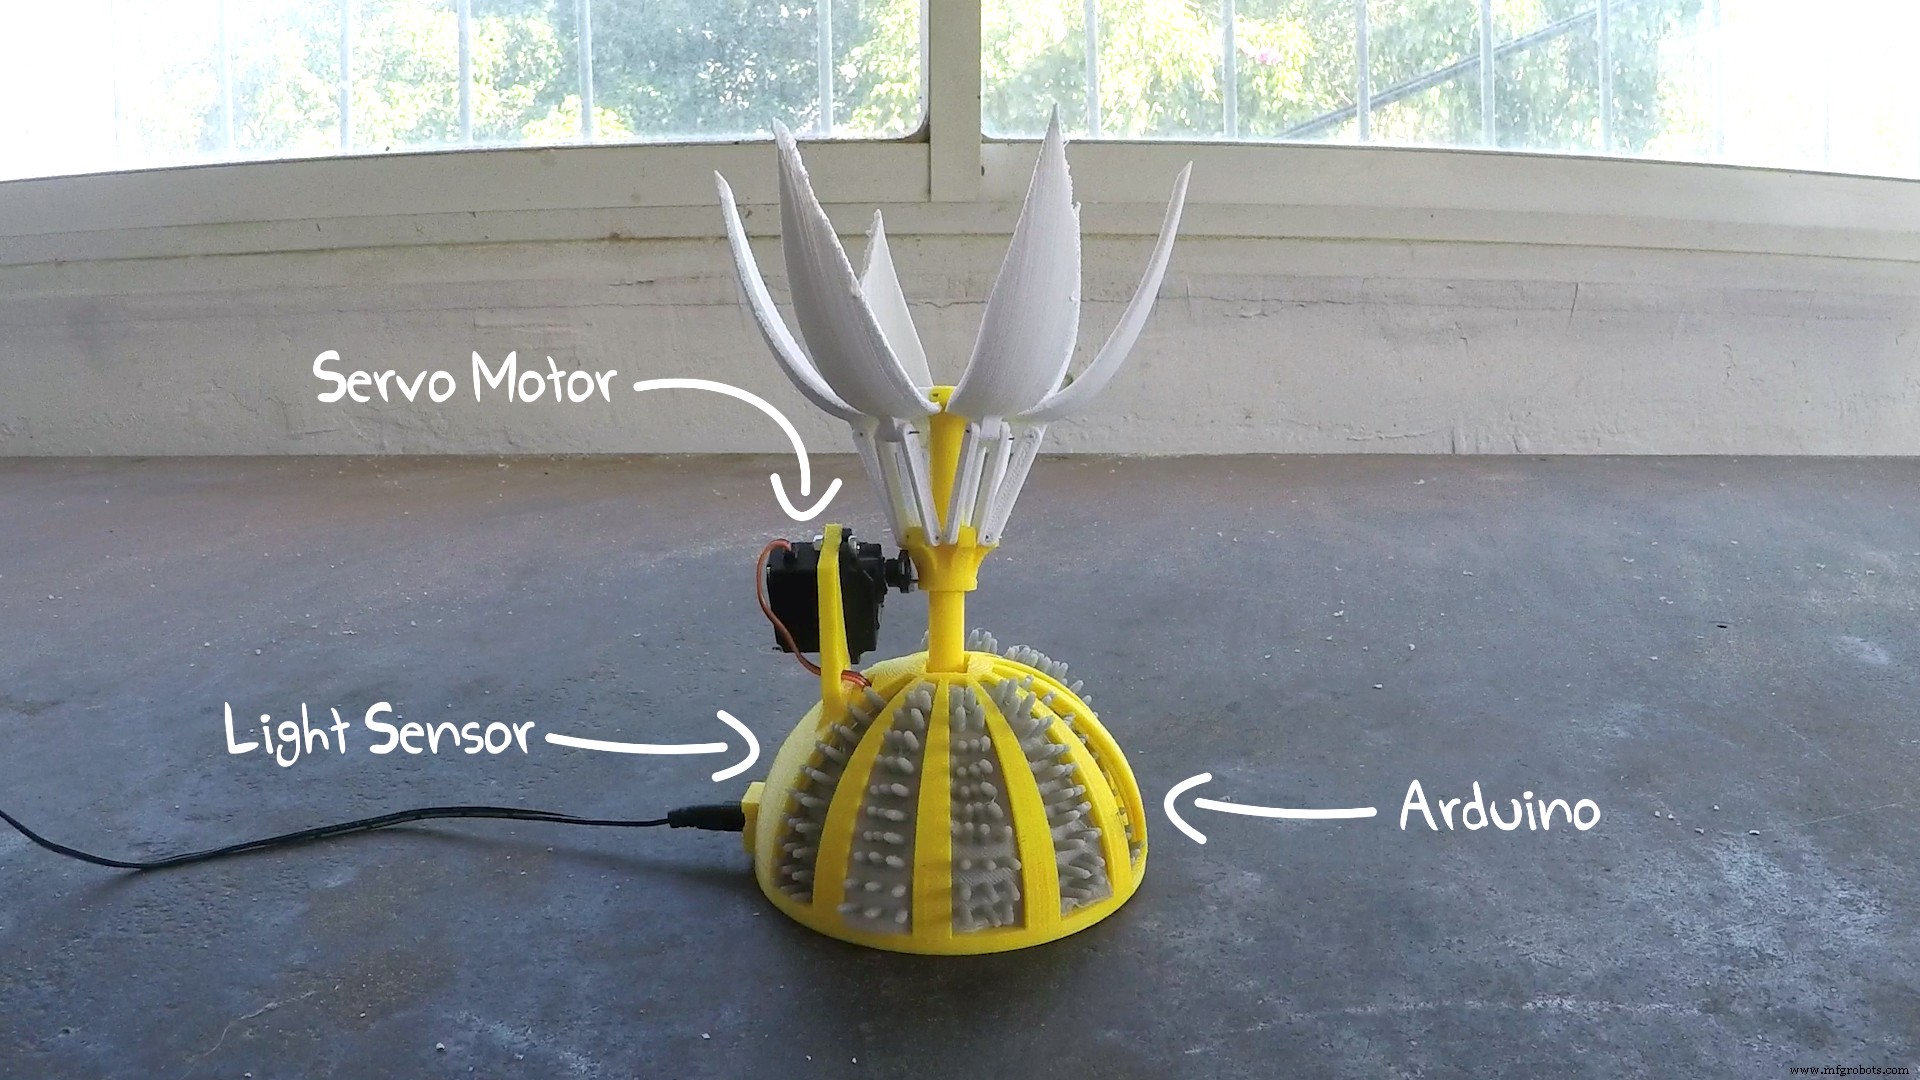
- For the petals, the bar and the sepal we used a thin flexible steel wire. There are small drills built in to the design exactly for this.
- The servo motor is connected with 2 small screws to the side of the base and with a nail to the sepal.
- Place the Mini photocell in the dedicated drill in the base, underneath the servo pedestal.
Have a Sunny Valentine!
Code
- Sunny Valentine
Sunny ValentineArduino
1. Download the code from circuito.io2. Open it with Arduino IDE
3. Replace the void setup () from the originial code, with the code presented below
/* This code sets up the essentials for your circuit to work. It runs first every time your circuit is powered with electricity. */
void setup() {
    // Setup Serial which is useful for debugging
    // Use the Serial Monitor to view printed messages
    Serial.begin(9600);
    Serial.println("start");

    servo.attach(SERVO_PIN_SIG);
    servo.write(servoRestPosition);
}

/* This code is the main logic of your circuit. It defines the interaction between the components you selected. After setup, it runs over and over again, in an eternal loop. */
void loop() {
    // Get current light reading, substract the ambient value to detect light changes
    ldrSample = ldr.readAverage(1000);
    Serial.print(ldrSample);
    Serial.print('\t');
    servoRestPosition = map(ldrSample,200,900,10,95);
    servoRestPosition = constrain(servoRestPosition, 10,95);
    Serial.println(servoRestPosition);
    servo.write(servoRestPosition);
    delay(1000*20);
}
Custom parts and enclosures
Sunflower bar
Sunflower - Petal
Sunflower - base
Sunflower - Sepal
Sunflower - grass
Sunflower - tie
Manufacturing process
- Sunflower Seeds: A Delicious, Nutritious Snack with Ancient Roots
- DIY Arduino USB Gaming Controller – Build Your Own High-Performance Gamepad
- DIY Cloud Costume: LED Strip, Arduino Nano & SparkFun Parts
- Smart Arduino Water Bottle – Real-Time Monitoring & Alerts
- DIY Holiday Shadow Theater: Build a Light Show with Arduino and Addressable LED Strip
- IoT4Car: Capture & Analyze Vehicle Telemetry with Arduino MKR1000
- Intelligent Washing Machine Timer Using Arduino Pro Mini and OLED Display
- Ultimate DIY Kegerator: Complete Components & Build Guide
- Real-Time Motorbike Telemetry System with Arduino, GPS, and Sensors
- Advanced Arduino-Based ECG Monitor for Real-Time Heart Rate Detection