


DIY Arduino USB Gaming Controller – Build Your Own High-Performance Gamepad
Components and supplies
 |
| × | 1 | |||
 |
| × | 1 | |||
 |
| × | 12 | |||
 |
| × | 1 | |||
| × | 1 | ||||
 |
| × | 1 |
Necessary tools and machines
| ||||
 |
| |||
 |
|
Apps and online services
 |
| |||
|
|
About this project
VIDEOINTROSO this post is gonna be about a "DIY Gaming USB Controller" which we have been working on recently at ElectroPunkz Labs.
the idea here is to make a cheap Atmega32U based USB controller with buttons and analog joysticks that can be used to play games
like NFS, GTA, half-life, LITTLE FIGHTER 2!etc
We've made our controller in two form factors, the first one is based on PS1 or SNES config and other is a straight-up Xbox USB controller with analog sticks and buttons (not yet finalized)
We gonna Make V1 in this post which is the PS1 layout Controller!
It's better if you watch the project's Video First-
MATERIALSthe hardware is pretty simple and easy to get (except for the PCB, you can make your own with the attached PDF file of PCB)
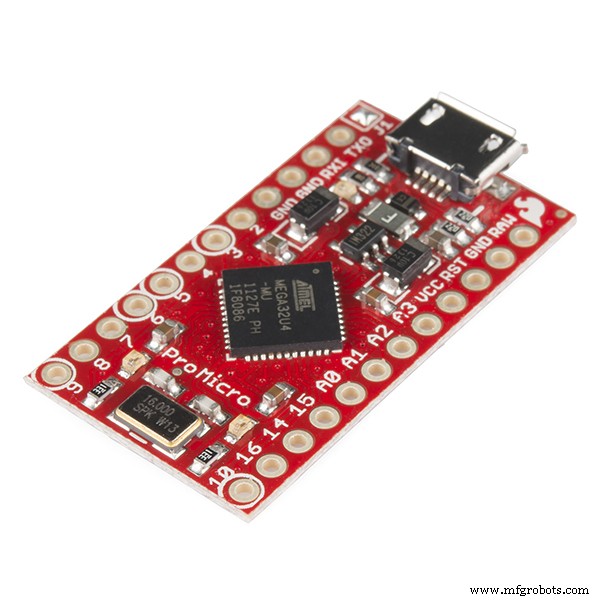
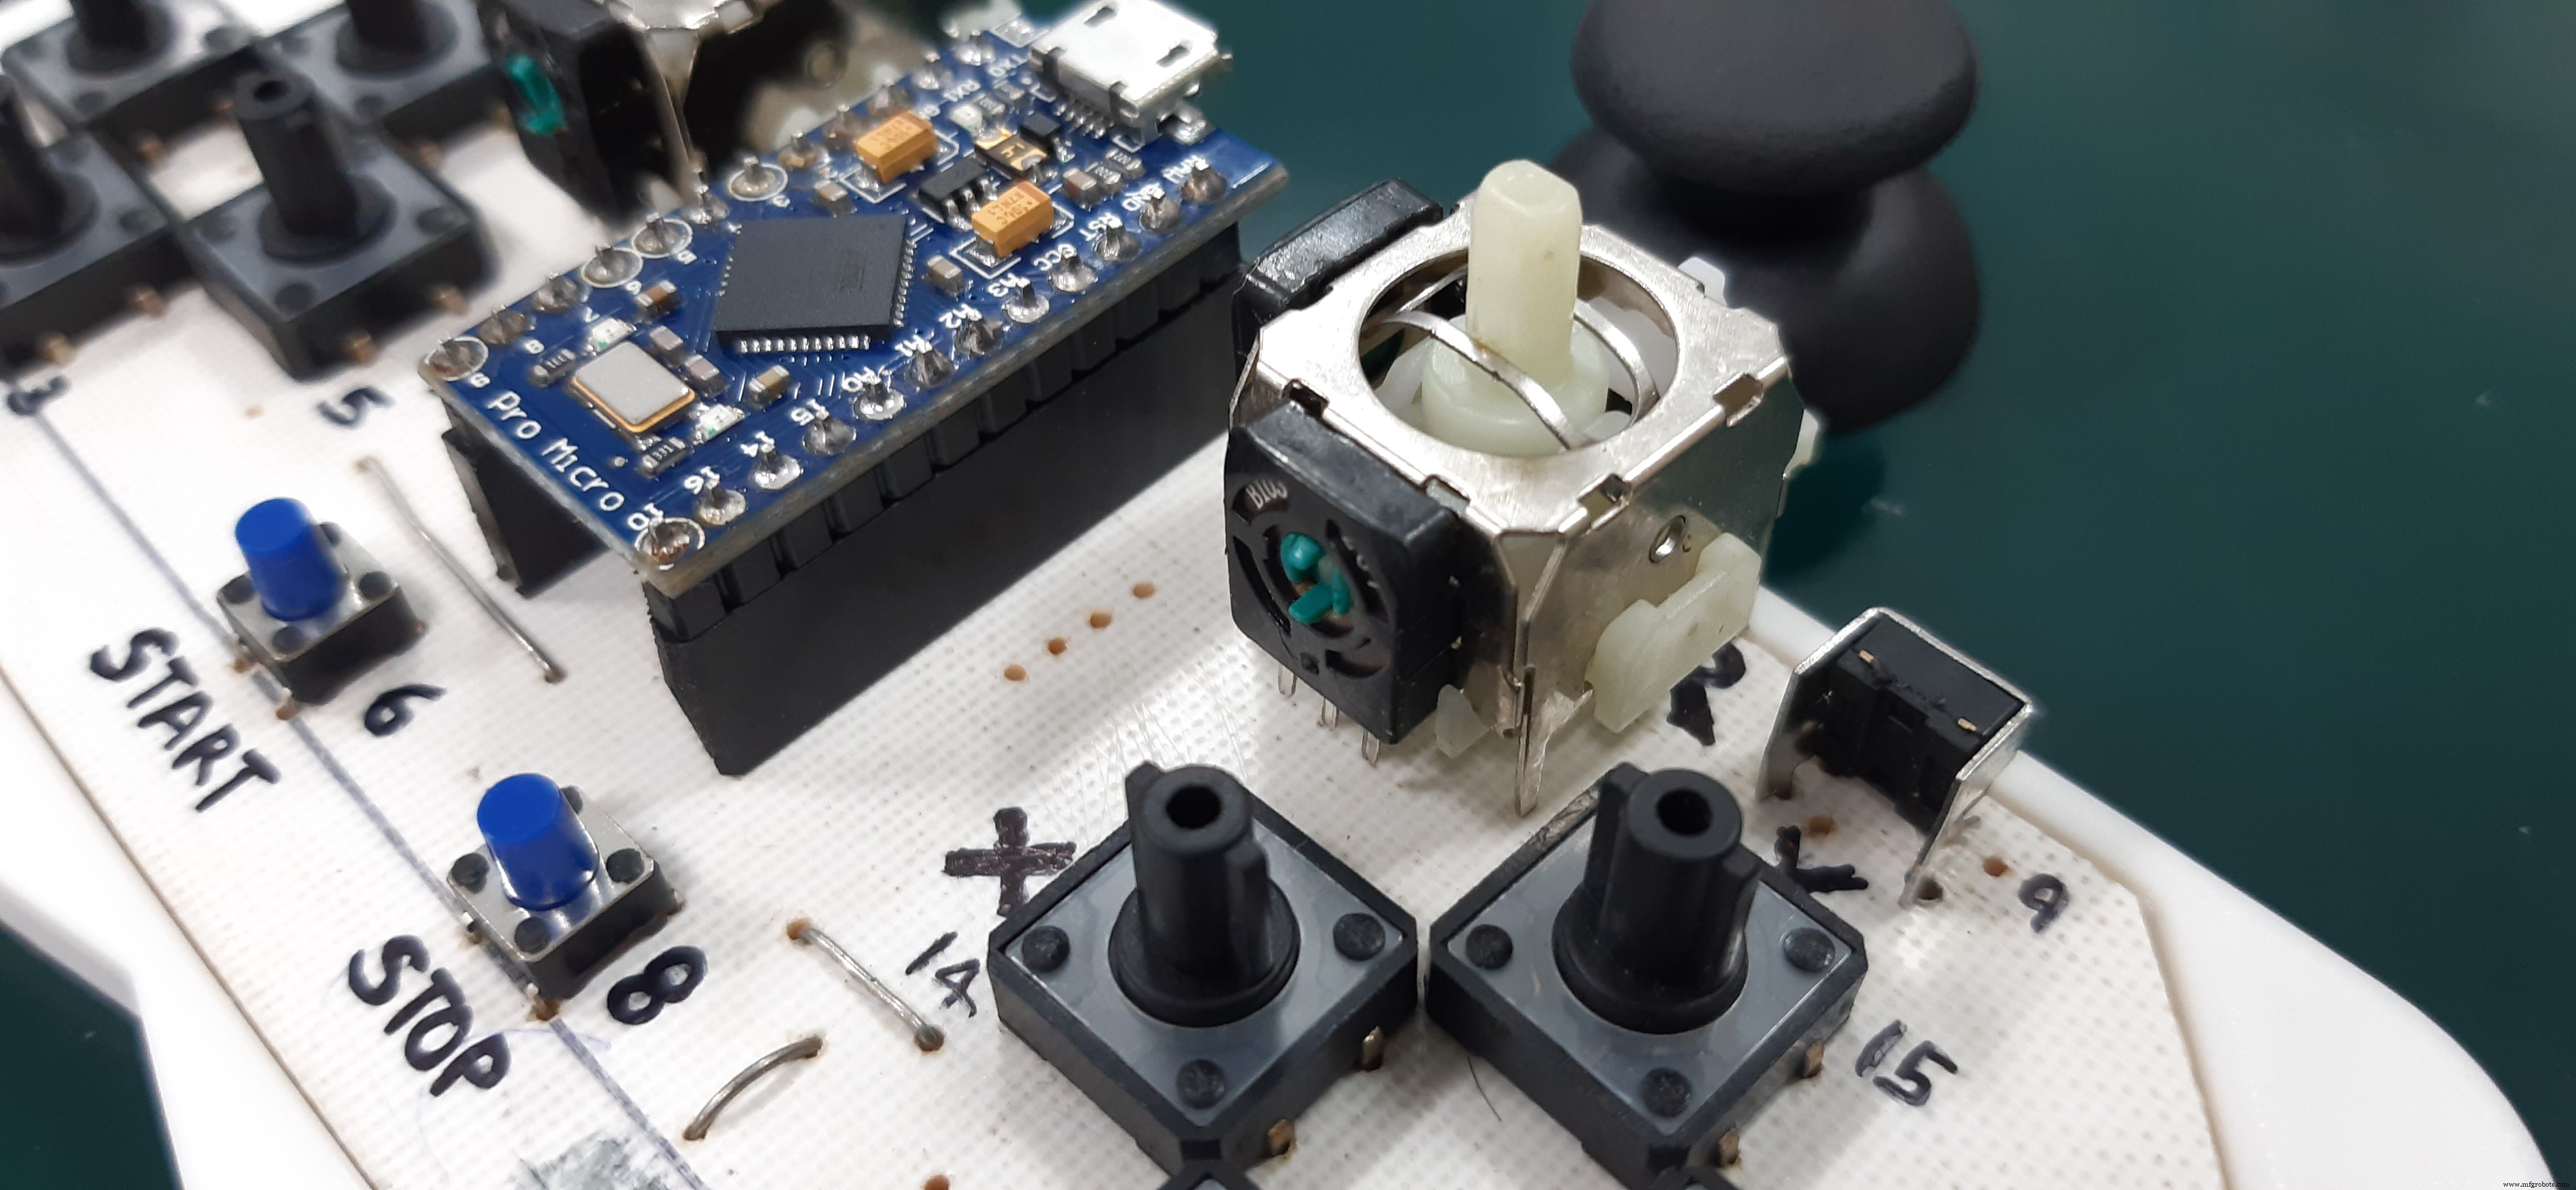
- Arduino Leonardo/ Pro Micro/ Atmega32U
- Buttons (tick tack switches)
- Custom etched PCB (button matrix PDF is attached)
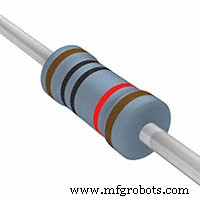
- 10K Resistors
- Jumper wires
Thanks UTSOURCE.net to offer electronic components for this project! you can check UTSOURCE.net, they deal in all kinds of electronics components like for example all the Components used in this project!
BUILT PROCESS(Wiring, assembly, etc)
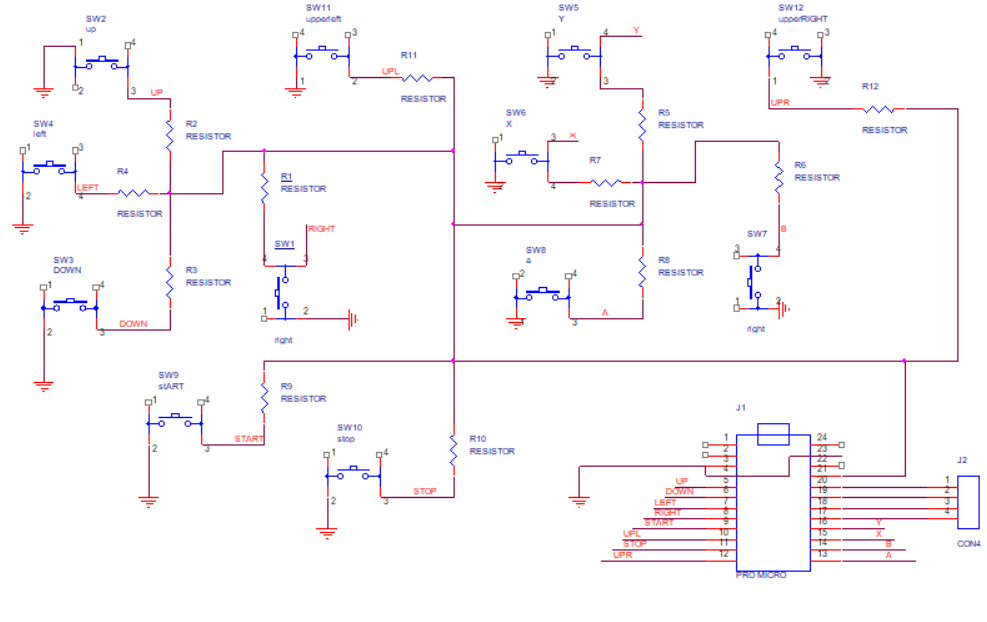
The first thing that we need to do is prepare the Basic Setup which is basically 12 Pushbuttons connected in pull-down Config with a Pro Micro, basically this-
we tested this on a breadboard and then prepared a PCB according to the above schematic.
After making the PCB (in OrCad cadence) we printed its TOP Layer's PDF on a Glossy paper.
I cut the Glossy paper according to PCB shape and place it on a copper clad board and apply heat to it for Transferring the Ink from glossy paper to the Copper clad board. (Basic Tone Transfer Method, watch my video about this topic)
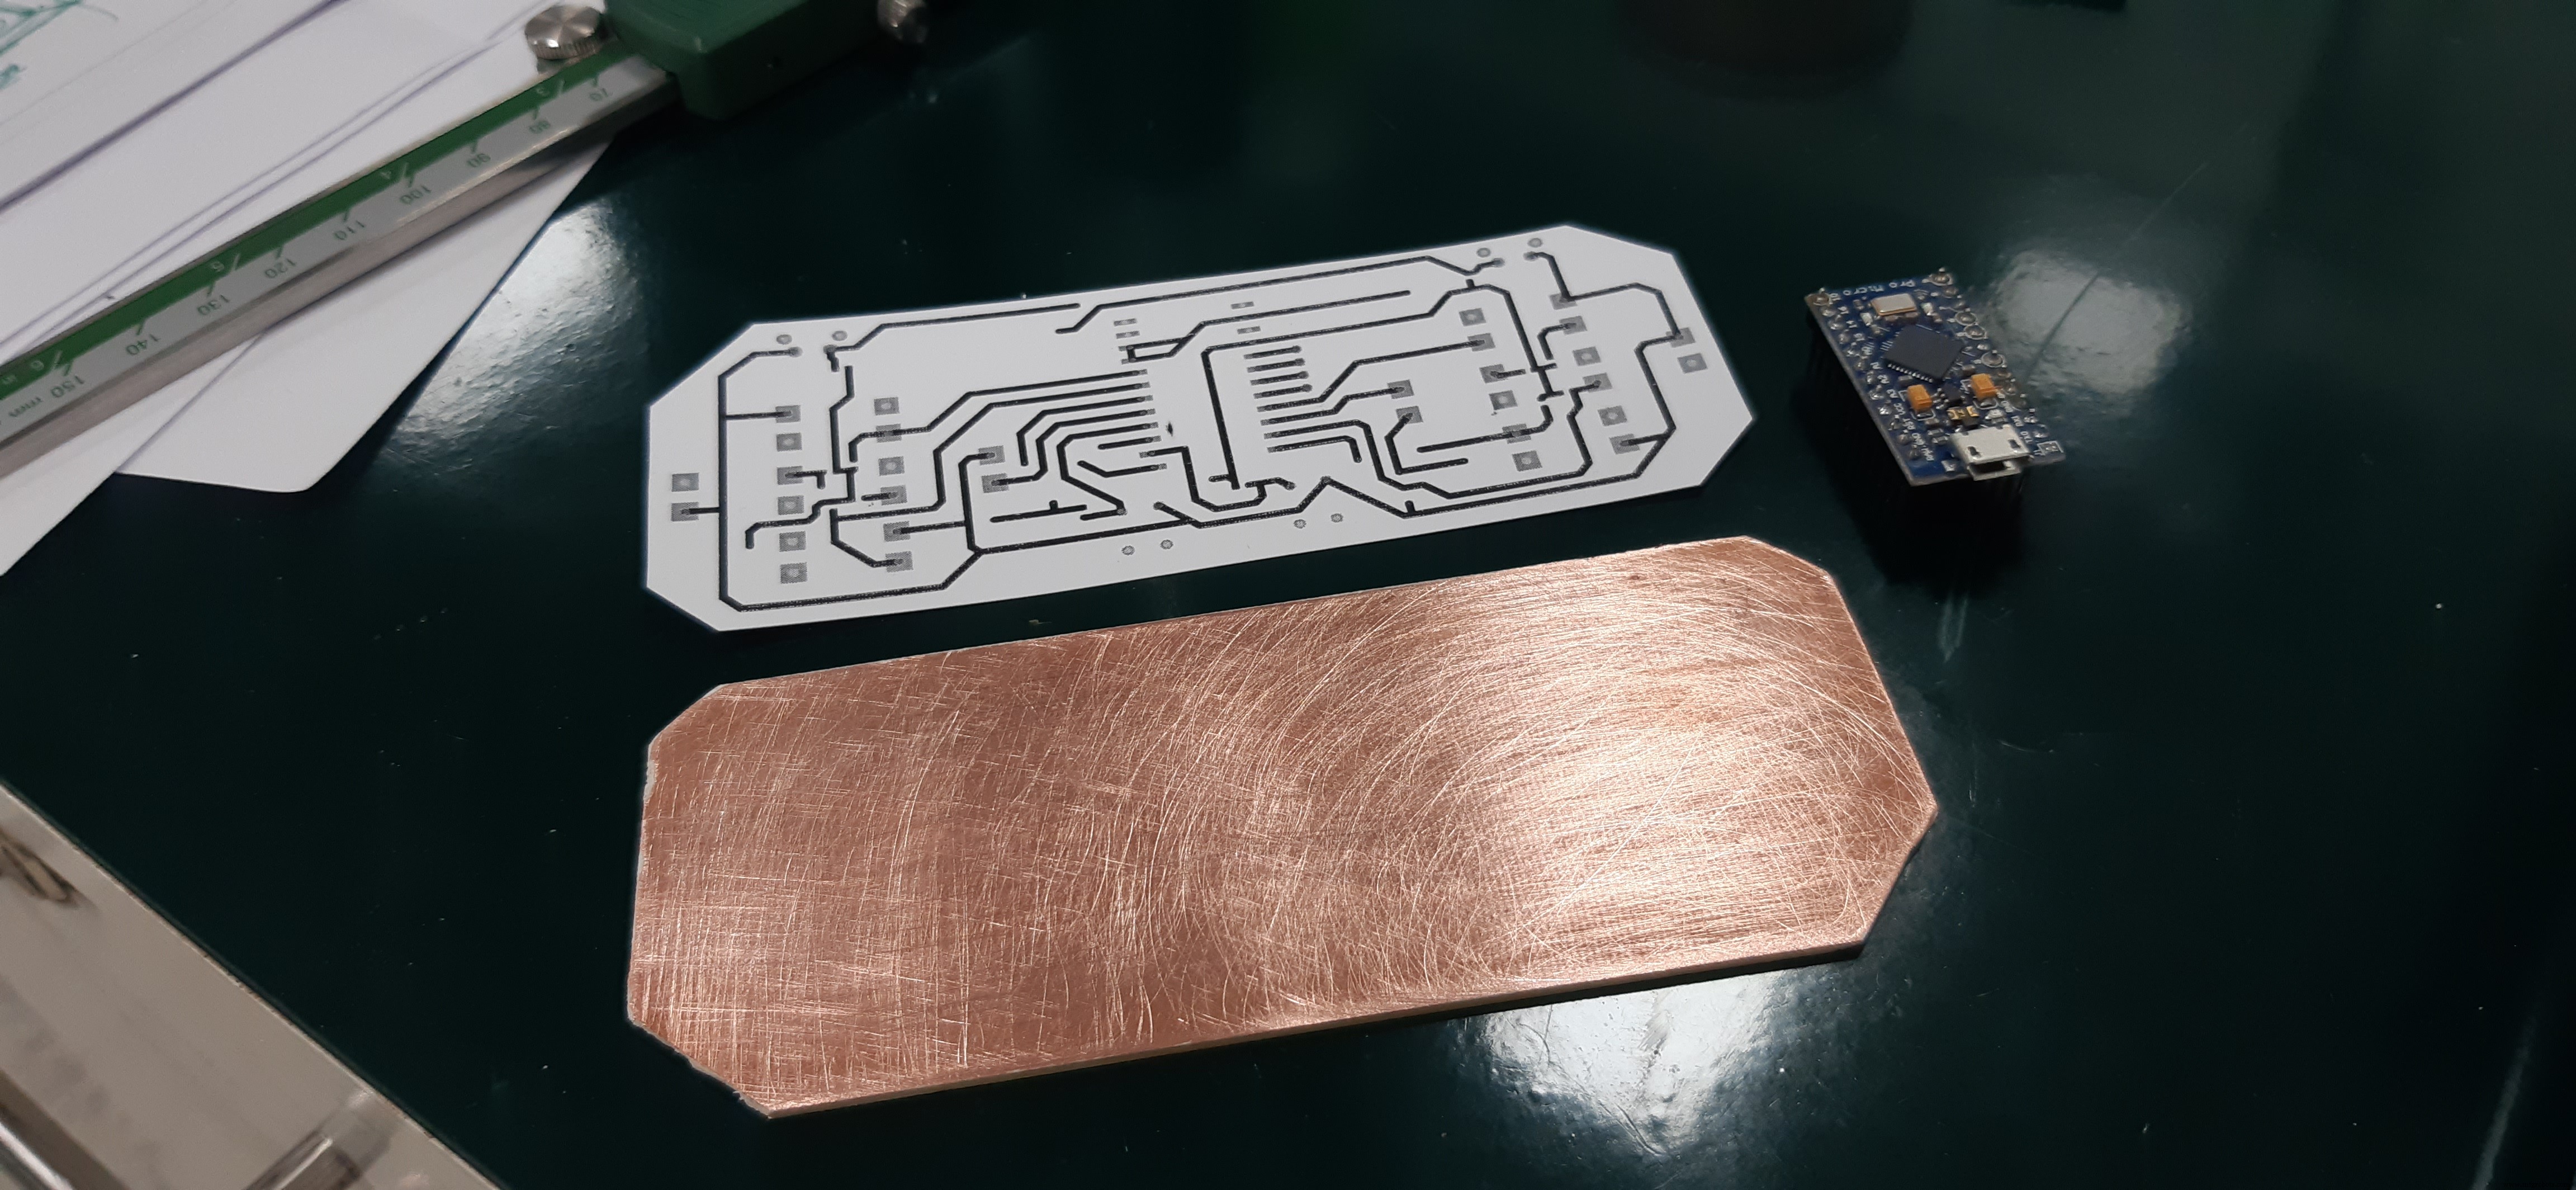
After getting the PCB ready, we Dropped it in an Etching Solution and etch the PCB, after that, we just drilled holes for components, and our DIY GAME CONTROLLER PCB was Ready!
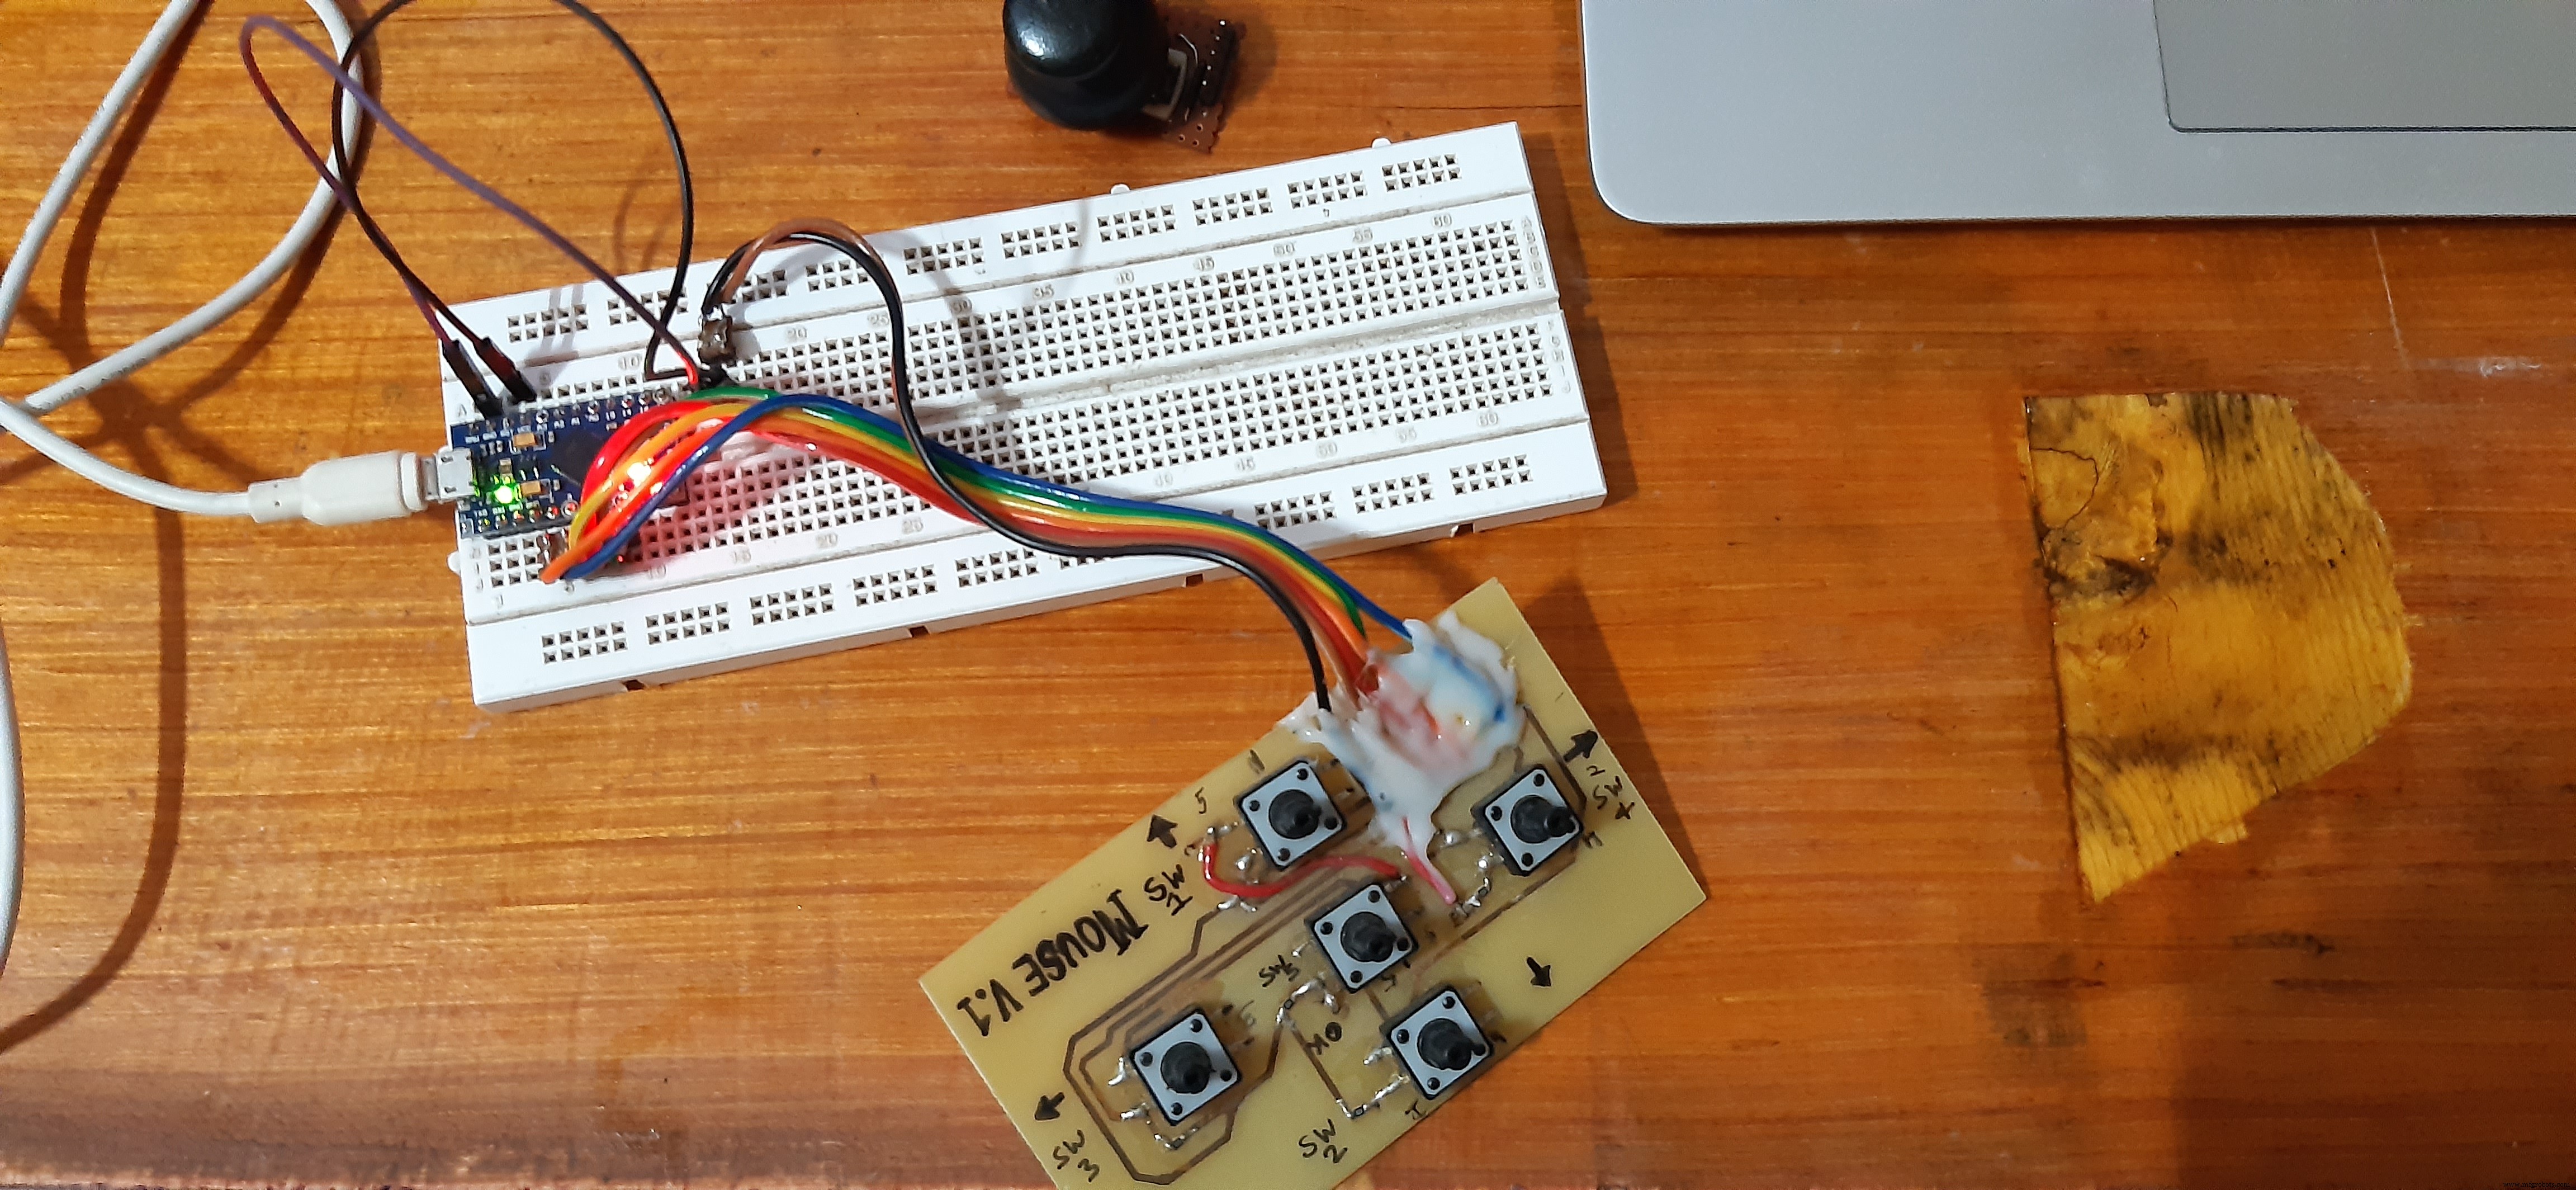
Then we just put everything on it according to the schematic and the circuit was ready.
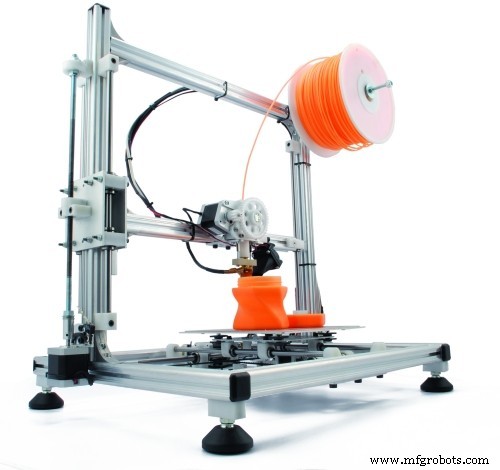
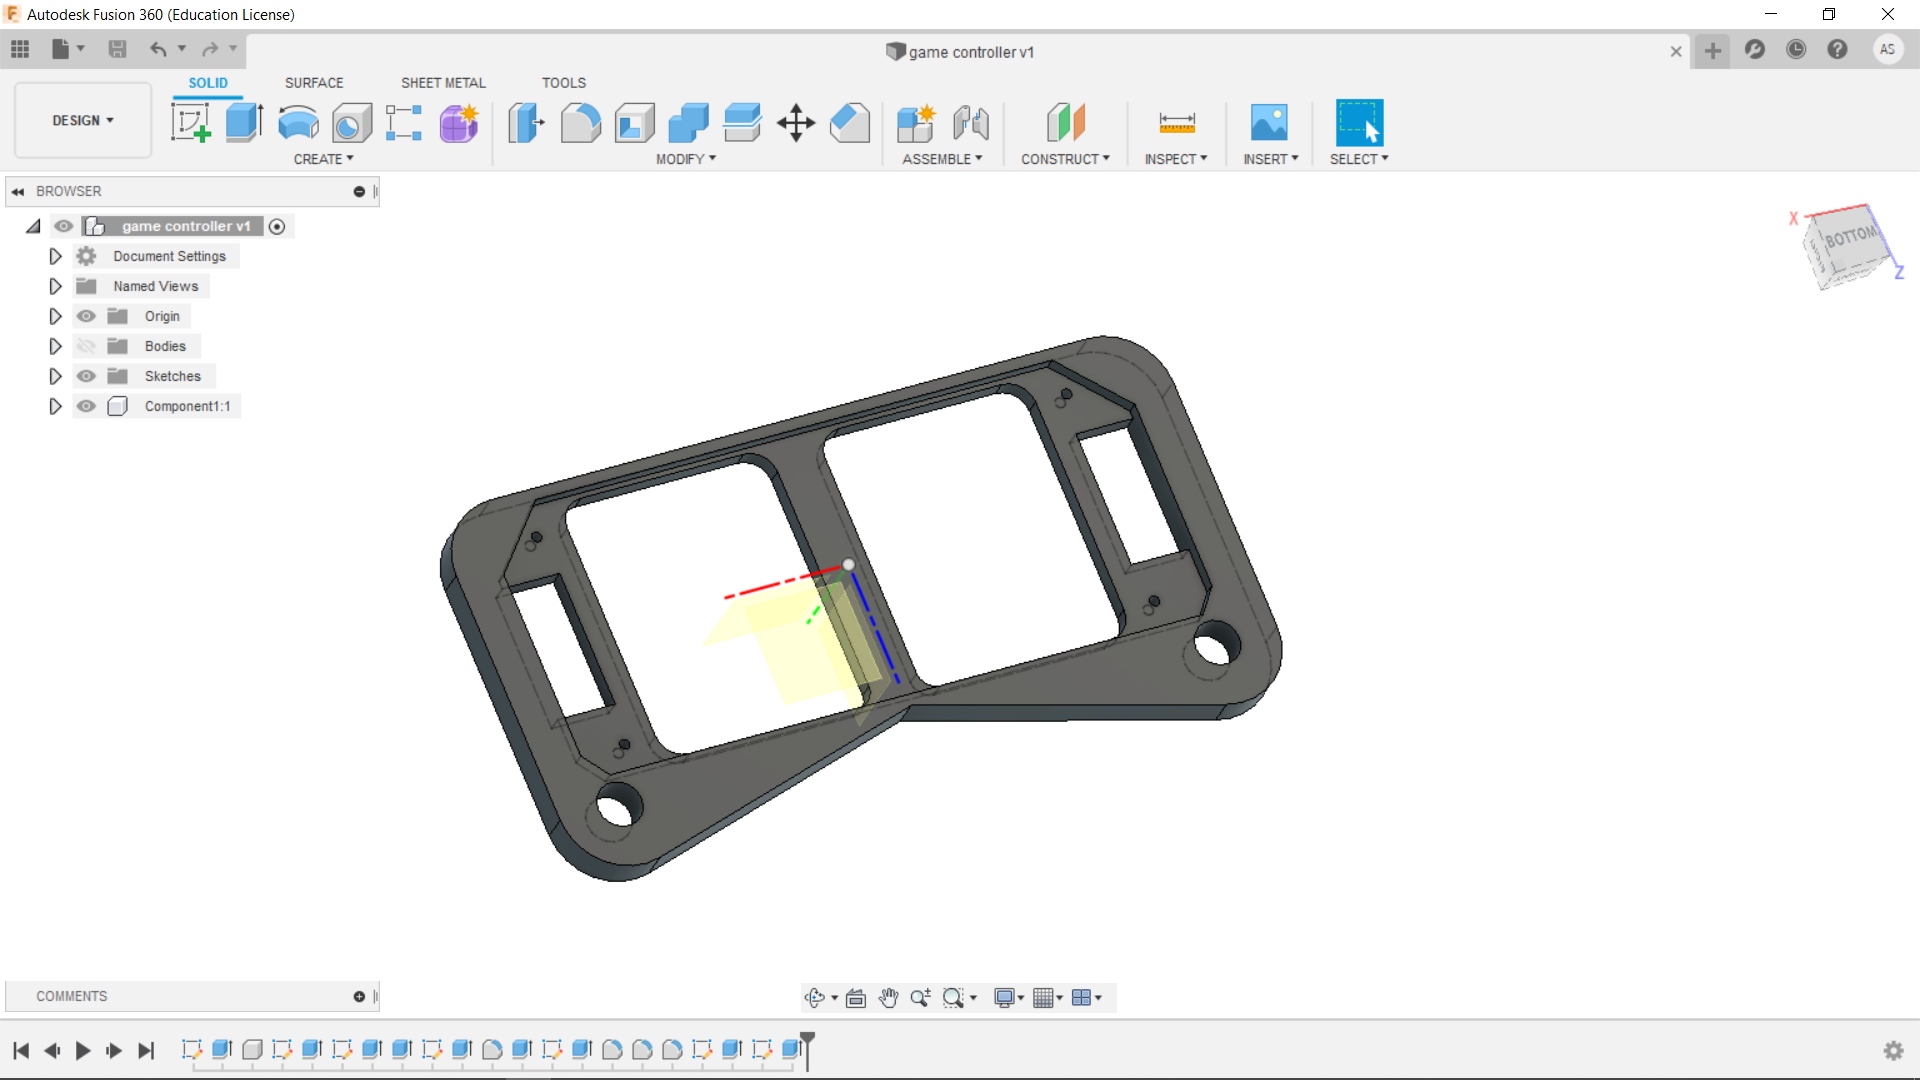
After getting the Circuit Ready, we Designed and 3D printed the PCB Housing/Case for the controller in Fusion360.
Now we just need to upload the code and play some games with it.
CODEUpload the Code provided on your Pro Micro.
word of advice, first test your board/setup thoroughly, check the resistance and connectivity of PCB traces because if something is missing this would cause a lot of keyboard error because missing ground lines will send irregular signals to the pins and your pro micro will keep on pressing random keys which will make reprogramming the Pro micro very difficult.
TESTINGThe first thing that you need to do is Open Notepad, and start pressing the keys of your Controller and check whether the keys on the press are displaying the right words that are assigned
or just use any Keyboard testing app or web app.
If everything is working according to the code, then open any game start playing it with this DIY GAMING CONSOLE!
watch the video-
FURTHER IMPROVEMENTSWell, the first thing that I'm gonna add to this setup is Analog Joysticks for playing proper games which uses a mouse for navigating the player, kinda like XBOX ONE CONSOLE.
V2 will have a proper PCB with XBOX One Controller Layout so stay tuned for that.
Leave a comment if you guys have any problem!
Code
- CODE
CODEC/C++
#include <Keyboard.h>

int WPin = 2;  // UP
int SPin = 3;  // DOWN
int APin = 4; //LEFT
int DPin = 5; //RIGHT
int UPLpin = 7; //upper left Q
int UPRpin = 9; //upper right
int Xpin = 14;//x
int Apin = 10; //i
int Ypin = 15;//y
int Bpin = 16;//b


void setup()
{
  pinMode(WPin, INPUT);
  pinMode(SPin, INPUT);
  pinMode(APin, INPUT);
  pinMode(DPin, INPUT);
  pinMode(UPLpin, INPUT);
  pinMode(UPRpin, INPUT);
  pinMode(Xpin, INPUT);
  pinMode(Apin, INPUT);
  pinMode(Ypin, INPUT);
  pinMode(Bpin, INPUT);

  digitalWrite(WPin, HIGH);
  digitalWrite(SPin, HIGH);
  digitalWrite(APin, HIGH);
  digitalWrite(DPin, HIGH);
  digitalWrite(UPLpin, HIGH);
  digitalWrite(UPRpin, HIGH);
  digitalWrite(Xpin, HIGH);
  digitalWrite(Apin, HIGH);
  digitalWrite(Ypin, HIGH);
  digitalWrite(Bpin, HIGH);

  Keyboard.begin();

}

void loop()
{
  if (digitalRead(WPin) == 0)
  {
    Keyboard.write('W');
    delayMicroseconds(1);
  }
  if (digitalRead(SPin) == 0)
  {
    Keyboard.write('S');
    delayMicroseconds(1);
  }
  if (digitalRead(APin) == 0)
  {
    Keyboard.write('A');
    delayMicroseconds(1);
  }
  if (digitalRead(DPin) == 0)
  {
    Keyboard.write('D');
    delayMicroseconds(1);
  }
  if (digitalRead(UPLpin) == 0)
  {
    Keyboard.write('q');
    delayMicroseconds(1);
  }
  if (digitalRead(UPRpin) == 0)
  {
    Keyboard.write('e');
    delayMicroseconds(1);
  }
    if (digitalRead(Xpin) == 0)
  {
    Keyboard.write('x');
    delayMicroseconds(1);
  }
  if (digitalRead(Apin) == 0)
  {
    Keyboard.write('i');
    delayMicroseconds(1);
  }
  if (digitalRead(Ypin) == 0)
  {
    Keyboard.write('y');
    delayMicroseconds(1);
  }
  if (digitalRead(Bpin) == 0)
  {
    Keyboard.write('b');
    delayMicroseconds(1);
  }
}
Custom parts and enclosures
Schematics
Manufacturing process
- Build a Real-Time Gyroscope Game with Arduino Nano & MPU-6050 Sensor
- Pixel Chaser: Interactive One-Tap LED Game with Arduino Nano
- Alexa-Enabled Arduino Home Controller: Smart Automation Made Simple
- Arduino DMX-512 Tester Controller – Full Parts Kit for Reliable Lighting Control
- DIY LED Roulette Game – Build a One‑Person Arcade with Arduino Nano
- Arduino-Driven GrowBox Controller – Open-Source Firmware & Hardware Guide
- Build a Classic Arduino LCD Arcade Game with Buzzer and Joystick
- Build an Arduino Tic‑Tac‑Toe Game on a Touchscreen: A Step‑by‑Step Tutorial
- Build an Arduino Memory Game (Simon Clone) – Step‑by‑Step Tutorial
- Build an Interactive LCD Game with Arduino UNO