


Pixel Chaser: Interactive One-Tap LED Game with Arduino Nano
Components and supplies
 |
| × | 1 | |||
 |
| × | 1 | |||
 |
| × | 1 | |||
 |
| × | 1 | |||
 |
| × | 1 | |||
 |
| × | 1 |
Apps and online services
 |
|
About this project
I used to be a game developer, and one of the holy grails in mobile game development is to make the ultimate "one tap" game.
I wanted to see if I could make an awesome one click "physics" game using a micro-controller, a button and some form of visual feedback.
Introducing PIXEL CHASER!
It's a fairly easy build, so let's get right to it!
What parts do we need?
We need the following:
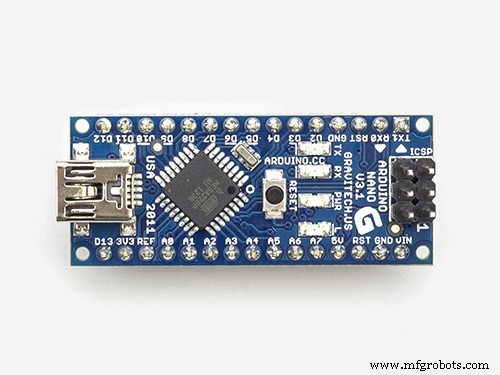
- Arduino Nano (or any micro-controller with 2 available IO pins )
- RGB "NeoPixel" ring or strip
- Momentary button
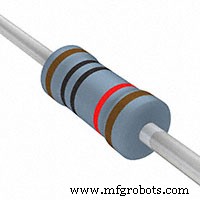
- 10k resistor
- Breadboards
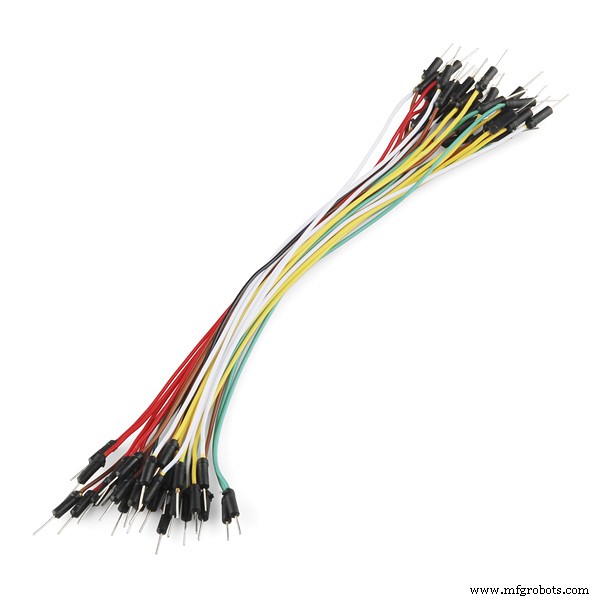
- Wires
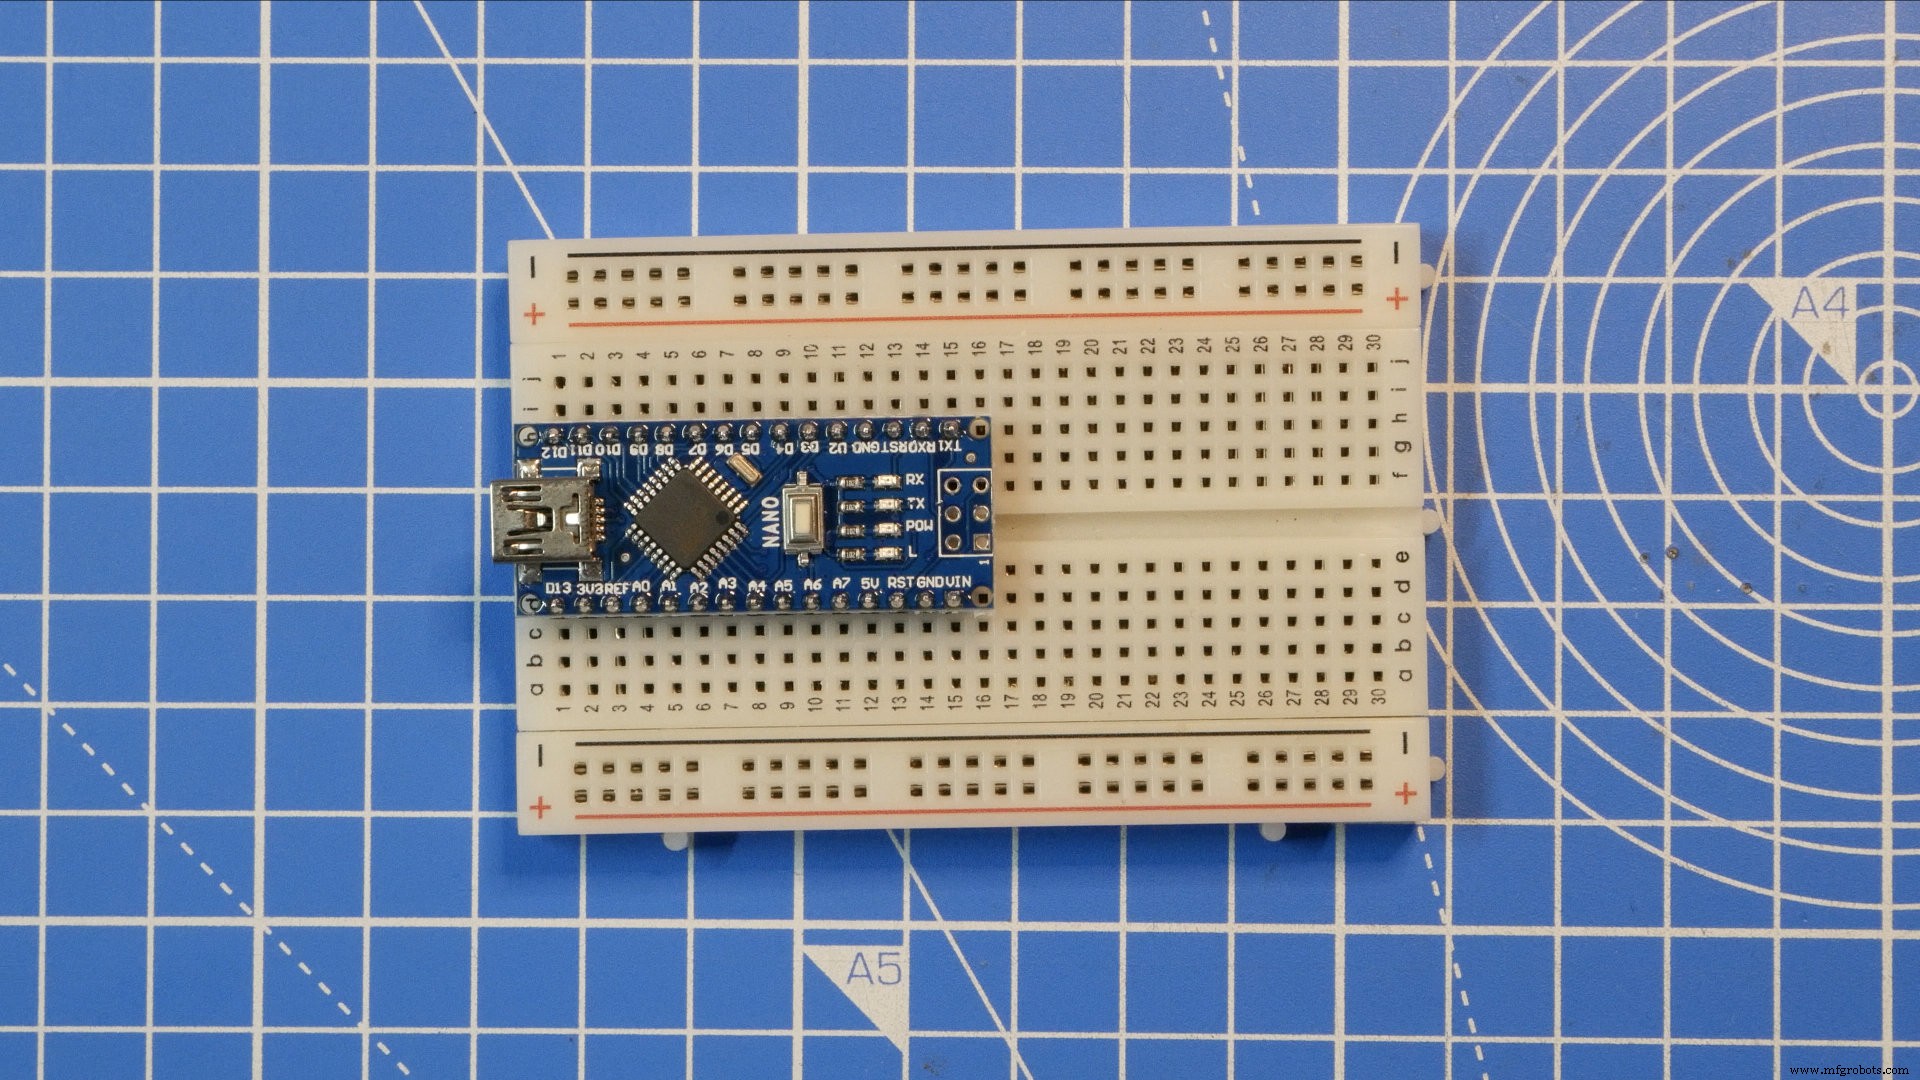
Place the Nano at one end of the breadboard with the USB connector at the edge.
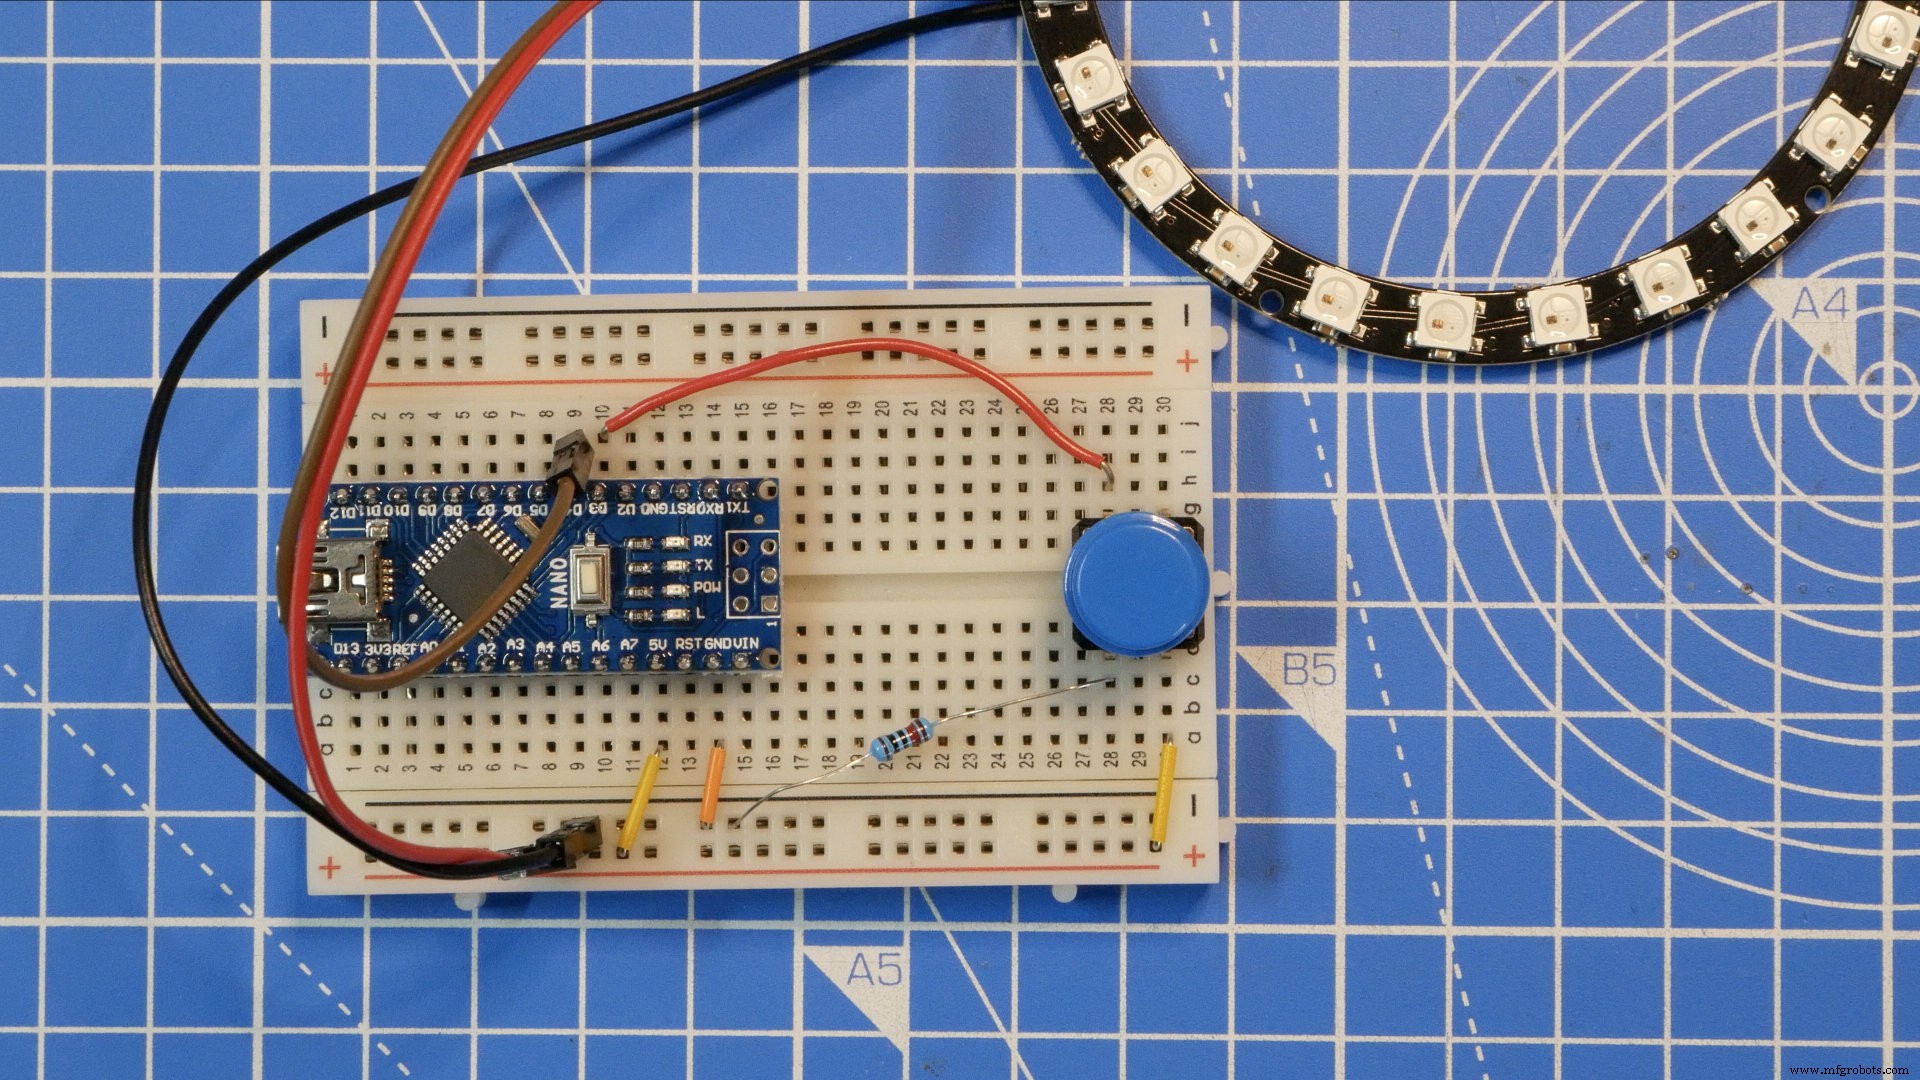
Place the button at the other end of the breadboard, as close to the edge as you can get so it's easy to get to.

Add the 10k resistor between one of the sides of the button and the GND rail of the breadboard. This will be the default LOW state of the button. We use a resistor to ensure there is not short between VCC and GND when the button is pressed as that can damage the micro-controller and other components.

Connect a jumper wire from the opposite side of the button to the VCC rail. The button will go high when it is pressed.

Connect a jumper wire from the GND side of the button to D3 on the Nano. We will read D3 to determine the state of the button.

Wire up the RGB strip/ring to the breadboard. Connect the VCC wire to the VCC power rail, the GND wire to the GND power rail and the DI (Data In) wire to D4 on the Nano. We will be controlling the pixels with D4.

Connect a wire jumper from the 5V pin on the Nano to the VCC power rail, then connect a jumper wire from the GND pin on the Nano to the GND power rail.
Upload the code and play!

I hope you enjoyed this project!
You can find more fun projects like this on my YouTube channel.
Follow Me:http://twitter.com/unexpectedmaker
https://www.facebook.com/unexpectedmaker/
https://www.instagram.com/unexpectedmaker/
https://www.patreon.com/unexpectedmaker
https://www.tindie.com/stores/seonr/
Code
- Pixel Chaser Game - Arduino Code
Pixel Chaser Game - Arduino CodeArduino
Add this code in Arduino and follow the build instructions!/*
---------------------------------------------------------------------------
Pixel Chaser Game - v1.0.0 - 24/03/2019.
AUTHOR/LICENSE:
Created by Seon Rozenblum - seon@unexpectedmaker.com
Copyright 2016 License: GNU GPL v3 http://www.gnu.org/licenses/gpl-3.0.html
LINKS:
Blog: unexpectedmaker.com
YOUTUBE: youtube.com/c/unexpectedmaker
DISCLAIMER:
This software is furnished "as is", without technical support, and with no
warranty, express or implied, as to its usefulness for any purpose.
PURPOSE:
This controller is the software that runs on the Reflow Master toaster oven controller made by Unexpected Maker
HISTORY:
24/03/2019 v1.0.0 - Initial release.
NOTE: This is a work in progress...
---------------------------------------------------------------------------
*/
// We need these libraries installed from library manager
#include <Adafruit_NeoPixel.h>
#include "OneButton.h"
// What GPIO is the strip connected to
#define PIXELPIN 4
// How many NeoPixels in the strip
#define NUMPIXELS 24
// What GPIO is the button connected to?
#define BUTTON_TAP 3
// Initialise the button, with a default low
OneButton buttonTAP(BUTTON_TAP, false);
// Initialise the pixel strip
Adafruit_NeoPixel pixels = Adafruit_NeoPixel(NUMPIXELS, PIXELPIN, NEO_GRB + NEO_KHZ800);
// A bunch of variables
int playerIndex = -1;
int playerIndexTrail = -1;
int playerDirection = 1;
float nextMove = 0;
float currentPlayerSpeed = 150;
unsigned long countdown = 0;
int enemyIndex = -1;
int coinIndex = -1;
int score = 0;
int bestScore = 0;
int lastScore = 0;
bool gameOver = false;
void setup()
{
// make the button pin an input
pinMode( BUTTON_TAP, INPUT );
// Attatch click functions to the button
buttonTAP.attachClick(singleClick);
buttonTAP.attachLongPressStart(longClick);
// Initialise the strip and set it's brightness to 20%
pixels.begin();
pixels.setBrightness(20);
// set a 2 second countdown before the player appears and starts moving
countdown = millis() + 2000;
}
void loop()
{
// Every cycle we need to tick the button state
buttonTAP.tick();
// If the game is in game over state, exit loop early
if ( gameOver )
return;
// Set the pixel display state of the level
// This sets the enemy position and the coin position
SetLevel();
// wait for a second for the player to get ready
if ( countdown > millis() )
{
pixels.show();
return;
}
// All the player display, movement and game logic is in here
DisplayPlayer();
// This sends the updated pixel color to the hardware.
pixels.show();
}
// Clear the level, setting all pixels to black
void ClearLevel()
{
for(int i=0;i<NUMPIXELS;i++)
pixels.setPixelColor(i, pixels.Color(0,0,0)); // Moderately bright green color.
pixels.show();
}
// Show the best score in yellow and if the last score was less than the best, show that on top in red
void BestScore()
{
// Best score in yellow
for(int i=0;i<NUMPIXELS;i++)
{
if ( i < bestScore )
pixels.setPixelColor(i, pixels.Color(255,155,0)); // Moderately bright green color.
else
pixels.setPixelColor(i, pixels.Color(0,0,0));
}
// last score is less than best is in red
if ( lastScore < bestScore )
{
for(int i=0;i<lastScore;i++)
pixels.setPixelColor(i, pixels.Color(255,0,0)); // Moderately bright green color.
}
pixels.show();
}
// Game over animation
void GameOver()
{
// First pass we animate the strip going red from the enemy position
int a = enemyIndex;
int b = enemyIndex;
for(int i=0;i<NUMPIXELS/2;i++)
{
pixels.setPixelColor(a, pixels.Color(255,0,0)); // Moderately bright green color.
pixels.setPixelColor(b, pixels.Color(255,0,0)); // Moderately bright green color.
a = ( a + 1) % NUMPIXELS;
b--;
if ( b == -1 )
b = NUMPIXELS;
pixels.show();
delay(20);
}
delay(100);
// Second pass we animate the strip going back from the enemy position
a = enemyIndex;
b = enemyIndex;
for(int i=0;i<NUMPIXELS/2;i++)
{
pixels.setPixelColor(a, pixels.Color(0,0,0)); // Black
pixels.setPixelColor(b, pixels.Color(0,0,0)); // Black
a = ( a + 1) % NUMPIXELS;
b--;
if ( b == -1 )
b = NUMPIXELS;
pixels.show();
delay(20);
}
// Now we show the best score
delay(100);
BestScore();
}
// Setup the level including the postiion of the enemy and the coin
void SetLevel()
{
// If the enemy position is -1 (has been reset)
// Find a new position for the enemy
if ( enemyIndex < 0 )
{
// I fthe player not playing, always start the enemy at the half strip position
if ( playerIndex < 0 )
{
enemyIndex = NUMPIXELS / 2;
}
// The player is in the game, so make sure not to place the enemy on or too close to the player
else
{
enemyIndex = random(0, NUMPIXELS);
while ( abs(enemyIndex - playerIndex ) < ( NUMPIXELS / 4 ) )
enemyIndex = random(0, NUMPIXELS);
}
}
// If the coin position is -1 (has been reset)
// Find a new position for the coin
if ( coinIndex < 0 )
{
coinIndex = random(0, NUMPIXELS);
// pick a coin position somewhere between the player and enemy
while ( abs(coinIndex - playerIndex ) < 7 || ( abs(coinIndex - enemyIndex ) < 7 ) )
coinIndex = random(0, NUMPIXELS);
}
pixels.setPixelColor(enemyIndex, pixels.Color(255,0,0));
pixels.setPixelColor(coinIndex, pixels.Color(255,255,0));
}
// This is where all the magic happens
// Player movement happens here as well as game logic for collecting coins or hitting the enemy
void DisplayPlayer()
{
if ( nextMove < millis() )
{
nextMove = millis() + currentPlayerSpeed;
// The player has a visual trail, so these next 2 if statements shows or clears the trail
if ( playerIndexTrail >= 0 )
pixels.setPixelColor(playerIndexTrail, pixels.Color(0, 0, 0));
if ( playerIndex >= 0)
{
pixels.setPixelColor(playerIndex, pixels.Color(0, 100, 0));
playerIndexTrail = playerIndex;
}
// Move the player in their current direction
playerIndex += playerDirection;
// Wrap the player at the strip edges
if ( playerIndex < 0 )
playerIndex = NUMPIXELS - 1;
else if ( playerIndex == NUMPIXELS )
playerIndex = 0;
pixels.setPixelColor(playerIndex, pixels.Color(0, 255, 0));
// Did the player hit the coin?
// If so, increase the score, reset coin and enemy positions and clear the level
// Next loop the SetLevel() will reset the enemy and coin
// Player speed is also increased for every coin hit
if ( playerIndex == coinIndex )
{
enemyIndex = -1;
coinIndex = -1;
score++;
currentPlayerSpeed = constrain( currentPlayerSpeed - 10, 50, 150 );
ClearLevel();
pixels.setPixelColor(playerIndex, pixels.Color(0, 255, 0));
}
// Did the player hit the enemy?
// Set the last/best score and call game over
else if ( playerIndex == enemyIndex )
{
lastScore = score;
if ( score >= bestScore )
bestScore = score;
GameOver();
gameOver = true;
enemyIndex = -1;
coinIndex = -1;
playerIndex = -1;
}
}
}
// Single button click
void singleClick()
{
// No input until player is visible
if ( countdown > millis() )
return;
// switch the player direction
playerDirection = -playerDirection;
}
// Long button click
void longClick()
{
// Switch game over state
// If it was game over, start the game, otherwise cancel a game in progress
gameOver = !gameOver;
if ( gameOver )
{
enemyIndex = -1;
coinIndex = -1;
playerIndex = -1;
currentPlayerSpeed = 150;
ClearLevel();
}
else
{
ClearLevel();
score = 0;
currentPlayerSpeed = 150;
countdown = millis() + 2000;
}
}
Manufacturing process
- Build a Real-Time Gyroscope Game with Arduino Nano & MPU-6050 Sensor
- Arduino Digital Dice Project: Build Your Own LCD-based Random Number Generator
- DIY Arduino USB Gaming Controller – Build Your Own High-Performance Gamepad
- Build a Tetris Game with Arduino Nano on a DIY 16×8 LED Matrix
- NeoPixel Matrix Pong on Arduino Nano: Build a Neon Pong Game
- Build a 1‑D Pong Game with Arduino and WS2812 LED Strip – Step‑by‑Step DIY Tutorial
- DIY LED Roulette Game – Build a One‑Person Arcade with Arduino Nano
- Build a Classic Arduino LCD Arcade Game with Buzzer and Joystick
- Build an Arduino Tic‑Tac‑Toe Game on a Touchscreen: A Step‑by‑Step Tutorial
- Build an Interactive LCD Game with Arduino UNO