


Build a 1‑D Pong Game with Arduino and WS2812 LED Strip – Step‑by‑Step DIY Tutorial
Components and supplies
 |
| × | 1 | |||
 |
| × | 1 | |||
 |
| × | 1 | |||
 |
| × | 4 | |||
 |
| × | 1 | |||
 |
| × | 1 |
Apps and online services
 |
|
About this project
In this project it is presented 1-dimensional version of the classic game ‘Pong’ made with NeoPixel LED strip. The game is for 2 players, in which the ‘ball’ the travels down the length of the LED strip, and will bounce back if the button is pressed when few end LEDs are illuminated.
The speed of the ball is changed after every hit, making it more difficult to hit the ball in time.
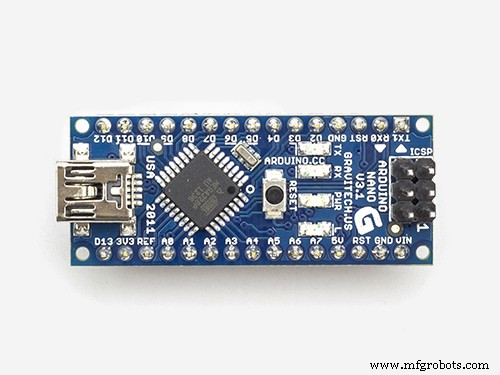
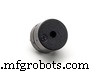
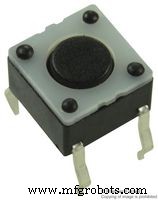
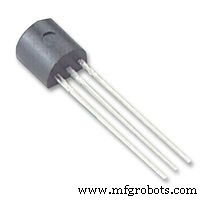
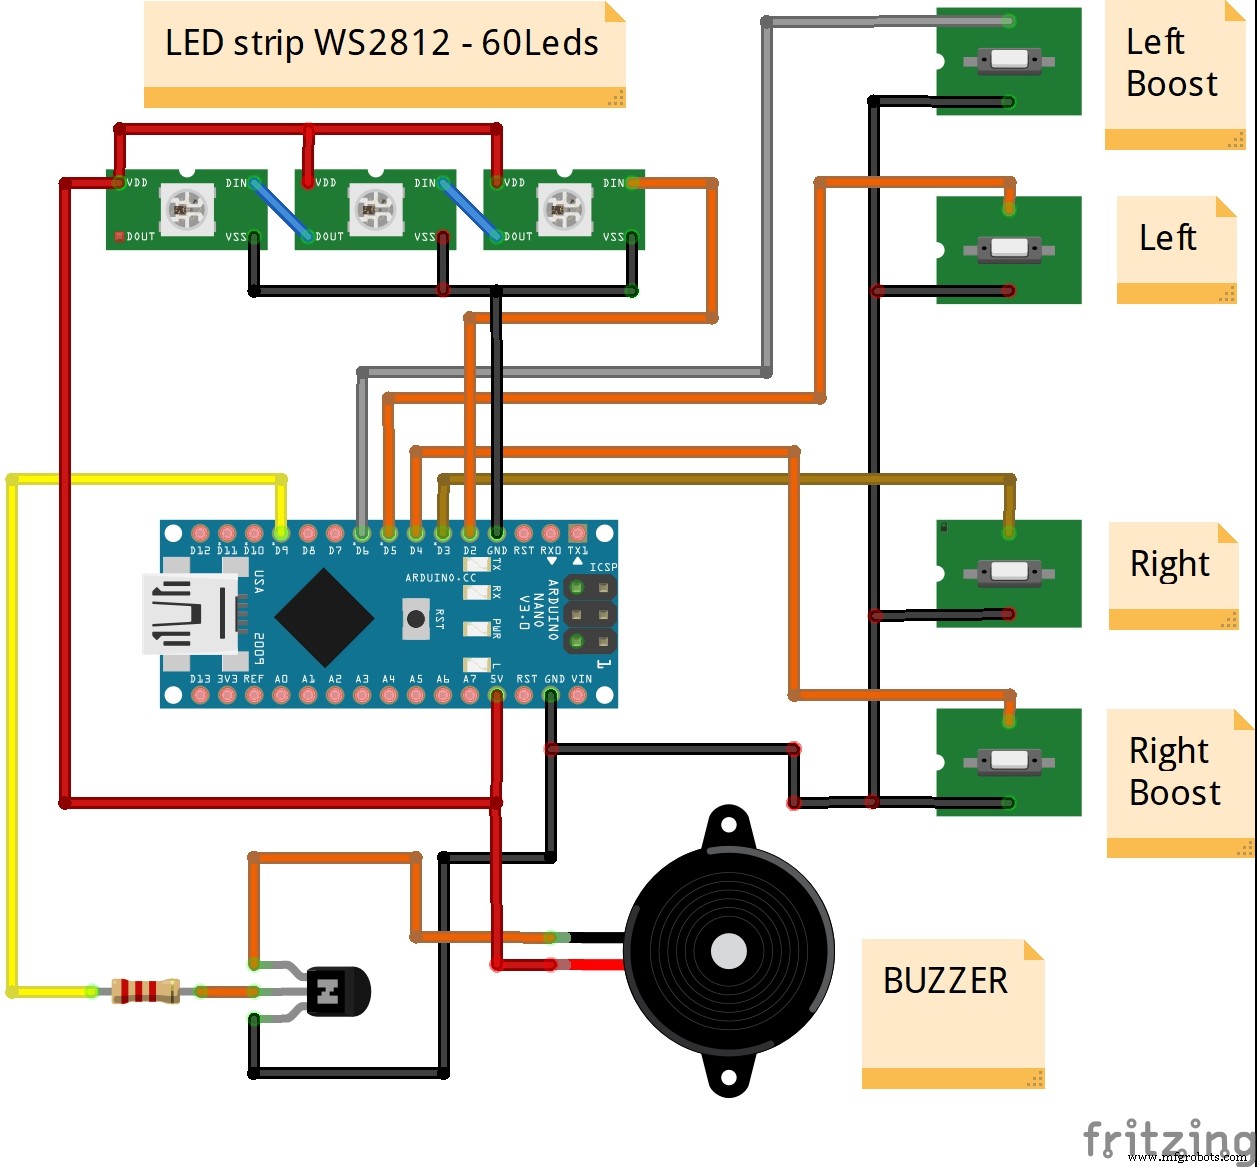
Device is very simple and easy to make and contains the following components:
- Arduino Nano microcontroller
- WS2812 Led strip with 60 leds
- 4 buttons
- Buzzer
- Transistor
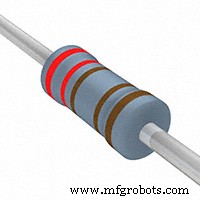
- and two resistors
Unlike simple hardware, software is more complex and is taken from vagrearg.org web. Many parameters can be easily changed in the code, such as: Number of pixels in strip, Bounce-back zone size, Led dots intensity, Points needed to win etc...
The game is made interesting with several features. Firstly, the ball will become faster and faster for every time it is hit back and forth. Secondly, the ball can be hit back within a blue "zone" and will be returned faster the longer into the zone you let the ball come. This is, of course, at the risk of hitting too late. Thirdly, you can boost the return by holding the boost-button down while hitting. The cost of a boost is reduction of your hit-back zone.
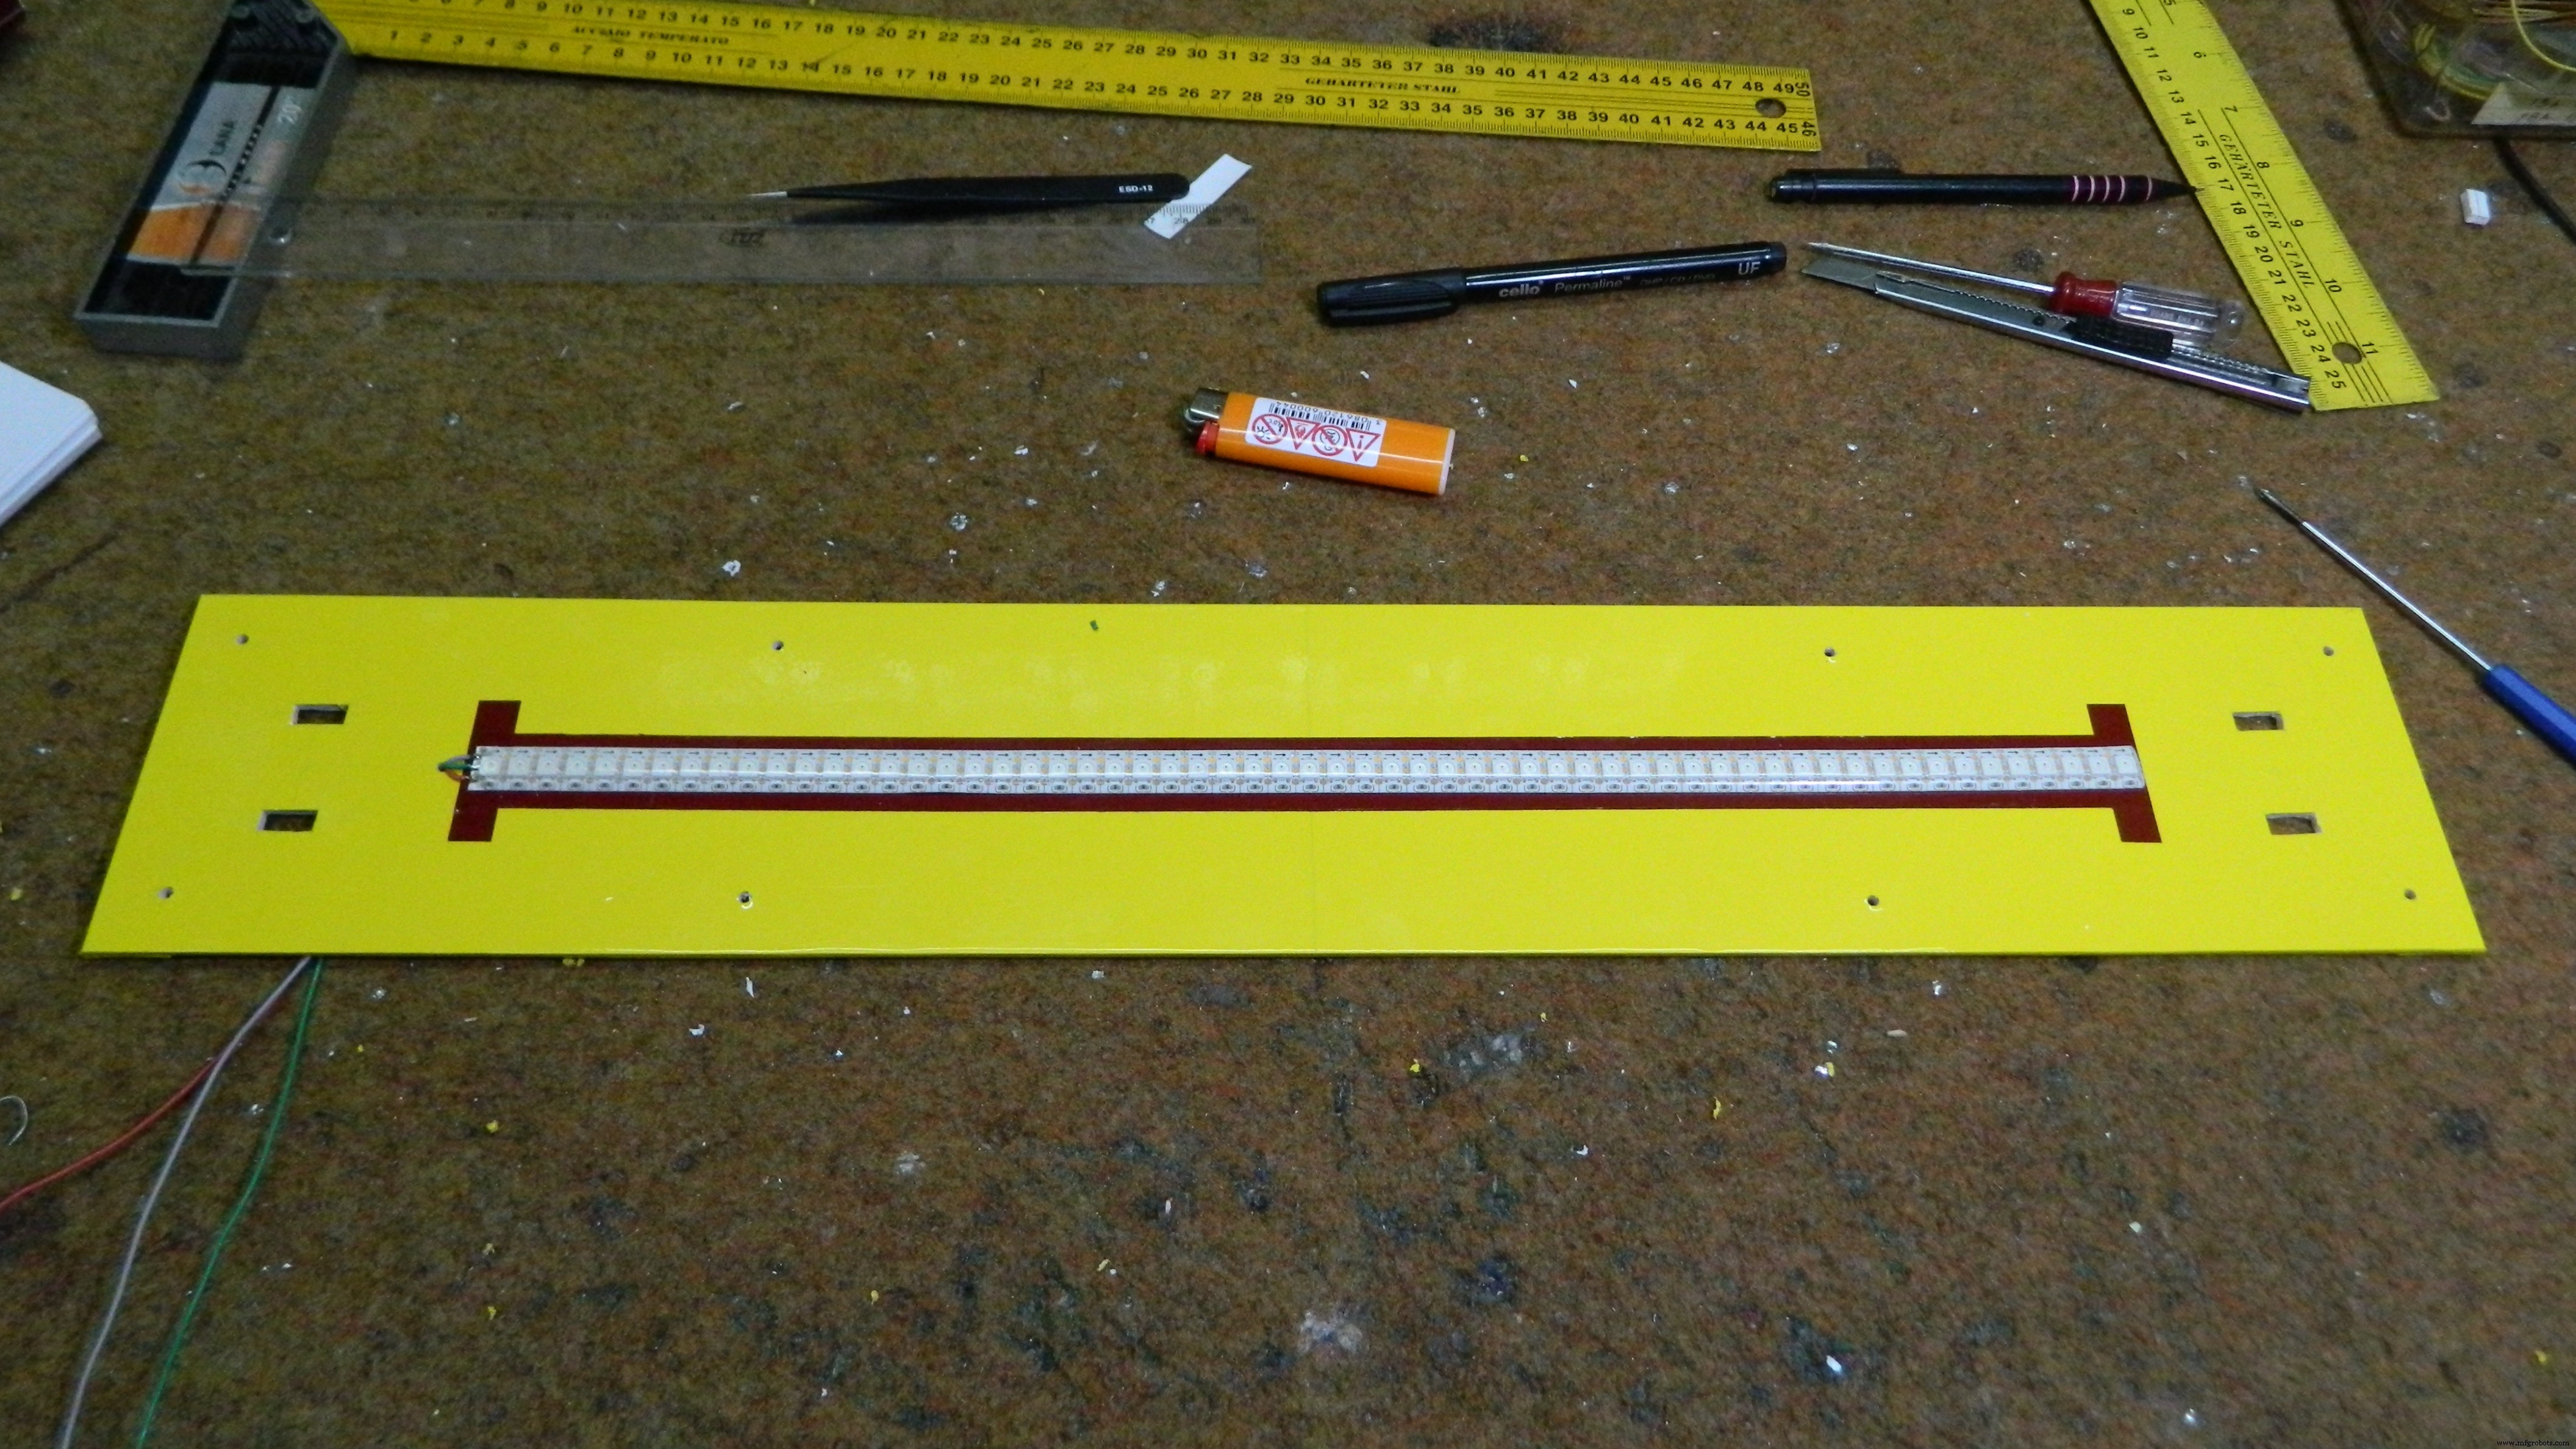
Finally, all the parts are placed in a suitable box made of PVC plate and coated with self-adhesive colored wallpaper, so that the device got a functional and interesting look.
Thanks for watching
Code
- Code
CodeC/C++
No preview (download only).
Schematics
Manufacturing process
- Build a Retro Numitron Clock with Arduino: Simple, Reliable, and Energy‑Efficient
- Build a Real-Time Gyroscope Game with Arduino Nano & MPU-6050 Sensor
- Build Your Own 37‑LED Roulette Game with Arduino Nano
- DIY Arduino USB Gaming Controller – Build Your Own High-Performance Gamepad
- Build a 24×16 LED Pong Console with Arduino Nano & MAX7219
- Control an LED via Bluetooth with Arduino – Simple DIY Guide
- Pixel Chaser: Interactive One-Tap LED Game with Arduino Nano
- Build a Precise DIY Measuring Wheel with Arduino Nano & Rotary Encoder
- DIY LED Roulette Game – Build a One‑Person Arcade with Arduino Nano
- Build a Sensitive Arduino Metal Detector with Ferrous/Nonferrous Discrimination