


Build Your Own 37‑LED Roulette Game with Arduino Nano
Components and supplies
 |
| × | 1 | |||
| × | 5 | ||||
 |
| × | 37 | |||
 |
| × | 1 | |||
 |
| × | 1 | |||
 |
| × | 1 |
Necessary tools and machines
 |
|
Apps and online services
 |
|
About this project
Roulette is a casino game named after the French word meaning little wheel. In the game, players may choose to place bets on either a single number, various groupings of numbers, the colors red or black, whether the number is odd or even, or if the numbers are high (19–36) or low (1–18).
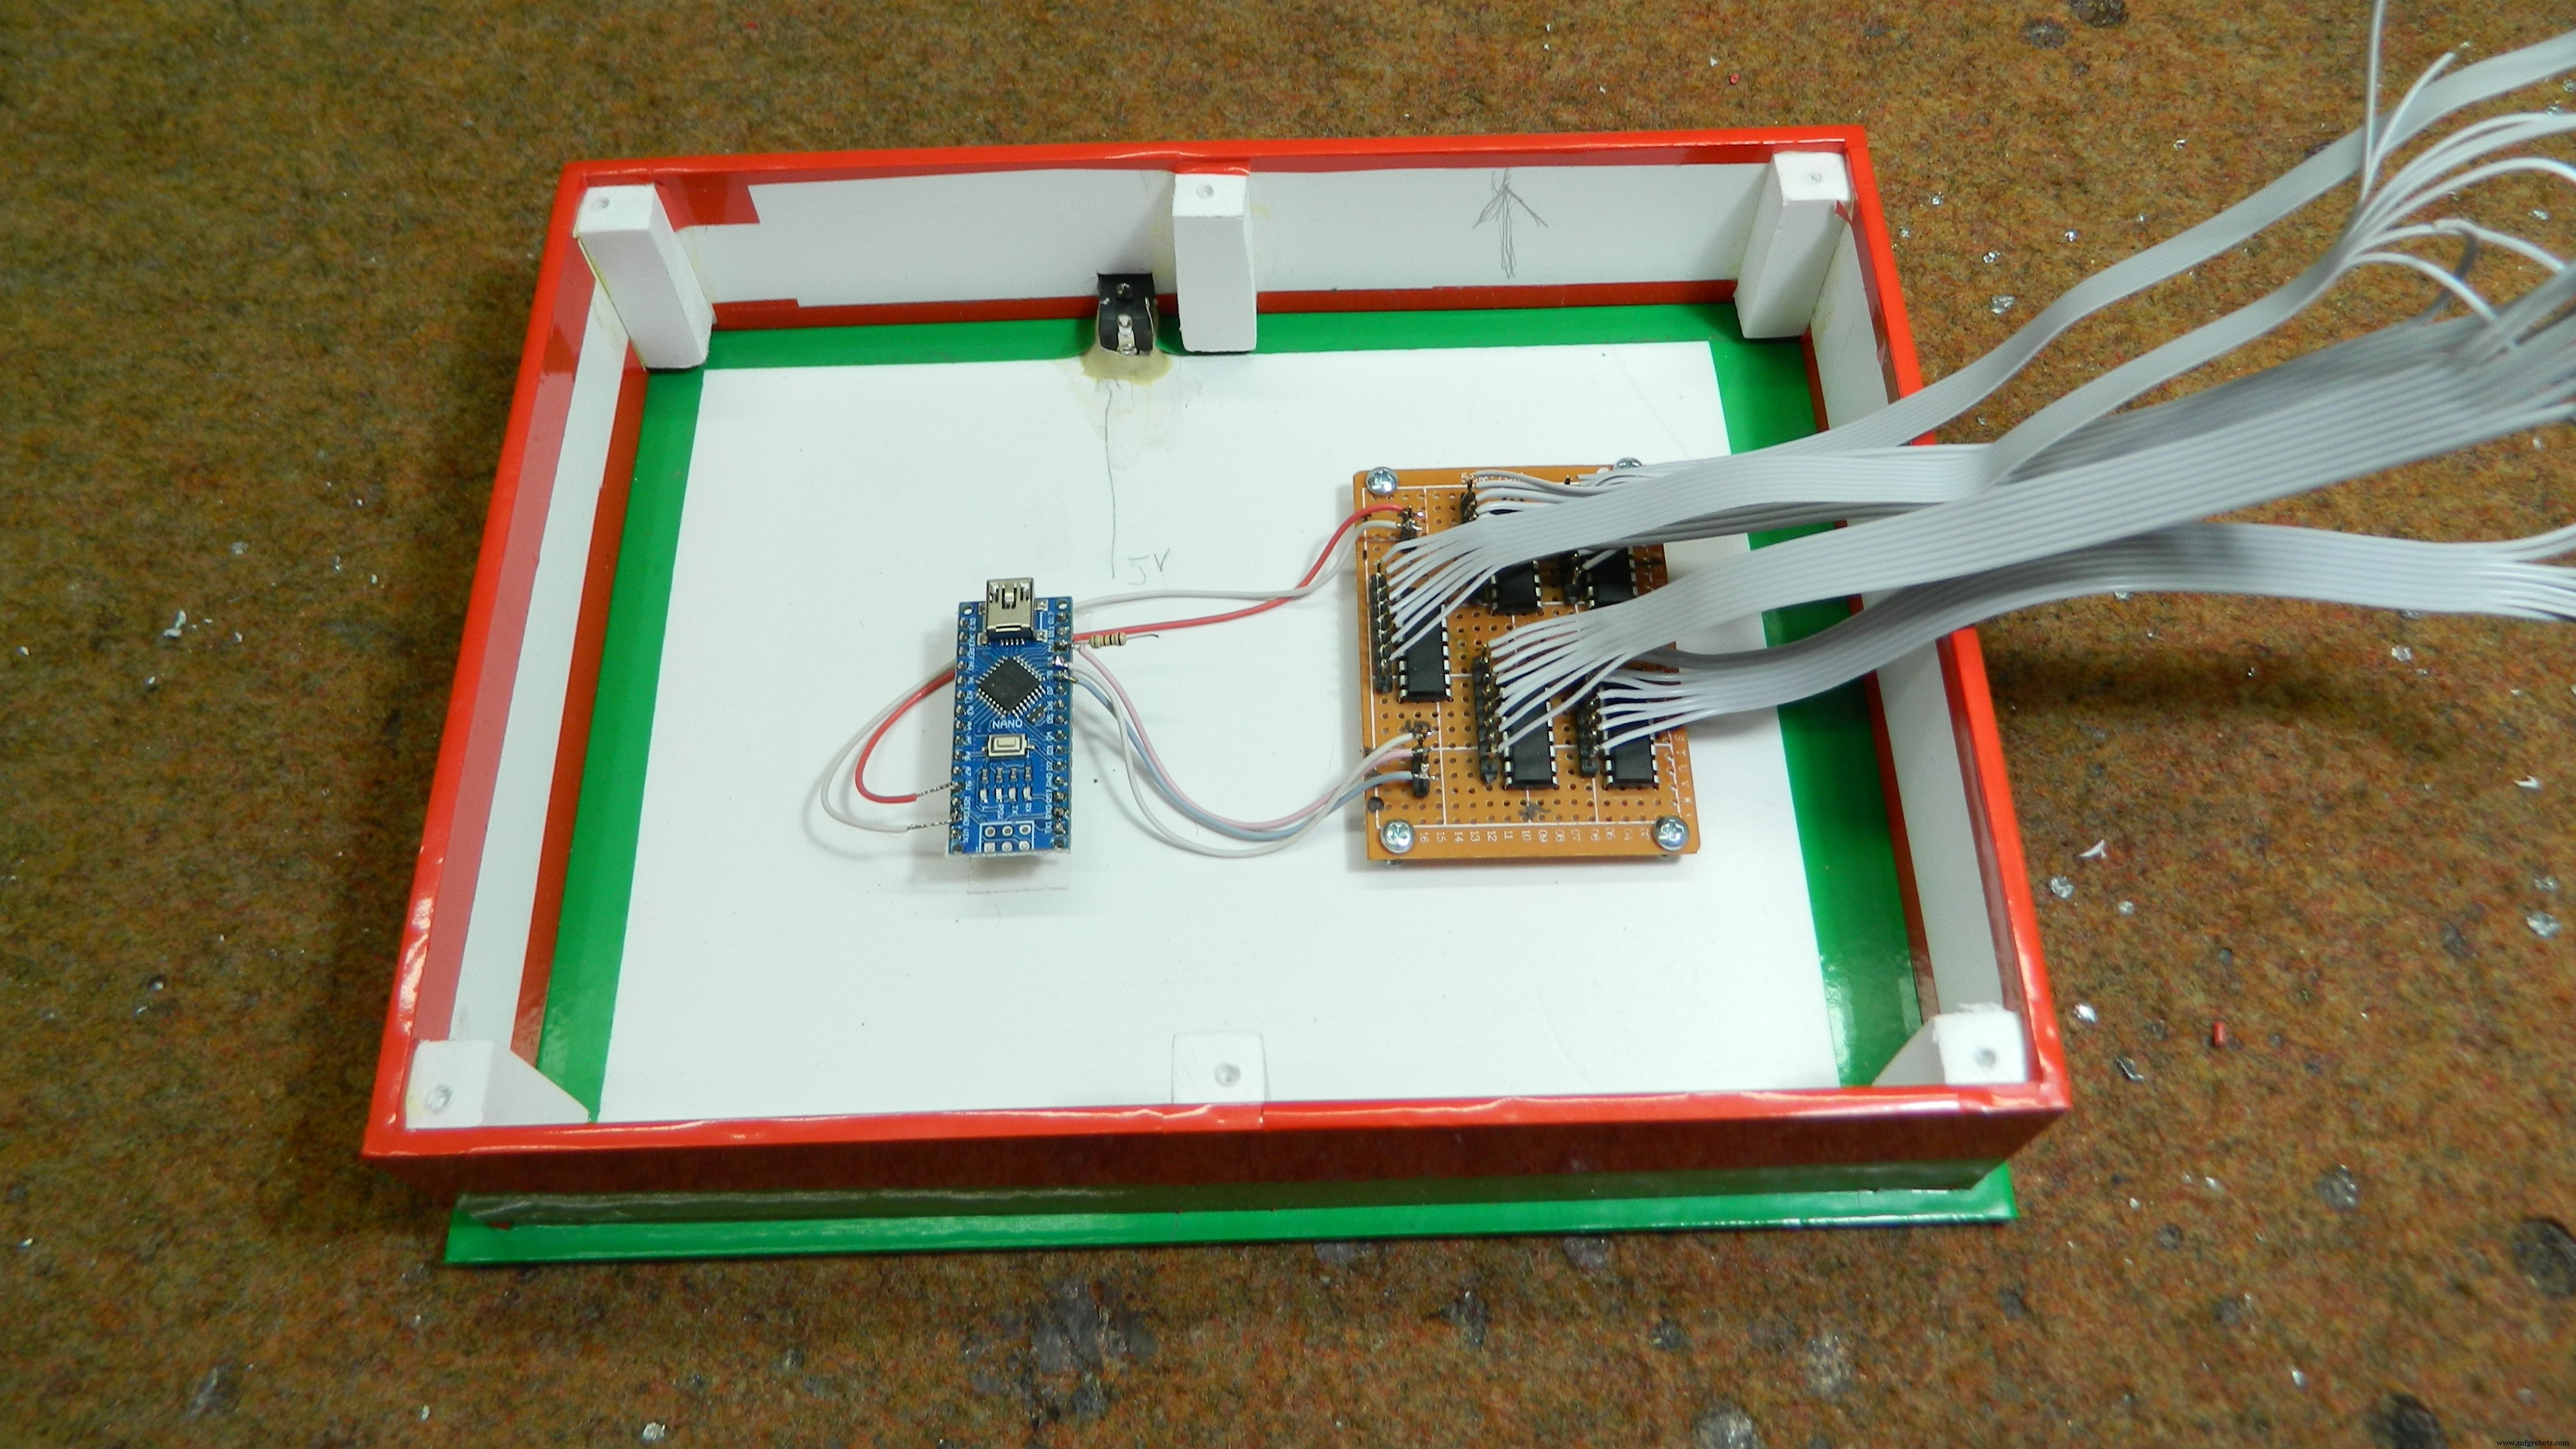
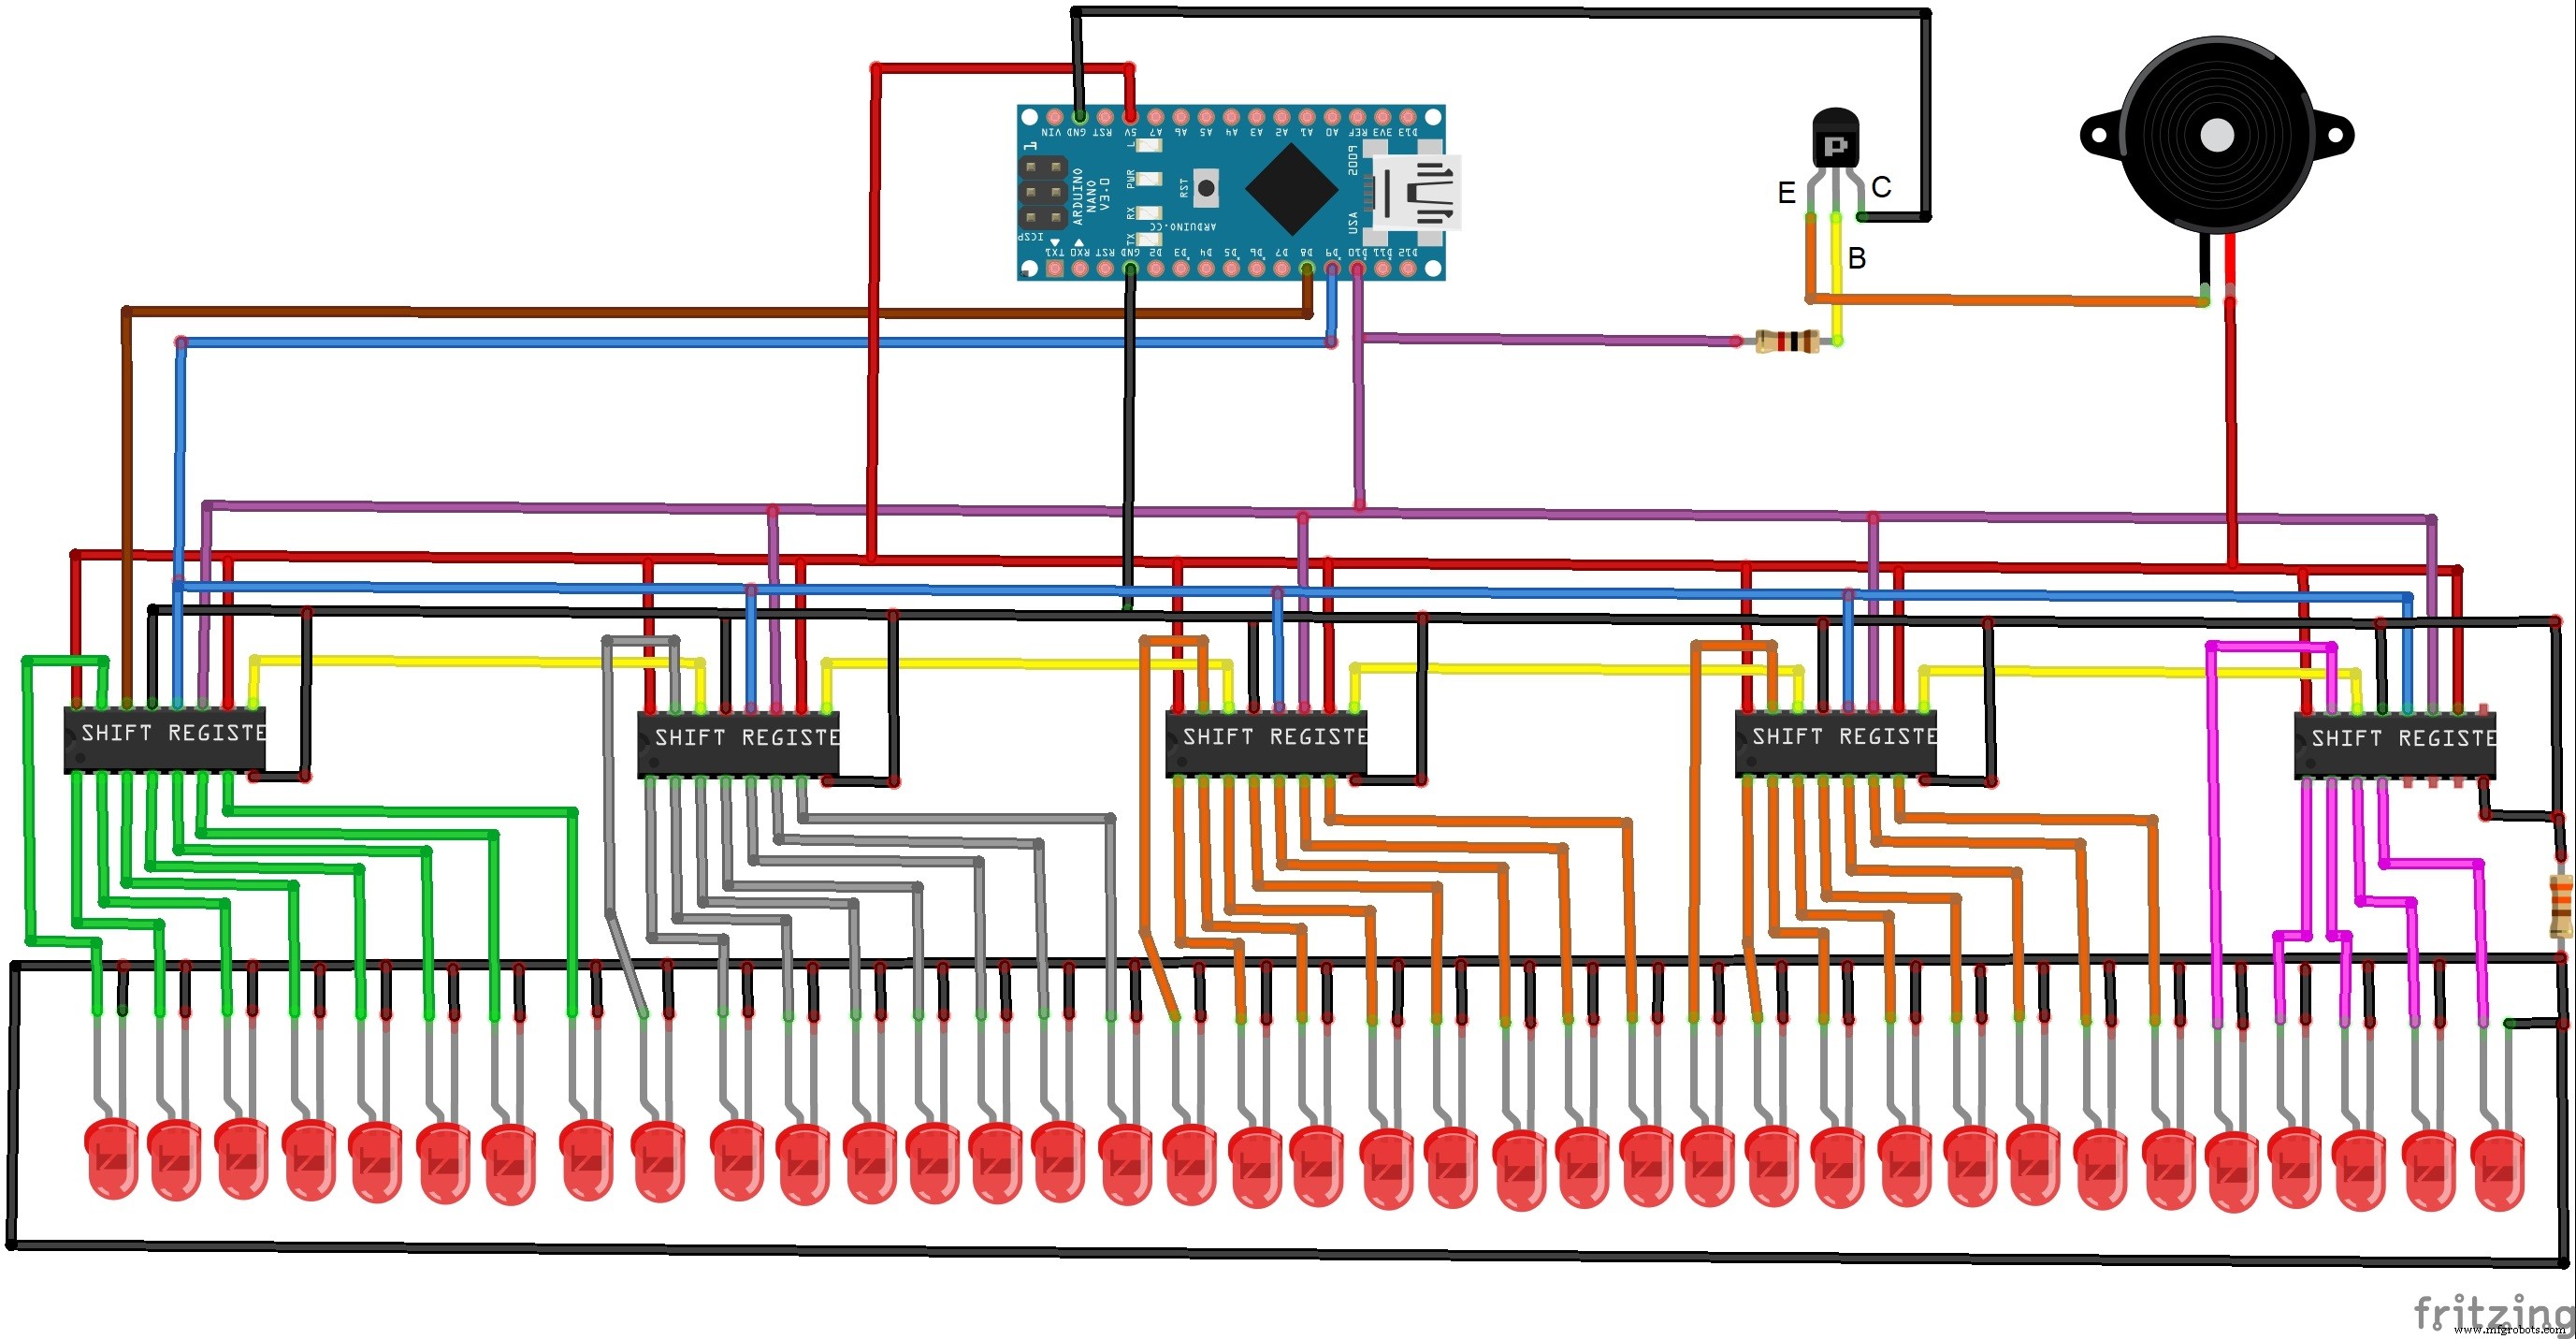
Most often you can find a project of a roulette game with 10 LEDs, so I decided to do with 37 LEDs as in the original wheel. Following the principle of the original Roulette game, the movement of the LED simulates a ball whose speed gradually decreases until it stops at a randomly generated number. The construction is greatly simplified with the use of an Arduino microcontroller. Device is relativly simple to build and consist few components:
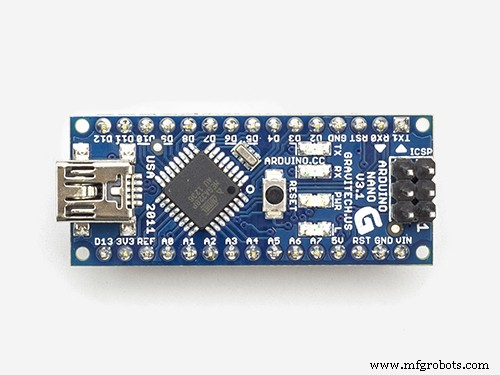
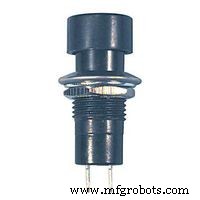
- Arduino Nano microcontroller
- 74HC595 shift register 5 pisces
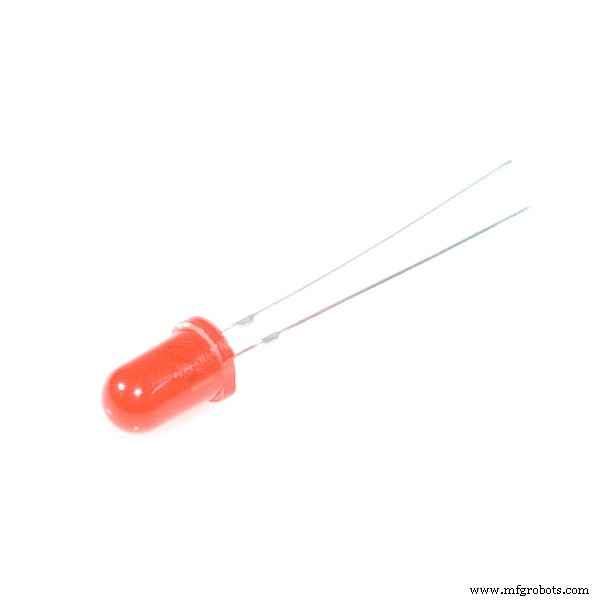
- 37 Leds
- NPN transistor
- 2 Resistors
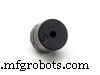
- and Buzzer

This is the European-style layout and consist a single zero, and 36 other numbers. By pressing the button we actually throw the virtual ball, whereby the rotation is simulated by the subsequent illumination of the LEDs. The rotation of the LEDs is accompanied by an appropriate sound effect, which gives a realistic feel to the game. Rotation speed as well as time can be easily adjusted in the code.
Finally, the device is placed in a suitable box made of PVC plastic and coated with colored wallpaper.
Code
- Code
CodeC/C++
int SER_Pin = 8;   //pin 14 on the 75HC595
int RCLK_Pin = 9;  //pin 12 on the 75HC595
int SRCLK_Pin = 10; //pin 11 on the 75HC595

//How many of the shift registers - change this
#define number_of_74hc595s 5

//do not touch
#define numOfRegisterPins number_of_74hc595s * 8

boolean registers[numOfRegisterPins];

int Randomwaarde;
int del = 5 ;
void setup(){
 pinMode(SER_Pin, OUTPUT);
 pinMode(RCLK_Pin, OUTPUT);
 pinMode(SRCLK_Pin, OUTPUT);

 //reset all register pins
 clearRegisters();
 writeRegisters();

 randomSeed(analogRead(3));
 Randomwaarde = random(190, 210);
 Serial.println(Randomwaarde);
}

//set all register pins to LOW
void clearRegisters(){
 for(int i = numOfRegisterPins - 1; i >=  0; i--){
   registers[i] = LOW;
 }
}

//Set and display registers
//Only call AFTER all values are set how you would like (slow otherwise)
void writeRegisters(){

 digitalWrite(RCLK_Pin, LOW);

 for(int i = numOfRegisterPins - 1; i >=  0; i--){
   digitalWrite(SRCLK_Pin, LOW);

   int val = registers[i];

   digitalWrite(SER_Pin, val);
   digitalWrite(SRCLK_Pin, HIGH);

 }
 digitalWrite(RCLK_Pin, HIGH);

}

//set an individual pin HIGH or LOW
void setRegisterPin(int index, int value){
 registers[index] = value;
}

void loop(){


 for (int x=0; x<=36; x++)
 {
   if (del <= Randomwaarde)
   {
     setRegisterPin(x, HIGH);
     writeRegisters();
     delay(del);
     setRegisterPin(x, LOW);
     writeRegisters();
     del = del +1;
   }
   else
   {
     setRegisterPin(x, HIGH);
     writeRegisters();
     delay(10000);
     setRegisterPin(x, LOW);
     writeRegisters();
     del = 5;

   }

 }
}
Schematics
Manufacturing process
- Build Your Own LUMAZOID: A DIY Arduino Music Visualizer
- Build a Real-Time Gyroscope Game with Arduino Nano & MPU-6050 Sensor
- Interactive Joystick Game with Arduino and LED Feedback
- MobBob: Build Your Own Arduino Robot, Controlled Seamlessly via Android Smartphone
- Build a 1‑D Pong Game with Arduino and WS2812 LED Strip – Step‑by‑Step DIY Tutorial
- LED Tower Art: Programmable RGB Cylinder-Inspired Design
- DIY LED Roulette Game – Build a One‑Person Arcade with Arduino Nano
- Smart Plug: 120V Arduino‑Based Smart Outlet with Real‑Time Clock
- Build a Classic Arduino LCD Arcade Game with Buzzer and Joystick
- Build an Interactive LCD Game with Arduino UNO