


Build a Voice‑Controlled Arduino Car with BLE – DIY Guide
Components and supplies
 |
| × | 1 | |||
 |
| × | 1 | |||
| × | 2 | ||||
 |
| × | 1 | |||
 |
| × | 1 | |||
 |
| × | 1 | |||
| × | 1 |
About this project
Components:- Arduino Uno
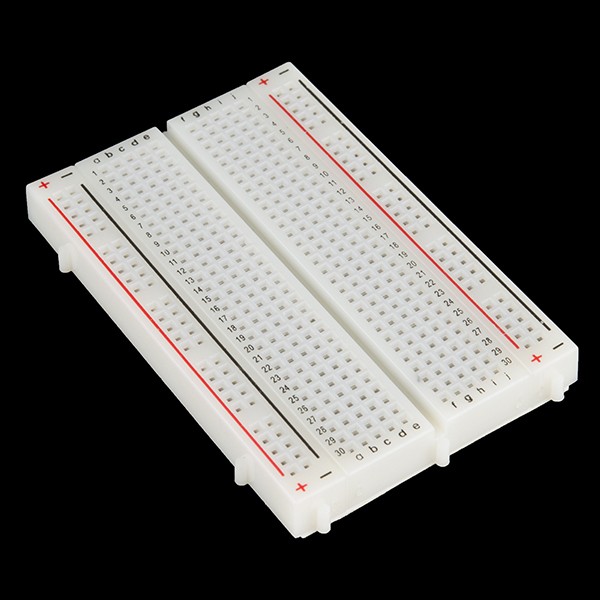
- Breadboard
- Motors x2
- Wheels x2
- Chassis (of appropriate size)
- Voltage Regulator LM7805
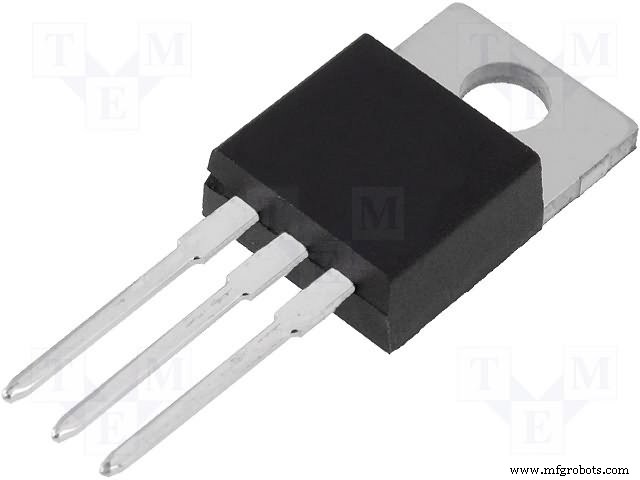
- L293D
- 12V battery (power source)
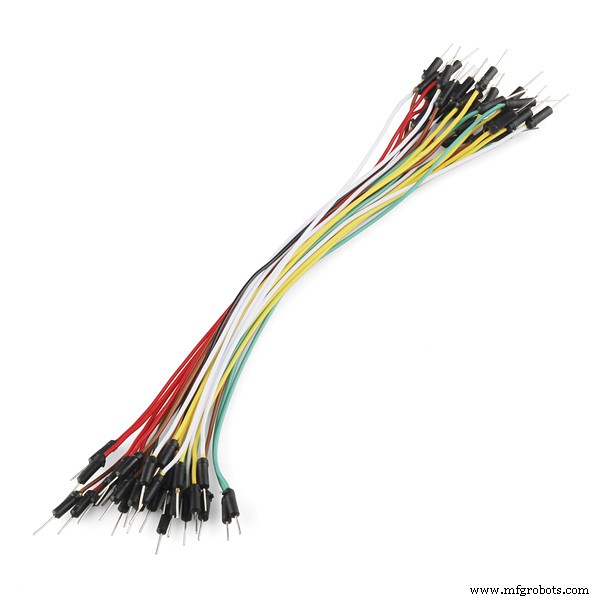
- Jumper wires
- Bluetooth Module HC-05
You can find the app here: https://play.google.com/store/apps/details?id=appinventor.ai_cempehlivan92.Arduino_Sesli_Kontrol
Idea:We connect the Bluetooth module with the mobile app. Once done, the commands which we give through the mobile get sent to the Arduino via the module. We accept character by character from the serial buffer sent by the app and combine them to form a string.
We then compare it to the command. If it matches, the command is carried out. For example, when the string we receive is "Right", the bot turns right.
Connections:Find all connections here :https://yainnoware.blogspot.com/p/voice-controlled-car.html
Code:
int motor_input1=11;
int motor_input2=10;
int motor_input3=5;
int motor_input4=6;
String voice;
void setup()
{
  Serial.begin(9600);
  pinMode(motor_input1, OUTPUT);   //RIGHT MOTOR
  pinMode(motor_input2, OUTPUT);   //RIGHT MOTOR
  pinMode(motor_input3, OUTPUT);   //LEFT MOTOR
  pinMode(motor_input4, OUTPUT);   //LEFT MOTOR
}
void loop()
{
  while(Serial.available()>0)
  {
    delay(10);
    char c=Serial.read();
    if(c=='#')
    {
      break;
    }
    voice+=c;
    }
   if(voice=="forward"){
    digitalWrite(motor_input1, LOW);
    digitalWrite(motor_input2, HIGH);
    digitalWrite(motor_input3, LOW);
    digitalWrite(motor_input4, HIGH);
     delay(5000);
    }
  else
    if(voice=="back"){
    digitalWrite(motor_input1, HIGH);
    digitalWrite(motor_input2, LOW);
    digitalWrite(motor_input3, HIGH);
    digitalWrite(motor_input4, LOW);
    delay(5000);}
  else
   if(voice=="left"){
    digitalWrite(motor_input1, LOW);
    digitalWrite(motor_input2, HIGH);
    digitalWrite(motor_input3, HIGH);
    digitalWrite(motor_input4, LOW);
    delay(800);
    }
  else
   if(voice=="right"){
    digitalWrite(motor_input1, HIGH);
    digitalWrite(motor_input2, LOW);
    digitalWrite(motor_input3, LOW);
    digitalWrite(motor_input4, HIGH);
    delay(800);   }
   if(voice.length()>0)
    {
      Serial.println(voice);
       voice="";
    digitalWrite(motor_input1, LOW);
    digitalWrite(motor_input2, LOW);
    digitalWrite(motor_input3, LOW);
    digitalWrite(motor_input4, LOW);
    }
    }
Instant Intruder Alarm with SMS Alerts – Arduino Yun DIY Guide
Build an RGB Matrix Audio Visualizer Using Arduino – Step‑by‑Step Guide
Manufacturing process
- Arduino Digital Dice Project: Build Your Own LCD-based Random Number Generator
- Transform an Old RC Car into a Joystick‑Controlled Vehicle with Arduino
- Portable Range Detector – Arduino Nano DIY Kit with HC‑SR04, 18650 Power, and 3D‑Printed Enclosure
- MobBob: Build Your Own Arduino Robot, Controlled Seamlessly via Android Smartphone
- Autonomous Face‑Tracking Robot Car with Arduino Nano & OpenCV
- Copper Electroplating Project: Build a Smart System with Arduino UNO
- NeoPixel Matrix Pong on Arduino Nano: Build a Neon Pong Game
- Smart Plug: 120V Arduino‑Based Smart Outlet with Real‑Time Clock
- Bolt IoT Smart Robot Car – Arduino UNO & L298 Motor Drivers
- Smart Alzheimer’s Companion: Arduino-Based Alert System