


Copper Electroplating Project: Build a Smart System with Arduino UNO
Components and supplies
 |
| × | 1 | |||
| × | 1 | ||||
 |
| × | 1 | |||
 |
| × | 2 | |||
 |
| × | 2 | |||
 |
| × | 1 | |||
| × | 1 | ||||
| × | 1 | ||||
| × | 1 | ||||
| × | 1 | ||||
| × | 1 | ||||
| × | 1 | ||||
| × | 1 | ||||
| × | 1 |
Necessary tools and machines
 |
|
About this project
Electroplating is a process that uses an electric current to reduce dissolved metal cations so that they form a thin coherent metal coating on an electrode.
Reasons for electroplating:
- Corrosion resistance
- Improved mechanical characteristics
- Aesthetics - Looks cool :)
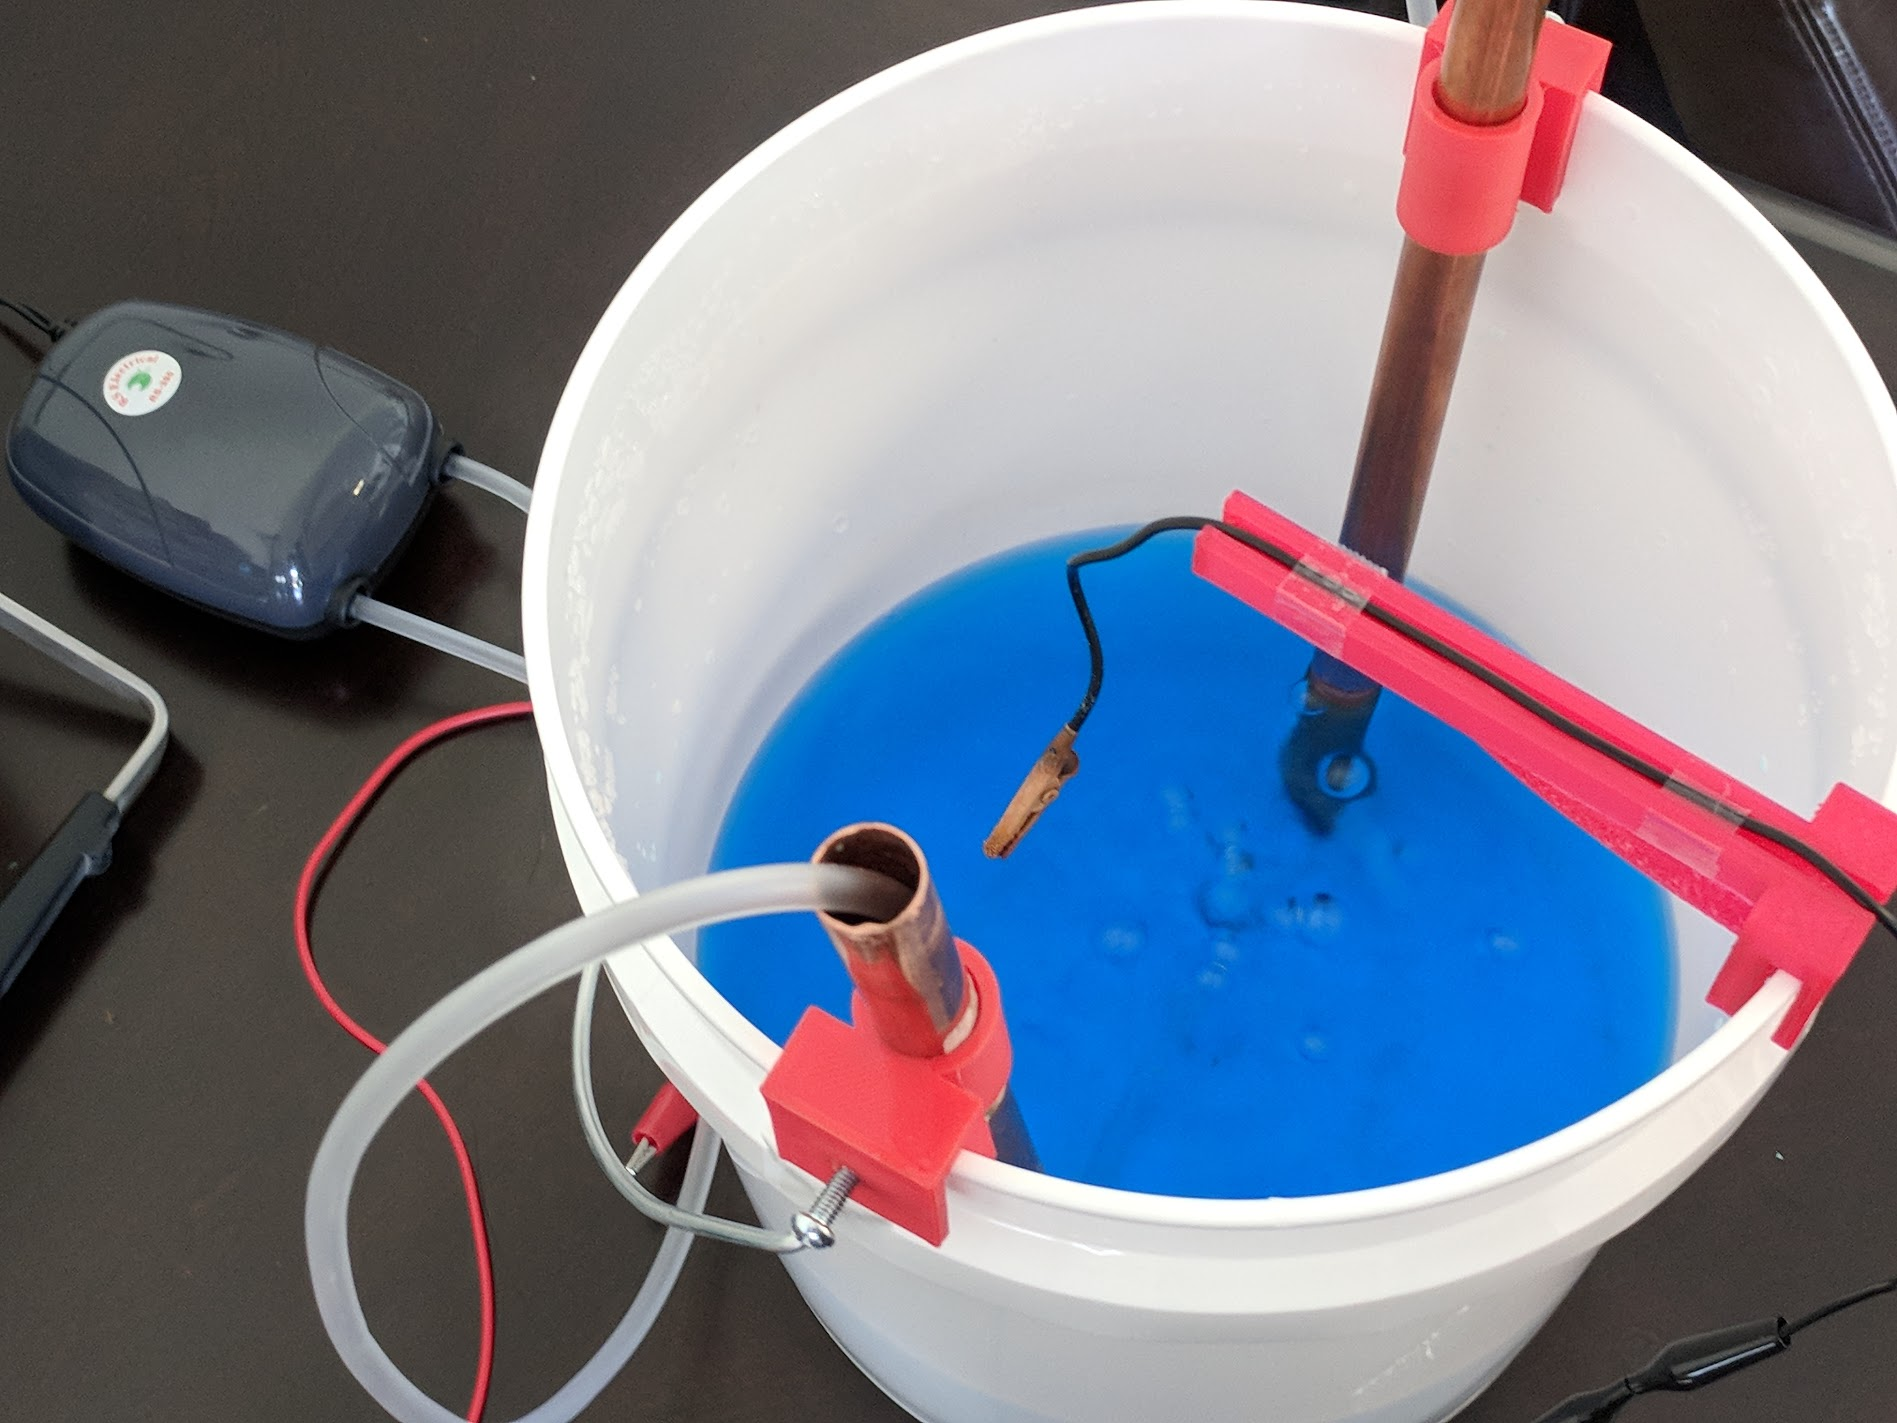
This system will use a bucket with an electrolyte solution made of copper sulfate as well as copper pipe to plate metal objects.
I made my electrolyte solution by mixing copper sulfate and distilled water. The ratio of copper sulfate to water will determine how conductive the electrolyte is, and you should vary this ratio depending on your desired plating speed. The more conductive the solution, the faster the plating process will occur. I'm starting off with a ratio of 1 oz of copper sulfate to 2 cups of distilled water.
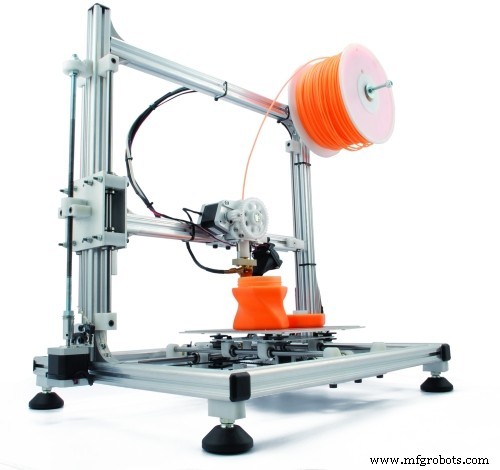
Once we have our electrolyte solution, we will need to set up the copper pipe and aquarium pump. I designed some clips in Tinkercad to hold the copper pipe along the side of the bucket and 3D-printed them on my Anet A8. I then inserted a tube from the aquarium pump through the copper pipe to the bottom of the solution. This will help agitate the electrolyte solution during the plating process. I also 3D-printed a mount to suspend the cathode in the center of the bath.
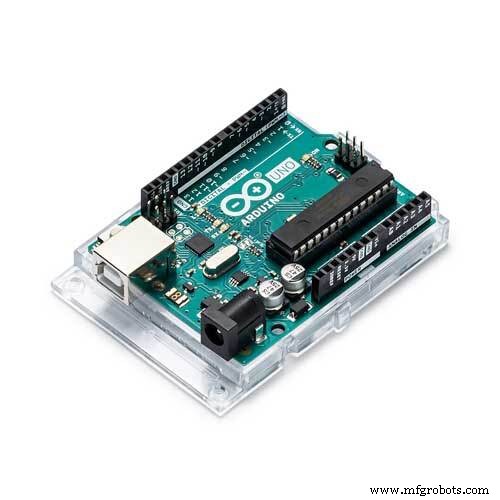
The Arduino Uno is used along with a relay to toggle the power to electrolyte solution. The Uno will turn on the power for 10 seconds and then leave it off for 1 second. These values can be adjusted in the sketch as desired.
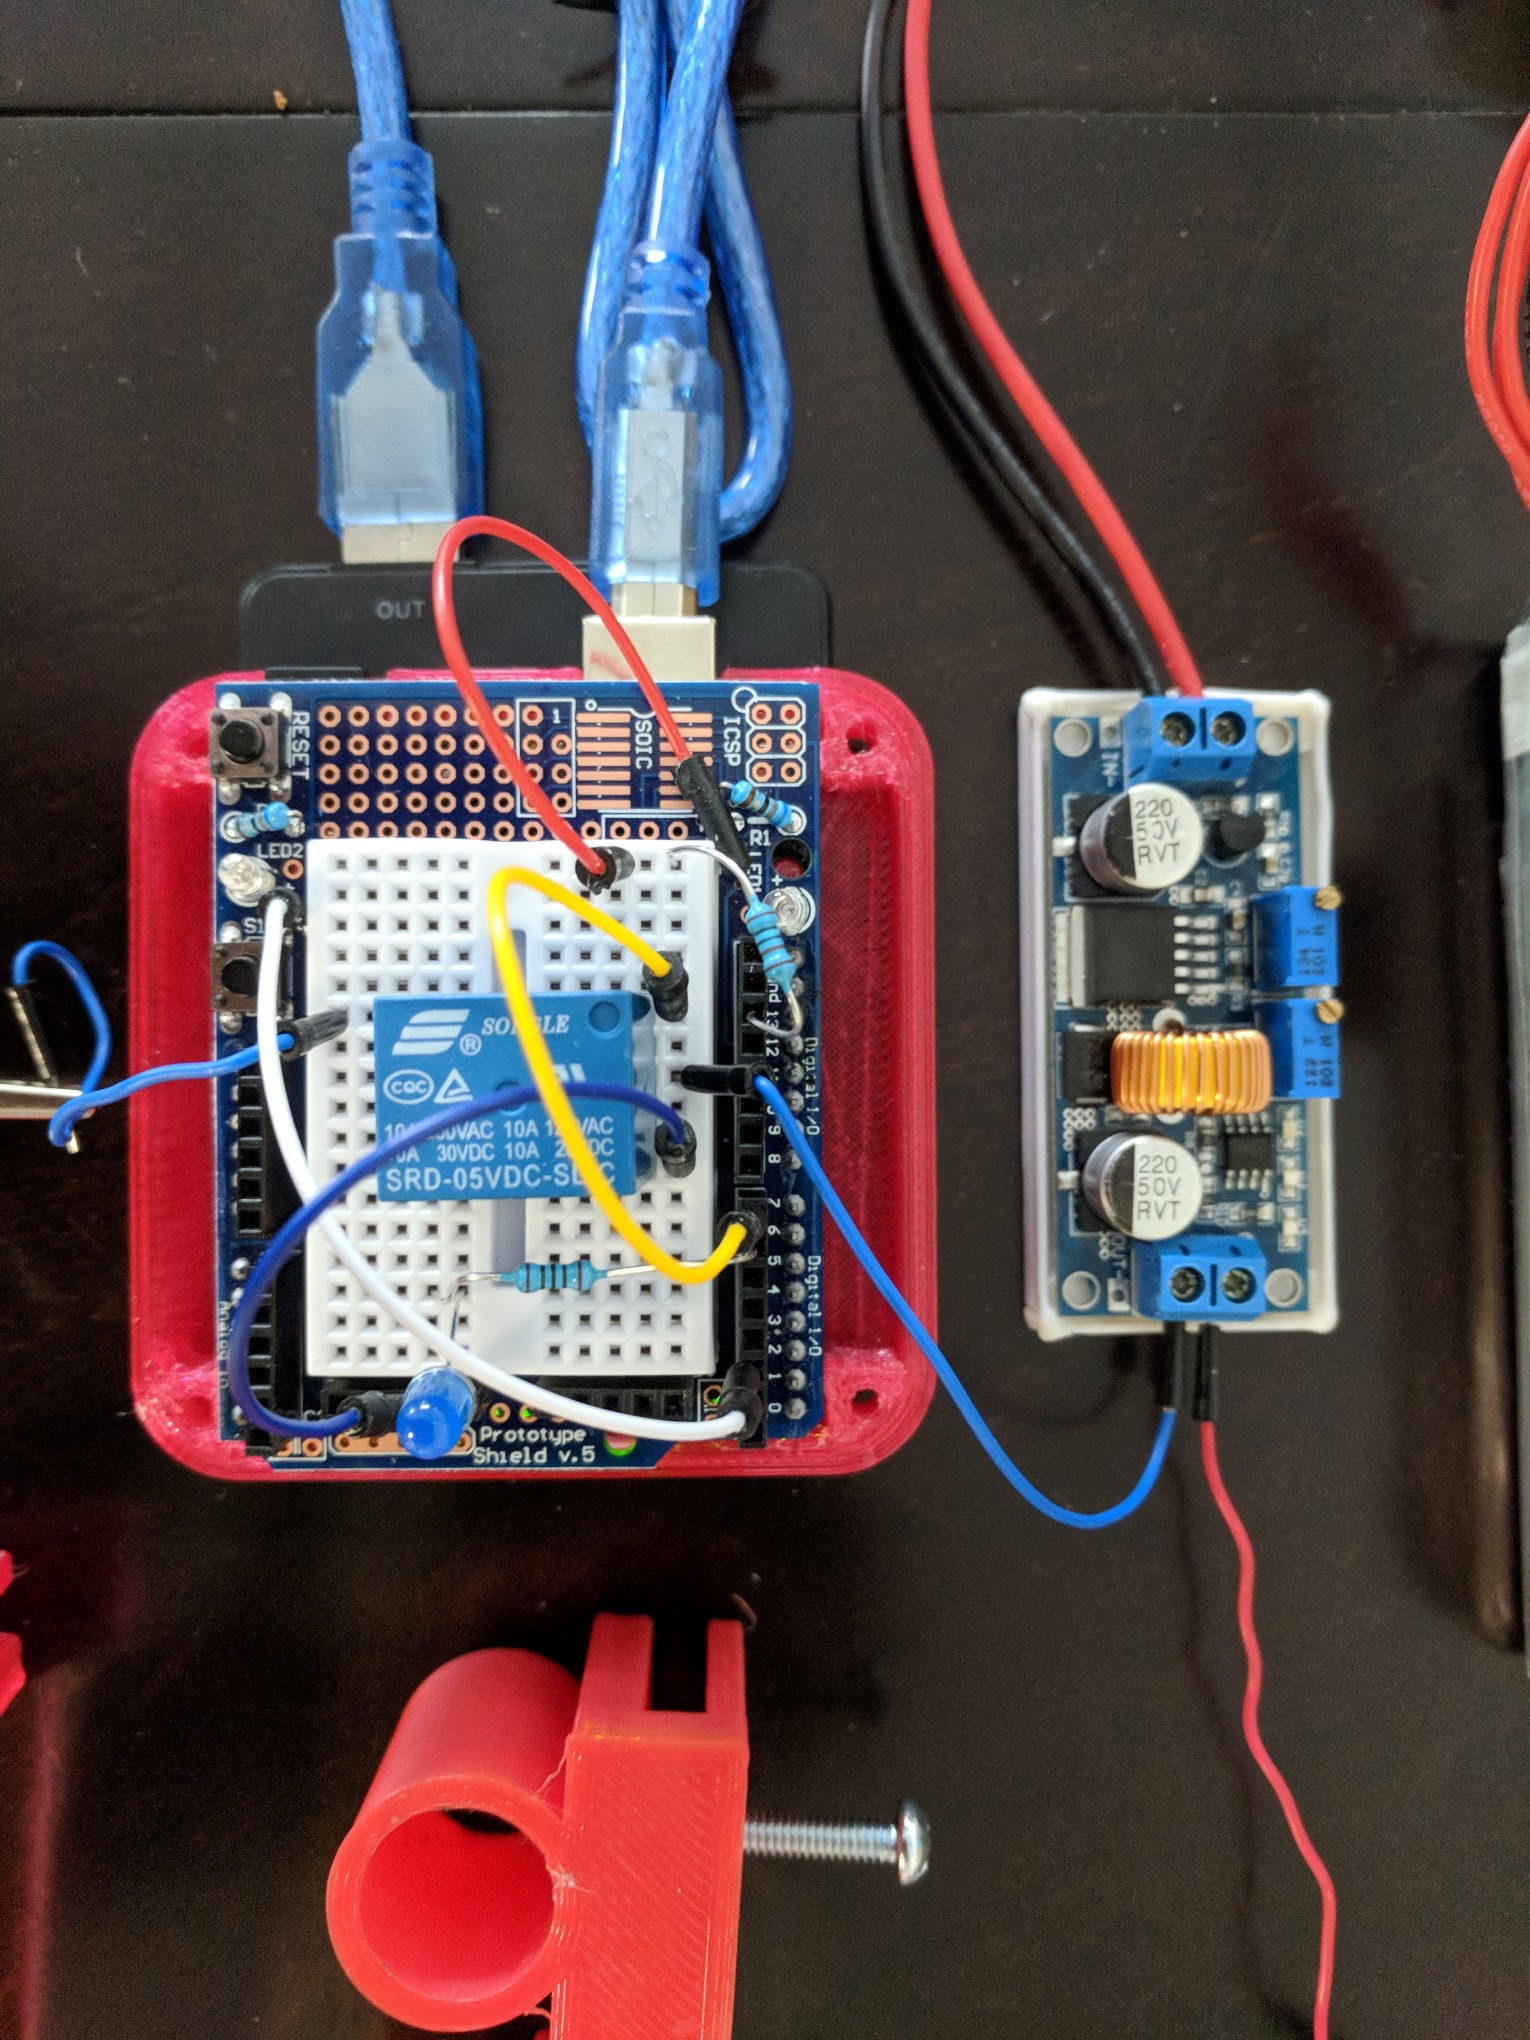
I have a simple button switch to enable/disable the plating process.

/* Electroplating
 *
 * Toggle relay with set on and off durations
 * Power switch interrupt to toggle cycling of relay
 *
 */
const int powerSwitch = 2;
const int bathLed = 6;
const int relay = 7;
const int powerLed = 13;
long onTime = 10000;
long offTime = 1000;
volatile bool isActive = false;
void turnOn() {
 digitalWrite(relay, HIGH);
 digitalWrite(bathLed, HIGH);
}
void turnOff() {
 digitalWrite(relay, LOW);
 digitalWrite(bathLed, LOW);
}
void toggleState() {
  isActive = !isActive;
 digitalWrite(powerLed, isActive);
}
// Delay with escape logic
void await(long timeToWait) {
 for(int j=0; j<timeToWait; j++) {
 delay(1);
 if(isActive == LOW) return;
  }
}
void setup()
{
 // Set both relay and powerLed pins to OUTPUT
 pinMode(relay, OUTPUT);
 pinMode(powerLed, OUTPUT);
 // Set power switch pin to INPUT
 pinMode(powerSwitch, INPUT);
 // Default power switch to HIGH state
 // Pressing switch brings it LOW
 digitalWrite(powerSwitch, HIGH);
 // Attach an interrupt to the power switch pin
 attachInterrupt(digitalPinToInterrupt(powerSwitch), toggleState, FALLING);
}
void loop()
{
 while(isActive) {
 // Turn on relay for on duration
 turnOn();
 await(onTime);
 // Turn off relay for off duration
 turnOff();
 await(offTime);
  }
}
I'm using a 4s lipo battery along with a buck converter to regulate the voltage because I don't have a bench power supply. I plan to test plating at different voltages to see what works best for my setup.
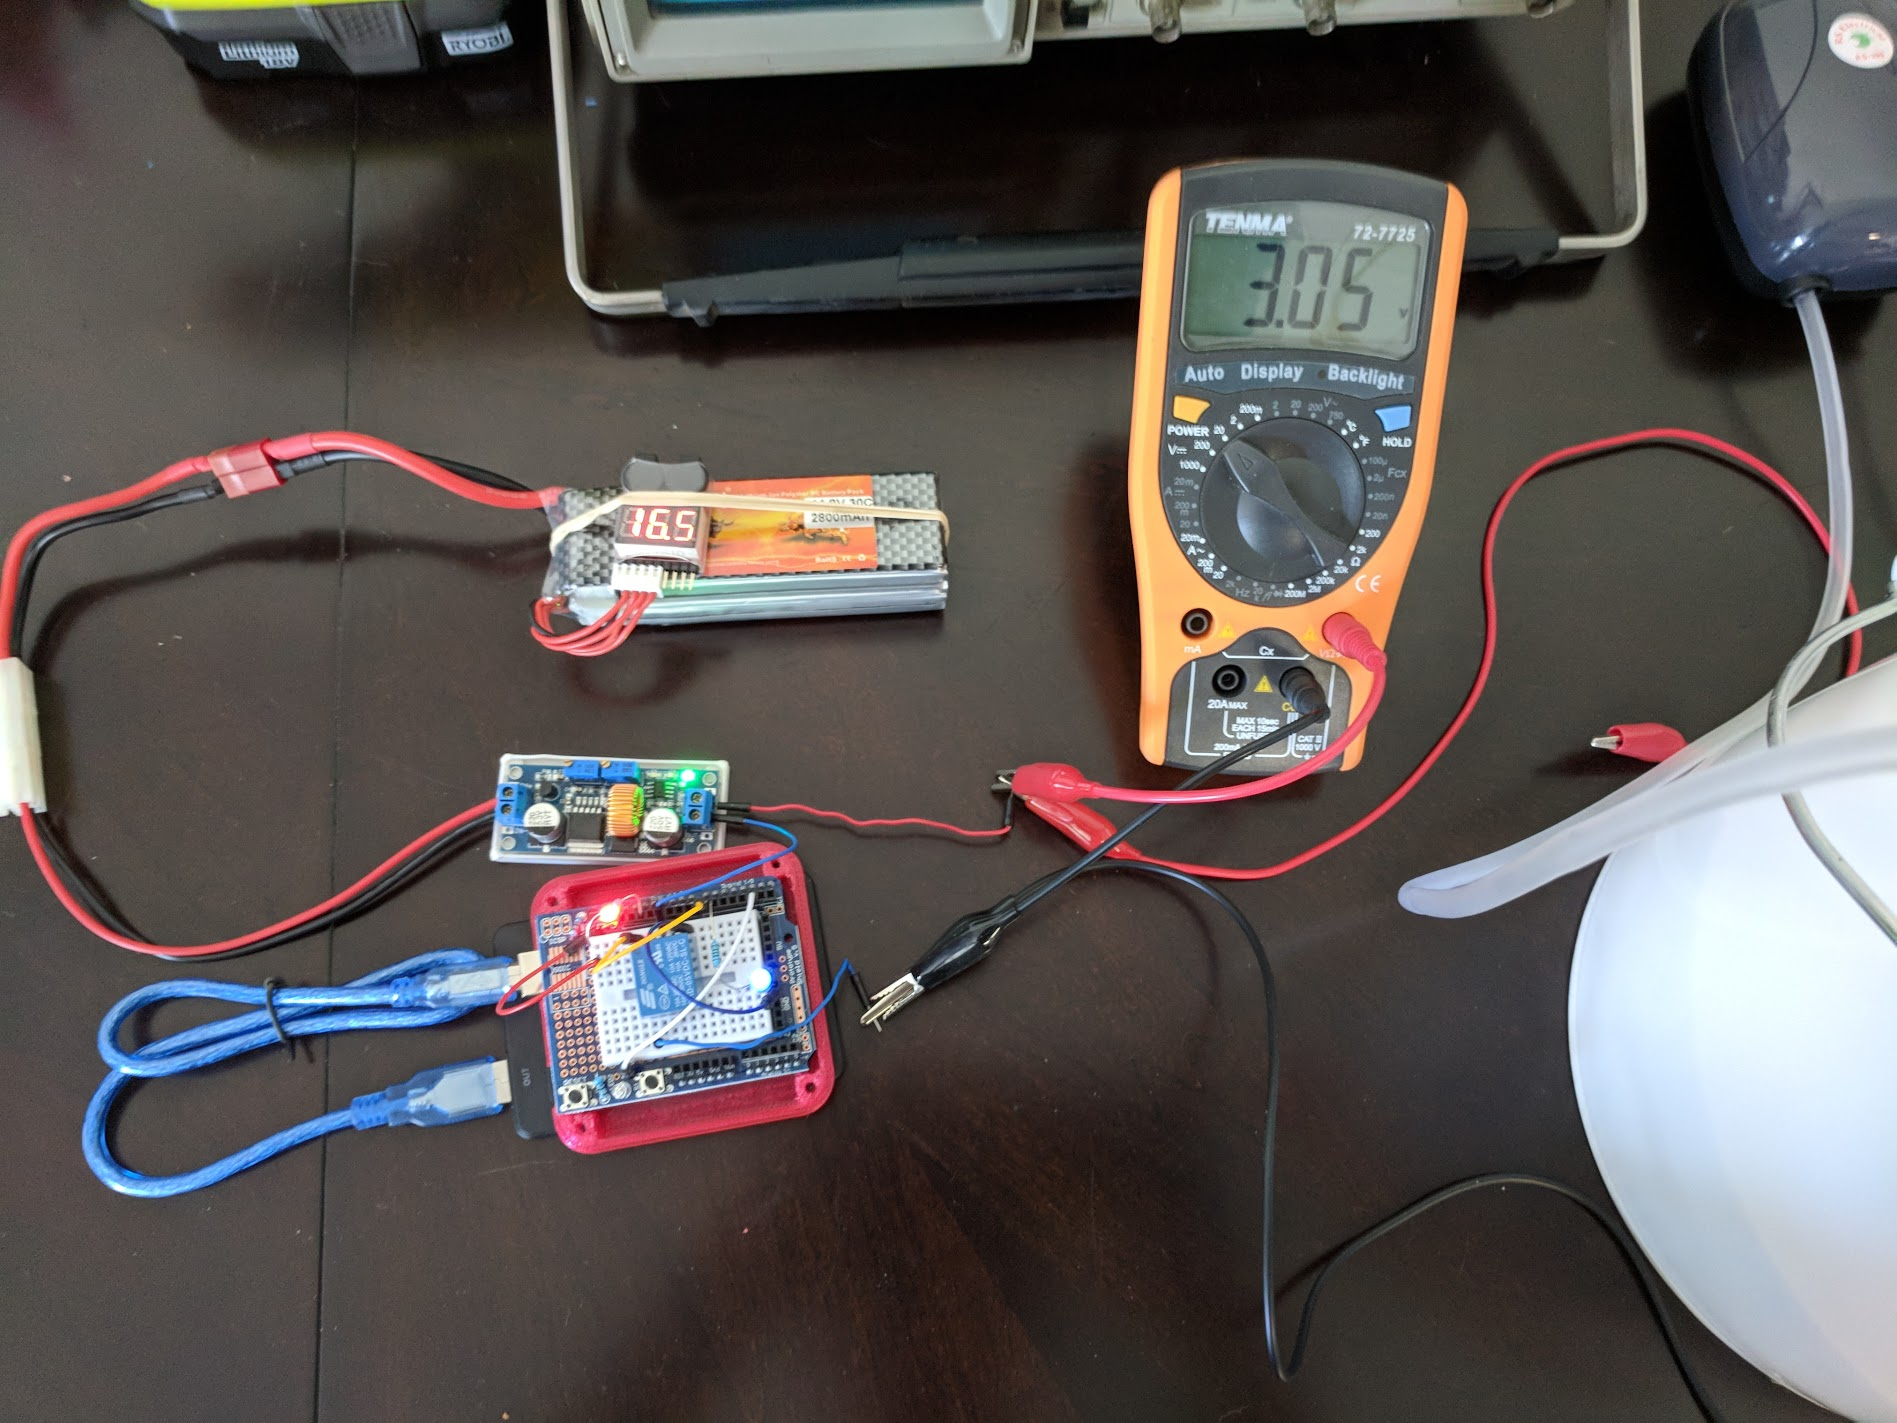
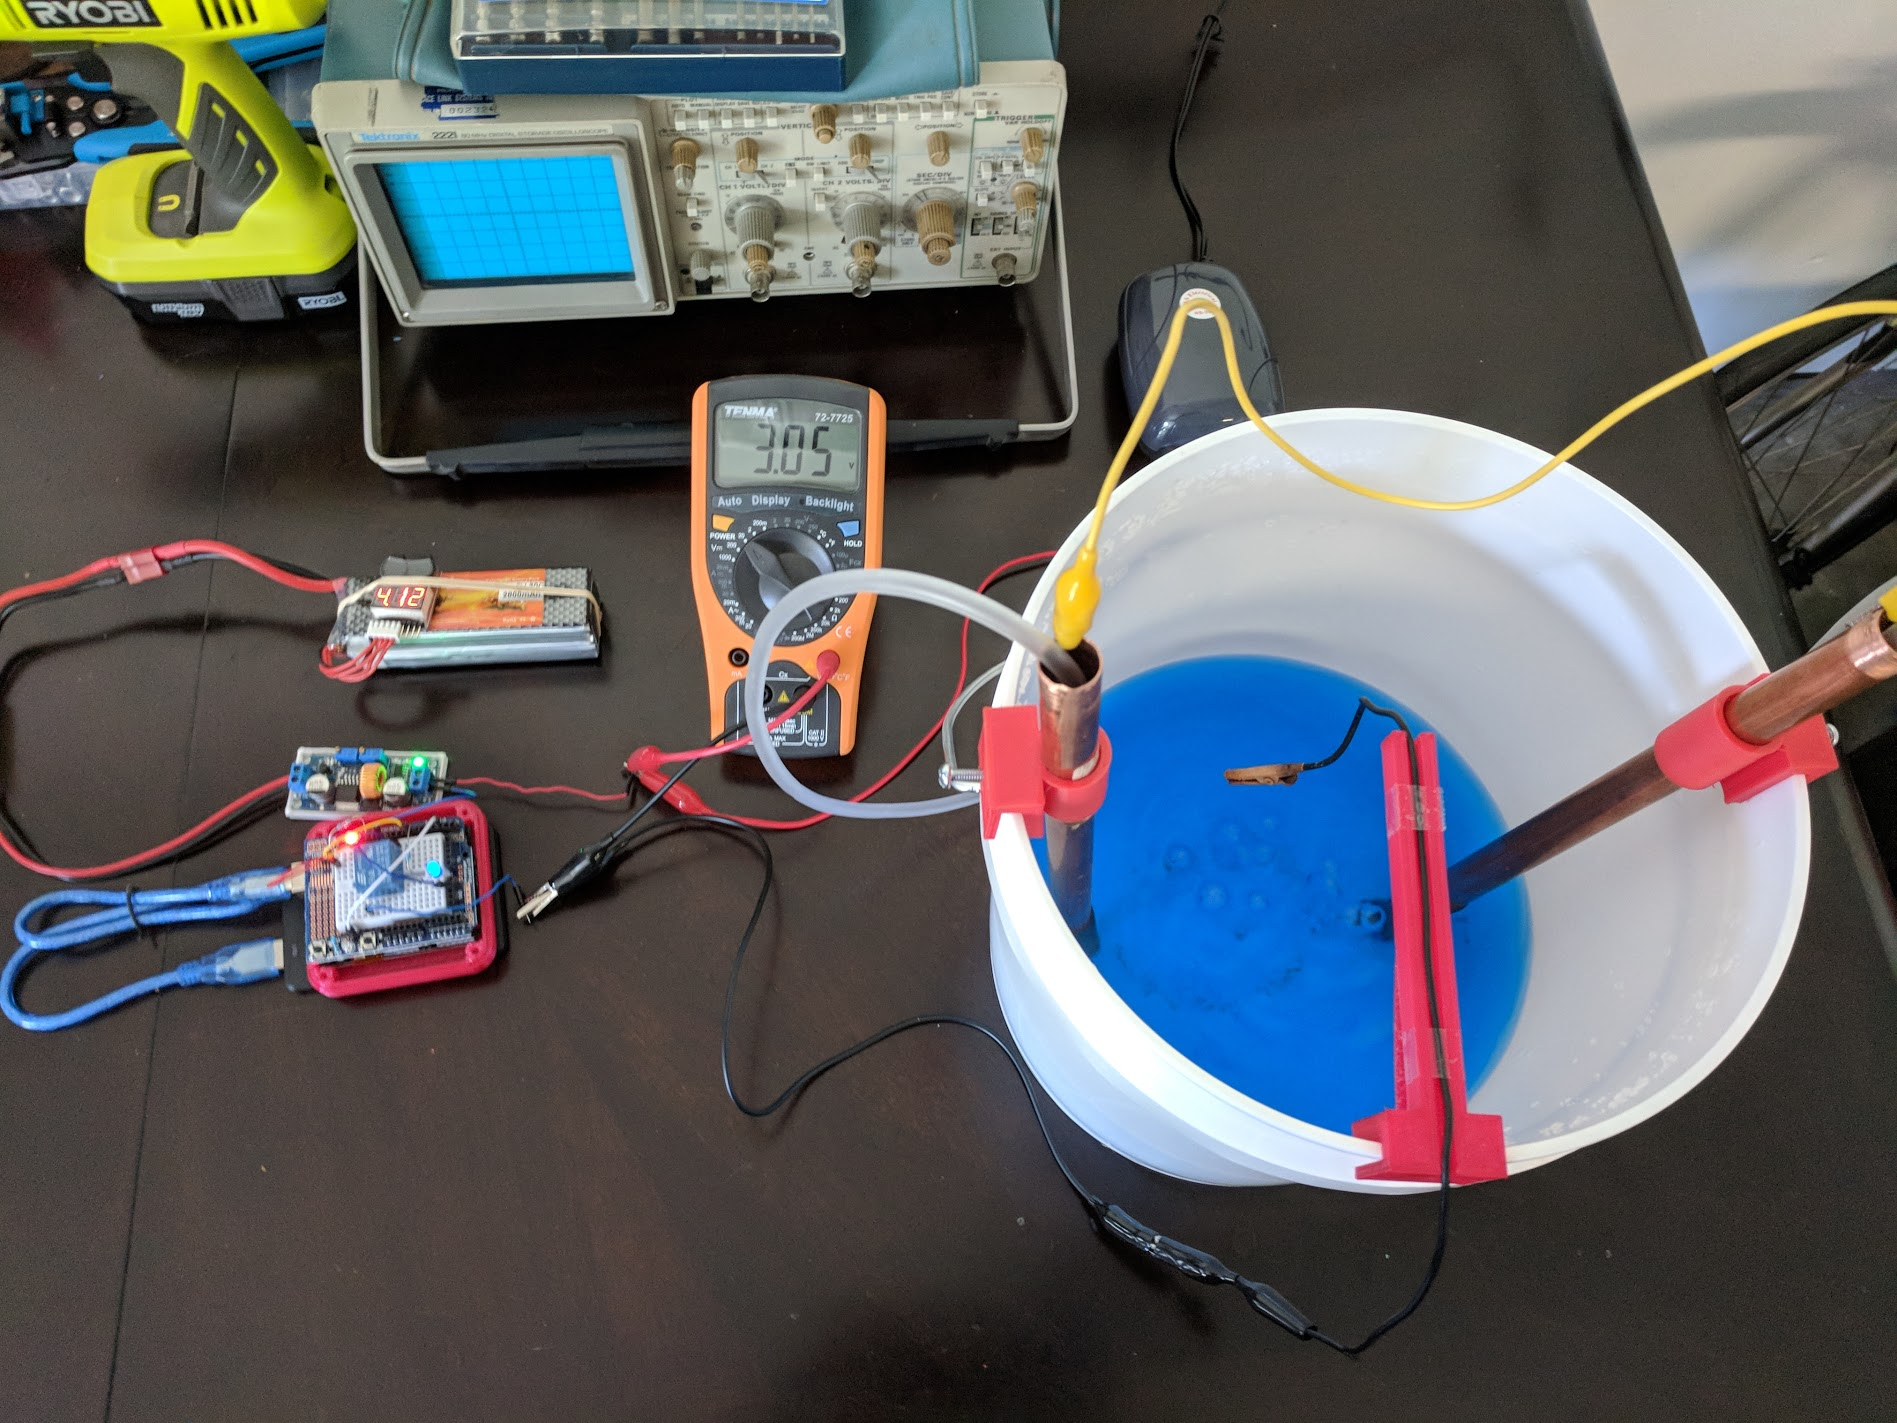
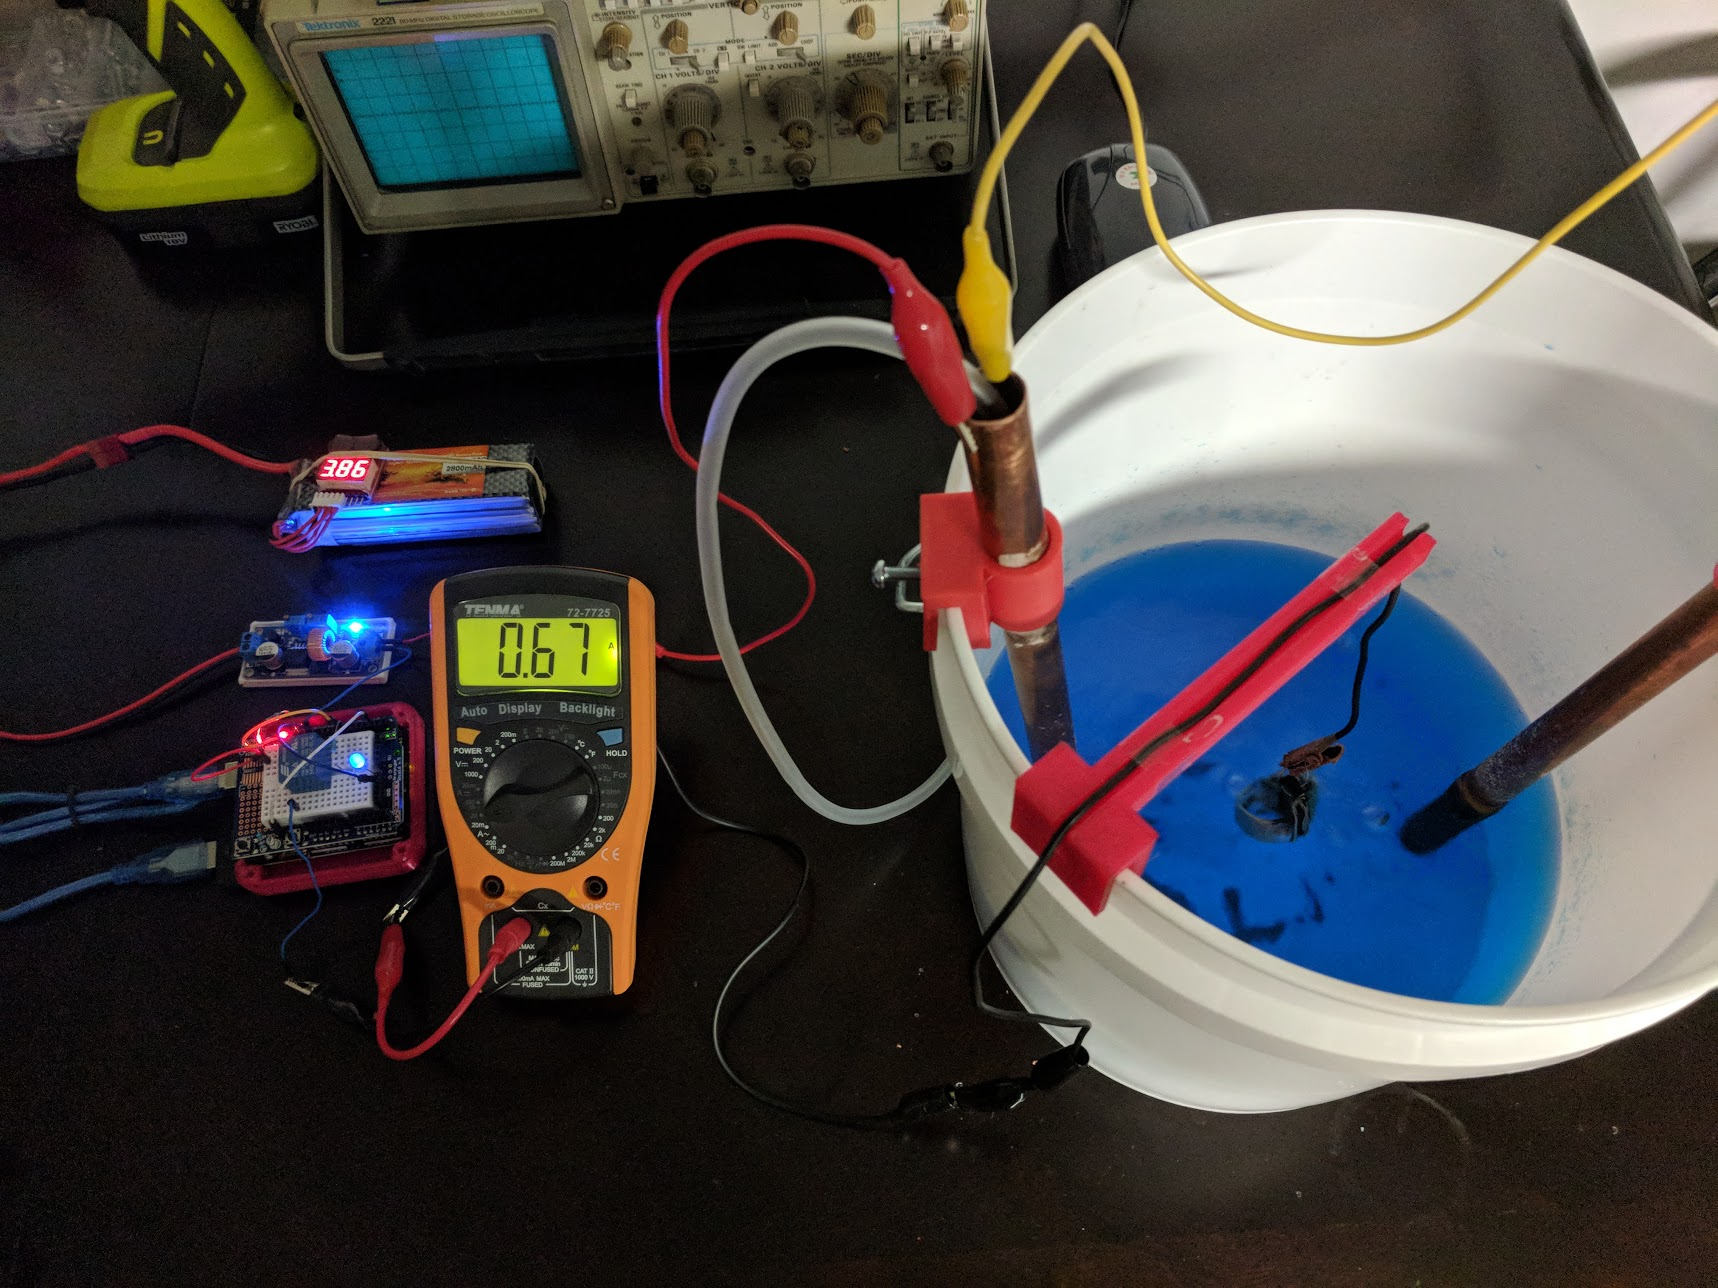
I started off by plating some coins. These were done at around 3 volts and were pulling around 600mA during the plating process. I plated each coin for about five to ten minutes and was surprised by how fast they plated.
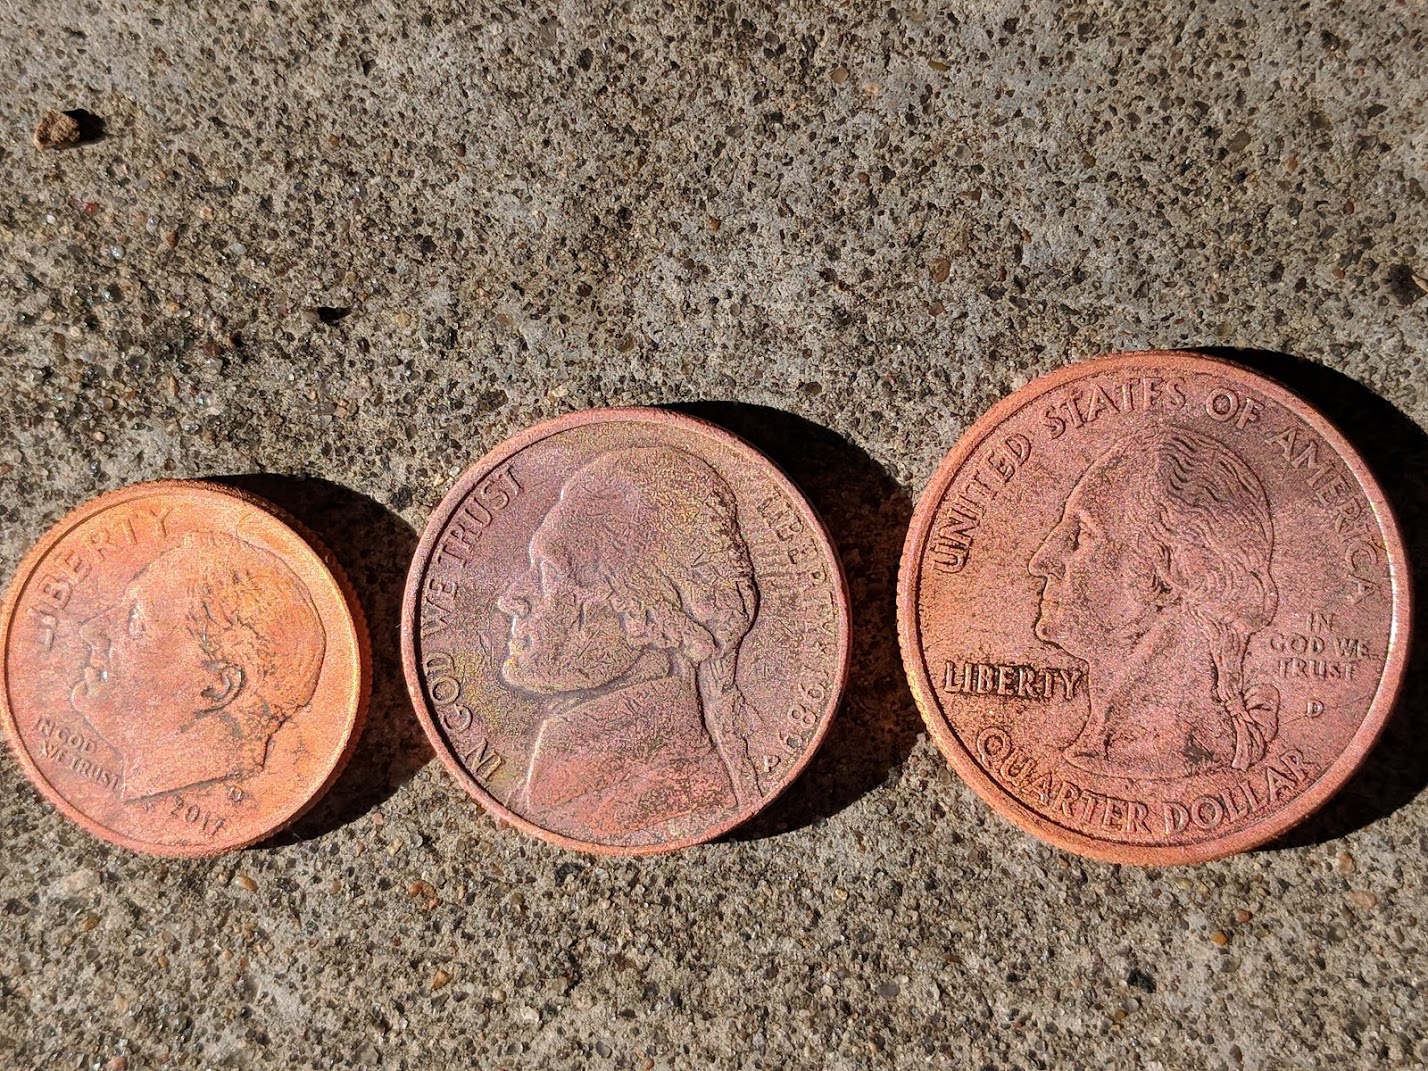
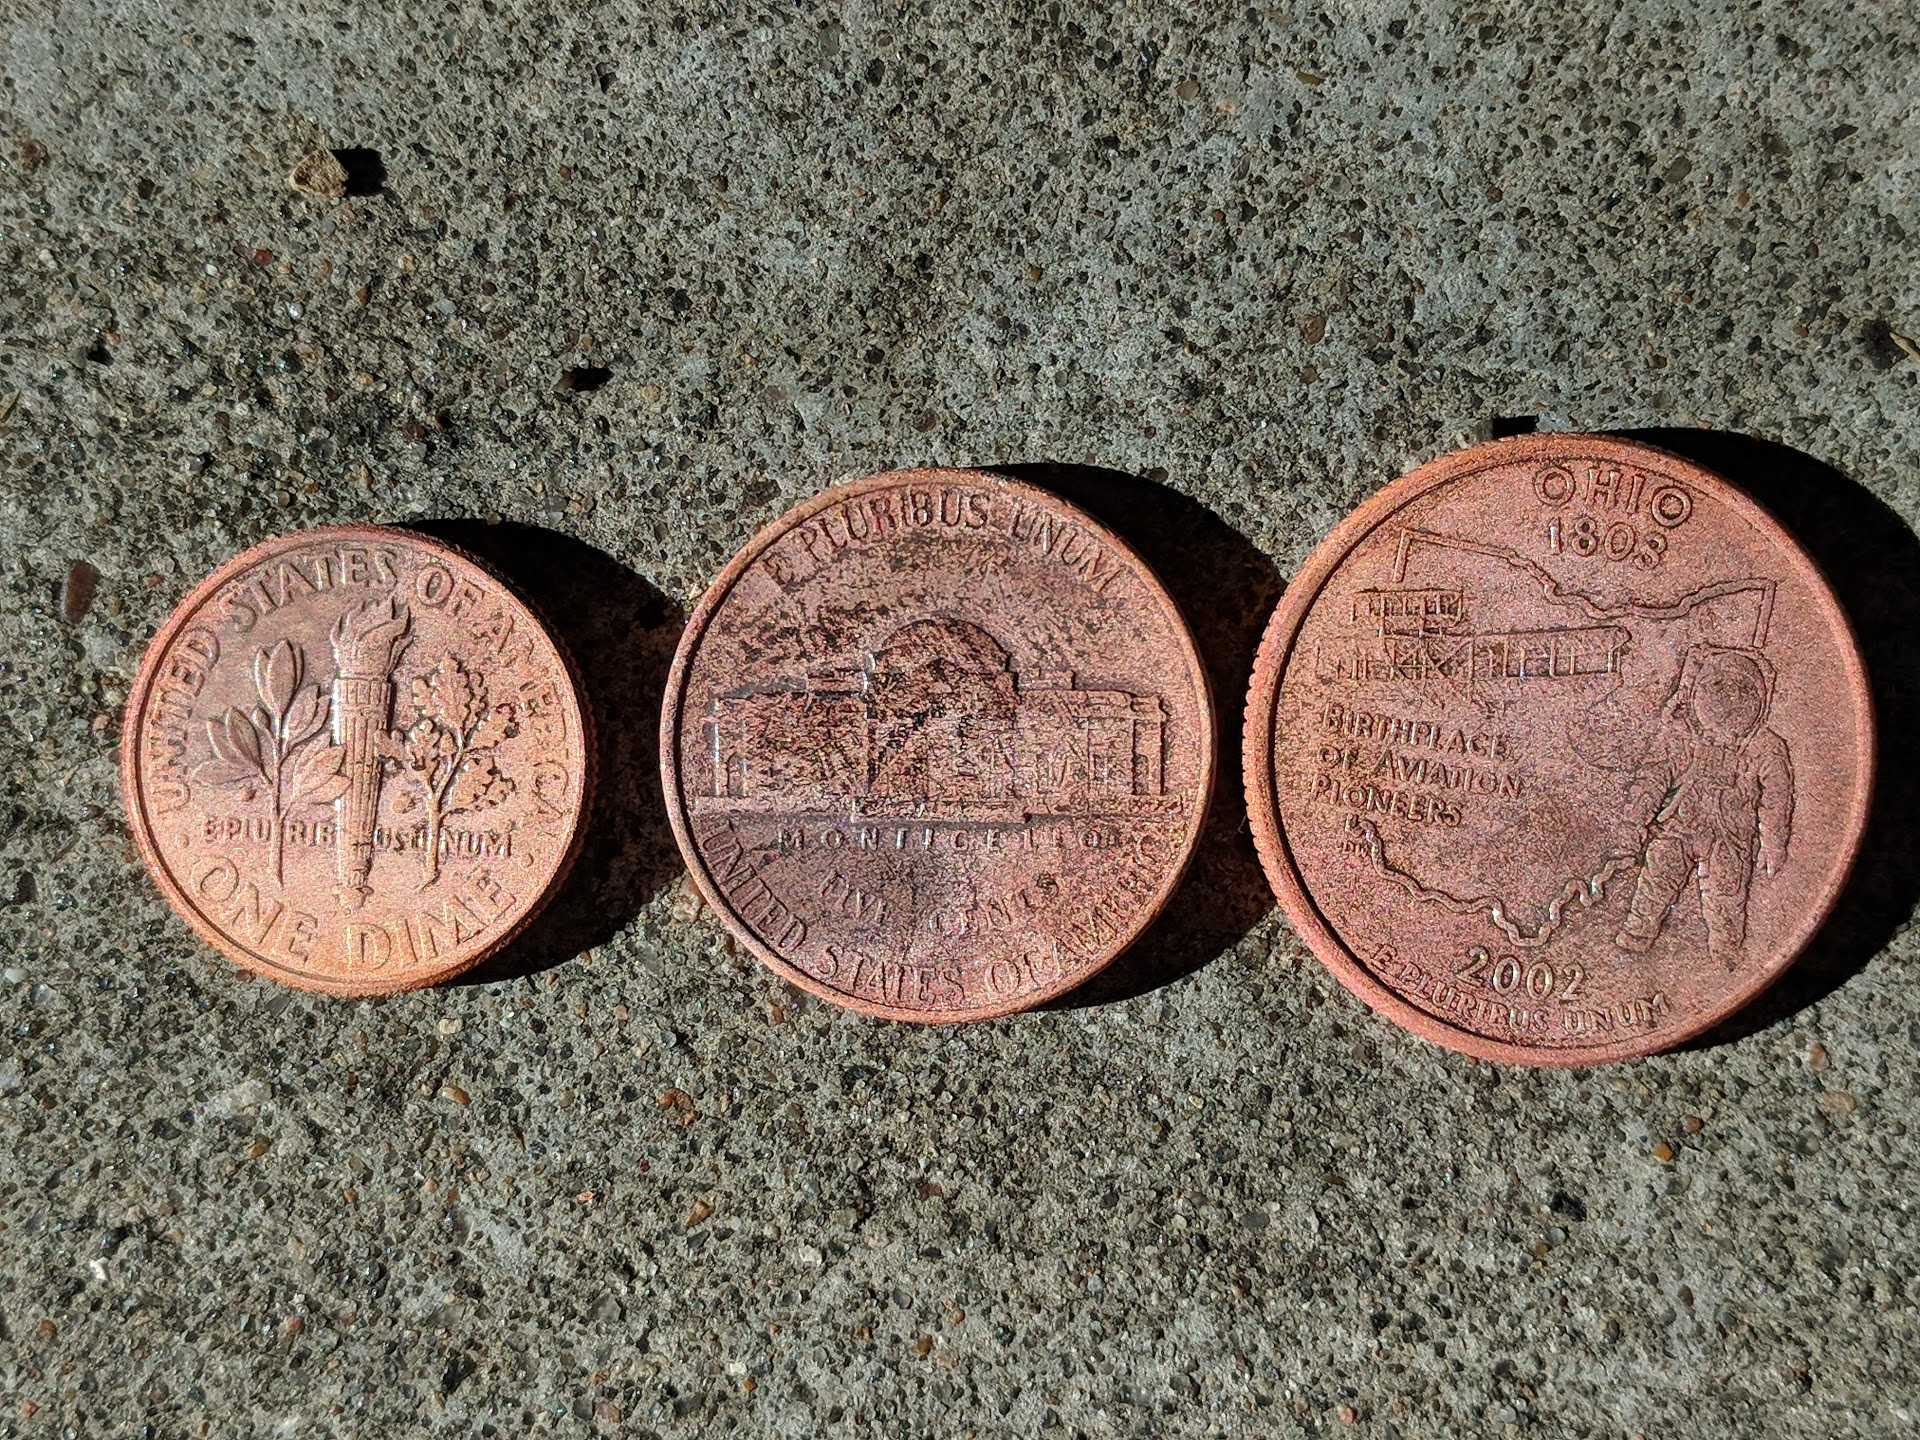
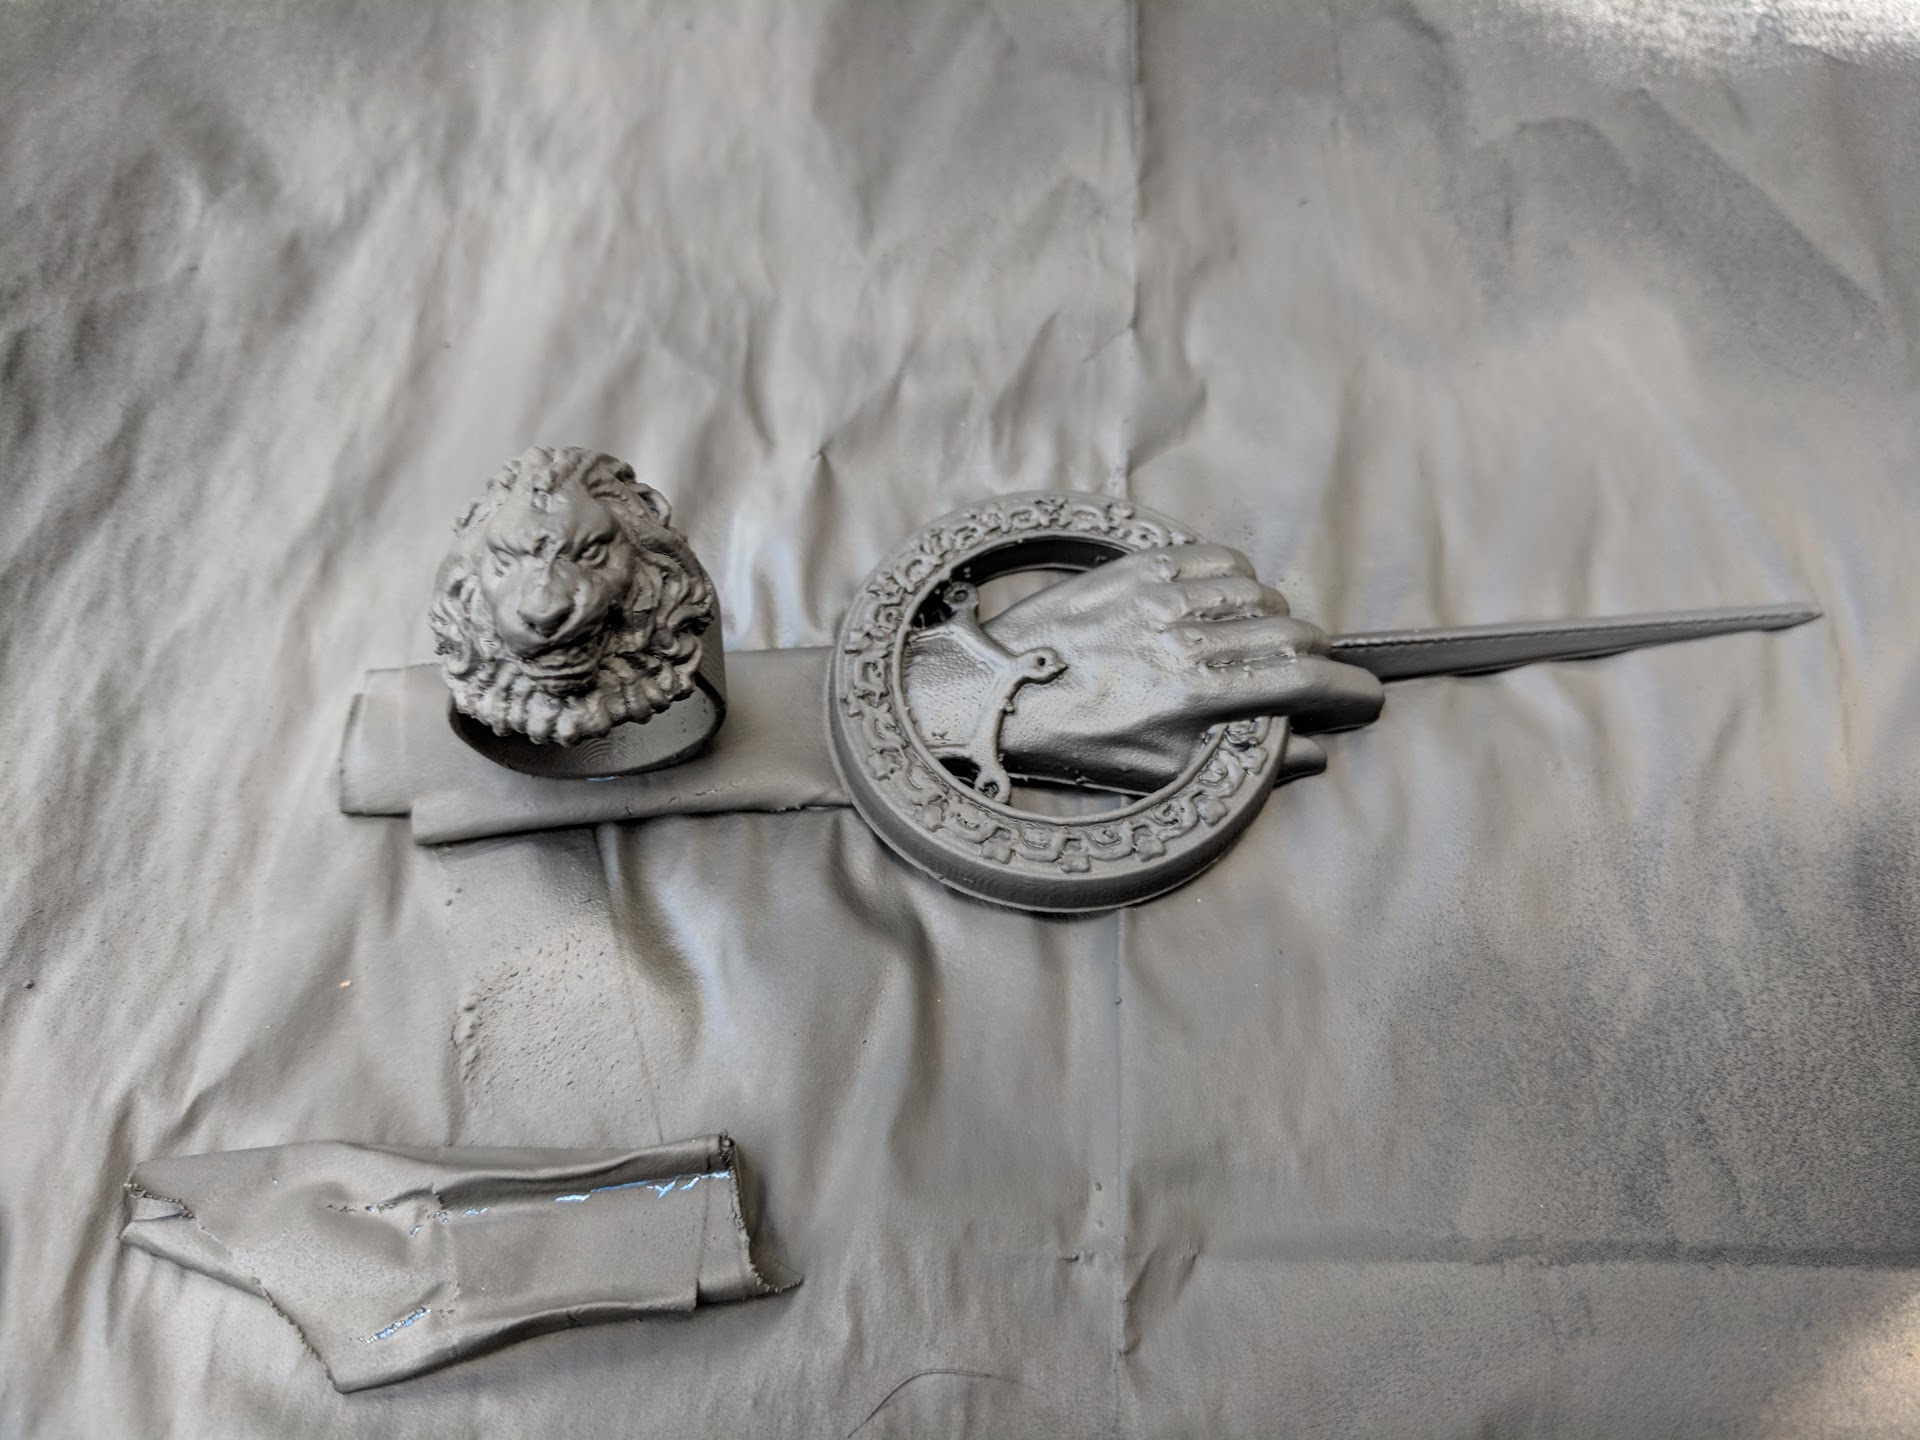
It works! But plating coins has been done many times before. So I ordered some conductive paint and started painting some 3D prints.
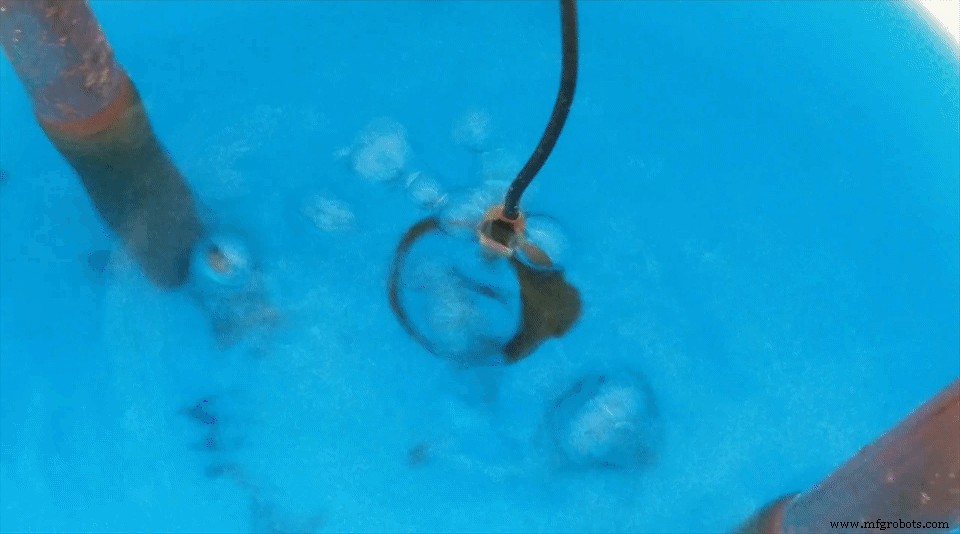
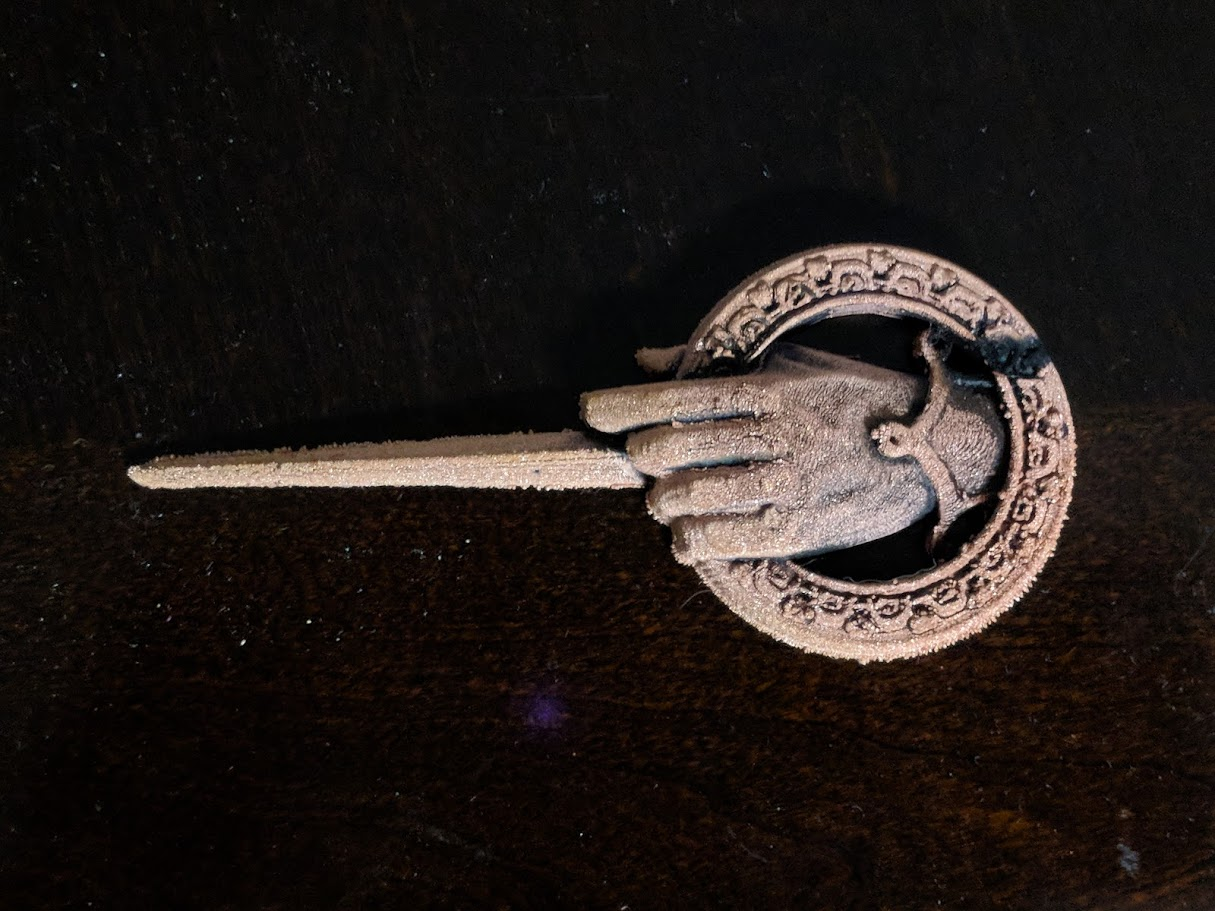
First attempt was this wolf ring, which wasn't the best print but worked great as a first test.
The ring wasn't plating as fast as the coins because I didn't apply enough coats of the conductive paint. I plated this ring for about 4 hours.
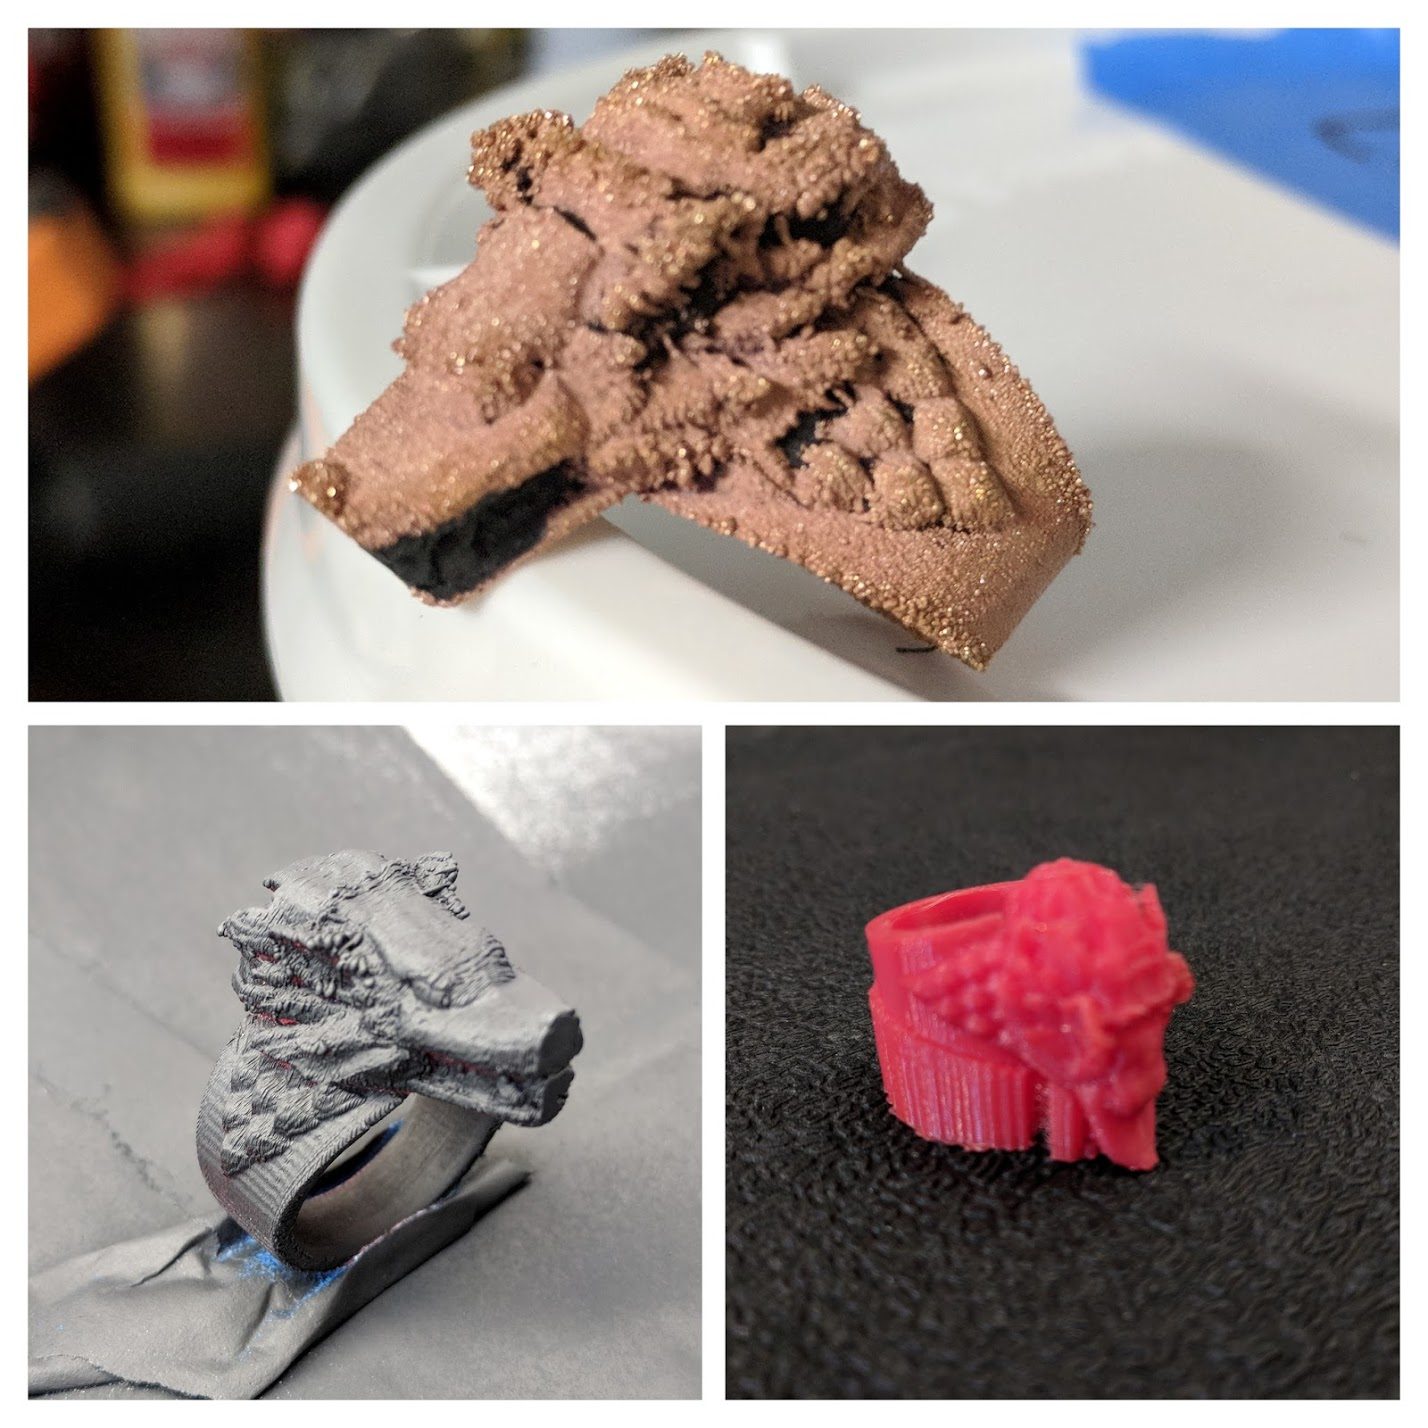
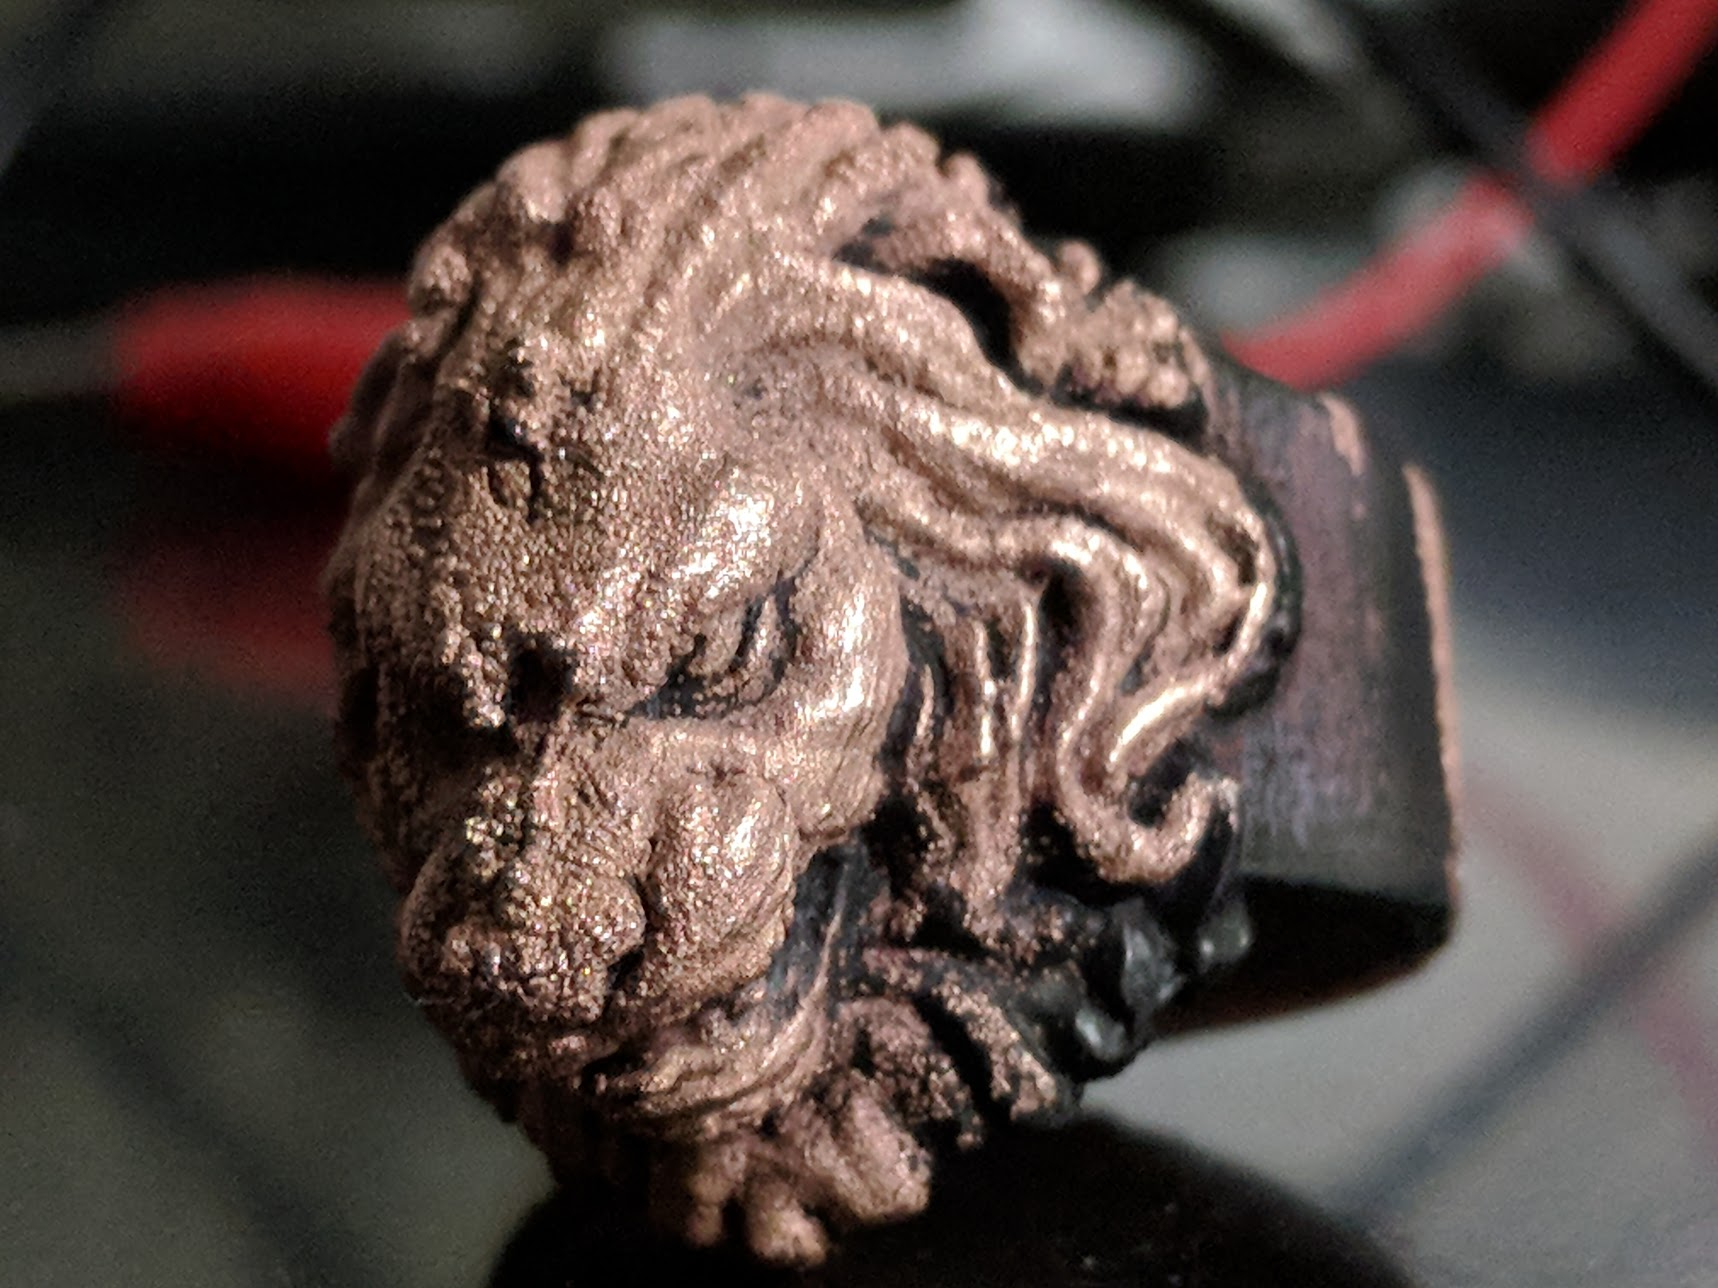
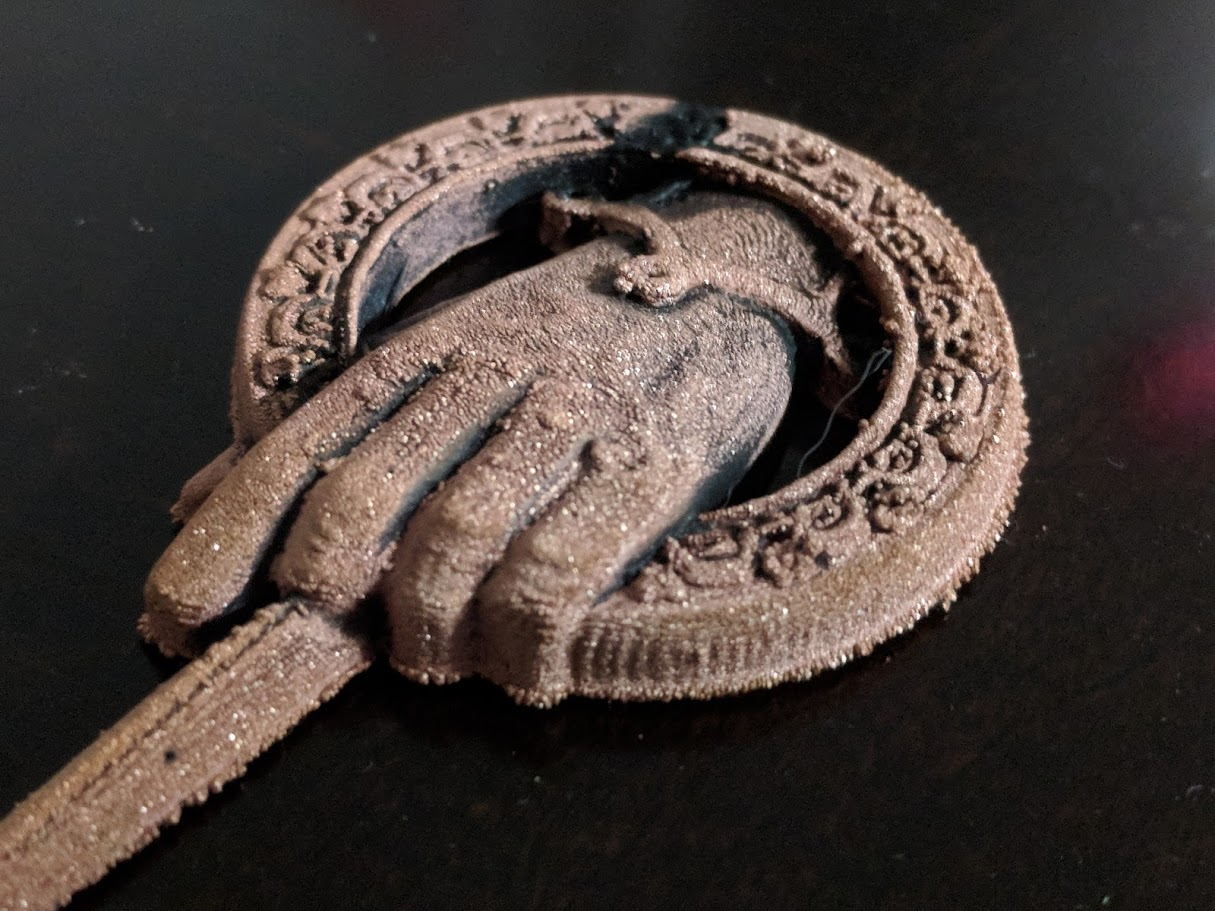
Then I tried some more 3D prints but this time I applied an excessive amount of paint hoping that it would make the prints more conductive.
The prints are much harder to plate and it seems I still need to test some different settings to fine tune the process.
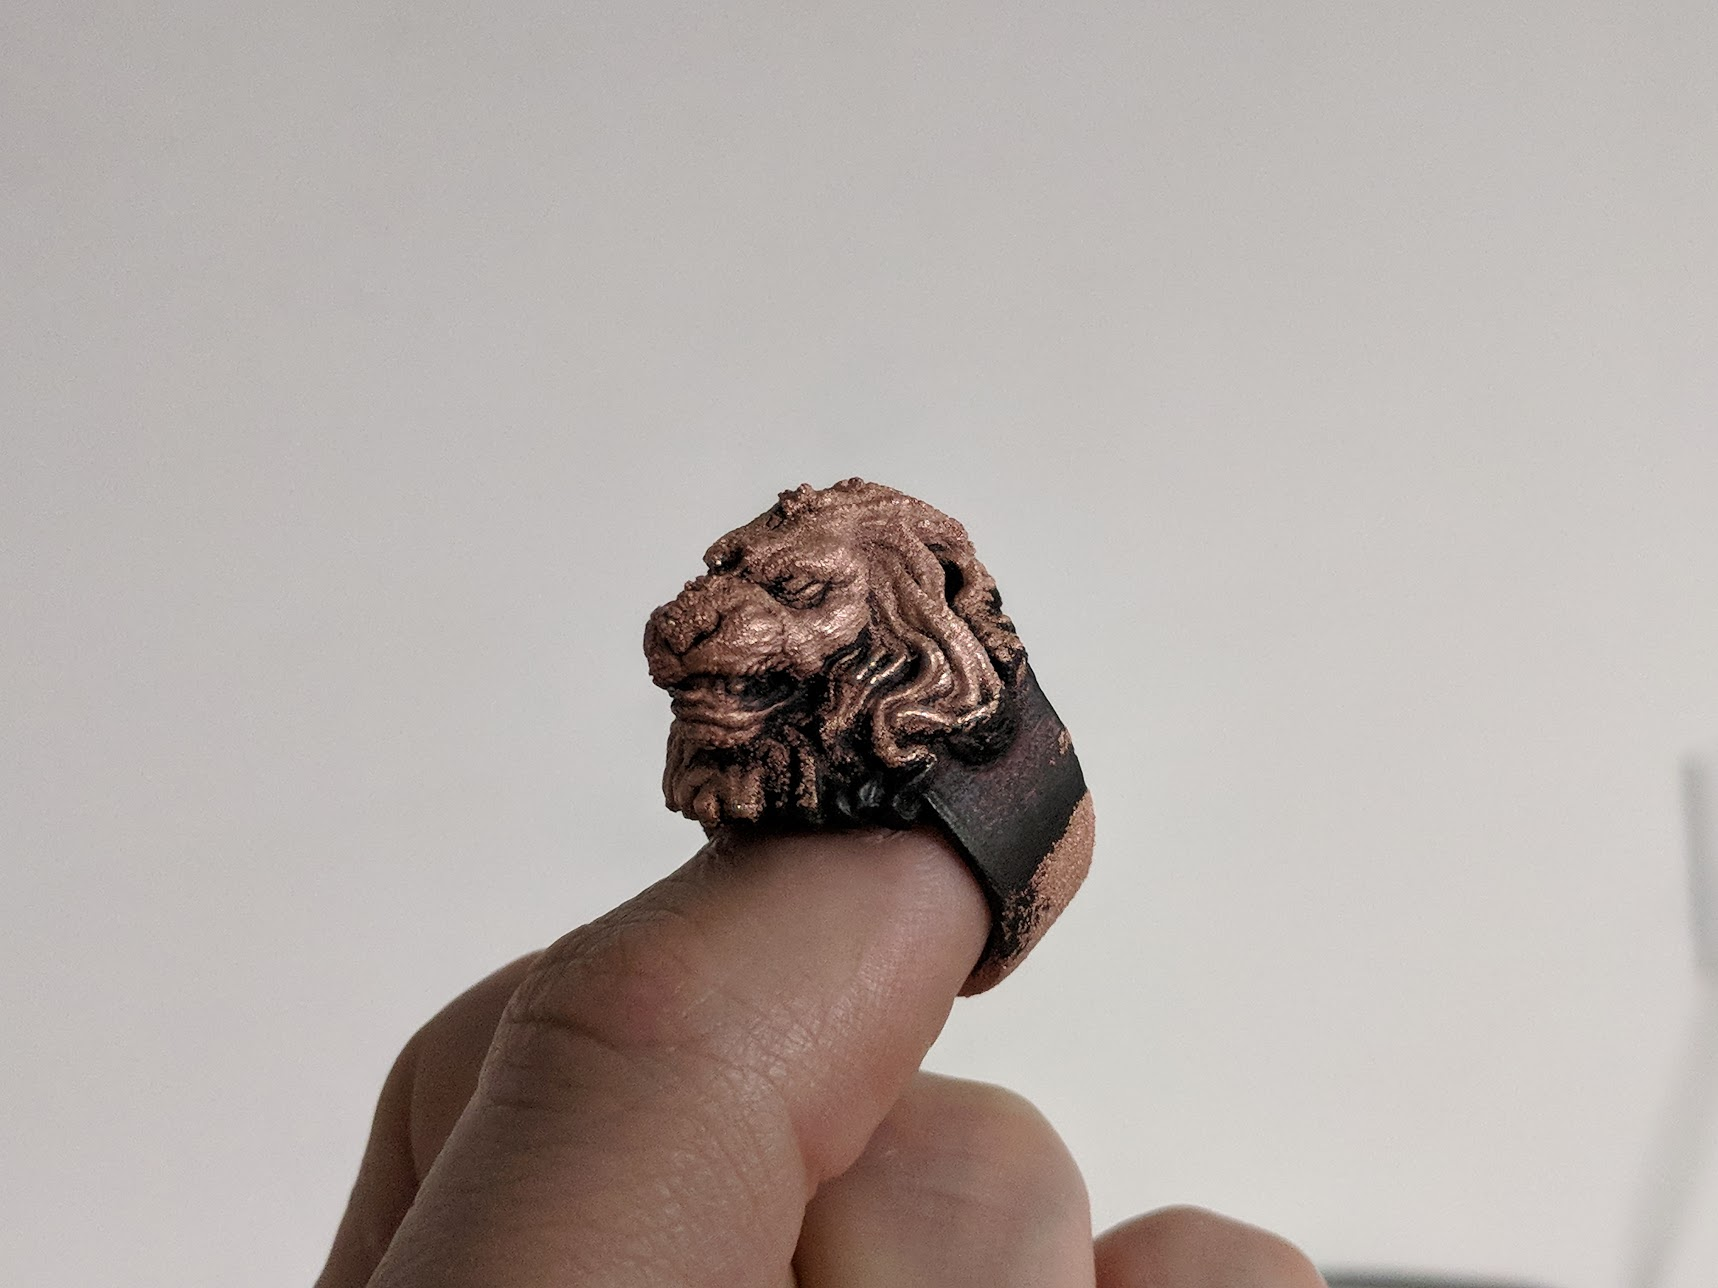
It looks like I still need to test some different settings on the system but overall I'm very pleased with the results.
I hope you enjoyed this intro to electroplating and encourage you to give it a shot.
Special ThanksI would like to thank Elegoo for sponsoring this project. They sent out their Super Starter Kit which came with everything you need to get started hacking on Arduino projects. I used the following items from the starter kit: Arduino Uno, prototyping hat, breadboard, relay, resistors, leds, button switch and jumper wires.
Get your kit today and start making!
https://www.amazon.com/EL-KIT-003-Project-Starter-Tutorial-Arduino/dp/B01D8KOZF4
Code
- ElectroToggle
ElectroToggleC/C++
Upload this sketch to your Arduino Uno using the Arduino IDE./* Electroplating
*
* Toggle relay with set on and off durations
* Power switch interrupt to toggle cycling of relay
*
*/
const int powerSwitch = 2;
const int bathLed = 6;
const int relay = 7;
const int powerLed = 13;
long onTime = 10000;
long offTime = 1000;
volatile bool isActive = false;
void turnOn() {
digitalWrite(relay, HIGH);
digitalWrite(bathLed, HIGH);
}
void turnOff() {
digitalWrite(relay, LOW);
digitalWrite(bathLed, LOW);
}
void toggleState() {
isActive = !isActive;
digitalWrite(powerLed, isActive);
}
// Delay with escape logic
void await(long timeToWait) {
for(int j=0; j<timeToWait; j++) {
delay(1);
if(isActive == LOW) return;
}
}
void setup()
{
// Set both relay and powerLed pins to OUTPUT
pinMode(relay, OUTPUT);
pinMode(powerLed, OUTPUT);
// Set power switch pin to INPUT
pinMode(powerSwitch, INPUT);
// Default power switch to HIGH state
// Pressing switch brings it LOW
digitalWrite(powerSwitch, HIGH);
// Attach an interrupt to the power switch pin
attachInterrupt(digitalPinToInterrupt(powerSwitch), toggleState, FALLING);
}
void loop()
{
while(isActive) {
// Turn on relay for on duration
turnOn();
await(onTime);
// Turn off relay for off duration
turnOff();
await(offTime);
}
}
Custom parts and enclosures
Clips for the bucket to hold the copper pipe and clip to hold cathode.Schematics
Diagram of electroplating circuit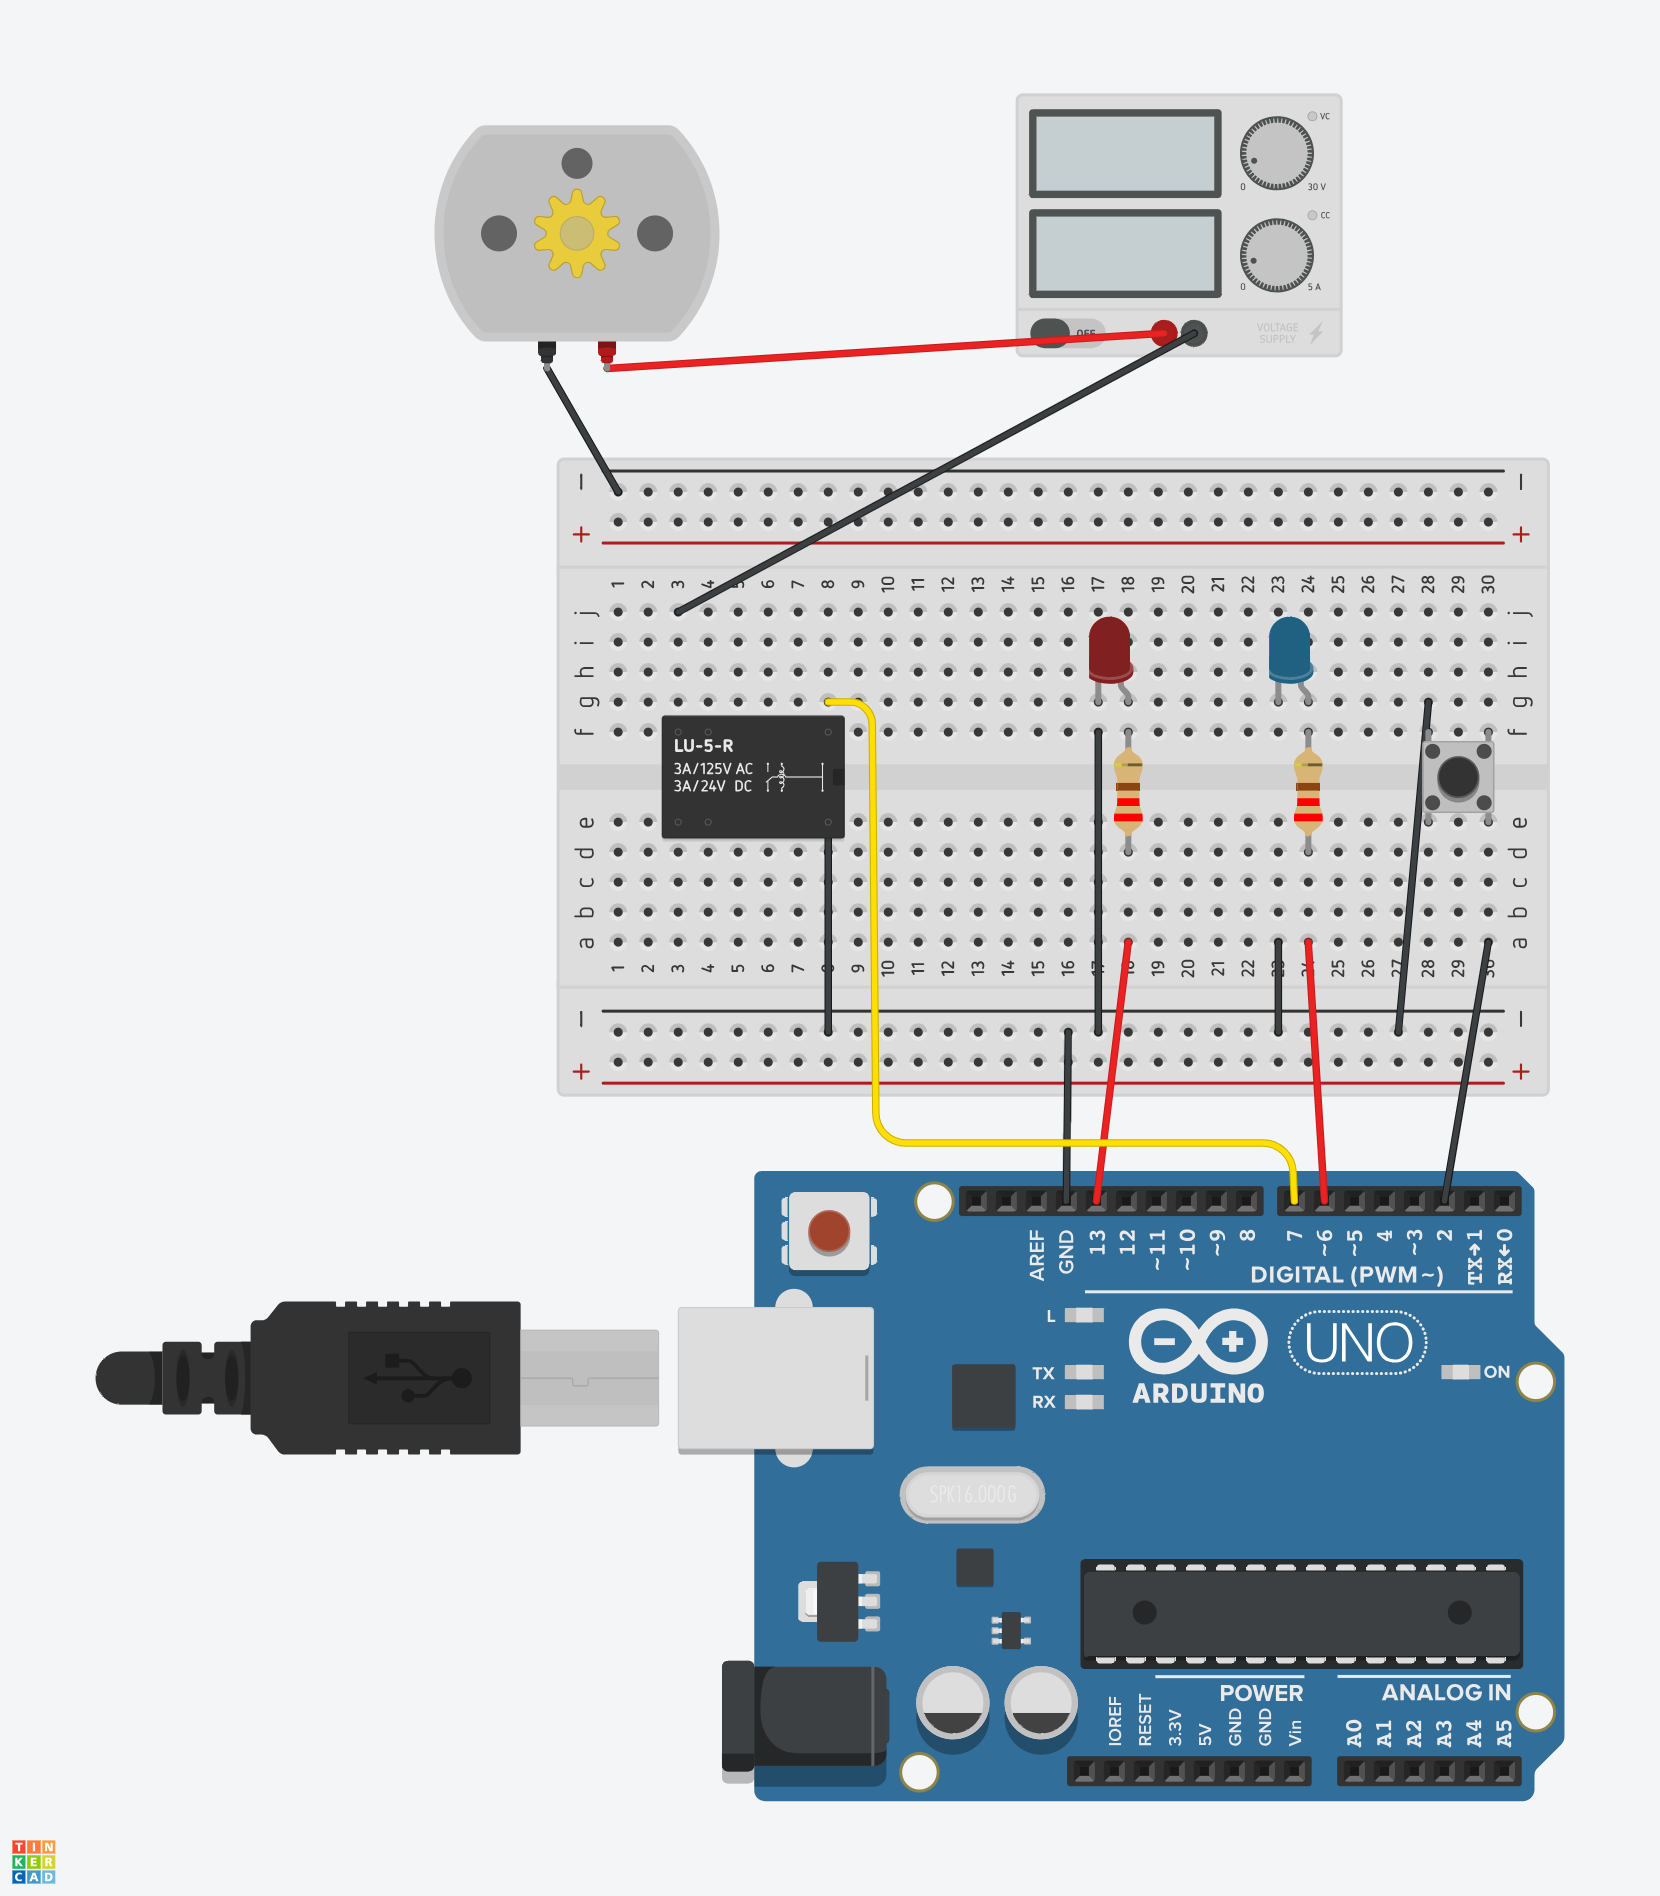
Manufacturing process
- Build a Real-Time Gyroscope Game with Arduino Nano & MPU-6050 Sensor
- Arduino Digital Dice Project: Build Your Own LCD-based Random Number Generator
- Portable Range Detector – Arduino Nano DIY Kit with HC‑SR04, 18650 Power, and 3D‑Printed Enclosure
- NeoPixel Matrix Pong on Arduino Nano: Build a Neon Pong Game
- Create Stunning Light Sequences with Arduino Shift Register
- Smart Plug: 120V Arduino‑Based Smart Outlet with Real‑Time Clock
- Arduino Tennis Game – Build a Virtual Racquet Experience with NeoPixel, Sensors, and Bluetooth
- Blind Stick Navigator – An Arduino-Based Assistive Device for Visually Impaired
- Smart Alzheimer’s Companion: Arduino-Based Alert System
- Control Music Playback with Your Remote: A Simple Arduino Project