


Arduino Marble Maze Labyrinth – Build an Exciting Cardboard Board Game
Components and supplies
 |
| × | 1 | |||
 |
| × | 2 | |||
 |
| × | 1 | |||
 |
| × | 1 | |||
 |
| × | 1 |
Necessary tools and machines
 |
| |||
|
Apps and online services
 |
|
About this project
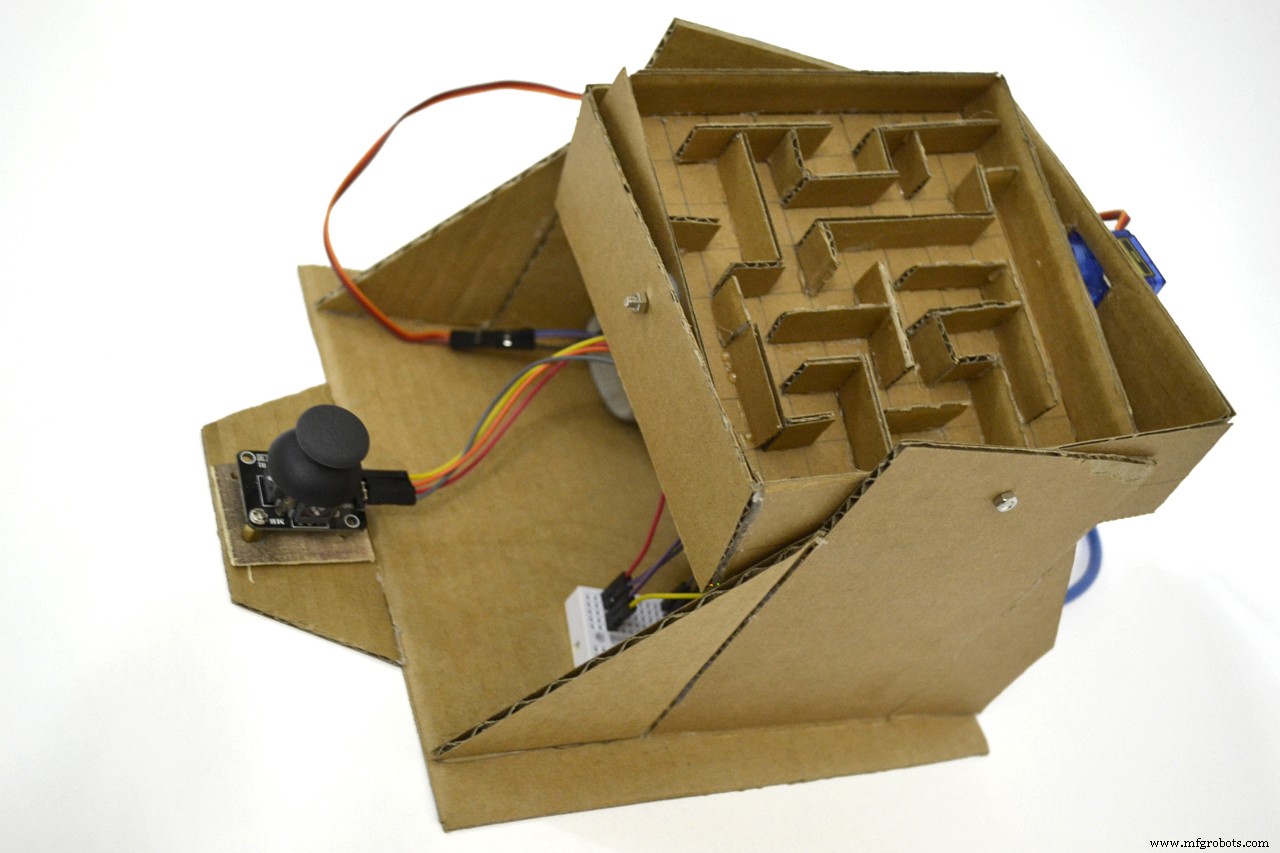
I show you how to make an Arduino controlled Marble Maze Labyrinth board game that is super easy and fun to make. And the best part is it's made From Cardboard.
The idea of the game is to navigate the marble through the maze to reach the portal at the end to win the game.
Of course there are many ideas to improve this game and make it more fun, such as pudding some sensors at the end, buzzer to play a tone when while playing or even pinch some holes in the maze itself.
The IdeaI got bored from electronic game and I stated to search about the physical skill games, so I’ve found the Labyrinth and I liked it.
What is the Labyrinth?
Labyrinth is a game of physical skill consisting of a box with a maze on top with holes, and a steel marble. The object of the game is to try to tilt the play field to guide the marble to the end of the maze, without letting it fall into any of the holes. Some versions of the game feature a suspended maze surface that rotates on two axes, each of which is controlled by a knob. Small handheld versions of the game are sold, with the box being completely closed with a transparent cover on top. The game was developed by BRIO in Sweden and first released there in 1946.
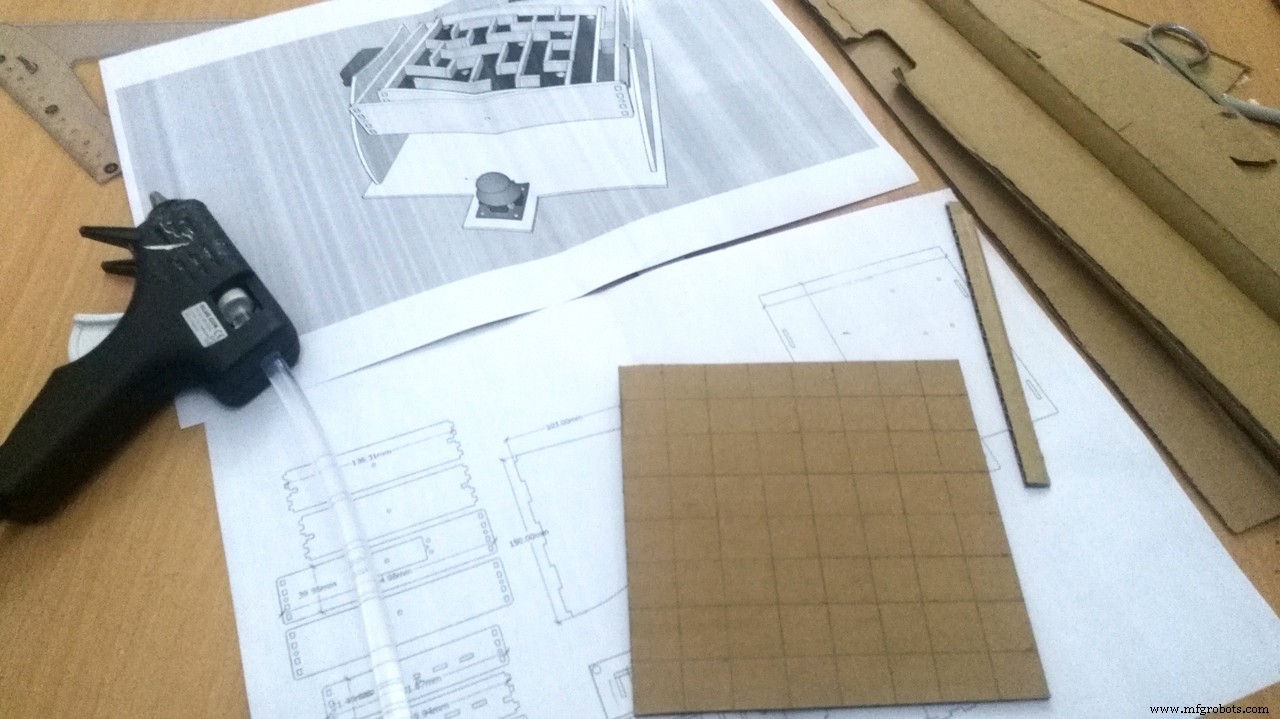
Design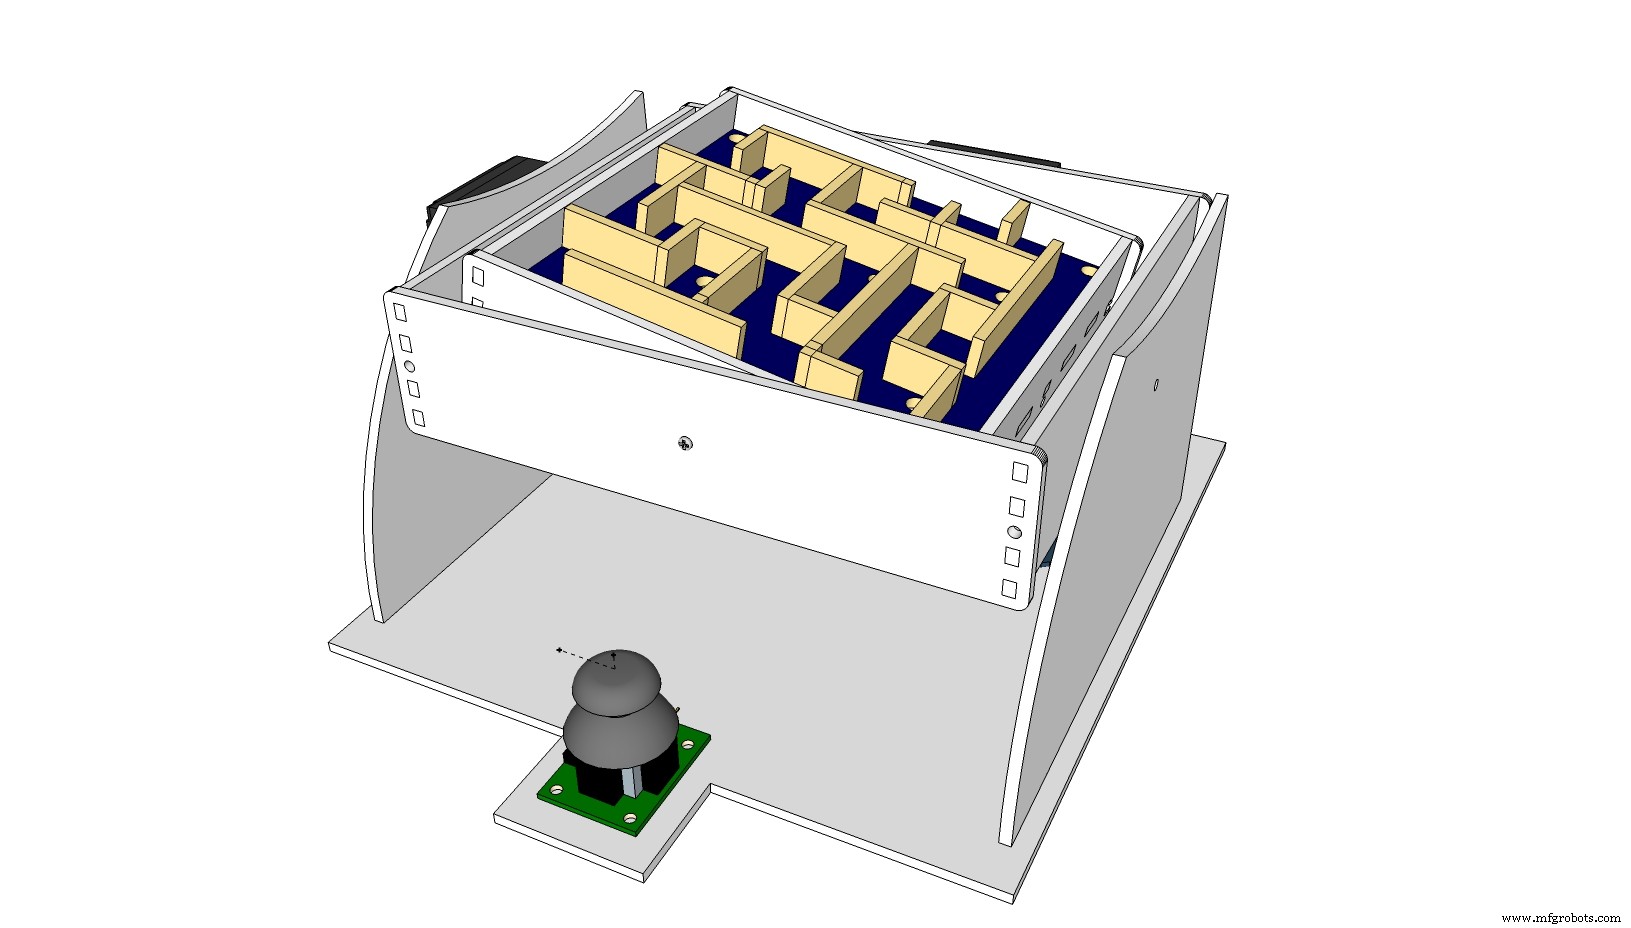
I started to design my own Labyrinth maze using sketch up pro to imagine how this game will look like. And I was careful to give it suitable size and make it pretty easy because kids may started to build their own maze too.
The design files are available to download to make your own game out of cardboard in 1 hour only.
Tools& materials
· Cardboard 3mm
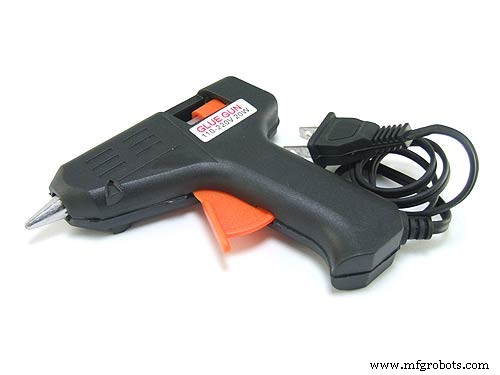
· Hot glue
· Sharp-Blade Knife
· Ruler
· Pencil
Components
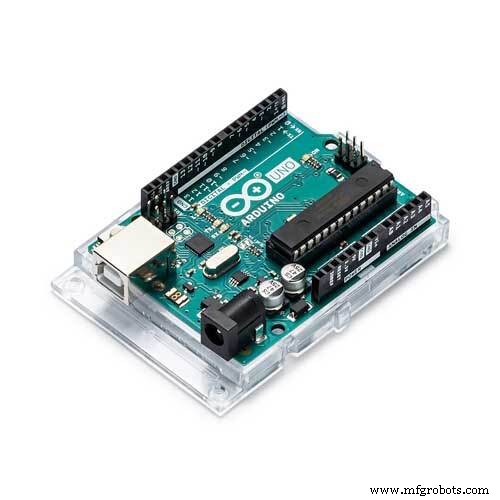
Arduino (Any board type)
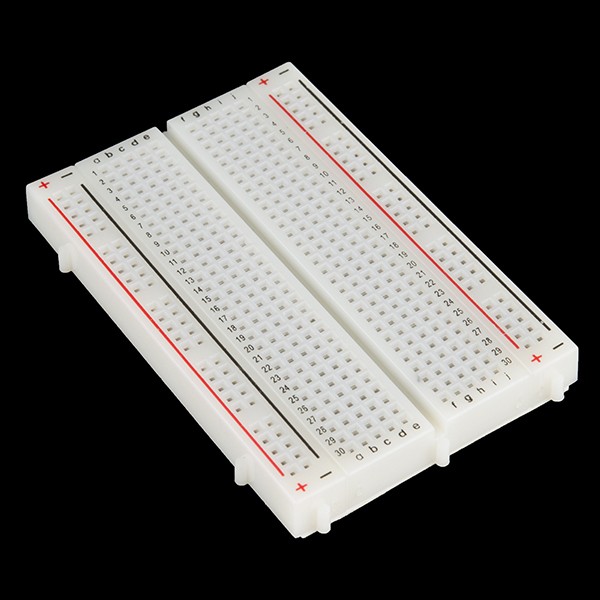
Mini bread board
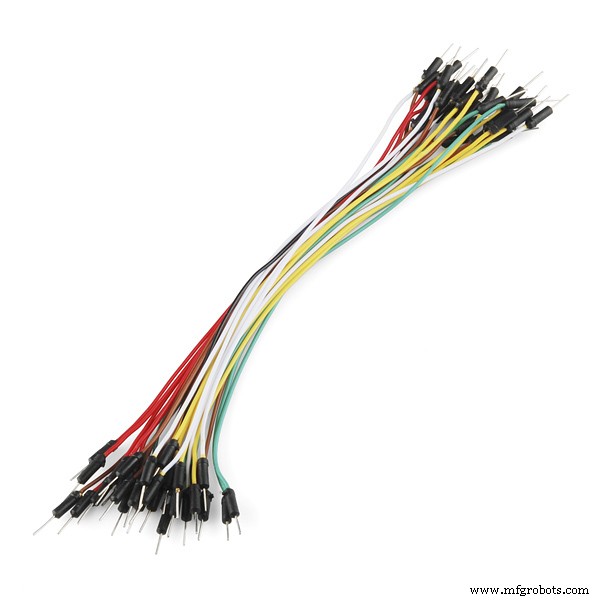
Jumper wires
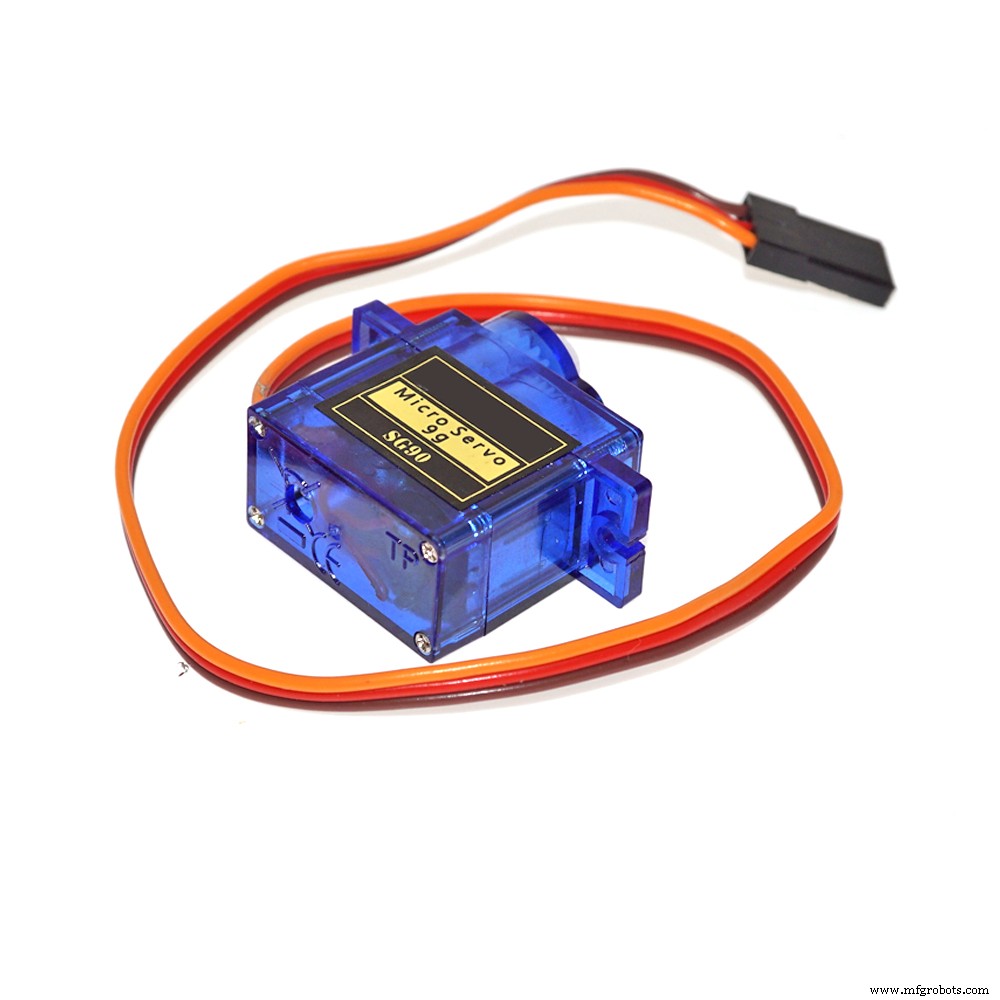
2X servo motor 9g
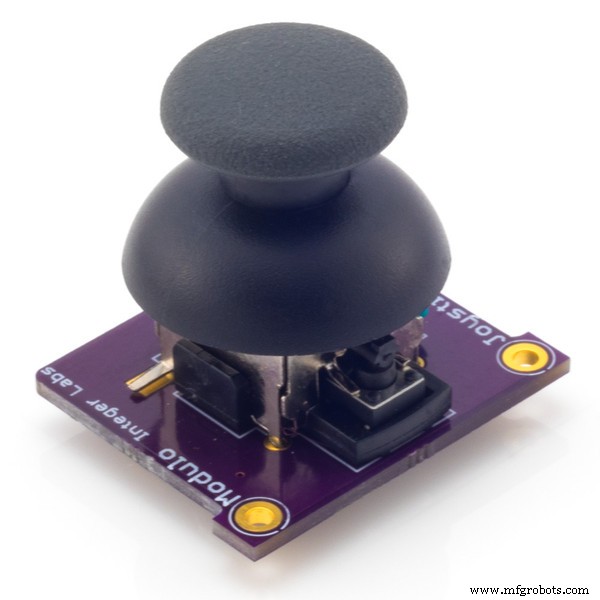
Joystick module
2 screws & nuts 12mm by 3mm
Cut out the shape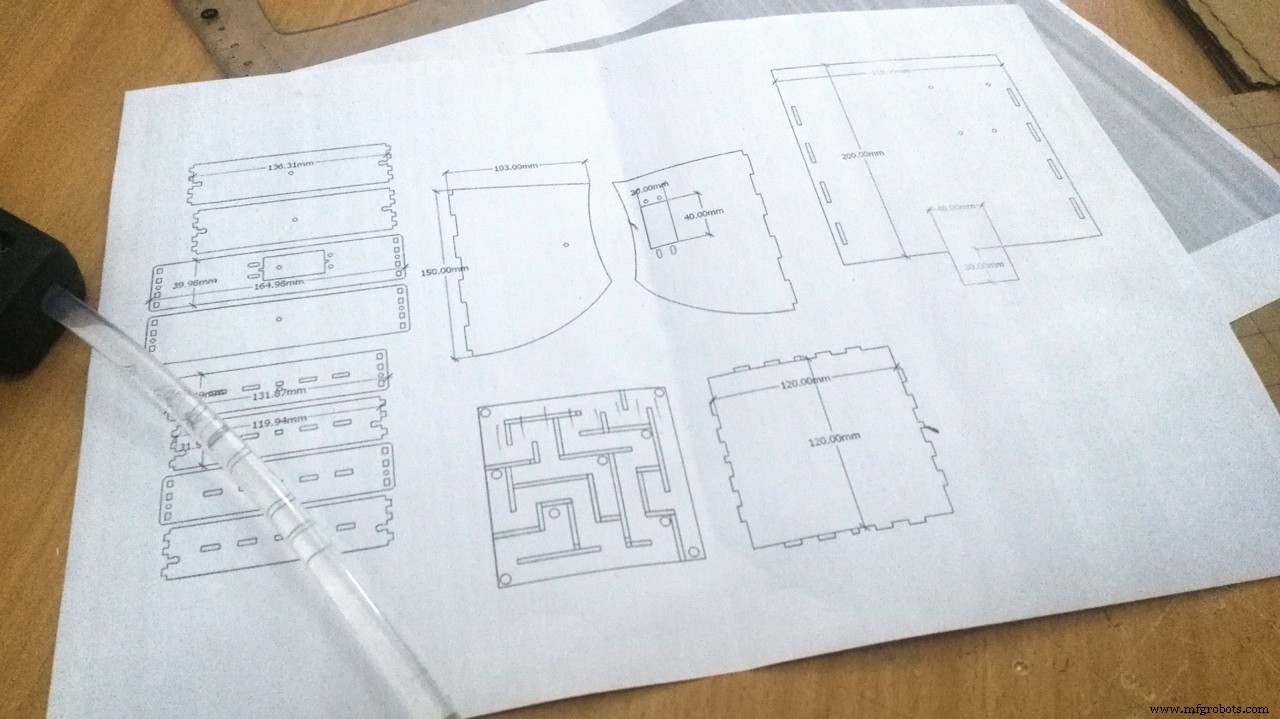
Print out the attached file and follow the following instructions to cut out the cardboard:
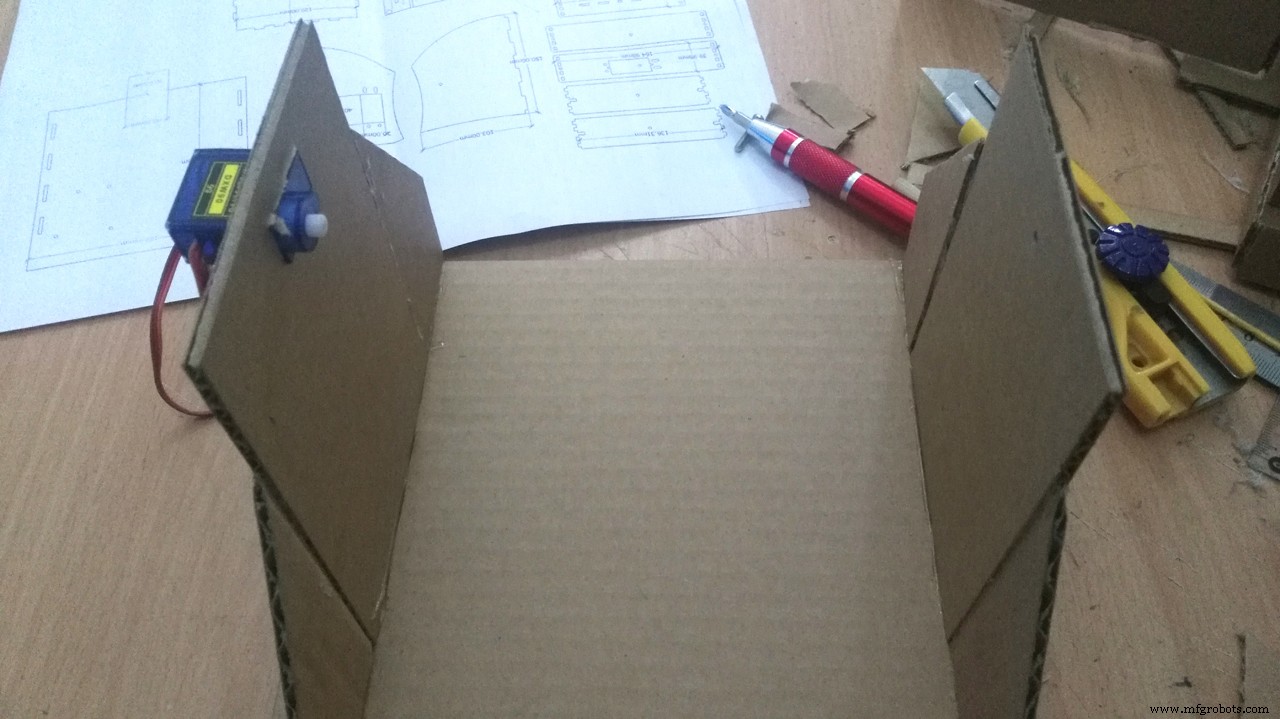
1. Cut out one 20 cm by 20 cm square for the base of the labyrinth.
2. Cut out two 14 cm by 16 cm isosceles trapezium for the sides of the labyrinth.
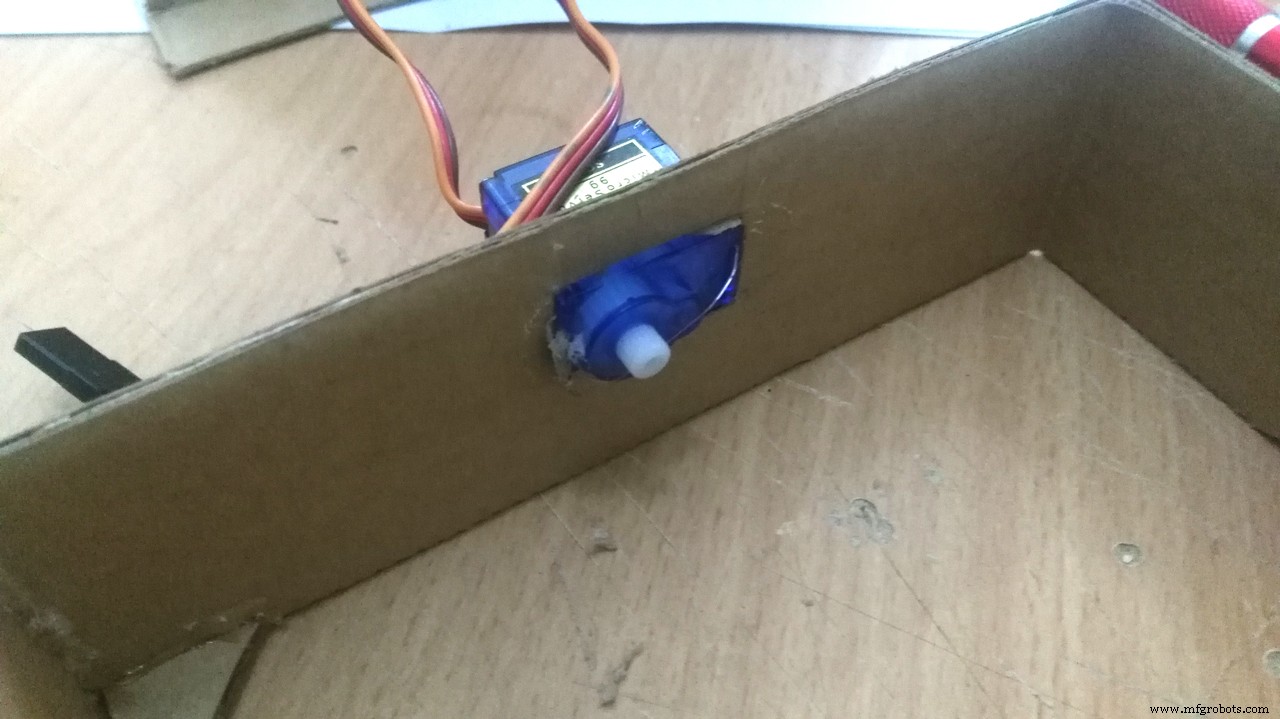
3. Make a rectangle hole in one of these two pieces for the servo motor (X axis).
4. Drill a 3mm hole in the other piece in the exact middle to be against the servo shaft in the other side (X axis).
5. Next you will need to cut out four 14 cm by 4 cm rectangles for the support in the interior of the labyrinth.
6. Drill a 3mm hole in the other piece in the exact middle to be against the servo shaft in the other side (Y axis).
7. Make a rectangle hole in the middle as shown in one of these four pieces for the servomotor (Y axis).
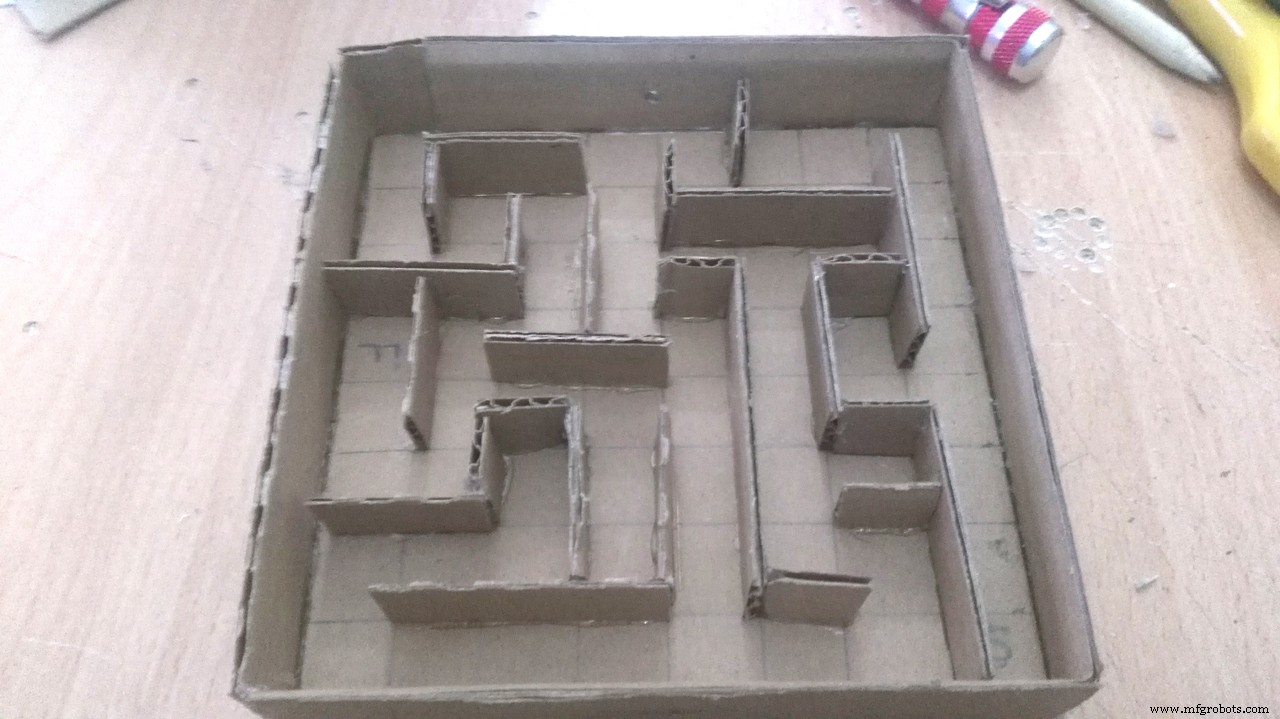
8. Choose your own maze from the attached files in the article, then cut out 12 cm by 12cm square for the maze.
9. Tip*Glue the paper maze to be as a guide for you.
10. You will need to cut out at least eight 1.5 cm by 12 cm rectangles for the walls in your labyrinth. Next you will need to cut them so that they are the right size and can fit in your labyrinth.
11. Follow the guide lines then glue the pieces in its place to become the wall of the maze.
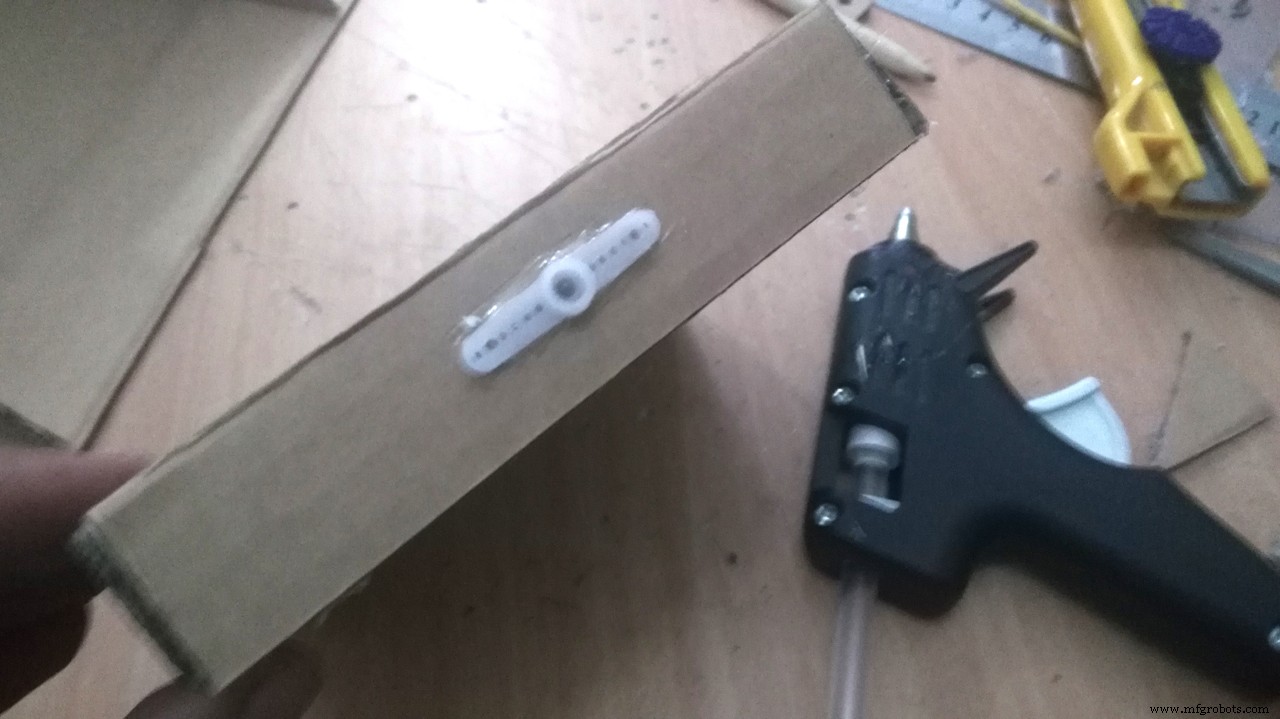
12. Glue the servo motors in its place as shown.
13. Glue the servo motor horn in the rectangle pieces.
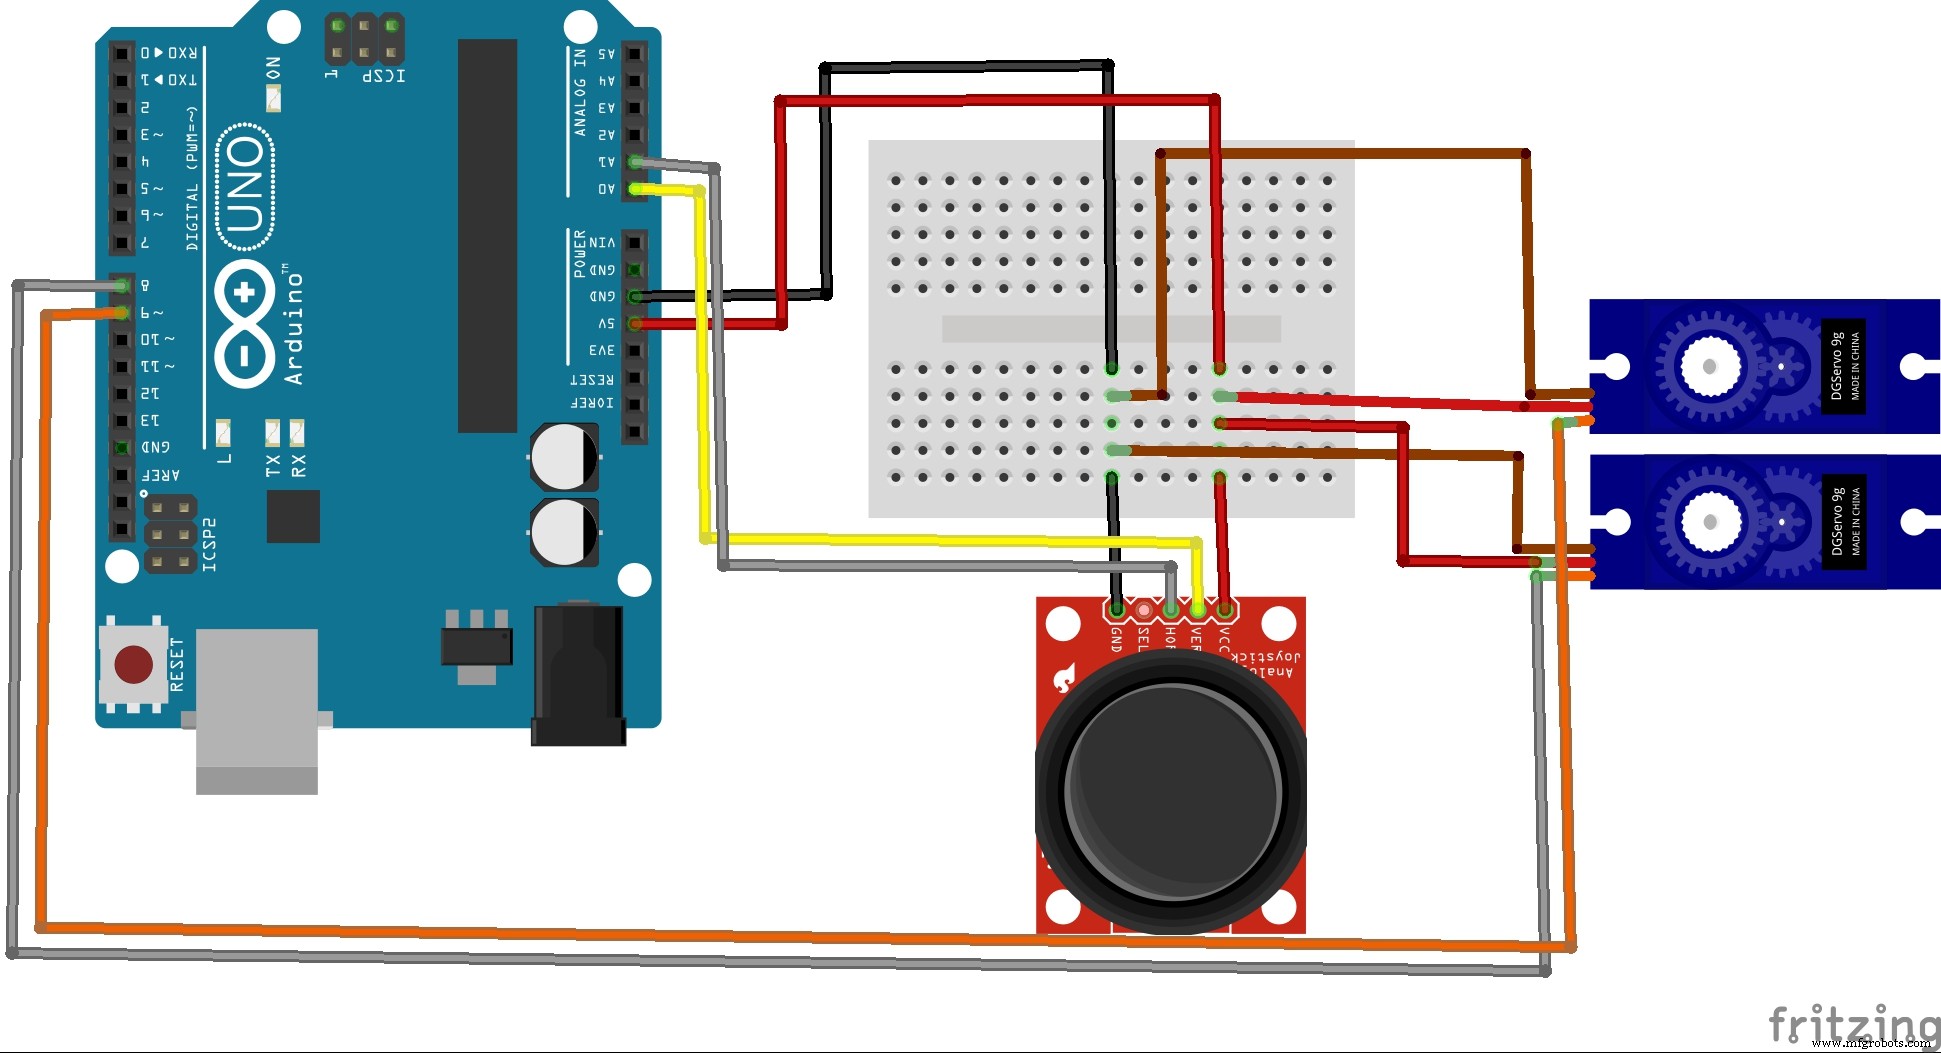
Connect the wires from the servos and joystick as shown
Arduino Pin 8 to yellow wire in servo 1 (X-axis)
Arduino Pin 9 to yellow wire in servo 1 (Y-axis)
Red & Brown wires to breadboard.
Arduino Pin A0 to Joystick pin VRx
Arduino Pin A1 to Joystick pin VRy
Joystick VCC and GND to breadboard.
Arduino 5V and GND to breadboard.
CodeConnected your Arduino board to the PC using its USB cable.
Open Arduino IED
Copy the paste the code into new sketch
Make sure of the name of serial port by clicking Tools menu > board > choose the active serial port
Click the upper circular button to upload the code.
Once you get the message done you’re ready to go.
Code
- contol maze with joystick
contol maze with joystickArduino
#include <Servo.h>
Servo myServoX; // define servo motor for X-axis
Servo myServoY; // define servo motor for Y-axis
int ServoXPin = 8; // define  X-axis pin
int ServoYPin = 9; // define  Y-axis pin
int ServoXHomePos =90; // set home position for servos
int ServoYHomePos =90;
int ServoXPos =103;
int ServoYPos =135;
int XAxlePin = A0; // define  X-axis pin control for joystick A0
int YAxlePin = A1; // define  Y-axis pin control for joystick A1
int XAxleValue = 0; // set start up value for joystick
int YAxleValue = 0;
int Direction = 0;
int range = 12; // output range of X or Y movement
int center = range/2; // resting position value
int threshold = range/4; // resting threshold
void setup()
{
myServoX.attach(ServoXPin); // attaching servo X
myServoY.attach(ServoYPin); // attaching servo Y
ServoXPos = ServoXHomePos;  // update ServoXPos with home position as startup
ServoYPos = ServoYHomePos;  // update ServoYPos with home position as startup
myServoX.write(ServoXPos);
myServoY.write(ServoYPos);
Serial.begin(9600);
}
void loop()
{
XAxleValue = readAxis(XAxlePin);
YAxleValue = readAxis(YAxlePin);

Serial.print(XAxleValue,DEC);
Serial.print(" - ");
Serial.println(YAxleValue,DEC);

// check the values of joystick and move the servos smothly with delay of 100 millisecond
if (XAxleValue>0) { ServoXPos++; myServoX.write(ServoXPos); delay(100*(7-XAxleValue)); }
if (XAxleValue<0) { ServoXPos--; myServoX.write(ServoXPos); delay(100*(7+XAxleValue)); }
if (YAxleValue>0) { ServoYPos++; myServoY.write(ServoYPos); delay(100*(7-YAxleValue)); }
if (YAxleValue<0) { ServoYPos--; myServoY.write(ServoYPos); delay(100*(7+YAxleValue)); }


if (ServoXPos>ServoXHomePos+20) { ServoXPos=ServoXHomePos+20; }
if (ServoXPos<ServoXHomePos-20) { ServoXPos= ServoXHomePos-20; }
if (ServoYPos>ServoYHomePos+20) { ServoYPos=ServoYHomePos+20; }
if (ServoYPos<ServoYHomePos-20) { ServoYPos= ServoYHomePos-20; }
delay(10);
}
int readAxis(int thisAxis) {
// read the analog input:
int reading = analogRead(thisAxis);
// map the reading from the analog input range to the output range:
reading = map(reading, 0, 1023, 0, range);
// if the output reading is outside from the
// rest position threshold, use it:
int distance = reading - center;
if (abs(distance) < threshold) {
distance = 0;
}
// return the distance for this axis:
return distance;
}
Custom parts and enclosures
Schematics
Manufacturing process
- TinyML Language Detector with Edge Impulse on Arduino Nano 33 BLE Sense
- Build a Real-Time Gyroscope Game with Arduino Nano & MPU-6050 Sensor
- Arduino Digital Dice Project: Build Your Own LCD-based Random Number Generator
- Build an Audio‑Reactive Desk Lamp with Arduino Nano
- NeoPixel Matrix Pong on Arduino Nano: Build a Neon Pong Game
- Arduino-Powered Security System: Smart Motion Detection & Alert
- Build a Classic Arduino LCD Arcade Game with Buzzer and Joystick
- Arduino Tennis Game – Build a Virtual Racquet Experience with NeoPixel, Sensors, and Bluetooth
- Build a Smart Weather Station with Arduino UNO and AWS Integration
- Build an Interactive LCD Game with Arduino UNO