Code
hydraulic.inoArduino
// 1st and 2nd motor driver is for the ARM control
// 3rd motor driver is for the LOCOMOTIVE part

//1st Motor driver  [BASE(2,3) AND SHOULDER(4,7)]
int m1IN1 =2;        //in1
int m1IN2 =3;        //in2
int m1IN3 =4;        //in3
int m1IN4 =5;        //in4
int m1ENA =6;        // for speed control, speed control is not used here so kept it HIGH when in motion and make it LOW to stop the motor
int m1ENB =7;        // for speed control, speed control is not used here so kept it HIGH when in motion and make it LOW to stop the motor
//2nd Motor driver  [ELBOW(8,9) AND GRIPPER(12,13)]

int m2IN1 =8;        //in1
int m2IN2 =9;       //in2
int m2IN3 =10;       //in3
int m2IN4 =11;       //in4
int m2ENA =12;       // for speed control, speed control is not used here so kept it HIGH when in motion and make it LOW to stop the motor
int m2ENB =13;       // for speed control, speed control is not used here so kept it HIGH when in motion and make it LOW to stop the motor
//3rd Motor driver  [CAR   (INI,IN2)=RIGHT    (IN3,IN4)=LEFT]

int m3IN1=14;      // in1  14- A0 pin on arduino
int m3IN2=15;      // in2  15-A1
int m3IN3=16;      // in3  16-A2
int m3IN4=17;      // in4  17-A3
int m3ENA=18;      // ena  18-A4  ,here you may use speed control to control the speed of the locomotive part, for that you have to use the analogWrite() instead of digitalWrite()
int m3ENB=19;      // enb  19-A5  ,here you may use speed control to control the speed of the locomotive part, for that you have to use the analogWrite() instead of digitalWrite()
void setup()
{
    pinMode(m1IN1,OUTPUT);
    pinMode(m1IN2,OUTPUT);
    pinMode(m1IN3,OUTPUT);
    pinMode(m1IN4,OUTPUT);
    pinMode(m2IN1,OUTPUT);
    pinMode(m2IN2,OUTPUT);
    pinMode(m2IN3,OUTPUT);
    pinMode(m2IN4,OUTPUT);
    pinMode(m1ENA,OUTPUT);
    pinMode(m1ENB,OUTPUT);
    pinMode(m2ENA,OUTPUT);
    pinMode(m2ENB,OUTPUT);
    pinMode(m3IN1,OUTPUT);
    pinMode(m3IN2,OUTPUT);
    pinMode(m3IN3,OUTPUT);
    pinMode(m3IN4,OUTPUT);
    pinMode(m3ENA,OUTPUT);
    pinMode(m3ENB,OUTPUT);
    Serial.begin(9600);
}

void loop()
{
    char ip='0';
    while(Serial.available()>0)   // check whether the serial port is receiving any value from the hc05 or not
    {
        ip=Serial.read();    // reads the data from the serial port
        delay(10);
    }
    switch(ip)
    {
          case '6' : //  SHOULDER UP
              digitalWrite(m1IN3,HIGH);
              digitalWrite(m1IN4,LOW);
              digitalWrite(m1ENA,HIGH);
              digitalWrite(m1ENB,HIGH);
              break;
          case '5' ://  SHOULDER DOWN
              digitalWrite(m1IN3,LOW);
              digitalWrite(m1IN4,HIGH);
              digitalWrite(m1ENA,HIGH);
              digitalWrite(m1ENB,HIGH);
              break;
          case '1' ://  ELBOW UP
              digitalWrite(m2IN3,HIGH);
              digitalWrite(m2IN4,LOW);
              digitalWrite(m2ENA,HIGH);
              digitalWrite(m2ENB,HIGH);
              break;
          case '2' ://  ELBOW DOWN
              digitalWrite(m2IN3,LOW);
              digitalWrite(m2IN4,HIGH);
              digitalWrite(m2ENA,HIGH);
              digitalWrite(m2ENB,HIGH);
              break;
          case '8' ://  GRIP CONTRACT
              digitalWrite(m2IN1,HIGH);
              digitalWrite(m2IN2,LOW);
              digitalWrite(m2ENA,HIGH);
              digitalWrite(m2ENB,HIGH);
              break;
          case '7' ://  GRIP EXPAND
              digitalWrite(m2IN1,LOW);
              digitalWrite(m2IN2,HIGH);
              digitalWrite(m2ENA,HIGH);
              digitalWrite(m2ENB,HIGH);
              break;
          case '3' ://  BASE CLOCK
              digitalWrite(m1IN1,HIGH);
              digitalWrite(m1IN2,LOW);
              digitalWrite(m1ENA,HIGH);
              digitalWrite(m1ENB,HIGH);
              break;
          case '4' ://  BASE ANTICLOCK
              digitalWrite(m1IN1,LOW);
              digitalWrite(m1IN2,HIGH);
              digitalWrite(m1ENA,HIGH);
              digitalWrite(m1ENB,HIGH);
              break;
          case '9' :// OFF
              digitalWrite(m1IN1,LOW);
              digitalWrite(m1IN2,LOW);
              digitalWrite(m1IN3,LOW);
              digitalWrite(m1IN4,LOW);
              digitalWrite(m1ENA,LOW);
              digitalWrite(m1ENB,LOW);
              digitalWrite(m2IN1,LOW);
              digitalWrite(m2IN2,LOW);
              digitalWrite(m2IN3,LOW);
              digitalWrite(m2IN4,LOW);
              digitalWrite(m2ENA,LOW);
              digitalWrite(m2ENB,LOW);
              digitalWrite(m3IN1,LOW);
              digitalWrite(m3IN2,LOW);
              digitalWrite(m3IN3,LOW);
              digitalWrite(m3IN4,LOW);
              digitalWrite(m3ENA,LOW);
              digitalWrite(m3ENB,LOW);
              break;
          case 'A' ://     FORWARD
              digitalWrite(m3IN1,HIGH);
              digitalWrite(m3IN2,LOW);
              digitalWrite(m3IN3,HIGH);
              digitalWrite(m3IN4,LOW);
              digitalWrite(m3ENA,HIGH);
              digitalWrite(m3ENB,HIGH);
              break;
          case 'D' ://     BACKWARD
              digitalWrite(m3IN1,LOW);
              digitalWrite(m3IN2,HIGH);
              digitalWrite(m3IN3,LOW);
              digitalWrite(m3IN4,HIGH);
              digitalWrite(m3ENA,HIGH);
              digitalWrite(m3ENB,HIGH);
              break;
          case 'B' ://     RIGHT
              digitalWrite(m3IN1,LOW);
              digitalWrite(m3IN2,HIGH);
              digitalWrite(m3IN3,HIGH);
              digitalWrite(m3IN4,LOW);
              digitalWrite(m3ENA,HIGH);
              digitalWrite(m3ENB,HIGH);
              break;
           case 'C' ://     LEFT
              digitalWrite(m3IN1,HIGH);
              digitalWrite(m3IN2,LOW);
              digitalWrite(m3IN3,LOW);
              digitalWrite(m3IN4,HIGH);
              digitalWrite(m3ENA,HIGH);
              digitalWrite(m3ENB,HIGH);
              break;
    }
}


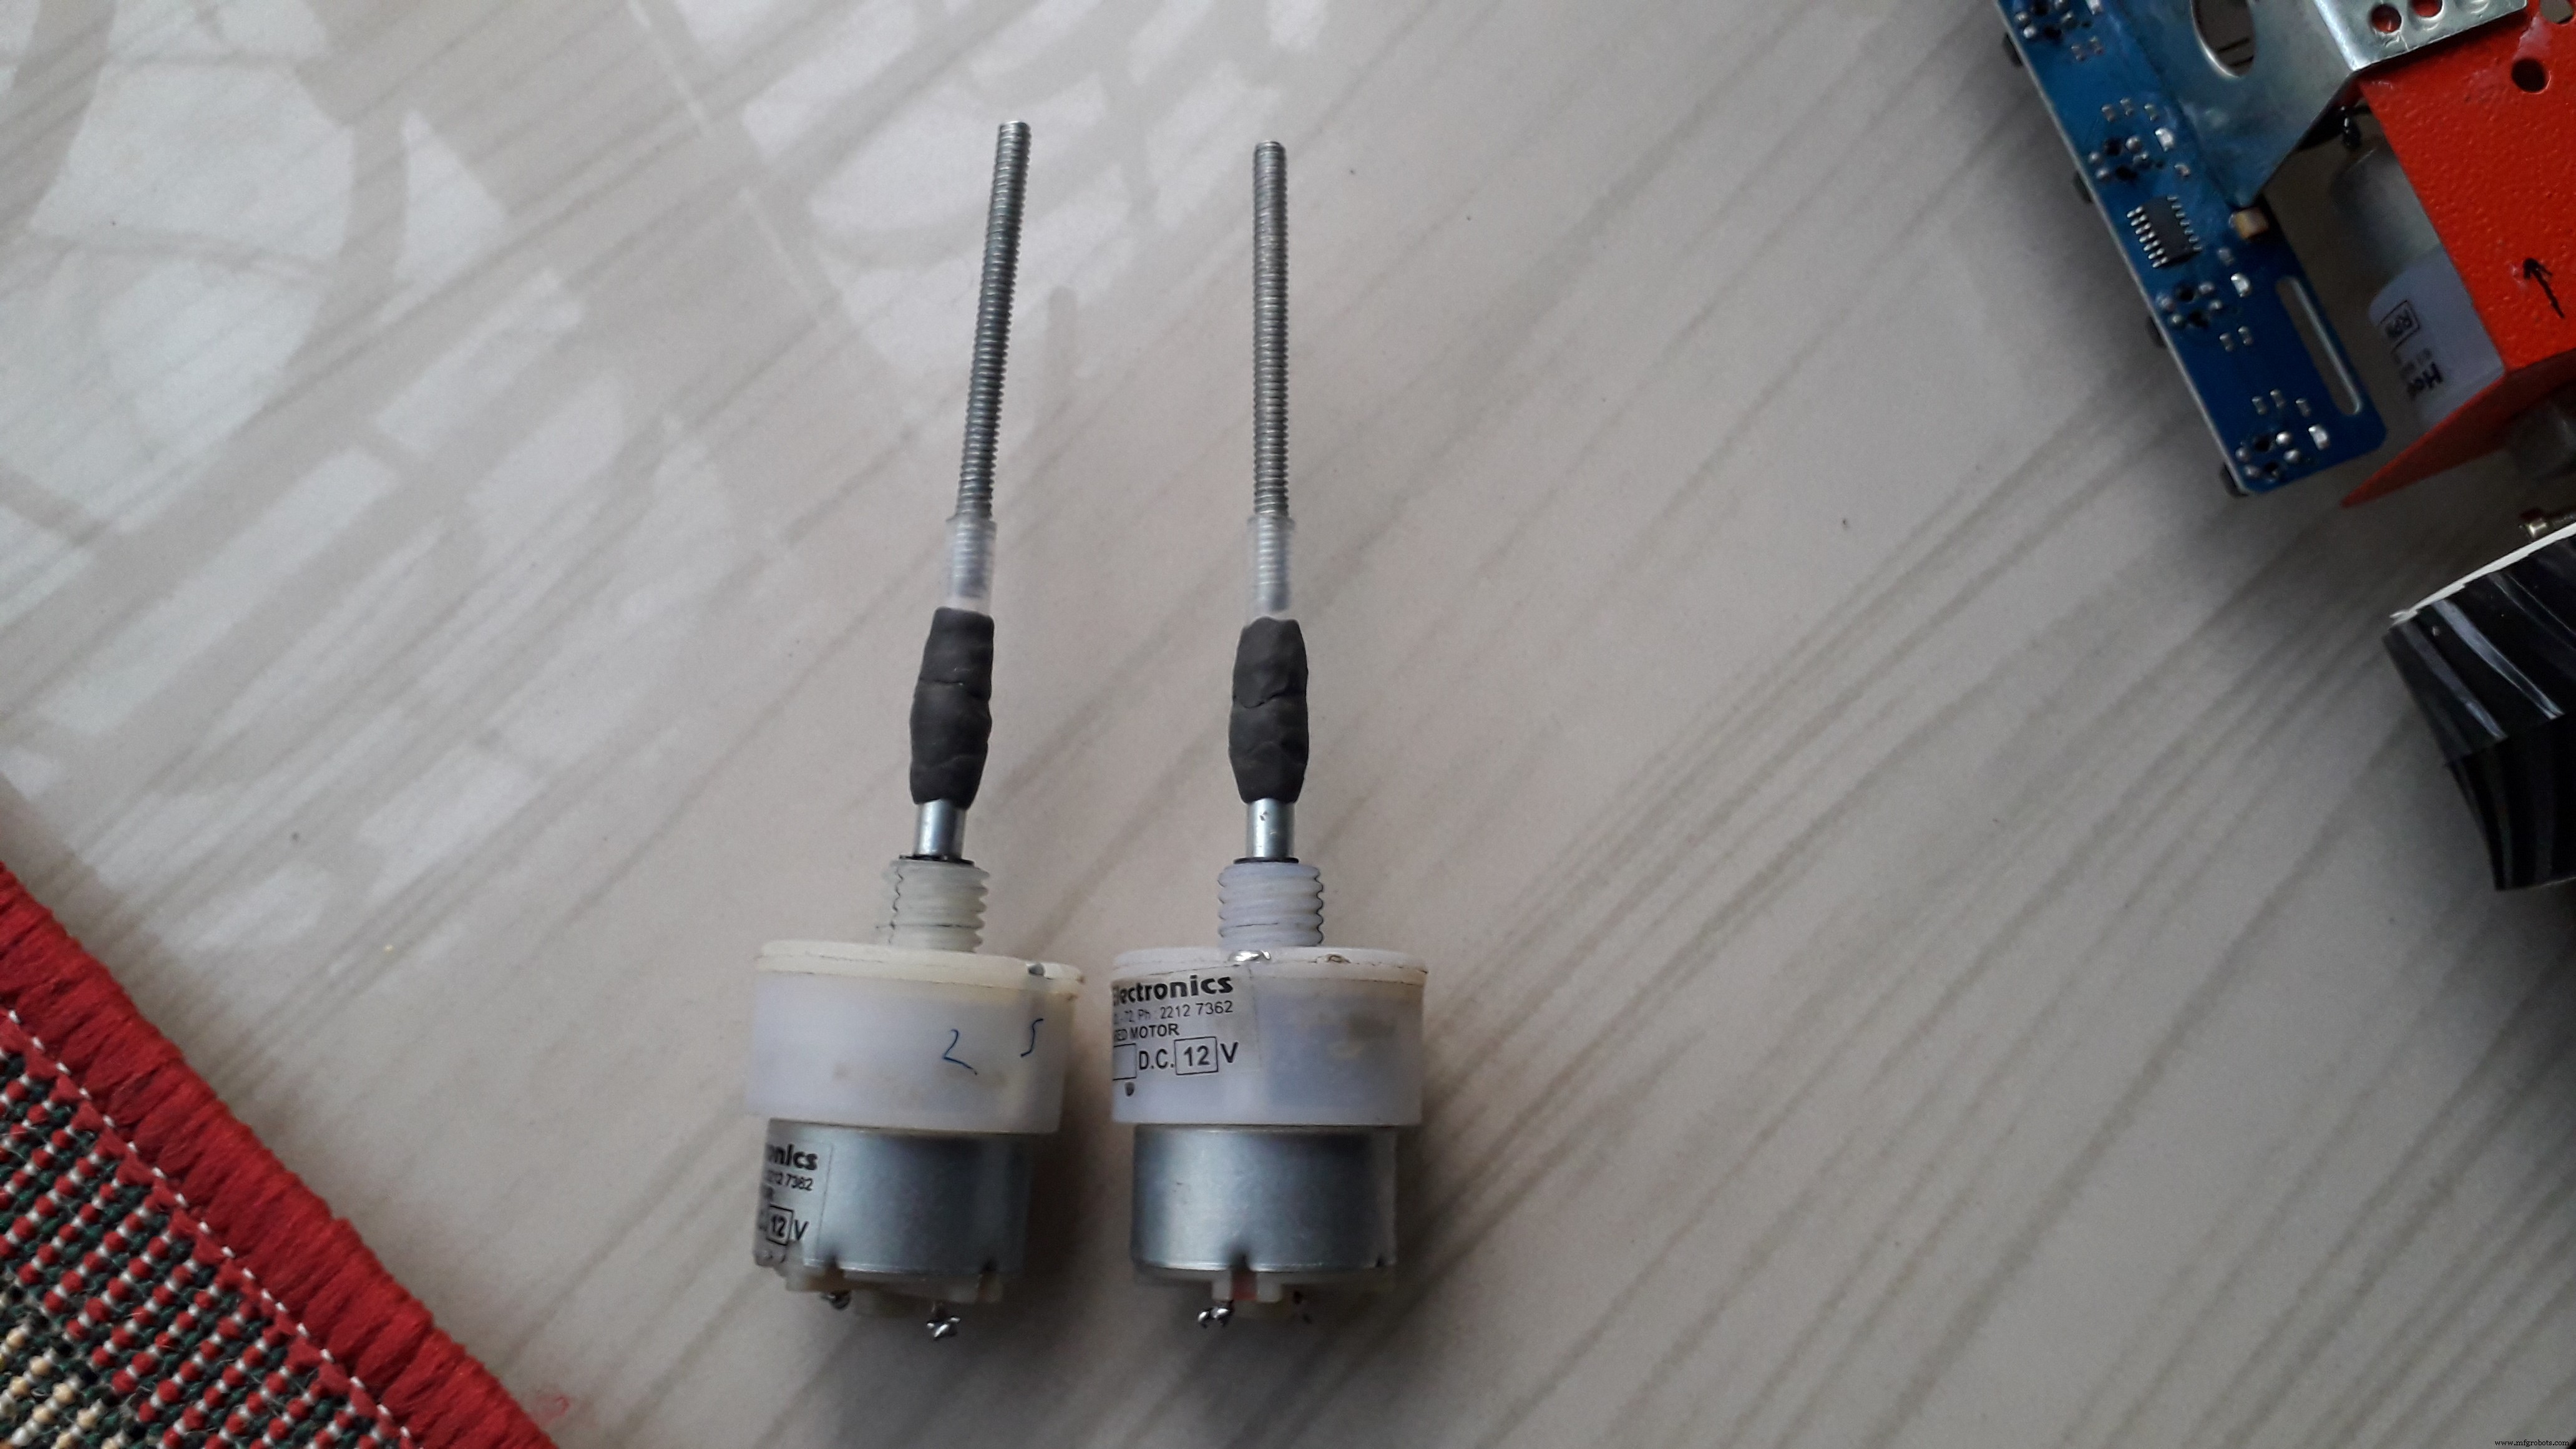
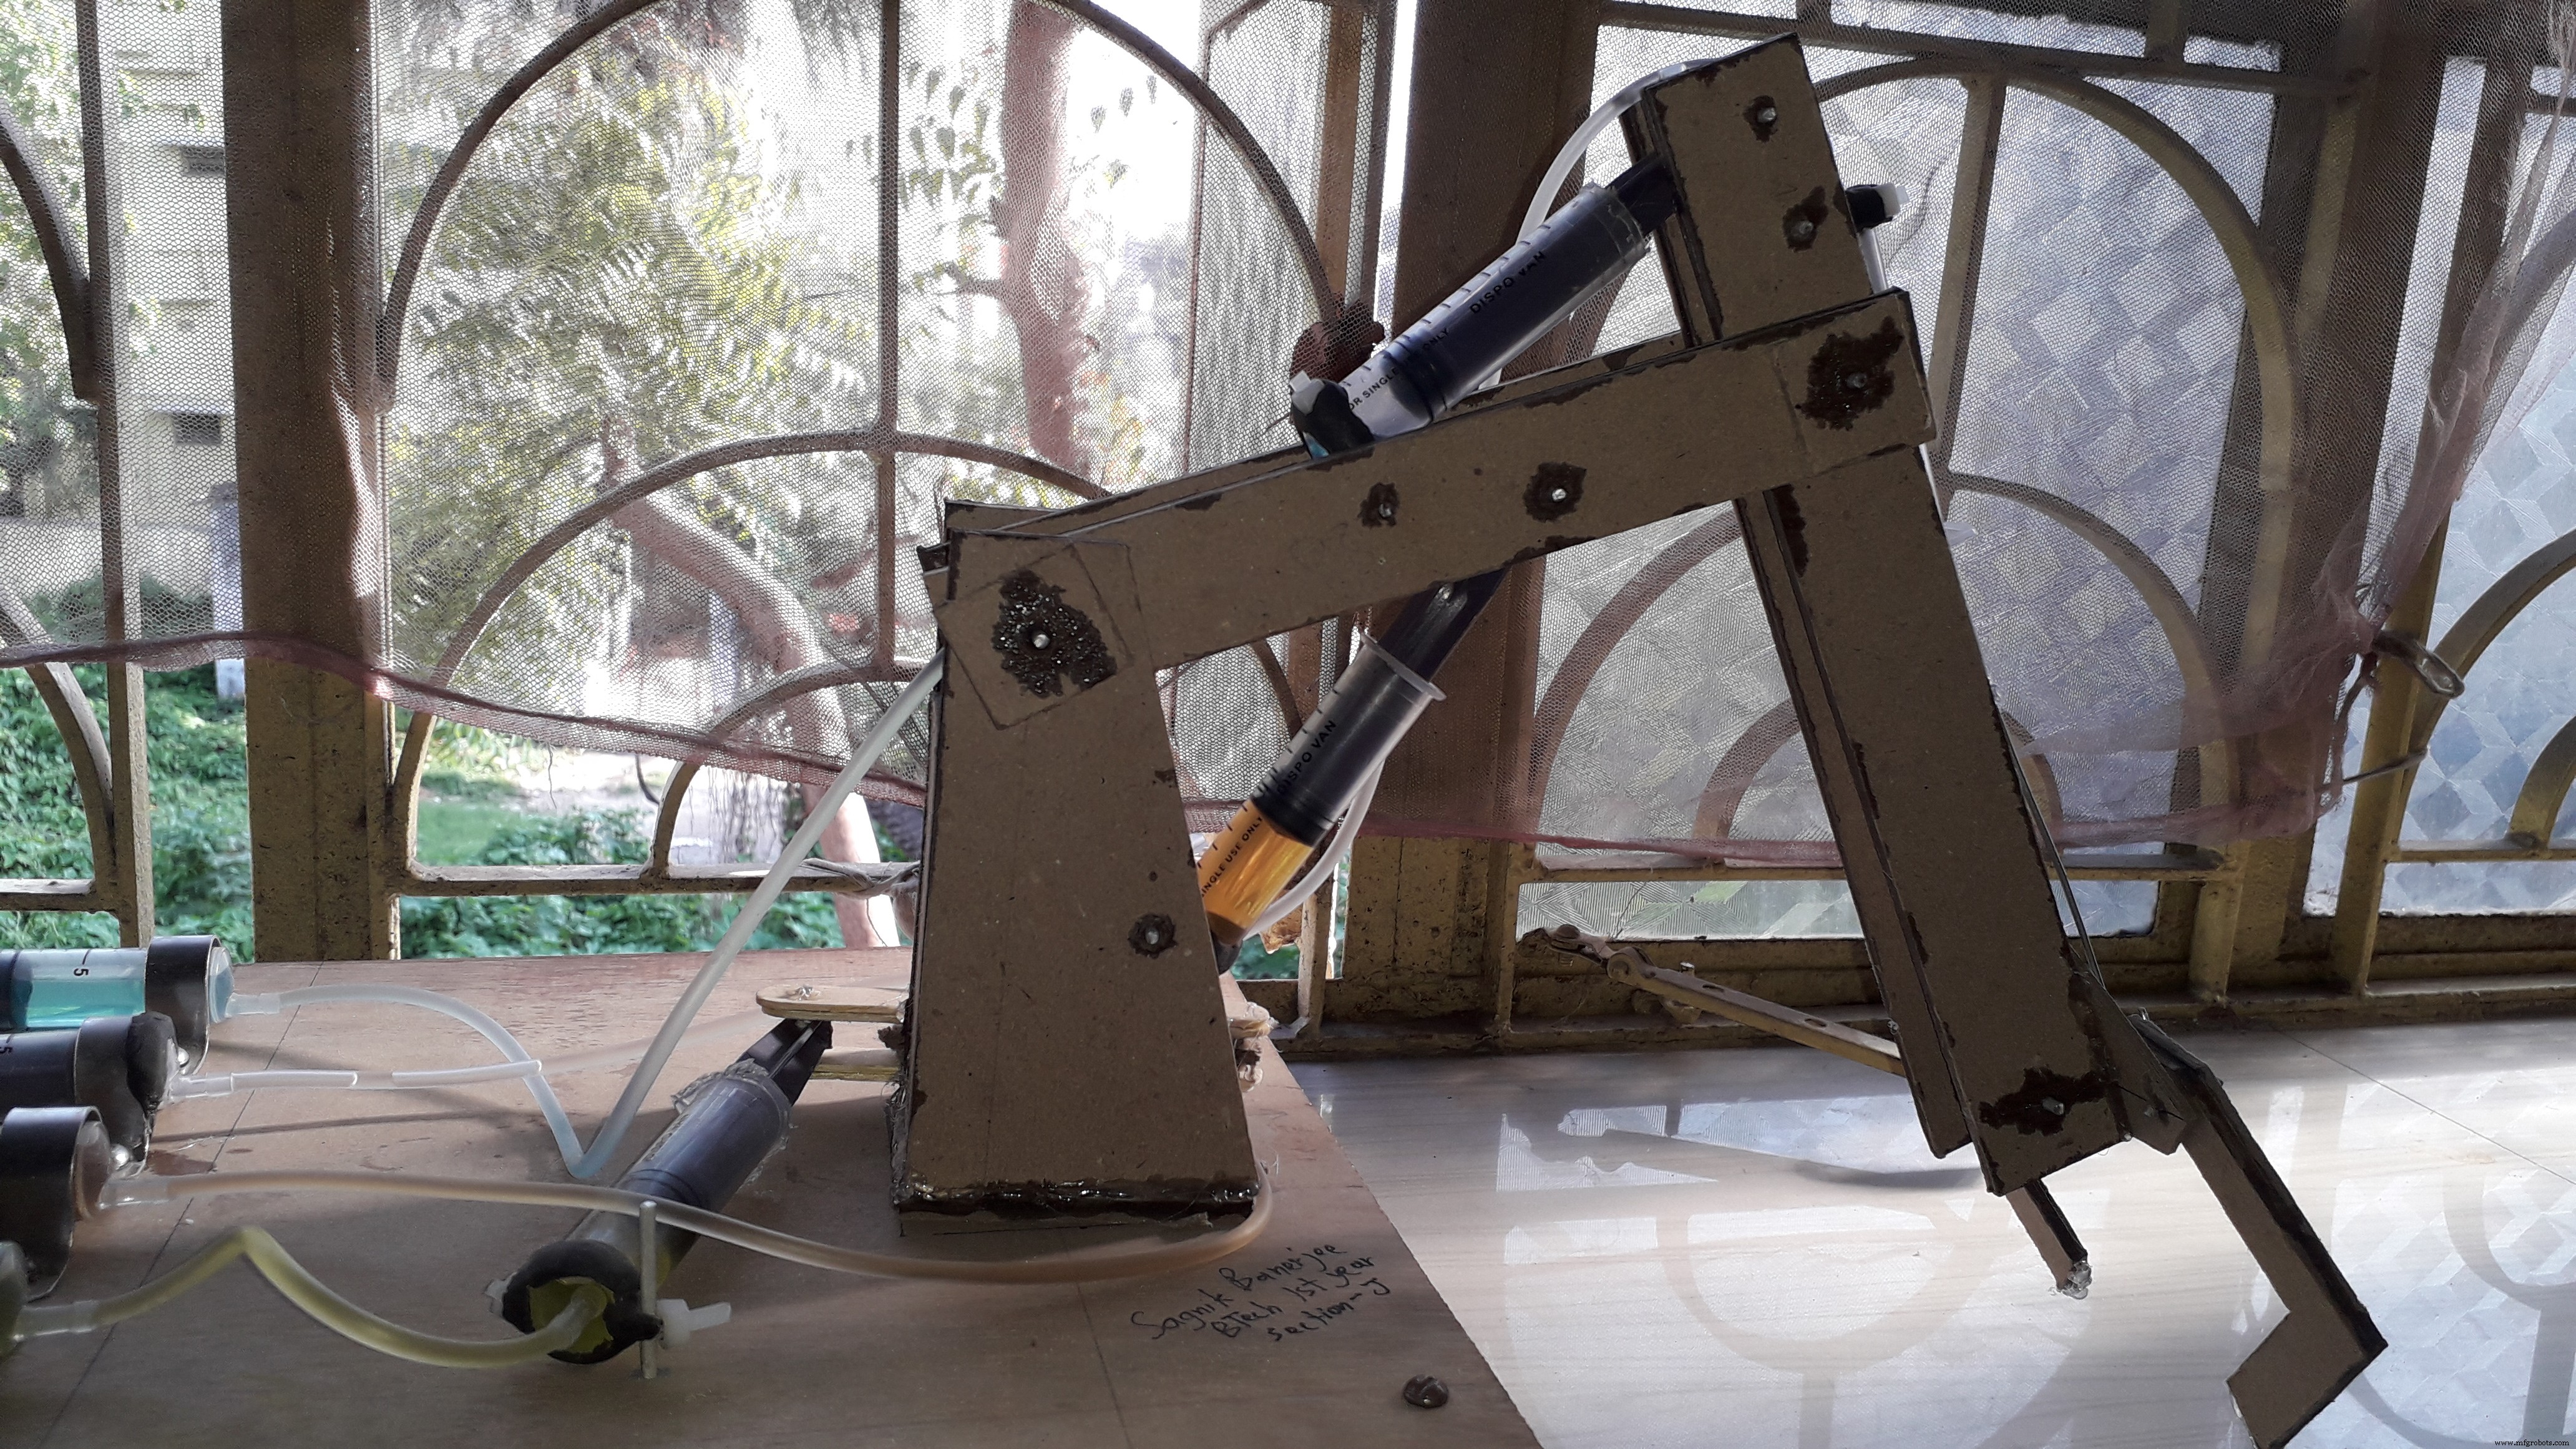
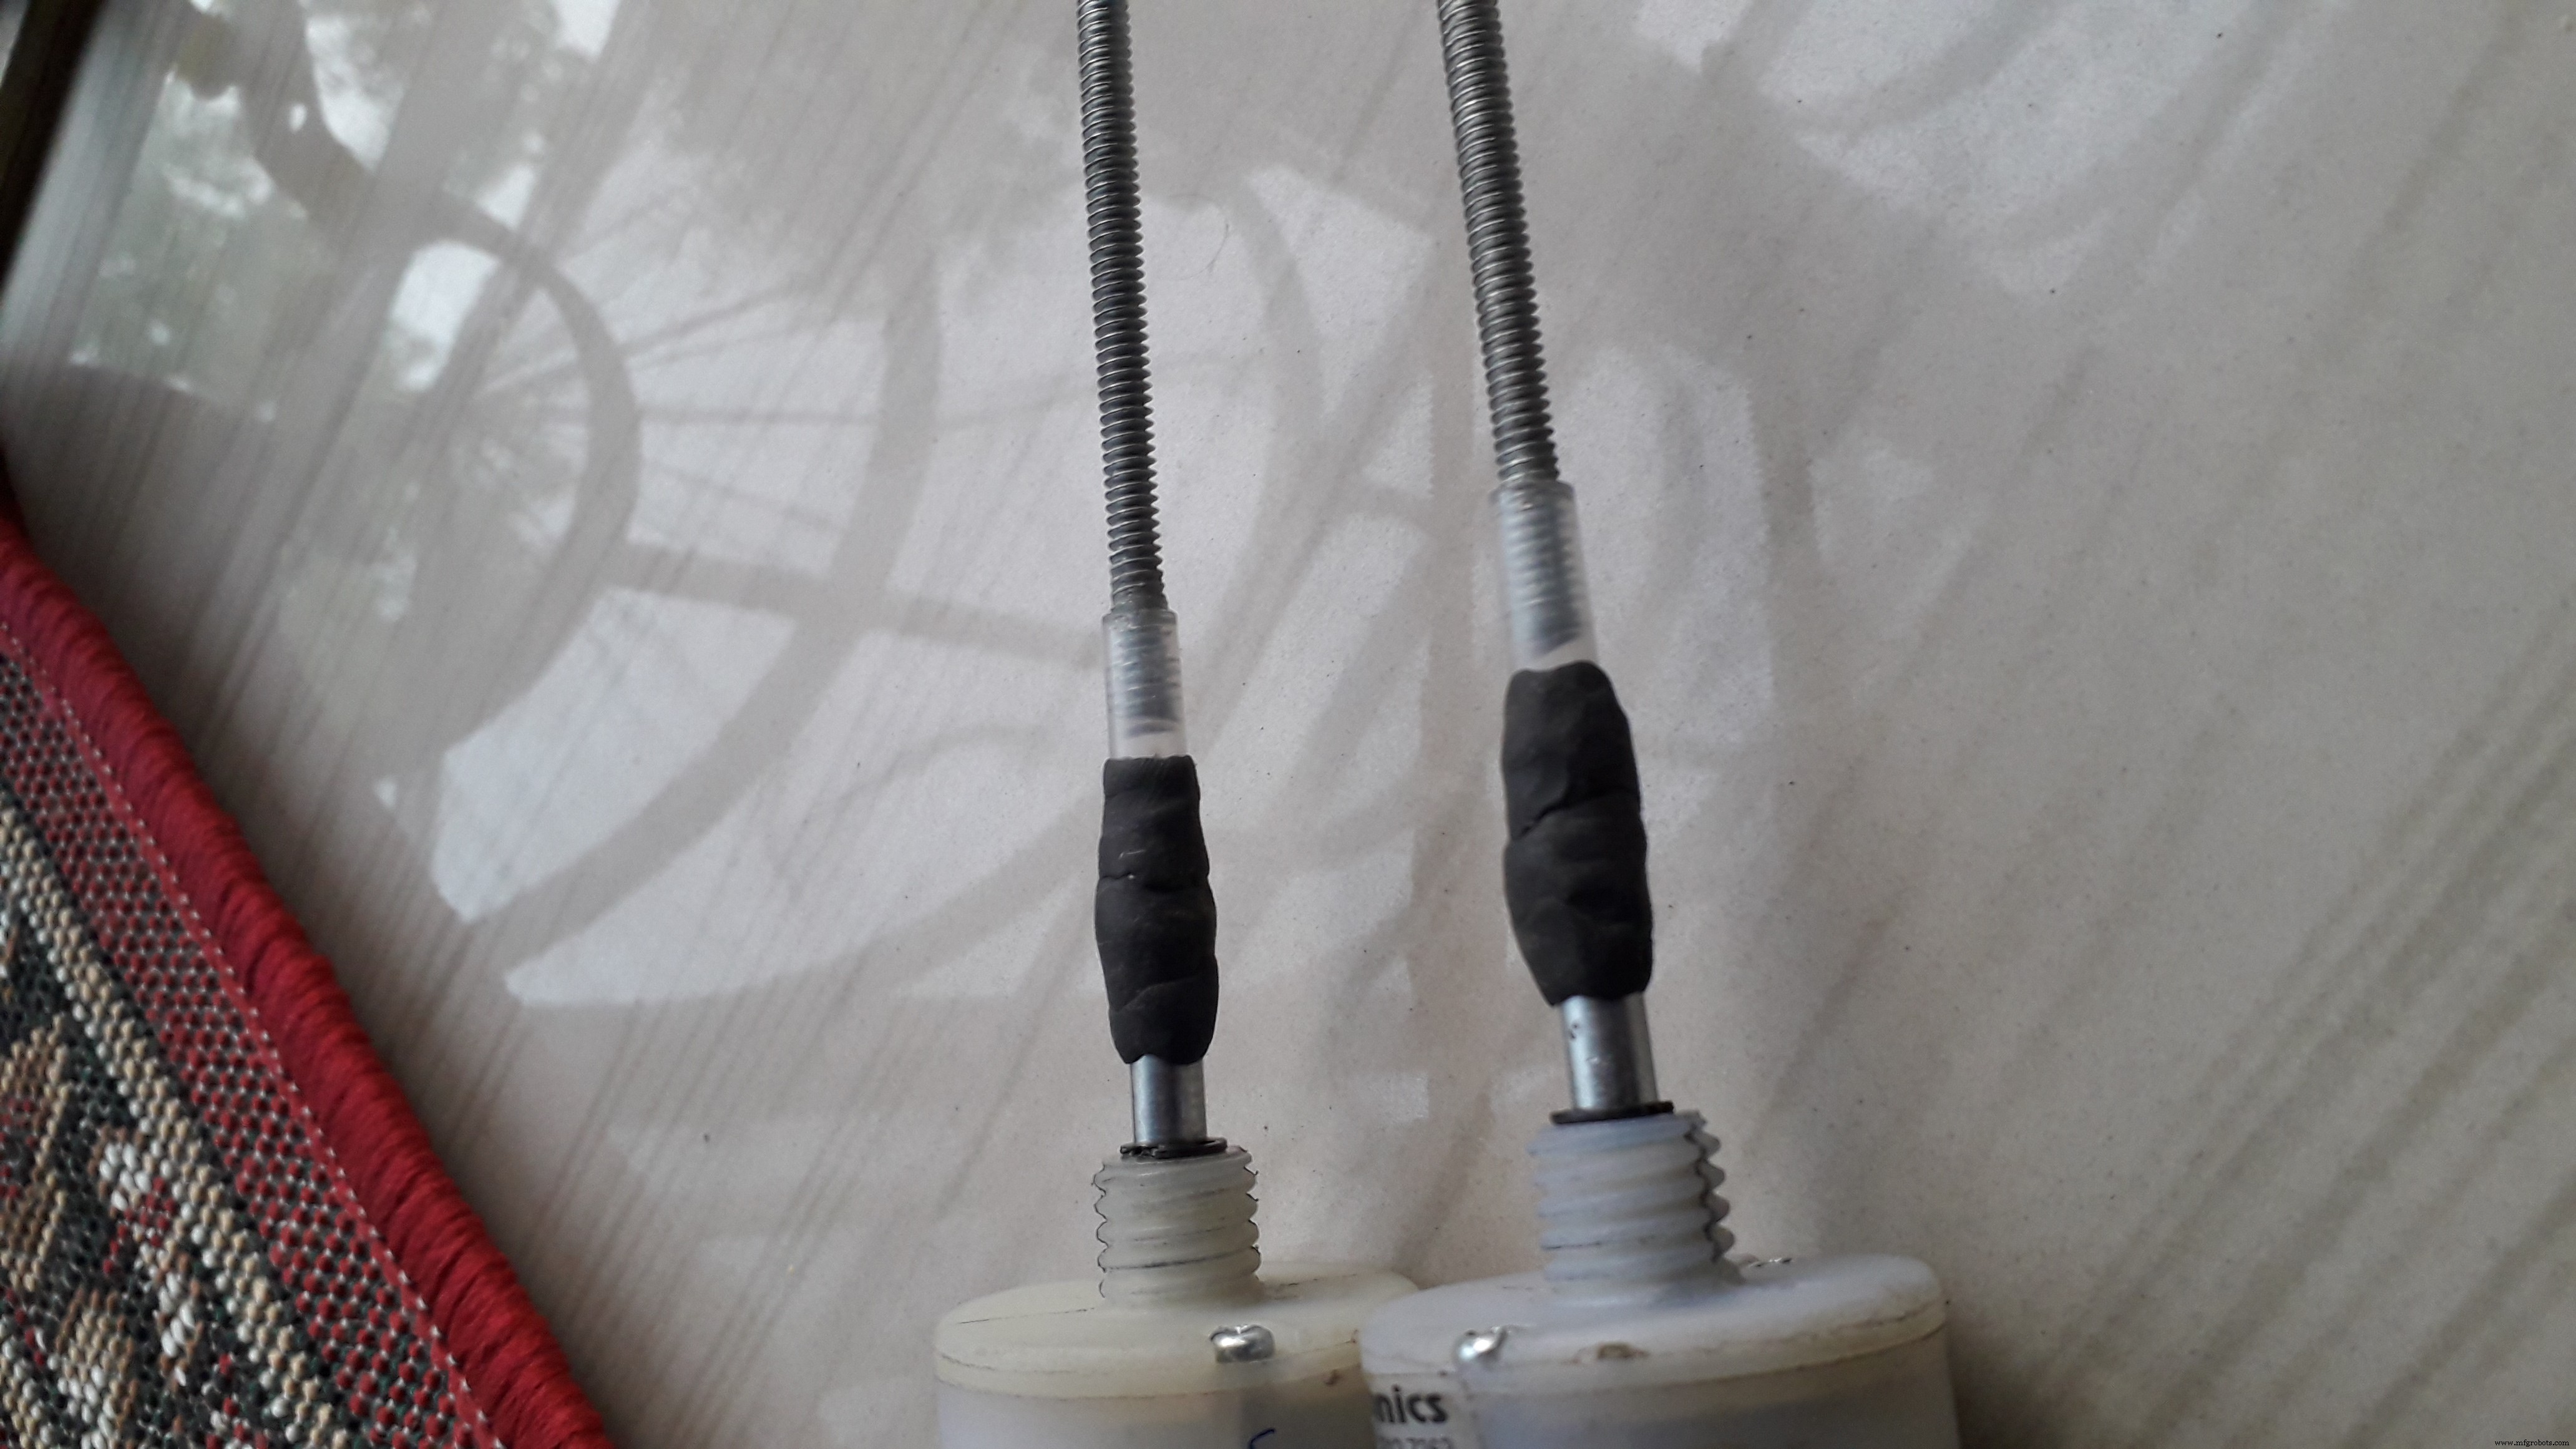 fix the nut on the piston of the syringe using m-seal.
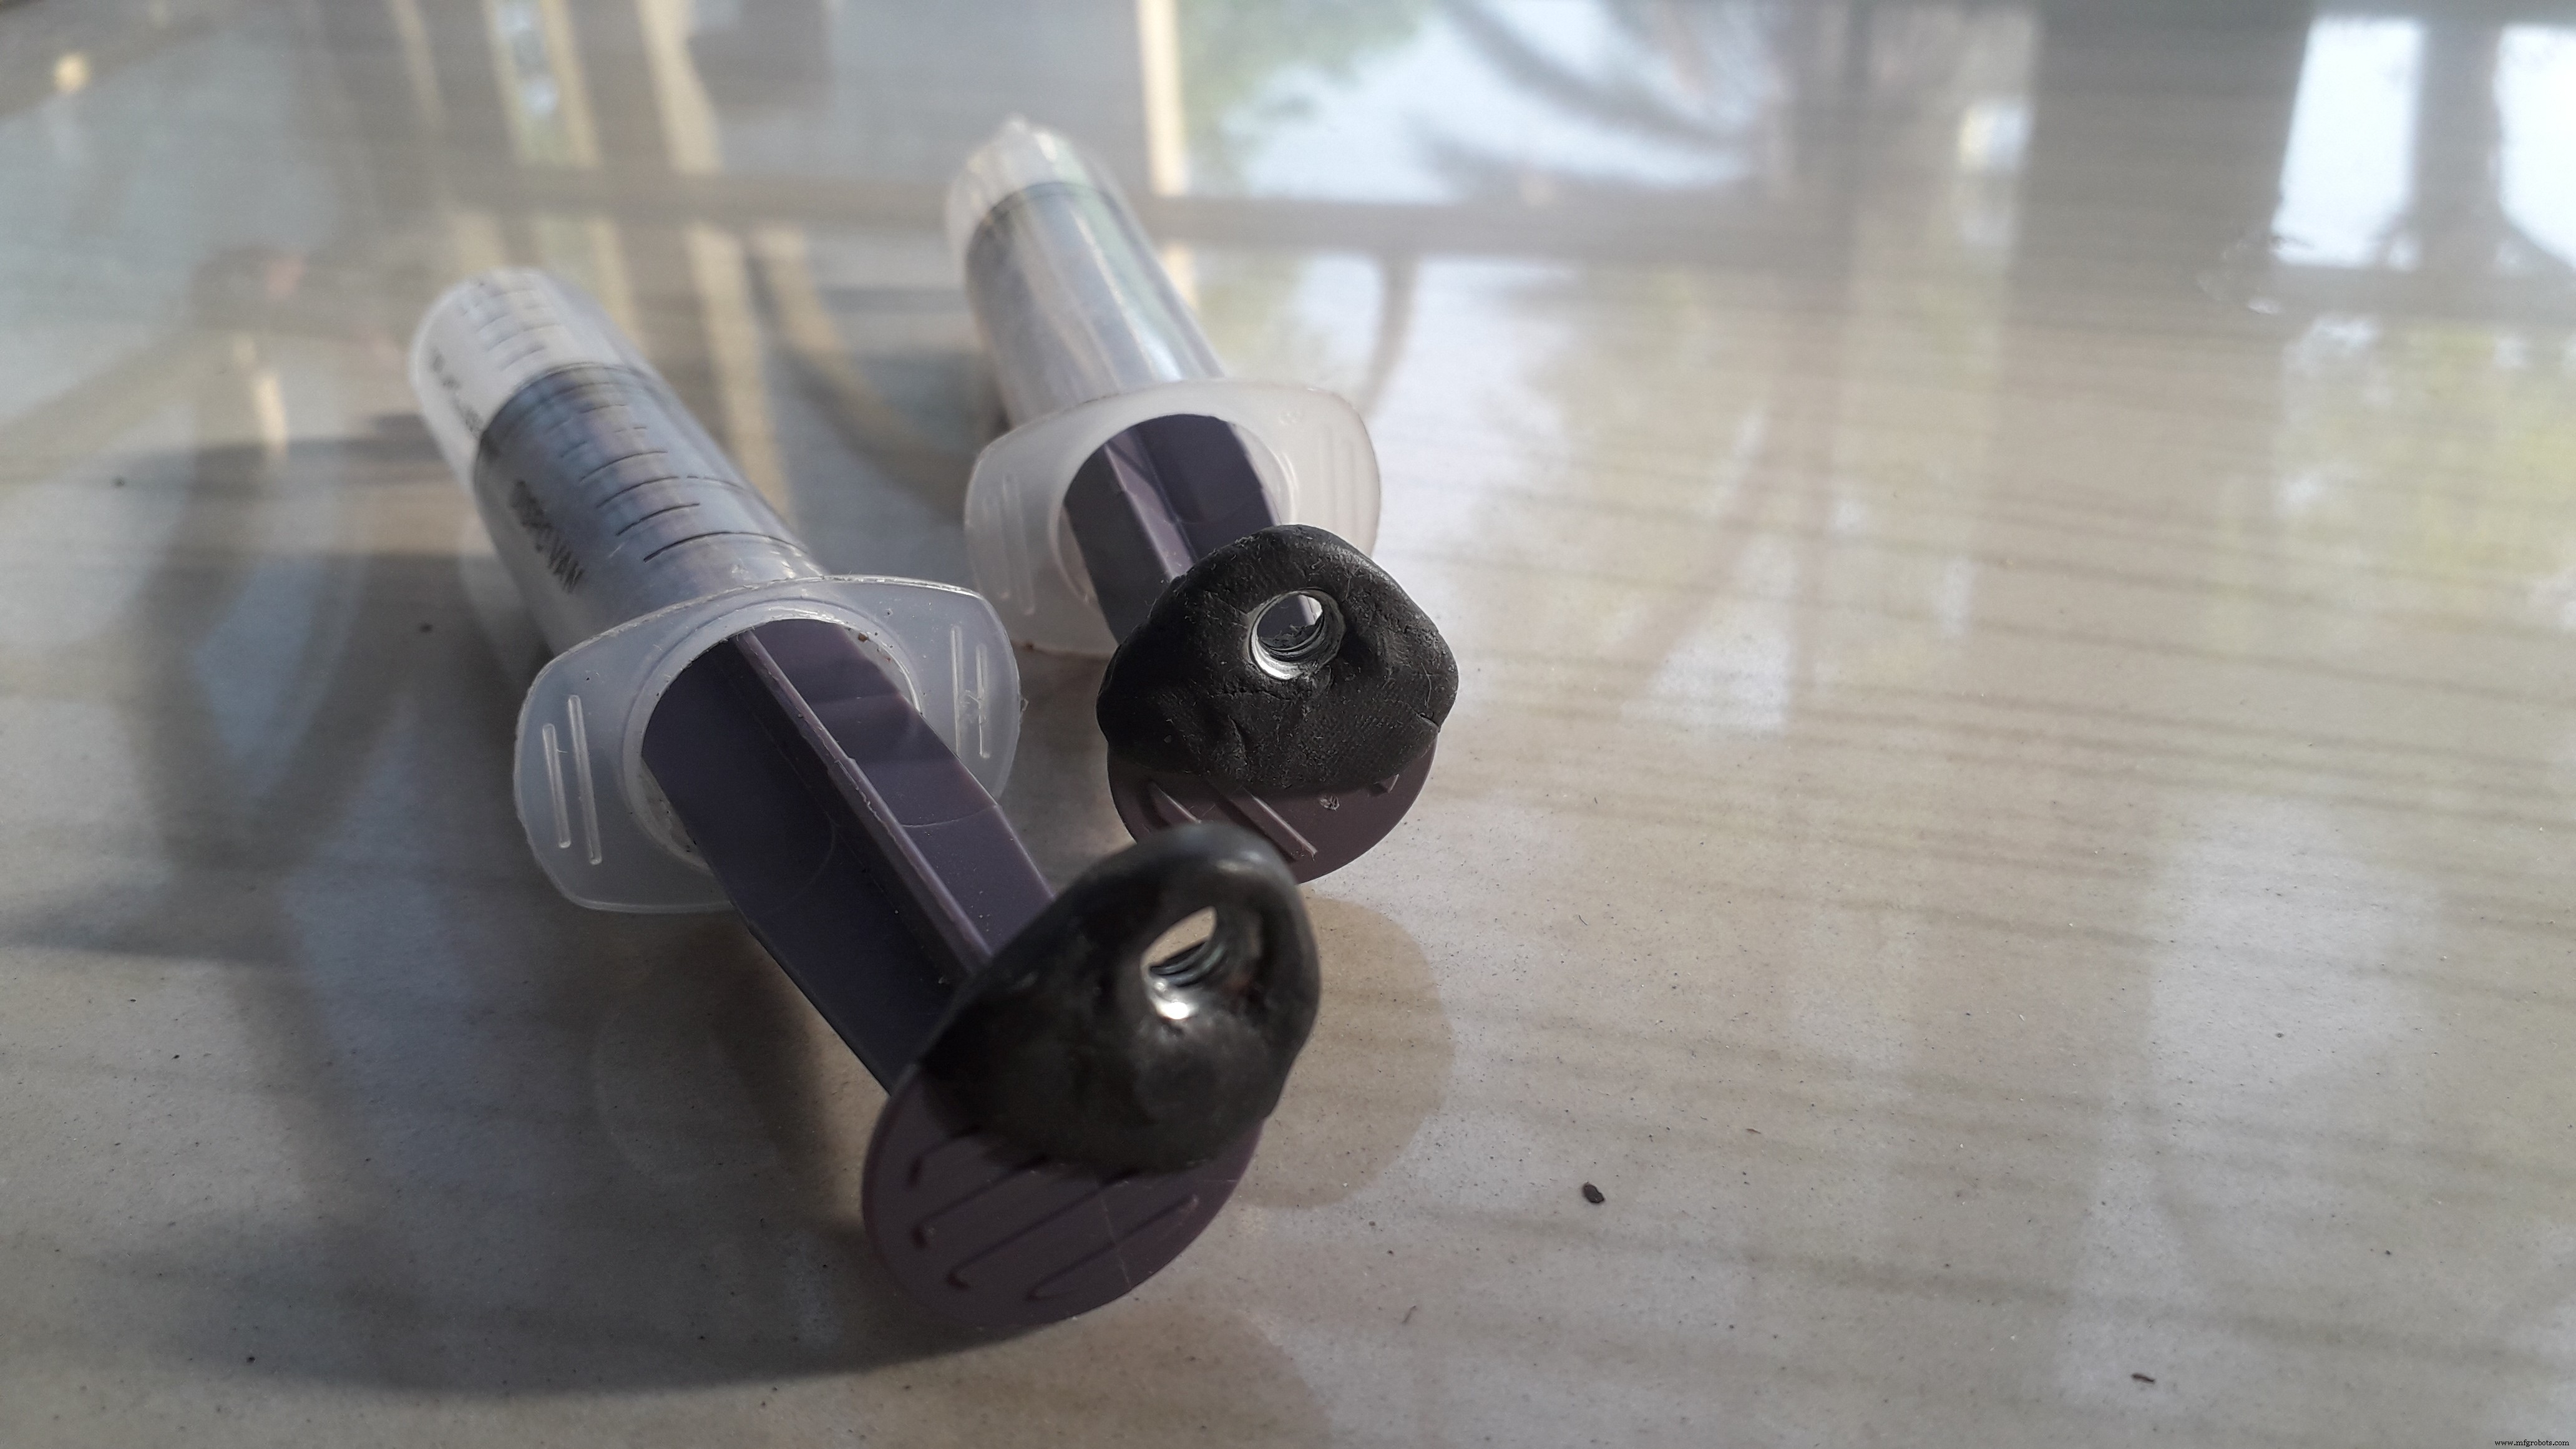 fix the syringe and motor in these way
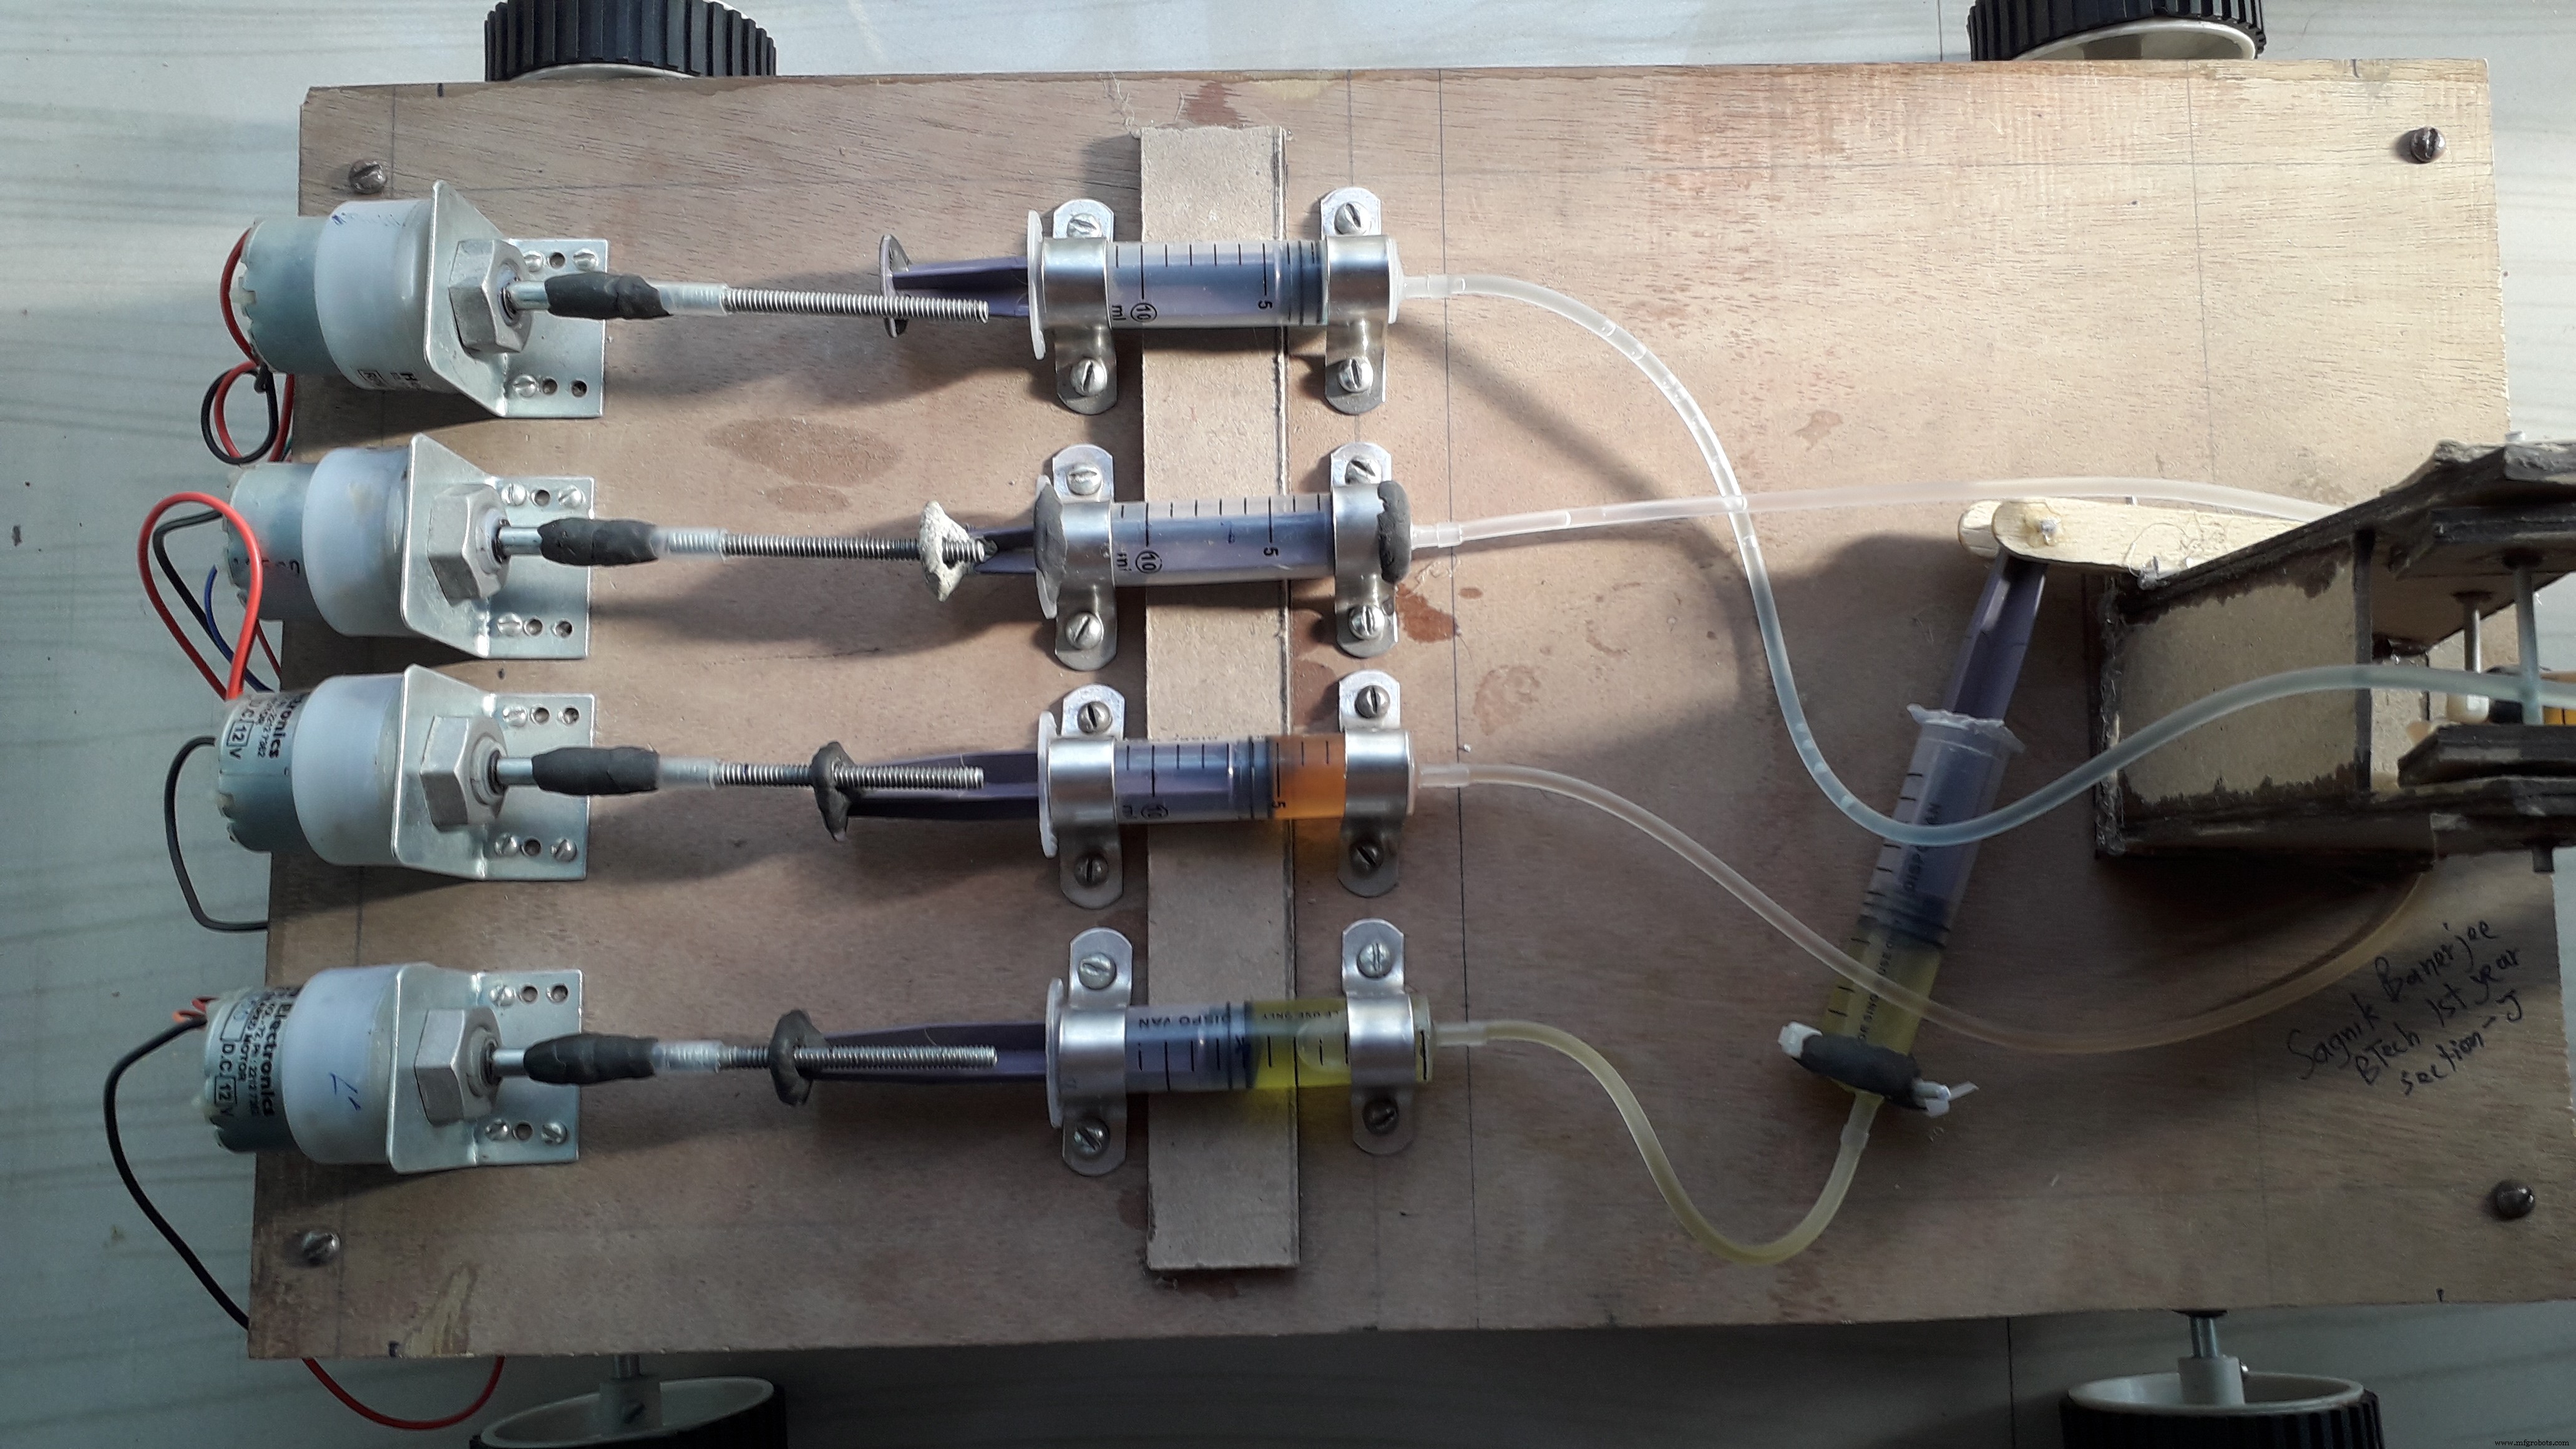 when the motor rotates clockwise it pushes the piston and when it rotates anticlockwise it pulls the piston
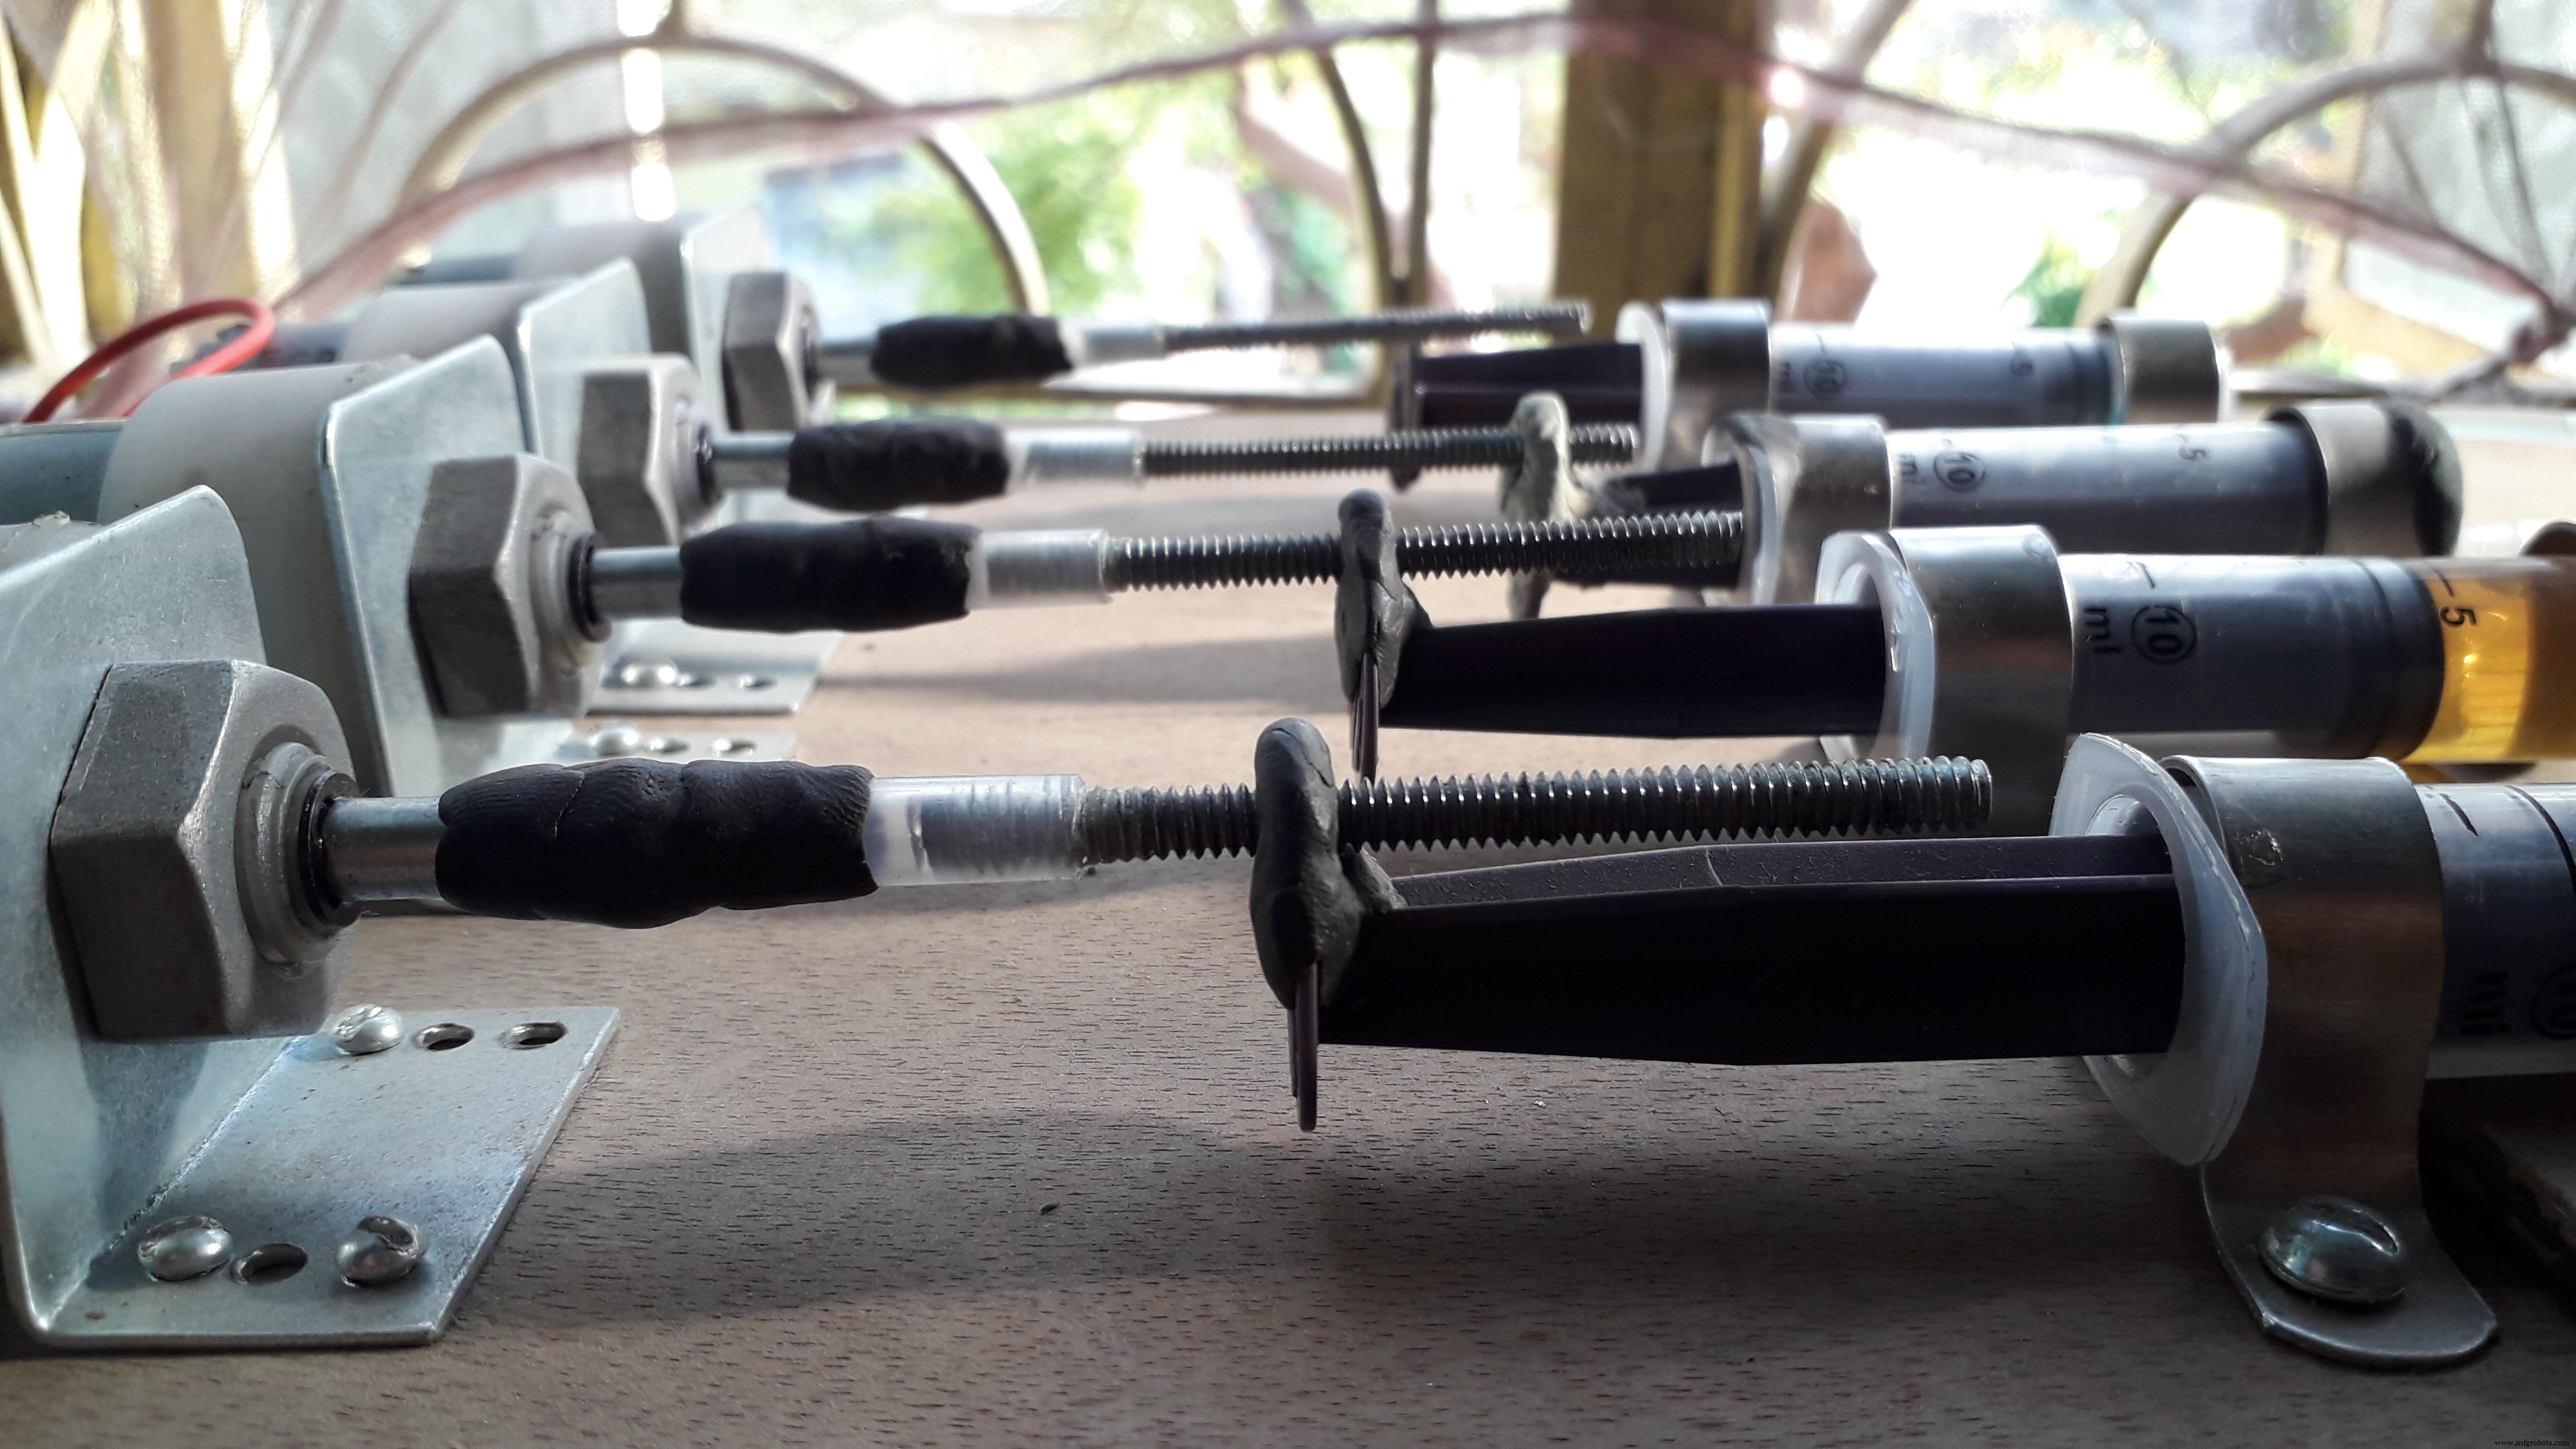 https://www.youtube.com/watch?v=lhOF6cViZ4Q