


Bluetooth‑Controlled Pick‑and‑Place Robot Kit: Arduino UNO + 2‑DOF Arm & Smart Car Chassis
Components and supplies
 |
| × | 1 | |||
| × | 1 | ||||
 |
| × | 1 | |||
| × | 1 | ||||
| × | 1 | ||||
| × | 1 | ||||
| × | 1 | ||||
| × | 1 | ||||
 |
| × | 1 |
Necessary tools and machines
 |
|
Apps and online services
 |
| |||
 |
|
About this project
IntroThis tutorial demonstrates how to build a pick and place robot controlled with your Android smartphone. We have built a mobile app using the MIT App Inventor platform. In this tutorial, we will talk about each part of this project separately. We will talk about:
- 1 How to Control a Servo Motor
- 2 How to Control a DC Motor
- 3 How to Use the Bluetooth Module
- 4 How to Control Your Robot with Your Mobile Phone
So I hope this tutorial covers all your needs to build your bot.
The ScenarioFirst of all, we must to know how the robot will take orders. We are using a Bluetooth module which will be connected to a mobile app, which we will build afterward. For now we need to know that we will send our command to the robot with our mobile using the Bluetooth connection.
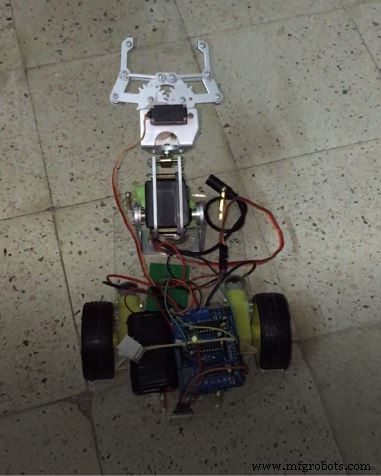
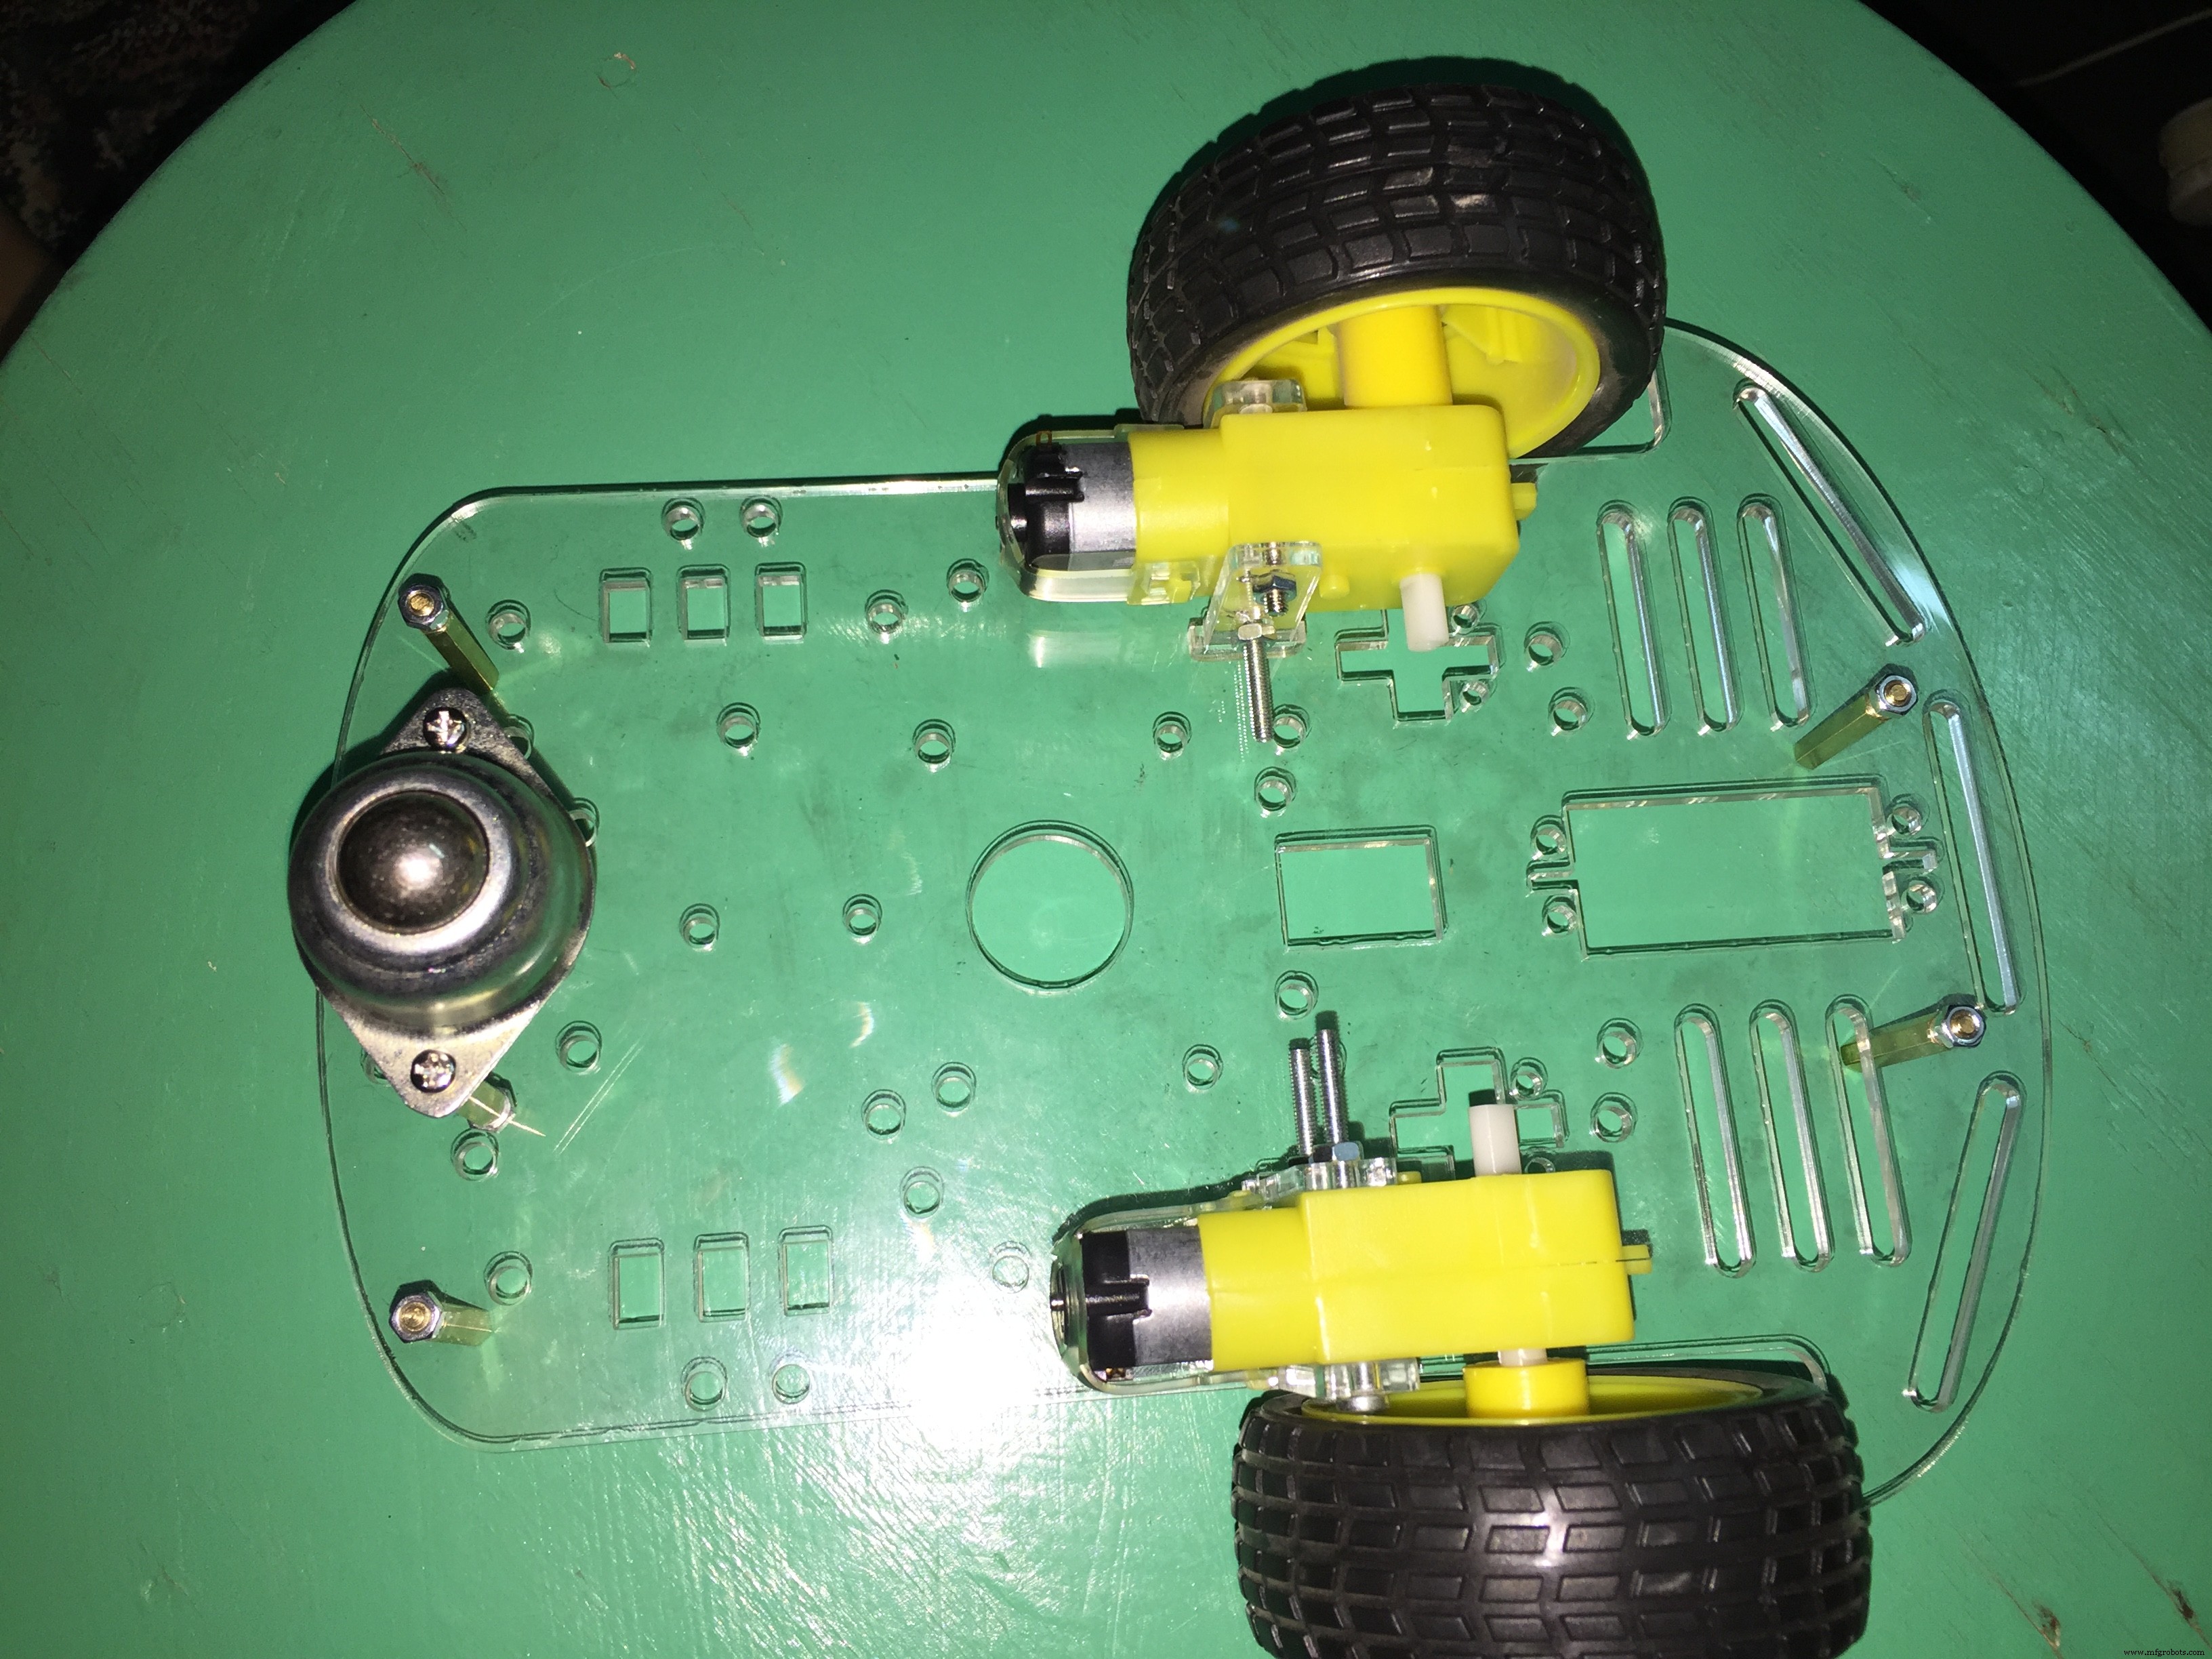
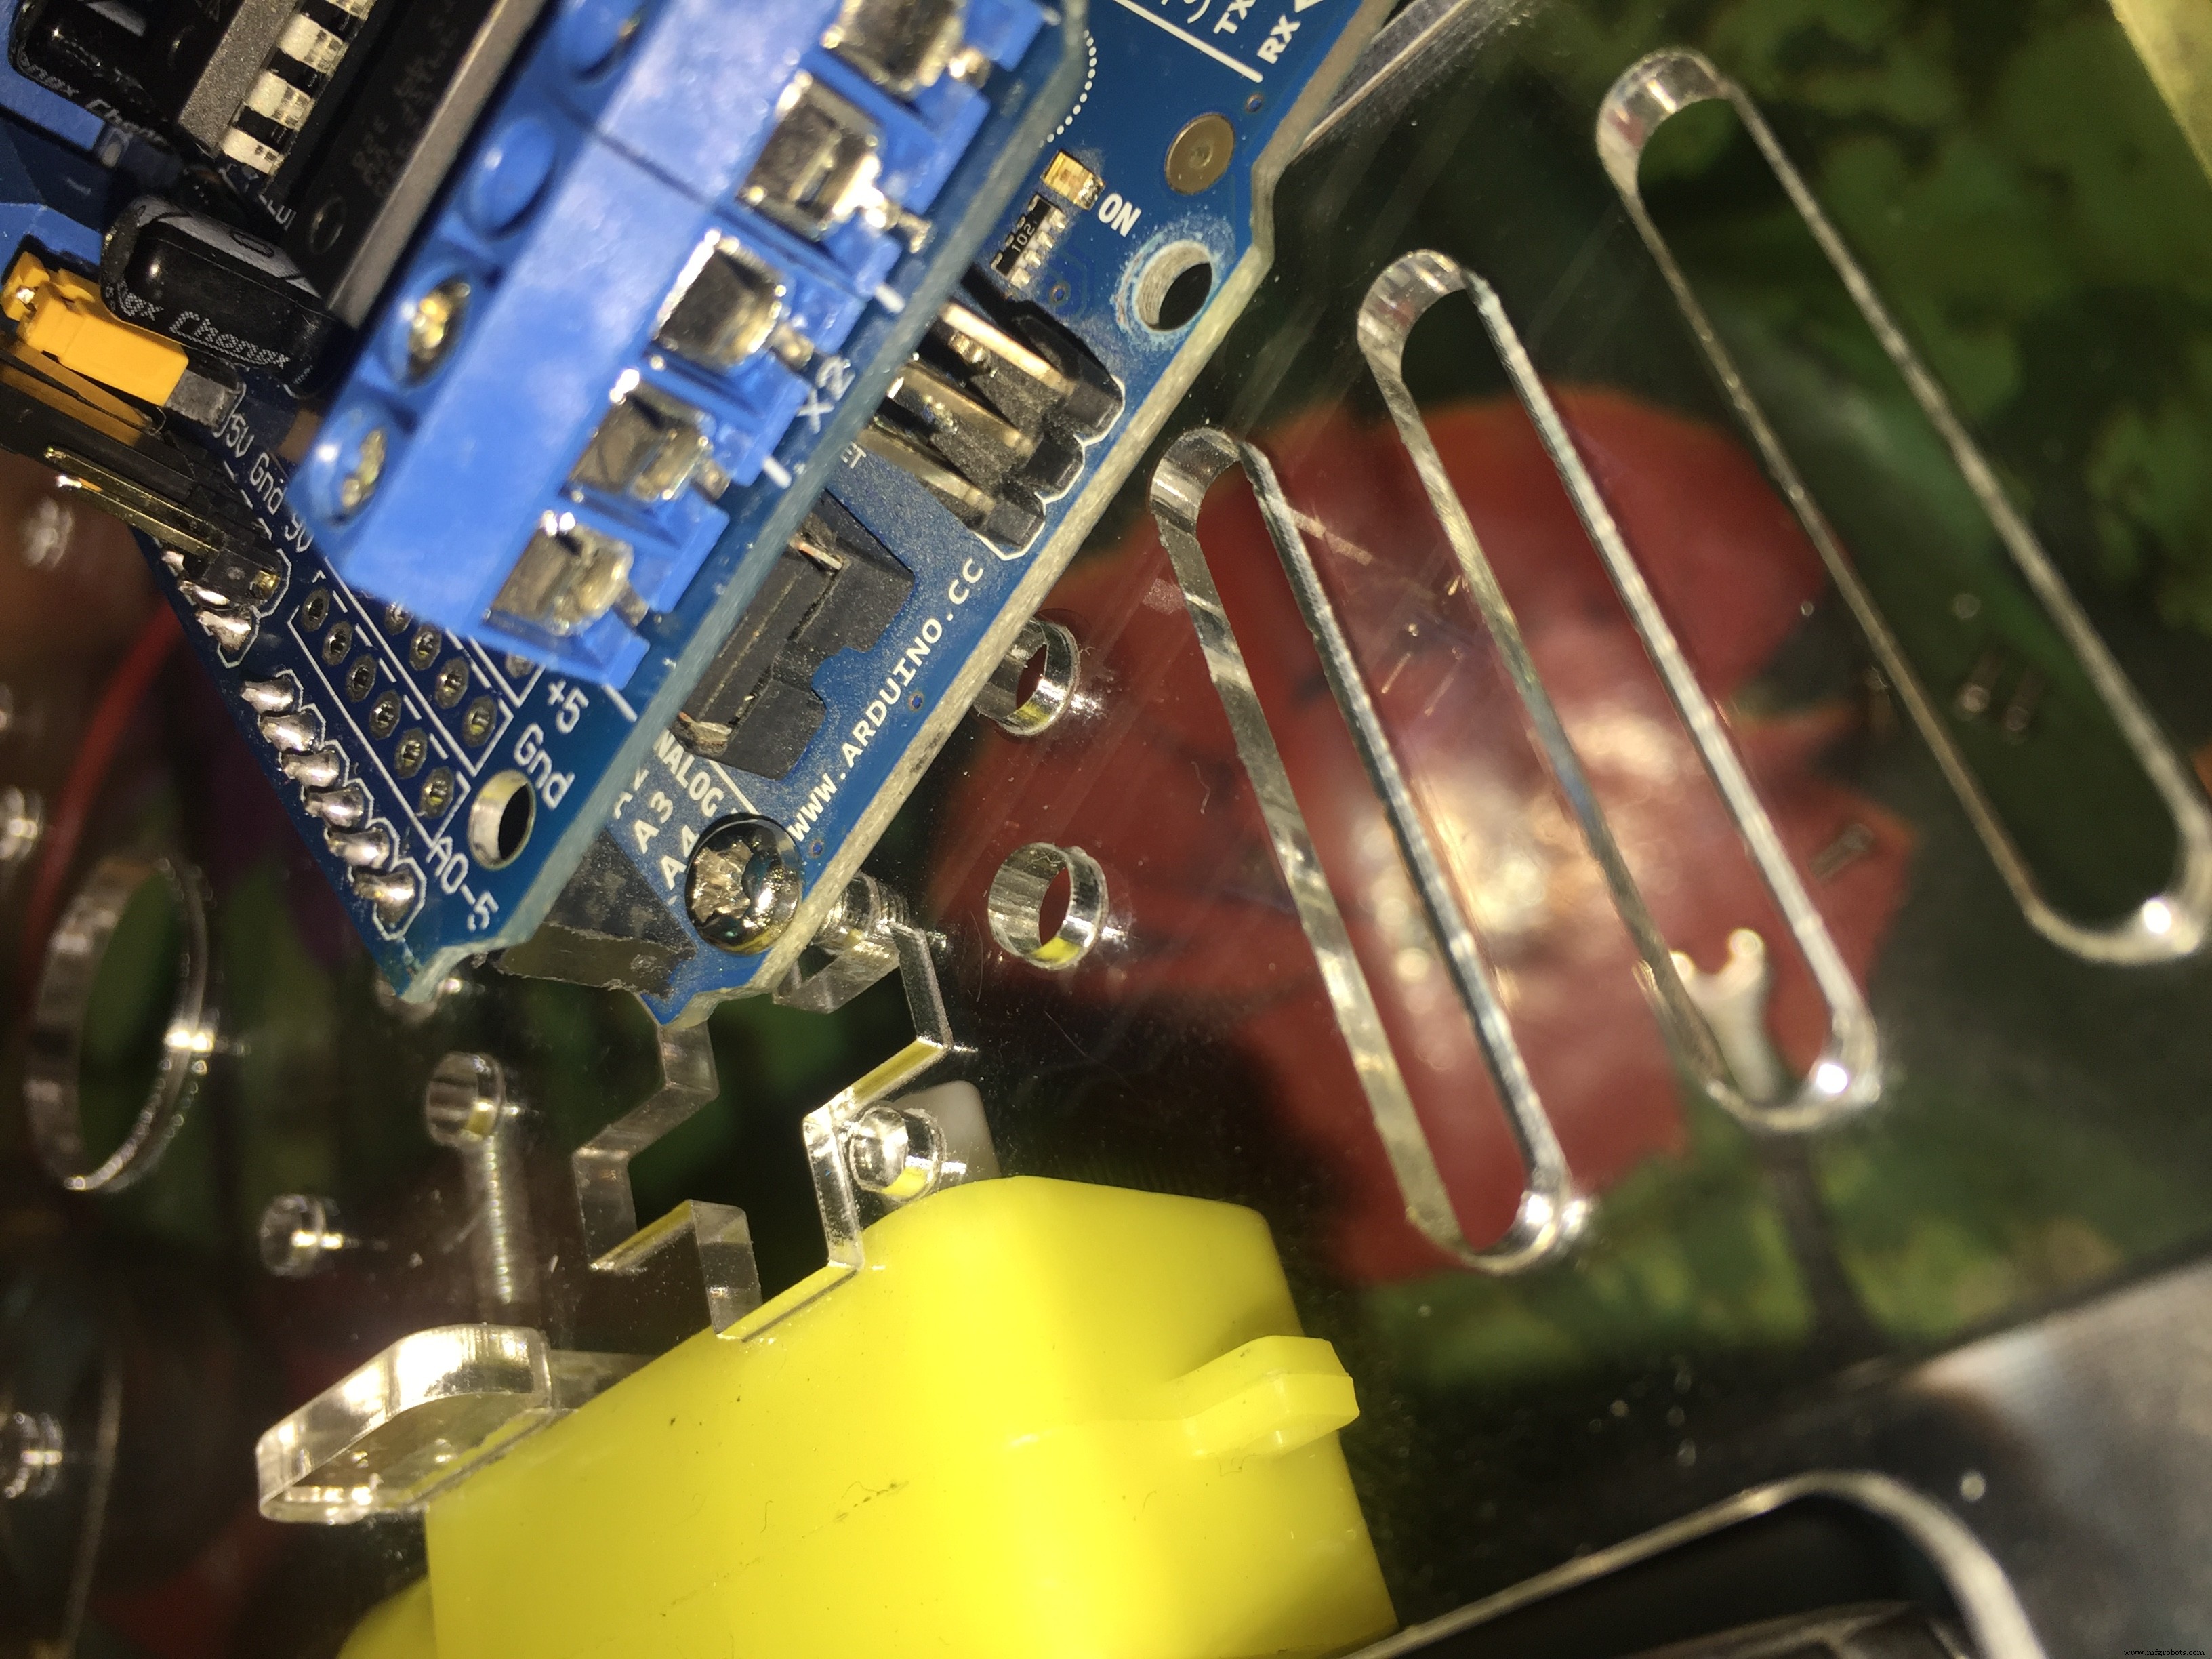
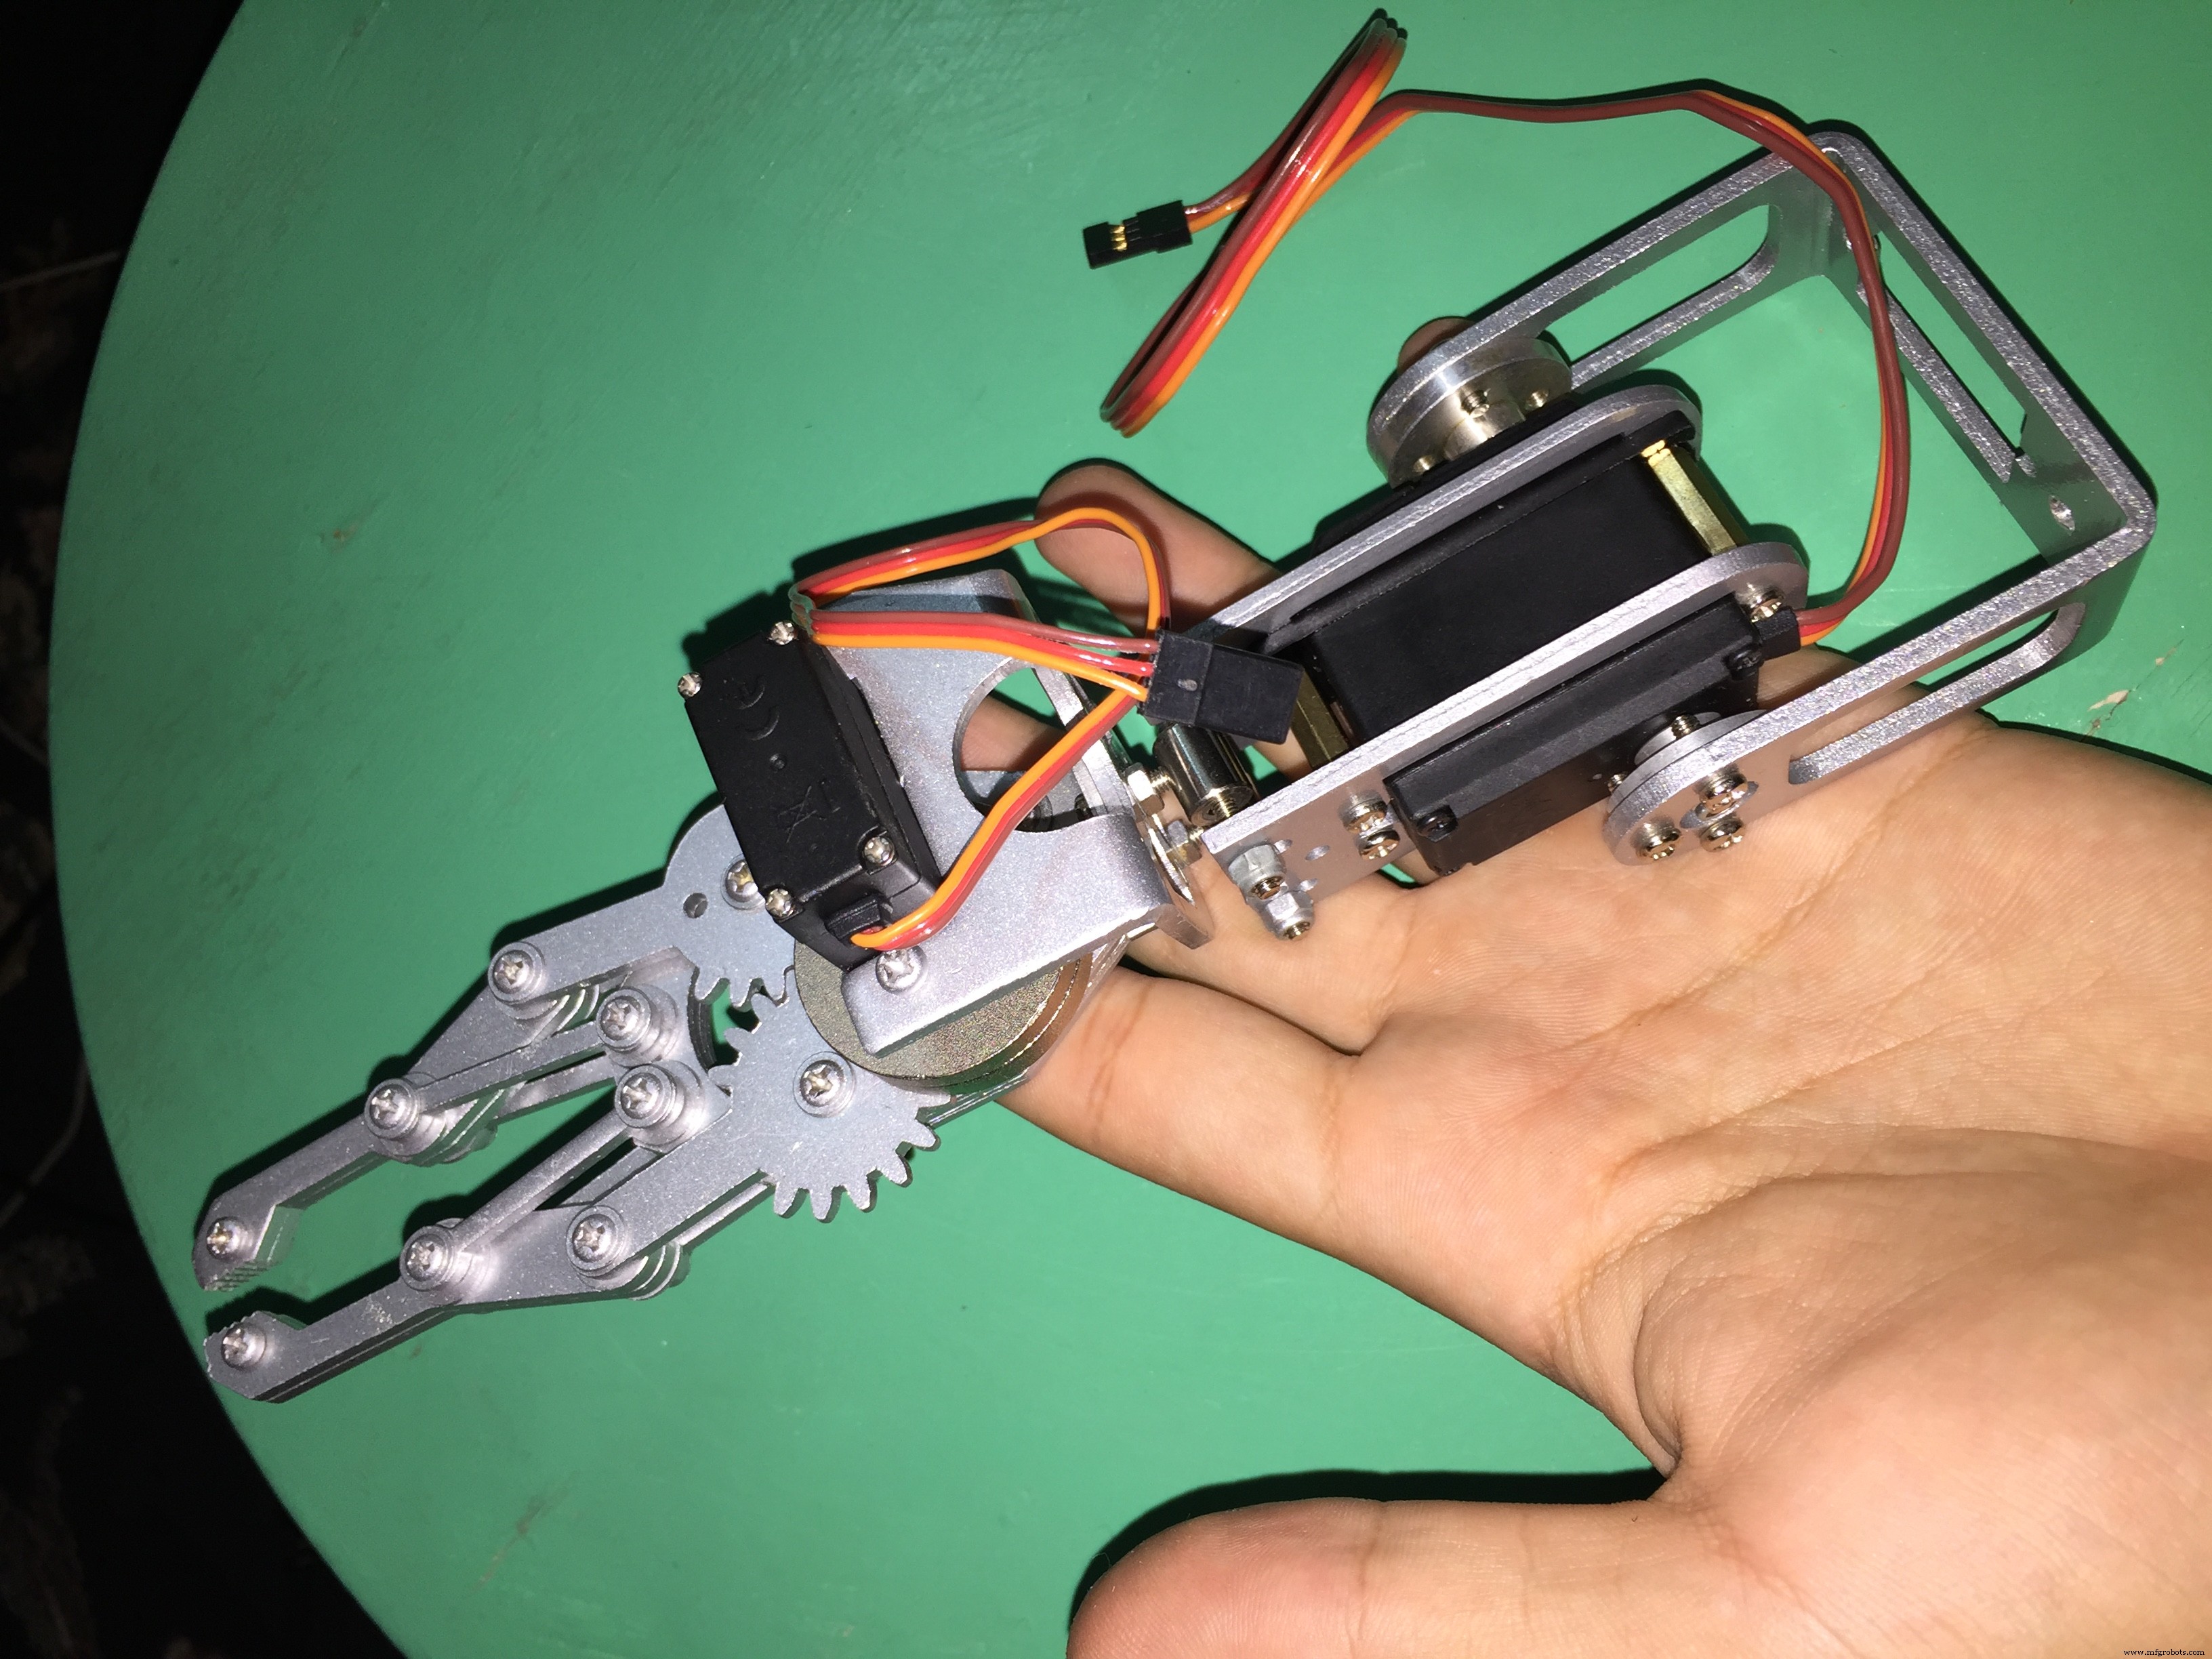
- The kit requires some simple assembly, but it does take some time. Follow the instructions included with your kit for assembly,
At the end of the assembly it should look like this:
The Motor Shield allows you to talk with your motors. If you connect the motors directly to the Arduino board, it will start a fire! because every motor needs at least 80MA but the max current the digital Arduino pin can provide is 40MA, so DO NOT try to connect the motor directly to your Arduino board.
- The motor shield helps you to control the direction of your motor (e.g. move FORWARD, BACKWARD, and RELEASE).
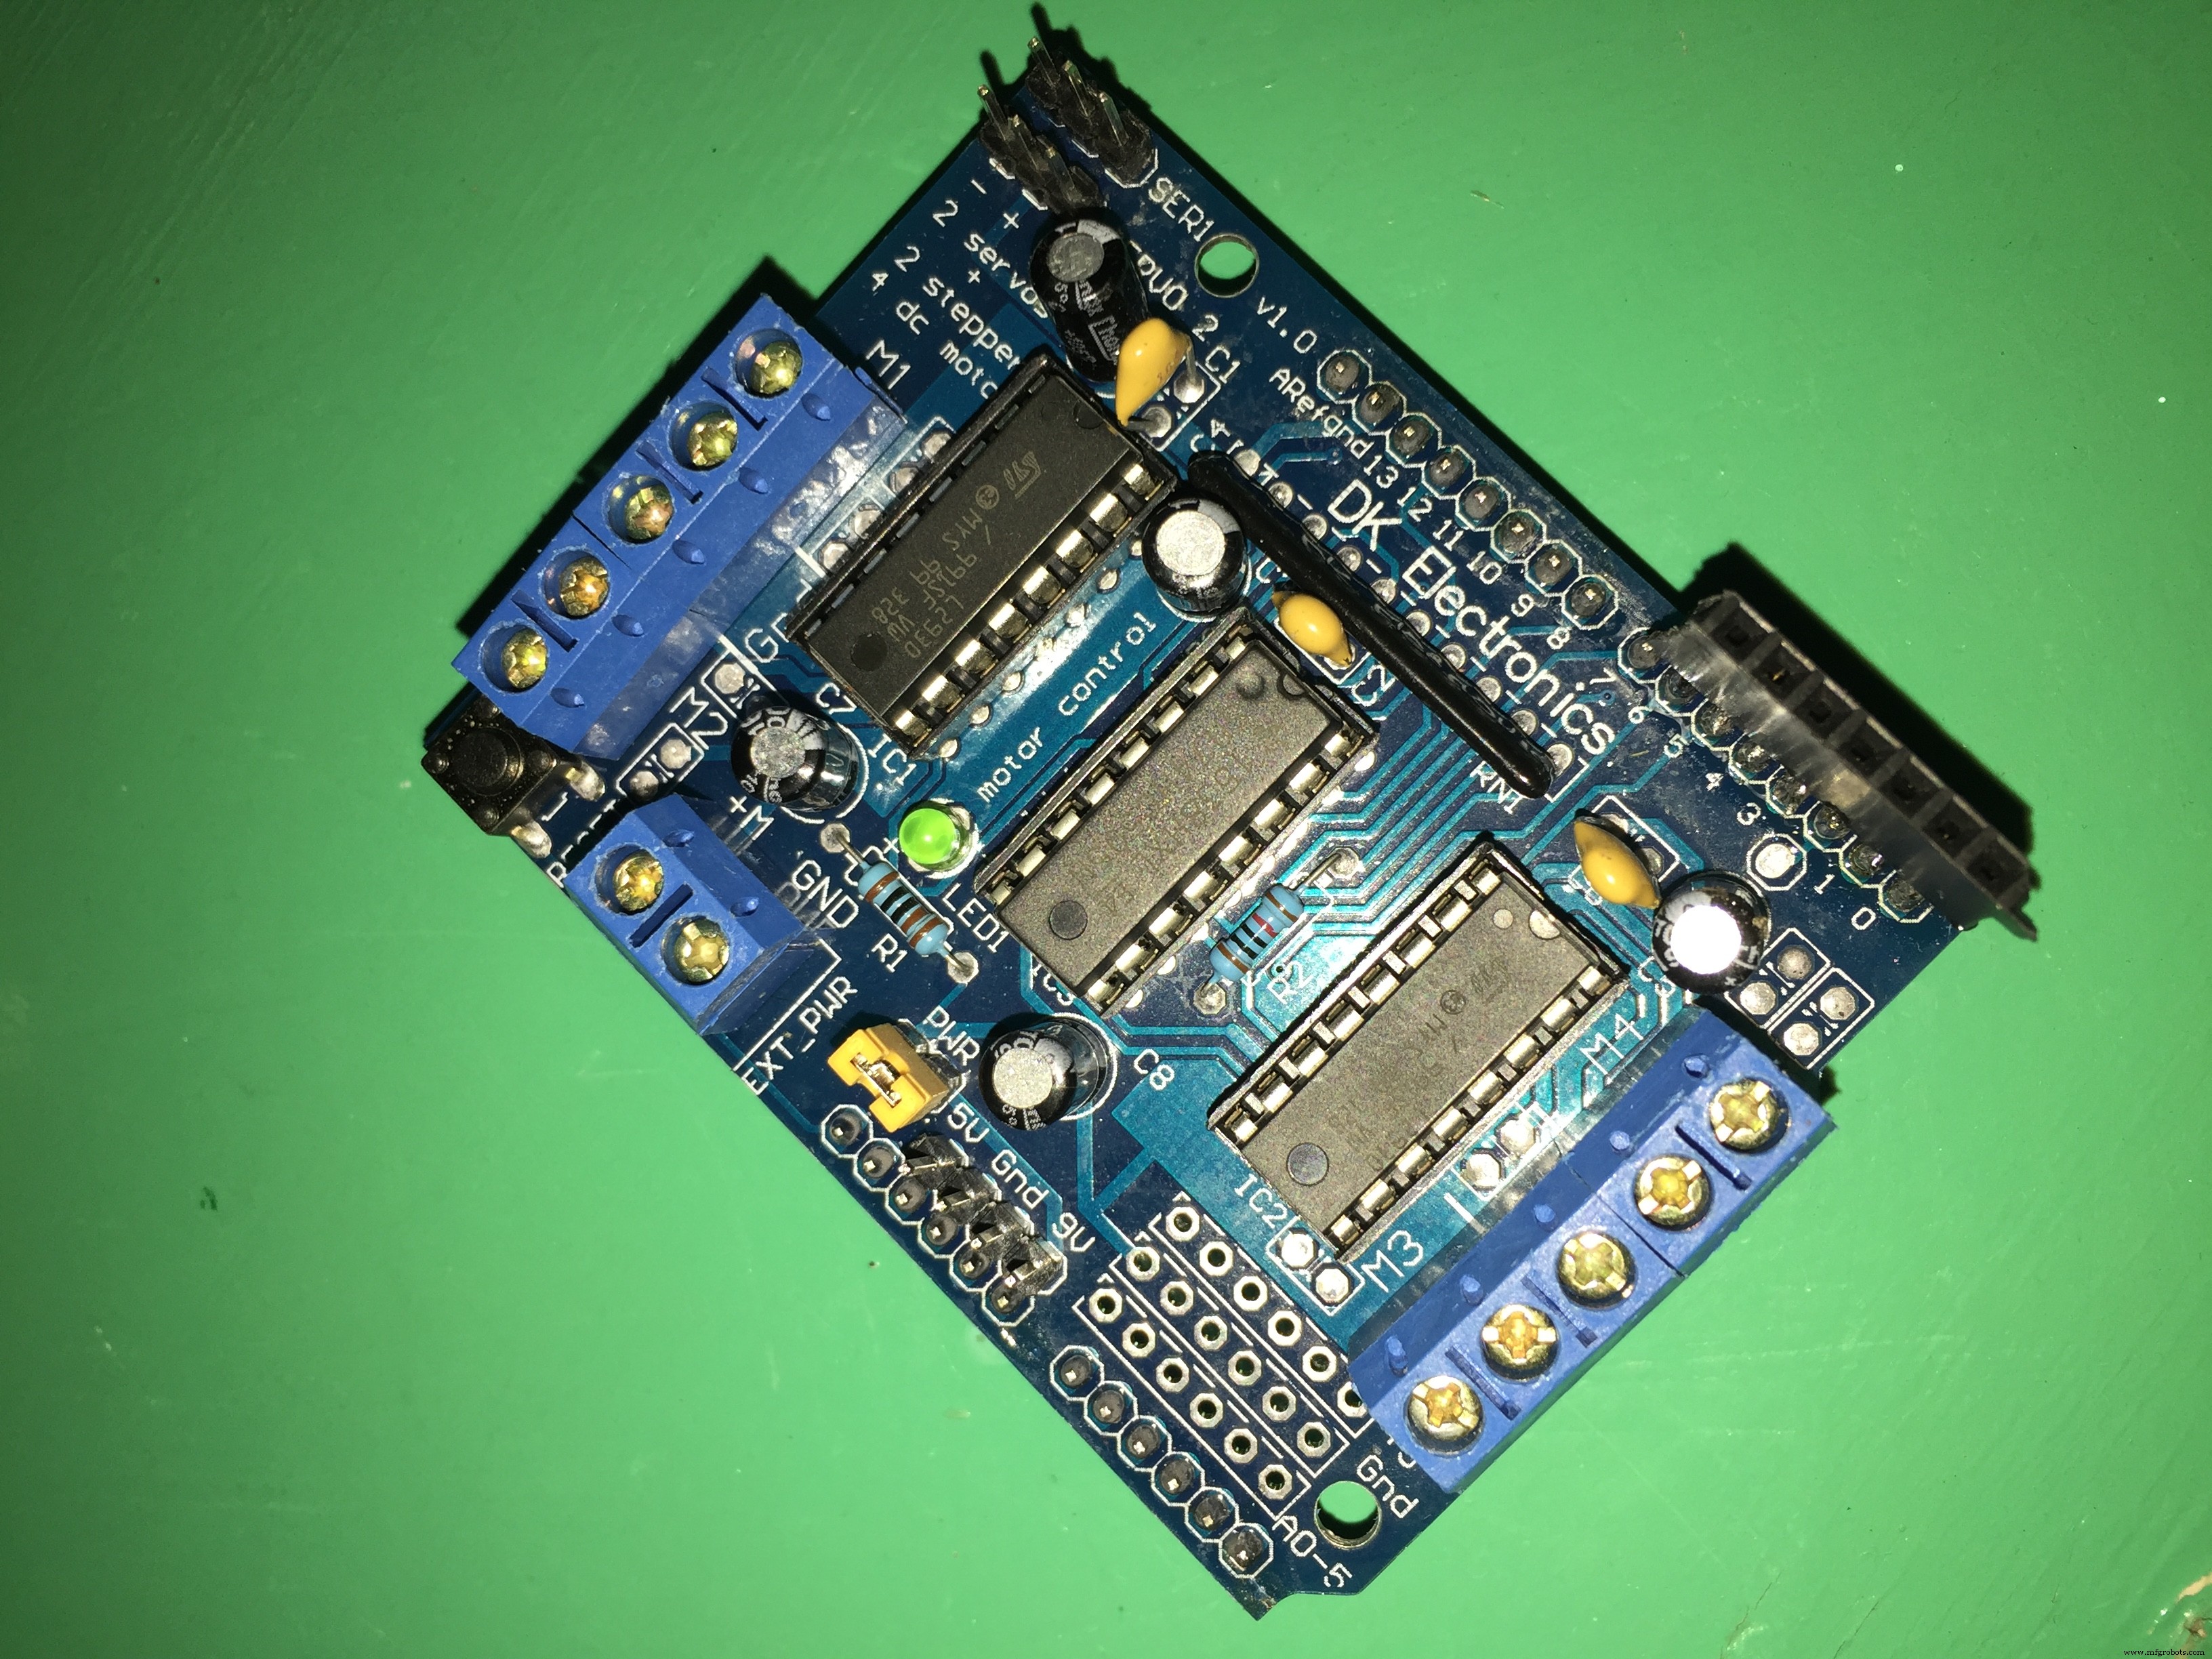
- The Motor shield allows you to control up to 4 bi-directional DC motors with individual 8-bit speed selection (so, about 0.5% resolution).
You can solder some pin headers on the top of the shield to be able to use the Arduino pins.
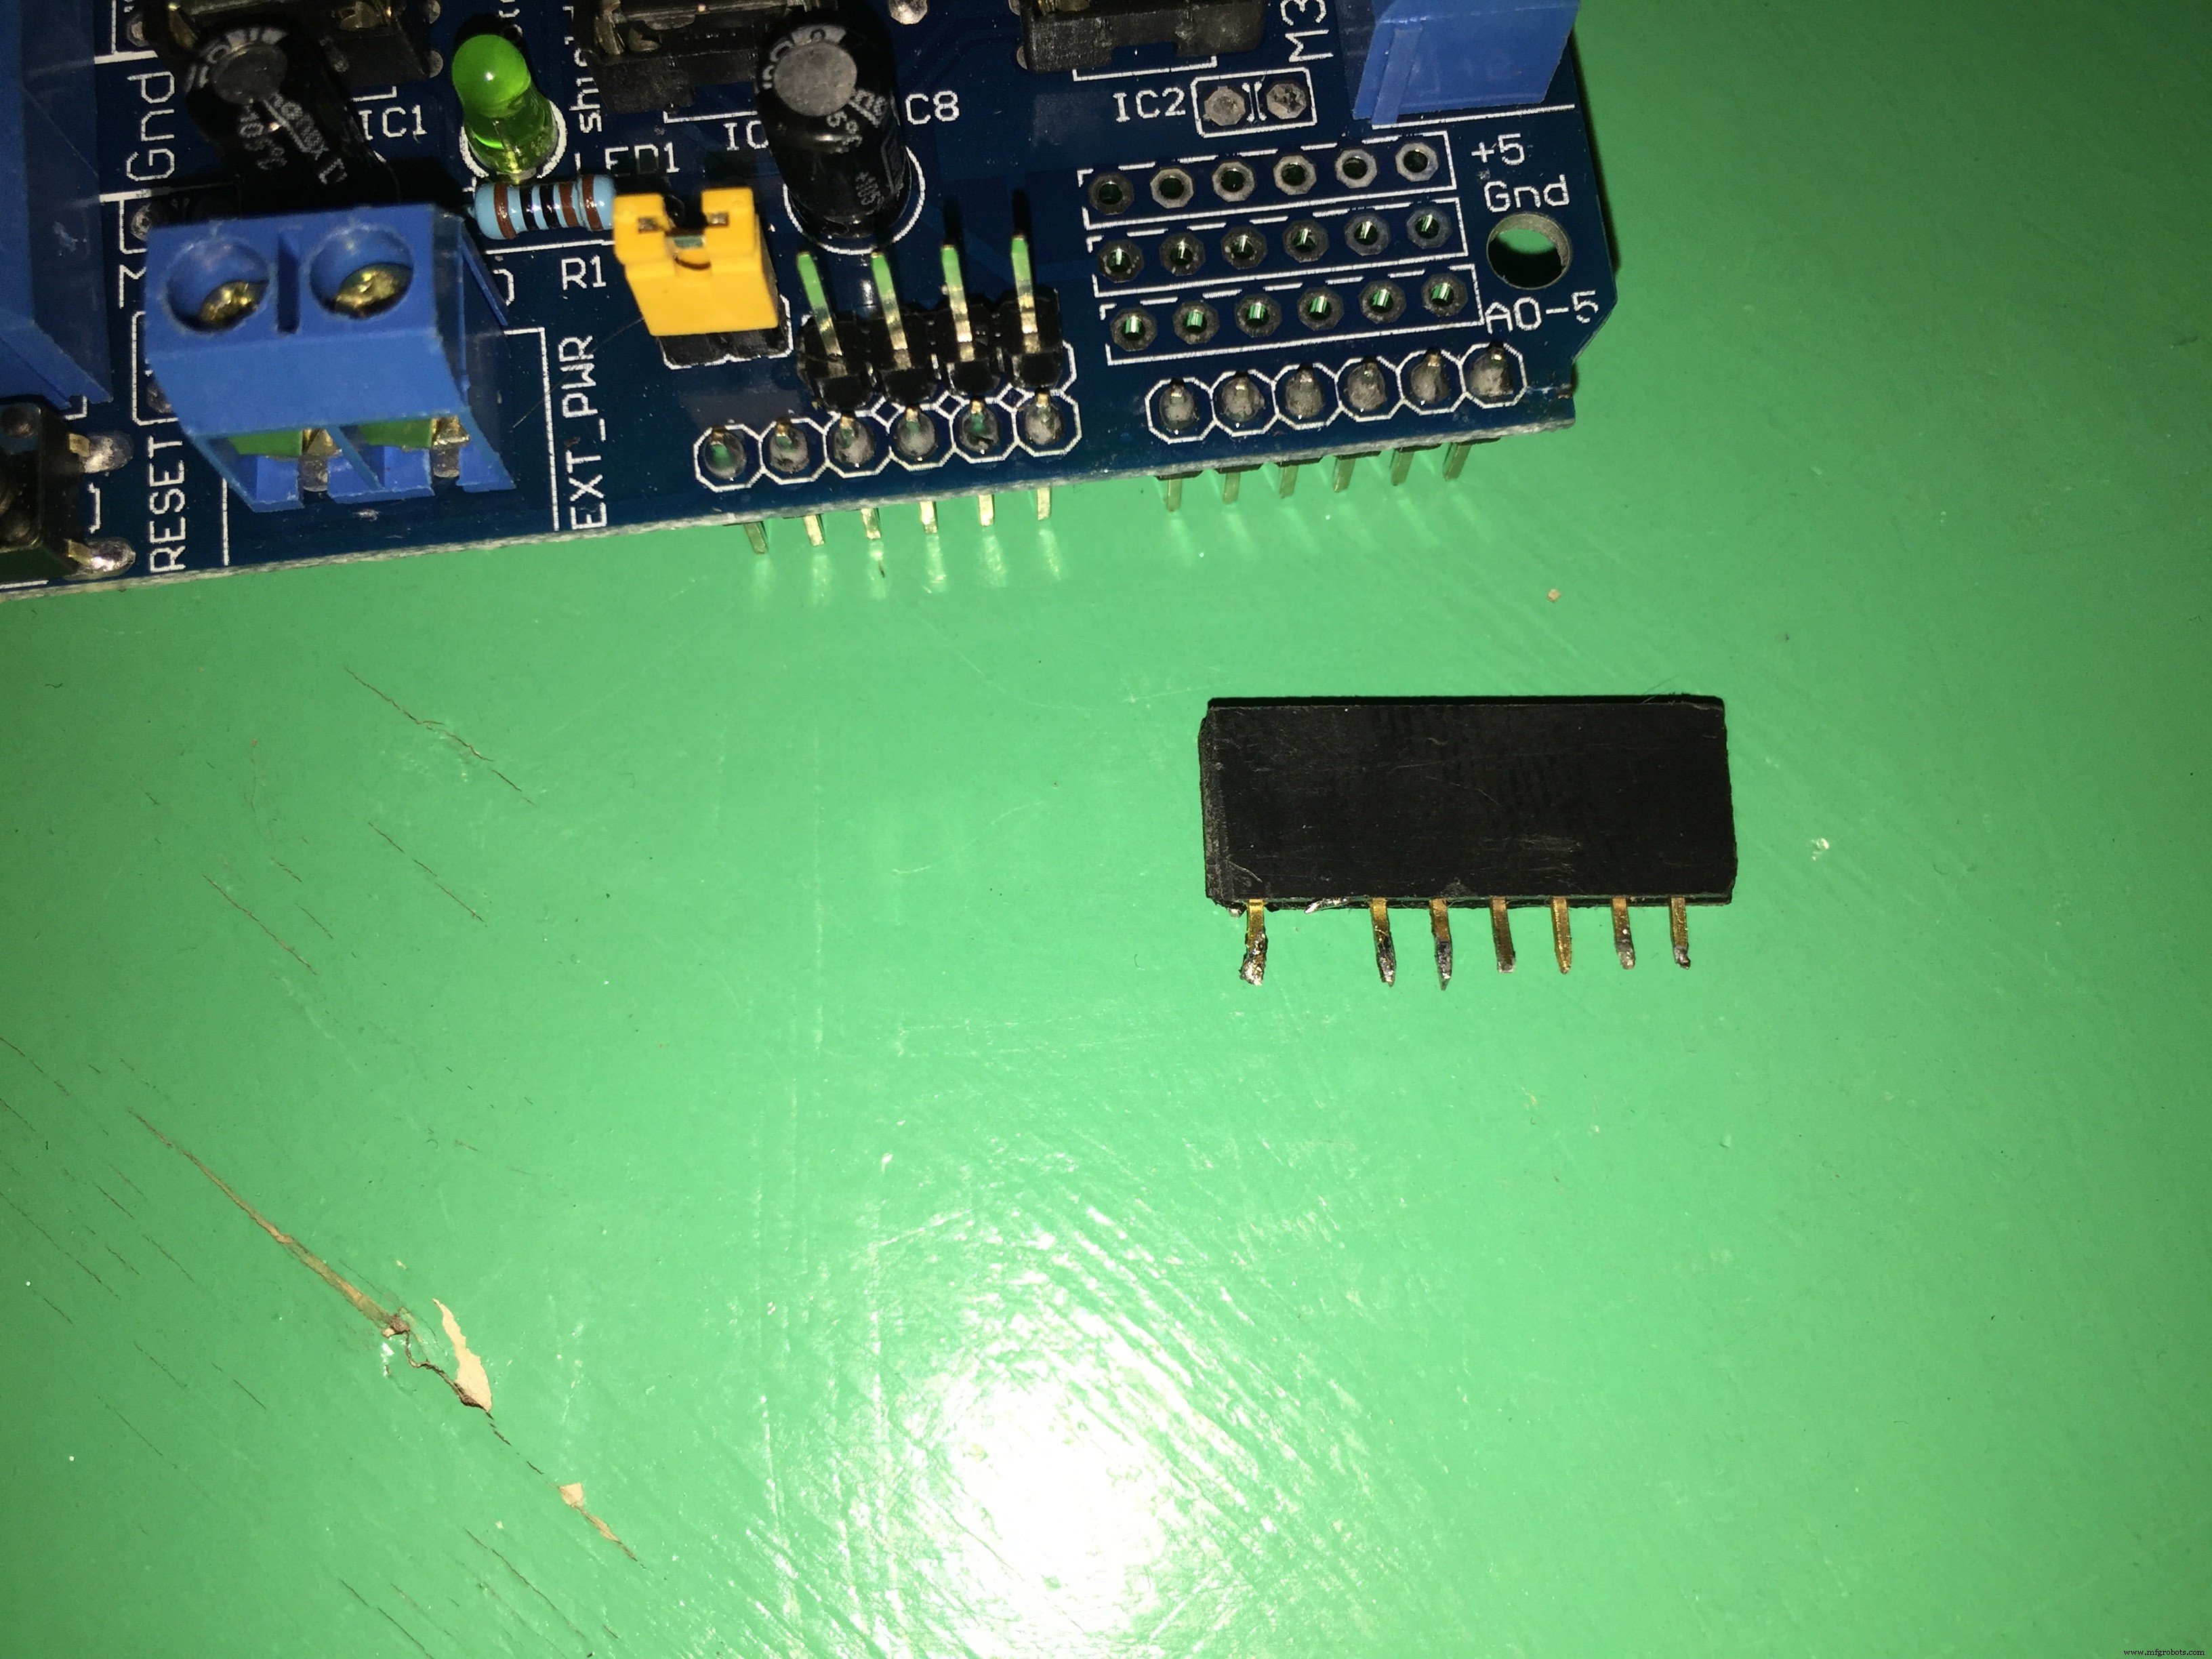
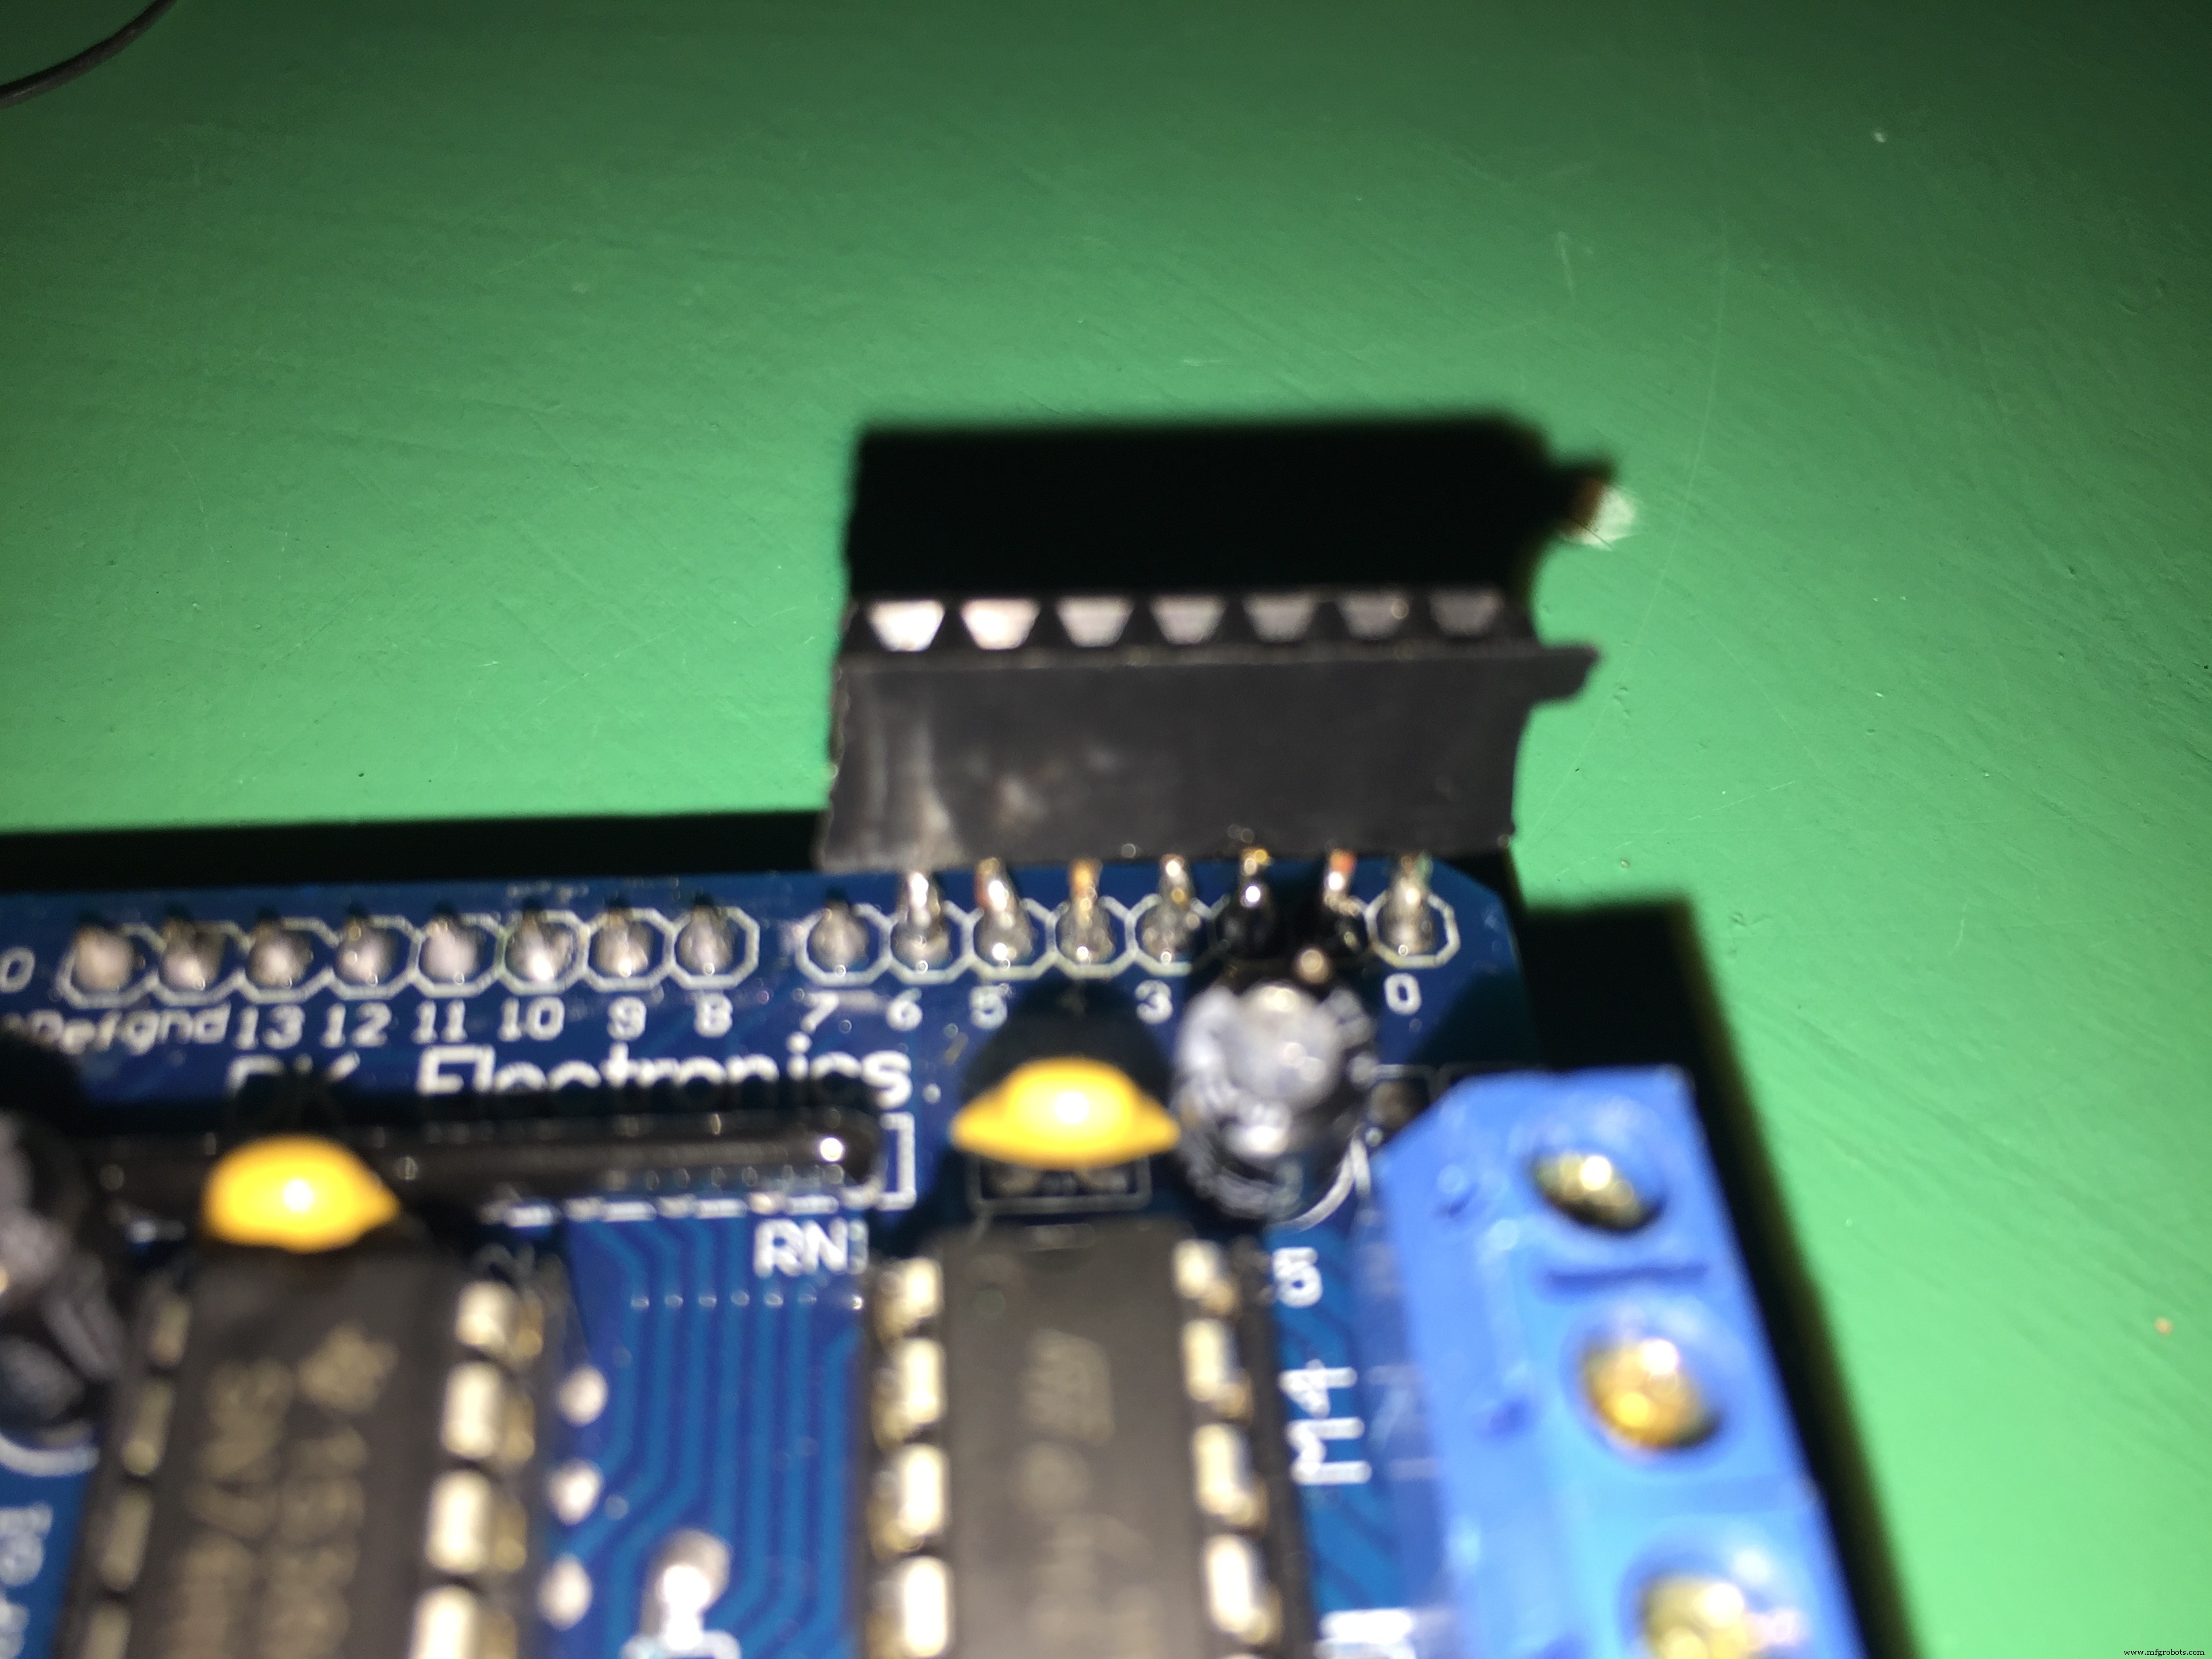
You need to stick your motor shield above your Arduino board like this:
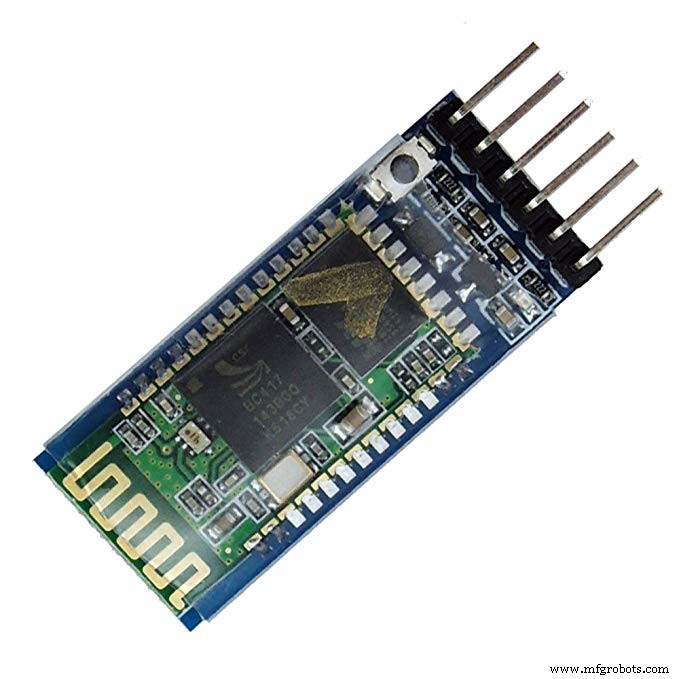
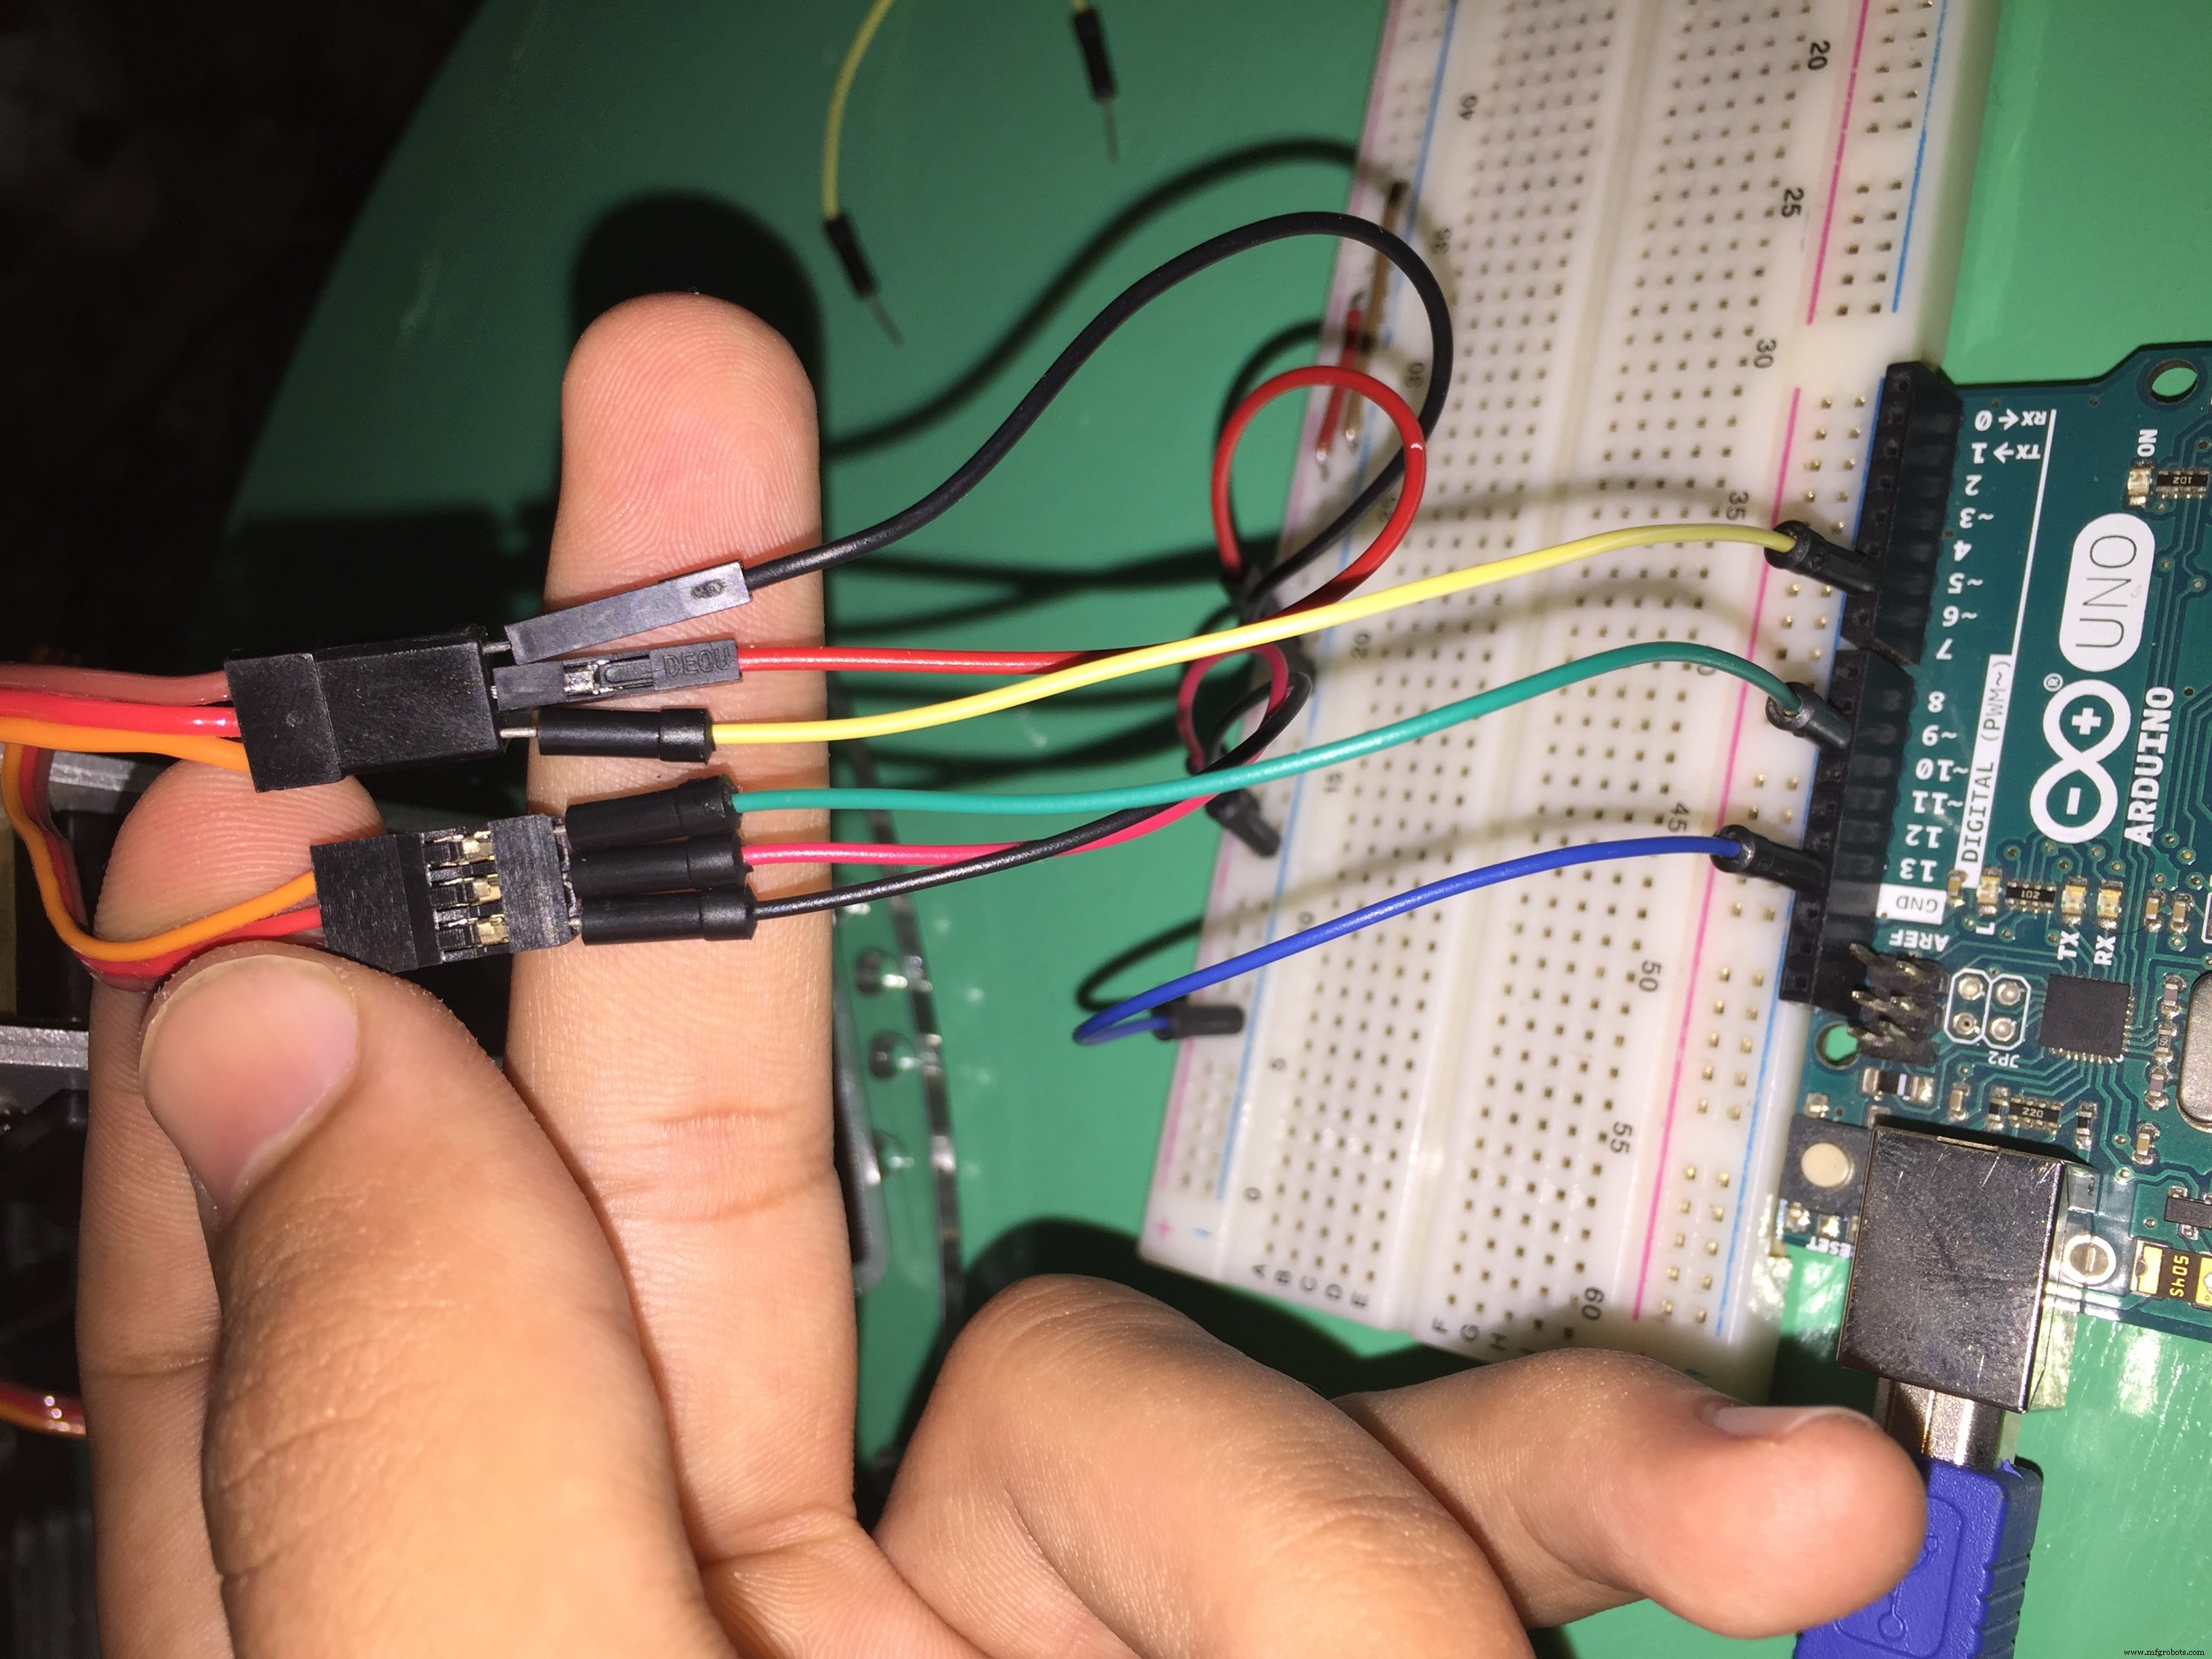
The Bluetooth module: it's the channel between the pilot and the robot to send orders and take actions.
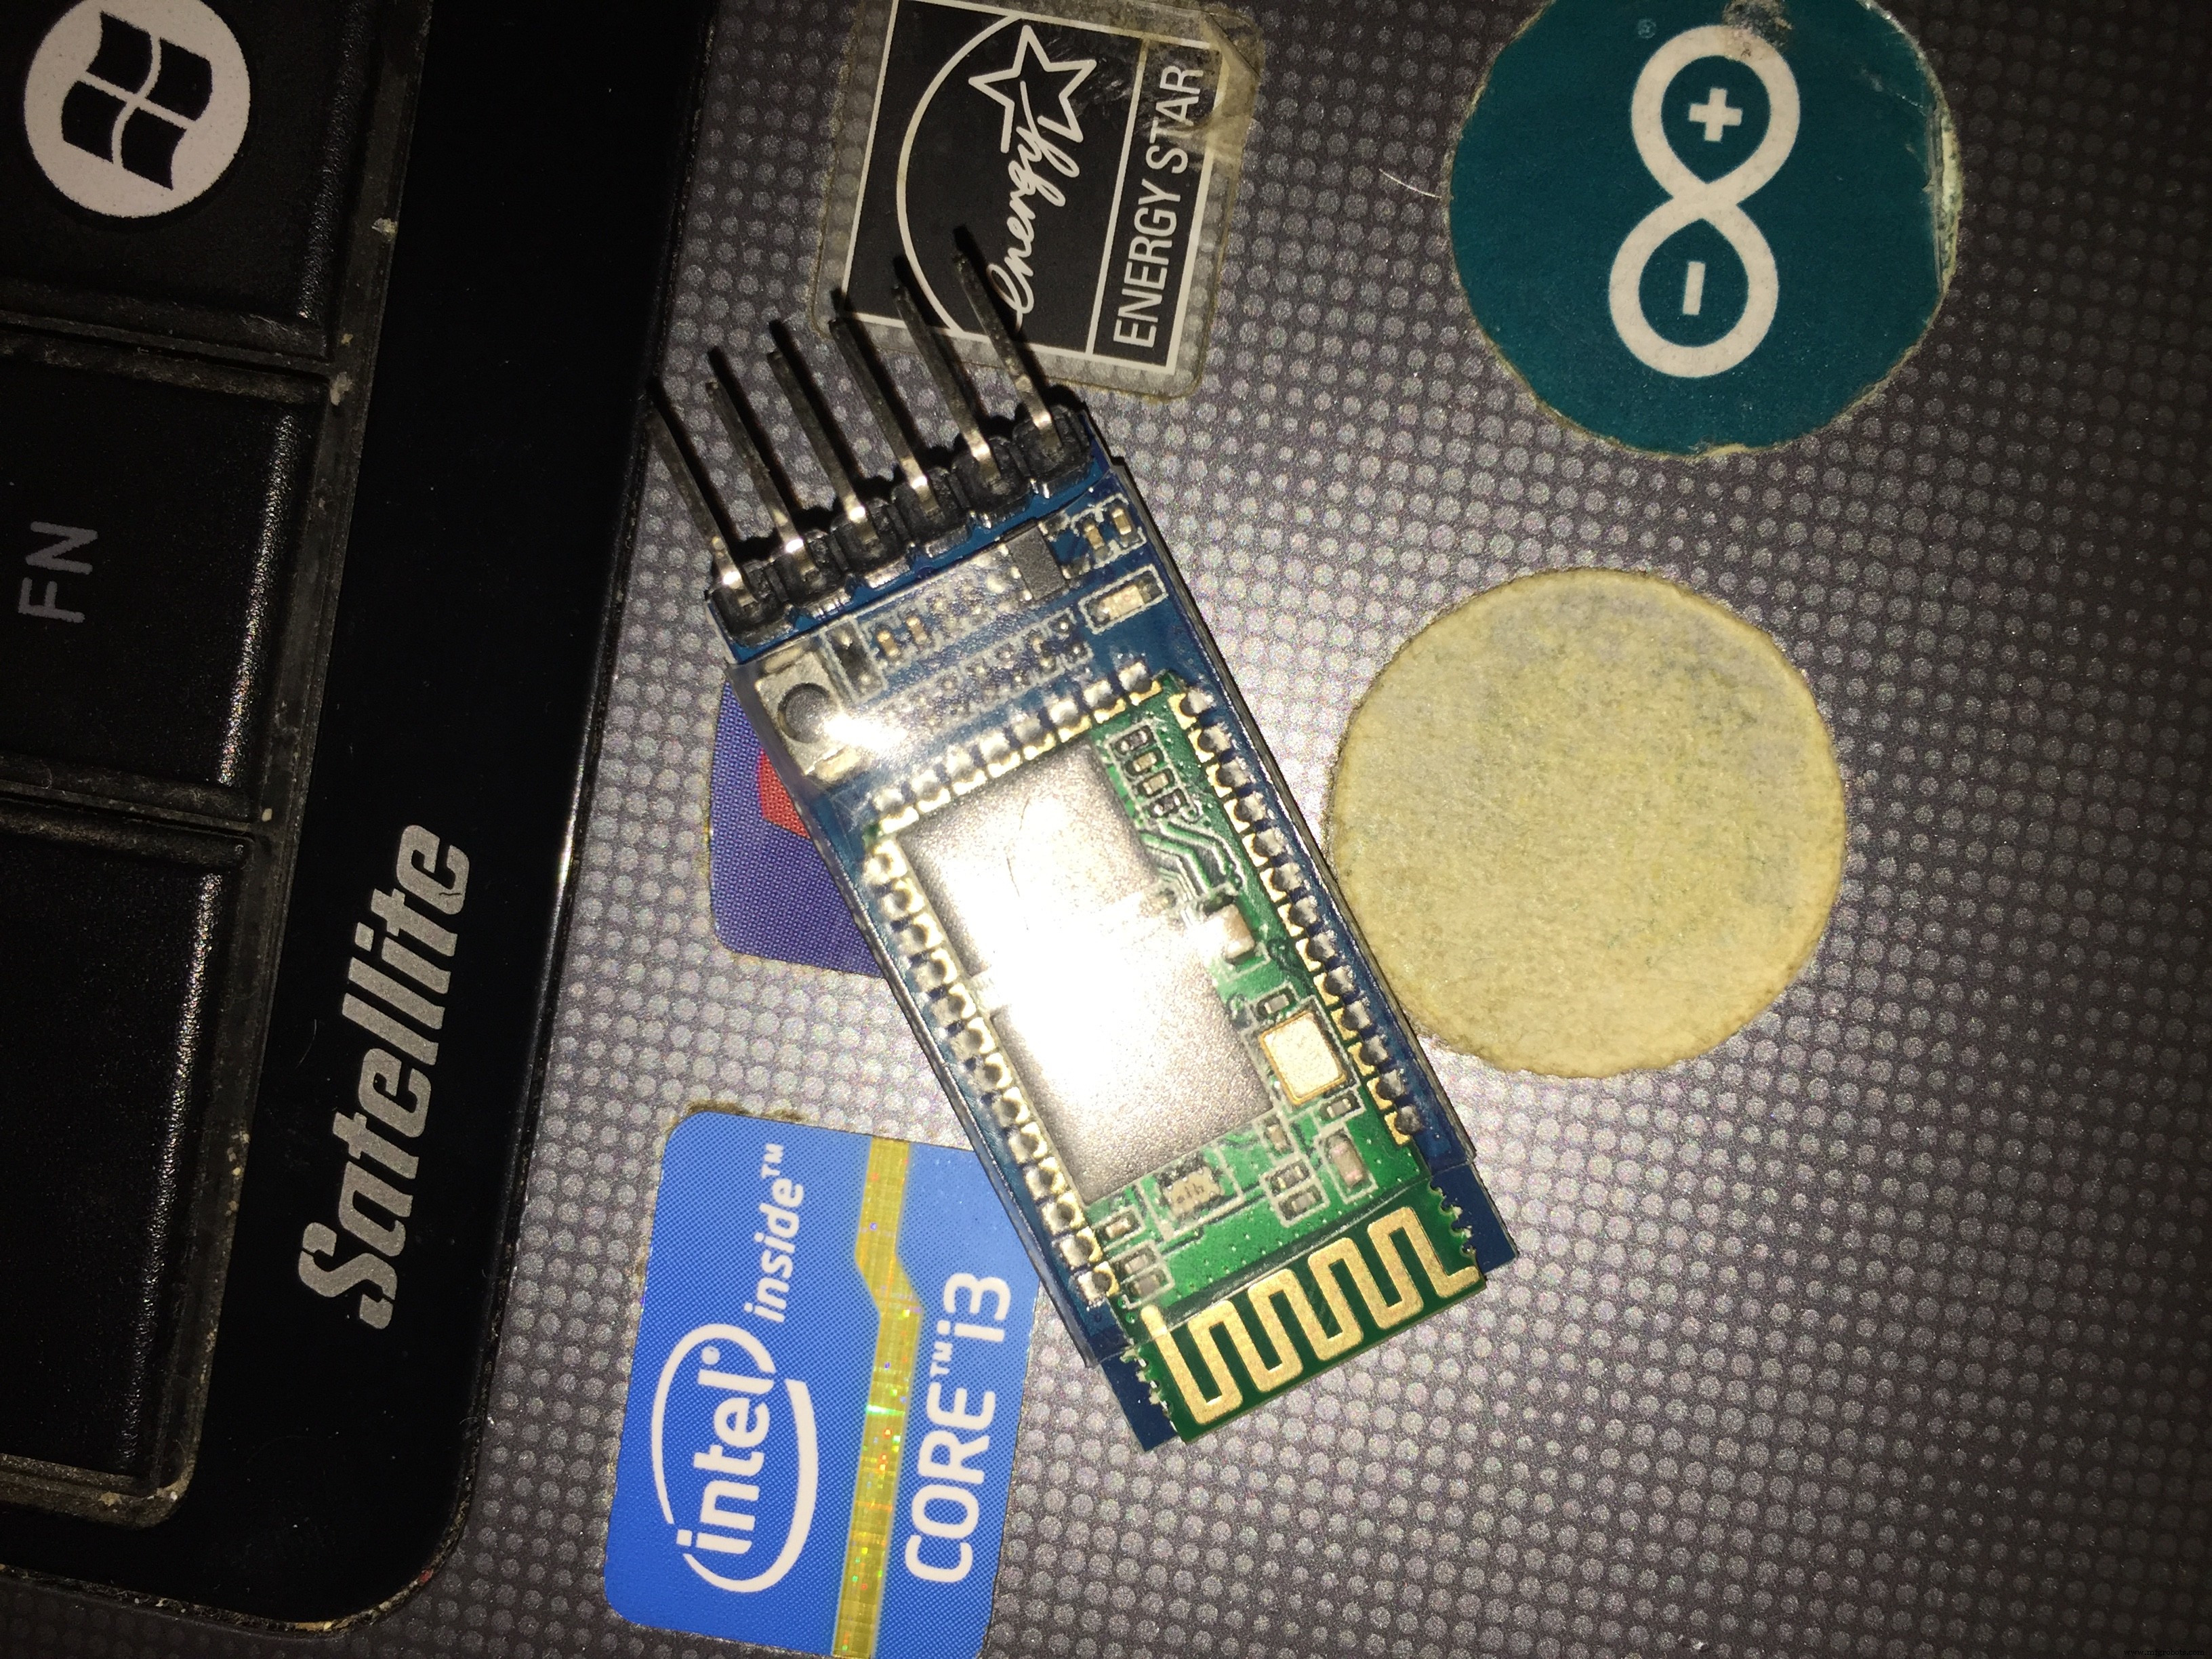
It has 6 pins; we will use only the middle four pins (RX-TX-GND-+5):
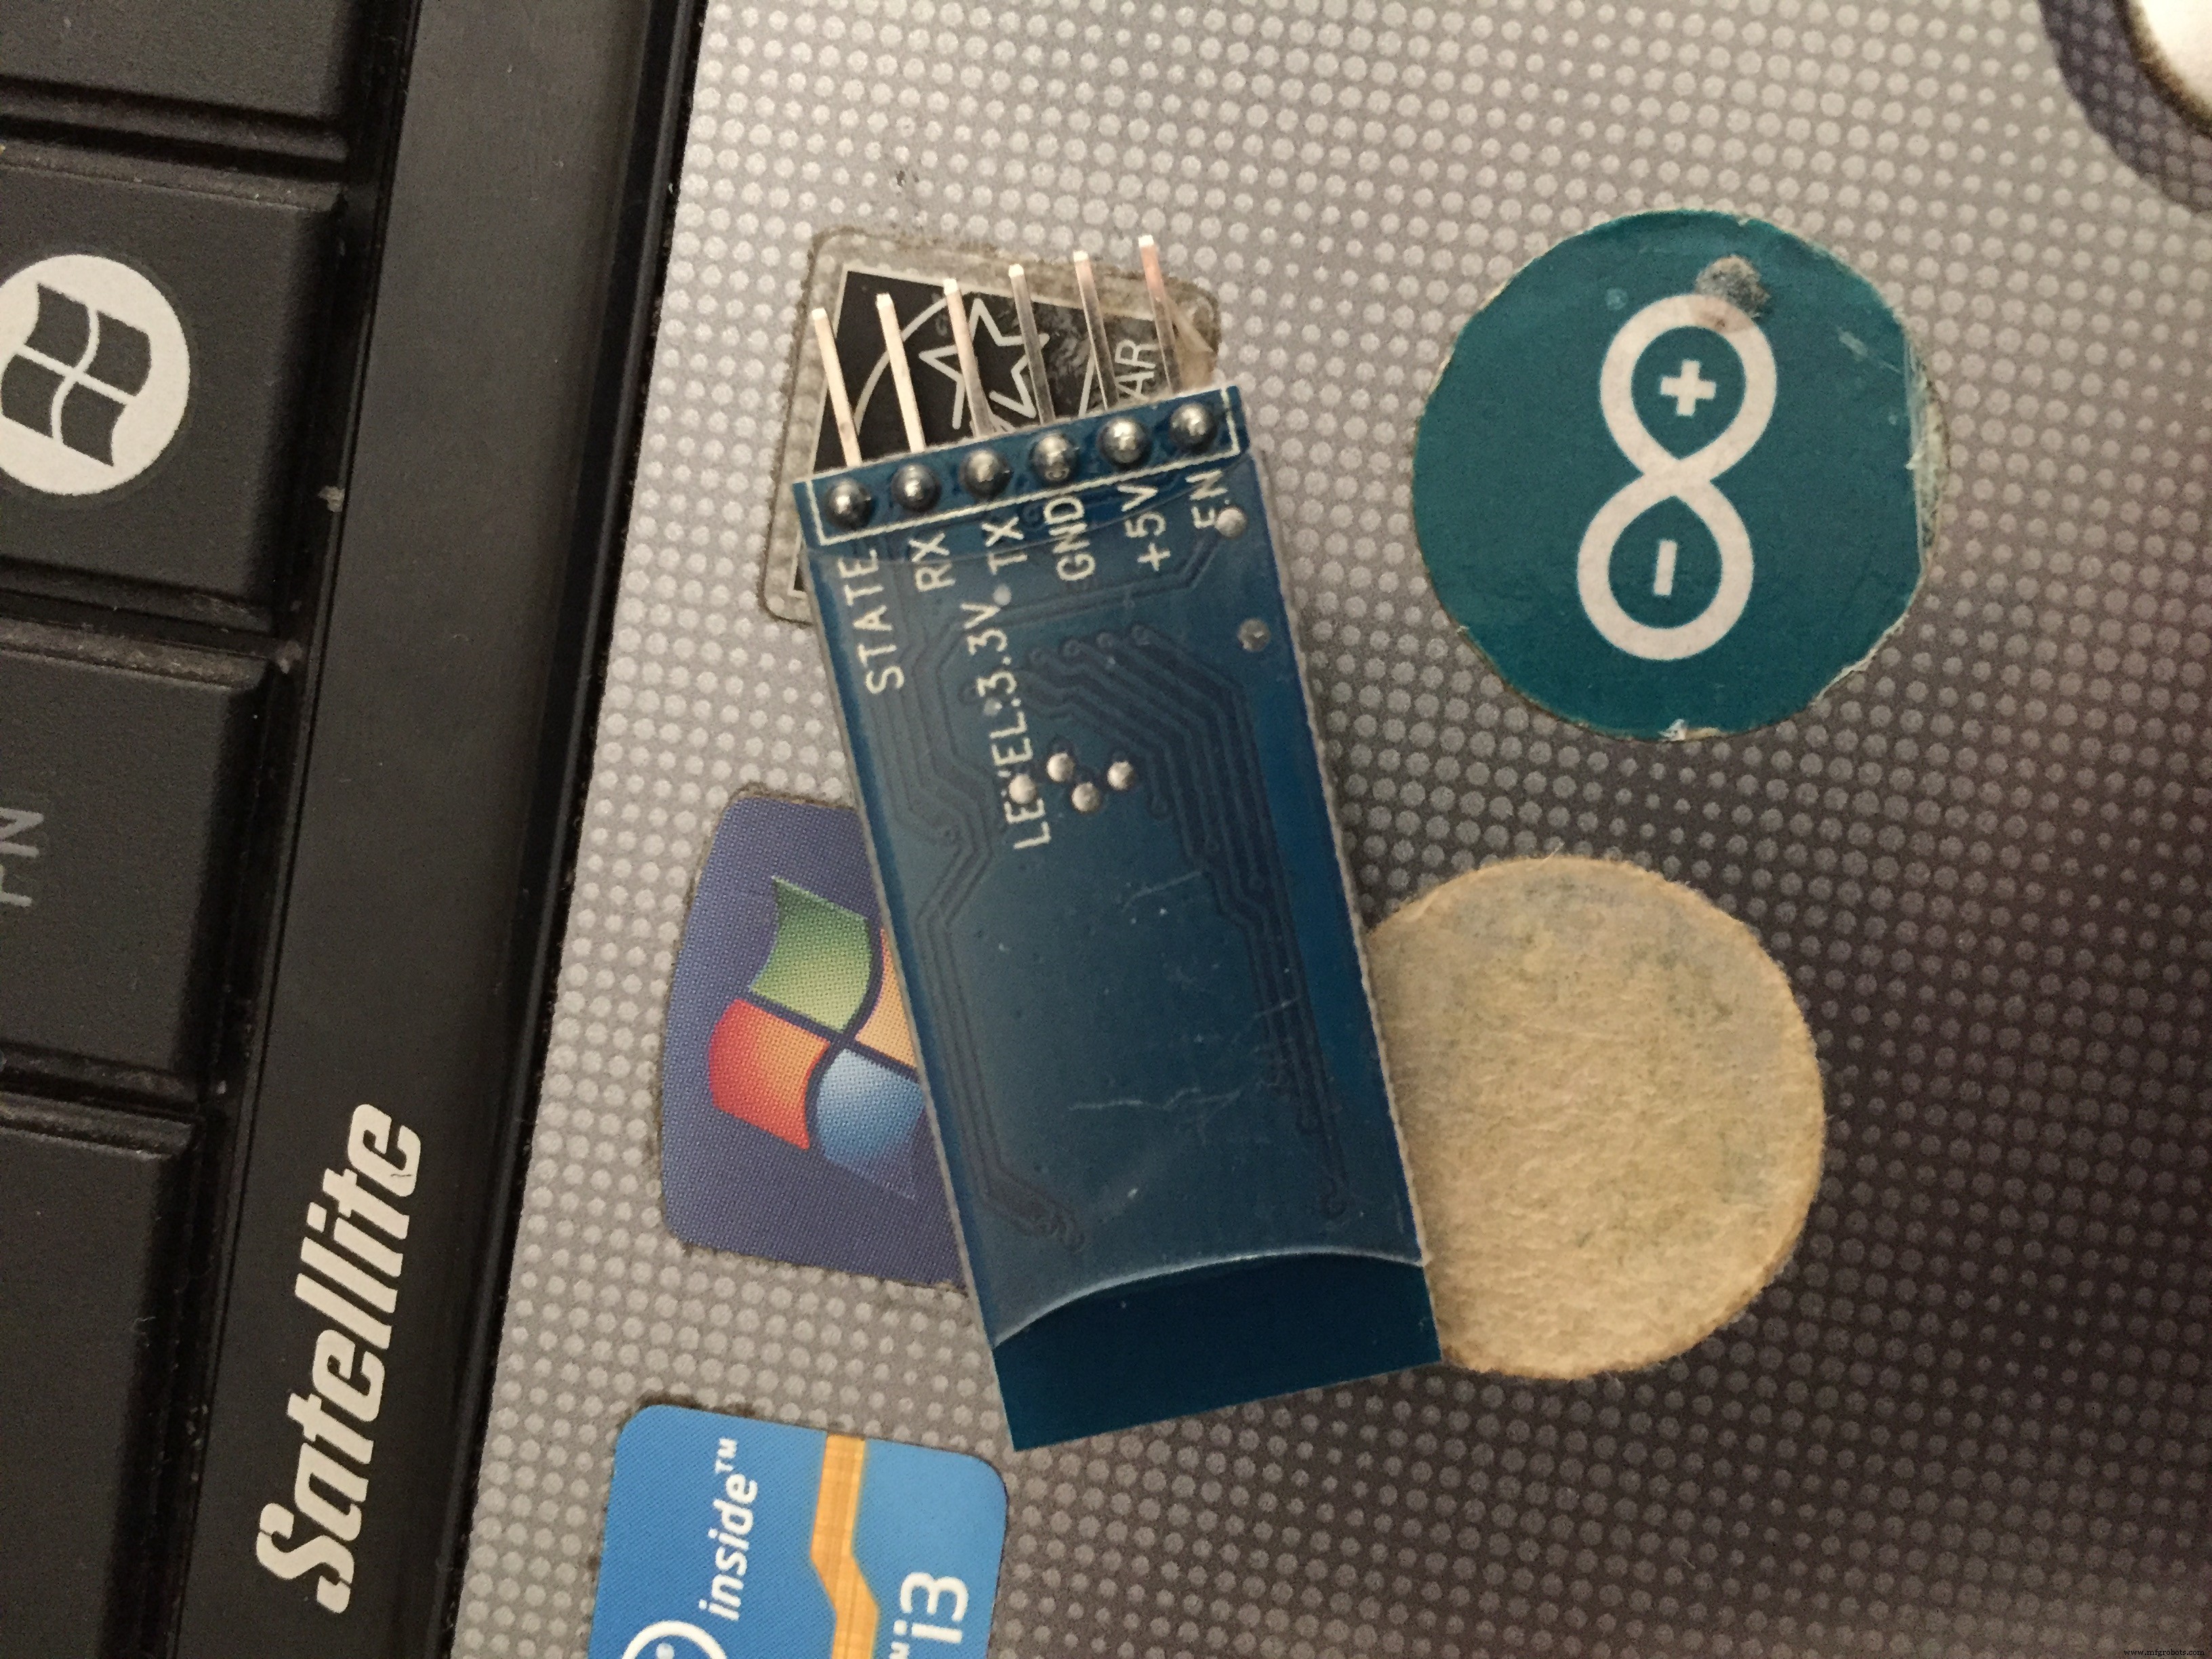
We will connect:
- +5 on the Bluetooth module to the 5v on the Arduino
- GND on the Bluetooth module to the GND on the Arduino
- Rx on the Bluetooth module to the Tx on the Arduino
- Tx on the Bluetooth module to the Rx on the Arduino
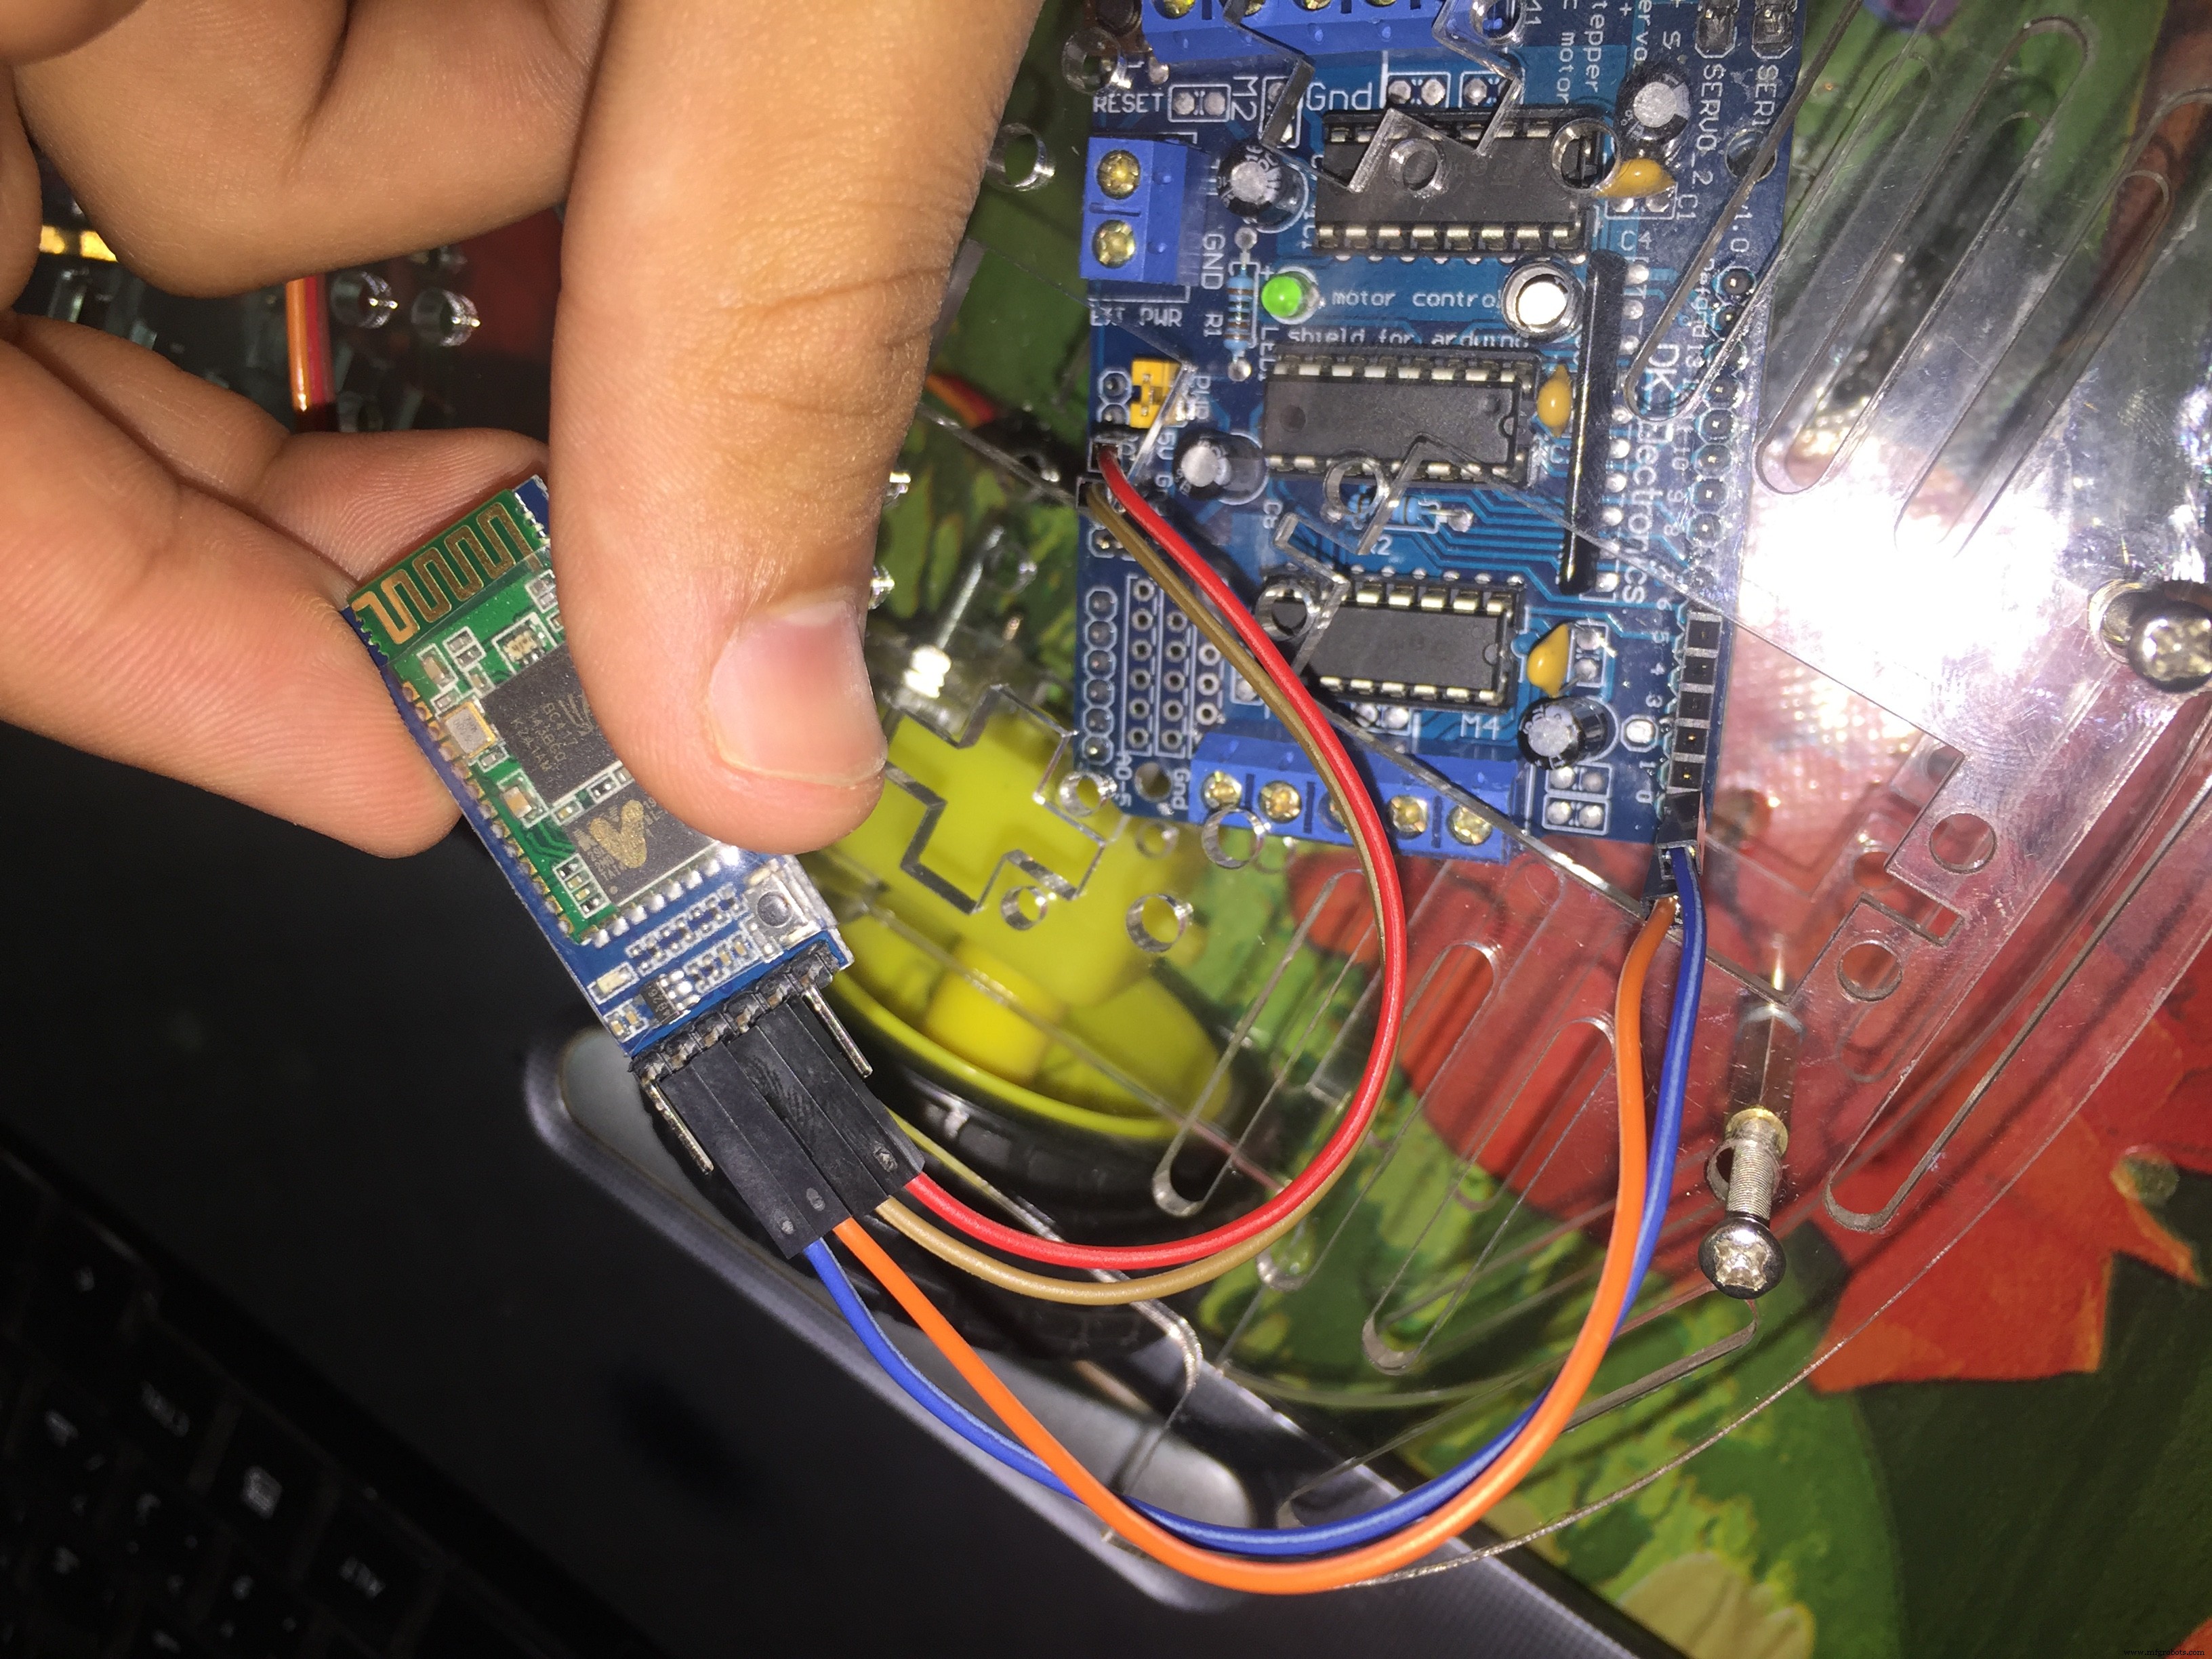
NOTE: WHY Rx to Tx and Tx to Rx?
Because the Bluetooth module sends data (Tx) and the Arduino receives this Data (Rx).
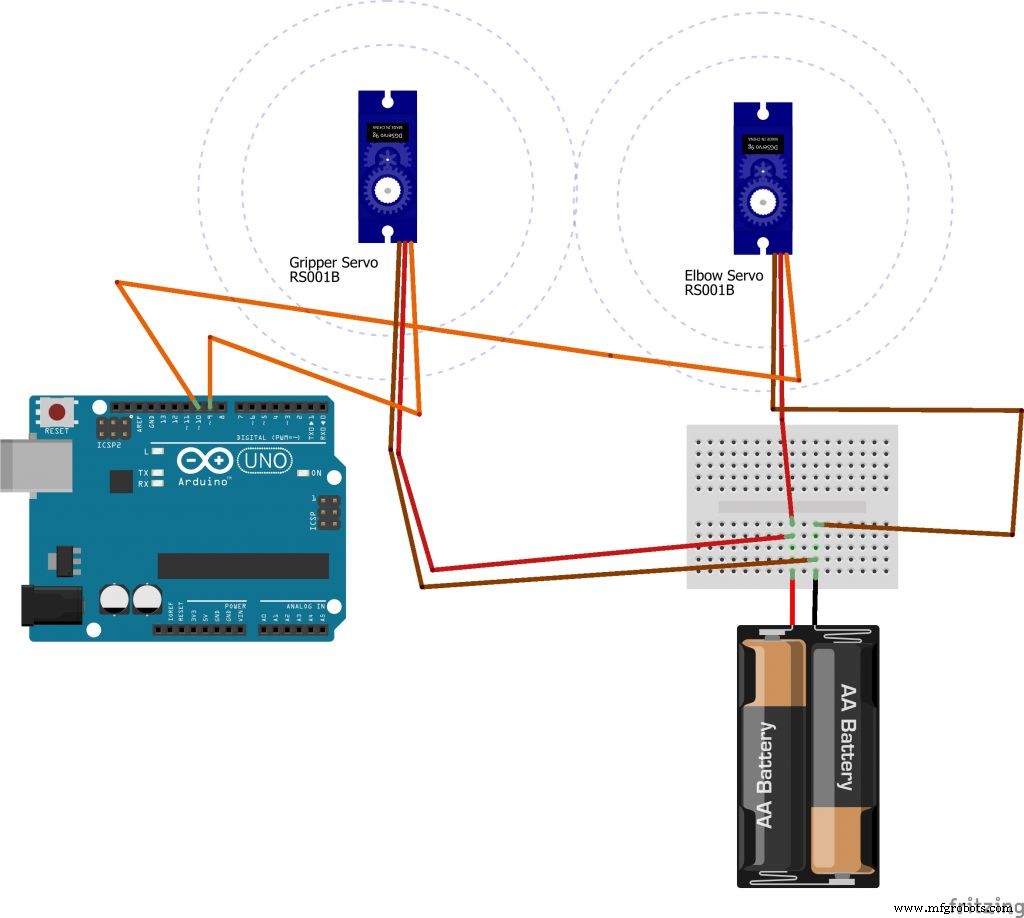
One Sends And The Other Receives4) The Servo Motor has 3 wires: red (Positive), brown (Negative), yellow or orange (Signal).
Note: DO NOT connect the Positive and Negative of the Servo Motors to the 5V and GND of the Arduino board. The Arduino board will start a fire due to the high current absorbed by the motors; use the external battery.

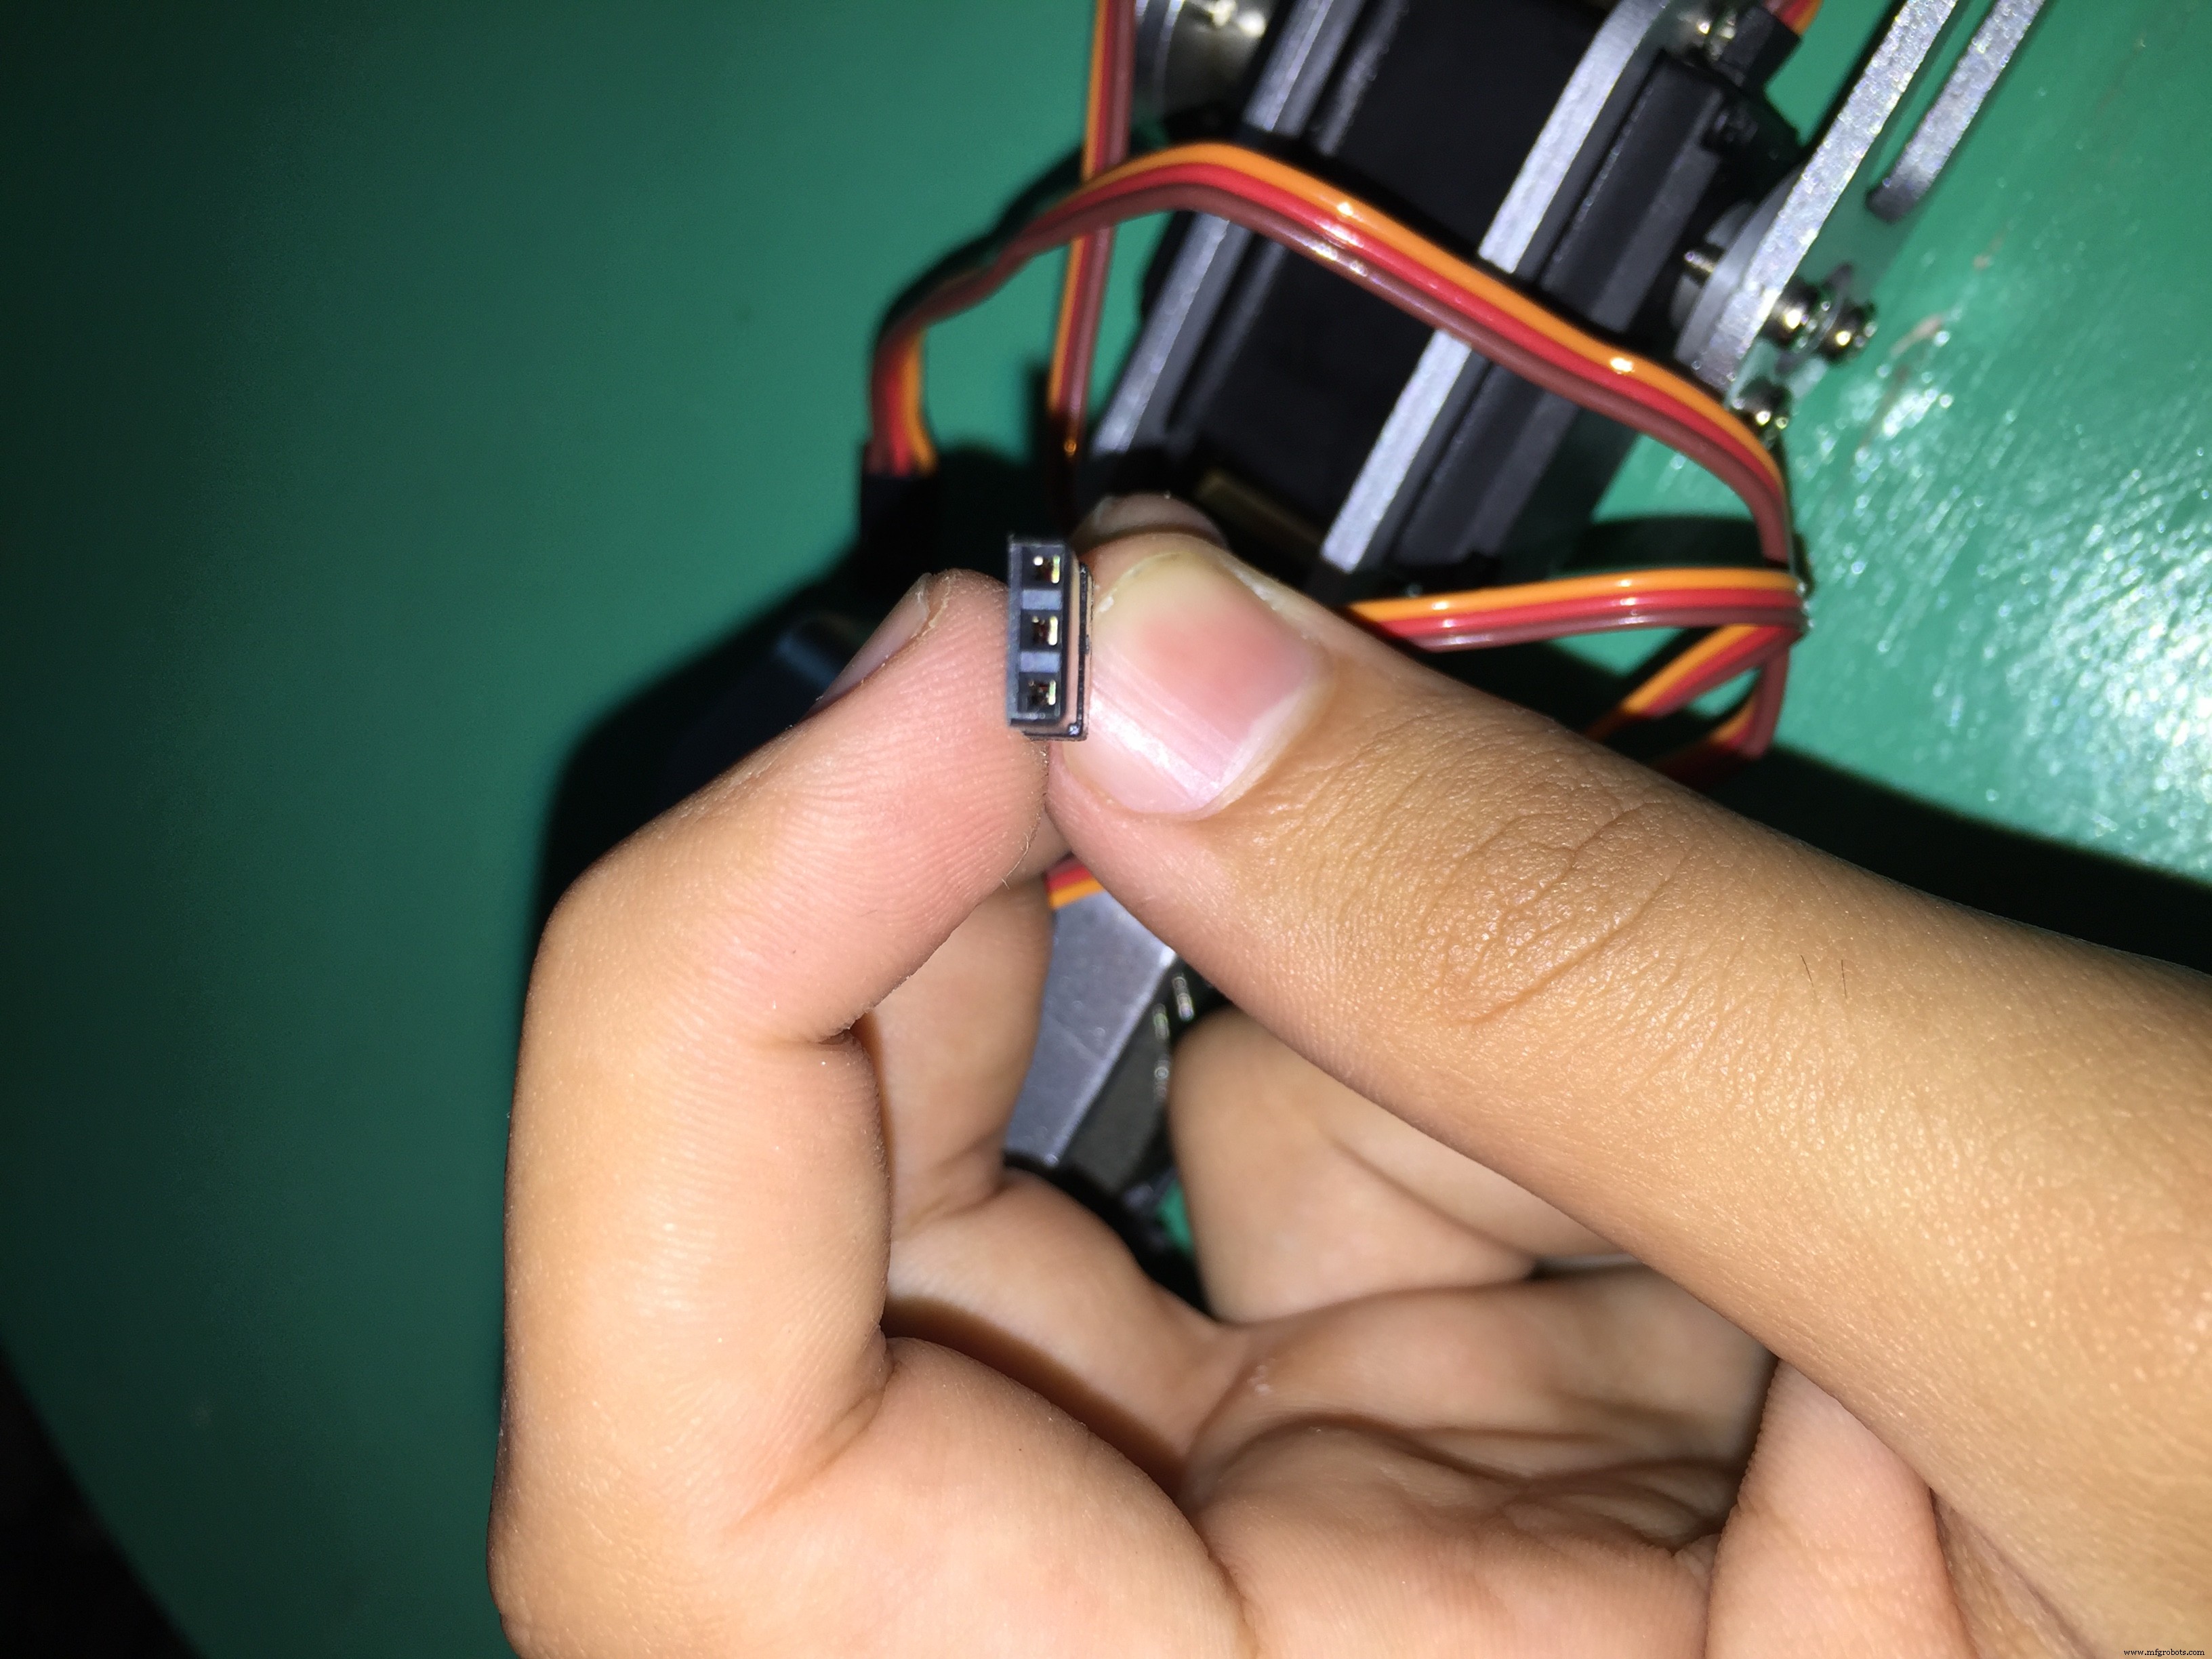
- The Red wire to the Positive of the external battery
- The Brown wire to the Negative of the external battery
- The Orange wire to any digital (PWN) pin on the Arduino
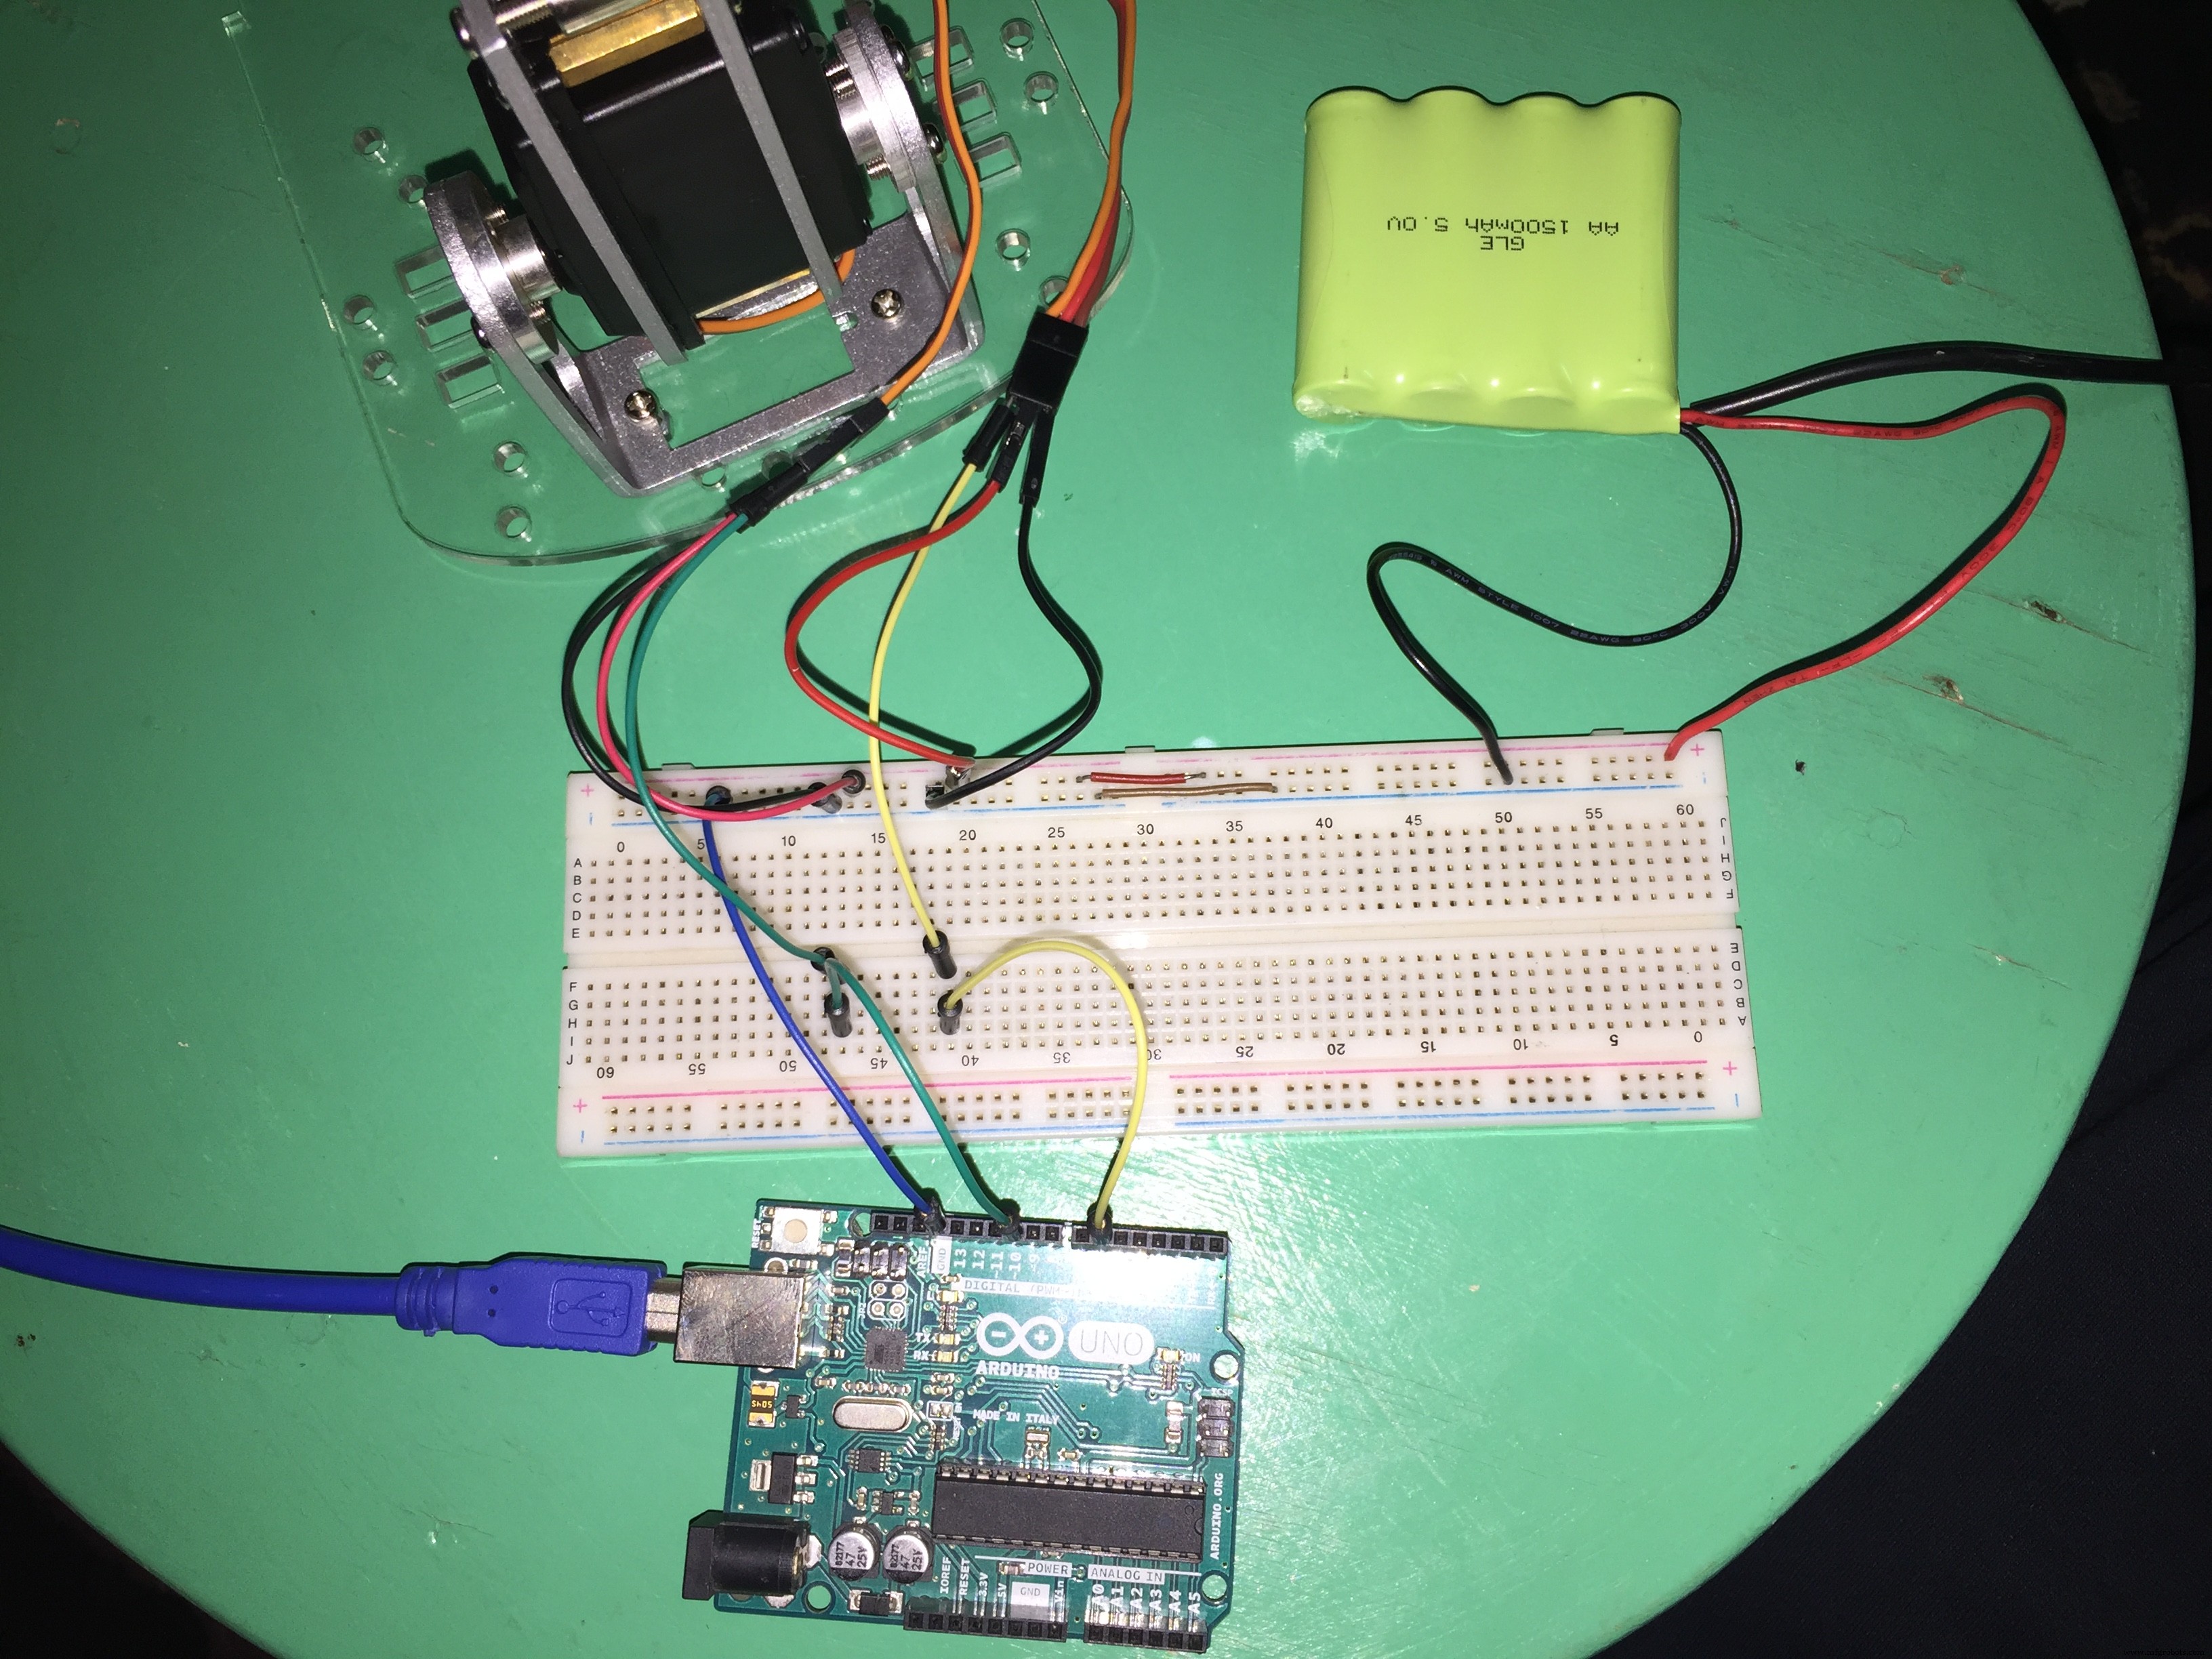
NOTE: Don't forget to make the GND of the battery and the GND of the Arduino a common, make it by connecting each GND to each other.
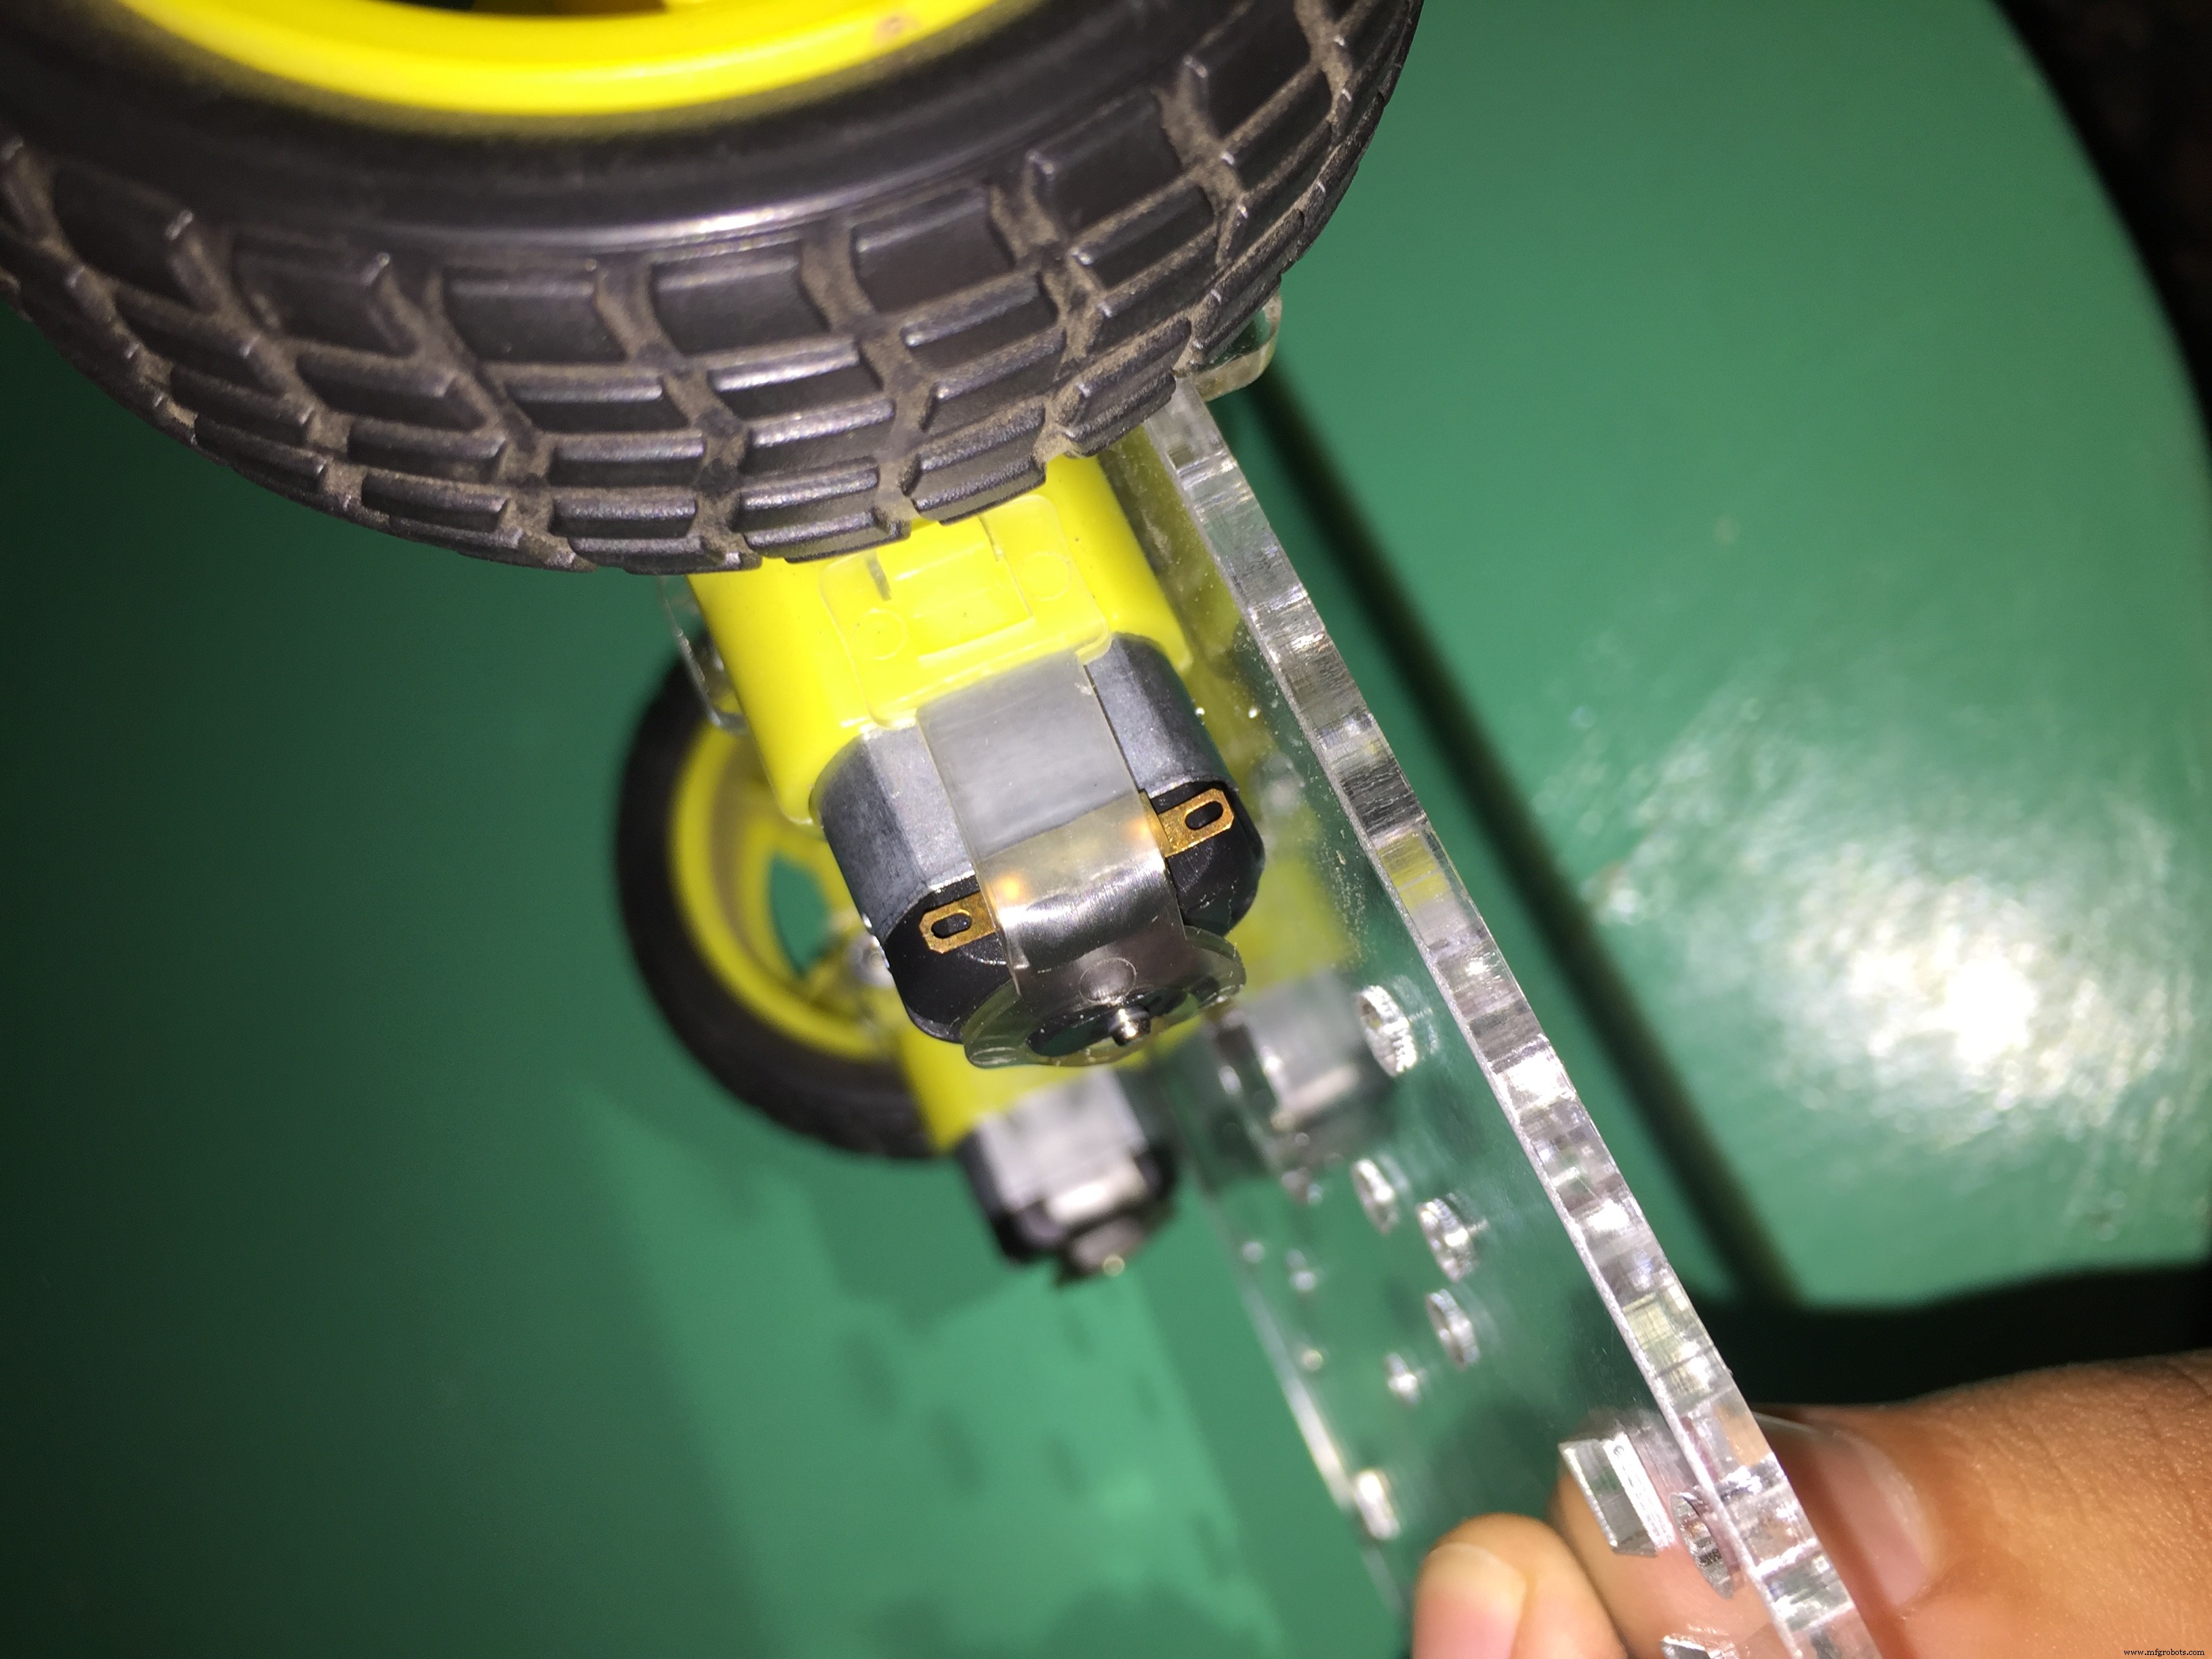
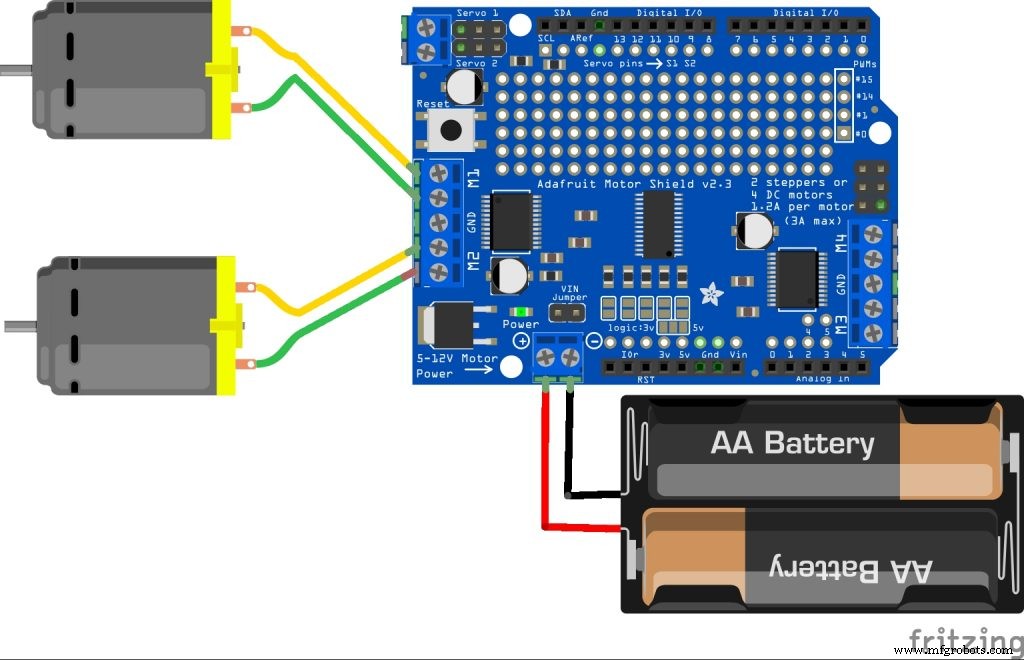
5) The DC Motors
You need to solder some wires on the Motor Terminals to be able to use these motors.
The DC Motor has no polarity. There is no Positive and no Negative. If you reverse your motor connections, the motor's direction of movement will change.
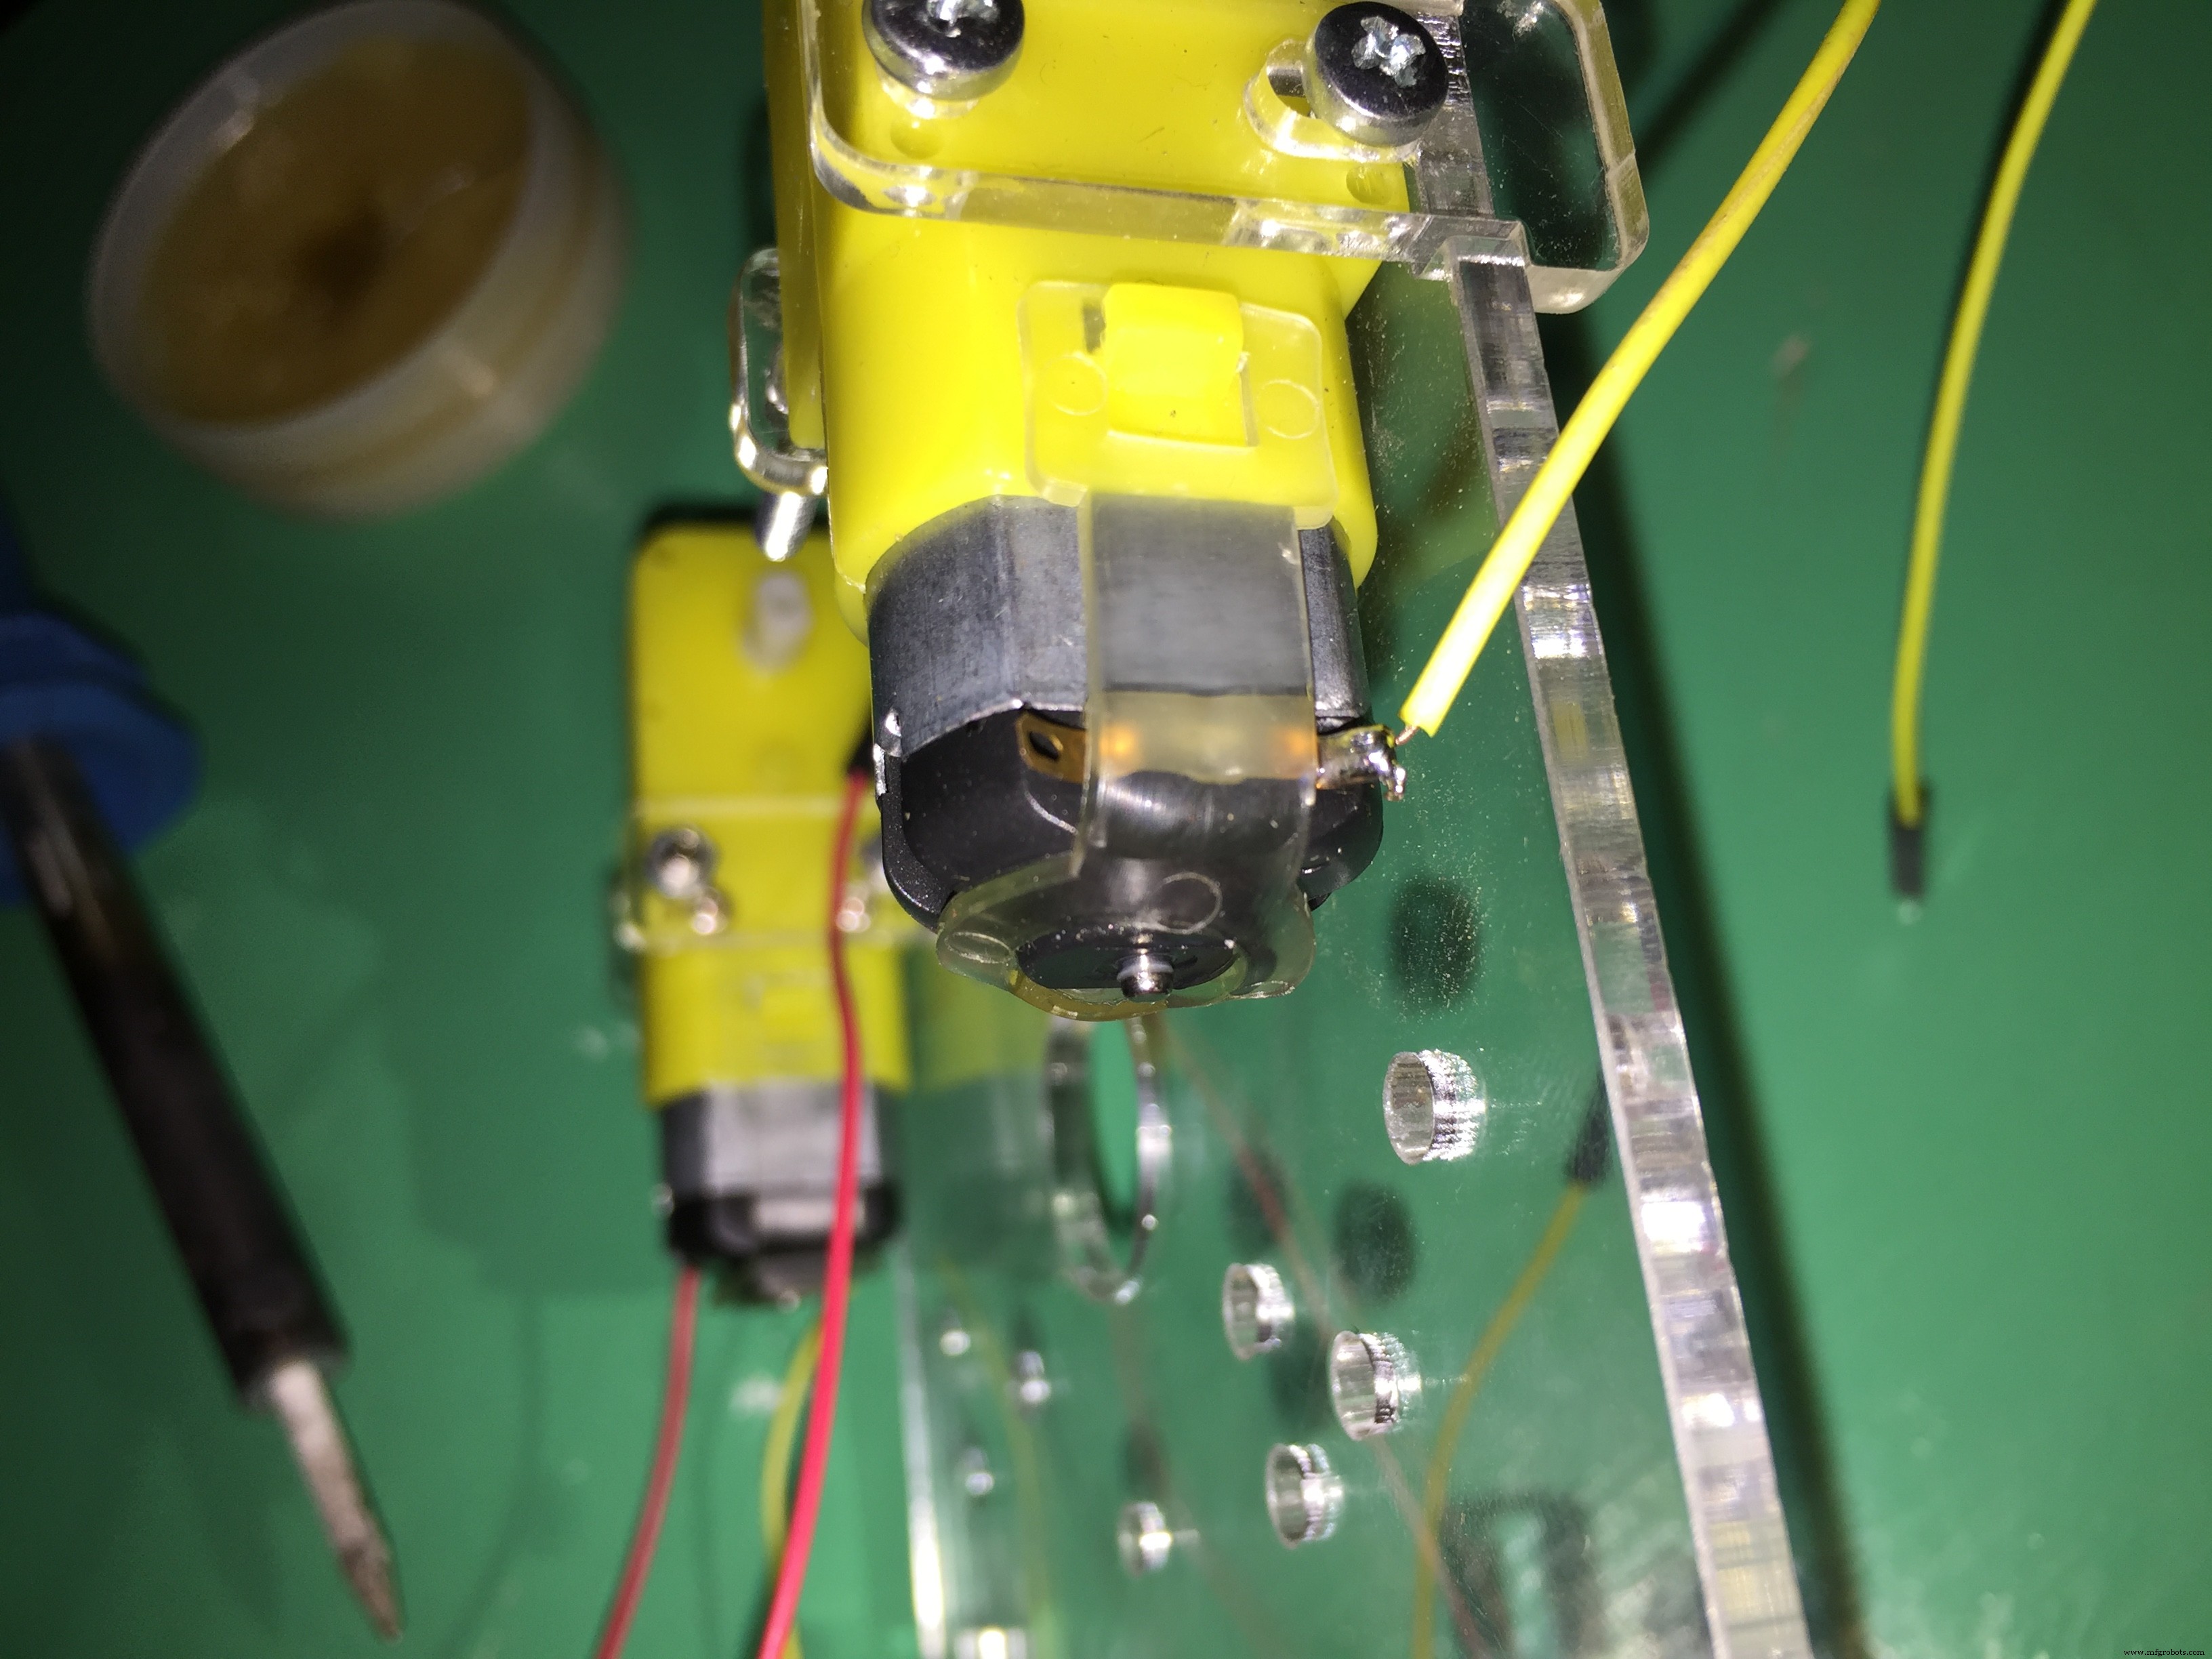
After you solder the Motor Terminals, connect these terminals to the Motor Shield.
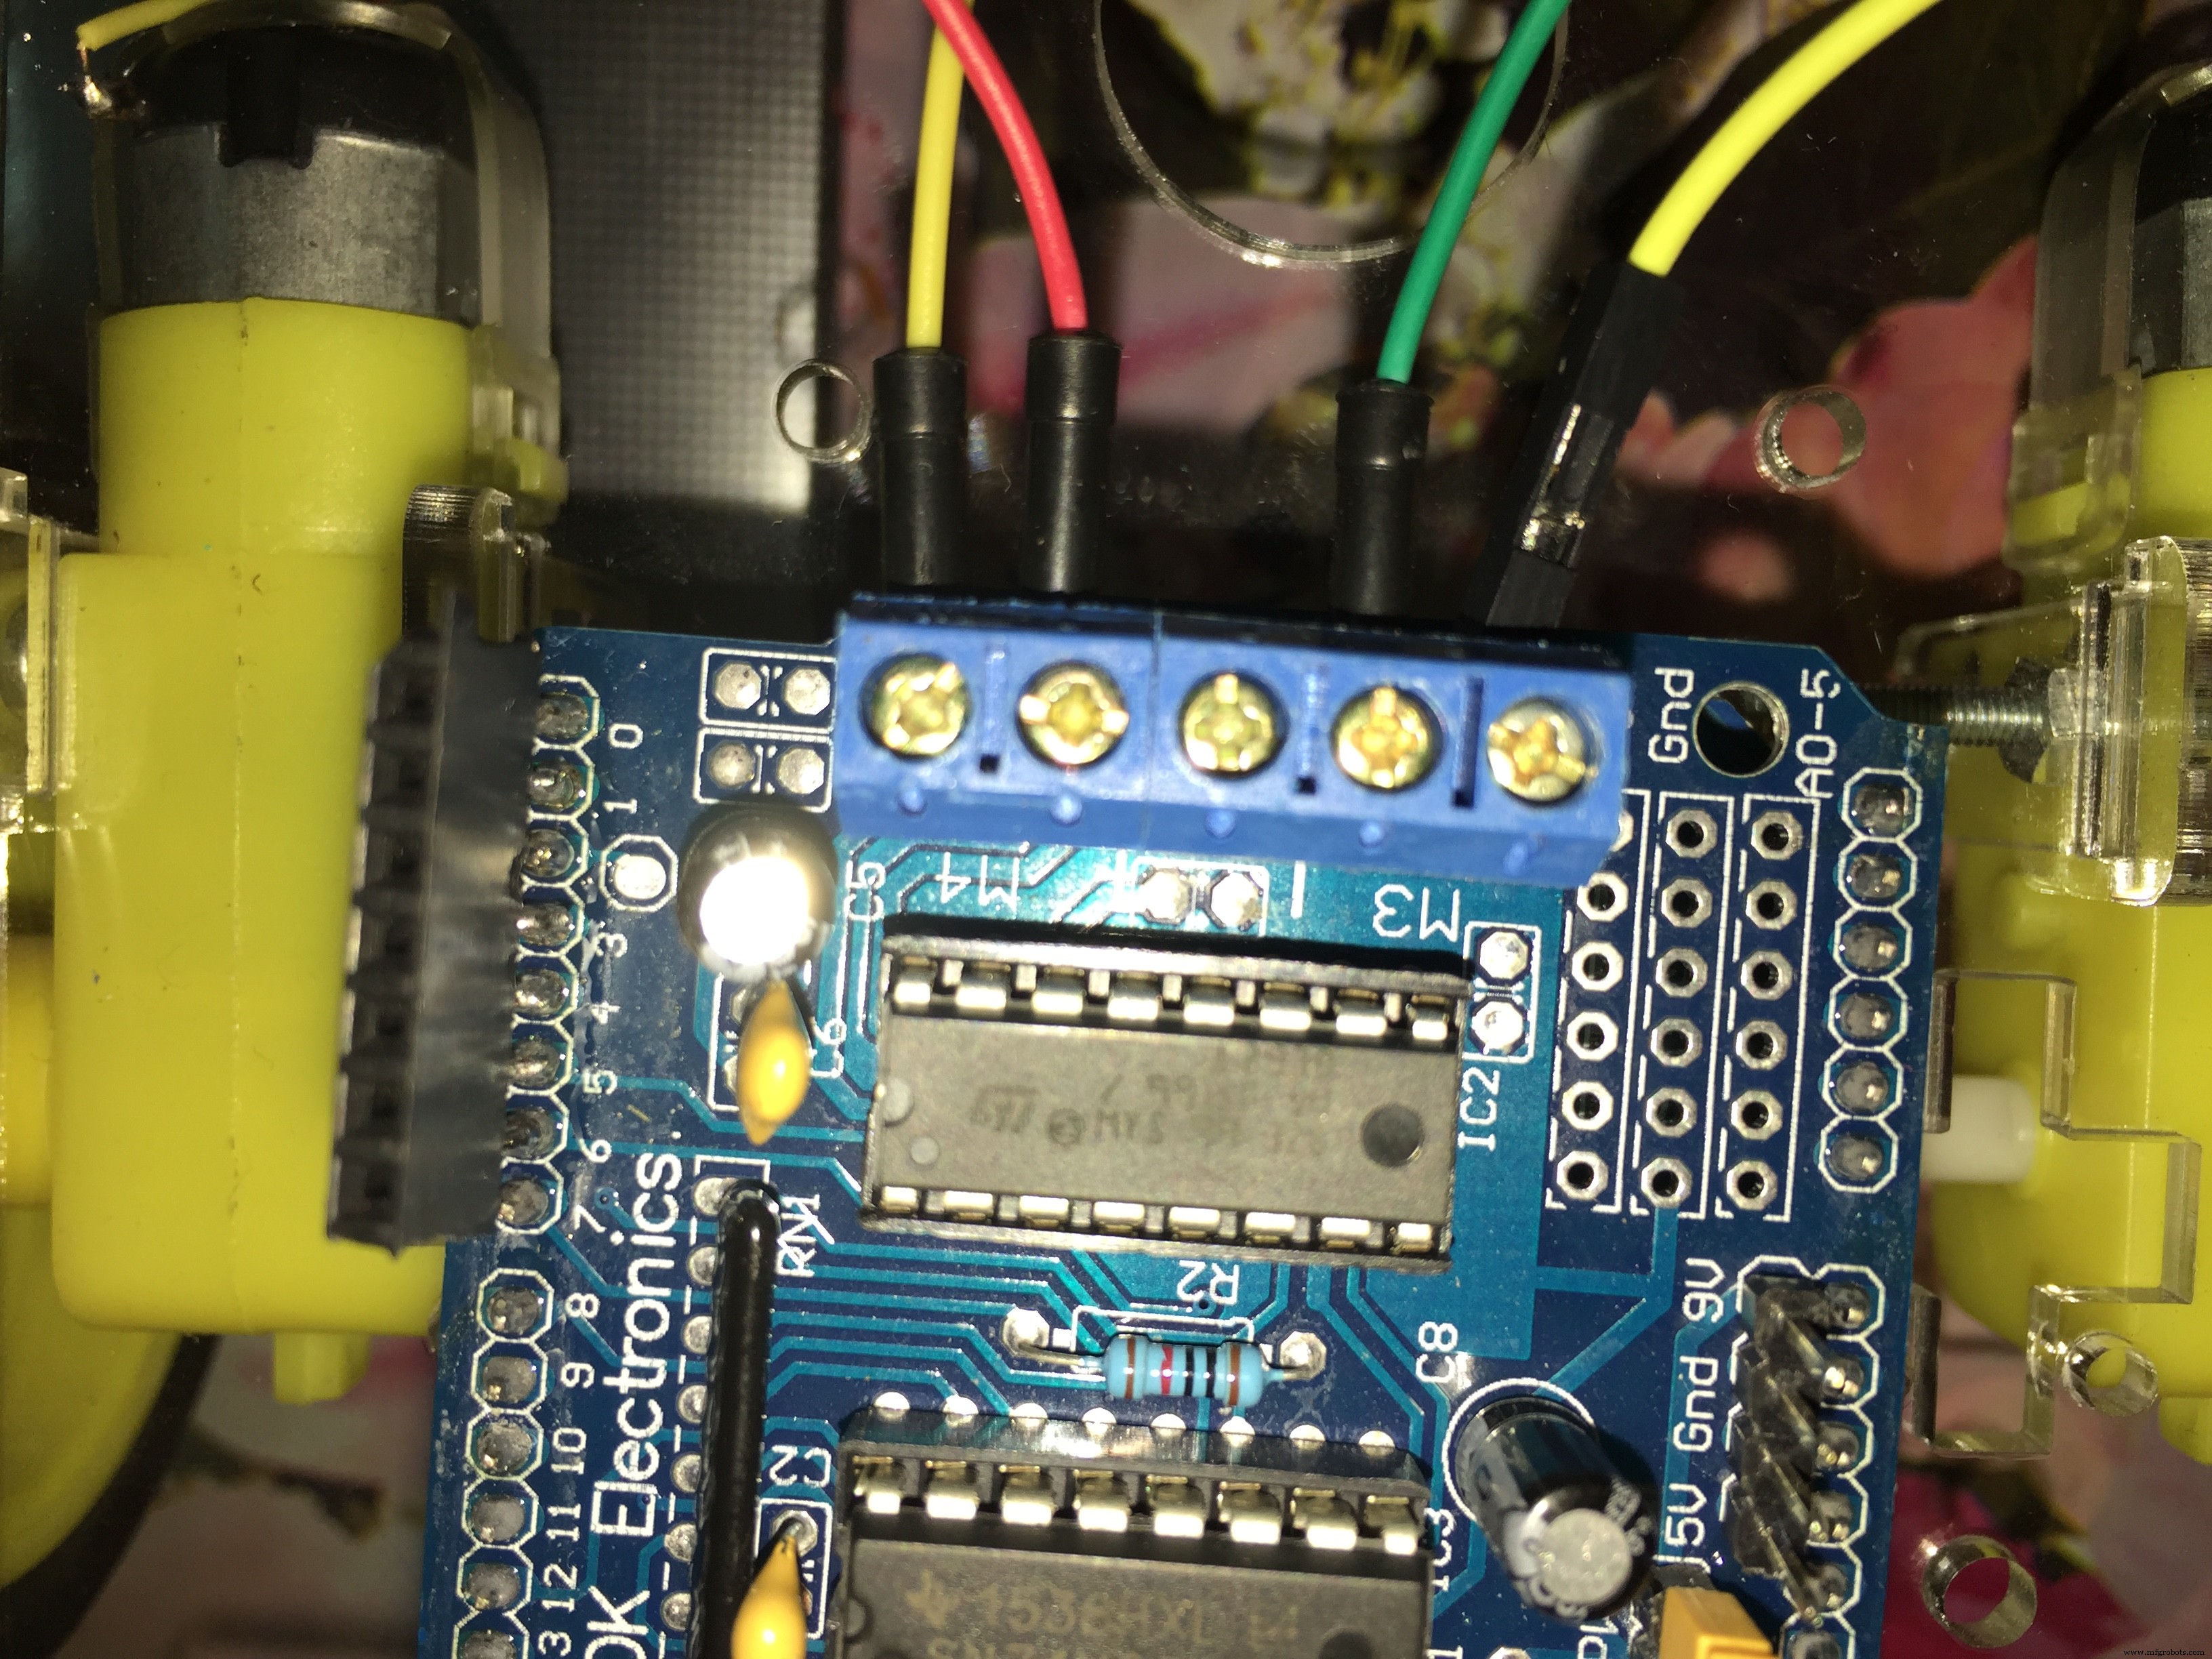
NOTE: In the Arduino code, I used Motor 1 and Motor 2 - not Motor 3 and Motor 4.
The SchematicHow to Connect the Robot Motors and the battery with the motor driver.
How to Connect the Arm servo Motors and the battery with the Arduino board.
How to Connect the bluetooth module with the Arduino board.
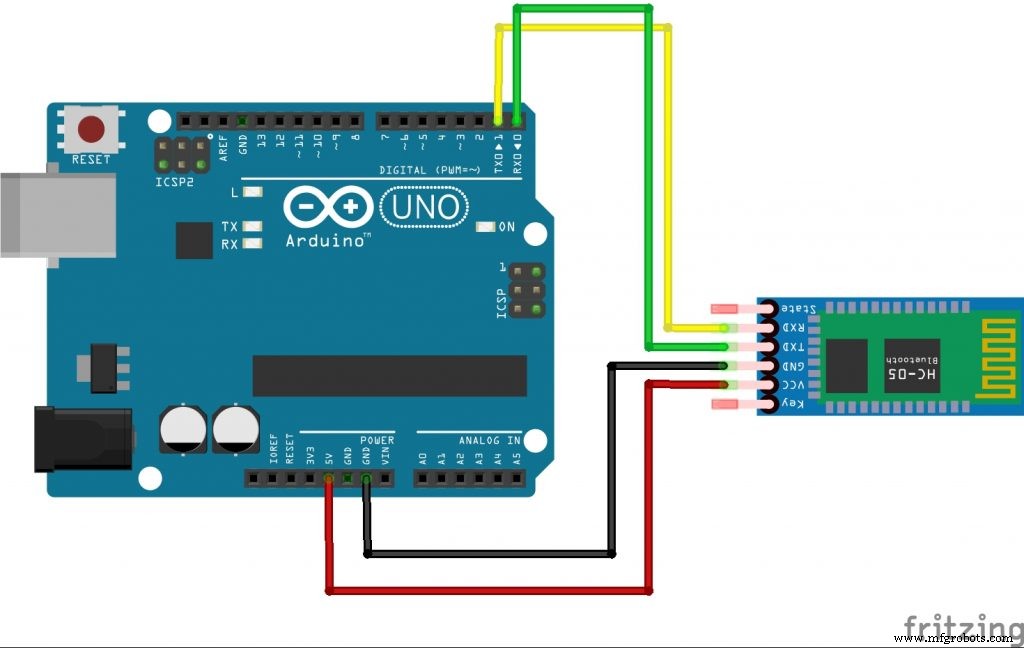
NOTE: disconnect(remove the RED WIRE +5 pin) the bluetooth module while uploading the code to the Arduino board. Then reconnect it back after the uploading process is done.
Code
- Pick And Place Robot Arduino Code
Pick And Place Robot Arduino CodeArduino
#include<AFMotor.h>
#include<Servo.h>
AF_DCMotor motorR(1);
AF_DCMotor motorL(2);
Servo elbowServo;
Servo gripperServo;
int command;

void setup() {

gripperServo.attach(9);
elbowServo.attach(10);
Serial.begin(9600);
motorR.setSpeed(255);
motorL.setSpeed(255);
}

void loop() {
command = Serial.read();

                                        /*     ARM Code    */

if(command>=1 && command <=180)   //elbow servo move according to the thumb position on the mob app between 0 -- 180  .
{
  elbowServo.write(command);
}
else if (command == 205)    //Gripper Move To Angle 0
{
  gripperServo.write(0);
}
else if (command == 206)    //Gripper movw to angle 90
{
  gripperServo.write(90);
}
else if (command == 207)    //gripper move to angle 180
{
  gripperServo.write(180);
}

                                            /*  CAR CODE  */

else if (command == 200)
{
  motorR.run(FORWARD);
  motorL.run(FORWARD);
}
else if(command == 201)
{
  motorR.run(FORWARD);
  motorL.run(BACKWARD);
}
else if(command == 202)
{
  motorR.run(RELEASE);
  motorL.run(RELEASE);
}
else if(command == 203)
{
  motorR.run(BACKWARD);
  motorL.run(FORWARD);
}
else if(command == 204)
{
  motorR.run(BACKWARD);
  motorL.run(BACKWARD);
}
else if(command == 0)
{
  motorR.run(RELEASE);
  motorL.run(RELEASE);
}
}
Schematics
This App Only Runs On Android Phones.U Must Turn On the Bluetooth Before using this app
before u choose the Bluetooth module from the app, pair your mobile with the Bluetooth module from settings in your phoneieee_aast_aswan_test1_xVVlPTtt8n.apk
Manufacturing process
- Build a Bluetooth‑Controlled Raspberry Pi Robot with Audio Feedback
- Leading Pick‑and‑Place Robot Manufacturers in India
- Top 10 Trusted Pick & Place Robot Suppliers for Industrial Automation
- High-Performance Robot Arm Components for Efficient Pick & Place Automation
- Pick & Place Robot Arms: A Complete Guide to Automation and Productivity
- Affordable SCARA Robot: The Ultimate Pick‑and‑Place Replacement
- Bluetooth‑Controlled Obstacle‑Avoidance Robot: Build a Smart, Remote‑Operated Vehicle
- 10 Ideal Pick‑and‑Place Tasks for Robots: Start Automation Right
- Quickly Program an Industrial Pick‑and‑Place Robot with RoboDK
- End-of-Arm Tooling: Enhancing Robot Pick-and-Place Performance