


Display Numbers on a 7‑Segment Display Using a Keypad – Step‑by‑Step Guide
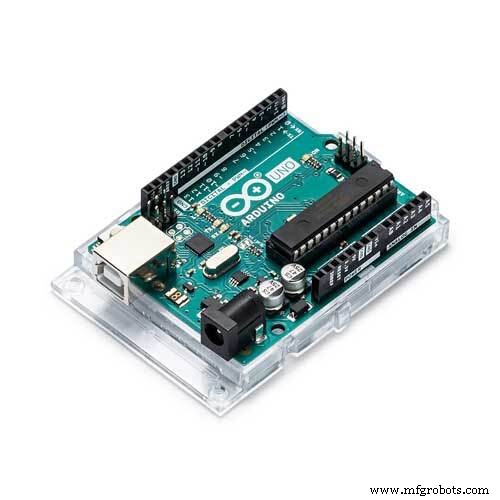
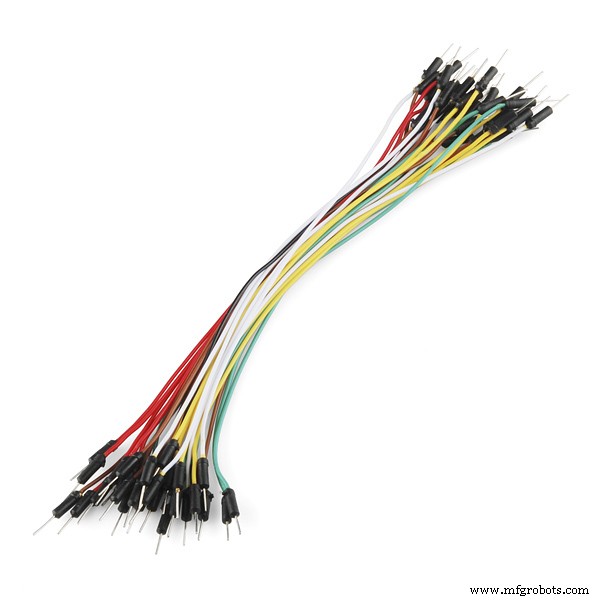
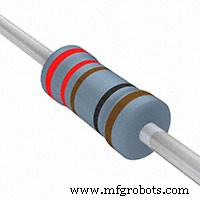
Components and supplies
 |
| × | 1 | |||
 |
| × | 1 | |||
| × | 1 | ||||
 |
| × | 1 | |||
| × | 1 |
Apps and online services
 |
|
About this project
This is a simple project that shows you how to control a 7 Segment Display with a Numeric Keypad! Whatever number you press on the keypad will appear on the Seven Segment Display!
Making ItThe schematic is down below. It should be pretty easy. You need to use a 3x4 matrix keypad so you have enough pins.
The CodeIn my sketch, to easily control the 7 Segment Display, I am using the sevenSegmentDisplay library by Giuseppe Masino which you will need to install also. You can download it from the Arduino Library Manager or the Github page. You will also need to install the Keypad library which you can also get from the Arduino Library manger.
You will need to tweak the code a little bit to get it to work. Here's what you need to do:
At this line:
sevenSegmentDisplay ssd(COMMON_ANODE, 13, 12, 11, 10, 9, 8, 7, A0);
If you have a common cathode display change COMMON_ANODE to COMMON_CATHODE. Also, you may have noticed that I put A0 for the decimal point. We're not using the DP in this project, so it doesn't really matter.
That's it, upload the code and you should be ready to go!
Keypad image by Adafruit
Code
Keypad Display Code
sevenSegmentDisplay library
https://github.com/qub1750ul/Arduino_sevenSegmentDisplaySchematics
For Common Cathode connect resistor to GND instead of 5V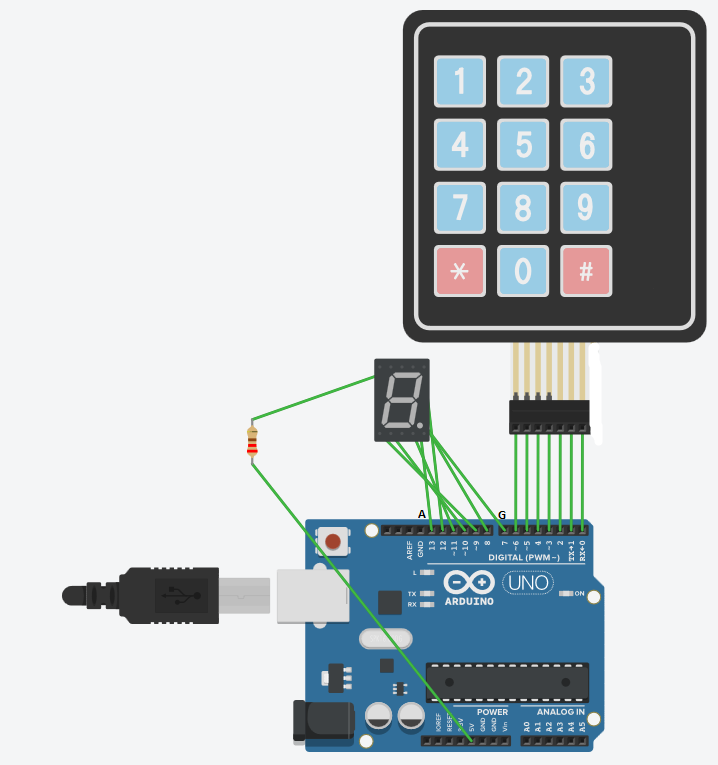
Manufacturing process
- DATA MODUL Launches 23.1” Ultra‑Slim TFT Display with Smart Wi‑Fi Control
- Integrated QR, RFID, and Temperature Verification Access Control System
- Build a Smart Piggy Bank: Control a Coin Acceptor with Arduino Nano
- Control an LED via Bluetooth with Arduino – Simple DIY Guide
- Interactive Nextion HMI Project Using Arduino Mega and Sensors
- Control Two Stepper Motors with Arduino Nano & Joystick – Simple Tutorial
- Control an Arduino LED with Cortana via Bluetooth on Windows 10
- Accurate Drill Depth Display Using a Gyro Sensor & Arduino Nano
- Millport SmartLathez 1740 CNC Lathe – Precision & Power
- Enhance Wood Finishing Precision with ABB Integrated Force Control