


Securely Connect Your Arduino MKR NB 1500 to Azure IoT Hub
Components and supplies
 |
| × | 1 | |||
 |
| × | 1 | |||
| × | 1 | ||||
| × | 1 |
Apps and online services
 |
| |||
 |
|
About this project
Note: This tutorial could be outdated, please go here for a more current version.
IntroductionAzure IoT Hub allows you to "securely connect, monitor, and manage billions of device to develop Internet of Things (IoT) applications."
Devices can connect to Azure IoT Hub using the following protocols: HTTPS, AMPQ and MQTT - Azure also provides SDKs for many programming languages to abstract these protocols. In addition, you can connect to IoT Hub via an MQTT client. This page has more information on IoT Hub’s MQTT support.
This tutorial will walk you through how to connect an Arduino MKR NB 1500 board securely to Azure IoT Hub using an MQTT client. MQTT (Message Queuing Telemetry Transport) is a M2M (machine-to-machine) connectivity protocol which provides a messaging subscription and publish transport.
Devices can use SAS tokens or X.509 certificates for authentication with Azure IoT Hub, more information can be found here. In this tutorial, we'll use an X.509 certificate to authenticate the board.
Every Arduino MKR board with on-board connectivity, including the MKR NB 1500, is equipped with a Microchip ATECC508A or ATECC608A crypto element. This crypto element can be used to securely generate and store a 256-bit ECC (Elliptic Curve Cryptography) key.
Software and Hardware SetupIf you don't have the Arduino IDE installed on your computer, download and install it.
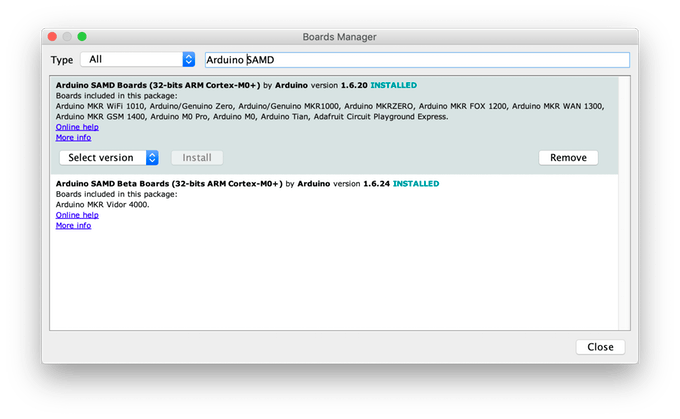
Once it is installed, make sure you have the latest "Arduino SAMD Boards" package installed. You can check by opening the Arduino IDE, and opening the Tools -> Board: "..." -> Board Manager... menu entry, and searching for "Arduno SAMD". At the time of writing 1.6.20 was the latest version.
Next you'll need to install the Arduino libraries that will be used, using the Arduino IDE's library manager. Open the Sketch -> Include Library -> Manage Libraries... menu, search for and individually install each of the following libraries:
- MKRNB
- ArduinoBearSSL
- ArduinoECCX08
- ArduinoMqttClient
- Arduino Cloud Provider Examples
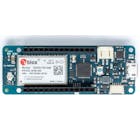
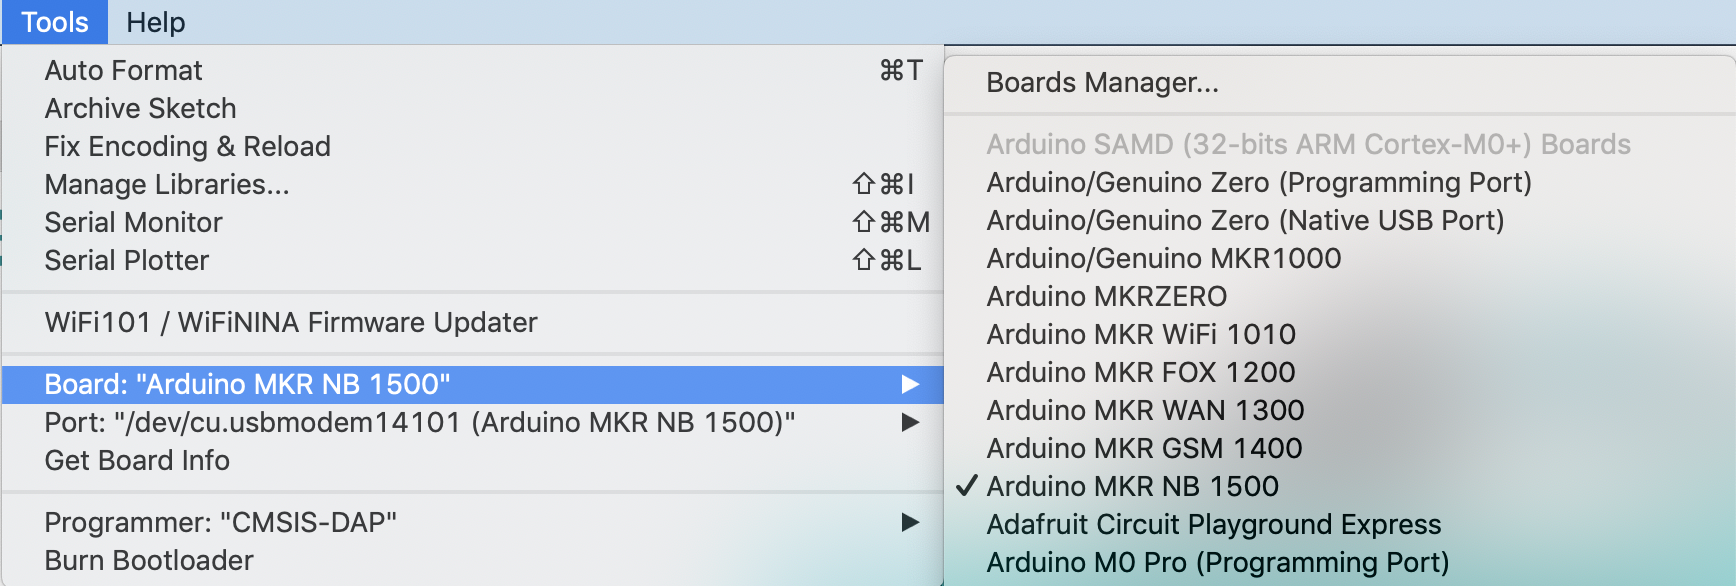
Now insert the micro SIM card in the slot on the bottom of the MKR NB 1500 board and attach the 3.7V Lipo battery to the JST connector. Then plug in the MKR NB 1500 with the micro USB cable to your computer, select the serial port in the Arduino IDE using the Tools -> Port "..." menu and also select Arduino MKR NB 1500 in the Tools -> Board "..." menu.
As mentioned above, Azure IoT Hub allows devices that connect using the MQTT protocol and use X.509 certificates for authentication. We'll use a sketch to generate a self signed X.509 Certificate on the board and then add the SHA1 of this certificate to Azure IoT Hub portal.
The self signed certificate can be generated using an example sketch from the ArduinoECCX08 library. Open the sketch in the Arduino IDE using the File -> Examples -> ArduinoECCX08 -> Tools -> ECCX08SelfSignedCert. Click the "Upload" button to build and upload the sketch to your board, then open the Serial Monitor. Make sure the line ending configuration is set to "Both NL & CR."
This sketch will prompt you to permanently configure your ATECC508A to ECC608A crypto element if it is not configured and locked. NOTE: This locking process is permanent and irreversible, but is needed to use the the crypto element - the configuration the sketch sets allows to use 5 private key slots with any cloud provider(orserver) and a private keycan be regenerated any time for any of the 5 private key slots (0 - 4). When the board is shipped from the factory, the crypto element is in an unconfigured and unlocked state.
After this, you will be prompted for information to include in the self signed certificate, including the issue year, month, day and hour of the certificate and the expiry period in years. For this tutorial we'll be using slot 0 to generate and store the private key used to sign the self signed certificate (slots 1 to 4 can be used to generate and store additional private keys if needed) - then slot 8 will be used to store the issue and expiry date of the certificate along with it's signature. Note: Since the private key is generated inside the crypto element it never leaves the device and is stored securely and cannot be read.
Copy the generated SHA1 value (in this screenshot "99d6d96fa55bdf08b4040a142a8d0d934bc9d12b"). We will use it in a later step as a fingerprint for the self signed certificate for the device in Azure IoT Hub.
Now that we have a self signed certificate and the SHA1 fingerprint to identify the board, we need to login into the Azure IoT Hub portal and create a new device for it.
1) Open a web browser and goto portal.azure.com.
2) If you don't already have an Azure account, click the "Create one!" link on the page to create an account. Otherwise, enter your email address and click "Next" and follow the login process.
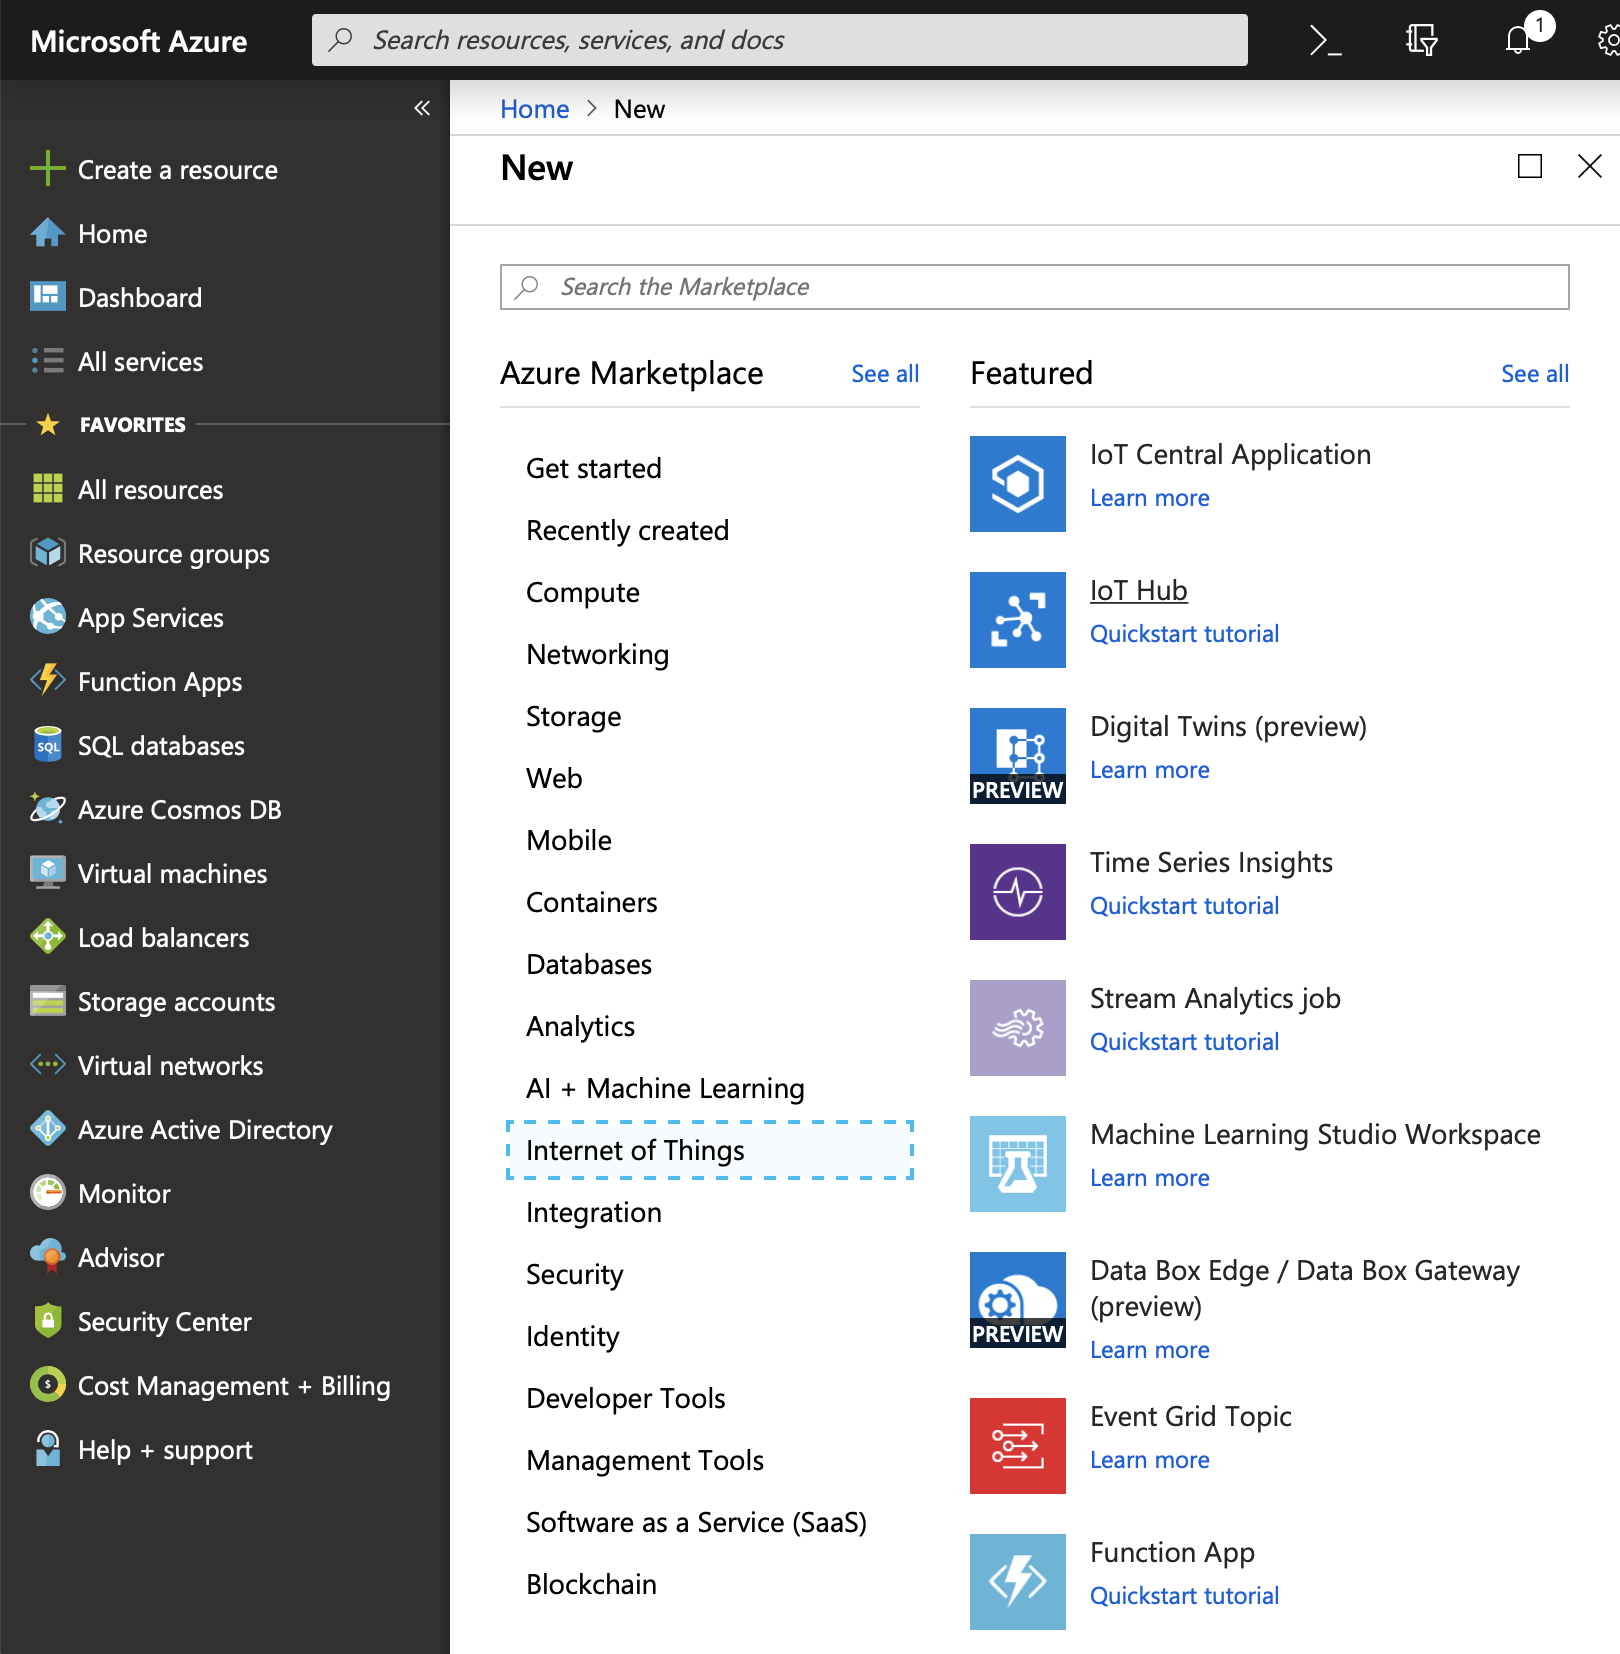
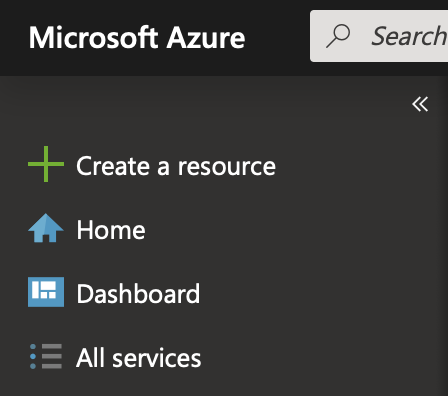
3) On the navigation panel on the left click "Create a resource".
4) Then click "Internet of Things" and "IoT Hub".
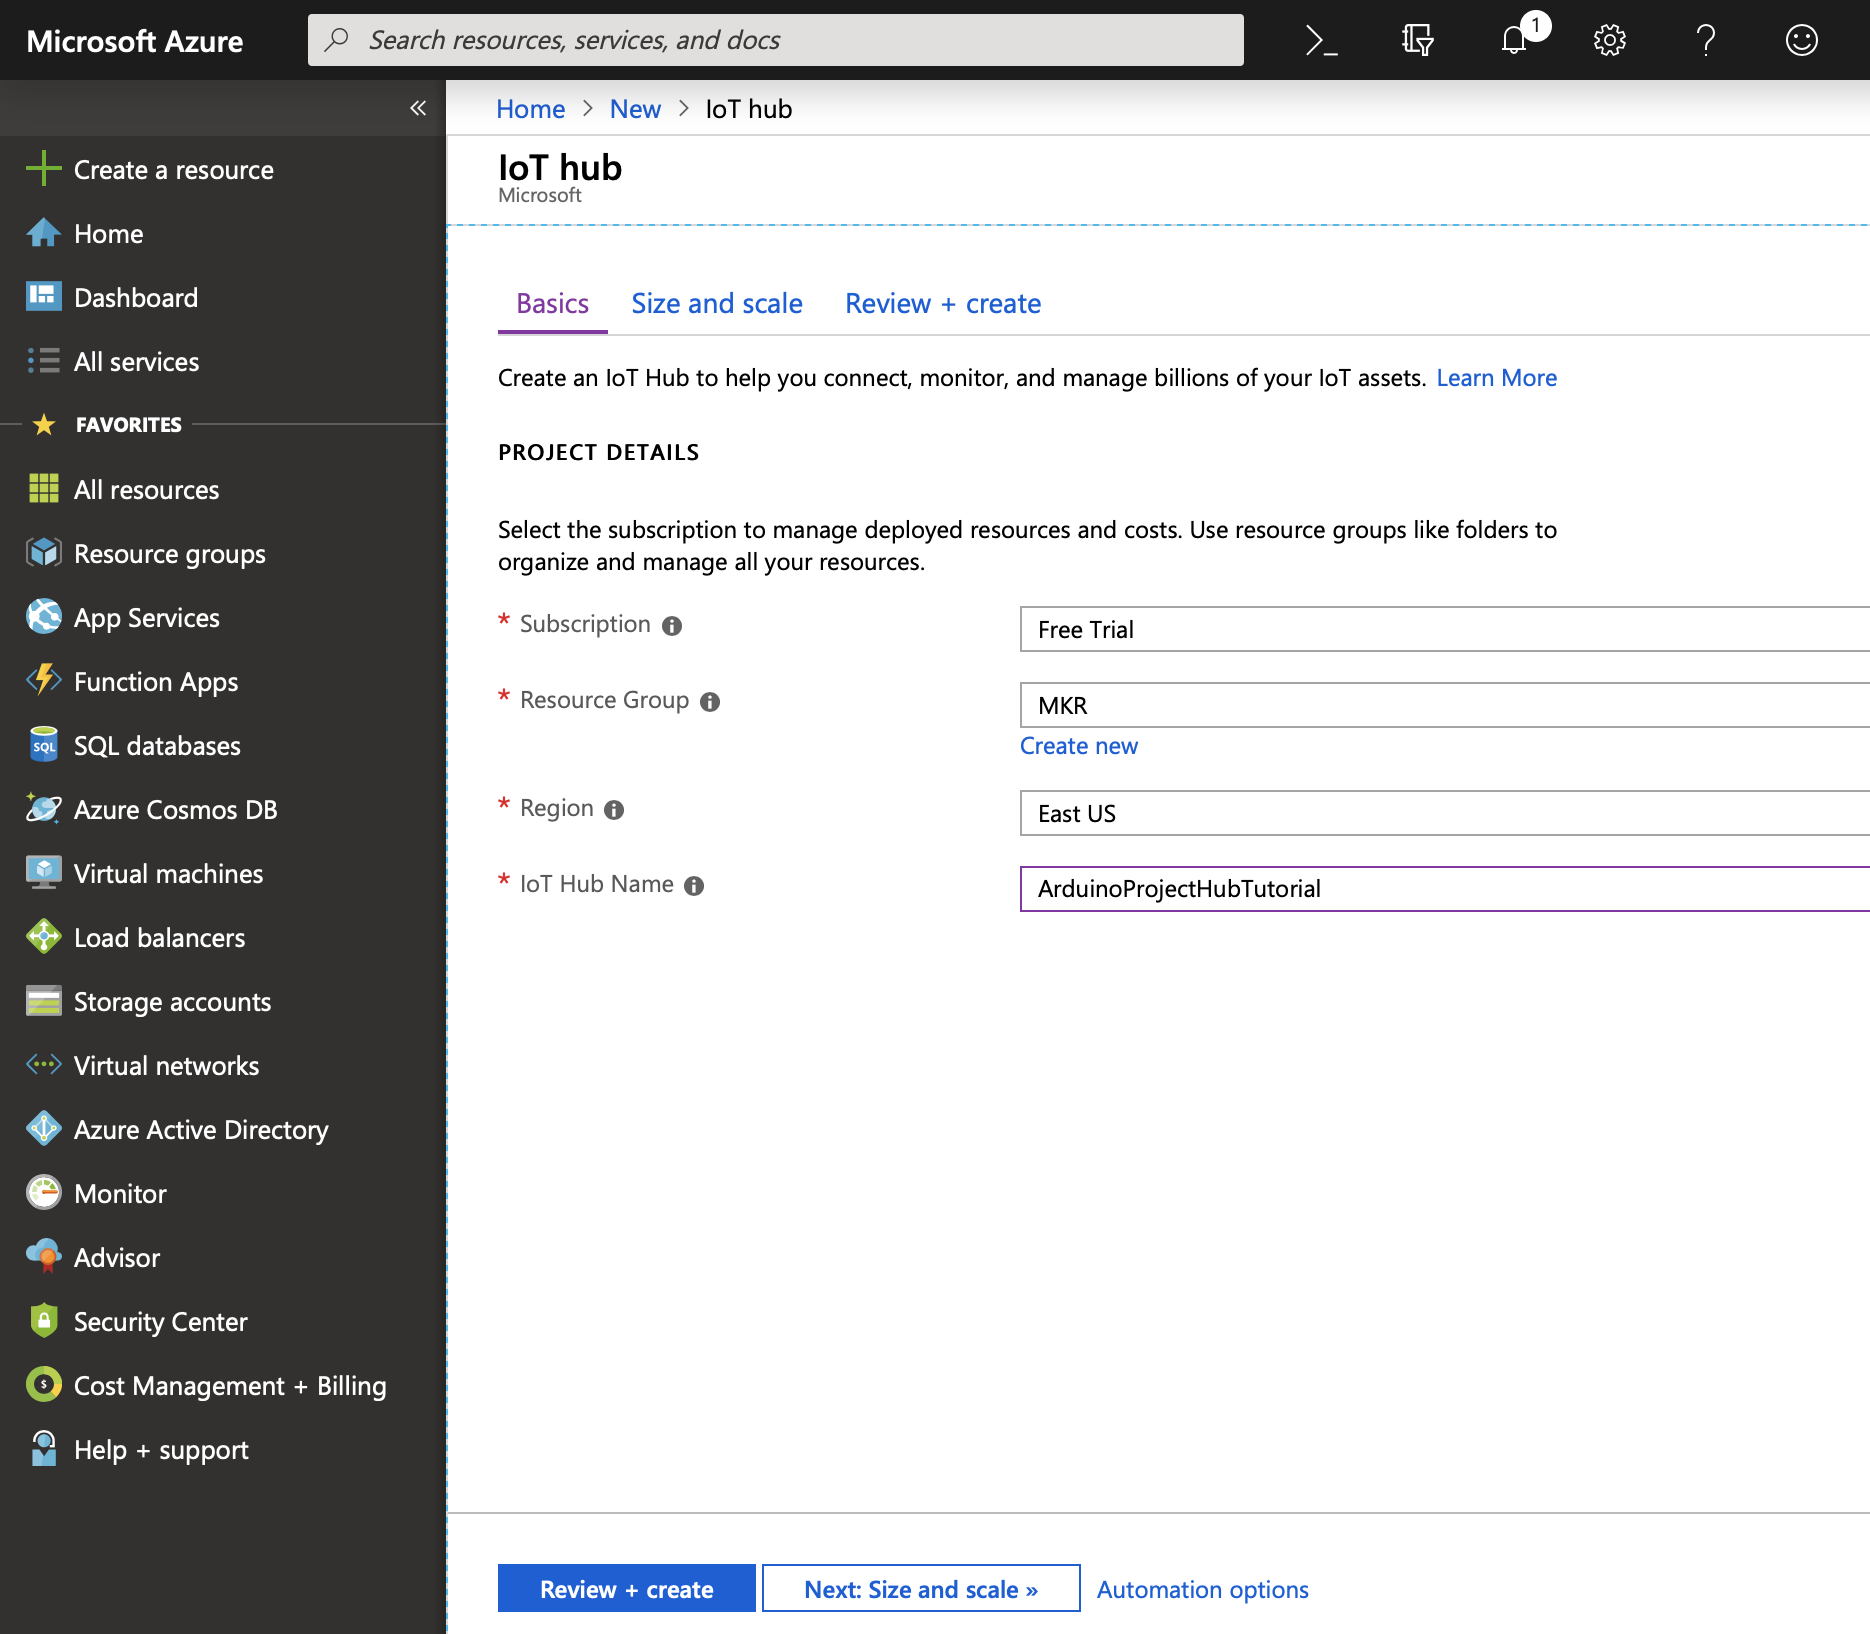
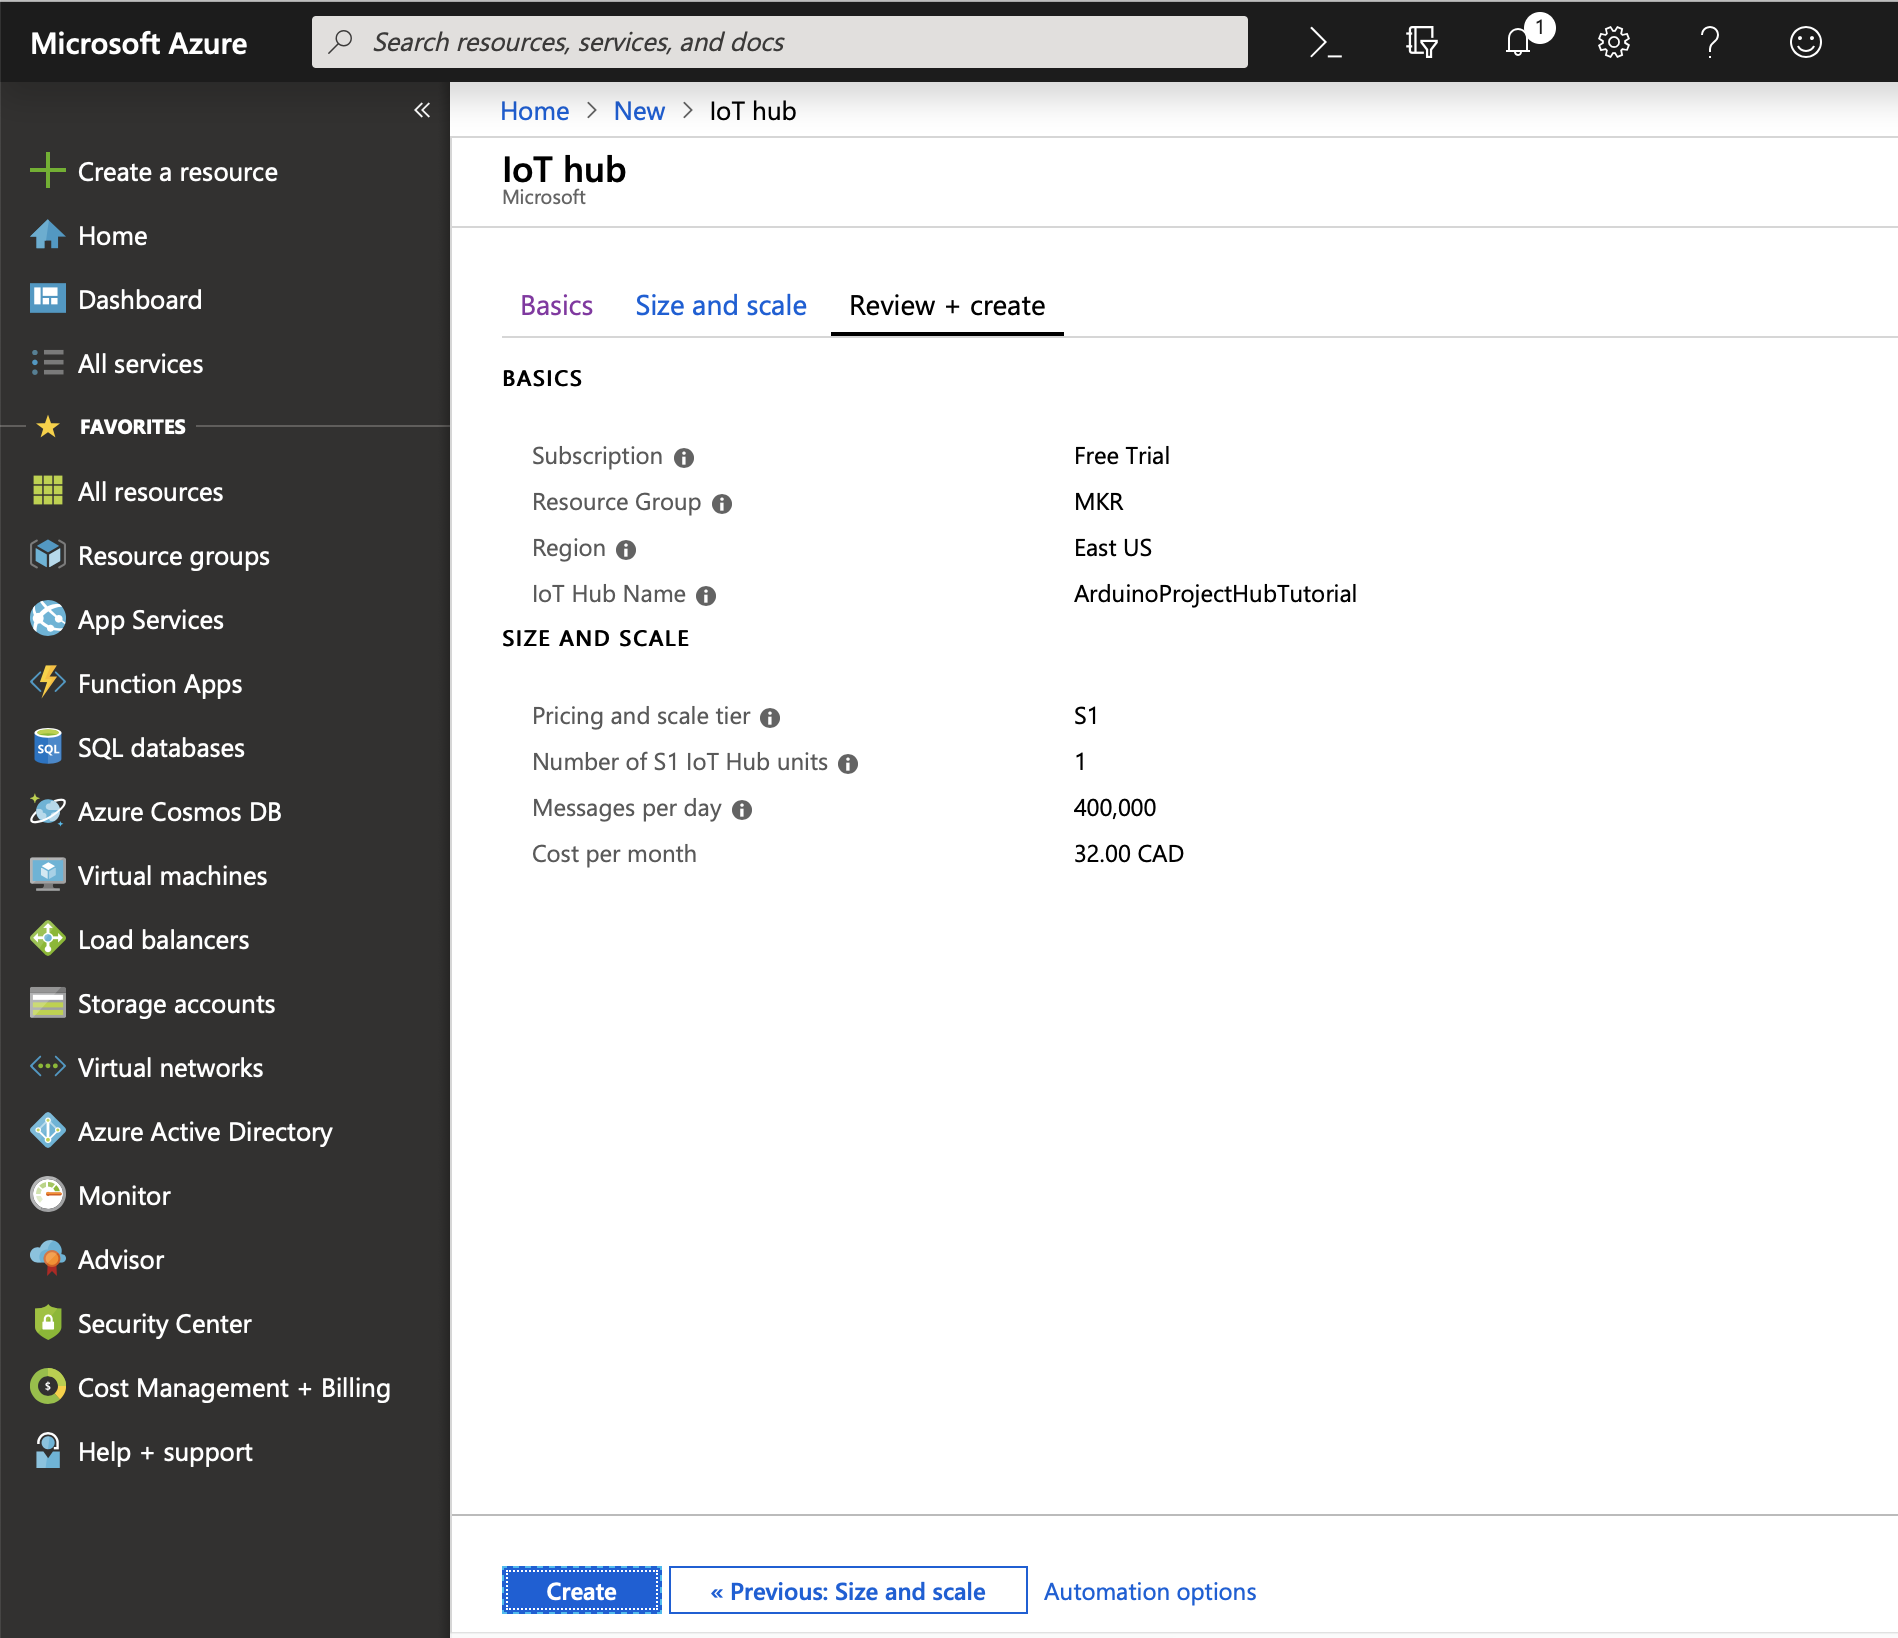
5) You will be prompted to select a Subscription, Resource group, Region and IoT Hub Name. In the screenshot below, "Free Trial", "MKR", "East US", and "ArduinoProjectHubTutorial" were used as input. Click "Review + Create" to continue.
6) A confirmation screen will appear click "Create".
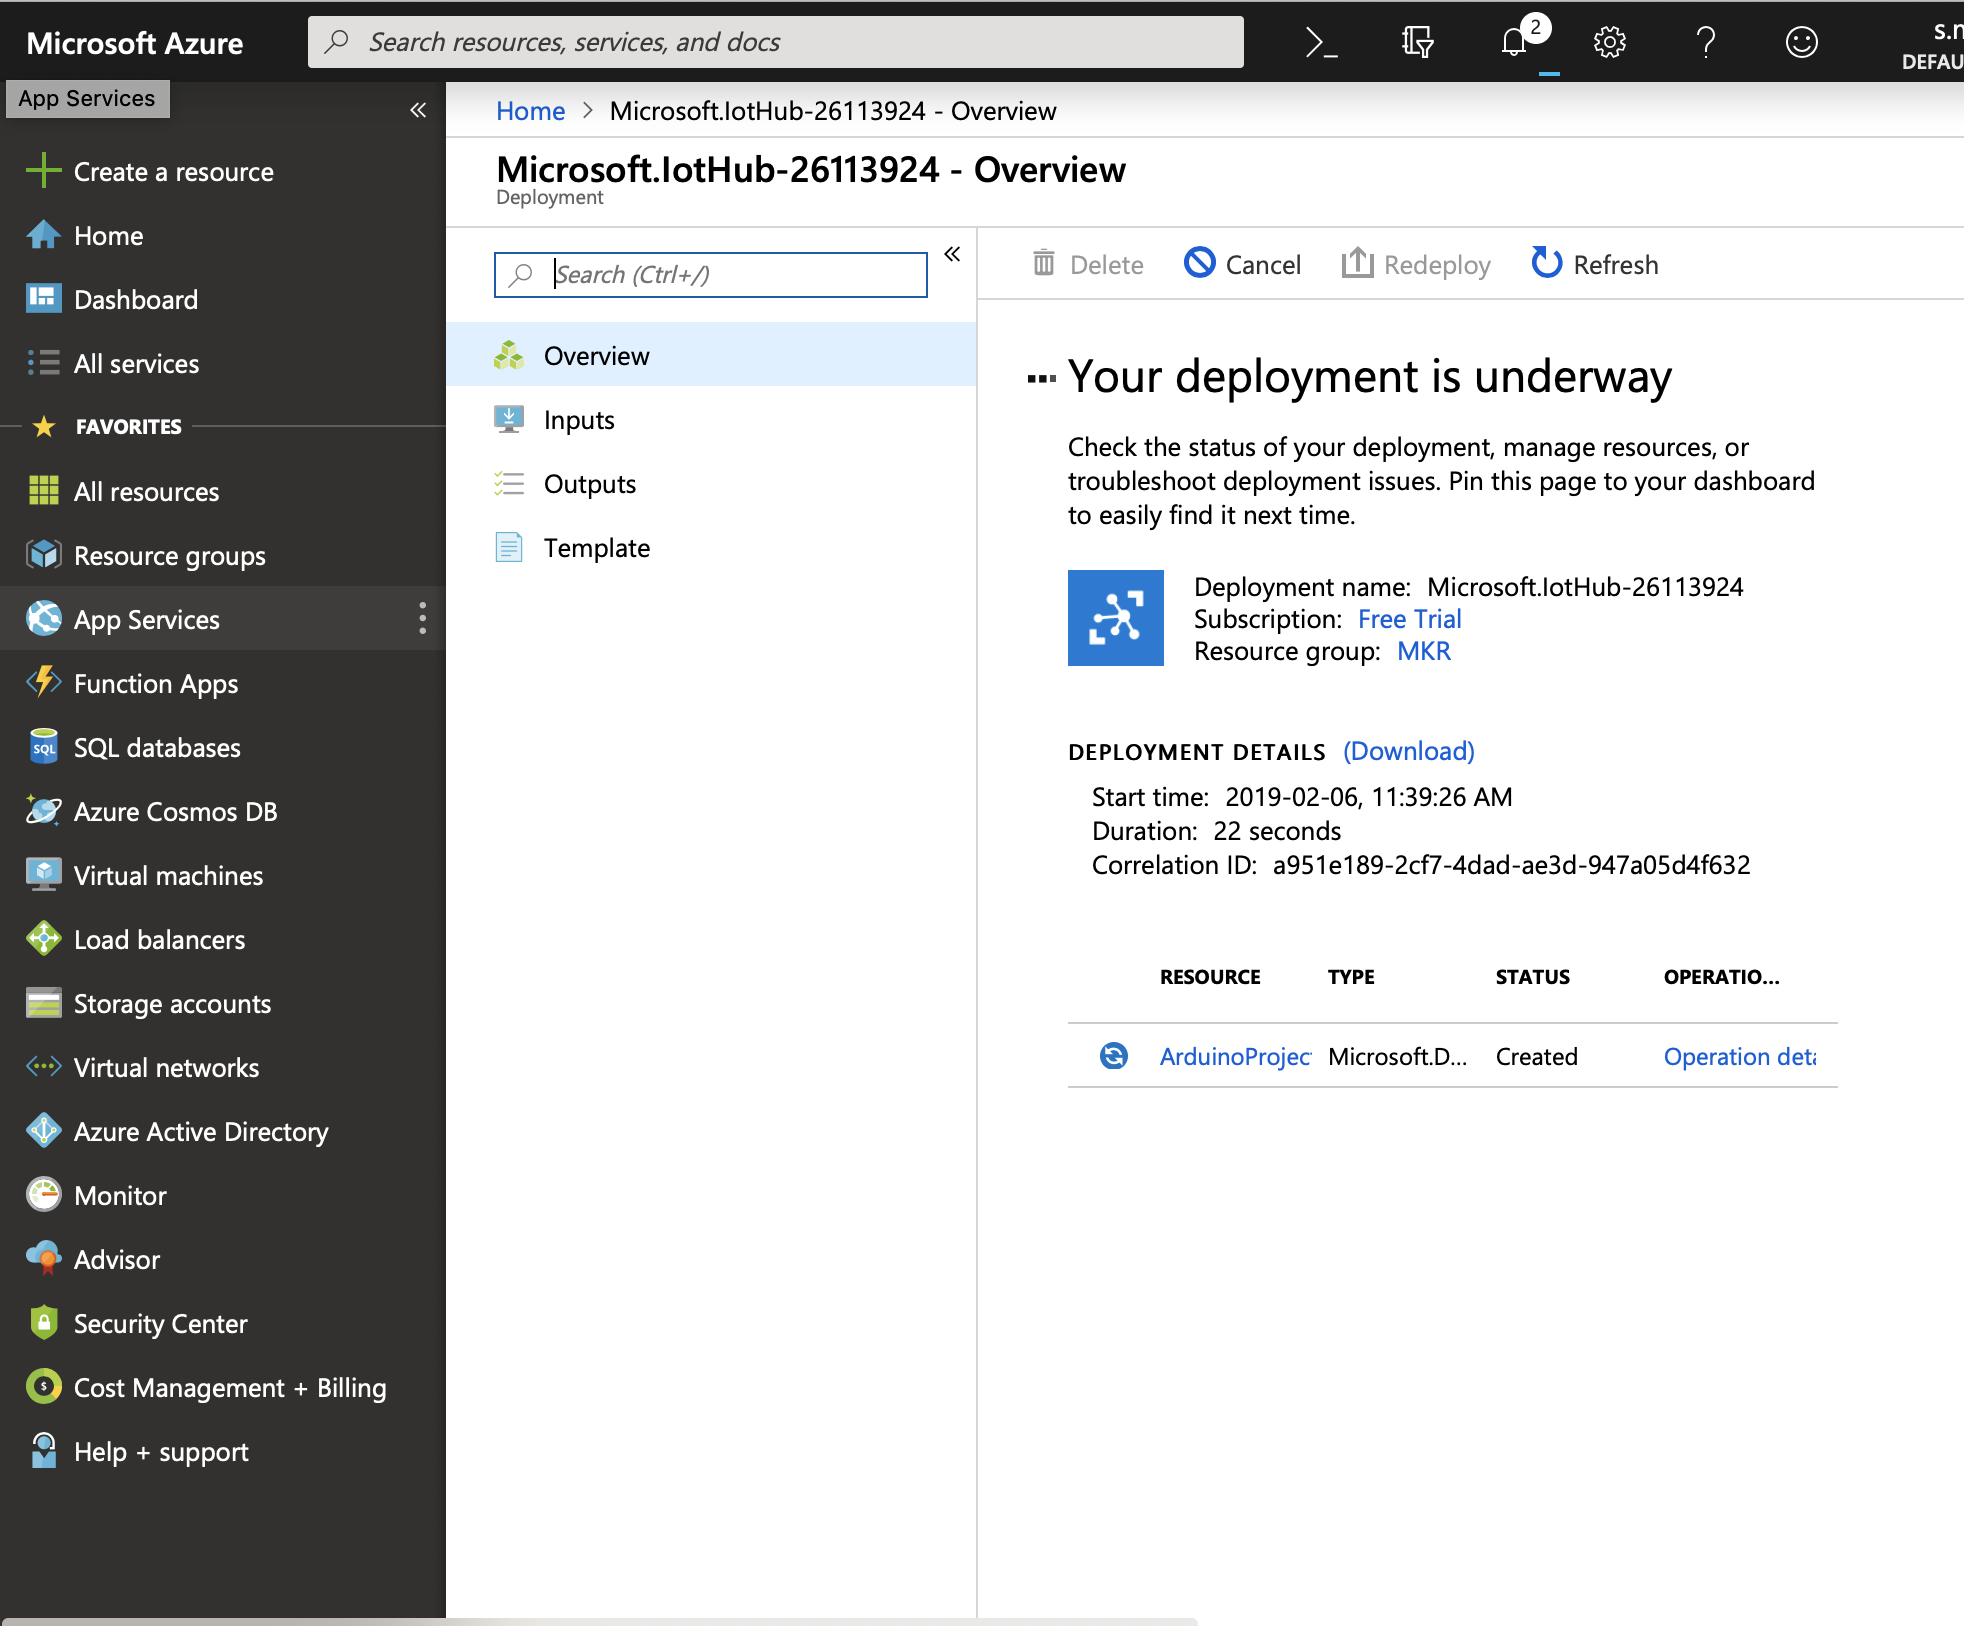
7) You will have to wait a few minutes for the IoT Hub to be created and deployed.
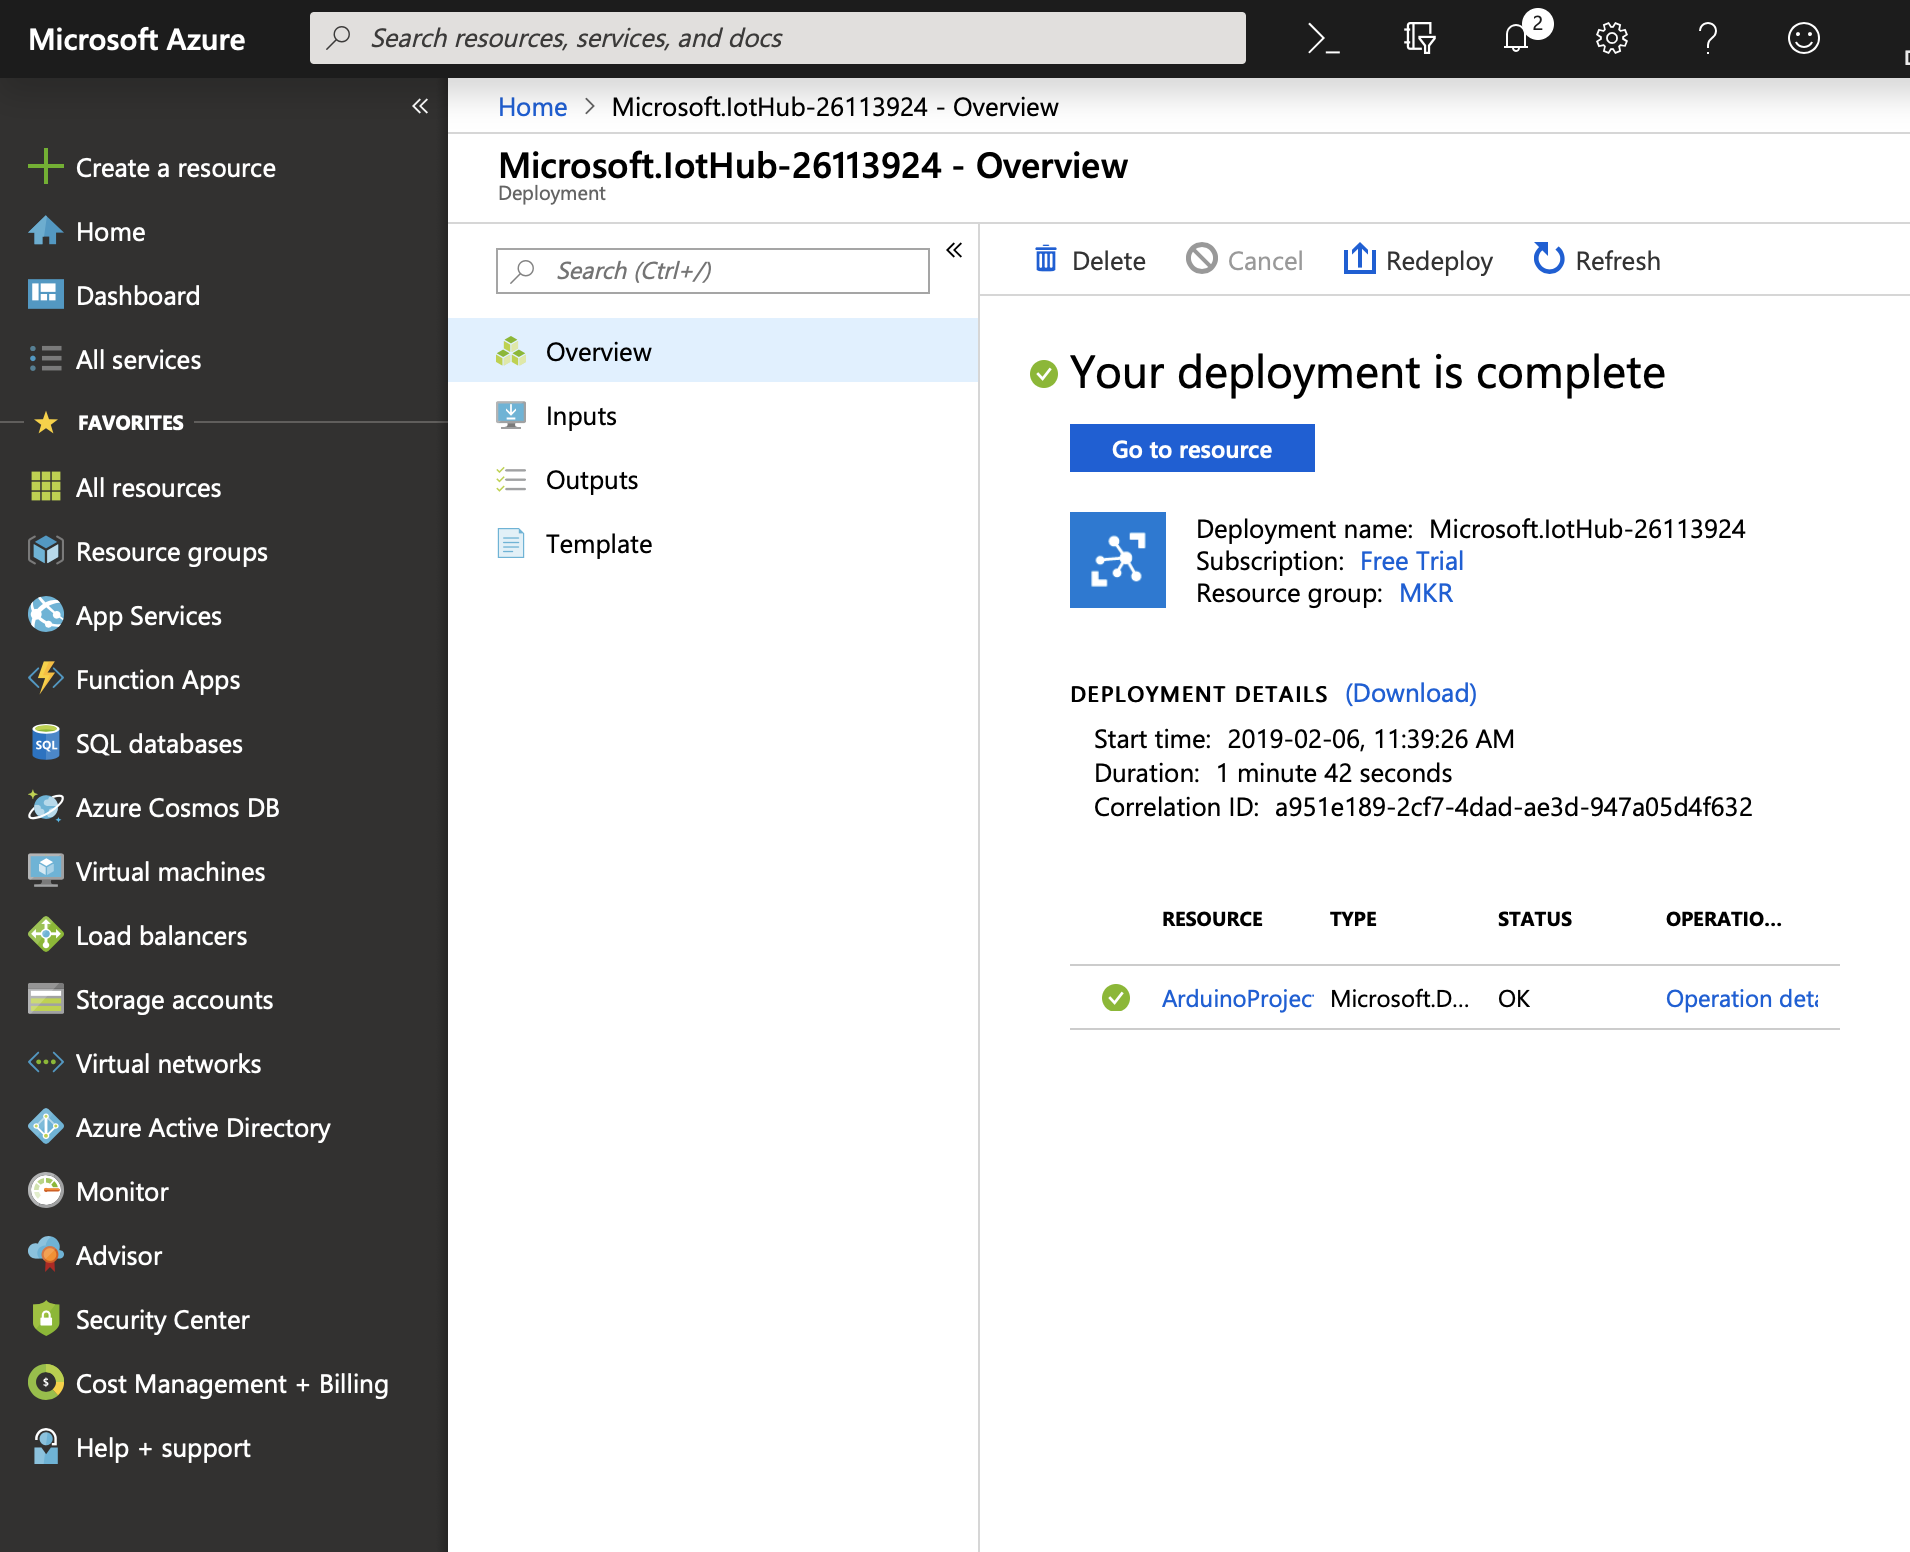
8) Once deployment is complete a "Go to resource" button will appear, click it.
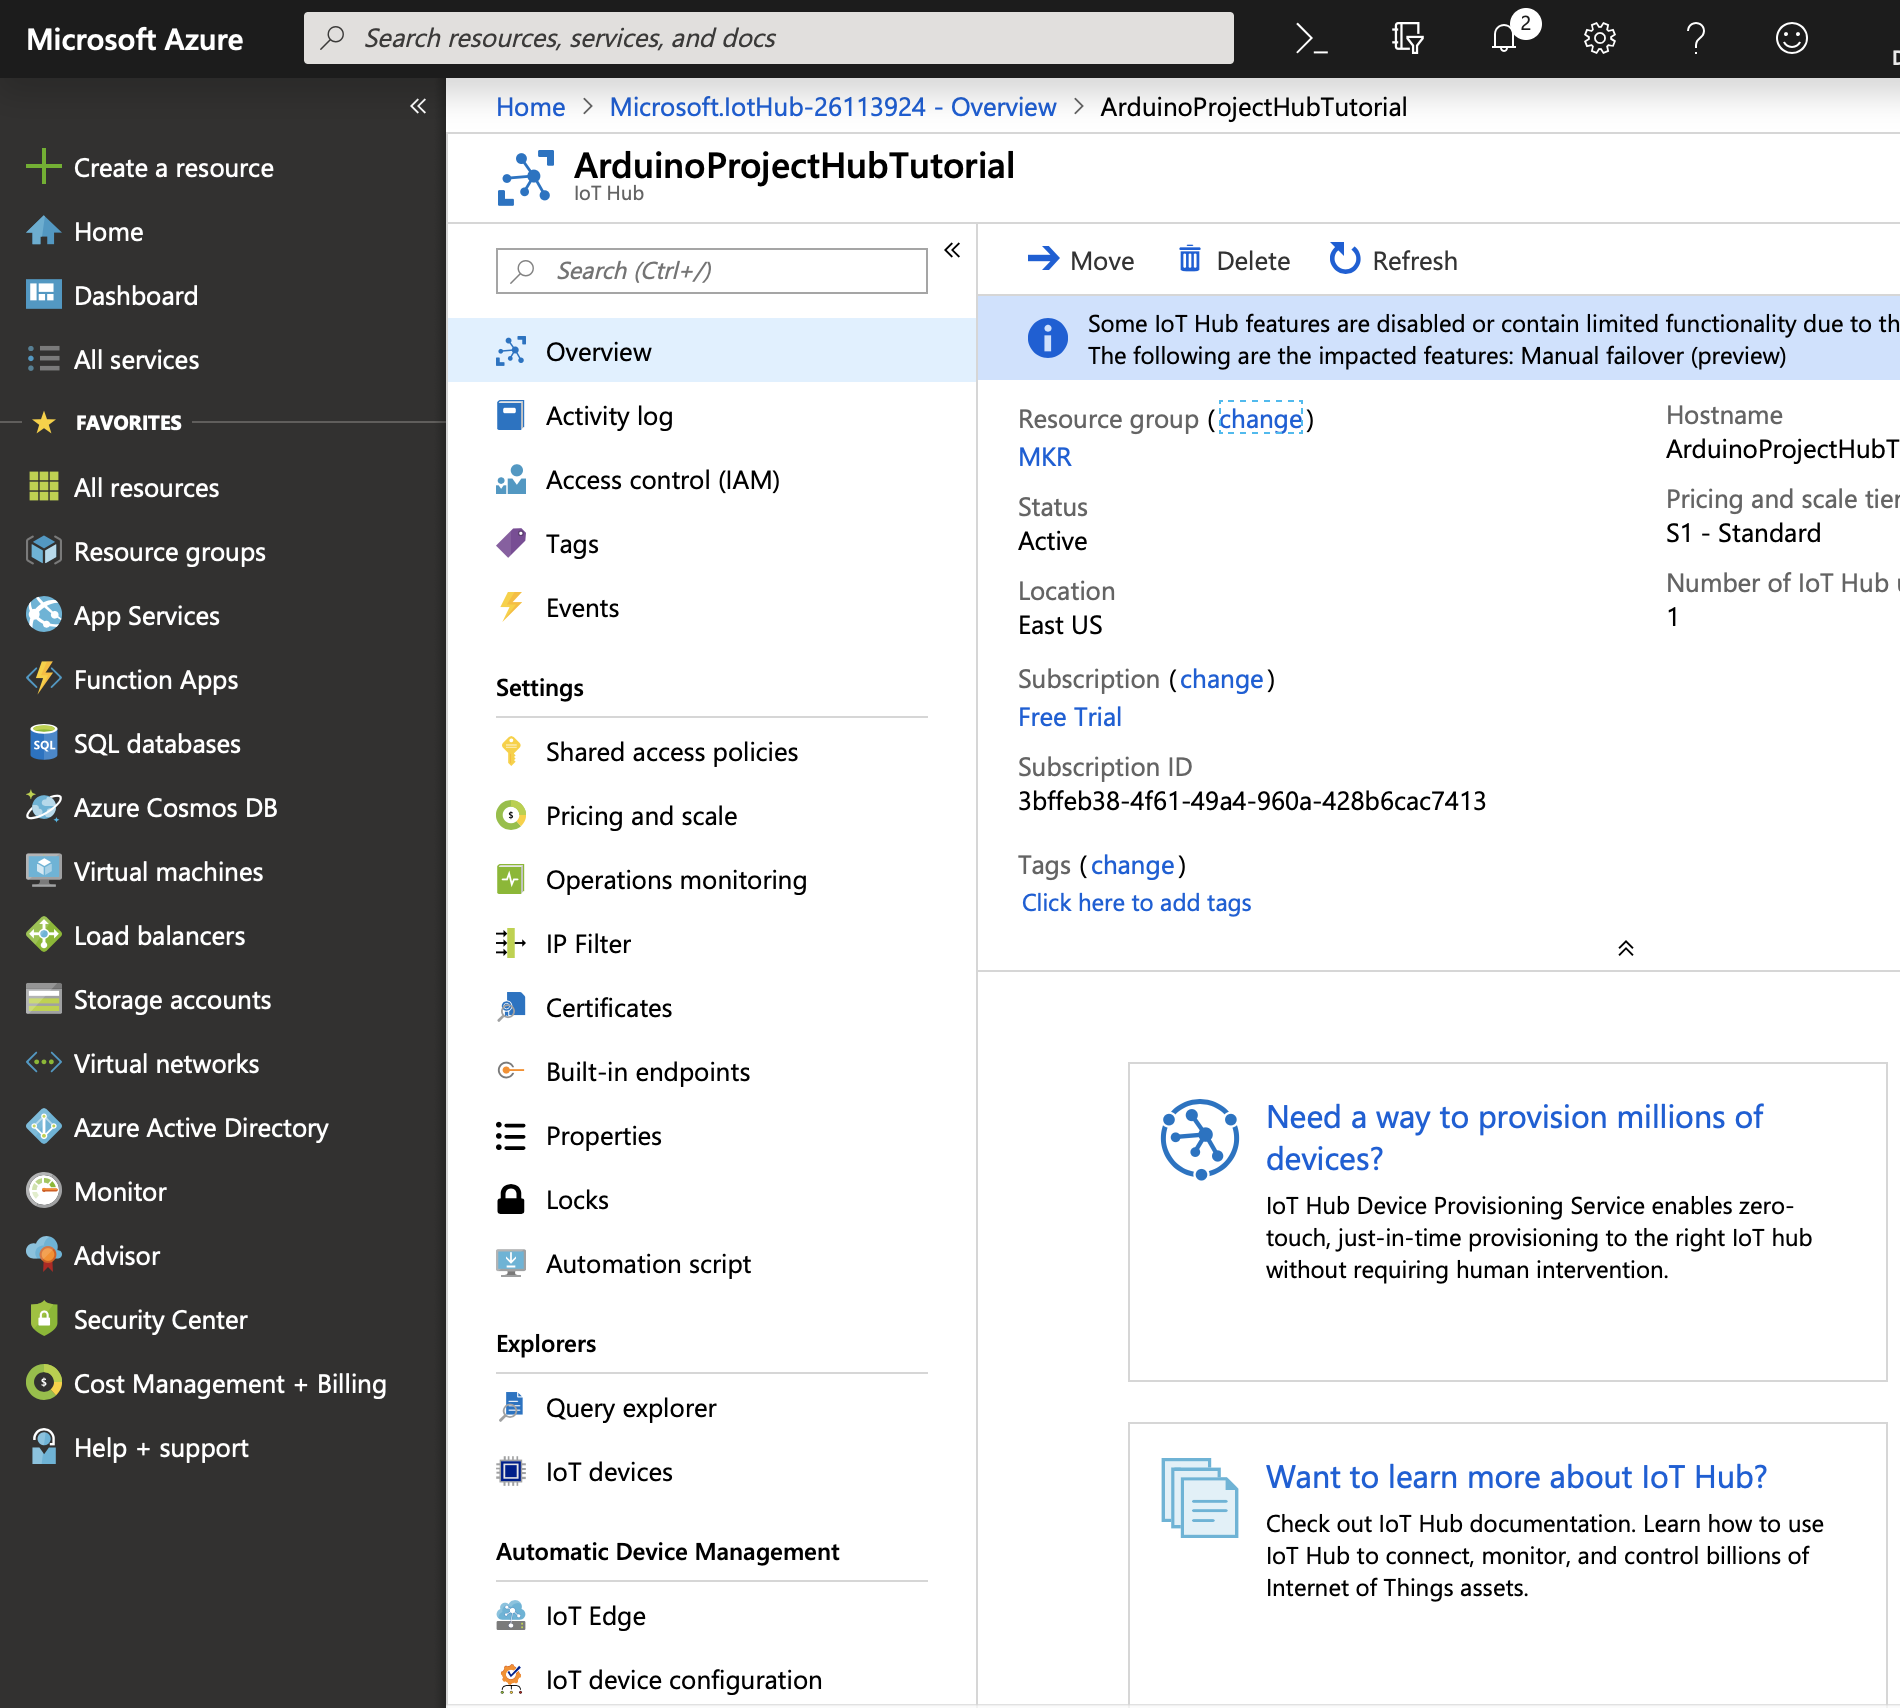
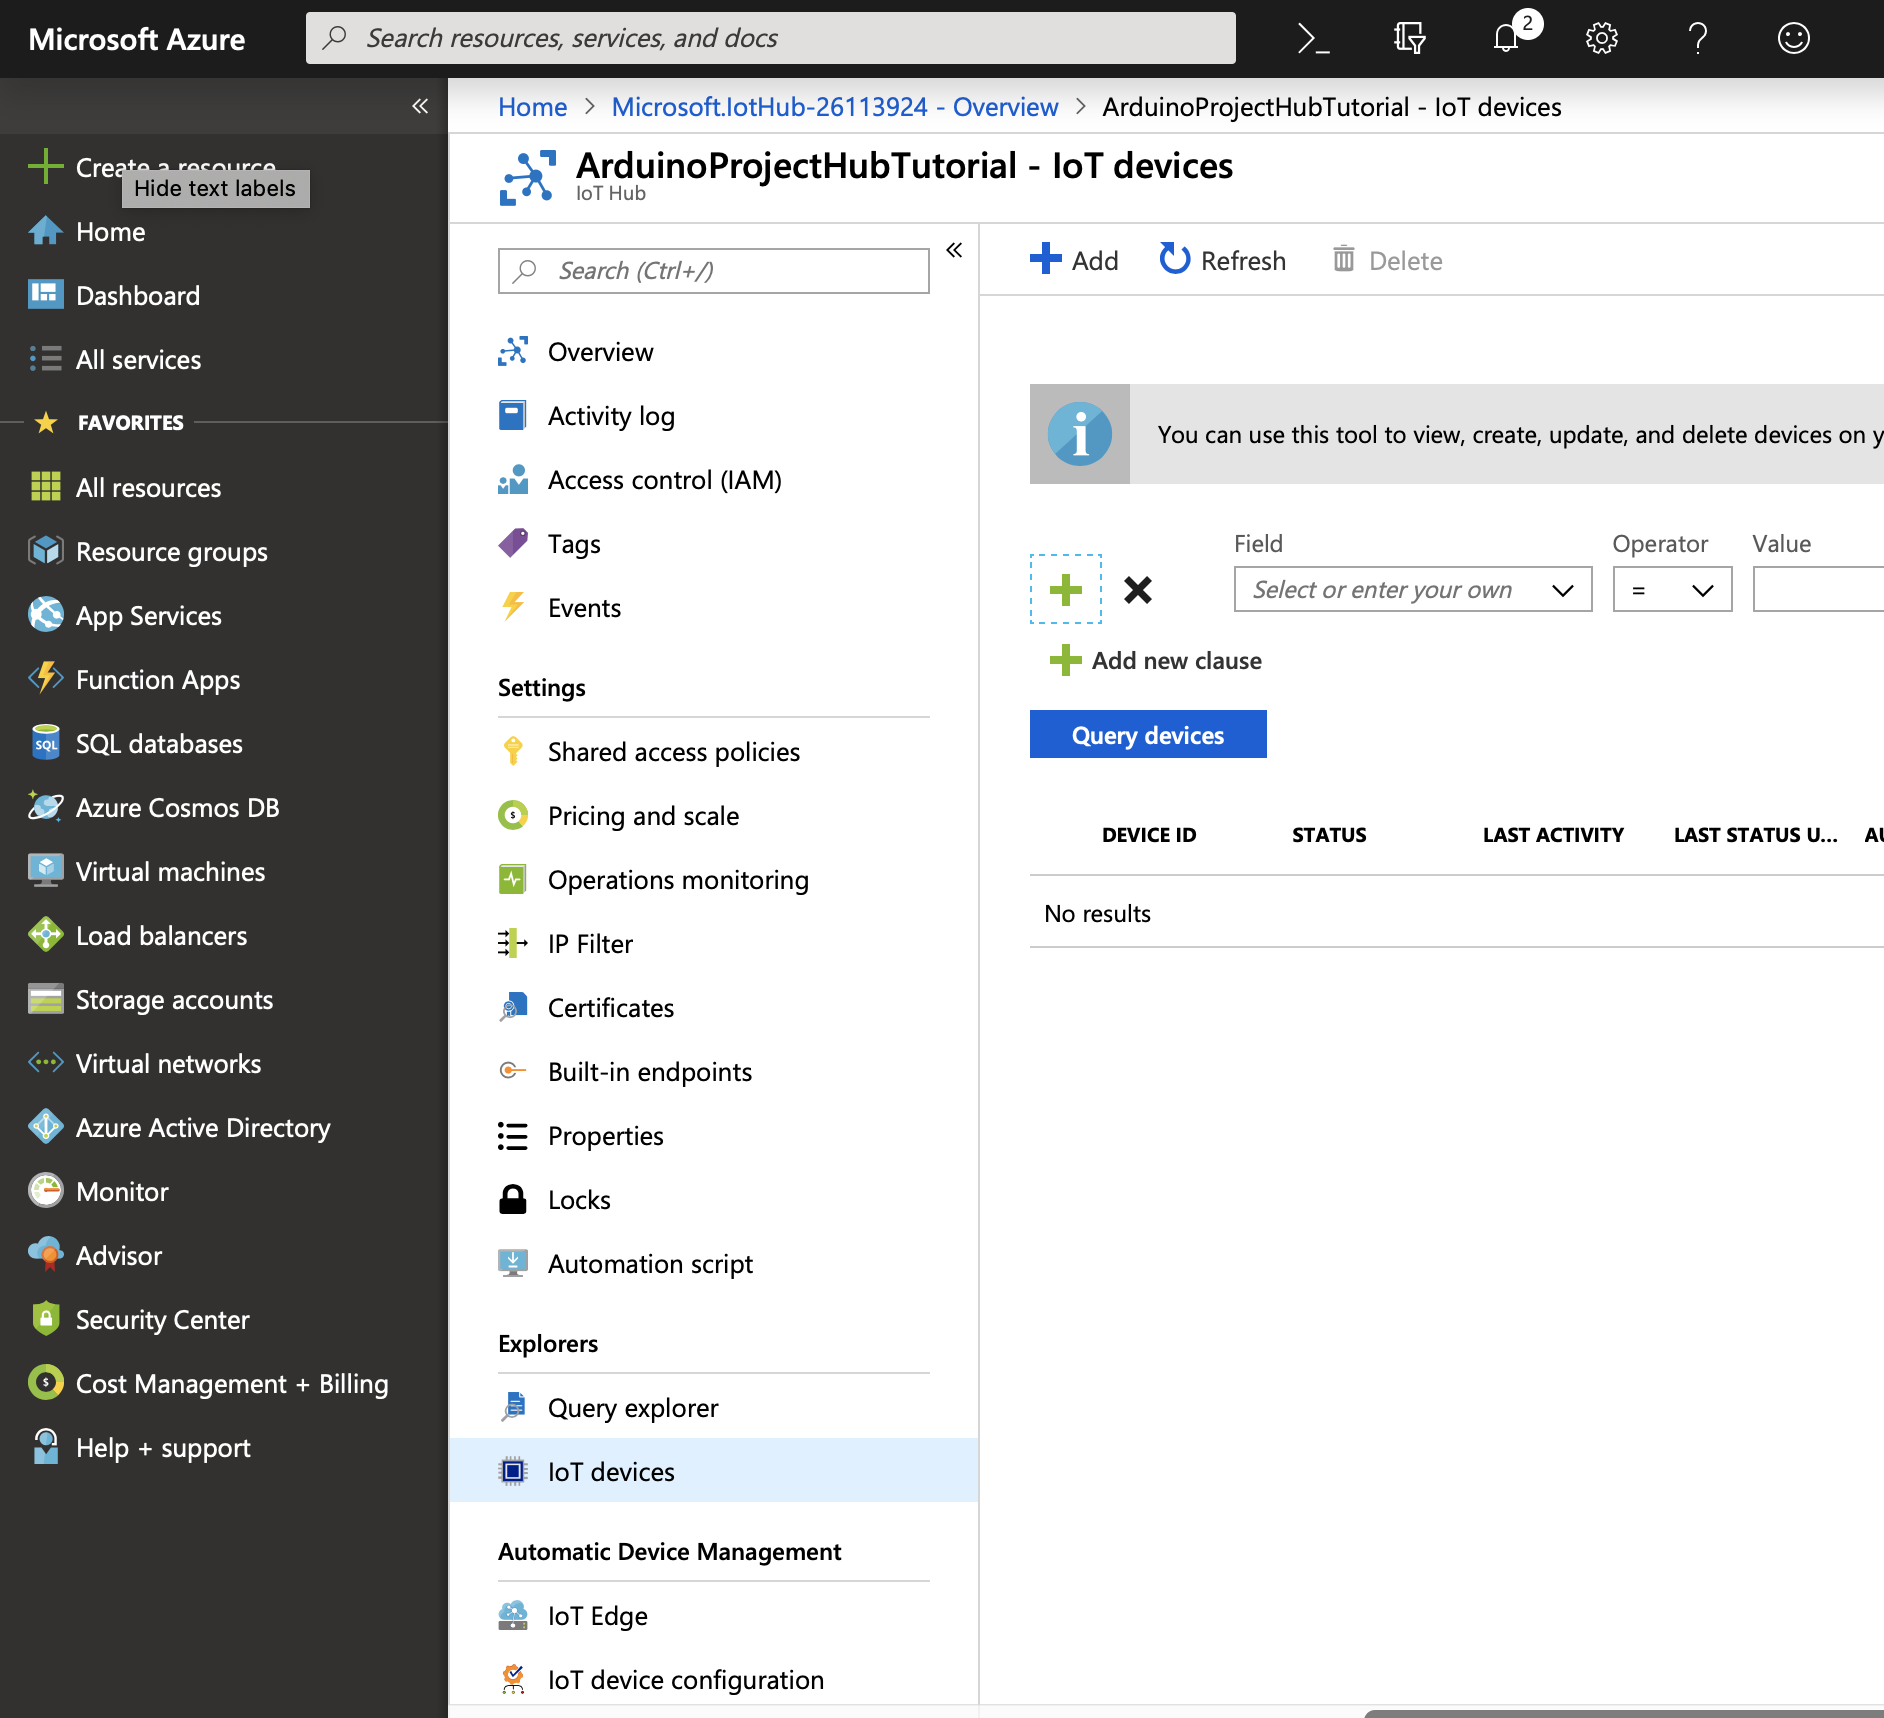
9) Now we can create a new IoT device, click "IoT Devices" under the "Explore" heading.
10) Click the "Add" button to add a new device.
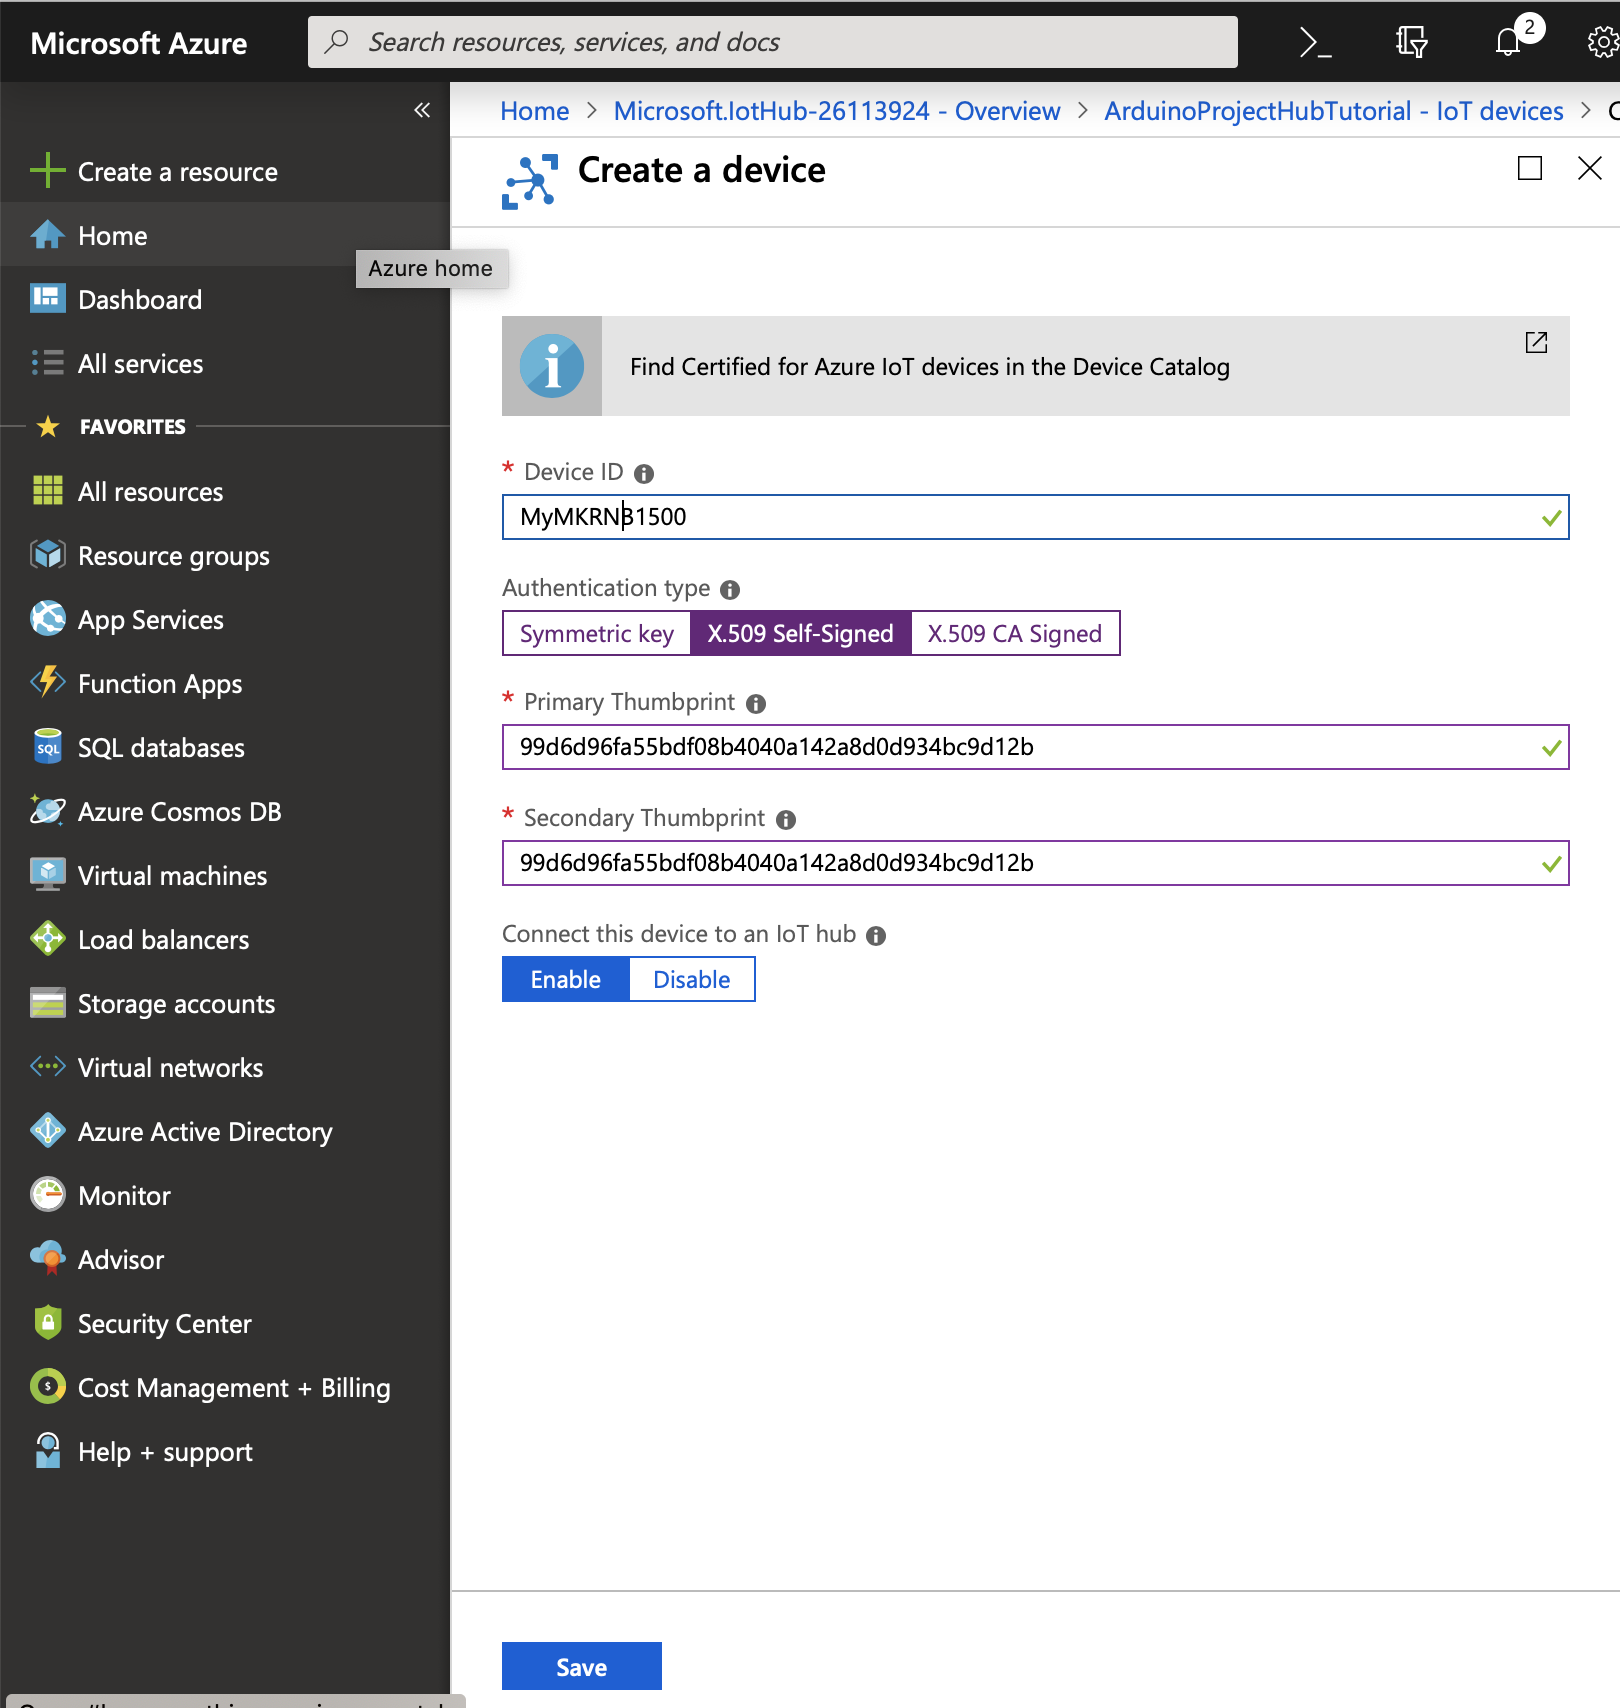
11) Enter a name for the device, below "MyMKRNB1500" was entered, then click the "X.509 Self-Signed" tab. Paste the SHA1 from the Arduino IDE's serial monitor for both the Primary and Secondary Thumbprint. Then click the "Save" button to create the device.
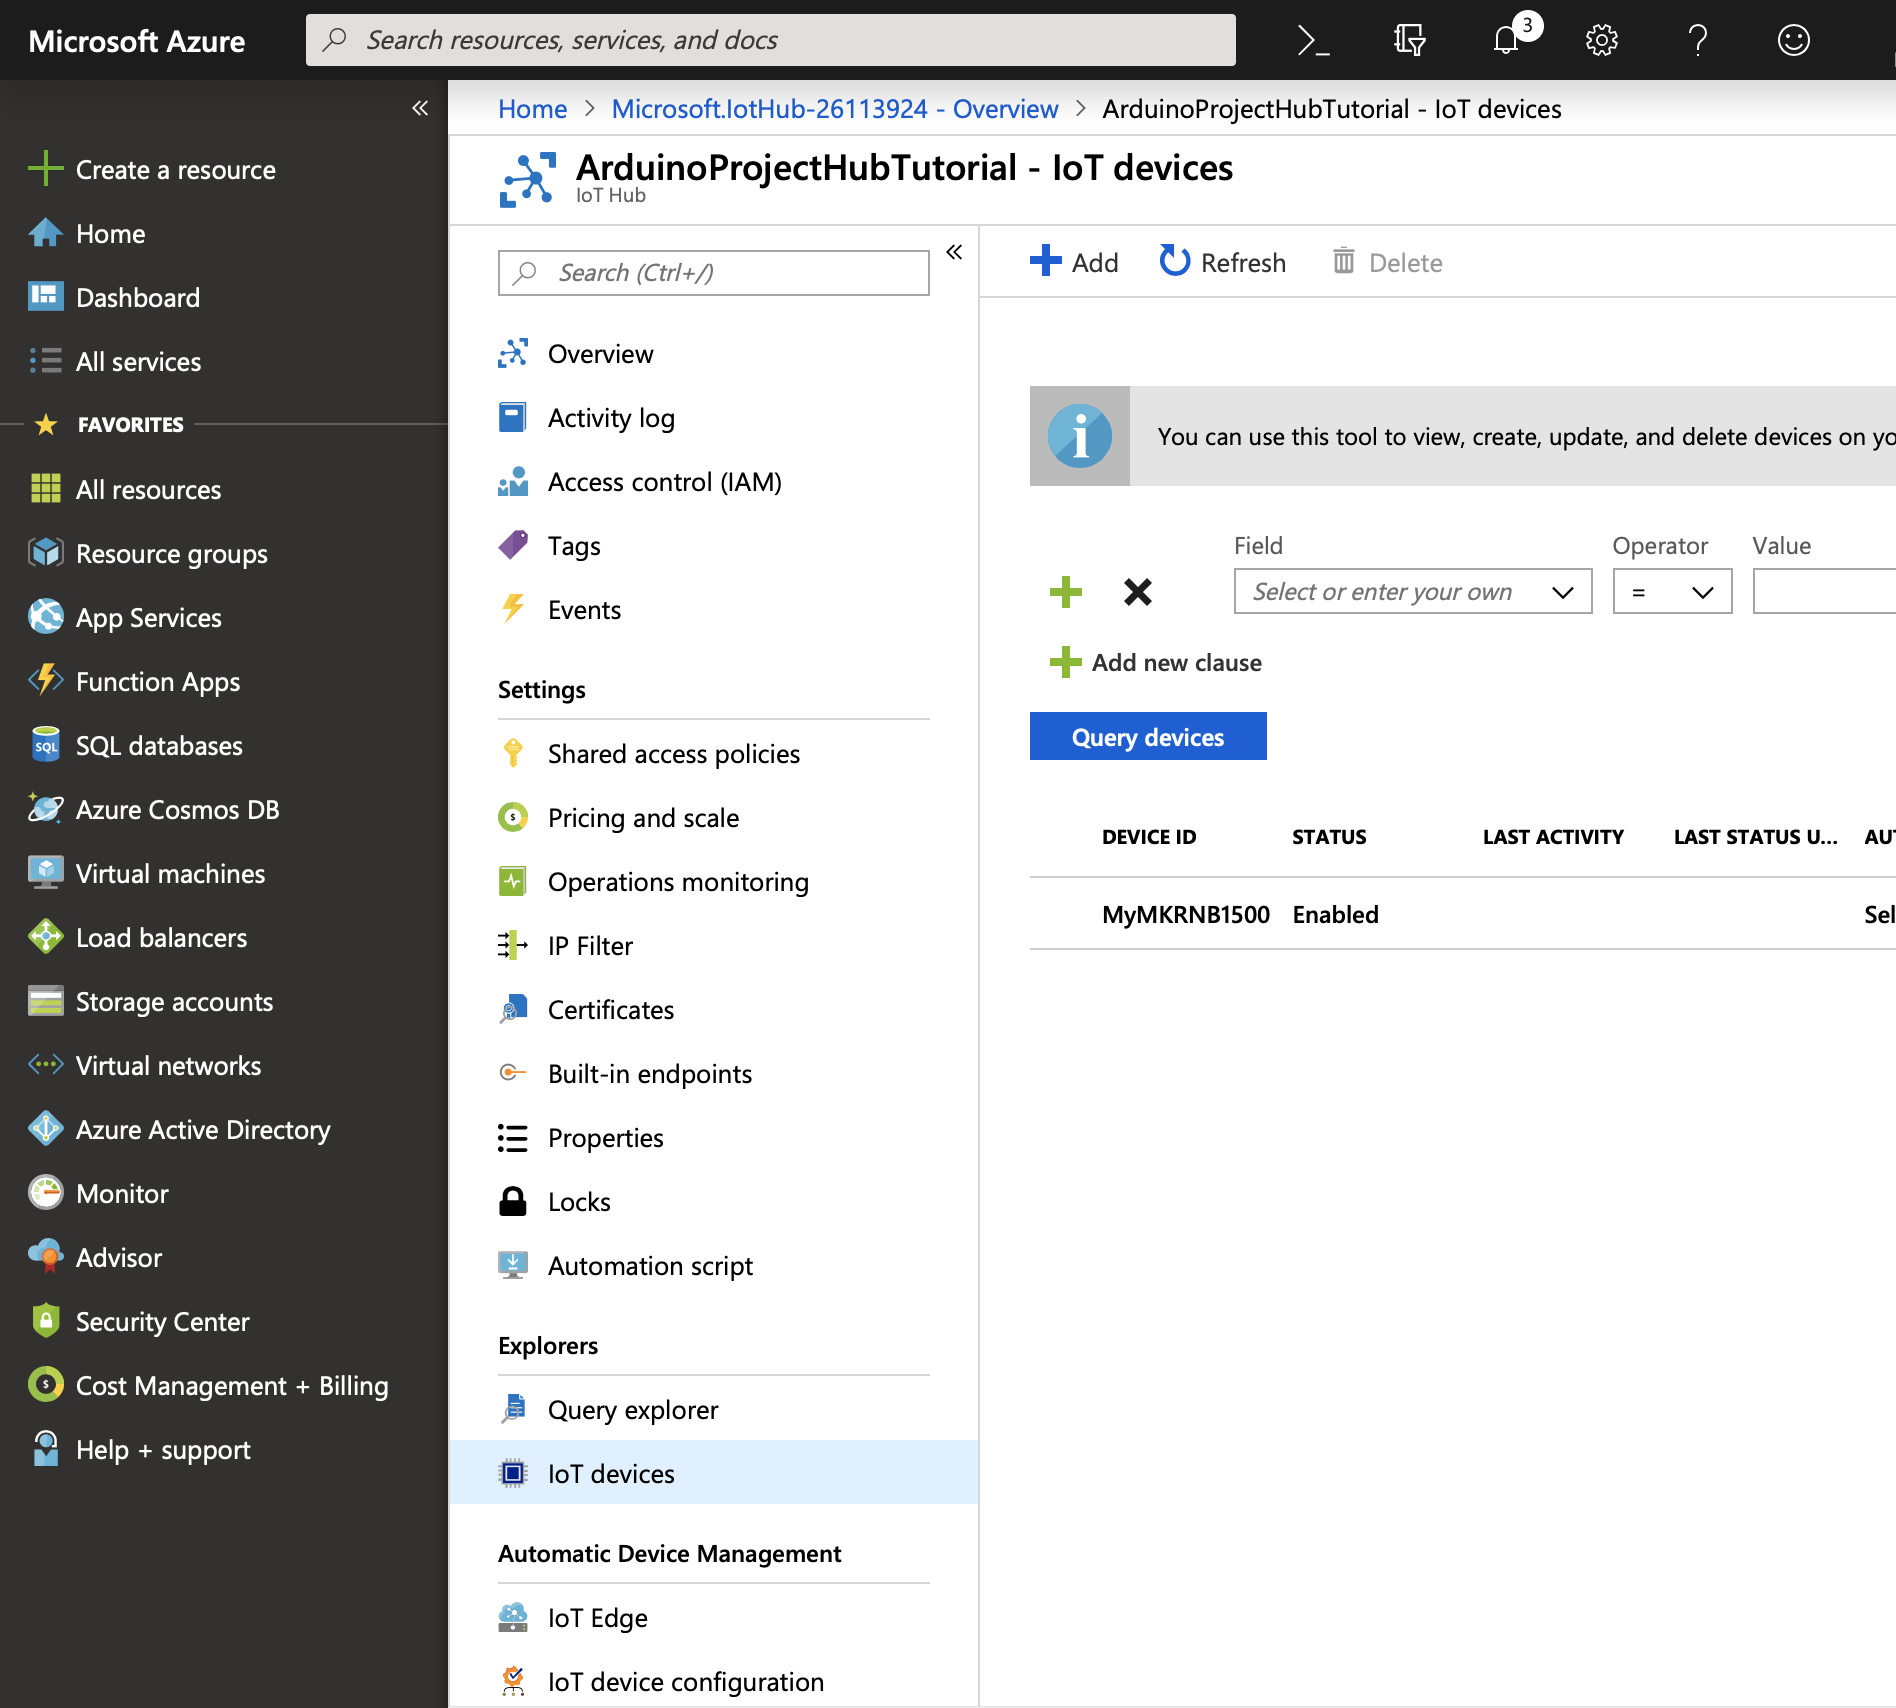
12) You will now see a new entry on the IoT Devices page.
1) Open the Azure IoT Hub NB sketch in the Arduino IDE using File -> Examples -> Arduino Cloud Provider Examples -> AzureIoTHub-> Azure_IoT_Hub_NB.
2) In the arduino_secrets.h tab, fill in the pin (if required) for the SIM card.
// NB settings
#define SECRET_PINNUMBER ""
3) Update the broker value with the endpoint created in the Azure IoT Hub portal.
// Fill in the hostname of your Azure IoT Hub broker
#define SECRET_BROKER    "<hub name>.azure-devices.net"
4) Update the device id value, with the name of the device you created in the Azure IoT Hub portal.
// Fill in the device id
#define SECRET_DEVICE_ID "<device id>"
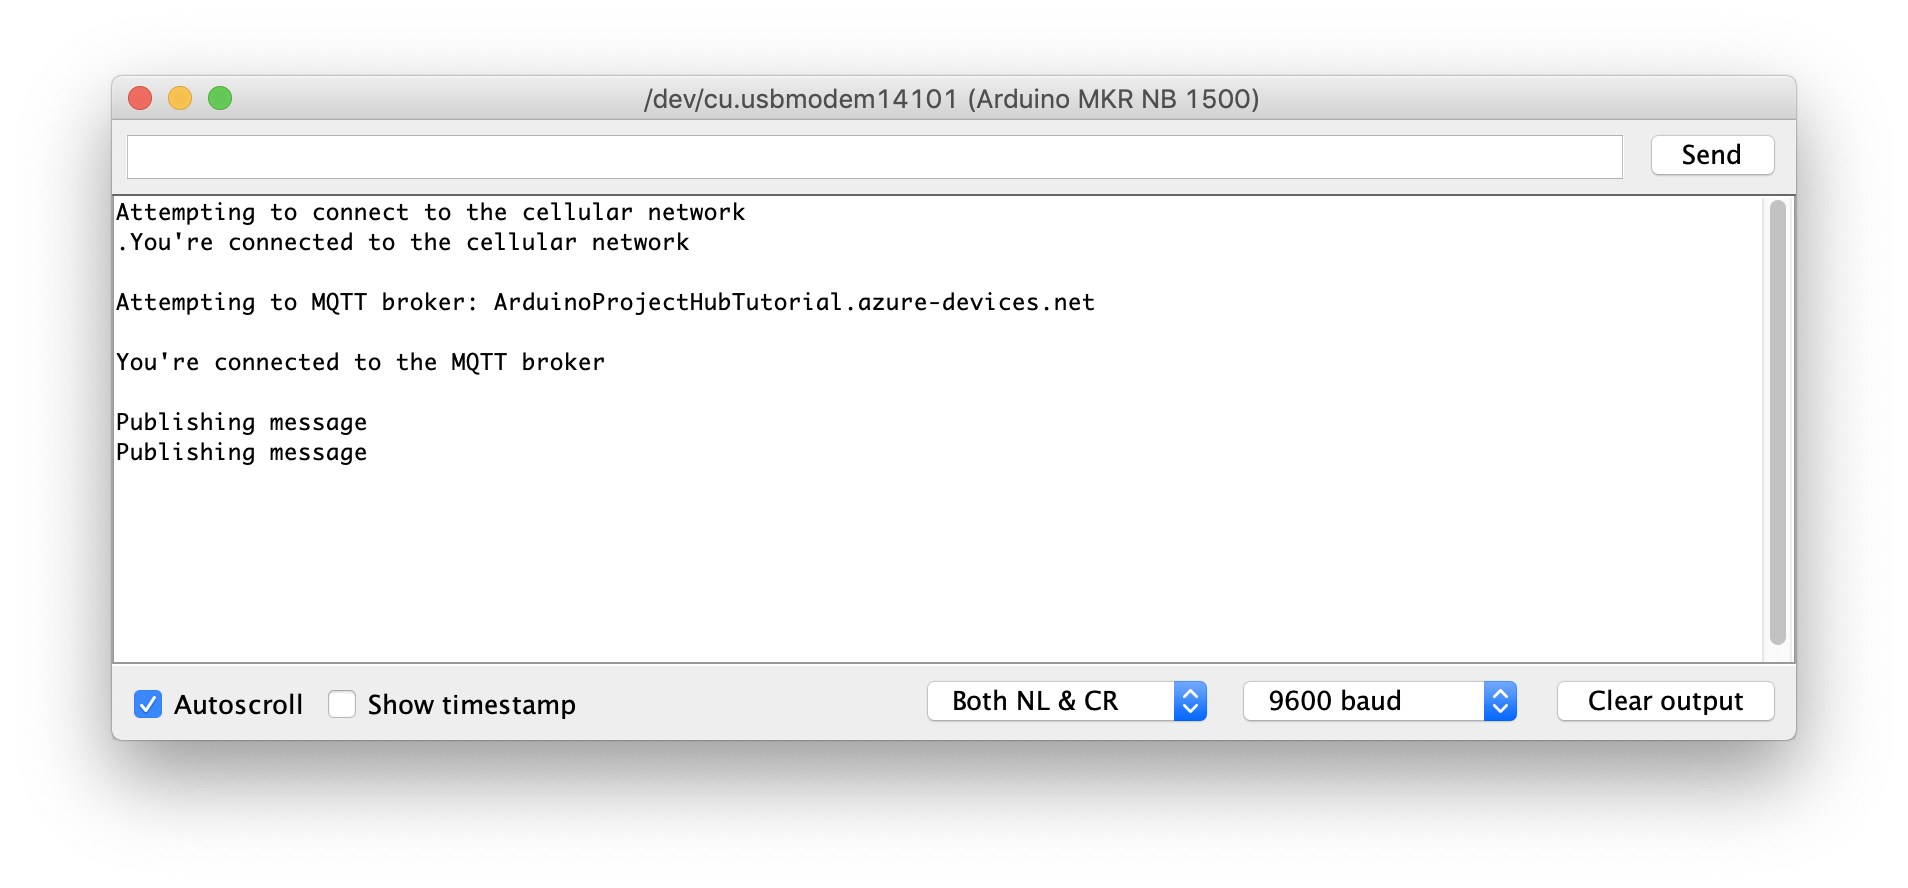
5) Upload the sketch to your board and open the serial monitor. The board will attempt to connect to the cellular network and if successful try to connect to Azure IoT Hub using MQTT.
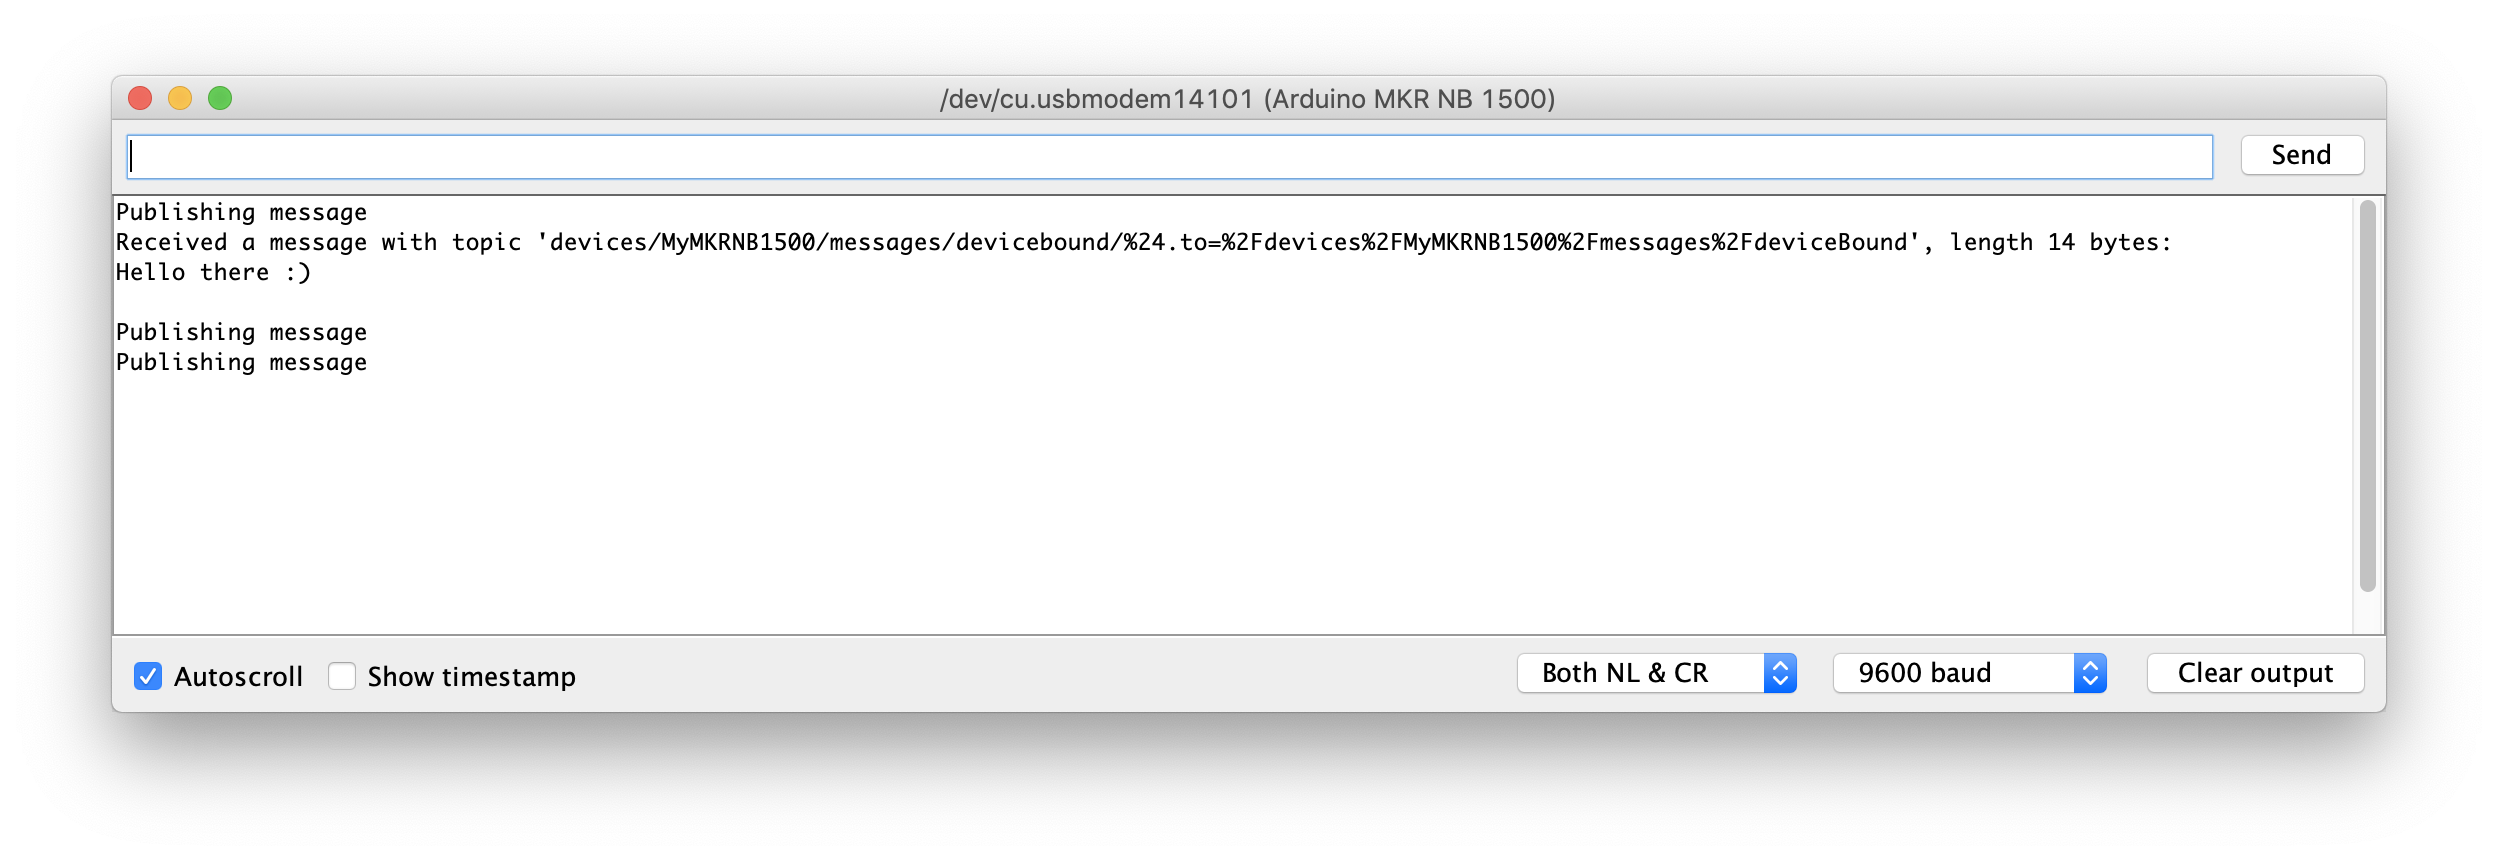
Now that your board has successfully connected to Azure IoT Hub, we can use the Azure IoT Hub portal to interact with it. The sketch sends a message to the devices/{deviceId}/messages/events/ topic every 5 seconds and listens for messages on the devices/{deviceId}/messages/devicebound/# topic.
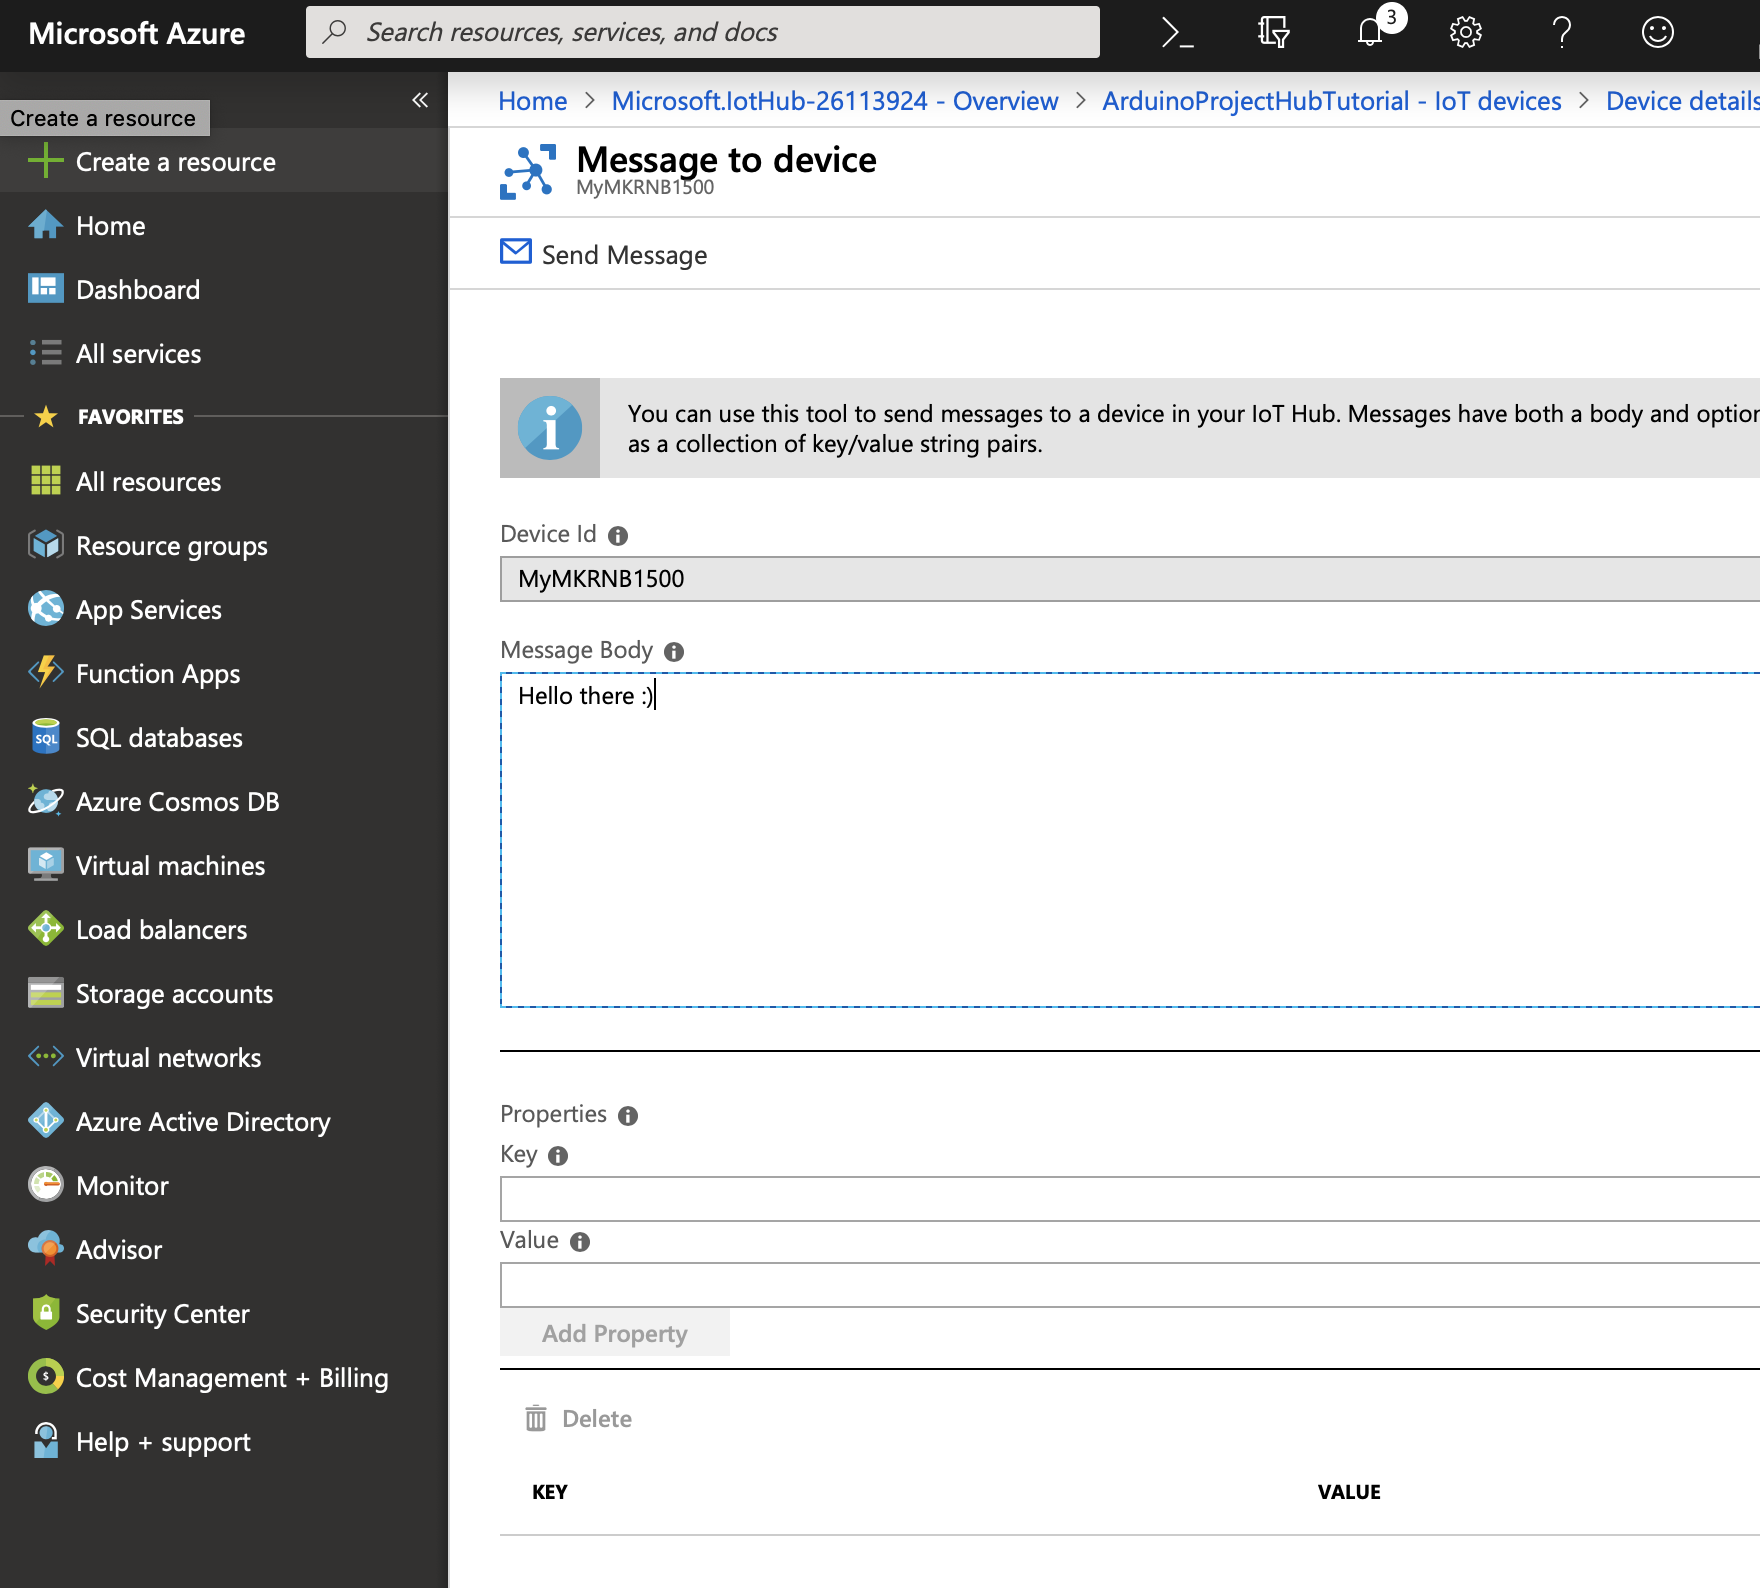
In the Azure IoT Hub portal, click the device id row in the IoT Devices table for your board. Then click the "Message to device" button in the toolbar.

You can now enter a message body to send to the device, in the screenshot below "Hello there :)" was entered. Click the "Send Message" button in the toolbar to send the message.
When the board receives the message, the Serial Monitor in the Arduino IDE will display it.
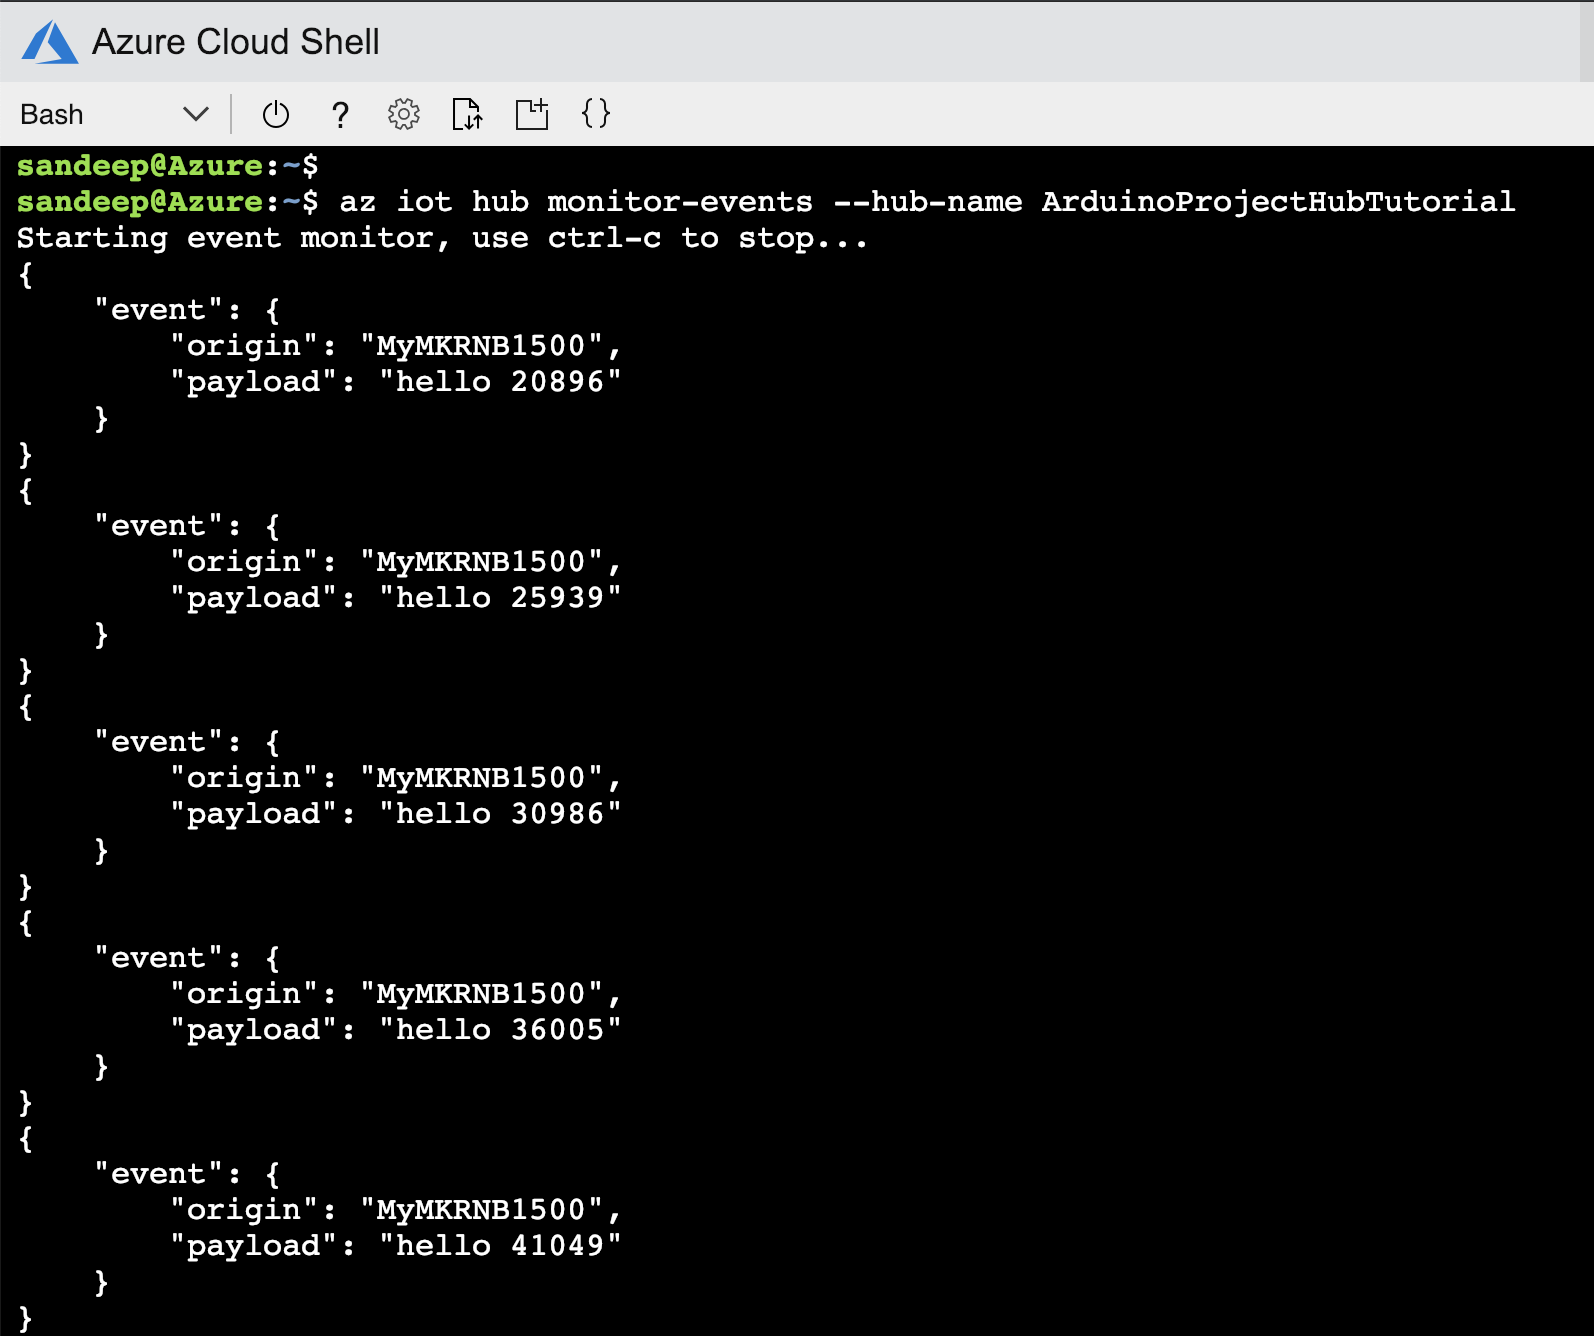
To view the messages the board is sending:
1) Log into shell.azure.com (select "Bash" if this is your first time when prompted).
2) Install the IoT Hub Extension:
az extension add --name azure-cli-iot-ext
3) Run the following command, replace <hub name> with the name of your hub (enter y if prompted for dependency update):
az iot hub monitor-events --hub-name <hub name>
4) You will see messages printed to the shell:
In this tutorial, we covered how to securely use an Arduino MKR NB 1500 board with Azure IoT Hub. A self signed X.509 certificate was used to authenticate with Azure IoT Hub using the MQTT protocol with the ATECC508A or ATECC608A storing the private key associated with the certificate. MQTT messages were sent to and from the board.
This is just the beginning, you can use Azure IoT Hub with many of the other services Azure provides!
Code
Github
https://github.com/arduino/ArduinoCloudProviderExamplesManufacturing process
- Connect Raspberry Pi 3 to DHT11 Sensor and Upload Data to ThingsIo.ai Cloud
- Build a GPS Datalogger with Spatial Analysis on Azure IoT Hub
- Real‑Time IoT Heart Rate Monitor with Arduino & MAX30100
- Azure IoT Swimming Pool Control System: Smart Sensors & Remote Monitoring
- IoT Integration: Remote Arduino Control via Windows 10 UWP Apps
- Real‑Time GPS Tracking with Helium, Azure IoT Hub, and Power BI
- Arduino Yun IoT-Enabled 5-DOF Robotic Arm with Blynk Control
- Bluetooth Integration with Arduino & Android: Build Wireless Projects
- Securely Link Arduino MKR GSM 1400 to Google Cloud IoT Core: Step‑by‑Step Guide
- Building an IoT Device with ESP8266‑01 and Arduino Nano: A Complete Guide