


Arduino IoT Cloud & Amazon Alexa Integration: A Step-by-Step Guide
Components and supplies
 |
| × | 1 | |||
 |
| × | 1 | |||
 |
| × | 1 | |||
 |
| × | 1 | |||
 |
| × | 1 | |||
| × | 1 | ||||
 |
| × | 1 |
Apps and online services
 |
| |||
 |
| |||
 |
|
About this project
Intro: Getting StartedIn this tutorial we are going to use Arduino IoT Cloud, if you are new to Arduino IoT Cloud, we advise to first take a look at this introductory project, which will give you an overview and guide you through the process of setting up your supported board, IoT Cloud things and properties and get you onboard.
Part 1: Arduino IoT CloudFrom the main IoT Cloud page, we'll create a new thing and assign it a meaningful name. We'll then select the board we are going to use. If you can't see your board you might have skipped adding a new Device following the procedure that starts after clicking the ADD DEVICE button, under the Devices section.
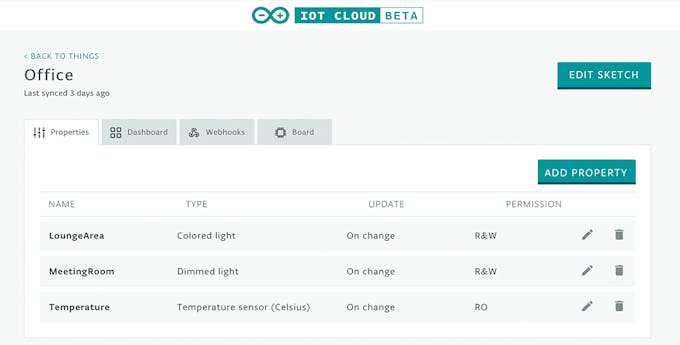
Once done, we'll add three properties to our thing. The first two will represent the lamps, the last one the temperature.
The type ColoredLight lets us control an RGB Light, allowing us to control its brightness and colour. Set it as ReadandWrite because we'll need to control its behaviour using Alexa.
The DimmedLight type is in a way similar to the above, but only lets us control the brightness of a Light.
The last property to add is the temperature. Let's add this one as ReadOnly, since we only want to know its value, not set it. As a type we can use Temperature sensor (Celsius), but feel free to set it as Fº if it suits you better.
Here it is what the Dashboard view of your Thing should look like at this point:
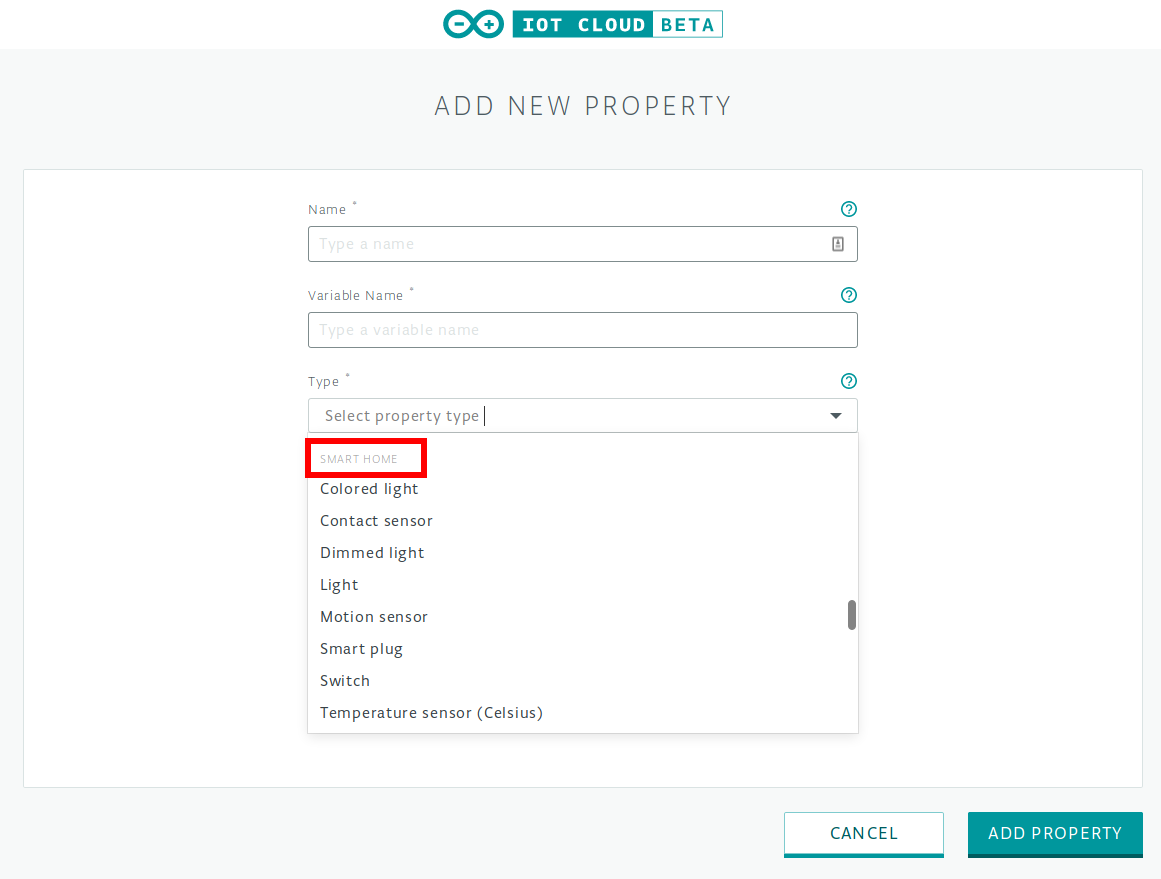
When adding properties make sure you only use types listed under the Smart Home section, otherwise they will not work with Alexa.
Now go to the Web Editor by clicking the Edit Sketch button in your Thing's edit view.
Part 2: Arduino Web EditorIn the Web Editor we need to add some code to the Sketch automatically generated for us.
Because we want to read some some environmental data (namely temperature, but feel free to add light, humidity and pressure if you please), we'll import the Arduino_MKRENV library at the top of our Sketch
#include <Arduino_MKRENV.h>
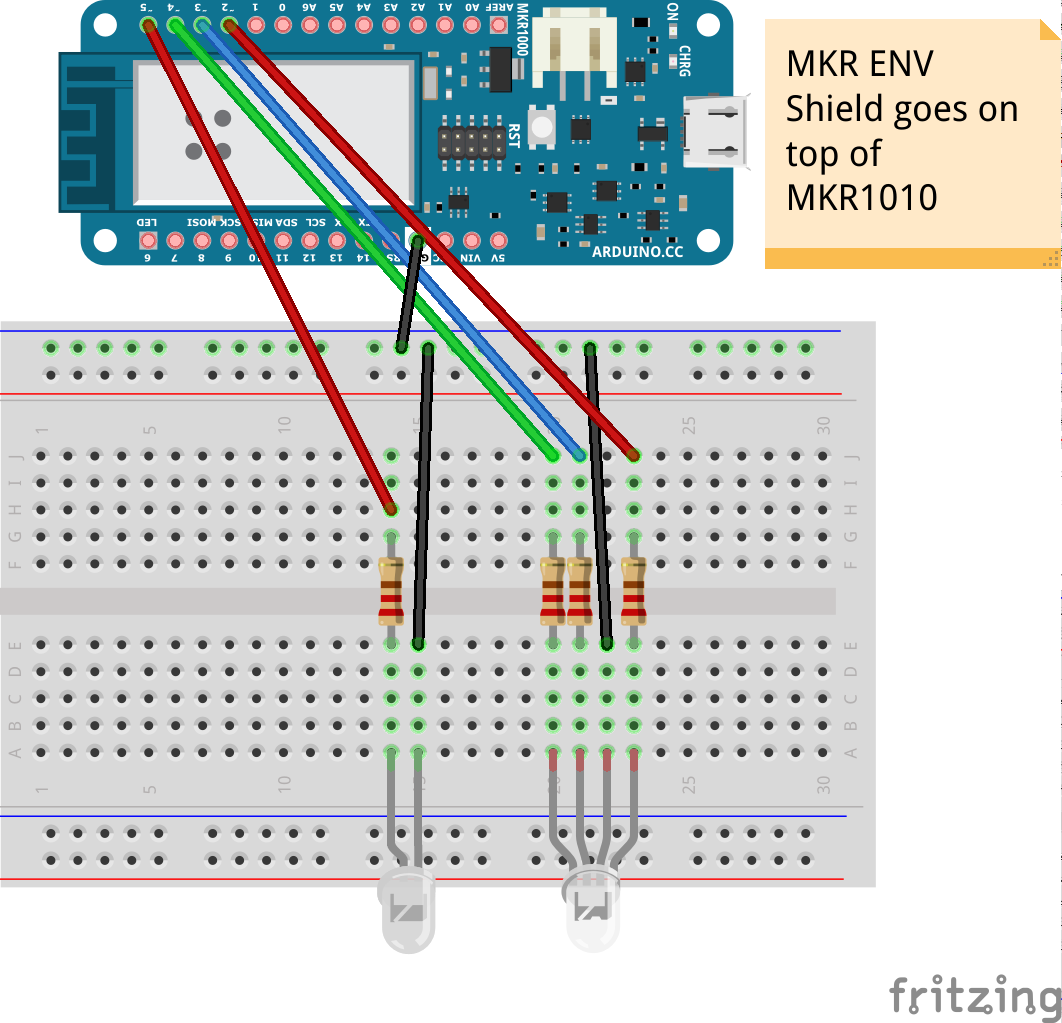
Then we define some constants for the board pins that will be used for R,G,Bandwhitelight, this way the code is more readable:
#define PIN_MEETING_ROOM 5
#define PIN_LOUNGE_AREA_R 2
#define PIN_LOUNGE_AREA_B 3
#define PIN_LOUNGE_AREA_G 4
Now in the setup function we can initialize the Arduino MKR ENV Shield with:
if (!ENV.begin()) {
   Serial.println("Failed to initialize MKR ENV shield!");
   while (1);
}
This way if the shield is not installed Sketch execution will be blocked.
We do not need to specify that pinMode needs to be OUTPUT because we'll be using analogWrite() to set the intensity of our white LED or the single colours of the RGB one.
In the loopfunction we are going to read the temperature every second:
temperature = ENV.readTemperature();
delay(1000);
Finally it's time to implement our callback functions: the ones that will be executed every time a change in a Property's value is pulled from IoT Cloud.
We have to implement onMeetingRoomChange and onLoungeAreaChange:
void onMeetingRoomChange() {
 uint8_t brightness = map(meetingRoom.getBrightness(), 0, 100, 0, 255);
 if (meetingRoom.getSwitch()) {
   Serial.println(brightness);
   analogWrite(PIN_MEETING_ROOM, brightness);
 }
 else{
   analogWrite(PIN_MEETING_ROOM, LOW);
 }
}
with the code above we first read the brightness value from the cloud and map it to a usable value, then we verify if the light switch is on, if it is we can turn on the light, using the brightness red before. Otherwise we turn off the light
The working principle is the same for the other callback:
void onLoungeAreaChange() {
 uint8_t r, g, b;
 loungeArea.getValue().getRGB(r, g, b);
 if (loungeArea.getSwitch()) {
   Serial.println("R:"+String(r)+" G:"+String(g)+ " B:"+String(b));
   analogWrite(PIN_LOUNGE_AREA_R, r);
   analogWrite(PIN_LOUNGE_AREA_B, b);
   analogWrite(PIN_LOUNGE_AREA_G, g);
 }
 else{
    Serial.println("Lamp Off");
    analogWrite(PIN_LOUNGE_AREA_R, 0);
    analogWrite(PIN_LOUNGE_AREA_B, 0);
    analogWrite(PIN_LOUNGE_AREA_G, 0);
 }
}
The only notable difference is the fact that instead of the just brightness, we have three different components: they are the representation of the RGB colour of the light. Of course we can define custom colours by name in the Alexa app so we won't have to manually tell which amounts of Red, Green or Blue we want to set.
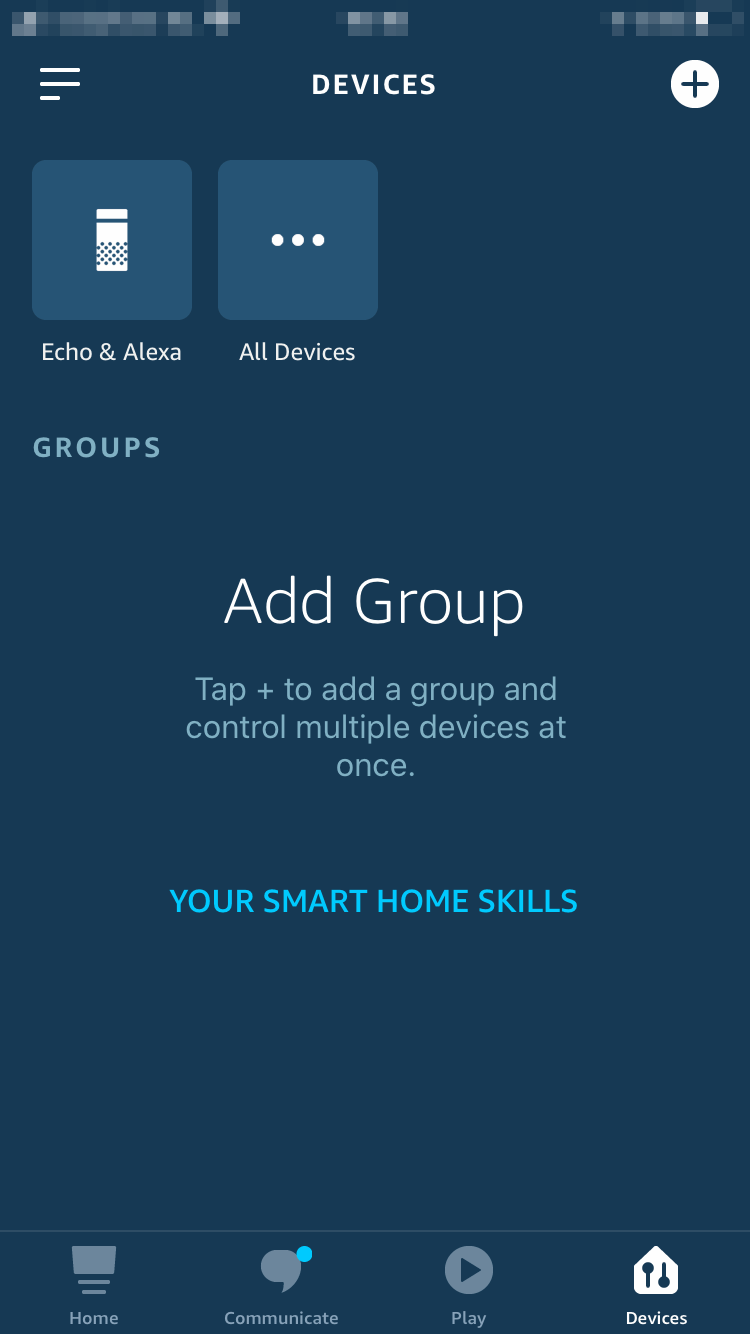
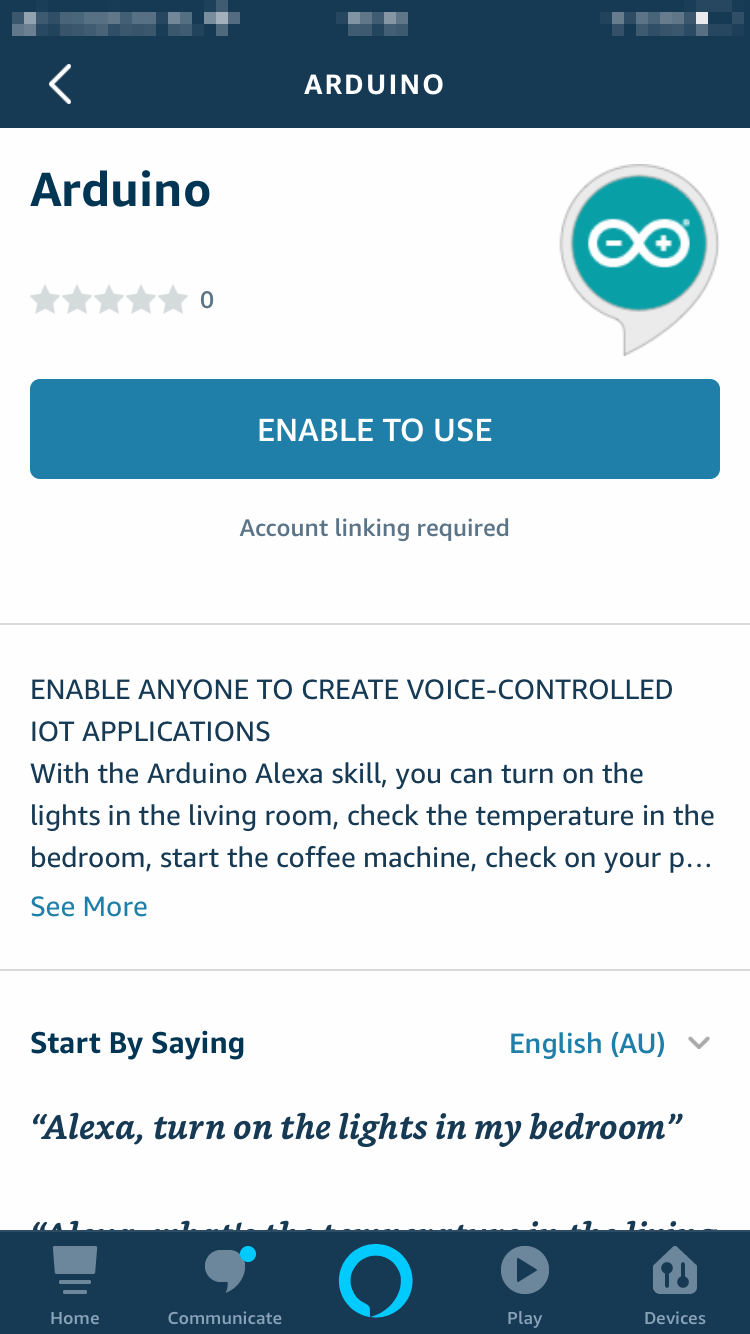
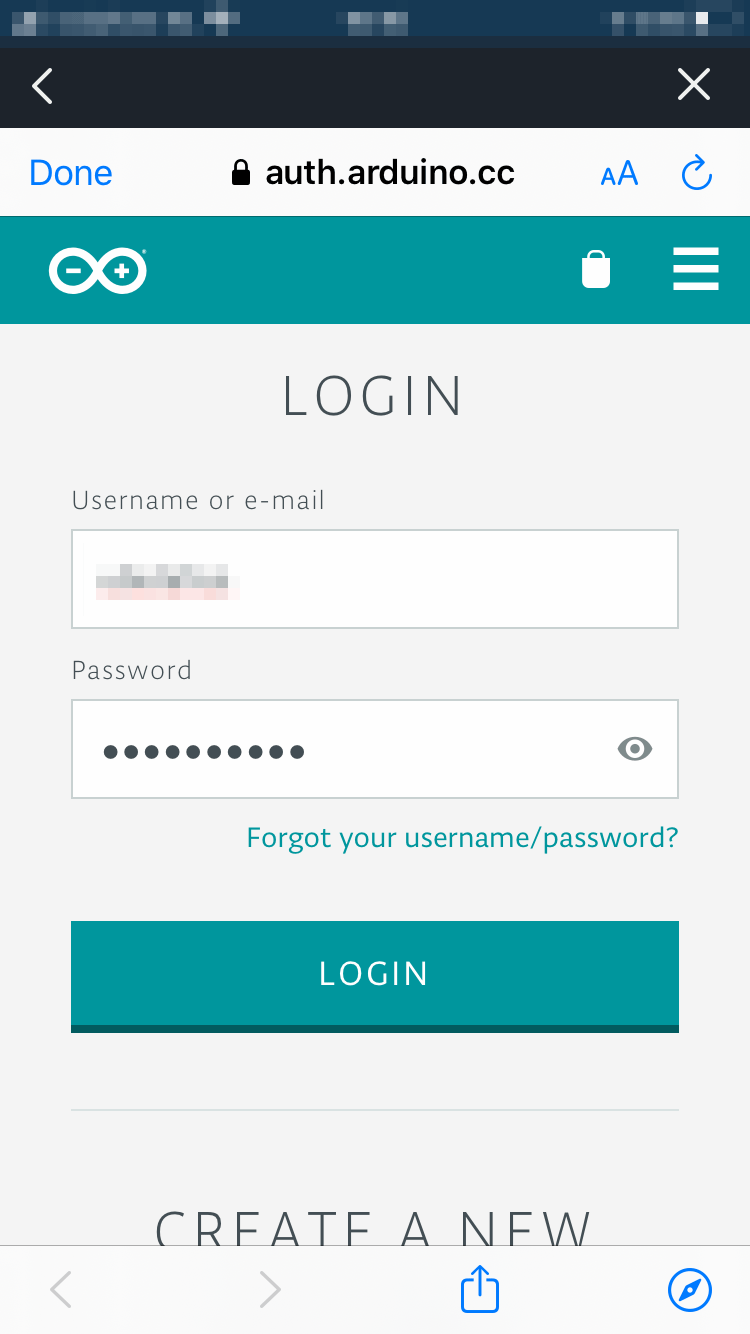
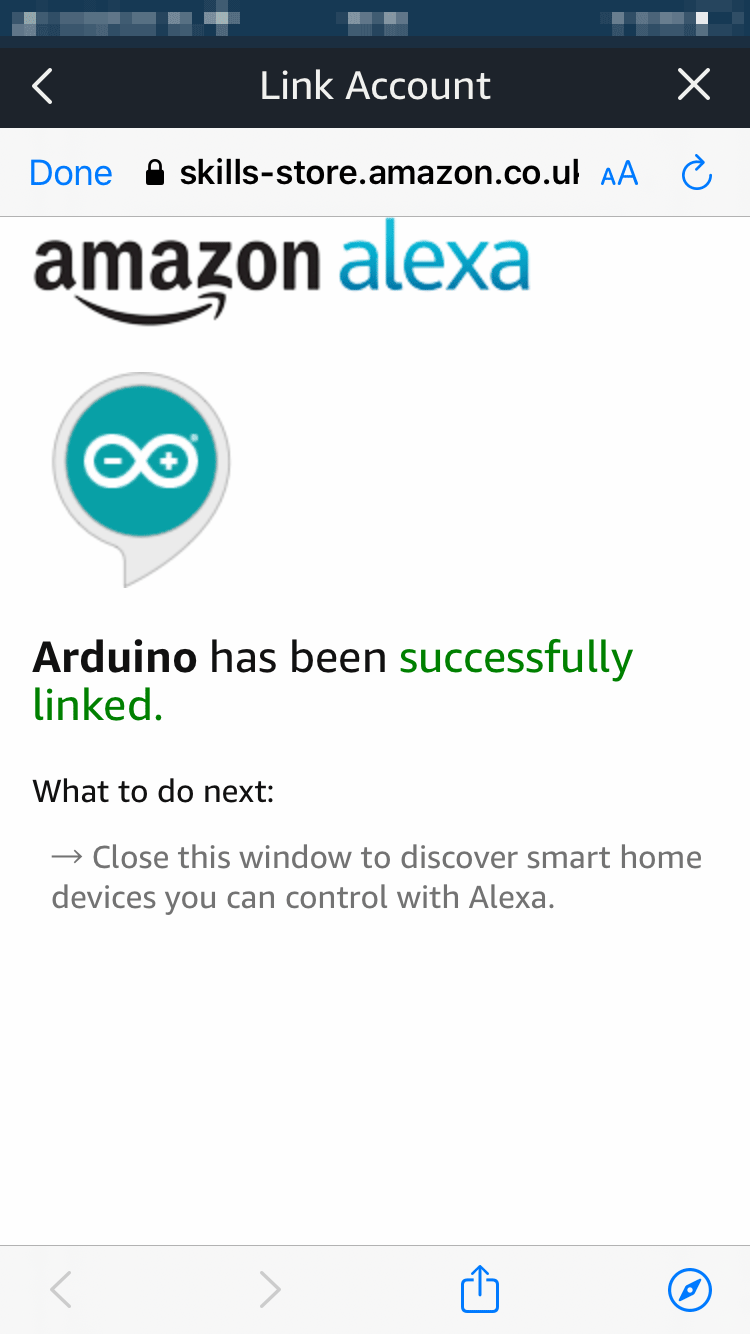
Part 3: Amazon Alexa Skill SetupWe will now need the Amazon Alexa app which can be downloaded from the Apple App Store or the Google Play Store. Once installed, login with your existing account or create a new one.
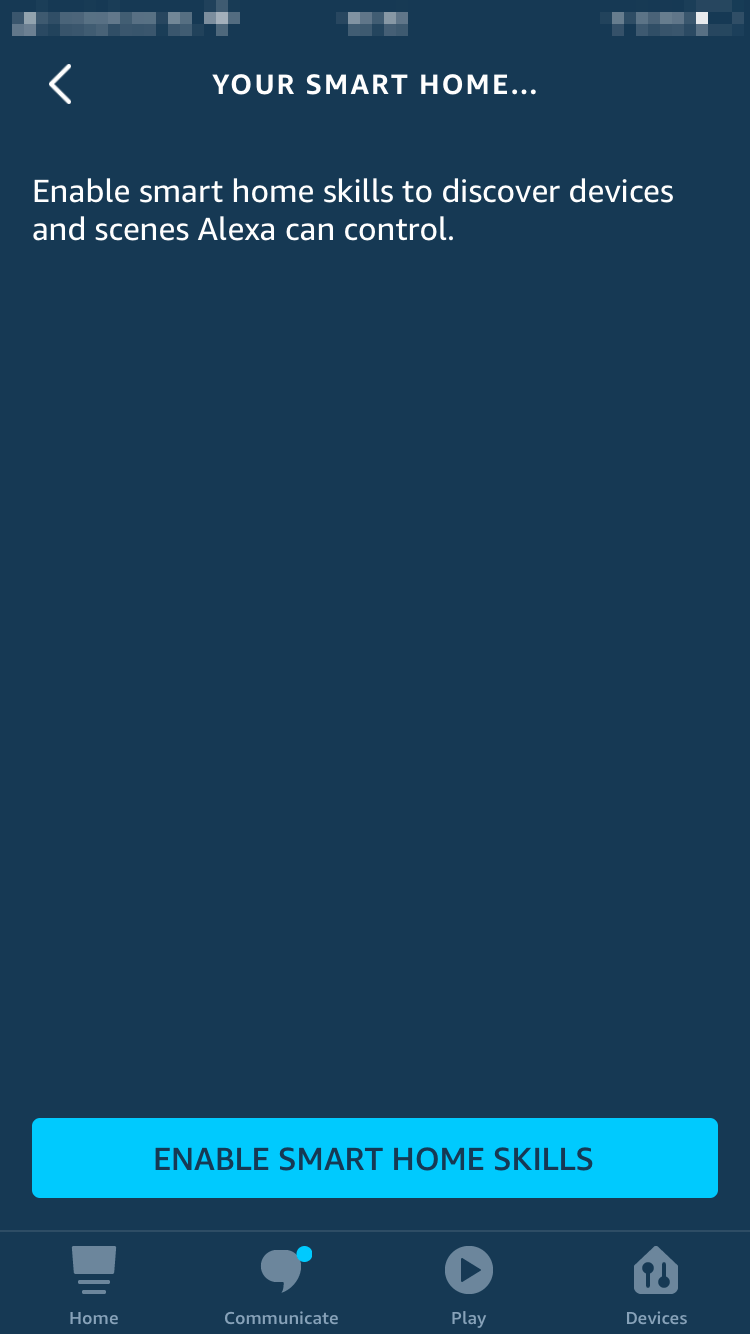
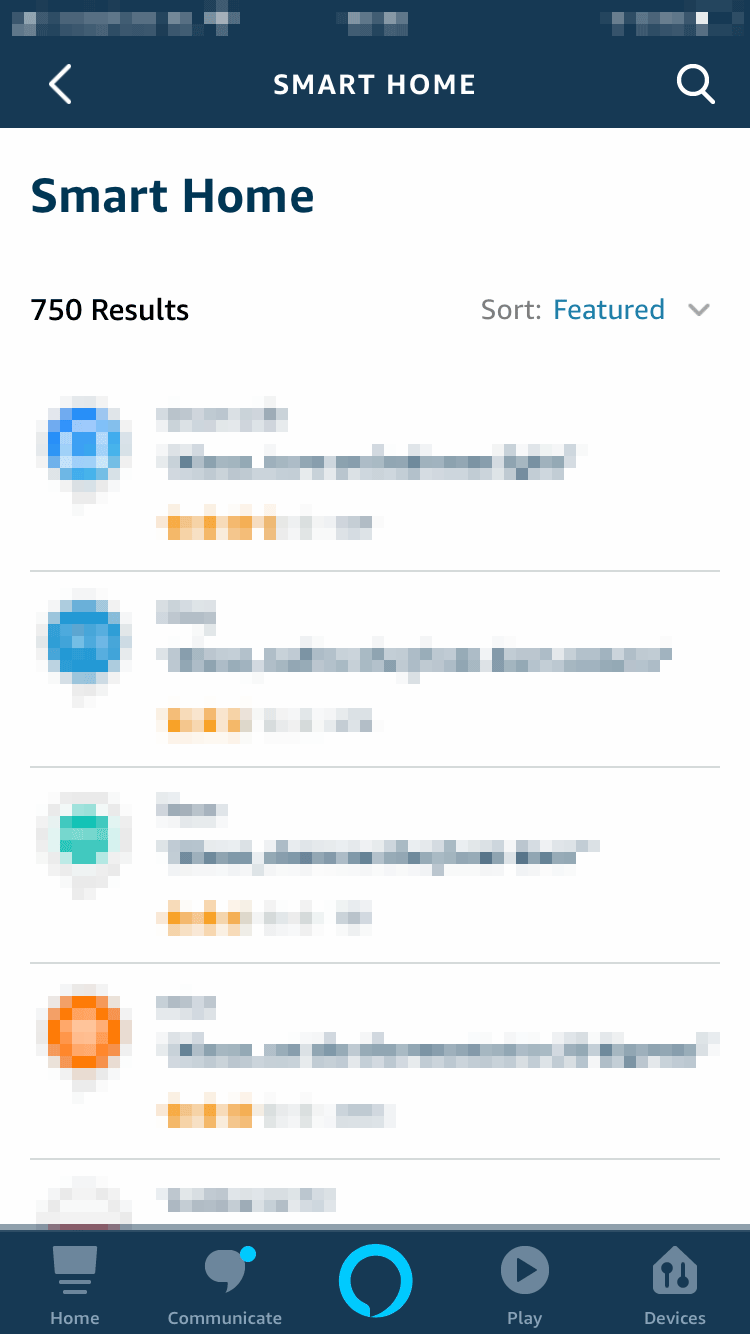
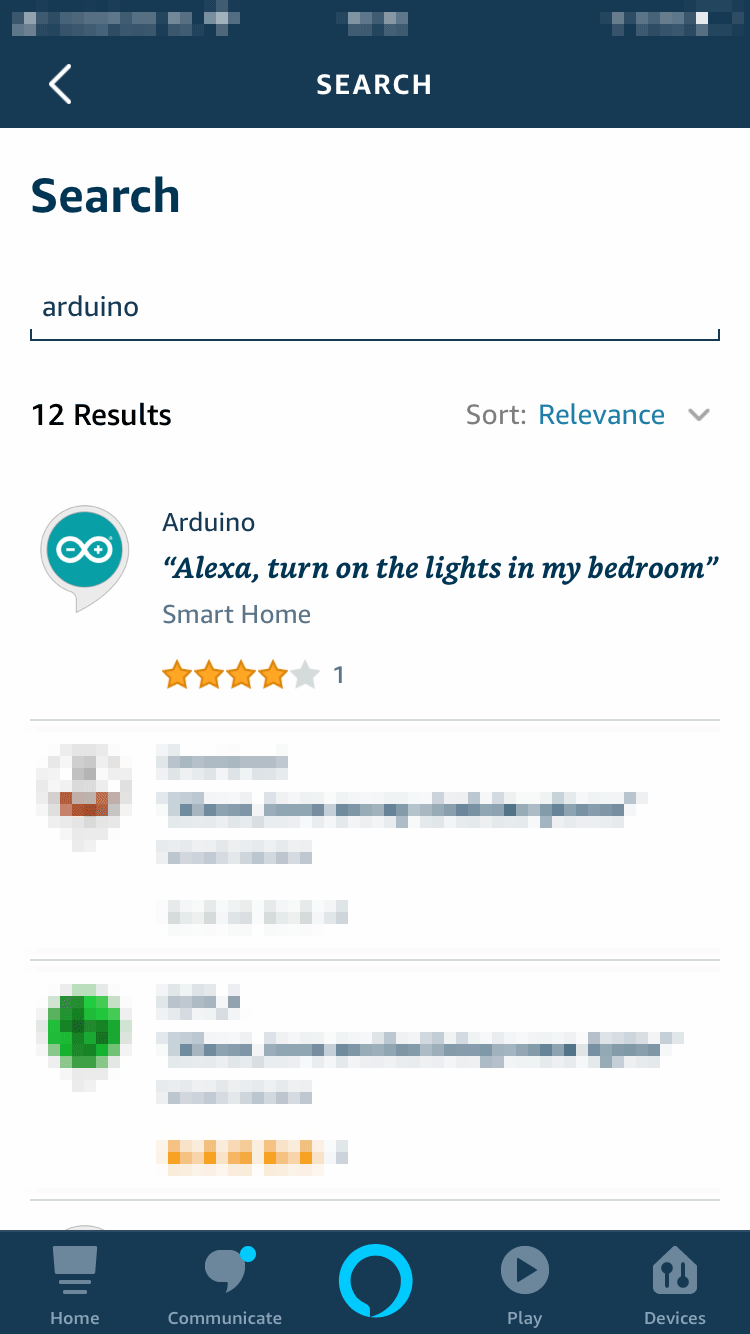
Let's go through the steps necessary to install the Arduino Alexa Skill. We'll follow the sequence of images below to see all the required steps.
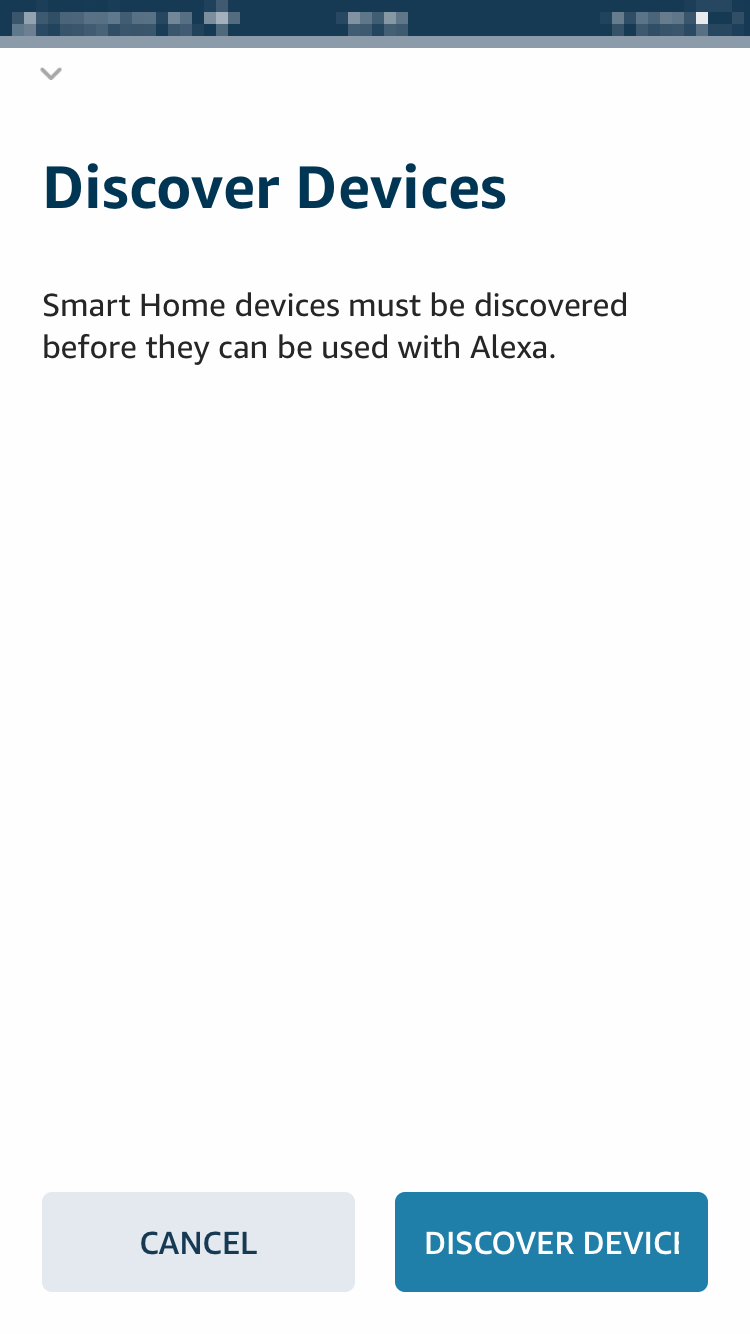
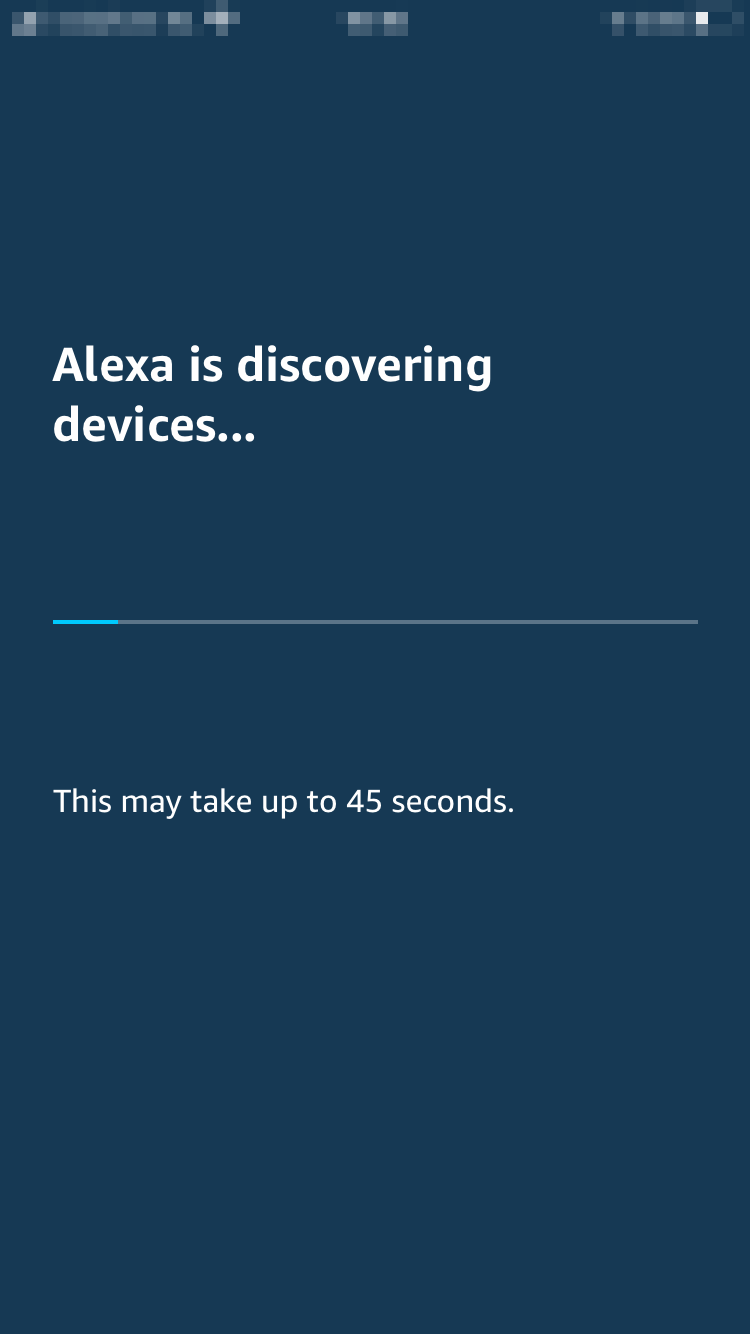
After waiting a little bit, you should see that some devices have been found.
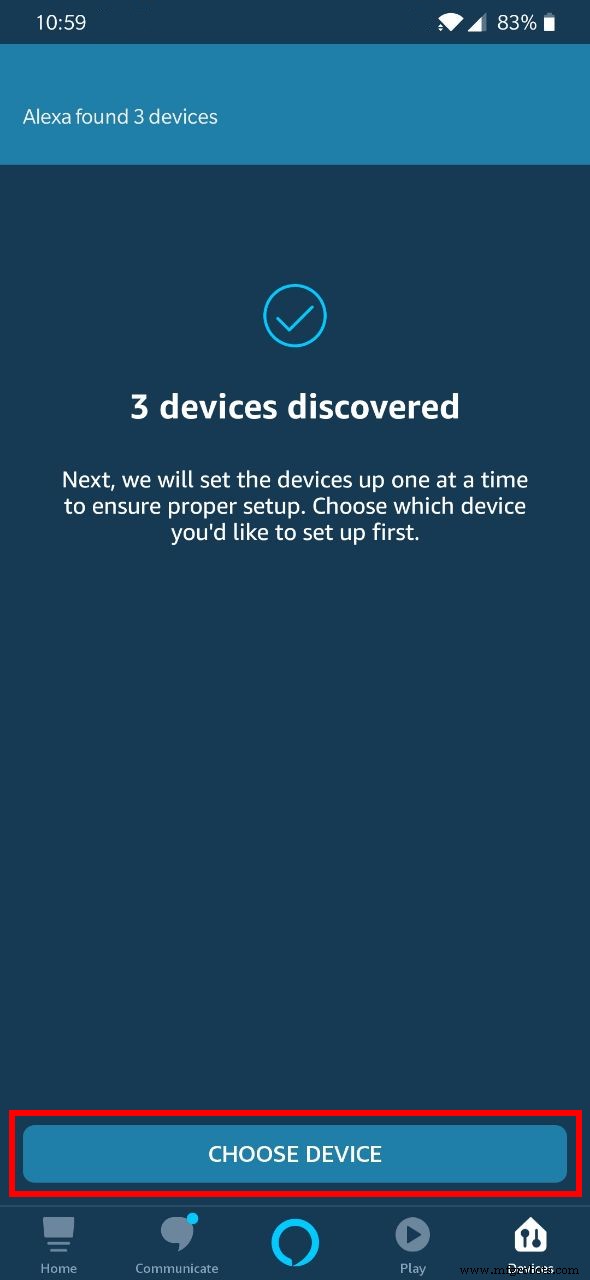
After tapping on Choose Device you will be presented with the setup page listing all the available devices (They will be named according to how we named our properties in Arduino IoT Cloud).

Let's choose one device and tap Set Up Device. If you like you can also add it to a group (This way you can control and organize your devices more easily), otherwise skip this part.

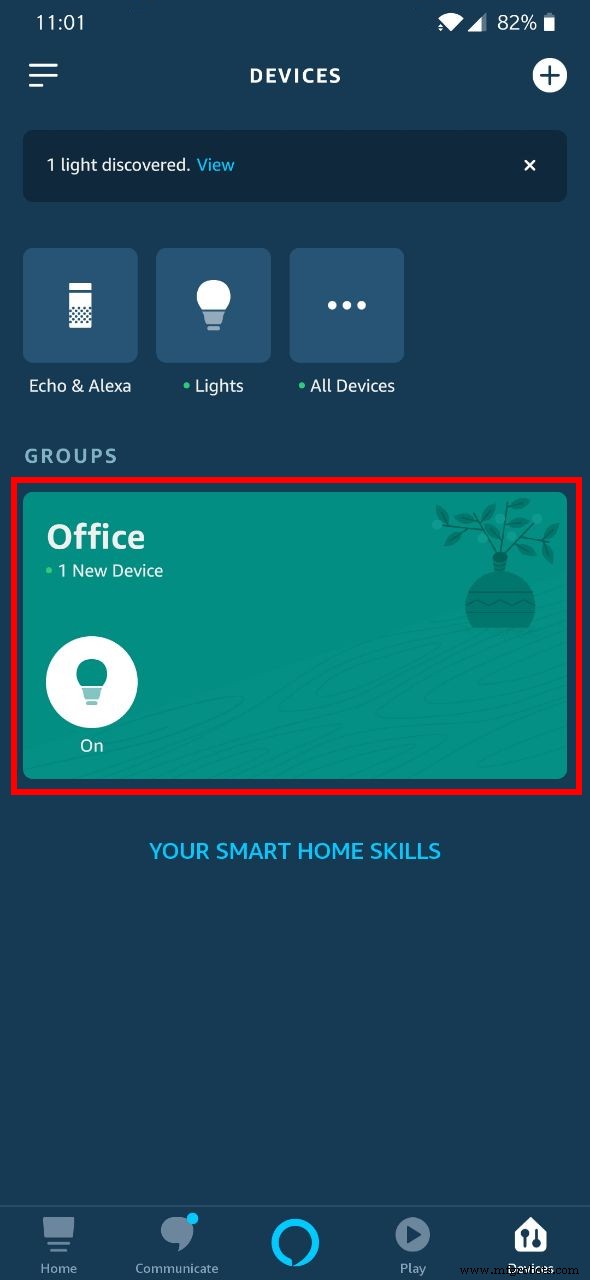
Repeat the Setup process for every device you want to control.
Finally the device view should look like this:
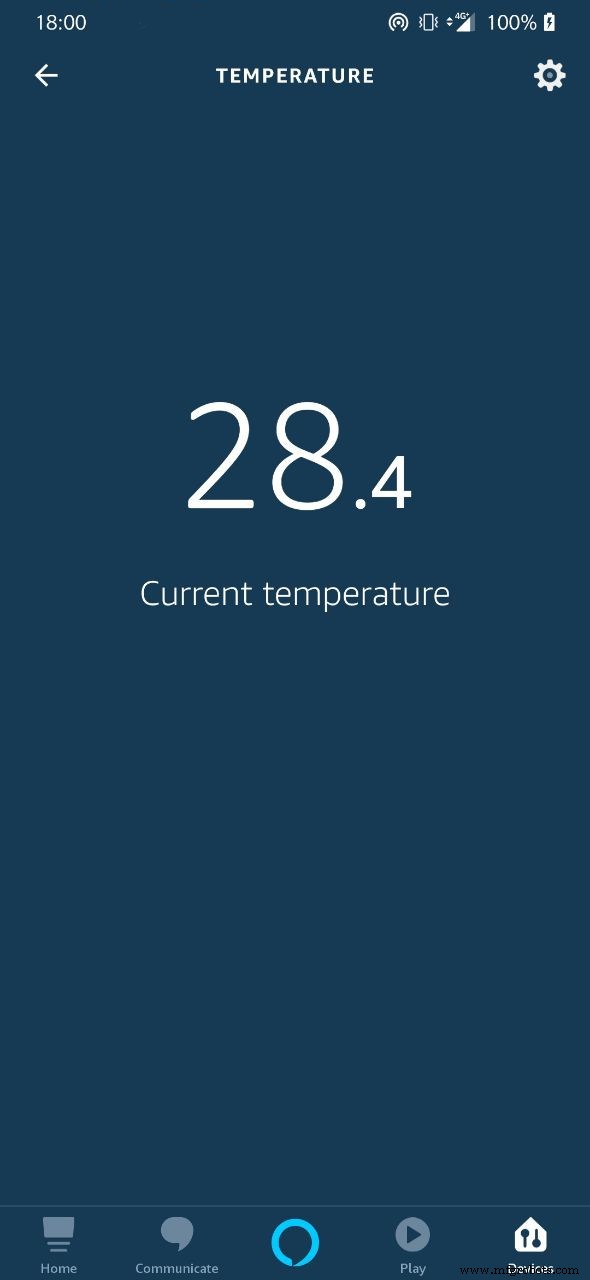
We can finally start asking things like "Alexa, what's the temperature in the office?" or "Alexa, turn on the light in the meeting room."
Have fun playing with Alexa and IoT Cloud. If you have questions or build this project let us know in the comments below.
The Arduino Team
Code
Arduino
Schematics
Manufacturing process
- Fog vs. Cloud: Optimizing IoT Deployments for Speed and Scale
- Control Your Chromecast with Amazon Alexa Using a Raspberry Pi and Python
- Build a Sensor Tower with Arduino Cloud: Temperature, Motion & Gas Monitoring
- Control Your TV with Alexa via Arduino IoT Cloud – Step‑by‑Step Guide
- Real‑Time IoT Pressure Monitoring with MKR GSM, Arduino Cloud, and Google Sheets
- Control LED Lights with Alexa via Arduino Yun – A Smart Home Tutorial
- Arduino Yun IoT-Enabled 5-DOF Robotic Arm with Blynk Control
- Securely Link Arduino MKR GSM 1400 to Google Cloud IoT Core: Step‑by‑Step Guide
- COVID-19 Real-Time Tracker: Stay Updated with Live Global Data
- Capture & Visualize Environmental Data with Arduino MKR WiFi 1010 on IoT Cloud