


Integrating Arduino Uno with ESP8266: A Step‑by‑Step Guide
Components and supplies
| × | 1 | ||||
 |
| × | 1 | |||
 |
| × | 1 | |||
 |
| × | 1 | |||
 |
| × | 1 |
Apps and online services
 |
| |||
| ||||
| ||||
|
About this project
Our goal was to create an Esp8266 AT command library (based on the ITEAD library), that would work well on software serial on most ESP8266 devices, provided they have firmware that responds to AT commands (which is usually the manufacturer default).
We are distributing this preliminary library for testing and would appreciate your feedback and improvements through the Github Repository.
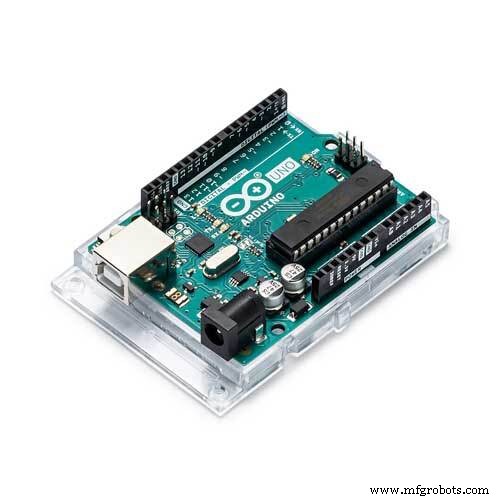
1. Stuff you need:- Arduino Uno (and Arduino IDE installed)
- ESP8266
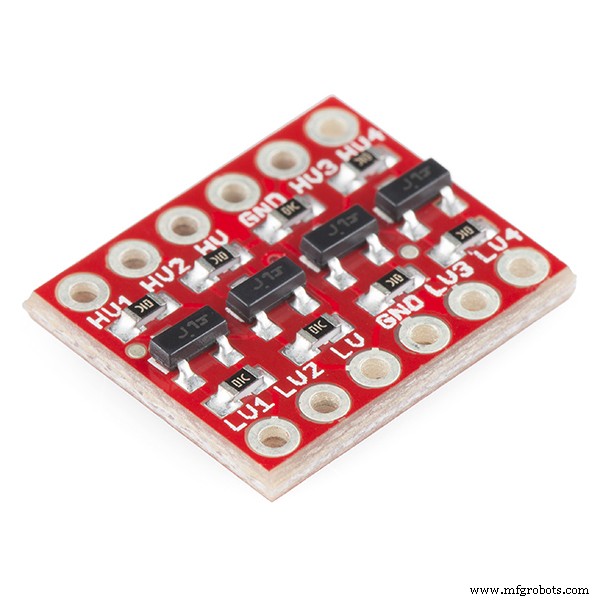
- Logic Level Converter
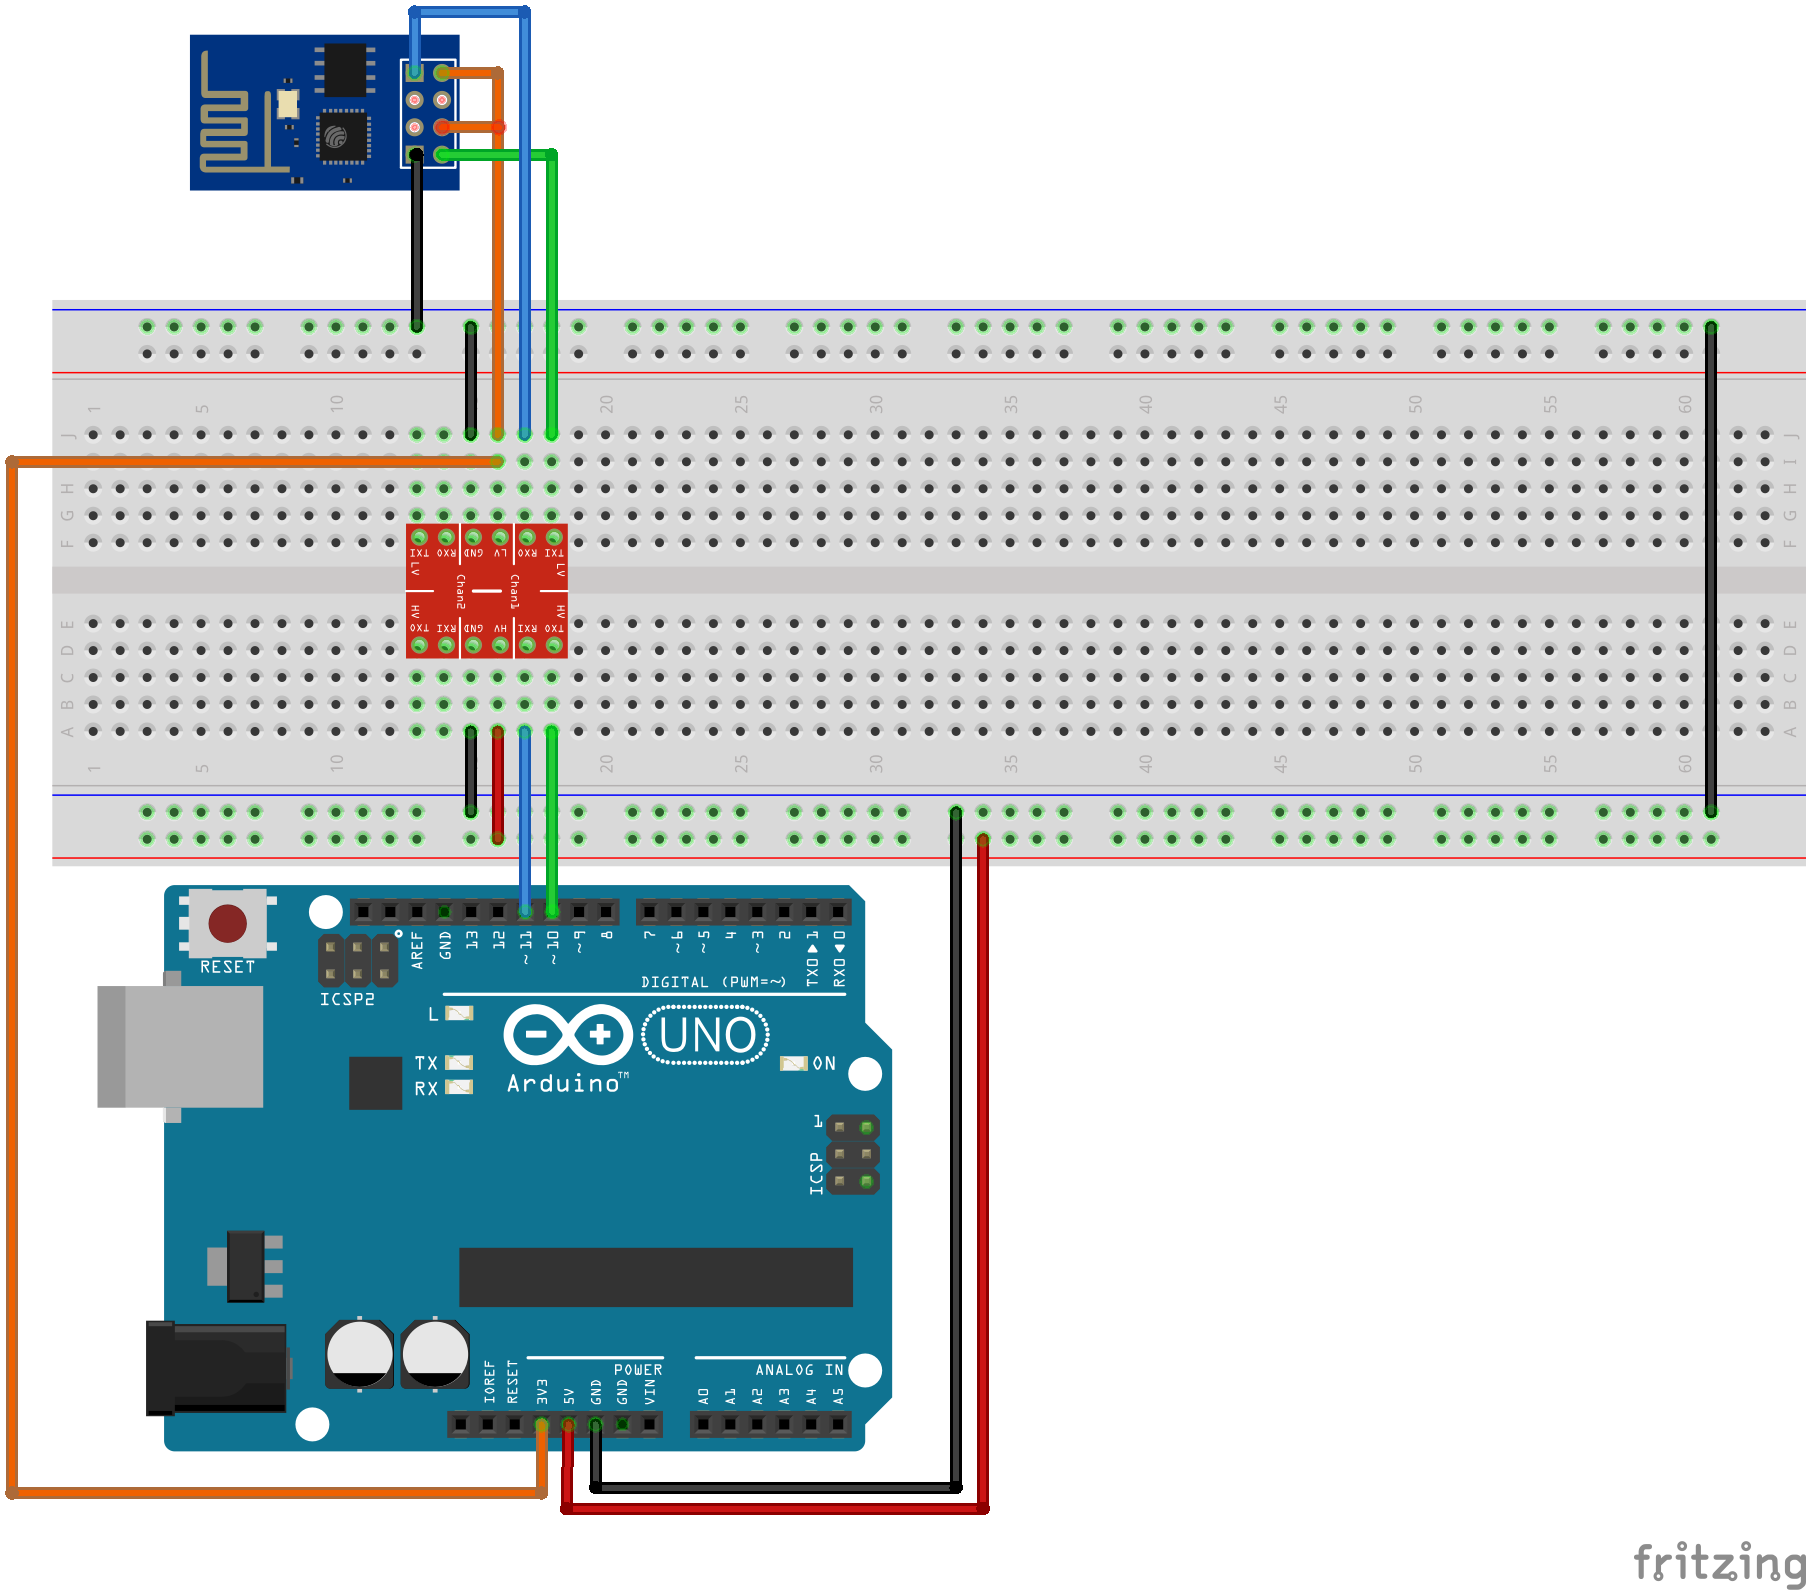
connect the ESP8266 via Software Serial to your Arduino Uno board using a logic converter, as shown in the wiring figure attached.

Open the Firmware.ino library from Github and enter your SSID and the PASSWORD to your Wi-Fi:
const char *SSID= "WIFI-SSID";
const char *PASSWORD="WIFI-PASSWORD";
Connect the Arduino to your computer and upload the sketch.
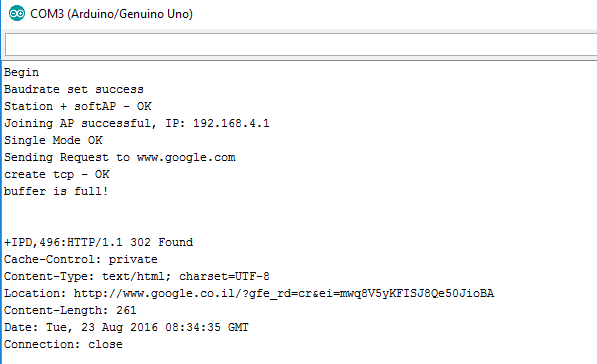
5. Open serial monitor in Arduino IDEClick on the Serial monitor button in the Arduino IDE (in the top-right corner). If everything is OK, you should see the following output on the serial monitor:
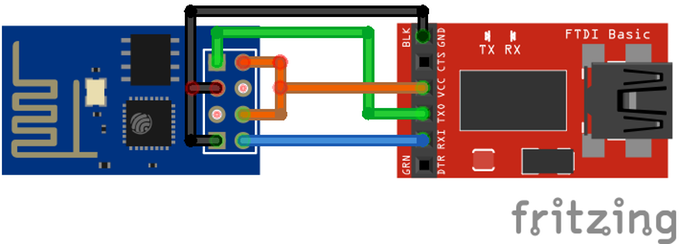
If you get no response, try updating the ESP firmware to the one provided below. Use a 3.3v FTDI board like this one.

- Hookup the ESP to the FTDI Get the ESP8266Flasher
- Get the 1.1.1.1 Firmware
- Flash the ESP
If you receive partial response from the esp8266 when using software serial, go to: C:\ProgramFiles(x86)\Arduino\hardware\arduino\avr\libraries\SoftwareSerial\src\SoftwareSerial.h
Change line 42:
#define _SS_MAX_RX_BUFF 64 // RX buffer size
To:
#define _SS_MAX_RX_BUFF 256 // RX buffer size.
This will enlarge the software serial buffer. Sometimes setting the baud rate on initialization fails, try resetting the Arduino, it should work fine. If for some reason, you are still having trouble, please comment here so we will try to locate the problem. If you have any improvement suggestions, please do a pull request on Github.
Generally, this code should work for all Arduino Uno ESP8266-01 versions.
Your feedback is most welcome!
Code
Arduino Uno ESP 8266-01 software serial integration
This is the GIT repository you'll need in order to make the connectionhttps://github.com/Circuito-io/ESP8266_SoftwareSerialSchematics

Manufacturing process
- DIY Arduino Word Clock – Build a Sleek Real-Time Display
- DIY Arduino USB Gaming Controller – Build Your Own High-Performance Gamepad
- Build a Basic Calculator with Arduino UNO – Easy Project
- Build a Portable Persistence of Vision Display with Arduino UNO and ATtiny85
- Effortless Arduino Stopwatch: Build a Button-Activated Chronometer
- Smart Gesture-to-Text Hand Glove for Sign Language
- Arduino DMX-512 Tester Controller – Full Parts Kit for Reliable Lighting Control
- Smartphone-Based Temperature Monitoring System with Arduino and Bluetooth
- Arduino Laser Tripwire Project: Build a Simple Intrusion Detector
- Arduino UNO Guitar Pedal: DIY, Open‑Source, Beginner‑Friendly