


Build a Sensitive Metal Detector with Arduino Nano – DIY Guide
Components and supplies
 |
| × | 1 | |||
 |
| × | 1 | |||
| × | 1 | ||||
 |
| × | 6 | |||
| × | 1 |
Necessary tools and machines
 |
|
Apps and online services
|
|
About this project
This is a modified version of the well-known Russian pulse induction metal detector called "PIRAT", this time made with the help of Arduino Nano, which greatly simplifies its production.
It can detect a metal coin at a distance of 15 cm and a larger metal object at a distance of 40 cm and more. That's a relatively good result considering its simplicity.
Pulse Induction (PI) Metal detector use a single coil as both transmitter and receiver. This technology sends powerful, short bursts (pulses) of current through a coil of wire. Each pulse generates a brief magnetic field. When the pulse ends, the magnetic field reverses polarity and collapses very suddenly, resulting in a sharp electrical spike. This spike lasts a few microseconds and causes another current to run through the coil. This current is called the reflected pulse and is extremely short, lasting only about 30 microseconds. Another pulse is then sent and the process repeats. If a piece of metal comes inside the range of the magnetic field lines, the receive coil can detect a change in both amplitude and phase of the received signal. The amount of amplitude change and phase change is an indication for the size and distance of the metal, and can also be used to discriminate between ferrous and non-ferrous metals.
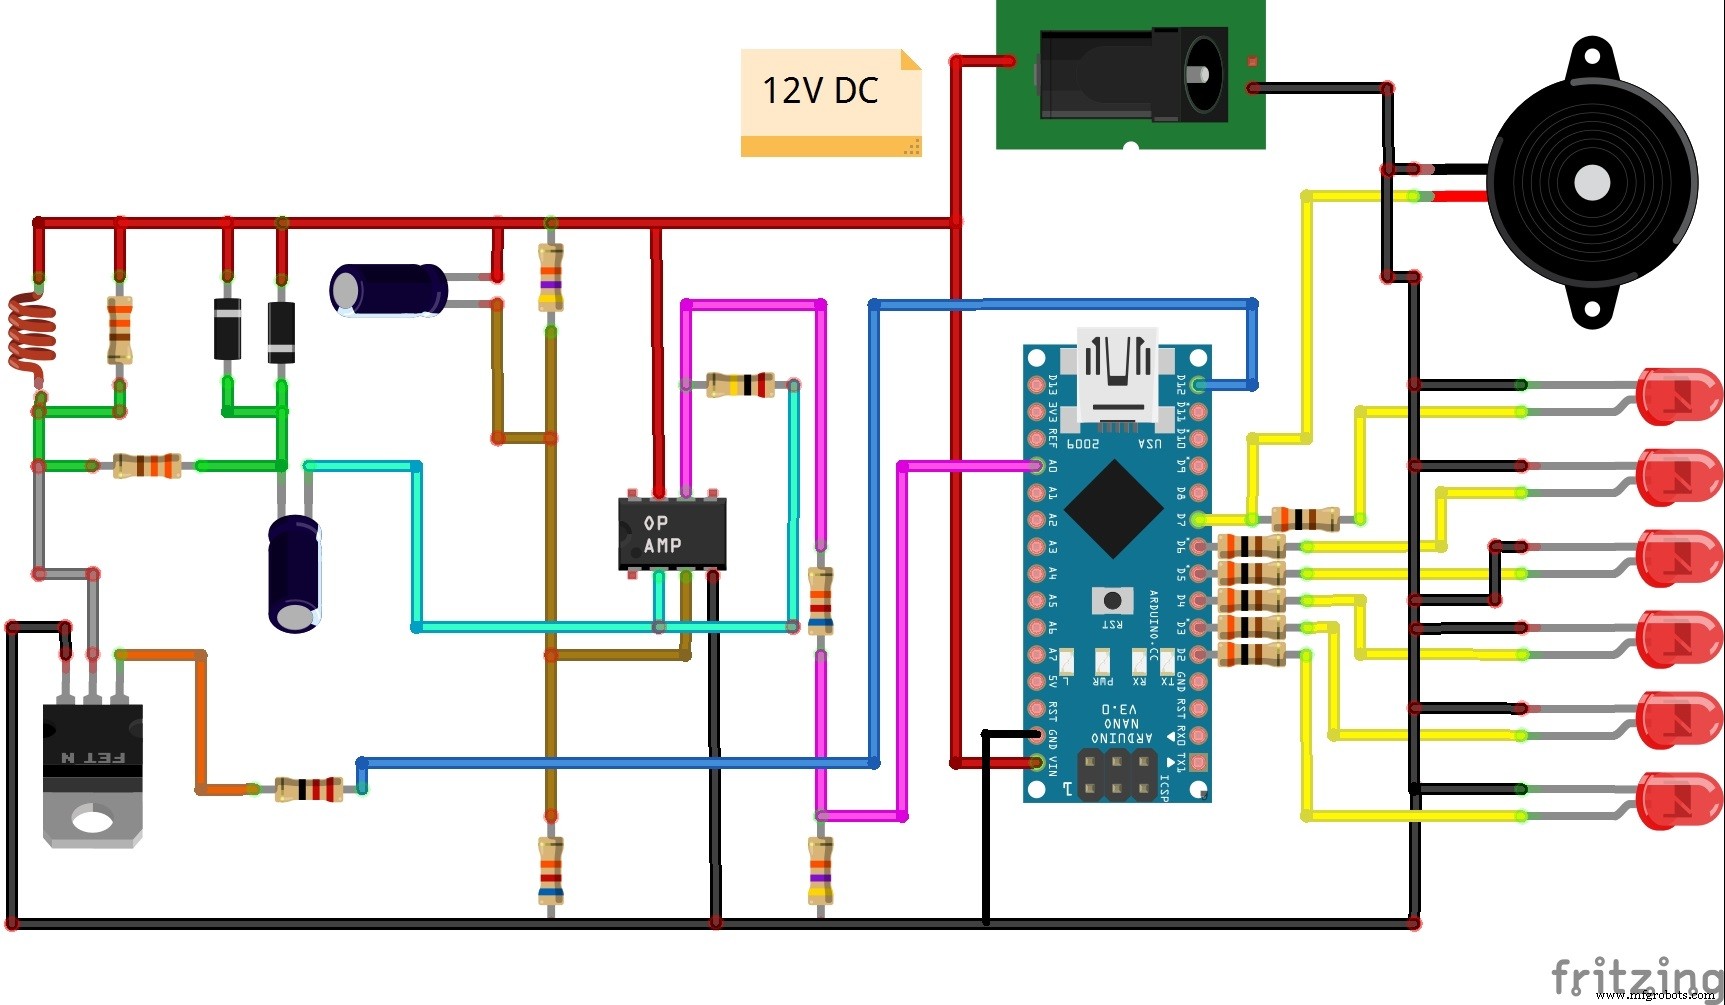
The device is very simple and easy to make and contains several components:
- Arduino Nano microcontroller
- Power Mosfet transistor
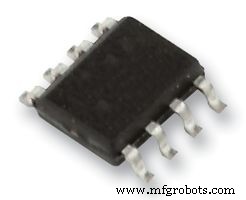
- Operational Amplifier
- Few resistors and capacitors
- Search coil
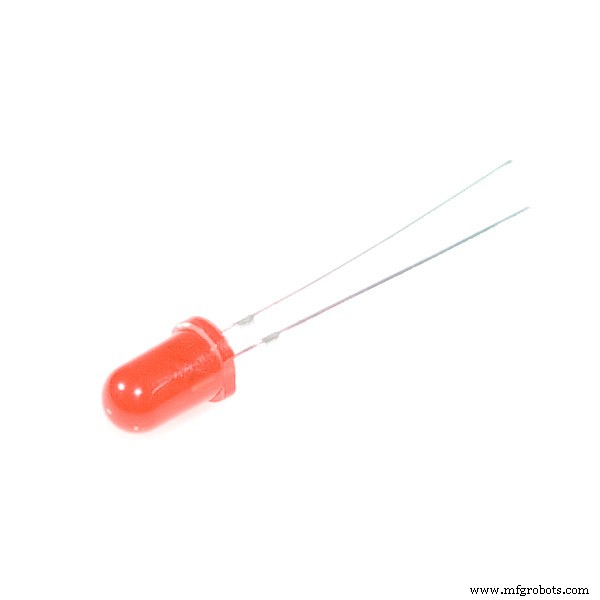
- And Leds and Buzzer for indication
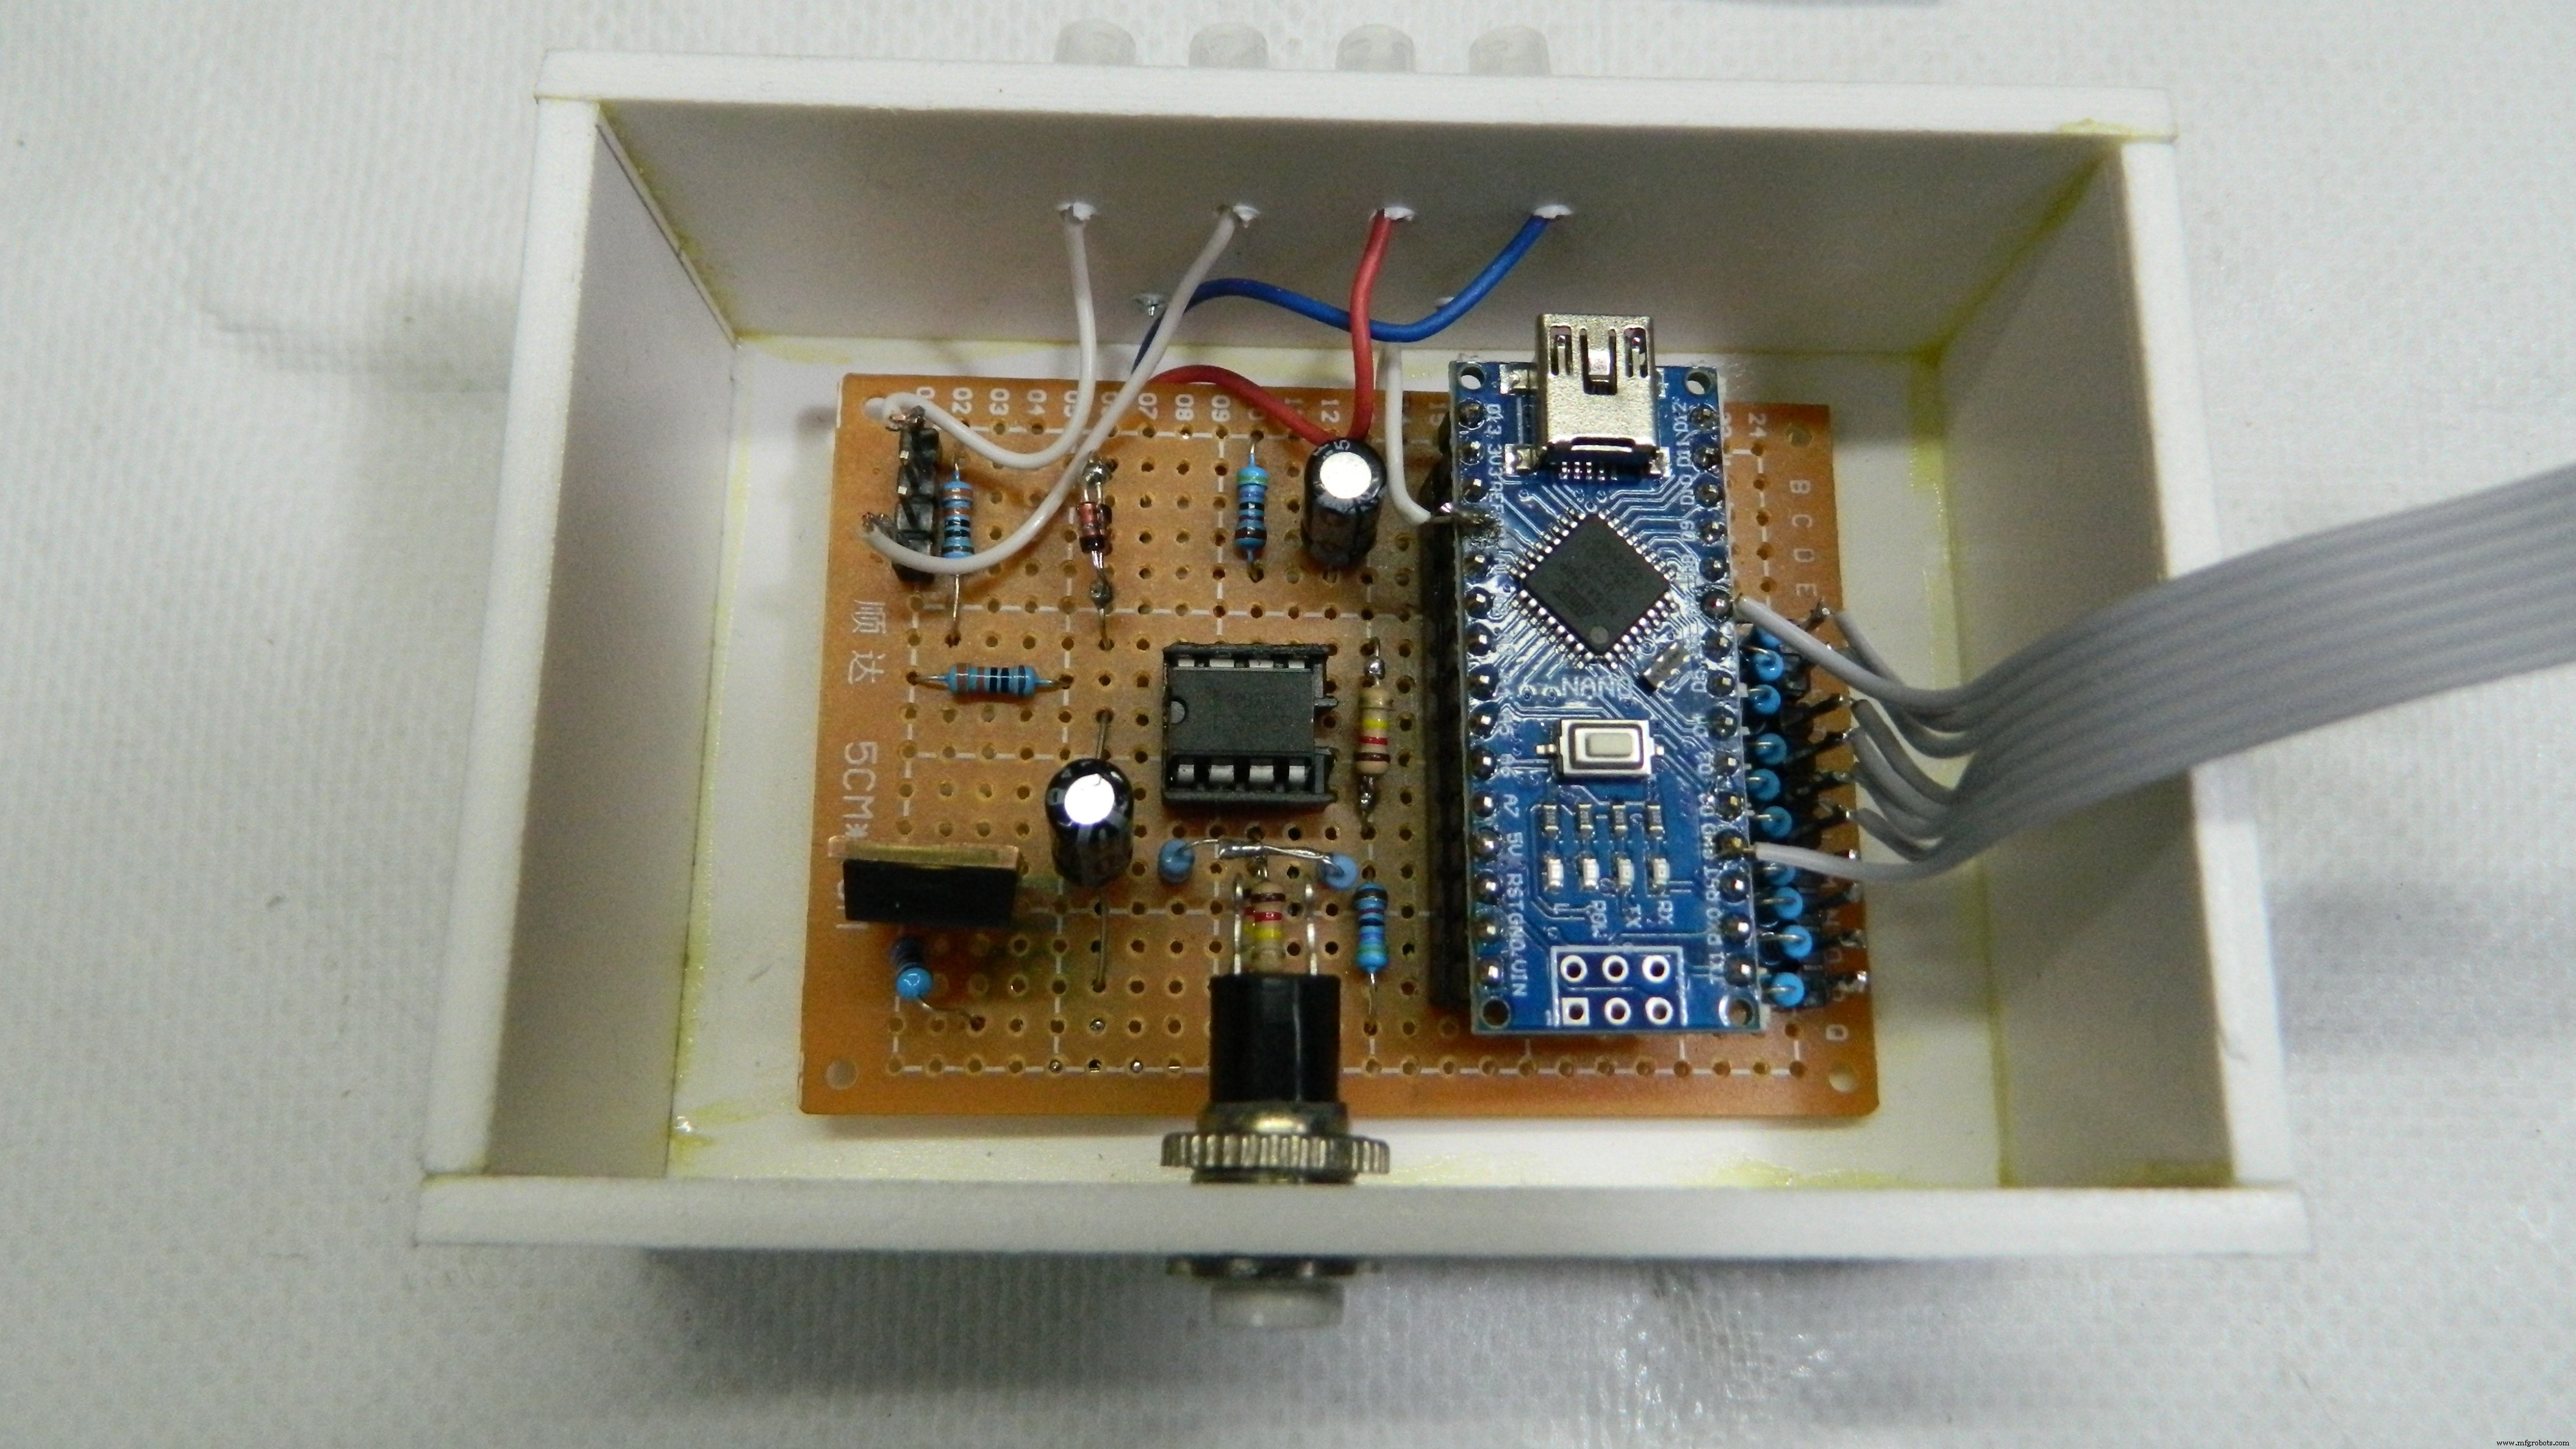
I presented a similar metal detector in one of my previous videos but it used a smartphone as an indicator and needed to be calibrated very often. Unlike it, this is a standalone device that self-calibrates by resetting the Arduino. Two lithium ion batteries connected in series are used to power the device. This time the detector is much easier to operate because it contains light and sound indication. Approaching the object increases the frequency and intensity of the LED. The search coil has a diameter of 20 cm and contains 25 turns of insulated copper wire with a cross section of 0.3 -0.5 mm square.
Code
- Arduino Code
Arduino CodeC/C++
// PI metal detector for arduino version_18_min (C) alex --- 1967 2015
int ss0 = 0;
int ss1 = 0;
int ss2 = 0;
long c0 = 0;
long c1 = 0;
long c2 = 0;
byte i = 0;
int sss0 = 0;
int sss1 = 0;
int sss2 = 0;
int s0 = 0;
int s1 = 0;
int s2 = 0;


void setup ()
{
DDRB = 0xFF; // port B - all out
DDRD = 0xFF; // port D - all out

for (i = 0; i <255; i ++) // calibration / calibration
{
PORTB = B11111111; // translate the pins of port B to 1, thus opening. key (turn on)
delayMicroseconds (200); // wait 200 microseconds
PORTB = 0; //
delayMicroseconds (20);
s0 = analogRead (A0);
s1 = analogRead (A0);
s2 = analogRead (A0);
c0 = c0 + s0;
c1 = c1 + s1;
c2 = c2 + s2;


delay (3);
}
c0 = c0 / 255;
c0 = c0 - 5;
c1 = c1 / 255;
c1 = c1 - 5;
c2 = c2 / 255;
c2 = c2 - 5;


}

void loop ()
{
PORTB = B11111111; // translate the pins of port B to 1, thus opening. key (turn on)
delayMicroseconds (200); // wait 200 microseconds
PORTB = 0; // close the key by interrupting the current in the search coil (turn off - interrupt circut in search coil)
delayMicroseconds (20);
s0 = analogRead (A0);
s1 = analogRead (A0);
s2 = analogRead (A0);
ss0 = s0 - c0;

if (ss0 <0)
{
sss0 = 1;
}
ss0 = ss0 / 16;
PORTD = ss0; // send to the indicator (send to LEDs)
delay (1);

ss1 = s1 - c1;
if (ss1 <0)
{
sss1 = 1;
}
ss1 = ss1 / 16;
PORTD = ss1; // send to the indicator (send to LEDs)
delay (1);


ss2 = s2 - c2;
if (ss2 <0)
{
sss2 = 1;
}
ss2 = ss2 / 16;
PORTD = ss2; // send to the indicator (send to LEDs)
delay (1);

if (sss0 + sss1 + sss2> 2)
{
digitalWrite (7, HIGH);
digitalWrite (6, HIGH);
digitalWrite (5, HIGH);
digitalWrite (4, HIGH);
digitalWrite (3, HIGH);
digitalWrite (2, HIGH);
digitalWrite (1, HIGH);
digitalWrite (0, HIGH);
delay (1);
sss0 = 0;
sss1 = 0;
sss2 = 0;
}
}
Schematics
Manufacturing process
- DIY ADXL335 Earthquake Detector – Low‑Power 3‑Axis Accelerometer Project
- Build a Precise DIY Measuring Wheel with Arduino Nano & Rotary Encoder
- Effortless Arduino Stopwatch: Build a Button-Activated Chronometer
- Build a Cost-Effective Lightning Detector with Arduino Uno
- Build a Sensitive Arduino Metal Detector with Ferrous/Nonferrous Discrimination
- Food Quality Sensor: Detecting Food Freshness with Arduino
- Arduino Nano Pulse‑Induction Metal Detector – DIY Kit & Guide
- DIY 1 MHz Square Wave Generator with Arduino Nano – Easy PWM Circuit
- Build an Ultra‑Sensitive EMF Detector with Arduino Nano
- Build a Complete Arduino‑Powered RC Airplane from Scratch