


Build a Simple Voice Recognition System with C# and Arduino UNO
Components and supplies
 |
| × | 1 | |||
 |
| × | 3 | |||
 |
| × | 3 | |||
 |
| × | 1 | |||
 |
| × | 1 | |||
| × | 1 |
Apps and online services
 |
| |||
 |
|
About this project
Note: Hi there,I made this project 2 years back and got encouraging feedback. If you are a new member then I would recommend you to follow below (2020 updated tutorial )
Update tutorial link:
https://medium.com/illumination/how-to-make-your-first-voice-project-using-arduino-956bfd494947
Thanks :)
Project DescriptionWe all are blessed with different types of Sensors Such as (Ear, tongue, Nose...) and we use them in our daily life, not in one way but in two way communication there is the transmission and receiving of data going on.Same concept we are applying in machines!
As a beginner, almost everyone starts with blinking LEDs on/off and I also did that but I wanted to control these electronic components using my voice commands. So finally after I searched and learned from the internet I completed the project and ready to share this project with the creative community Especially (Beginners)!Simplest way for voice recognition using Arduino!
Just to make things simpler we are using LEDs. In this project, we will be turning on/off LEDs, not in a standard way but using our voice commands and exciting part is that it is very simple and easy just a little bit of programming knowledge is required that's all!
Why I made this Project?It all started when my teacher demonstrated a c# windows form application project to us. In that project, Sir was Controlling virtual BULB using voice commands and it was made using c# visual studio software only no Arduino or any other hardware stuff. It was amazing :)So for a new project using Arduino, I thought why not control Led using voice command because in this project we are physically controlling hardware, not virtually which sir demonstrated.
Why this project is Simple?There is one more important reason for this project and that's you makers I thought this project will help makers community to create something new out of it and voice recognition feature increases creativity, value of project!Now the amazing part why it is so simple? Because you don't need any external module to make this project :) I was sure that there must be a way I can make this project without using voice recognition module ! and finally found that way thanks to below linkhttps://www.c-sharpcorner.com/article/turning-led-off-and-on-through-voice-recognition/
How to Make it?Gather all the components required for this project.
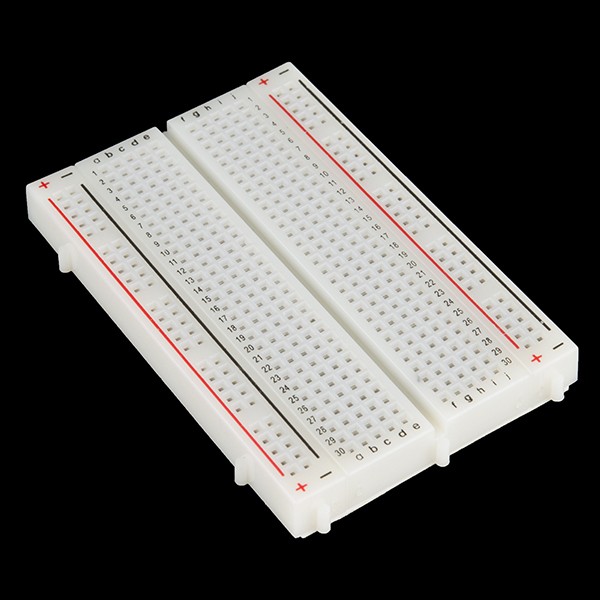
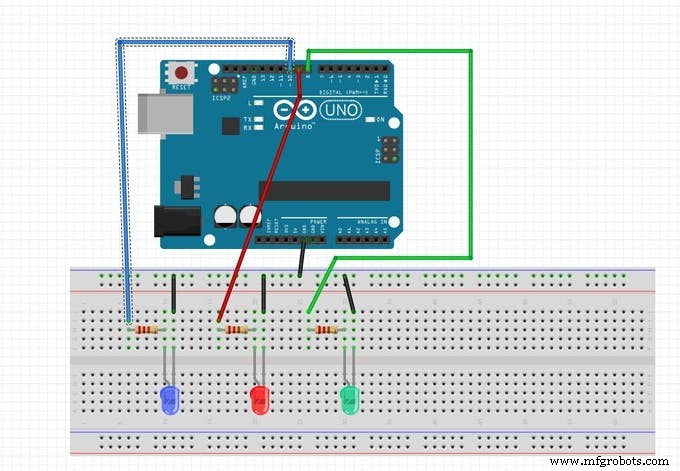
- Design circuit on breadboard as below circuit diagram
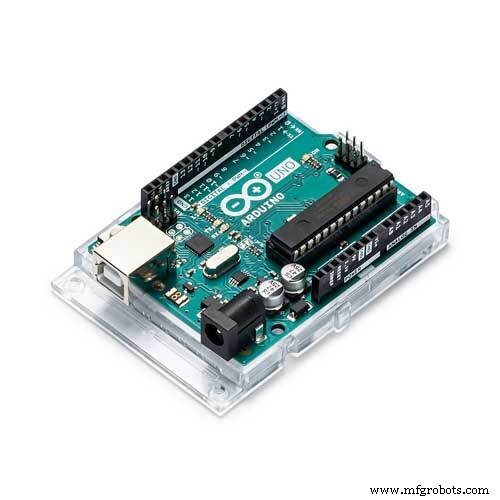
- Then plug in Arduino USB cable to your computer
- download Arduino code open Arduino IDE and create a new sketch paste the code.
There is just one software you would need to install and that is the visual studio I am using Microsoft visual studio version 2010 and you can install any version you want just make sure you can create windows form application using c# from it.watch to download visual studio
Click below link and then click download->direct downloadhttps://www.dropbox.com/sh/pmdflsjui0ayjcs/AAAO4sfb2Tc559CLyOQut_NDa?dl=0
and you are done
- upload your Arduino sketch and run the c# application by clicking the green arrow start button

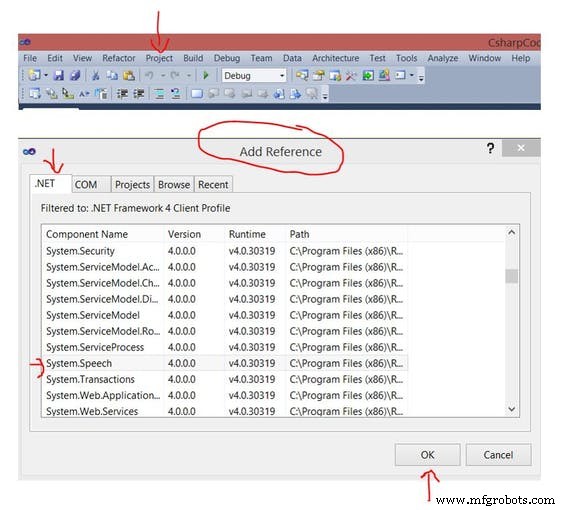
Note#0: This Project will won't work if you have not included using.system.speech library in your visual studio c# code don't worry just follow below instruction to include libraryGo to above toolbar Project->Add Reference->.Net ->Search using.system.speech and click OK that's all :)
Note#1: Make Sure Your COM Port you selected in your Arduino IDE is the Same as in visual studio c# code.As You can see below mine COM Port is COM5 Same in Arduino and C# code.

If You are having any confusion just watch this demonstration video and you are ready to control LEDs using your voice :)
Click Here to Watch Youtube Project Demo
What did you make from this project?Use your creativity to make something new out of this project.
Learn, Create, Share and Repeat

Code
- Arduino Source Code
- C# Code
Arduino Source Code C/C++
Arduino Source Code for voice Recognition project/* This Program is about controlling leds states ON and OFF using voice recognition library of c# (using system.speech)
* Exciting Part is you dont need to have any external module to transmit data to arduino because you can easily
* use your builtin computer microphone or earphones microphone.
*
* This Program is just to give basic idea specially to beginners and then its your own creativity how you use it in a useful way.
* Keep Learning, Share, think and Repeat
* Enjoy !
*
* By Jalal Mansoori
*/
const int blueLed=10;
const int redLed=9;
const int greenLed=8;
char incomingData='0';
void setup() {
// put your setup code here, to run once:
//getting leds ready
Serial.begin(9600);
pinMode(blueLed, OUTPUT);
pinMode(redLed, OUTPUT);
pinMode(greenLed, OUTPUT);
}
void loop() {
// put your main code here, to run repeatedly:
incomingData=Serial.read();
// Switch case for controlling led in our case we have only 3 Blue, Green and Red
switch(incomingData)
{
//These cases are only for state ON of led
// For blue led
case 'B':
digitalWrite(blueLed, HIGH);
break;
// For red led
case 'R':
digitalWrite(redLed, HIGH);
break;
// For green led
case 'G':
digitalWrite(greenLed, HIGH);
break;
//These cases are for state OFF of led and case name z , x, c are just randomly given you can also change but
// make sure you change it in a c# code as well.
// For blue led
case 'Z':
digitalWrite(blueLed, LOW);
break;
// For red led
case 'X':
digitalWrite(redLed, LOW);
break;
// For green led
case 'C':
digitalWrite(greenLed, LOW);
break;
//For turning ON all leds at once :)
case 'V':
digitalWrite(blueLed, HIGH);
digitalWrite(redLed, HIGH);
digitalWrite(greenLed, HIGH);
break;
//For turning OFF all leds at once :)
case 'M':
digitalWrite(blueLed, LOW);
digitalWrite(redLed, LOW);
digitalWrite(greenLed, LOW);
break;
}
}
C# CodeC#
This code is for visual studio. In this code you can see on top some libraries are included there is using.system.speech library which you need to include in your project referenceThis is how you do it
Toolbar
Project->Add Reference->.Net-> Search using system.speech->click OK
Thats all Enjoy :)
/*
  This Program is to connect c# and Arduino to transmit data from computer microphone to arduino board
  By Jalal Mansoori
*/
using System;
using System.Windows.Forms;
using System.IO.Ports; // This library is for connecting c# and Arduino to transmit and receive data through ports
//Below are libraries for voice recognition
using System.Speech;
using System.Speech.Recognition;
using System.Speech.Synthesis;

namespace CsharpCode
{
    public partial class Form1 : Form
    {
        //Creating objects
        SerialPort myPort = new SerialPort();
        SpeechRecognitionEngine re = new SpeechRecognitionEngine();
        SpeechSynthesizer ss = new SpeechSynthesizer(); // When you want program to talk back to you
        Choices commands = new Choices(); // This is an important class as name suggest we will store our commands in this object


        public Form1()
        {
            InitializeComponent();
            //Details of Arduino board
            myPort.PortName = "COM5"; // My Port name in Arduino IDE selected COM5 you need to change Port name if it is different  just check in arduinoIDE
            myPort.BaudRate = 9600;  // This Rate is Same as arduino Serial.begin(9600) bits per second
            processing();

        }

        // Defined Function processing where main instruction will be executed !
        void processing()
        {
            //First of all storing commands
            commands.Add(new string[] { "Blue On", "Red On", "Green On", "Blue Off", "Red Off", "Green Off", "Exit", "All On", "All Off","Arduino Say Good Bye to makers" });

            //Now we will create object of Grammer in which we will pass commands as parameter
            Grammar gr = new Grammar(new GrammarBuilder(commands));

            // For more information about below funtions refer to site https://docs.microsoft.com/en-us/dotnet/api/system.speech.recognition?view=netframework-4.7.2
            re.RequestRecognizerUpdate(); // Pause Speech Recognition Engine before loading commands
            re.LoadGrammarAsync(gr);
            re.SetInputToDefaultAudioDevice();// As Name suggest input device builtin microphone or you can also connect earphone etc...
            re.SpeechRecognized += new EventHandler<SpeechRecognizedEventArgs>(re_SpeechRecognized);


        }

        void re_SpeechRecognized(object sender, SpeechRecognizedEventArgs e)
        {
            switch(e.Result.Text)
            {
                ////For Led State ON
                // For blue led
                case "Blue On":
                    sendDataToArduino('B');
                    break;

                // For red led
                case "Red On":
                    sendDataToArduino('R');
                    break;

                // For green led
                case "Green On":
                    sendDataToArduino('G');
                    break;

                //For Led State OFF
                // For blue led
                case "Blue Off":
                    sendDataToArduino('Z');
                    break;

                // For red led
                case "Red Off":
                    sendDataToArduino('X');
                    break;

                // For green led
                case "Green Off":
                    sendDataToArduino('C');
                    break;

                //For turning ON all leds at once :)
                case "All On":
                    sendDataToArduino('V');
                    break;

                //For turning OFF all leds at once :)
                case "All Off":
                    sendDataToArduino('M');
                    break;
                //Program will talk back
                case "Arduino Say Good Bye to makers":
                    ss.SpeakAsync("Good Bye Makers"); // speech synthesis object is used for this purpose
                    break;

                // To Exit Program using Voice :)
                case "Exit":
                    Application.Exit();
                    break;
            }
            txtCommands.Text += e.Result.Text.ToString() + Environment.NewLine;// Whenever we command arduino text will append and shown in textbox
        }

        void sendDataToArduino(char character)
        {
            myPort.Open();
            myPort.Write(character.ToString());
            myPort.Close();
        }

        private void btnStop_Click(object sender, EventArgs e)
        {
            re.RecognizeAsyncStop();
            //btnStart.Enabled = true;
            btnStop.Enabled = false;
            btnStart.Enabled = true;
        }

        private void btnStart_Click(object sender, EventArgs e)
        {

            re.RecognizeAsync(RecognizeMode.Multiple);
            btnStop.Enabled = true;
            btnStart.Enabled = false;
            MessageBox.Show("Voice Recognition Started !", "Information", MessageBoxButtons.OK, MessageBoxIcon.Information);
        }
    }
}
Schematics
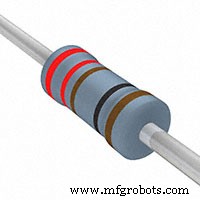
Simply follow Schematic and connect components on your breadboard1 -> First of all connect leds and resistors as shown in diagram
2-> Then start one by one and connect led +ive terminal on same column where resistor is connected to arduino digital pin box
GreenLed +ive terminal to digital Pin 8
RedLed +ive terminal to digital Pin 9
BlueLed +ive terminal to digital Pin 10
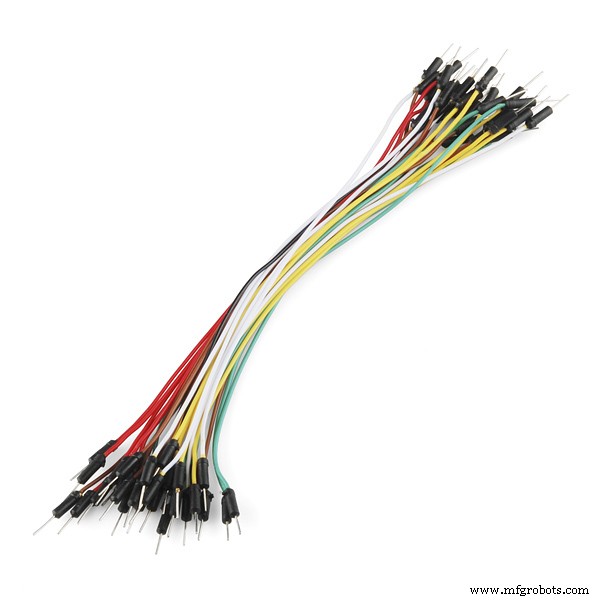
3-> At last connect Ground from arduino to leds -ive terminal using jumper wire as shown in diagramschematic_ob2ZmiQwOV.fzz
Manufacturing process
- Installing Google Assistant on a MATRIX Voice Raspberry Pi – Step‑by‑Step Guide
- Build a Secure Facial Recognition Door with Windows IoT and Raspberry Pi
- Build a Go Away Robot – Easy Arduino Starter Kit for Kids
- LED Tower Art: Programmable RGB Cylinder-Inspired Design
- Create Your Own LED Color Sequencer with Arduino – Easy DIY Tutorial
- Build a Voice‑Controlled Arduino Car with BLE – DIY Guide
- Build a Reliable Arduino-Based Lie Detector
- Create a Custom Android App to Control Arduino with MIT App Inventor
- Why Stainless Steel Is the Smart Choice for Your Metal Fabrication Projects
- Create a Reliable Voice Recognition System with Raspberry Pi – A Beginner’s Guide