


Arduino‑Based Shutter Speed Tester for Classic Film Cameras
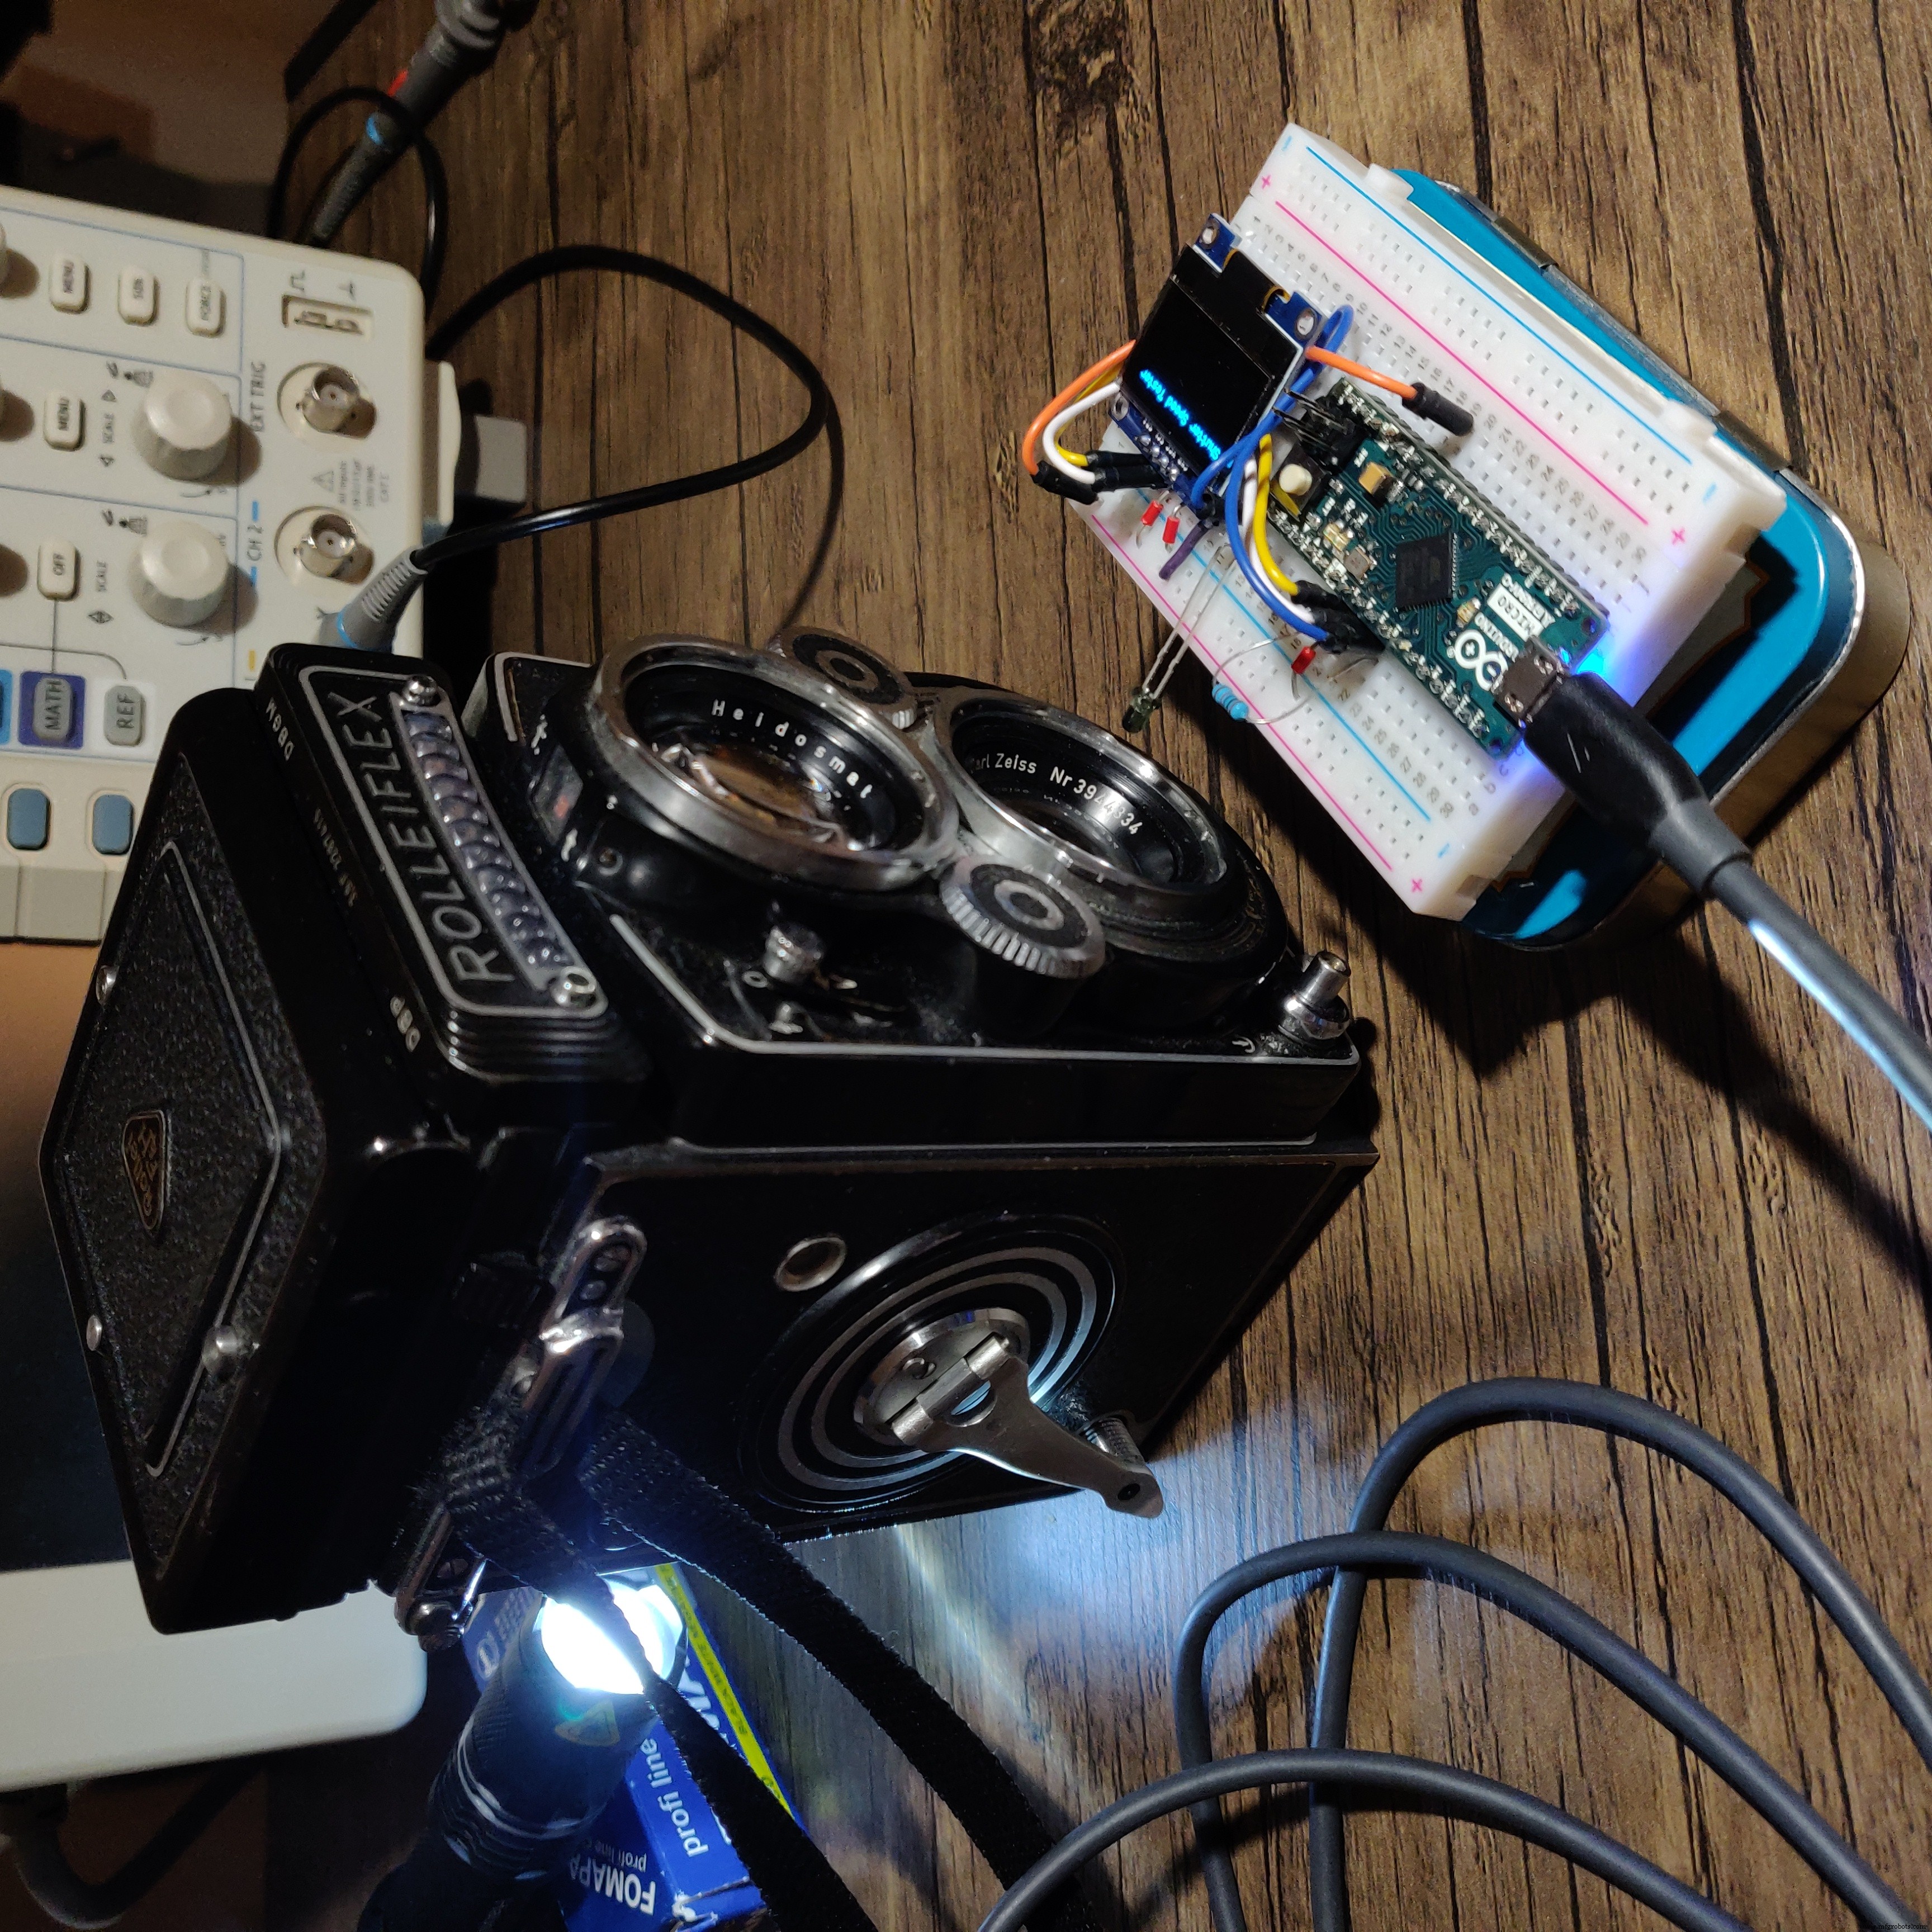
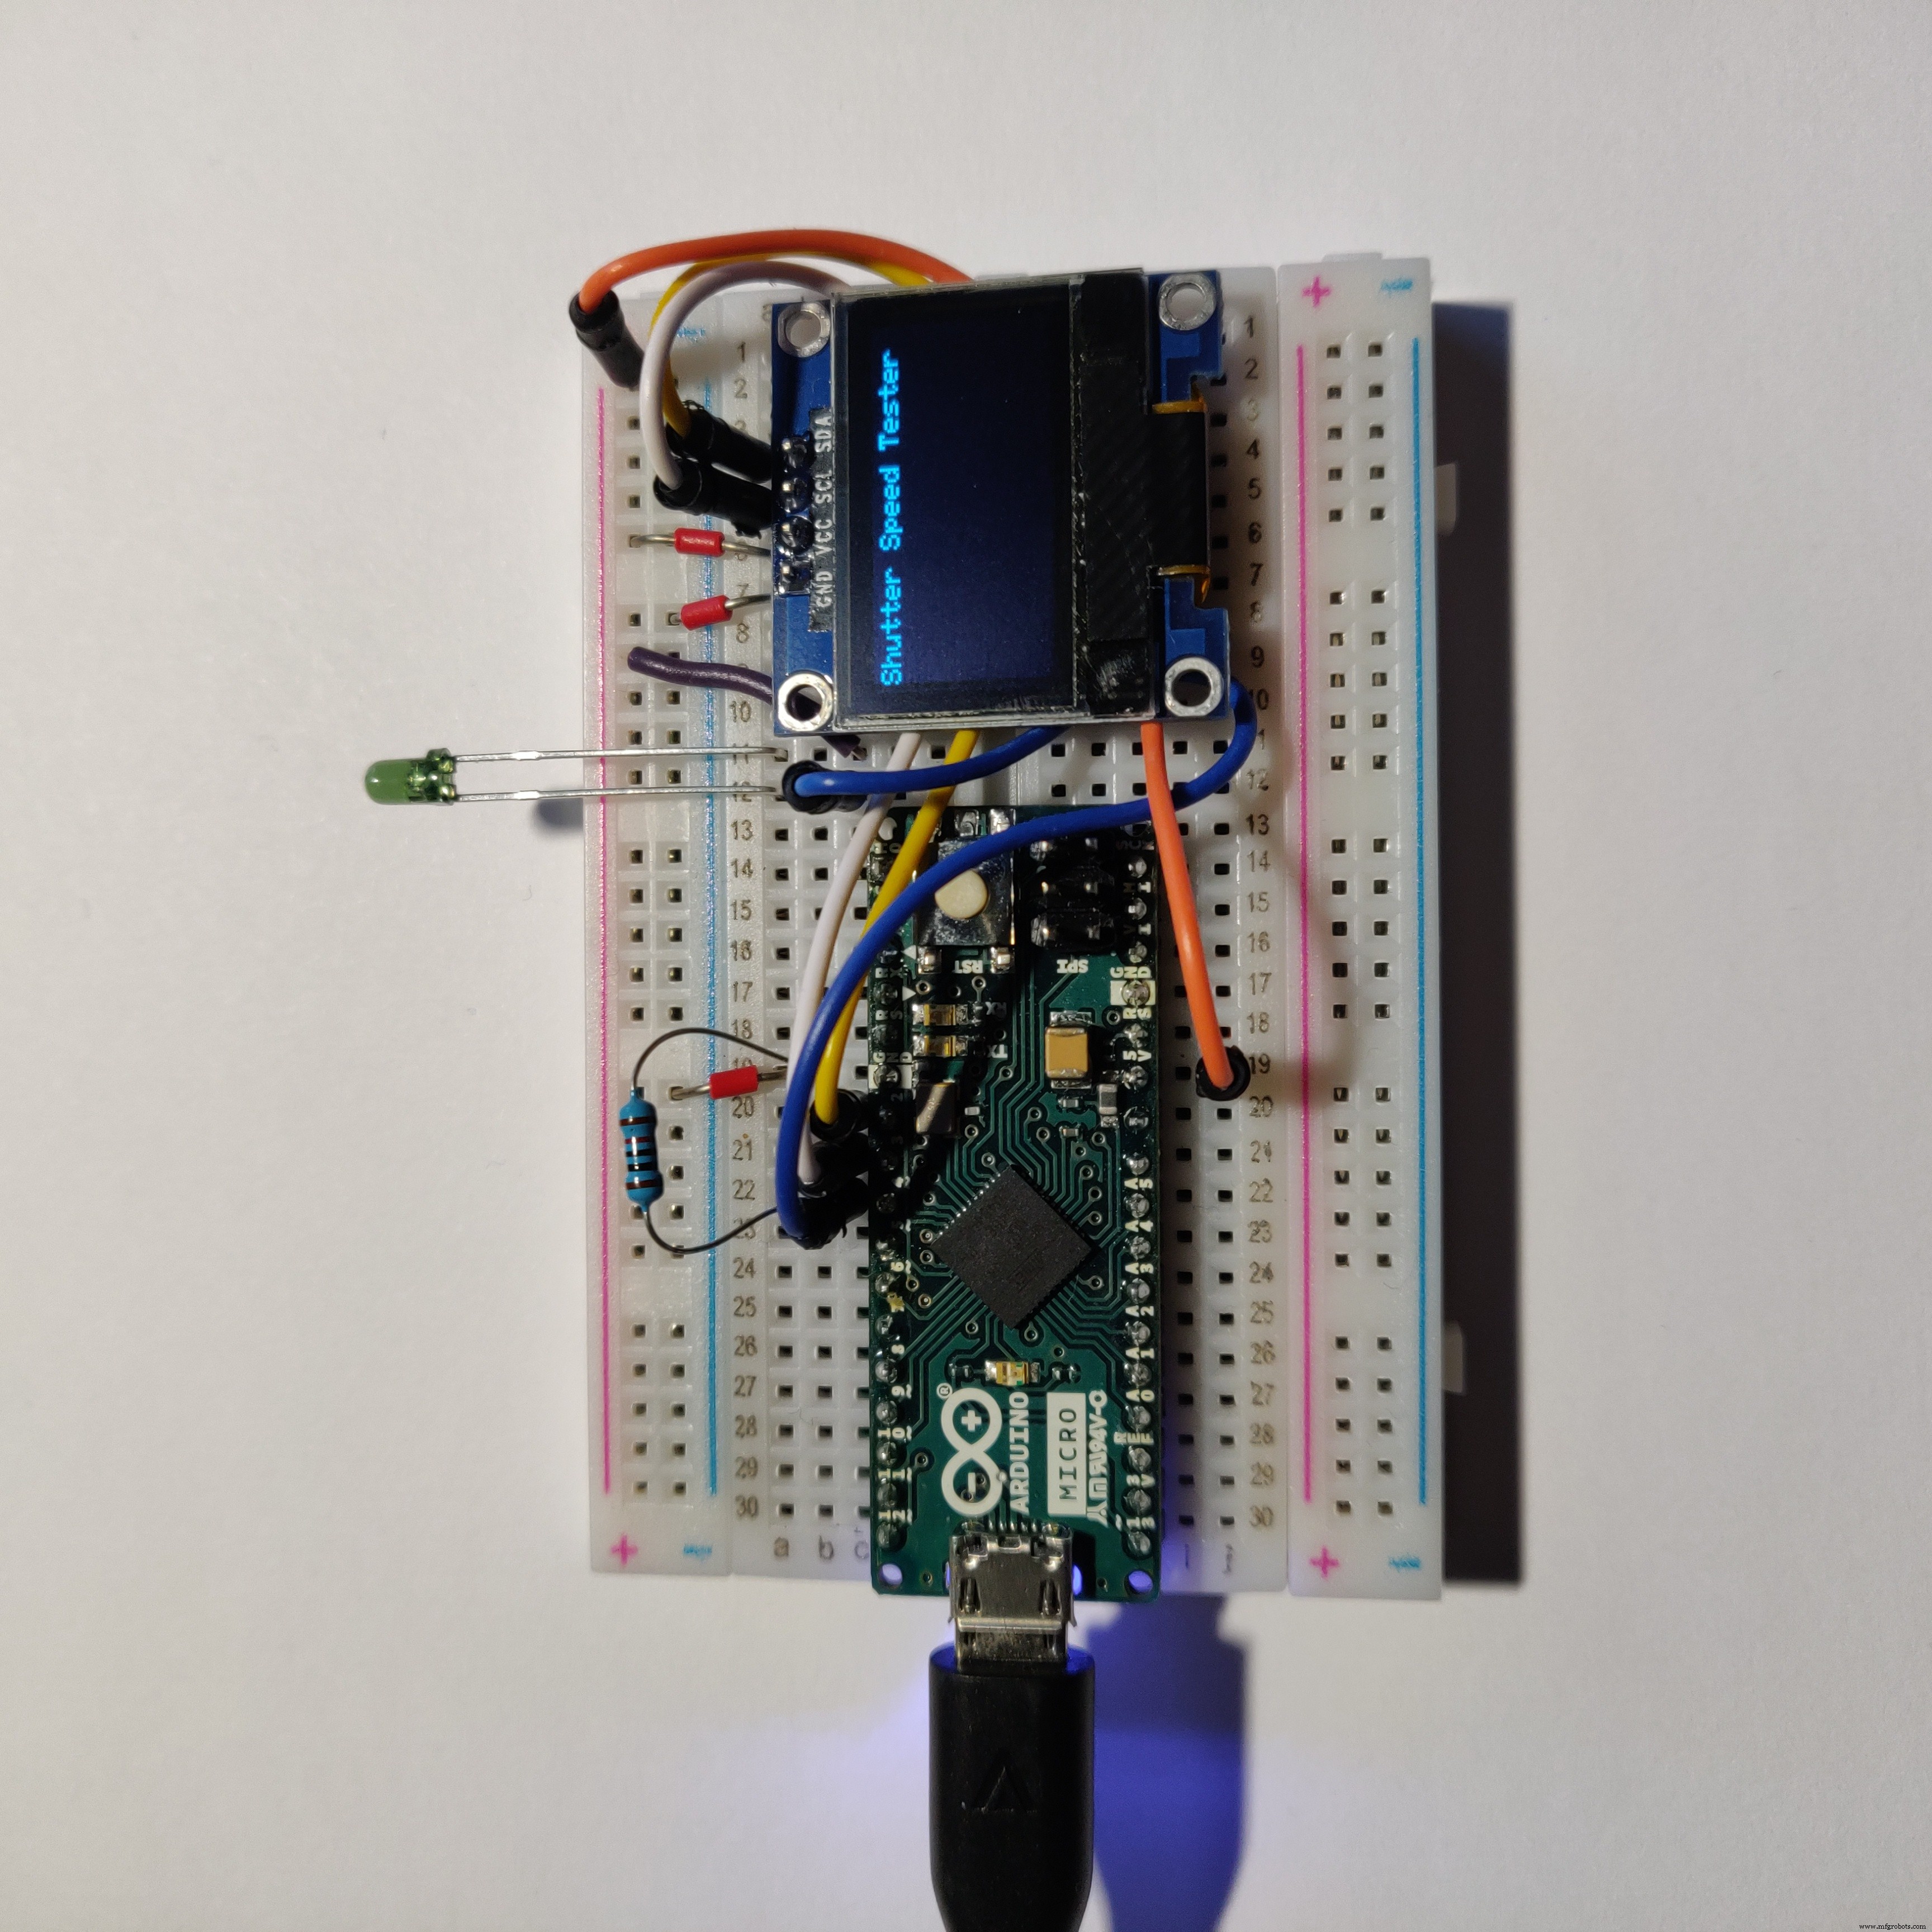
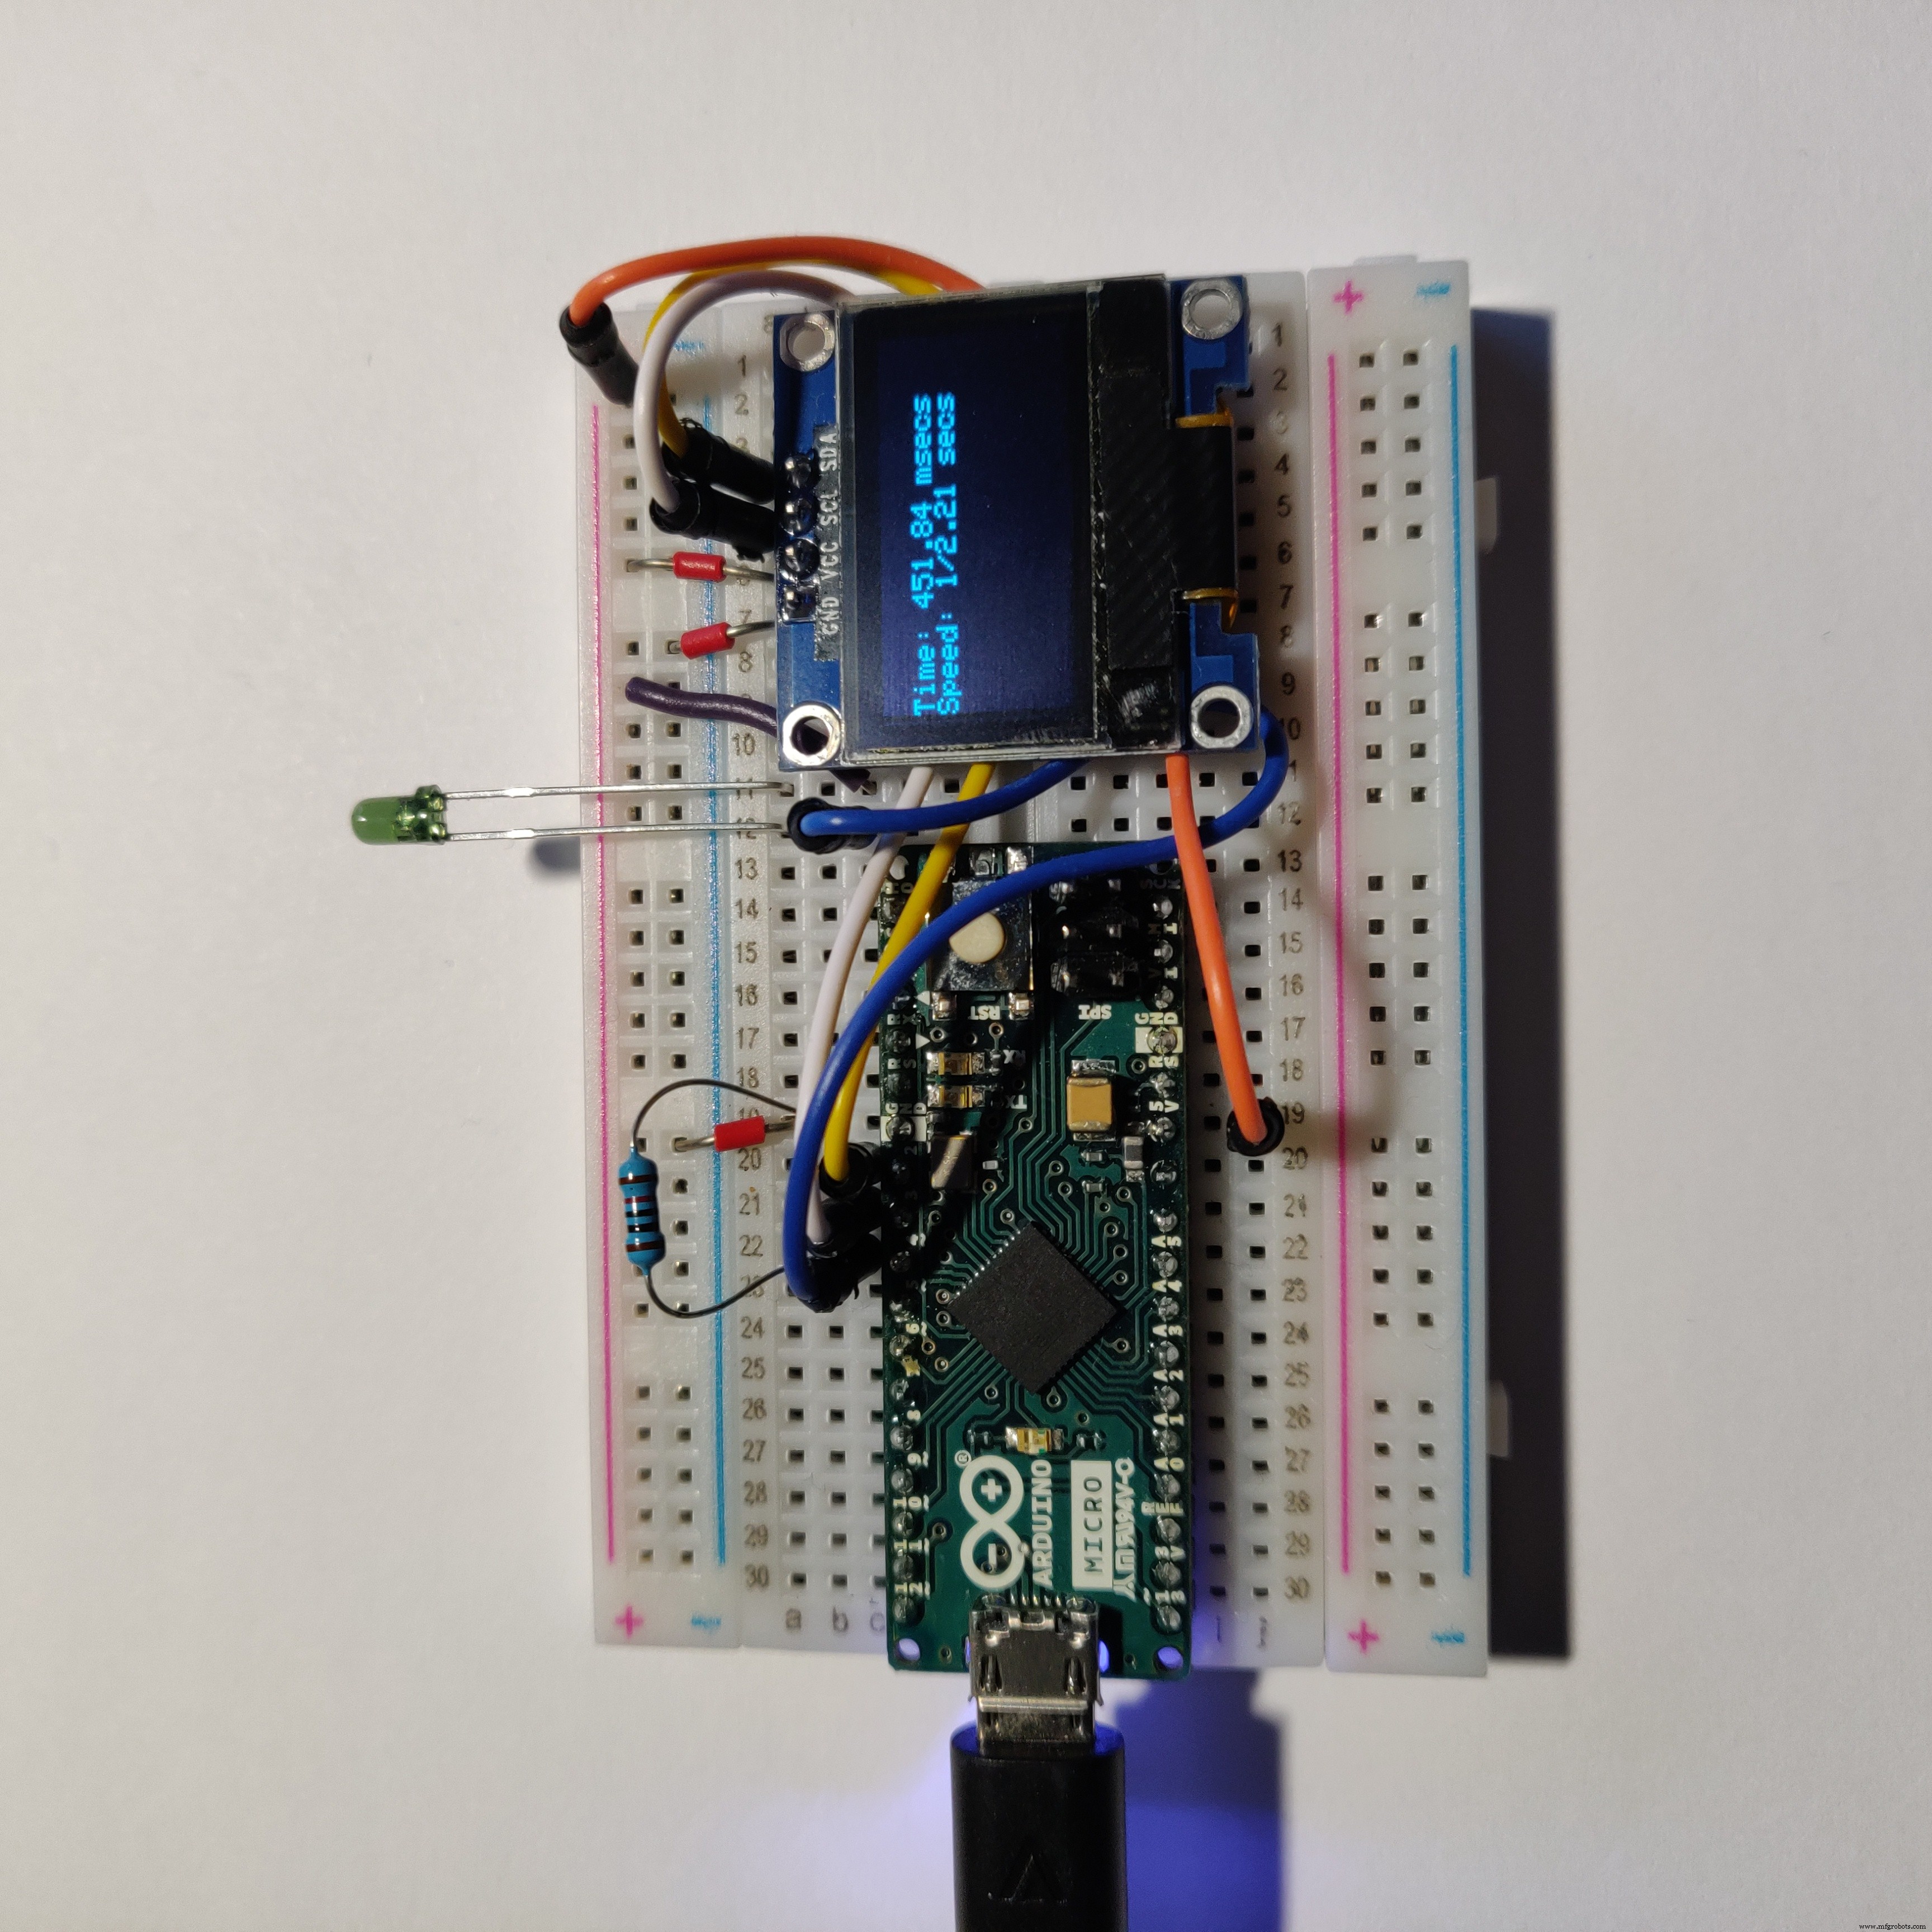
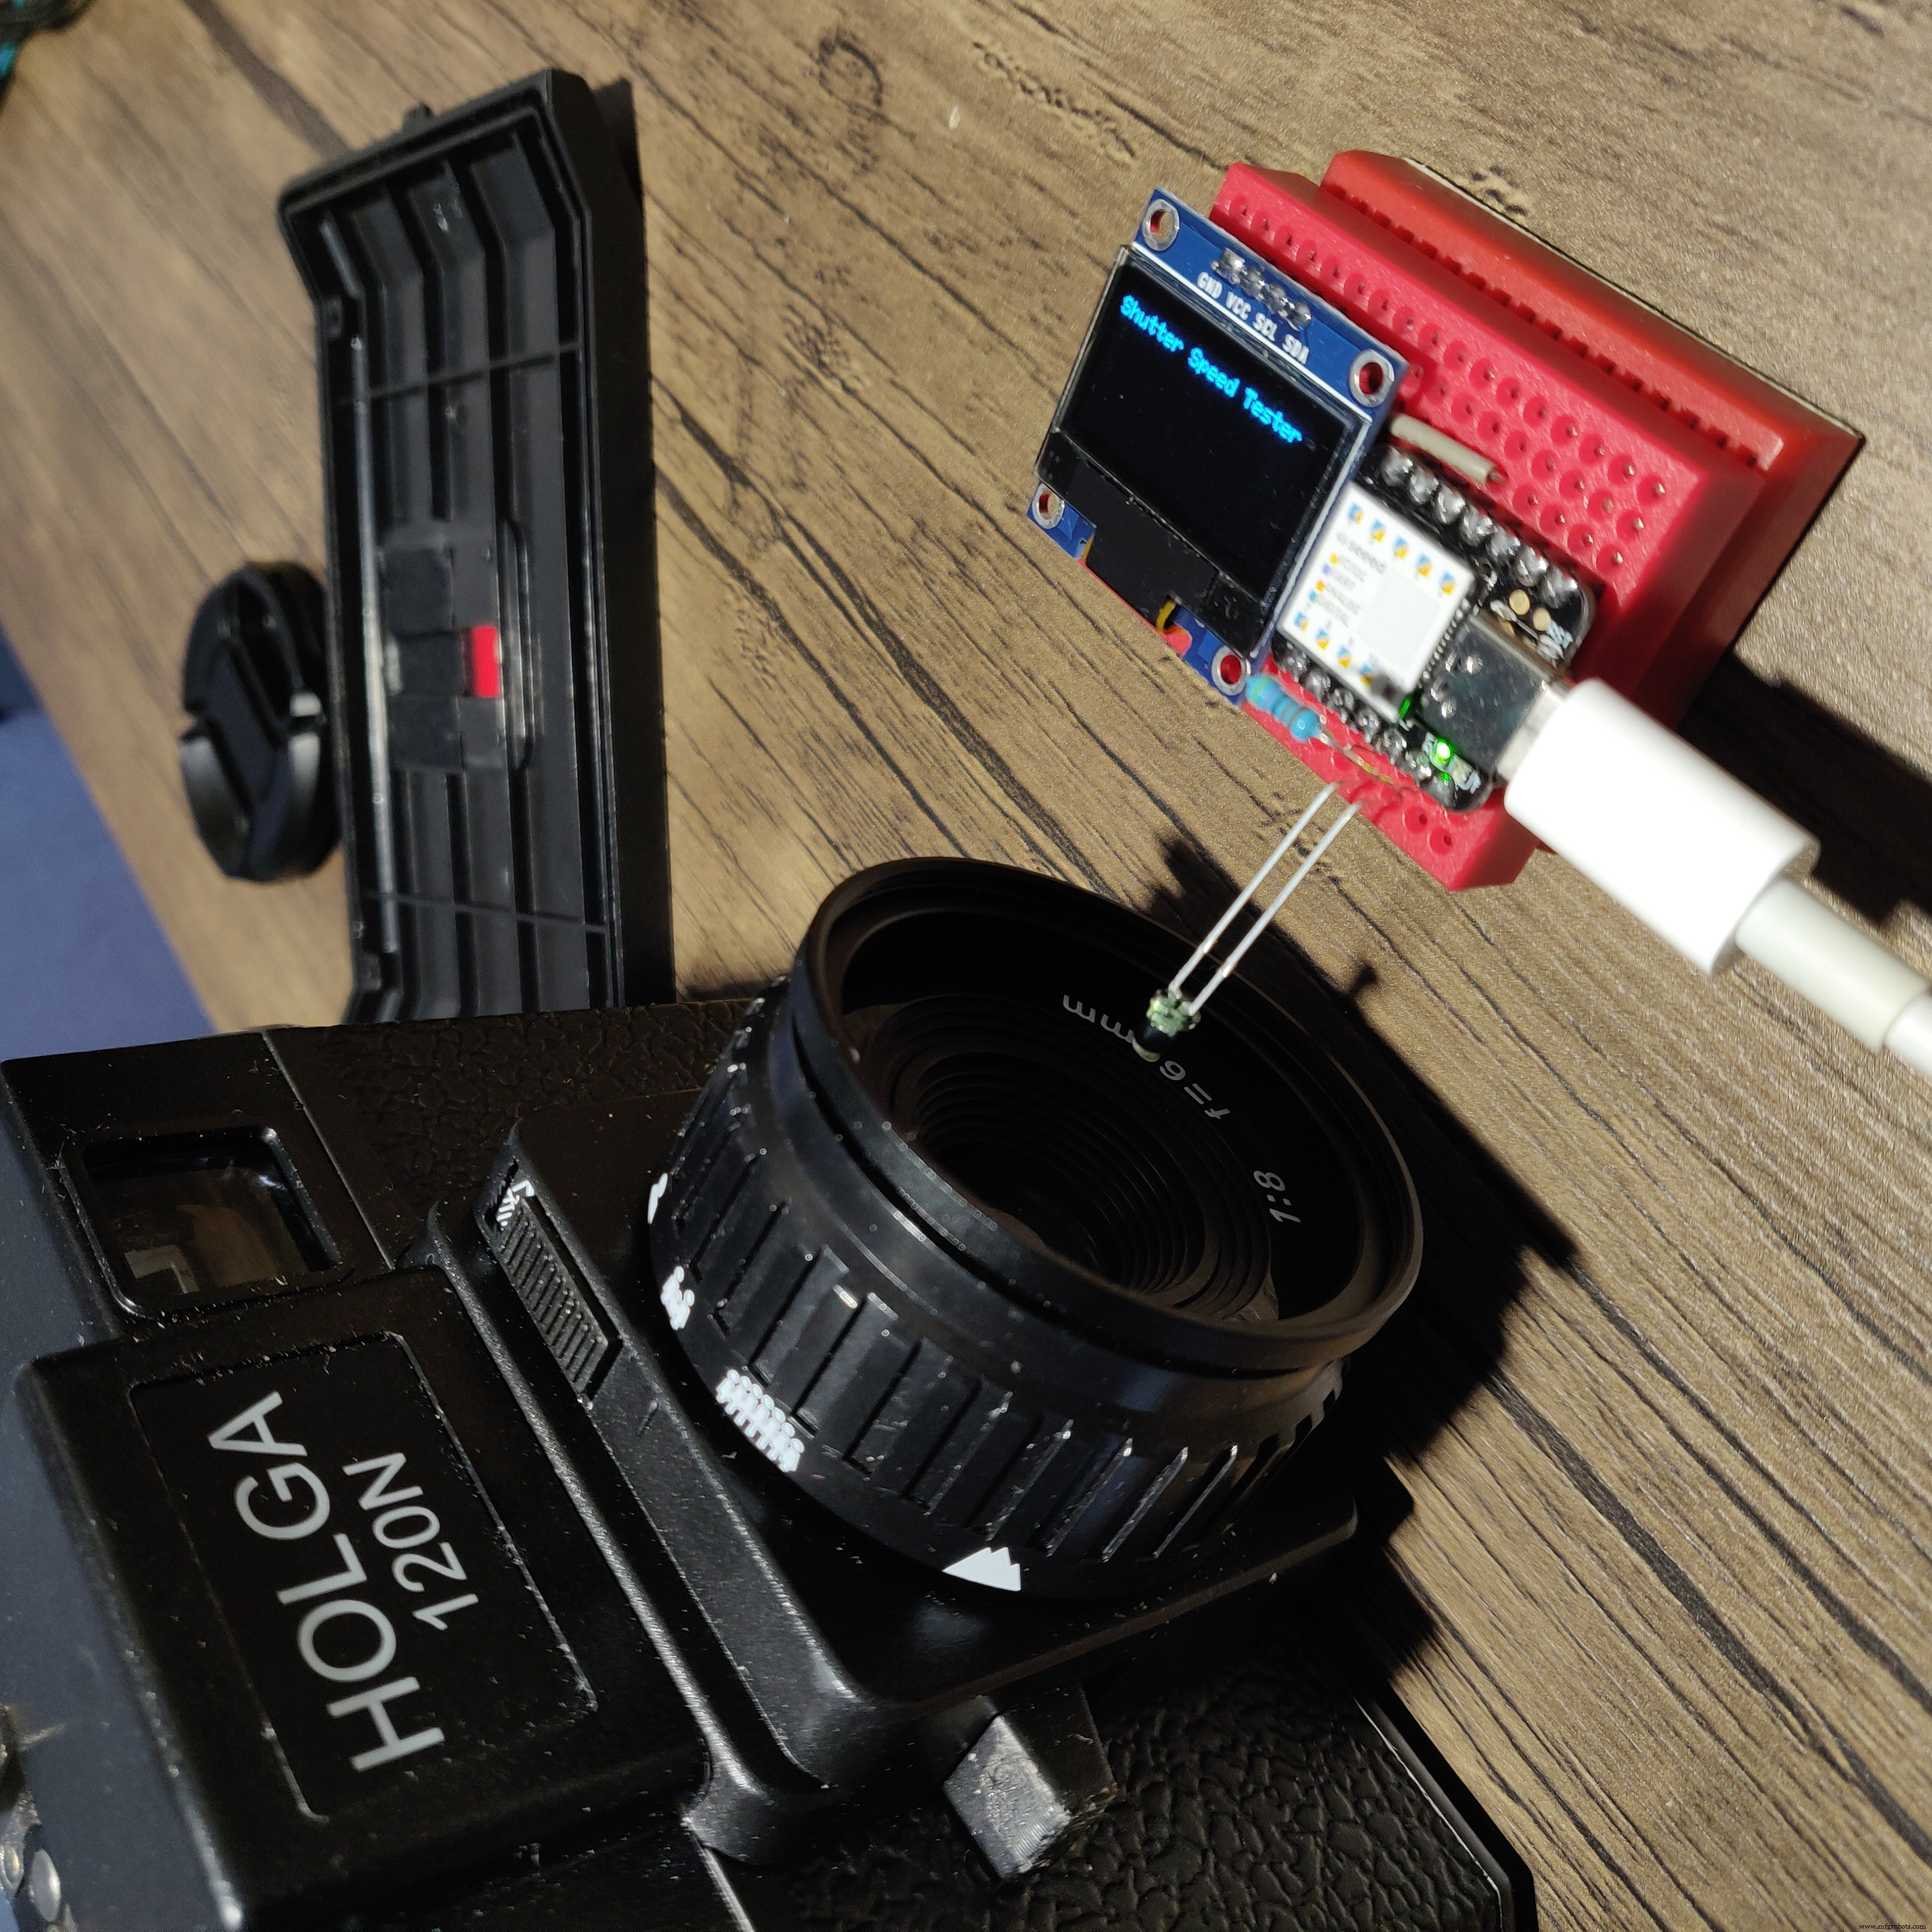
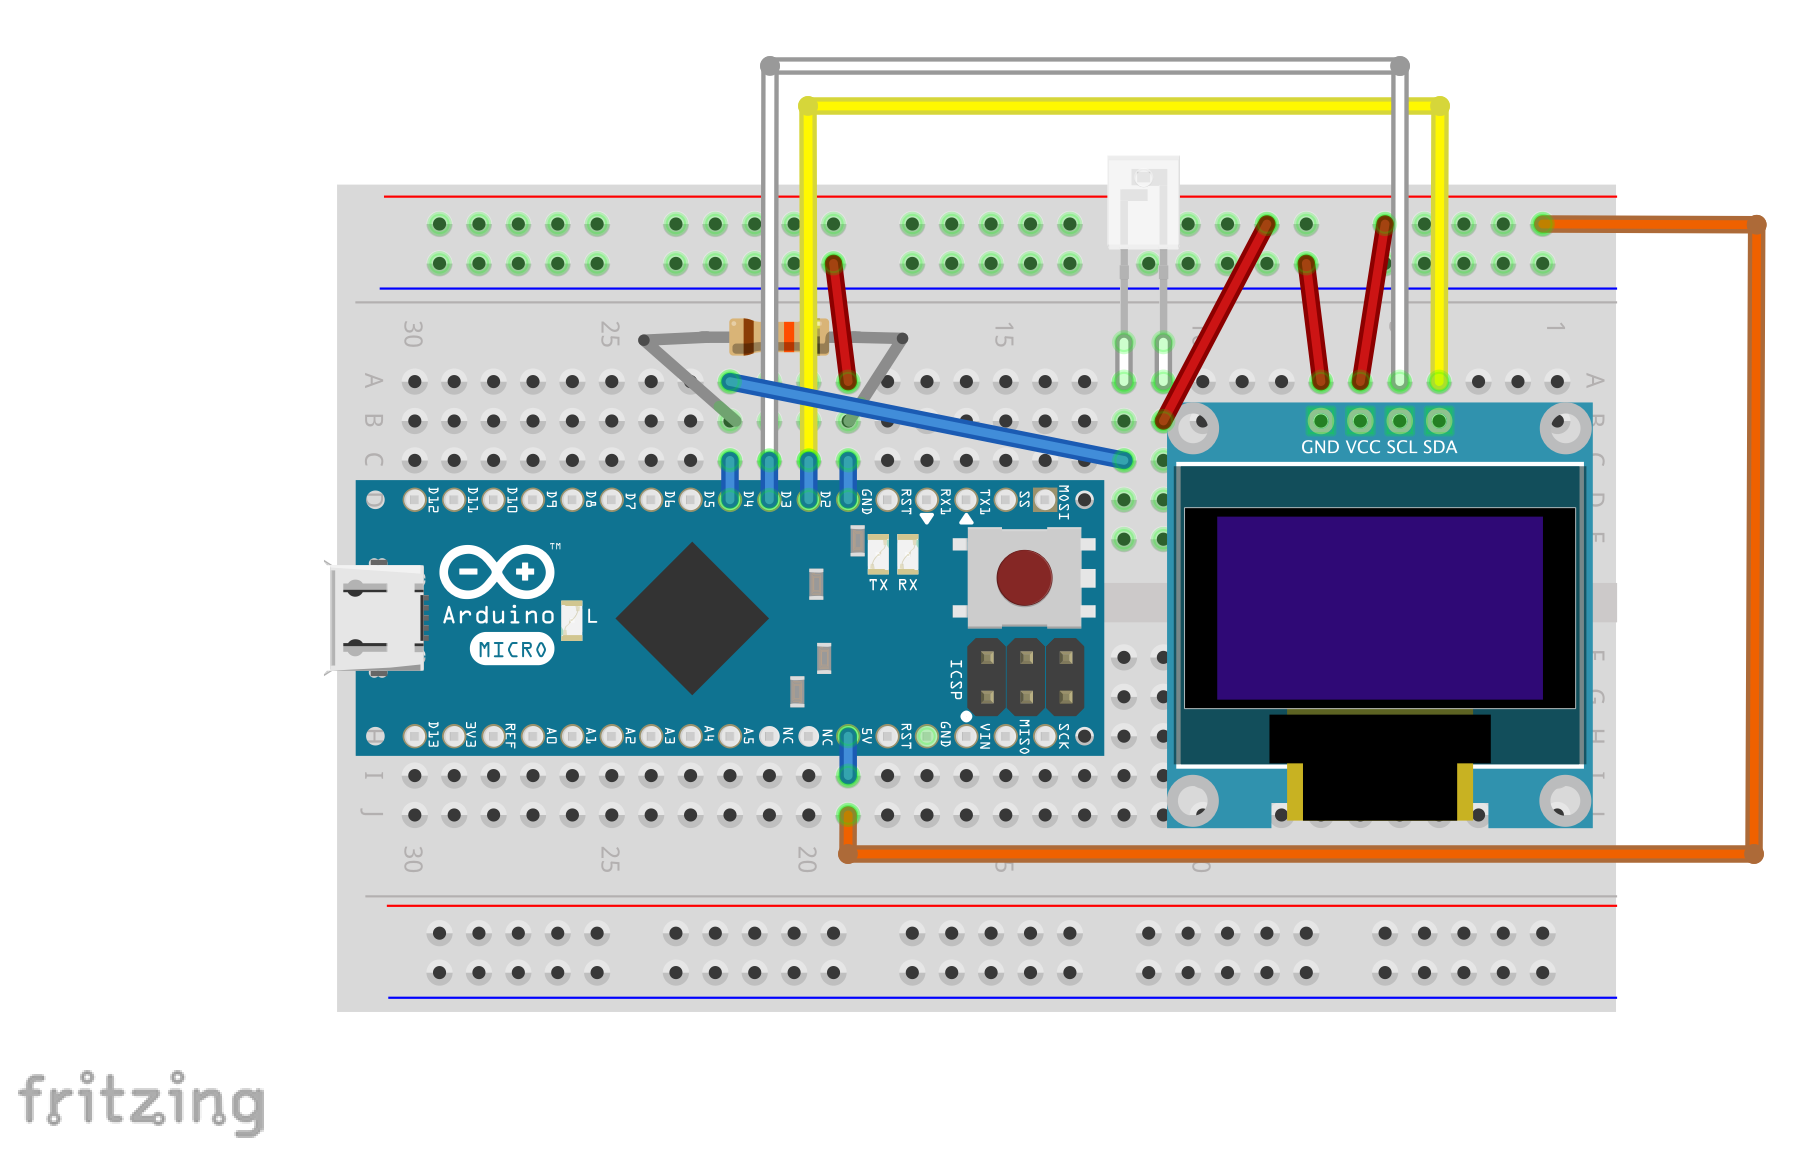
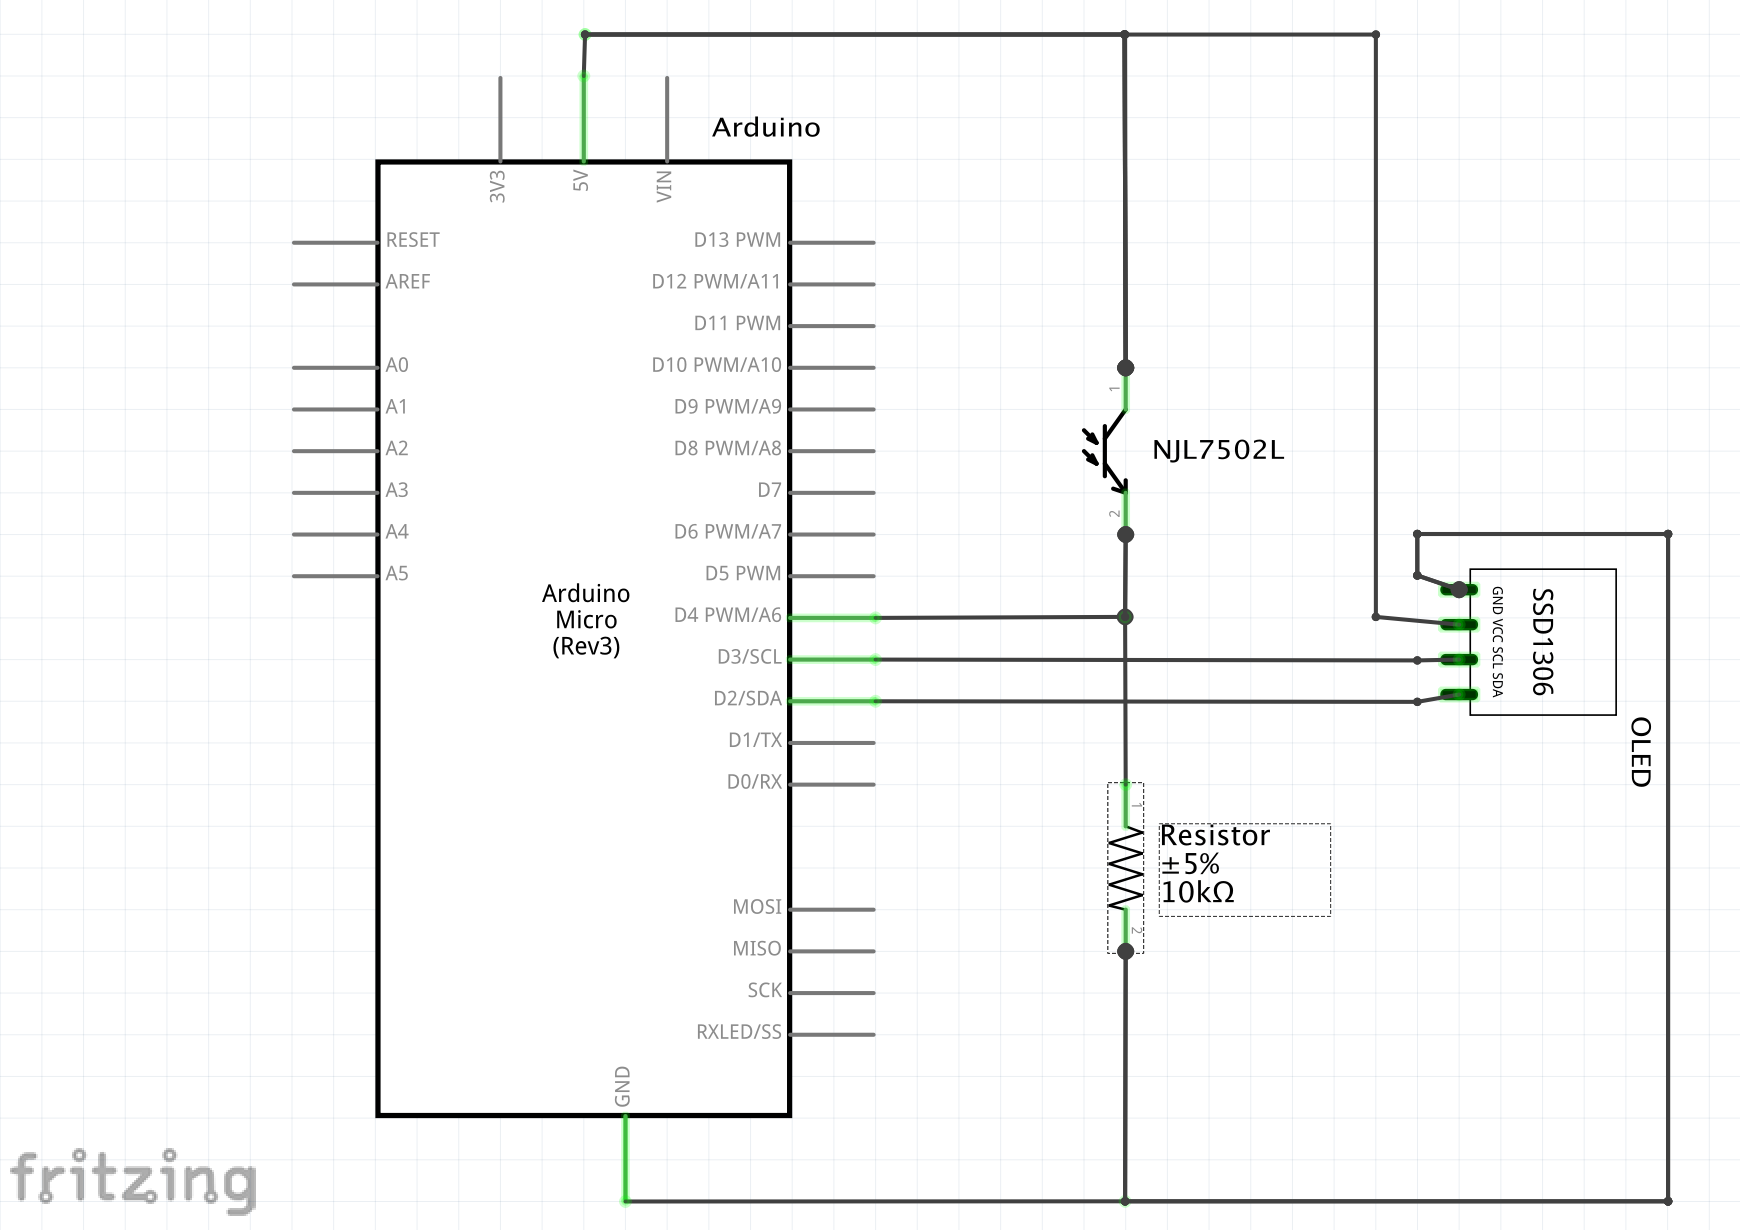
This guide explains how to build a compact shutter speed tester that lets you verify the shutter speeds of classic film cameras. The tester uses an Arduino Micro as its controller, a 0.96" OLED display for output, a phototransistor to detect light passing through the camera lens, and a simple flashlight as the light source. When a camera shutter opens, light from the flashlight passes through the lens and is detected by the phototransistor. The Arduino reads the resulting voltage change, calculates the exposure duration, and shows the measured shutter speed on the OLED screen. Choosing a Phototransistor: If you prefer an alternative component, review its datasheet for spectral response and sensitivity. The SFH309‑4 worked well in our tests without schematic changes. Using a Different Arduino: Any Arduino board with an analog input will work. For example, a Seeeduino Xiao (3.3 V) can be used by connecting the phototransistor to pin A10 instead of A6. Download the complete firmware and examples from our GitHub repository: All schematic files are available in the same GitHub repository mentioned above.Components & Supplies
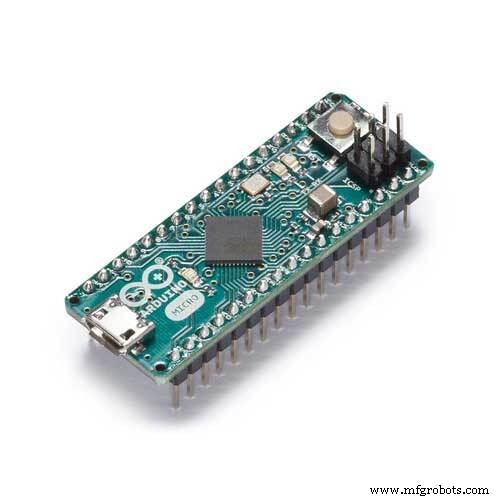
Arduino Micro × 1 0.96" OLED Display 128 x 64 SSD1306 I2C × 1 Phototransistor NJL7502L Spectral response closely matches the human eye, ideal for light measurement. × 1 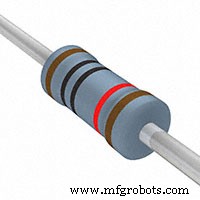
Resistor 10kΩ × 1 Flashlight × 1 Apps and Online Services

Arduino IDE About This Project
How to Use
Tips & Customisations
Code
Schematics
Manufacturing process
- High‑Performance FPGA Accelerator for Embedded Vision with MIPI Cameras
- AION500 MK3: The Fastest FFF 3D Printer for Small‑Batch Manufacturing
- Lexan HP92AF Antifog Film: Unmatched Clarity for COVID‑19 PPE and Industrial Lenses
- Car HUD: Real‑Time Windshield Speed & Compass Display
- FusePly: Solvay's Epoxy Film Enhances Prepreg Bonding with Chemically Active Surface
- Selecting the Optimal Motor Cable for Variable Speed Drives (VSDs)
- FBL-1233 Slant Bed Lathe: Precision, Speed, and Versatility for High-Volume & Short-Run Production
- Advanced TOMOPLEX Sensor Film for Real-Time Aerospace Monitoring
- Precision High‑Speed Machining of Aluminum Milling Parts
- Choosing the Ideal Tube Checker for Accurate Tube Testing