


Build a DIY Photoshop Control Console with Arduino Nano RP2040
Components and supplies
 |
| × | 1 | |||
 |
| × | 1 | |||
|
| × | 1 |
Apps and online services
 |
| |||
 |
| |||
 |
|
About this project
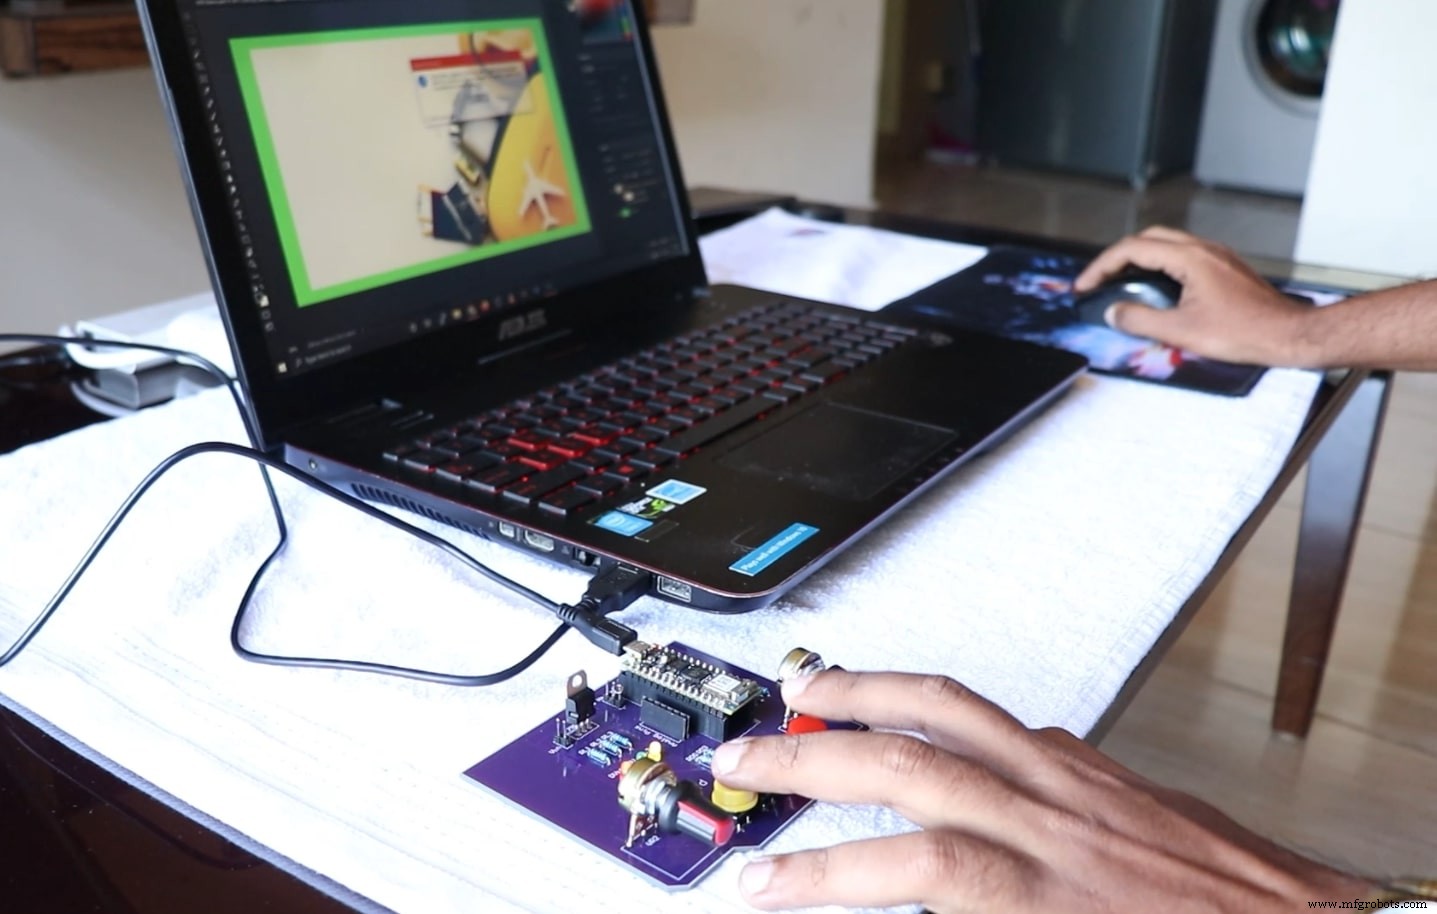
Making a DIY Photoshop Control Console
This project demonstrates how to create a custom hardware console that sends keyboard shortcuts to Adobe Photoshop with the push of a button. By wiring a set of tactile switches and potentiometers to an Arduino Nano RP2040, the console can trigger common Photoshop actions—such as resizing, zooming, and tool selection—without navigating menus.
What is HID?
Human‑Interface Device (HID) protocols allow microcontrollers to emulate keyboards or mice. Leveraging the USB HID library on the Nano RP2040, the console can transmit key combinations (e.g., Ctrl+T) directly to the host computer.
Circuit Overview
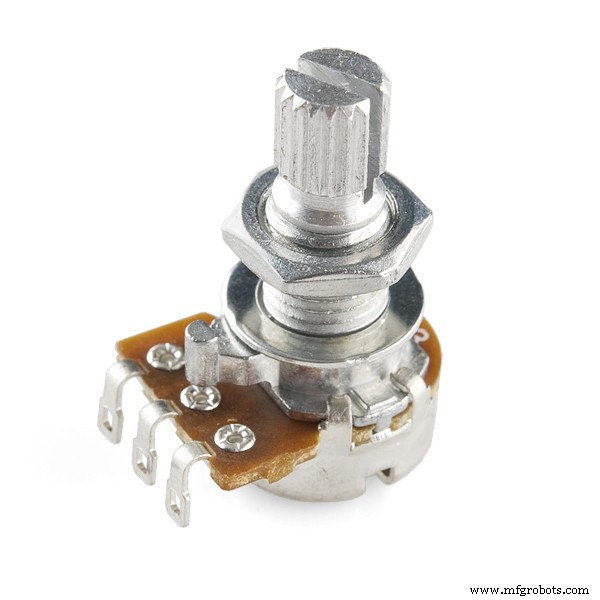
The design uses four momentary push‑buttons connected to digital pins D2–D5, two analog potentiometers on A0 and A1, and a status LED on pin 13. The board is powered from a USB supply, with a voltage regulator that steps 5 V down to 3.3 V to match the Nano RP2040’s logic level.
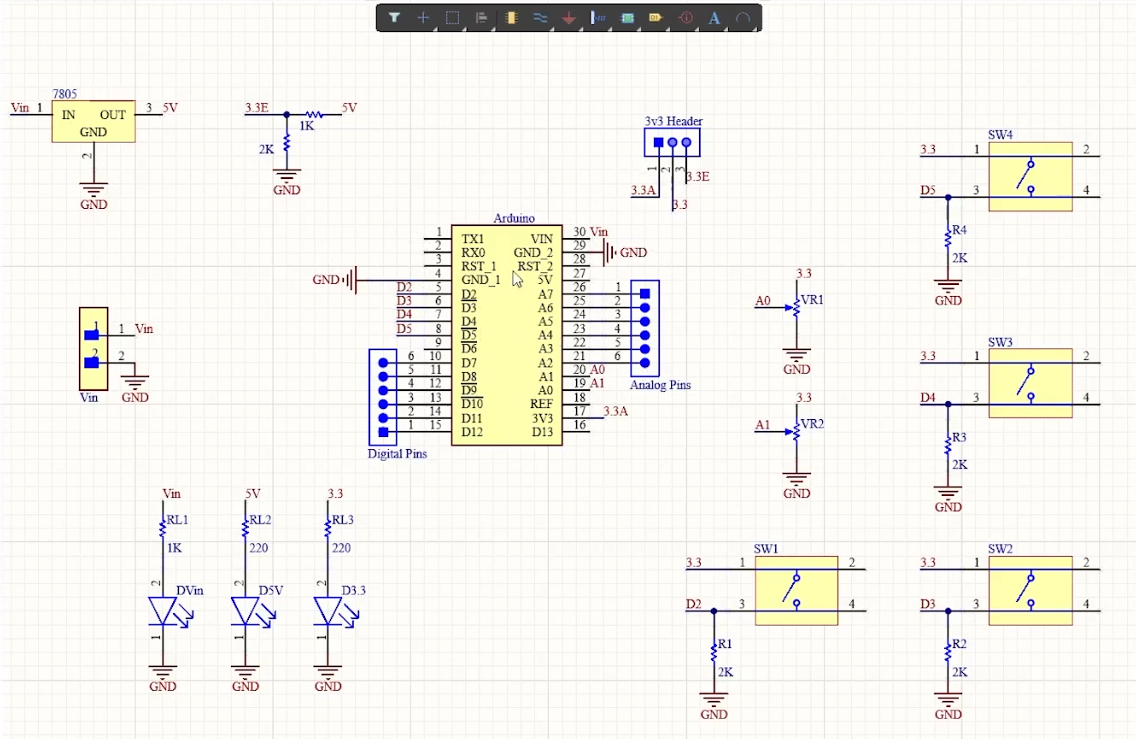
The PCB was designed in Altium Designer and fabricated by PCBWay. The final board is a double‑layer, 1.6 mm FR‑4 layout with all components soldered on one side for a compact form factor.
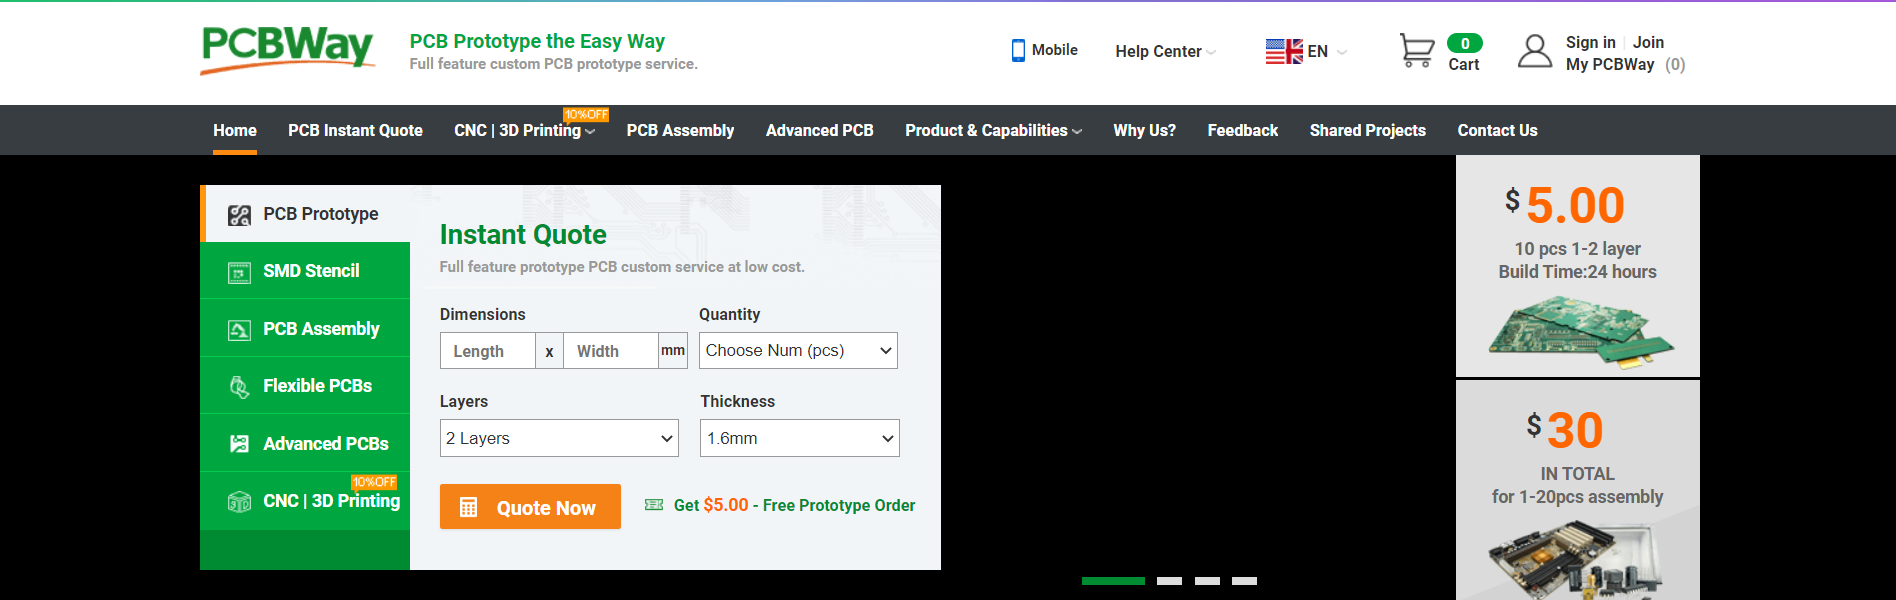
Getting the PCB Done
PCBWay’s online service accepts Gerber files and offers rapid turnaround for small‑batch orders. The process involves uploading the design, reviewing the preview, and completing payment. The resulting board arrives in a finished state ready for component placement.
Arduino Code
Below is a minimal example that demonstrates button‑driven shortcuts and potentiometer‑based zoom. The code uses the USBKeyboard class to send keystrokes over HID.
#include <PluggableUSBHID.h>
#include <USBKeyboard.h>

const int buttonPin1 = 2;
const int buttonPin2 = 3;
const int buttonPin3 = 4;
const int buttonPin4 = 5;
const int ledPin = 13;

USBKeyboard Keyboard;
int button1State = 0;
int button2State = 0;
int button3State = 0;
int button4State = 0;
int pot1 = 0;
int pot2 = 0;

void setup() {
  pinMode(ledPin, OUTPUT);
  pinMode(buttonPin1, INPUT);
  pinMode(buttonPin2, INPUT);
  pinMode(buttonPin3, INPUT);
  pinMode(buttonPin4, INPUT);
  pinMode(A0, INPUT);
  pinMode(A1, INPUT);
  Serial.begin(9600);
}

void loop() {
  button1State = digitalRead(buttonPin1);
  button2State = digitalRead(buttonPin2);
  button3State = digitalRead(buttonPin3);
  button4State = digitalRead(buttonPin4);
  pot1 = analogRead(A0);
  pot2 = analogRead(A1);

  if (button1State == HIGH) {
    digitalWrite(ledPin, HIGH);
    Serial.println("Button 1 Pressed");
    Keyboard.key_code('t', KEY_CTRL); // Resize image
    delay(500);
  } else {
    digitalWrite(ledPin, LOW);
  }

  if (button2State == HIGH) {
    digitalWrite(ledPin, HIGH);
    delay(500);
    Serial.println("Button 2 Pressed");
    Keyboard.key_code('u', KEY_CTRL); // Undo
  } else {
    digitalWrite(ledPin, LOW);
  }

  if (button3State == HIGH) {
    digitalWrite(ledPin, HIGH);
    delay(500);
    Serial.println("Button 3 Pressed");
    Keyboard.key_code('j', KEY_CTRL); // Jump to layer
  } else {
    digitalWrite(ledPin, LOW);
  }

  if (button4State == HIGH) {
    digitalWrite(ledPin, HIGH);
    Keyboard.key_code('v'); // Paste
    delay(500);
    Serial.println("Button 4 Pressed");
  } else {
    digitalWrite(ledPin, LOW);
  }

  if ((pot1 >= 750) && (pot1 <= 400)) {
    Serial.println("Pot 1 Min");
  } else if (pot1 > 750) {
    Keyboard.key_code('-', KEY_CTRL); // Zoom out
    delay(500);
  } else if (pot1 <= 400) {
    Keyboard.key_code('+', KEY_CTRL); // Zoom in
    delay(500);
  }
}
Feel free to adapt the key mappings and add debouncing or long‑press logic to suit your workflow.
Testing
After assembly, power the board via USB and launch Photoshop. Press each button to verify that the expected shortcut appears in the console log. Adjust potentiometer positions to confirm zoom behavior. Once confirmed, you can mount the console on your desk and enjoy a more efficient editing session.
Manufacturing process
- Build a Smart Voltmeter with Arduino & Smartphone – Easy DIY Project
- Build a Reliable Infrared Heartbeat Sensor with Arduino: Step-by-Step Guide
- Accurate Rain Forecasting: Build an Arduino-Powered System with Python & Keras
- Build a Smart Hand Sanitizer Dispenser with Arduino – DIY Guide
- Build a DIY Mini Oscilloscope with Arduino Nano – Step‑by‑Step Tutorial
- Build a Compact Weather Station with Arduino Nano – Easy DIY Guide
- Build a Complete Arduino‑Powered RC Airplane from Scratch
- Build an Arduino‑Powered RC Hovercraft: Full 3D‑Printed Design & Programming Guide
- Build a Multifunctional Arduino RC Transmitter: Step‑by‑Step DIY Guide
- Build a Smart Arduino Vending Machine: A Complete DIY Mechatronics Guide