


DIY LED Heat Sink: Build a Professional-Grade Cooling Solution
LED light fixtures tend to generate heat, negatively affecting the device. For example, it may experience degradation, a shorter life expectancy, or varying changes. To prevent these issues from occurring, you can implement a DIY LED heat sink, which will keep the device at a constant temperature. Of course, you should utilize one made of aluminum for the best results.
At OurPCB, we introduce the LED heatsink and how you can build one with at-home tools. That way, you won’t have to worry about overheating your LED fixture. So let’s get started!
LED heatsink introduction
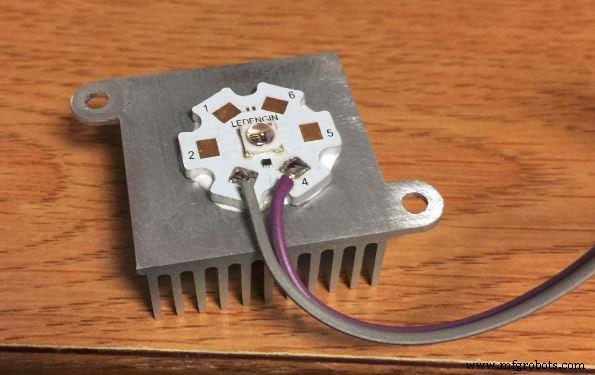
Example of an LED heatsink.
Source: Wikimedia Commons
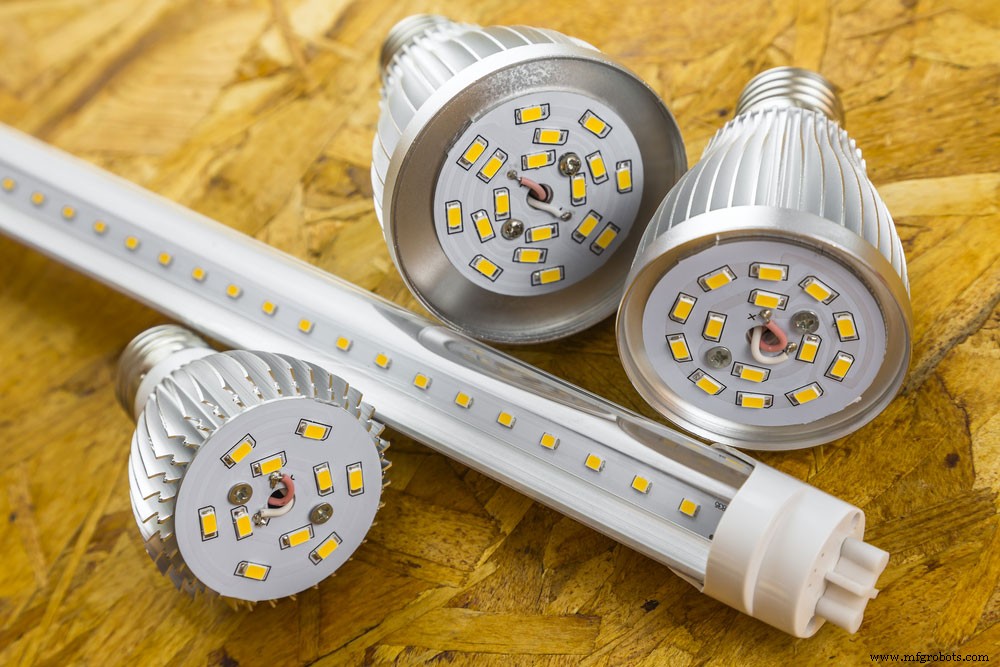
A LED heat sink is a metal block designed to absorb LED-generated heat, releasing it back into the air. This process occurs in three ways: conduction, convection, or radiation. Installing a heatsink provides longevity for your LED fixture while ensuring constant temperature operation. Therefore, it keeps the LED lighting fixture from overheating. Otherwise, the LED will experience reduced light output, color changes, or reduced life expectancy.
Varying heat sinks exist on the market today. Of course, these usually have different material builds, such as high-quality aluminum for rust resistance and corrosion resistance. Even then, they come in different shapes, including finned heat sinks. Depending on your LED fixture, you will need a specific heatsink type.
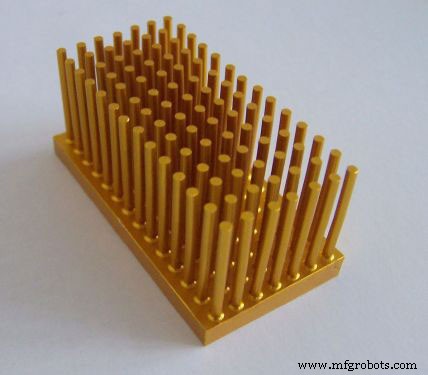
Image showing an aluminum finned heatsink.
Source: Wikimedia Commons
Some also feature slots so that printed circuit boards can fit inside a fixture for LED drivers, interconnects, and power inlets. Meanwhile, 10W power LEDs connect in series, which attach atop a heatsink.
DIY LED heatsink
You can create your own LED heatsink with at-home tools and components.
Required components and tools:
- 1W LED light – 1x
- Aluminum panels – 1x
- Large sandpaper – 1x
- Hammer
- Leftover tube light choke – 1x
- Iron cutting hand blade
- Superglue or thermal paste
- Screwdriver
Steps:
Step one: follow these steps to create the LED heatsink:
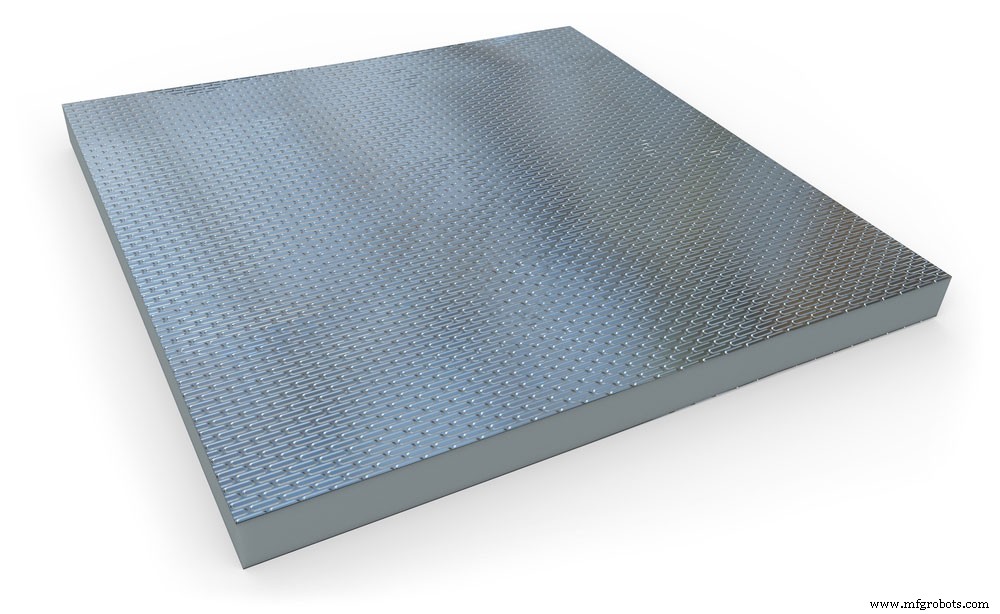
This step involves cutting a piece of aluminum panel.
First, create an aluminum base since it stays cooler longer than iron. Grab the panels and gently hit them with a hammer until they straighten. Next, ensure that it has a 2mm thickness and cut 1 x 1″ pieces. Additionally, the 1W LED mounts to the base.
Step two:
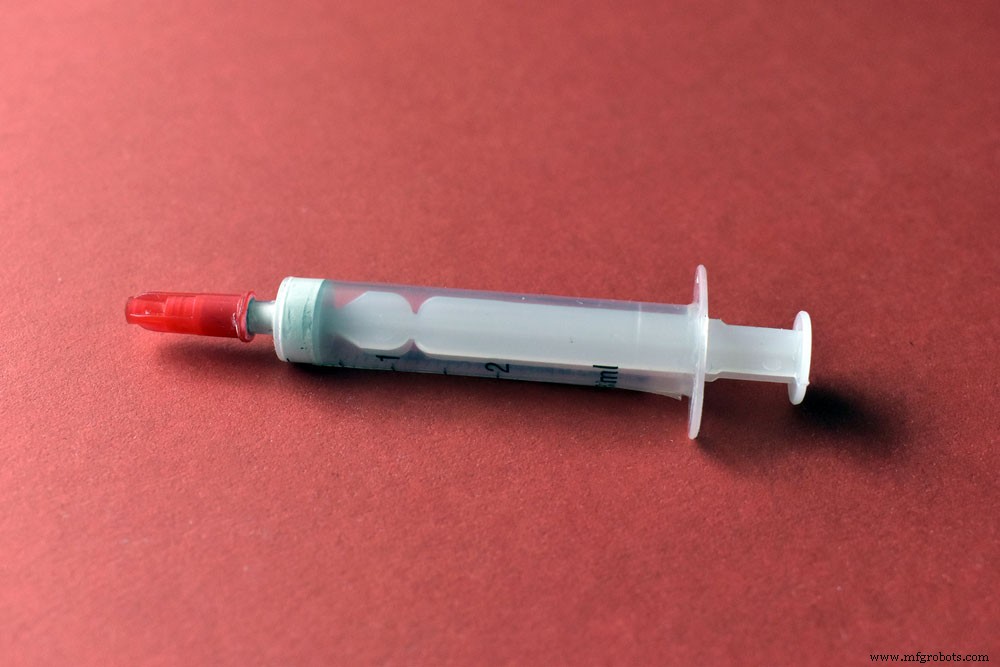
You can apply thermal paste or superglue to the aluminum base.
Afterward, super glue the LED on the aluminum base plate. The glue acts as an excellent conductor compared to other epoxy glues. Plus, it dries quickly and produces a thin layer. You can also apply the thermal paste for this purpose.
Step three:
Remove an old iron strip choke from an LED tube light.
Remove an old choke, which contains iron strips, from a tube light by applying force to it with a screwdriver. Although iron provides poor conductivity, it still offers excellent heat dissipation performance.
Step four:
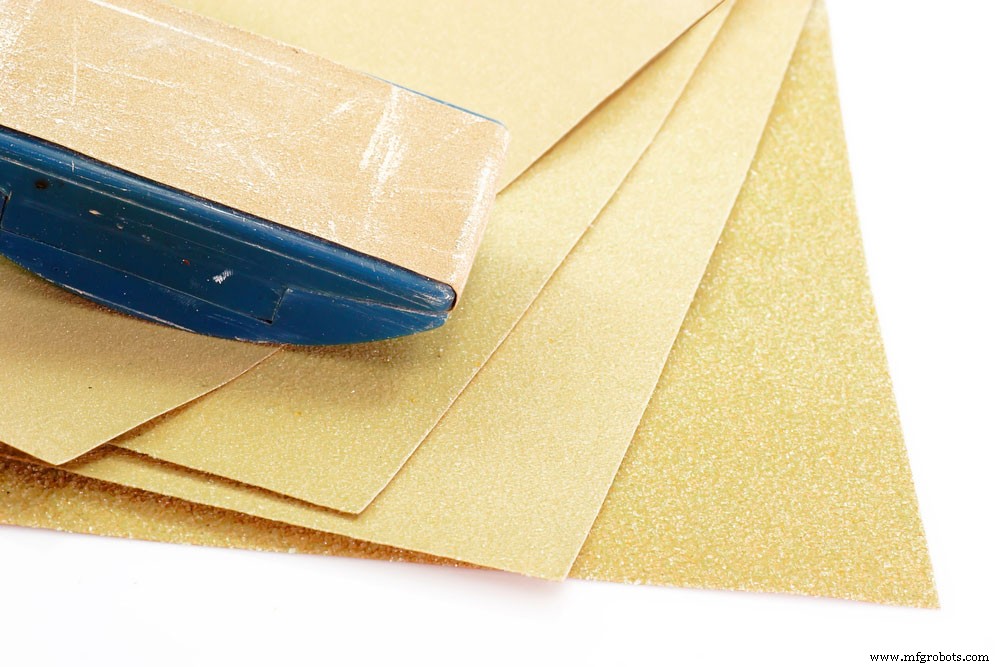
Use sandpaper to remove any rust on the choke.
Next, you will need to eliminate rust from the iron strips with sandpaper. Afterward, put glue in the middle of the strip and place the aluminum base with the LED on top.
Step five:
The Led’s temperature should remain constant after one hour at 4 volts.
Turn the LED on and ensure that it works correctly. In this case, the temperature should remain constant after one hour at four volts.
You can also integrate a current limiter circuit between the power supply and LEDs. Doing so will help to prevent shortcircuit or overload.
Working principle:
Overall, this heat sink implementation redirects heat away from the 1W LED through the aluminum base. Then, the iron tubes transfer the heat into the surrounding air.
FAQs:
- Do LEDs need a heat sink?
Yes. Thermal management on an LED ensures that it will last longer.
- What is the best material for a heatsink?
Due to its excellent thermal conductivity, aluminum offers the best heat dissipation capabilities.
Summary
As you can see, an LED heatsink provides many benefits, significantly when maximizing efficiency. For instance, it will prevent the LED from overheating by transferring heat to the air. Otherwise, the light fixture may experience color changes, dimming, and a shorter lifespan. As a result, it will burn out quickly, forcing you to purchase a new device. To prevent these issues from affecting the fixture, we recommend purchasing an aluminum-type heatsink.
Do you have any questions regarding an LED heatsink? Feel free to contact us!
Industrial Technology
- Build Your Own LED Lights: A Complete DIY Step-by-Step Guide
- DIY LED Lamp Kit: Build an Energy‑Efficient, Eco‑Friendly Light
- Build Your Own LED Flashlight: Step‑by‑Step Circuit Guide
- Build Your Own RF Detector: A Simple Guide to Spotting Hidden Radio Signals
- Build Your Own LED Driver: Benefits, Safety Tips, and Step‑by‑Step Guide
- Building a Crystal Oscillator Circuit: A Practical Guide for Engineers
- Step‑by‑Step Guide to Building a Reliable DC Voltage Booster Circuit
- Build a Pulsing LED Circuit: Step‑by‑Step Guide to Stunning Light Effects
- Build a Simple Arduino Speaker – Step‑by‑Step Guide
- Build Your Own Low-Cost Thermal Imaging Camera: A DIY Guide