


The Critical Role of Layer Height in 3D Printing Quality and Cost
Published on November 8, 2021

Previously published on fastradius.com on November 8, 2021
In Fused Deposition Modeling (FDM) 3D printing, the printer slices the digital model, then extrudes molten plastic layer by layer to build the final part. Although the basic workflow is simple, many variables—material choice, geometry, and printing parameters—affect the finished product. One of the most critical parameters is the layer height.
Understanding Layer Height
Layer height refers to the vertical thickness of each printed layer, measured in microns or millimeters. It is set in the slicer software and can be adjusted for every print. Think of it as the “resolution” of your print: finer layers yield smoother surfaces and sharper details, while thicker layers reduce print time and cost.
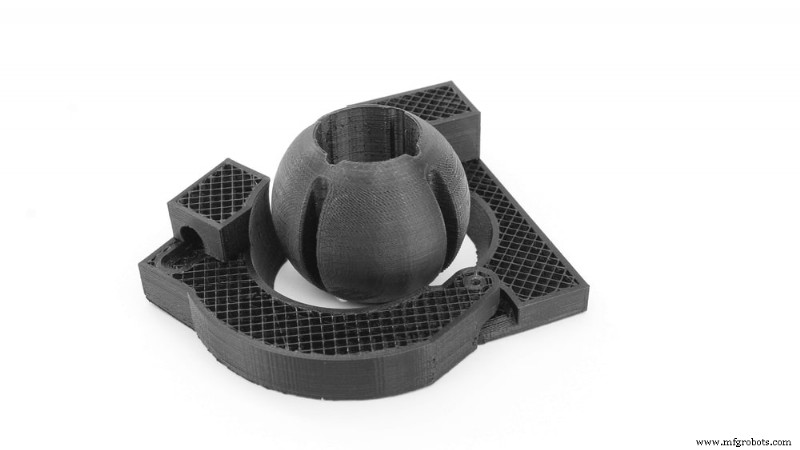
Choosing a lower layer height increases the number of layers needed to reach a given part height, which improves surface quality and dimensional accuracy but also lengthens the build time and raises material costs. Conversely, a higher layer height speeds up printing and cuts expenses, but sacrifices detail and can leave noticeable “stair‑step” artifacts on angled or curved surfaces.
For highly detailed, artistic, or precision parts, a thin layer (≤ 0.1 mm) is recommended. However, extremely fine layers may add negligible visual benefit while substantially increasing print time and the likelihood of defects. For functional prototypes or parts where cost and speed are primary concerns, a 0.2–0.4 mm layer is often sufficient.
Additionally, layer height must be compatible with the nozzle diameter. A practical rule of thumb is to set the layer height between 25 % and 75 % of the nozzle size. If the layer is too thin relative to the nozzle, extrusion becomes inconsistent; if it is too thick, layers may fail to bond properly.
Key Factors When Selecting Layer Height
When configuring your print, consider the specific FDM machine and the part’s purpose. Typical layer heights range from 0.05 mm to 0.4 mm, with 0.2 mm being the industry standard. To decide the optimal height, ask yourself:
- How detailed and precise must the component be?
- Does the design contain holes, curves, or sharp angles?
- What is the acceptable print time?
- What strength and mechanical performance are required?
- Is surface finish a priority?
- Will you post‑process the part (sanding, painting, acetone smoothing)?
- Is aesthetics or function the primary goal?
- What is the target cost per part?
Balancing these factors will guide you to a layer height that delivers the right trade‑off between resolution, speed, and cost.
Partner with SyBridge for Optimal Results
Layer height influences not only quality and cost but also part strength and finish. If you’re unsure which setting to use, collaborate with a trusted manufacturing partner.
SyBridge’s experienced team can help you select the ideal layer height for your project, ensuring efficient, high‑quality prints that meet your specifications. Contact us today to start your next project.
Industrial Technology
- Unlocking ROI Through Superior Engineering Design
- New Free E3 Fundamentals Course – Master Electronics Schematics with Cim‑Team
- Mastering Sustainable Supply Chain Practices for a Greener Manufacturing Future
- Common-Emitter Amplifier Limitations: Distortion, Temperature, and High‑Frequency Challenges
- Maximizing Industrial Asset Performance with Advanced APM Strategies
- Passivation for Stainless Steel Parts & Enclosures: Boost Corrosion Resistance
- Intelligence-as-a-Service: Enhancing Supply Chain Efficiency through Data-Driven Insights
- Keeping Quality Documentation Current: Why Regular Updates Matter
- Polyurethane: Advanced Chemical Resistance for Durable Applications
- Crafting High-Impact Content That Engages B2B Buyers in the Industrial Sector