


Create Dynamic Marquee LED Lighting with Arduino Nano and NeoPixels
Components and supplies
 |
| × | 1 | |||
 |
| × | 1 |
Apps and online services
 |
|
About this project
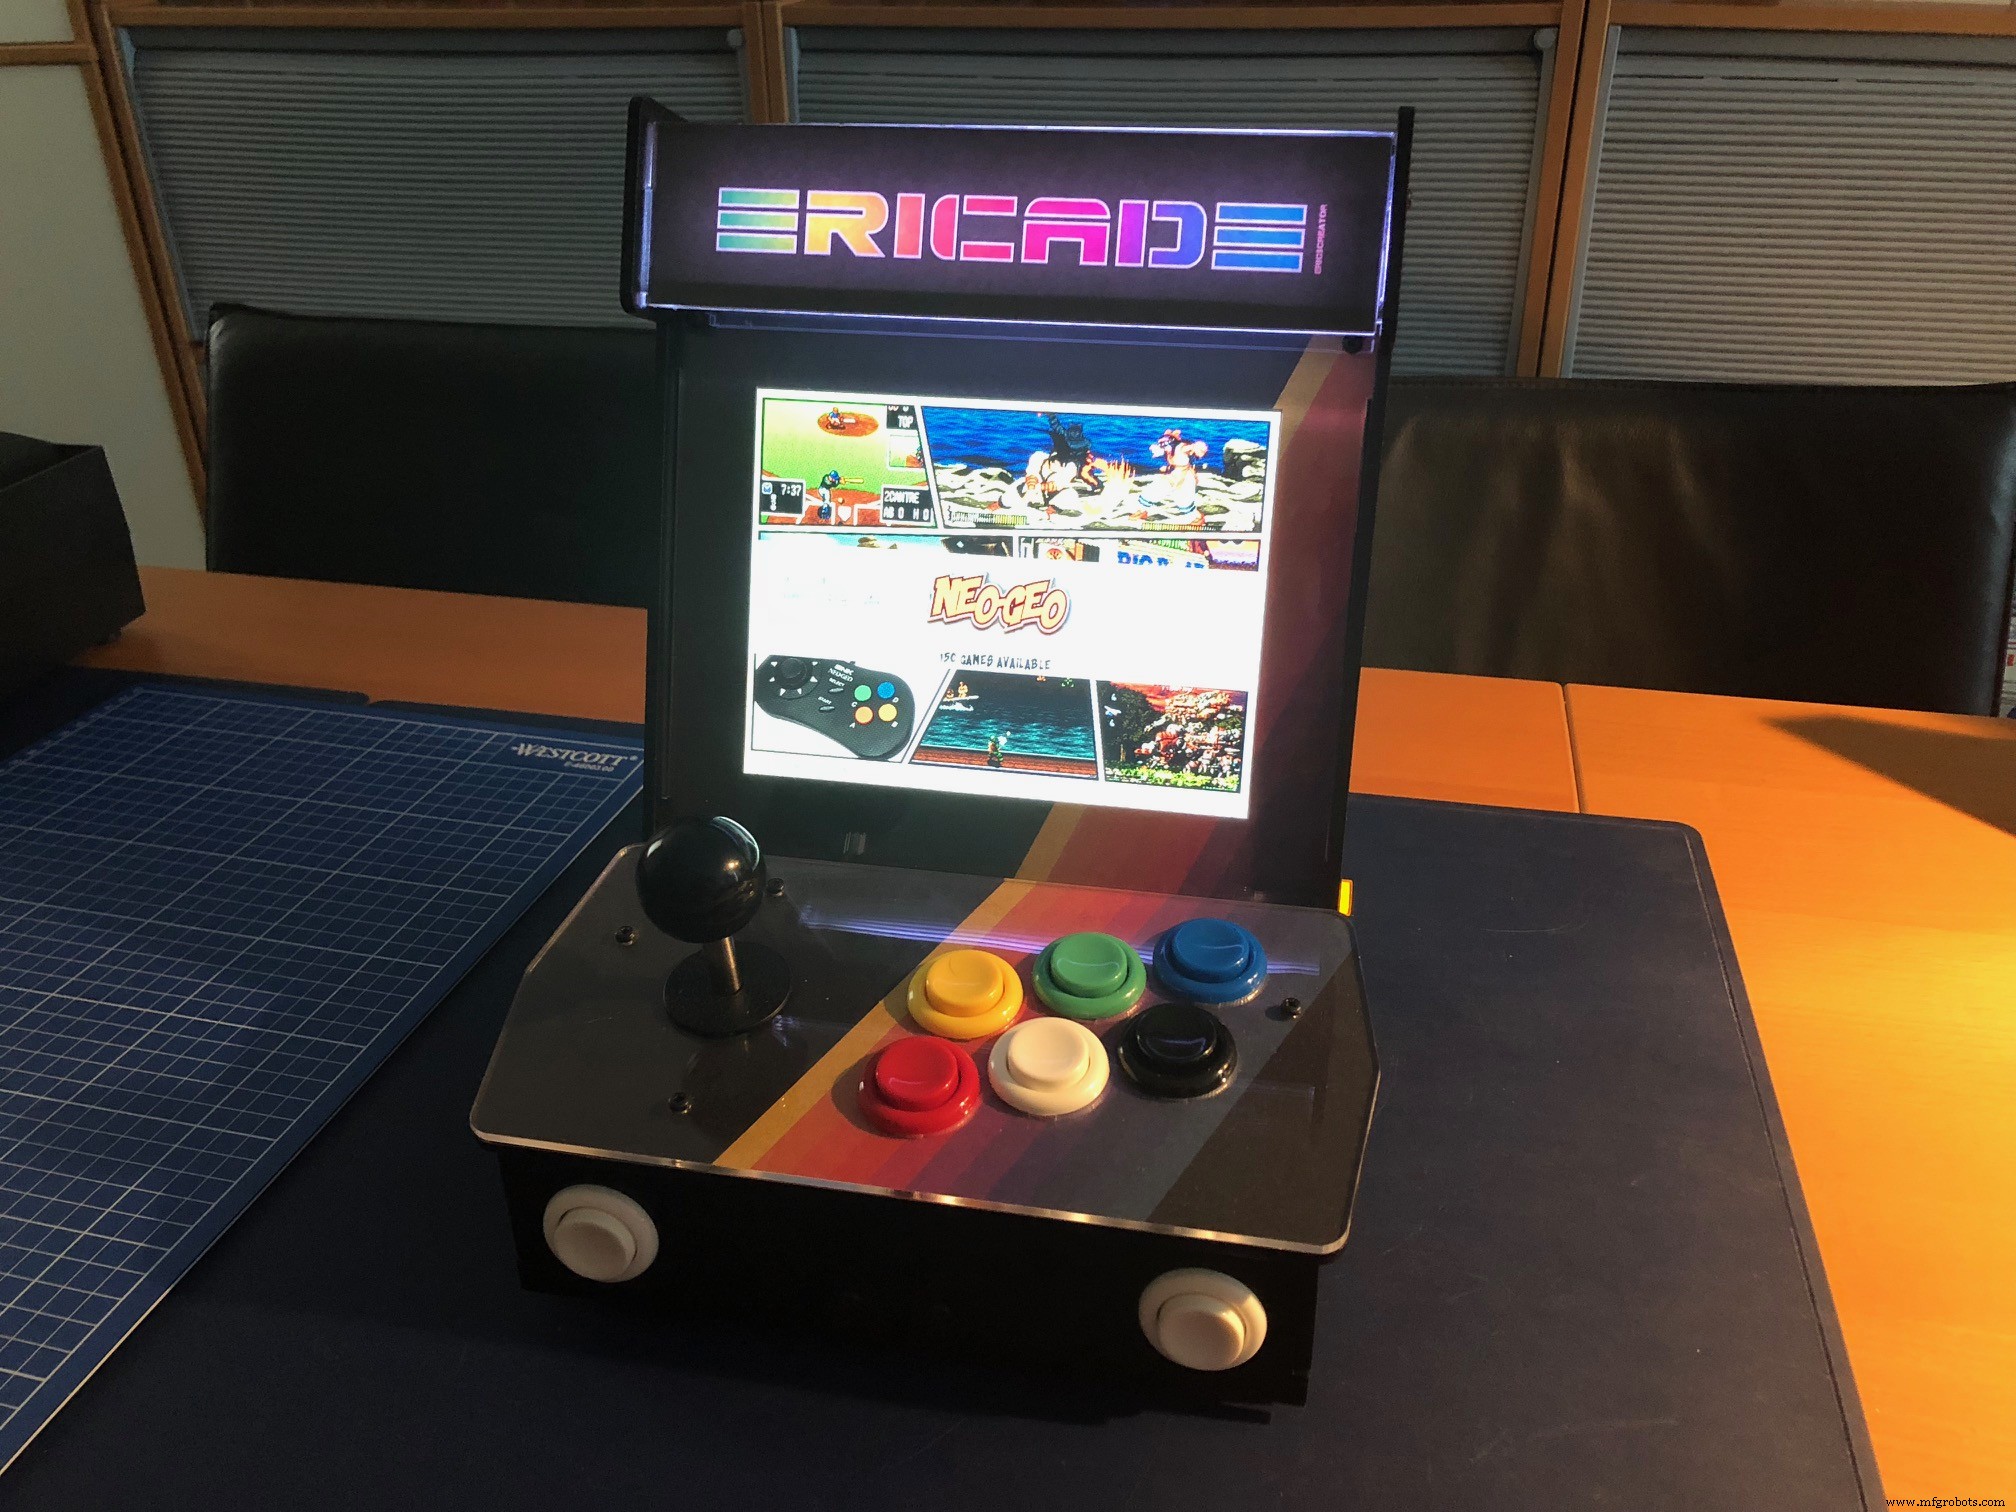
Simple DIY Animated Marquee LightingThis a simple tutorial to add animated lighting to your arcade cabinet or other projects. It can be used for (back-)lighting marquees and many other purposes.
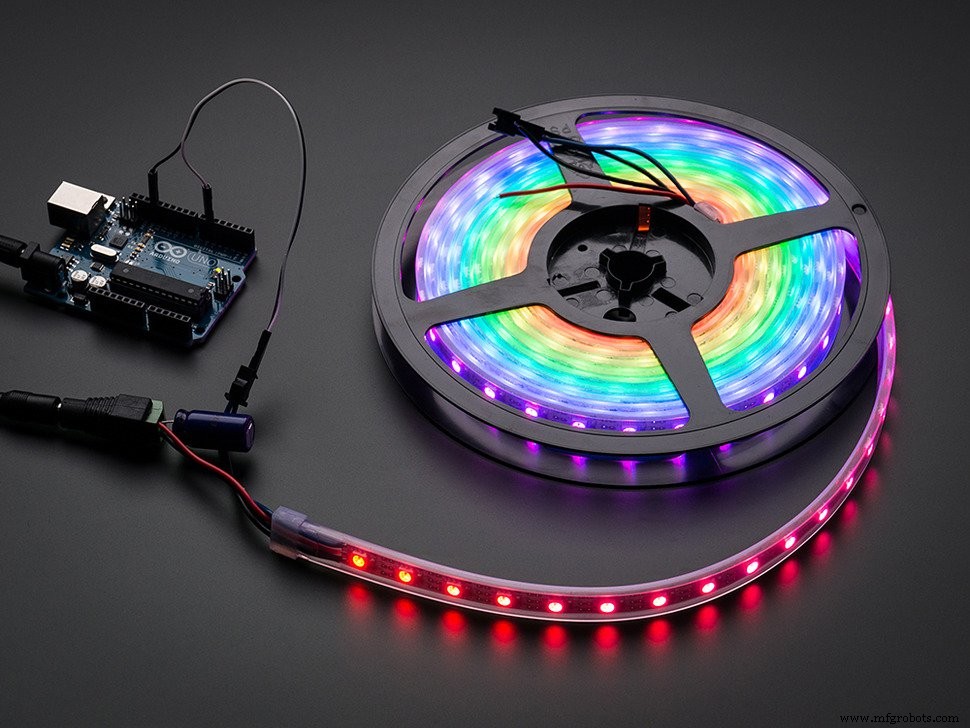
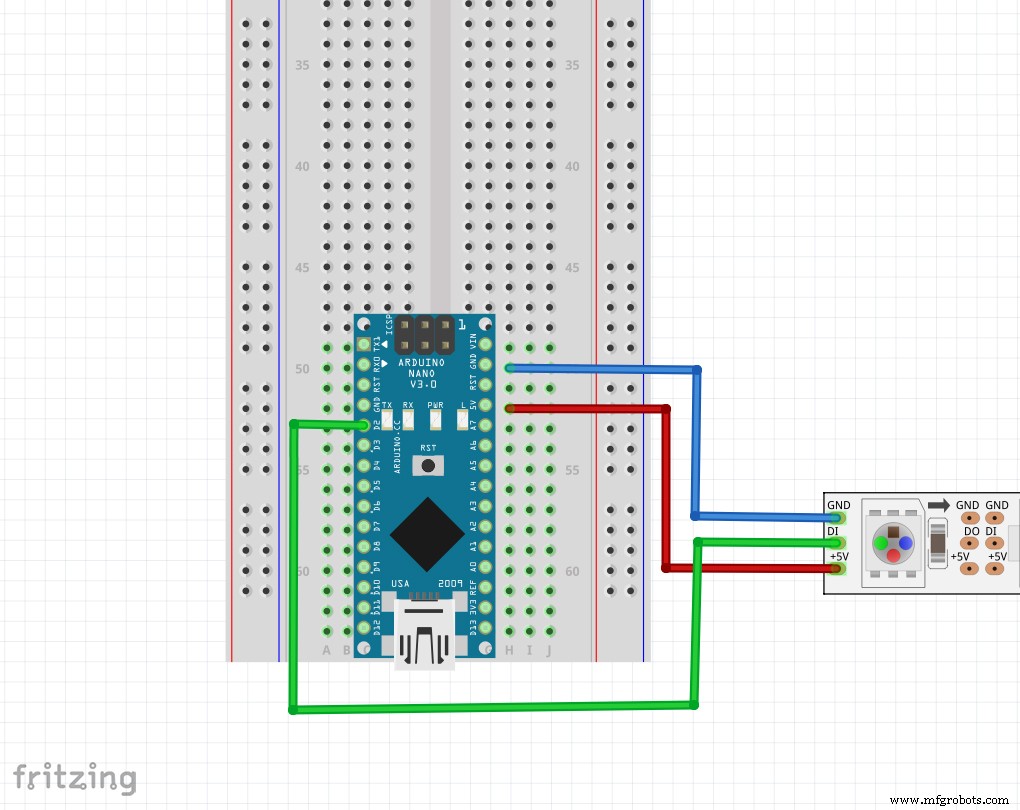
You will need an Arduino Nano (or compatible board), a strip of NeoPixels, and 3 wires.
The BuildCheck the video below for the build:
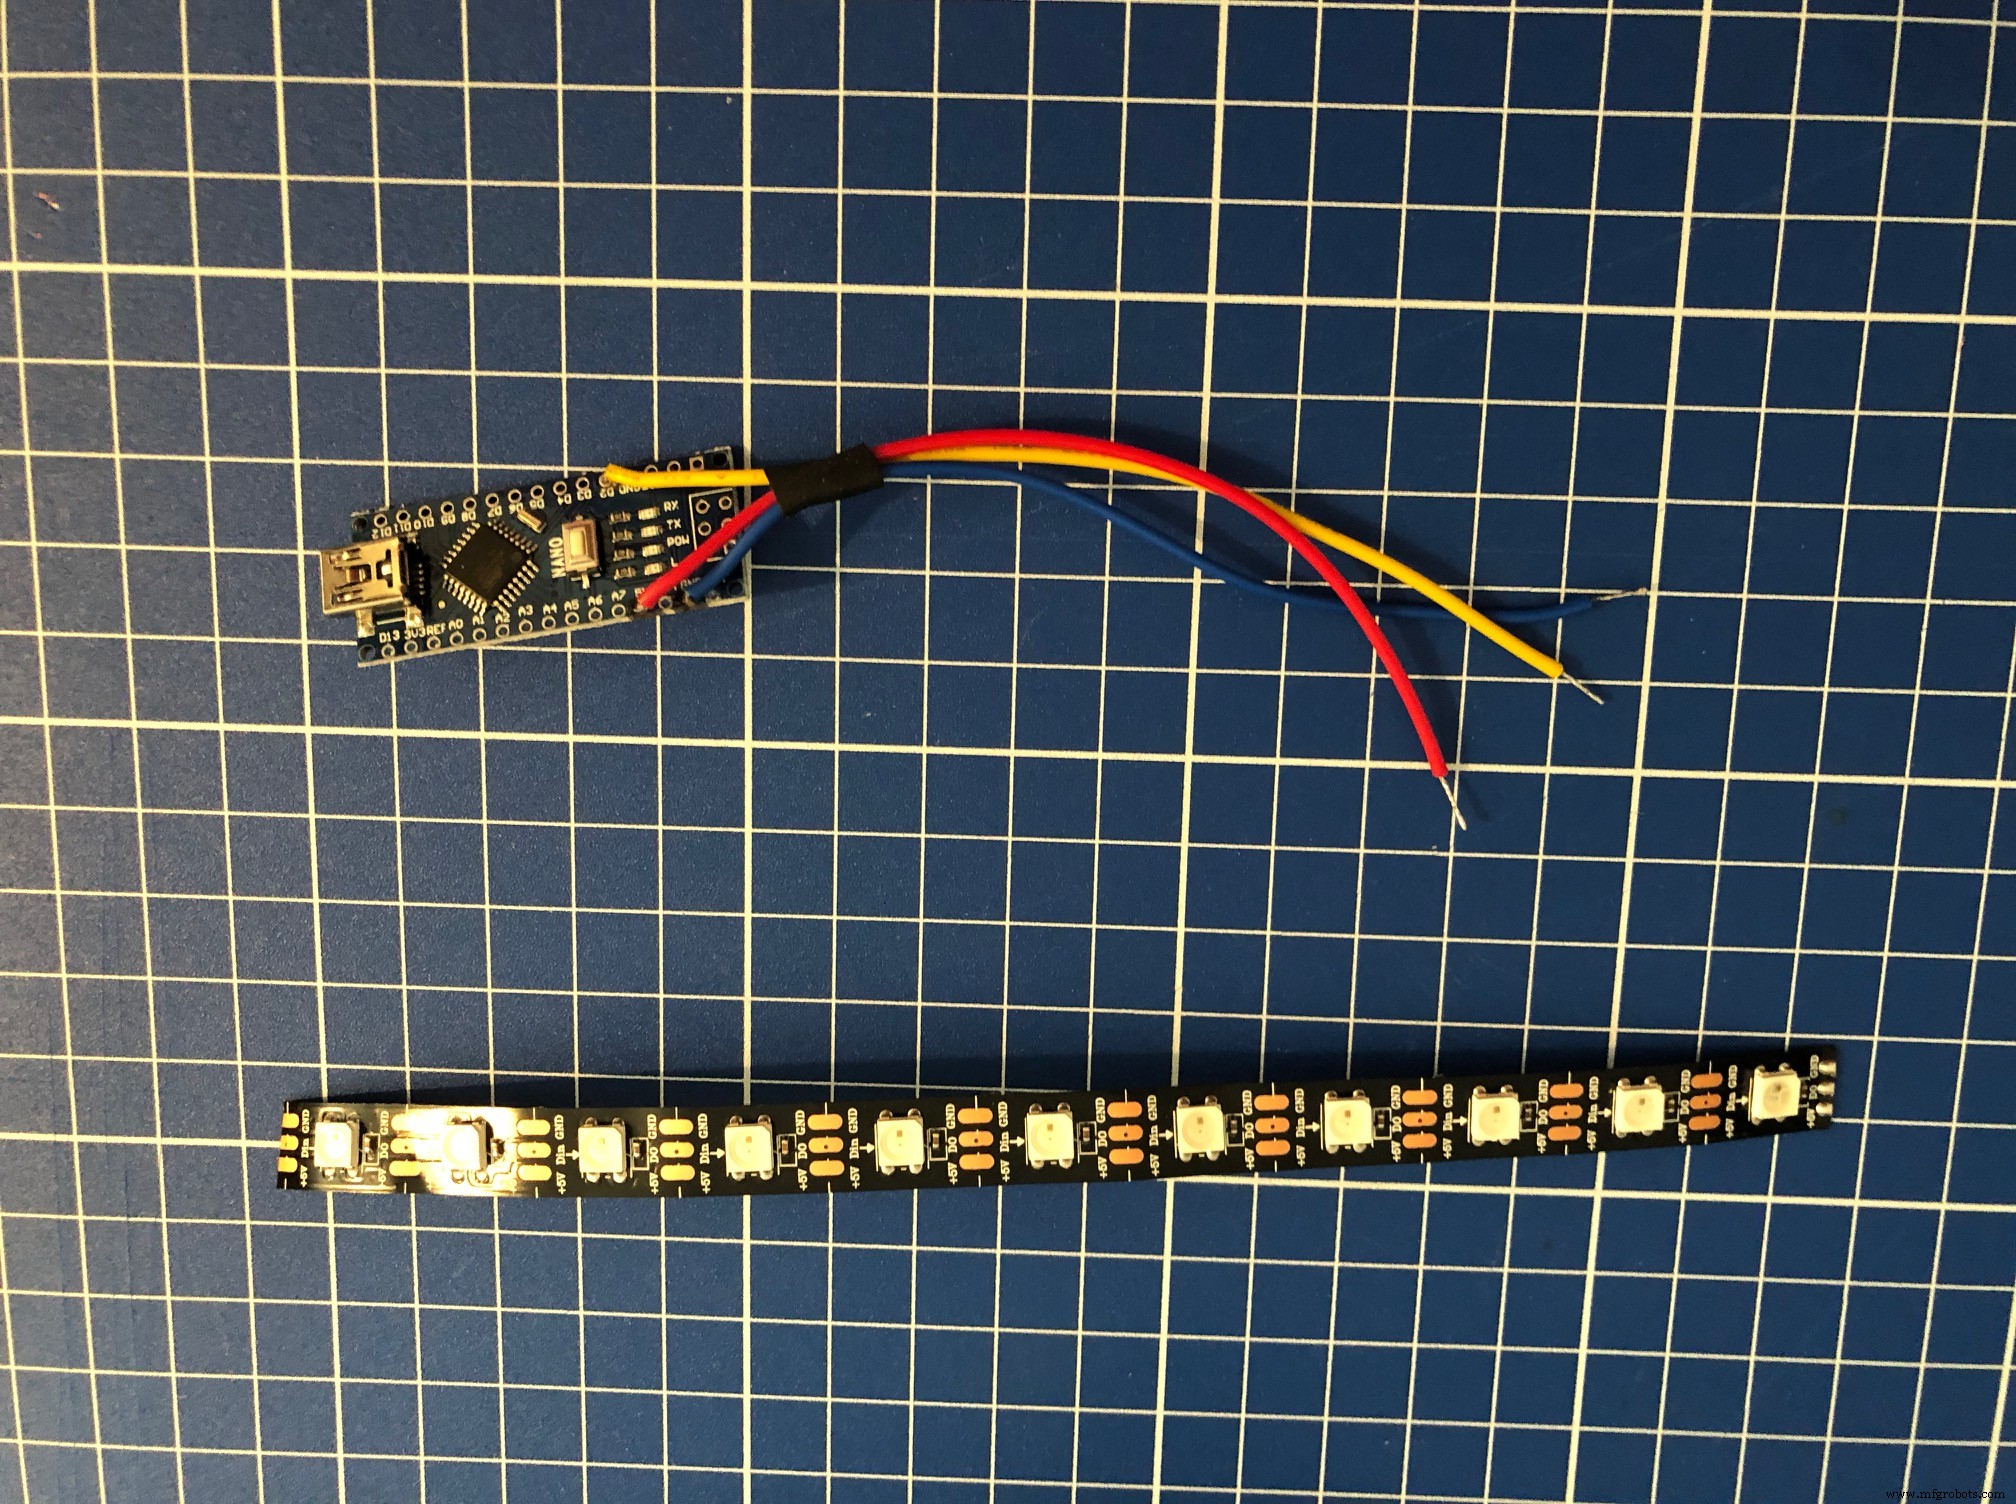
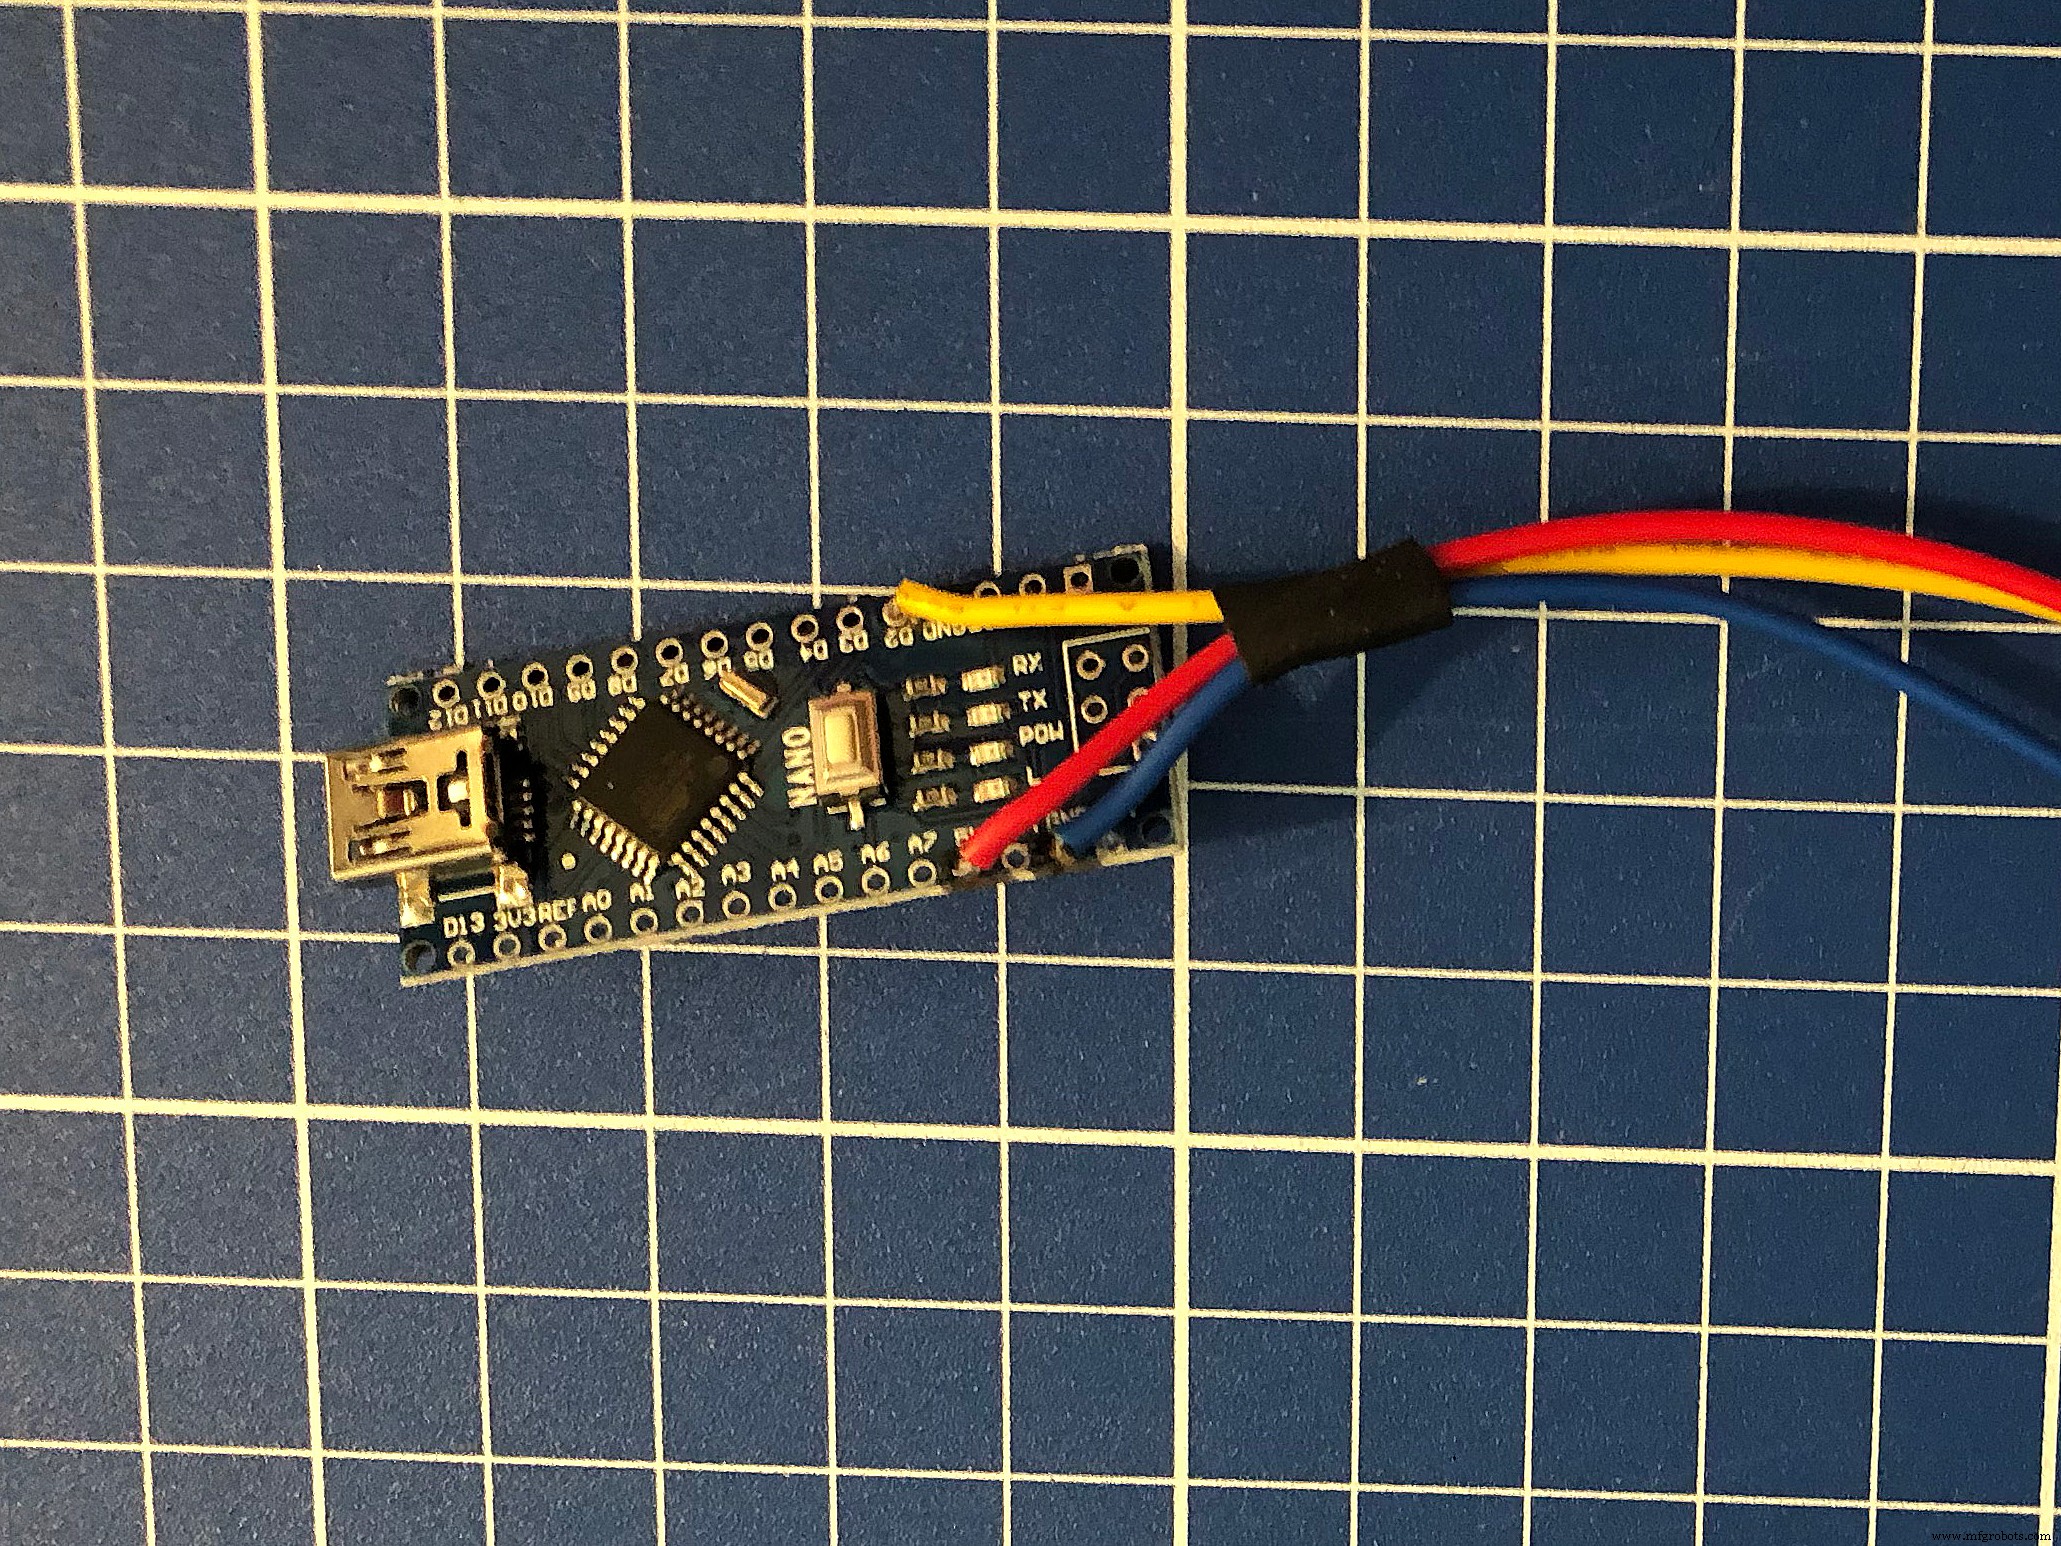
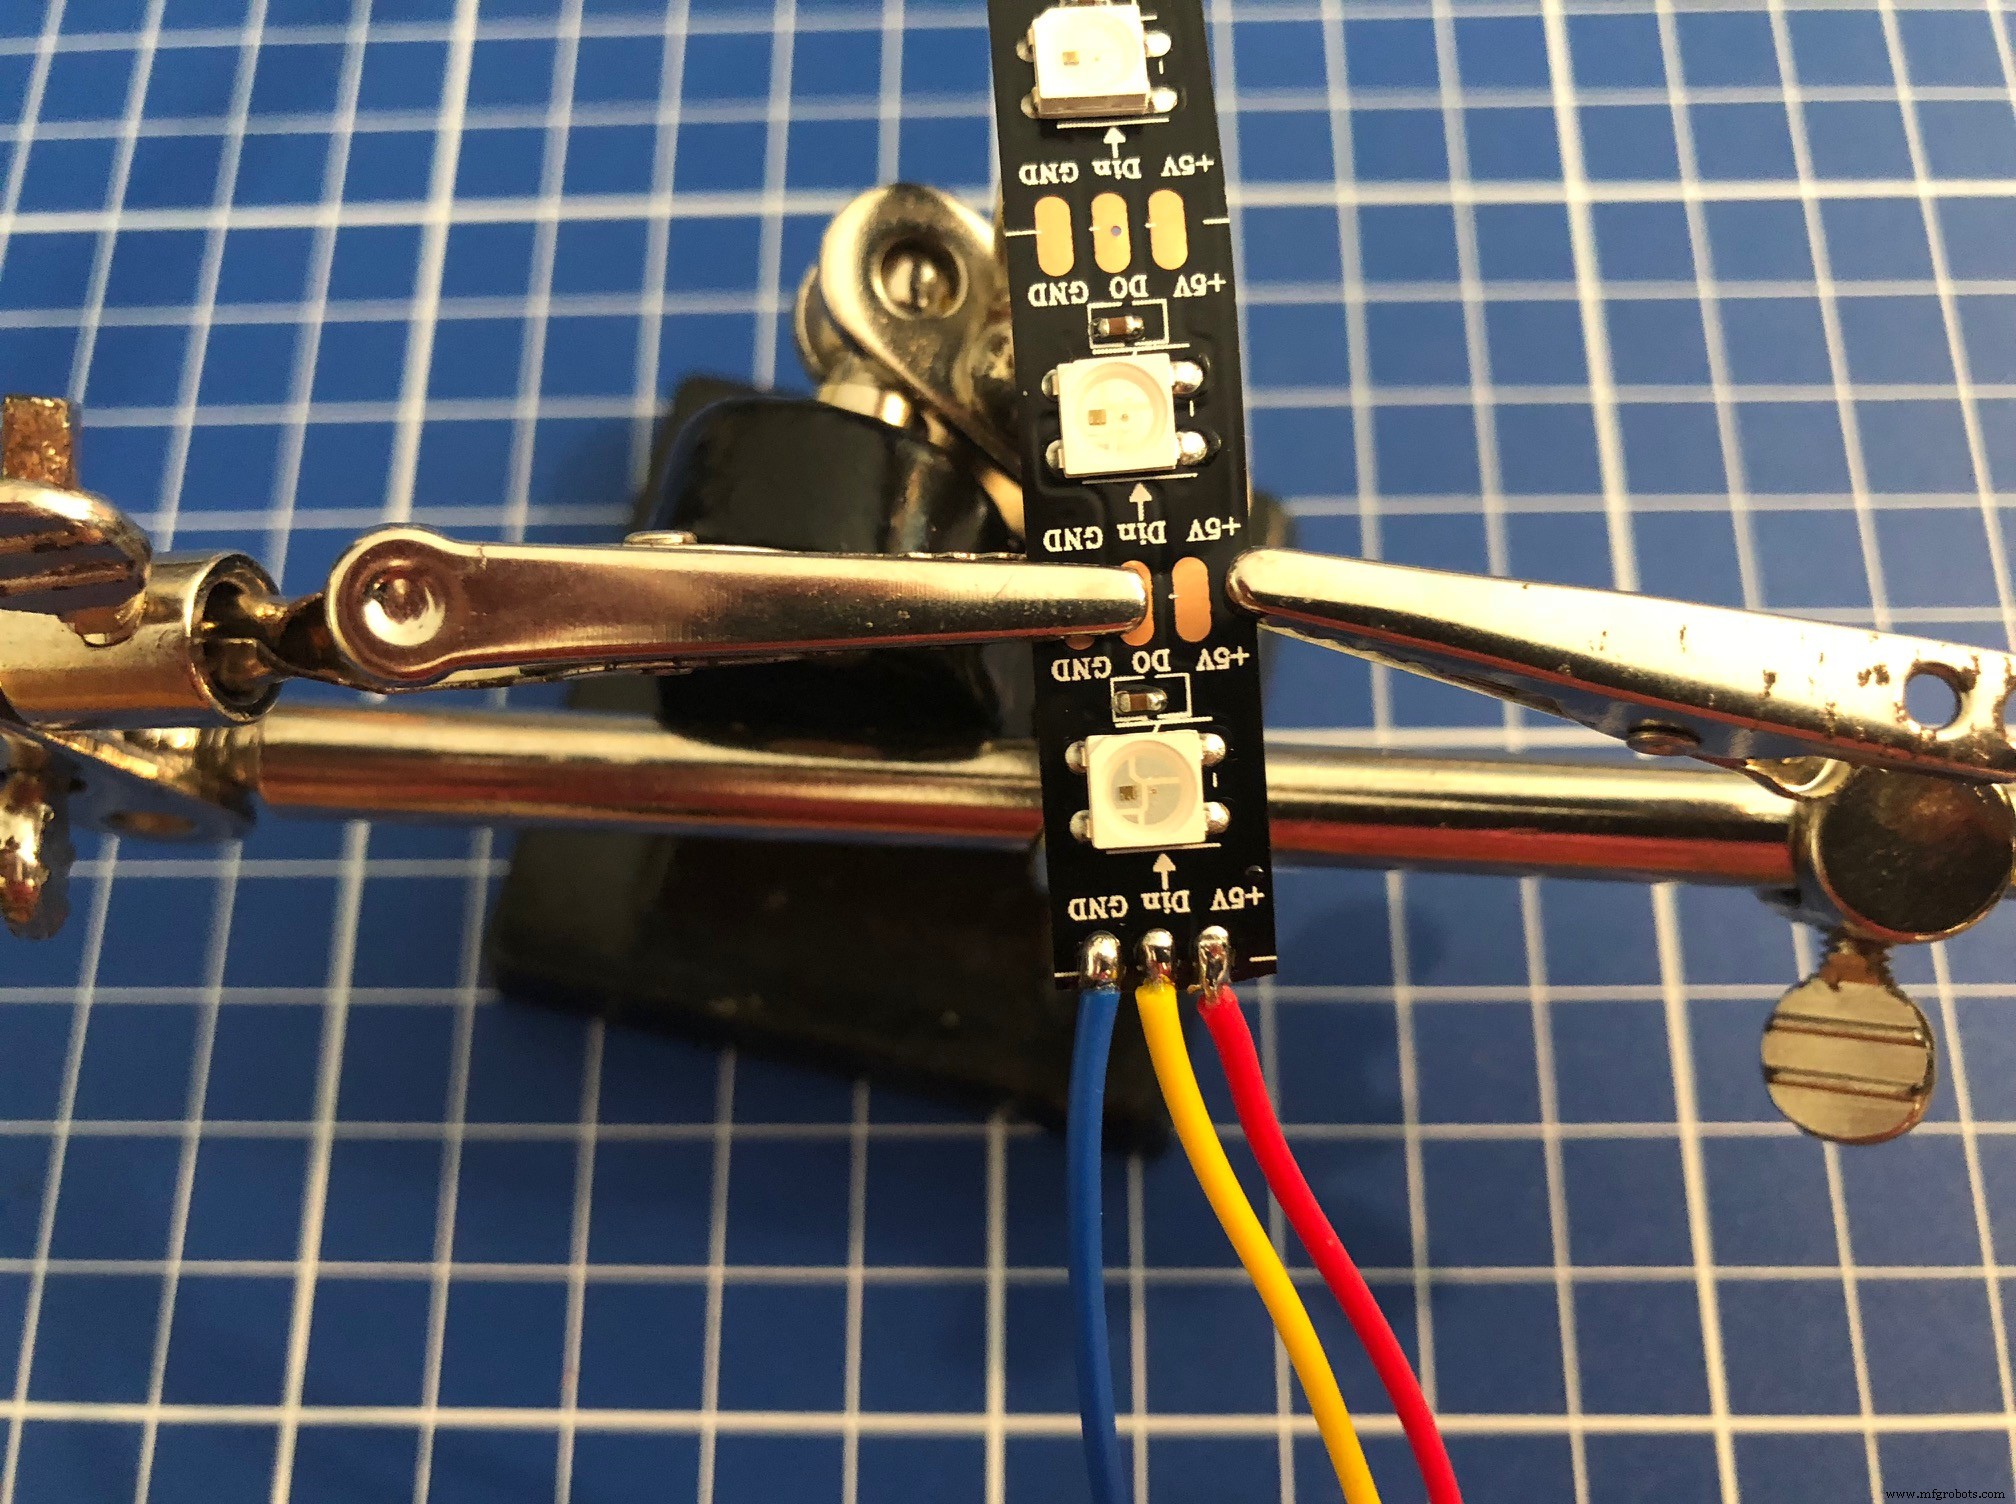
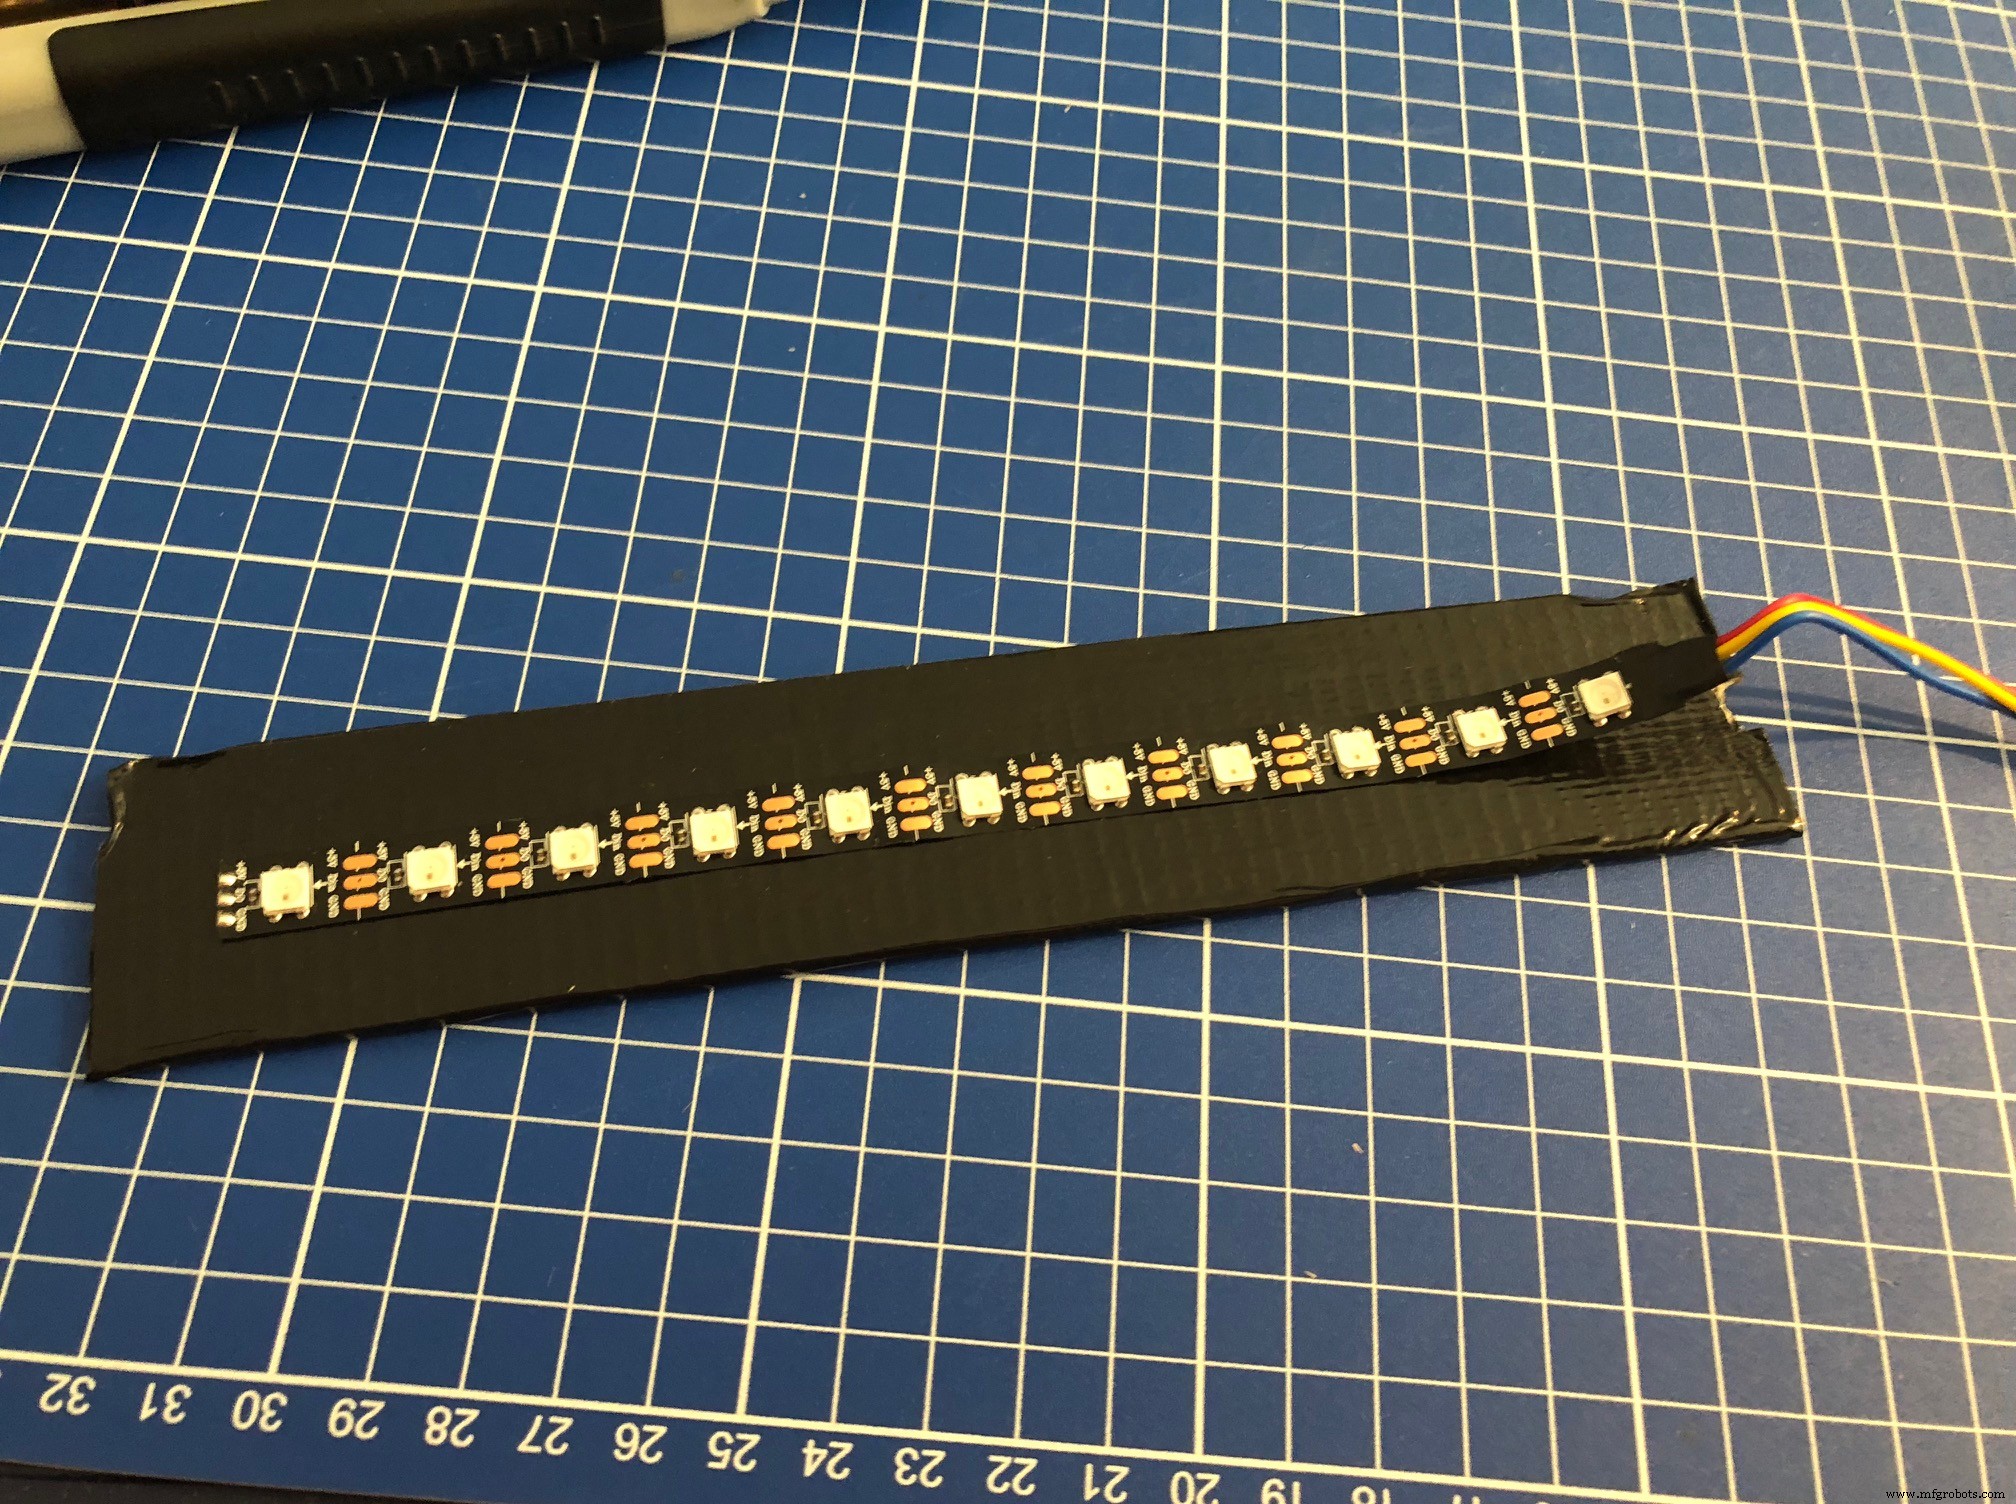
Short SetupHardware: Solder three wires from the Arduino Nano to the NeoPixel strip: 5V, digital signal (I chose pin 2 on the Arduino) and ground.
Tip: Use a piece of heat shrink to tie the cables together, especially the led strip (make sure the solder connections are covered). This will prevent the solder connections from coming loose.
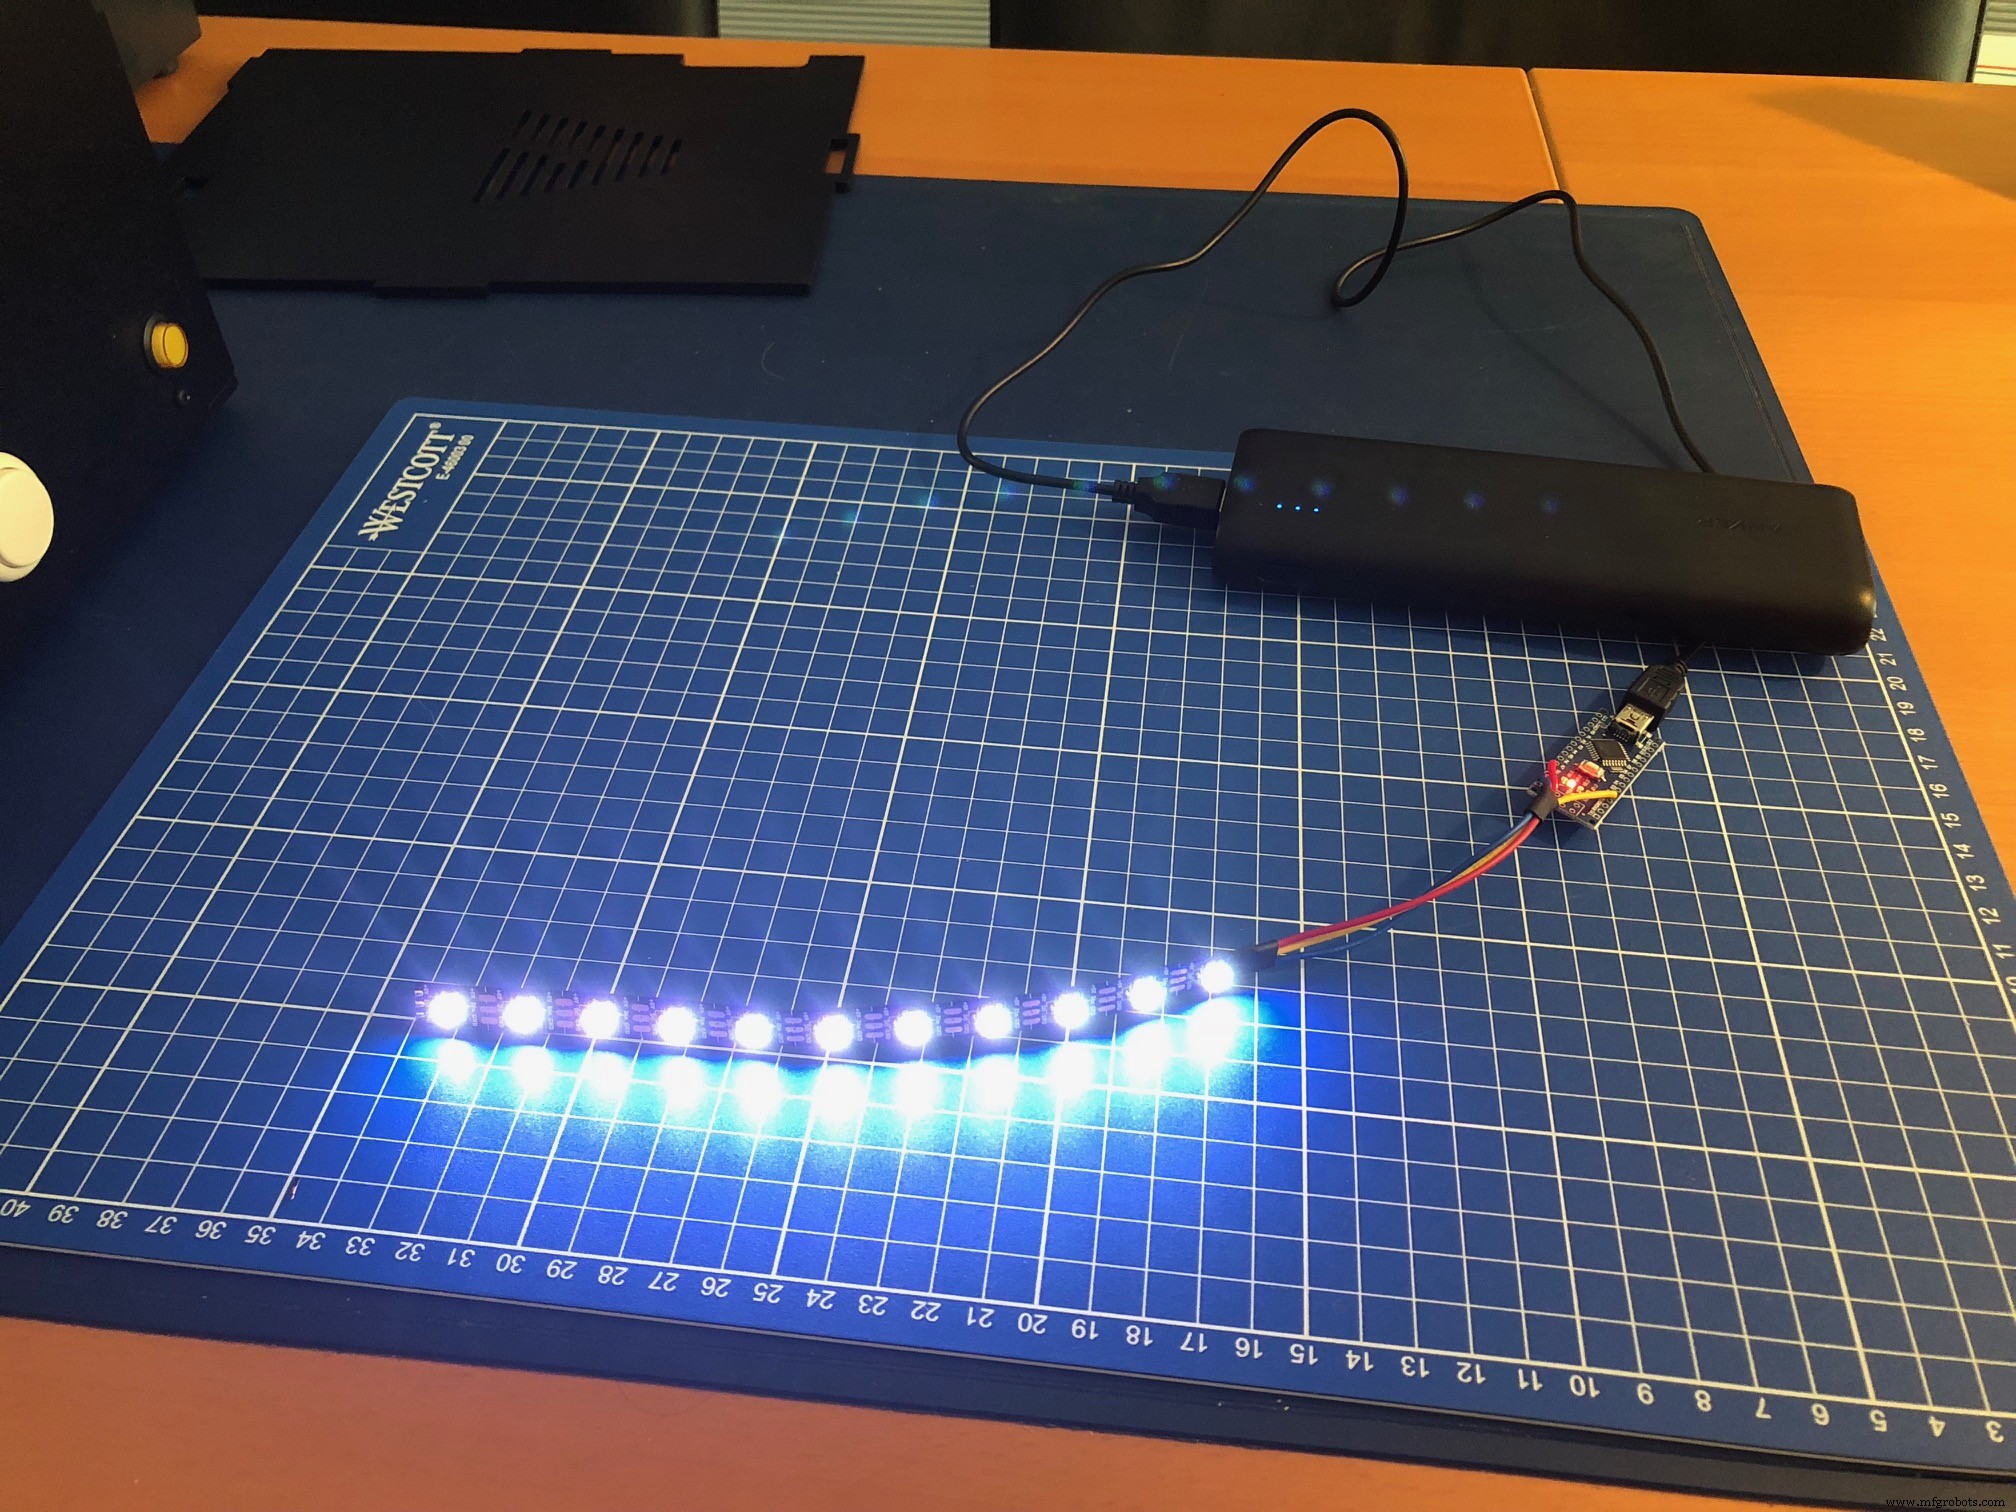
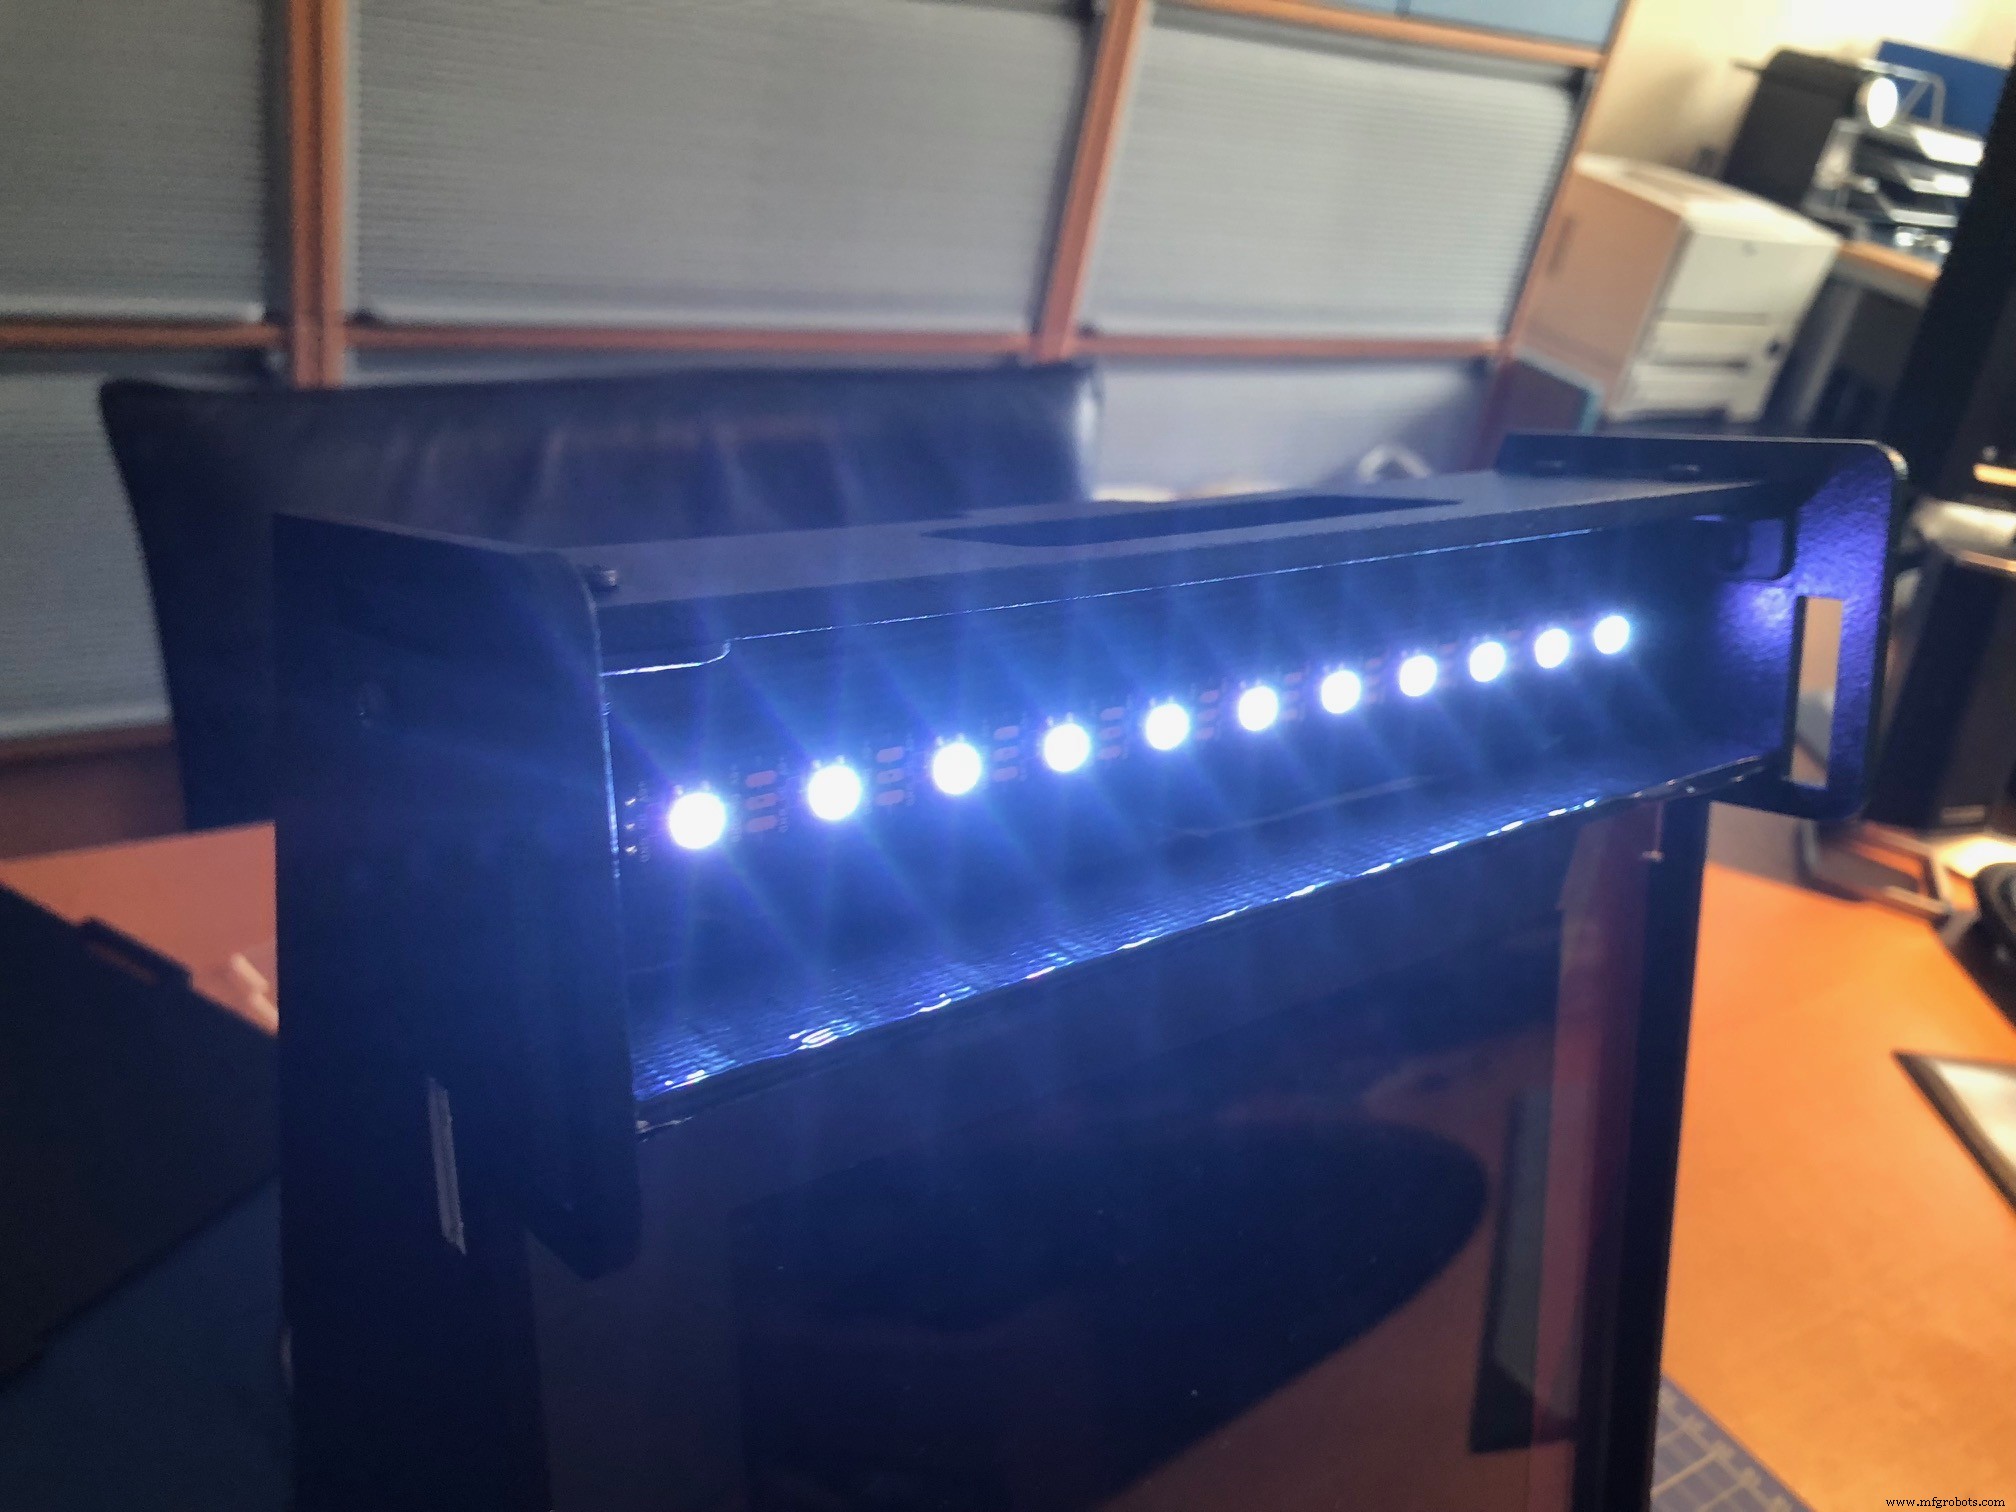
Code: Set the number of LEDs of the connected strip in the sketch code, upload it to the Arduino and test it. I used a 'walking', flashing and pulsing animation in the sketch, only using the color white. You can adjust the code to do all sorts of animations and use many colors. Or just use simple a backlight, whatever you prefer.
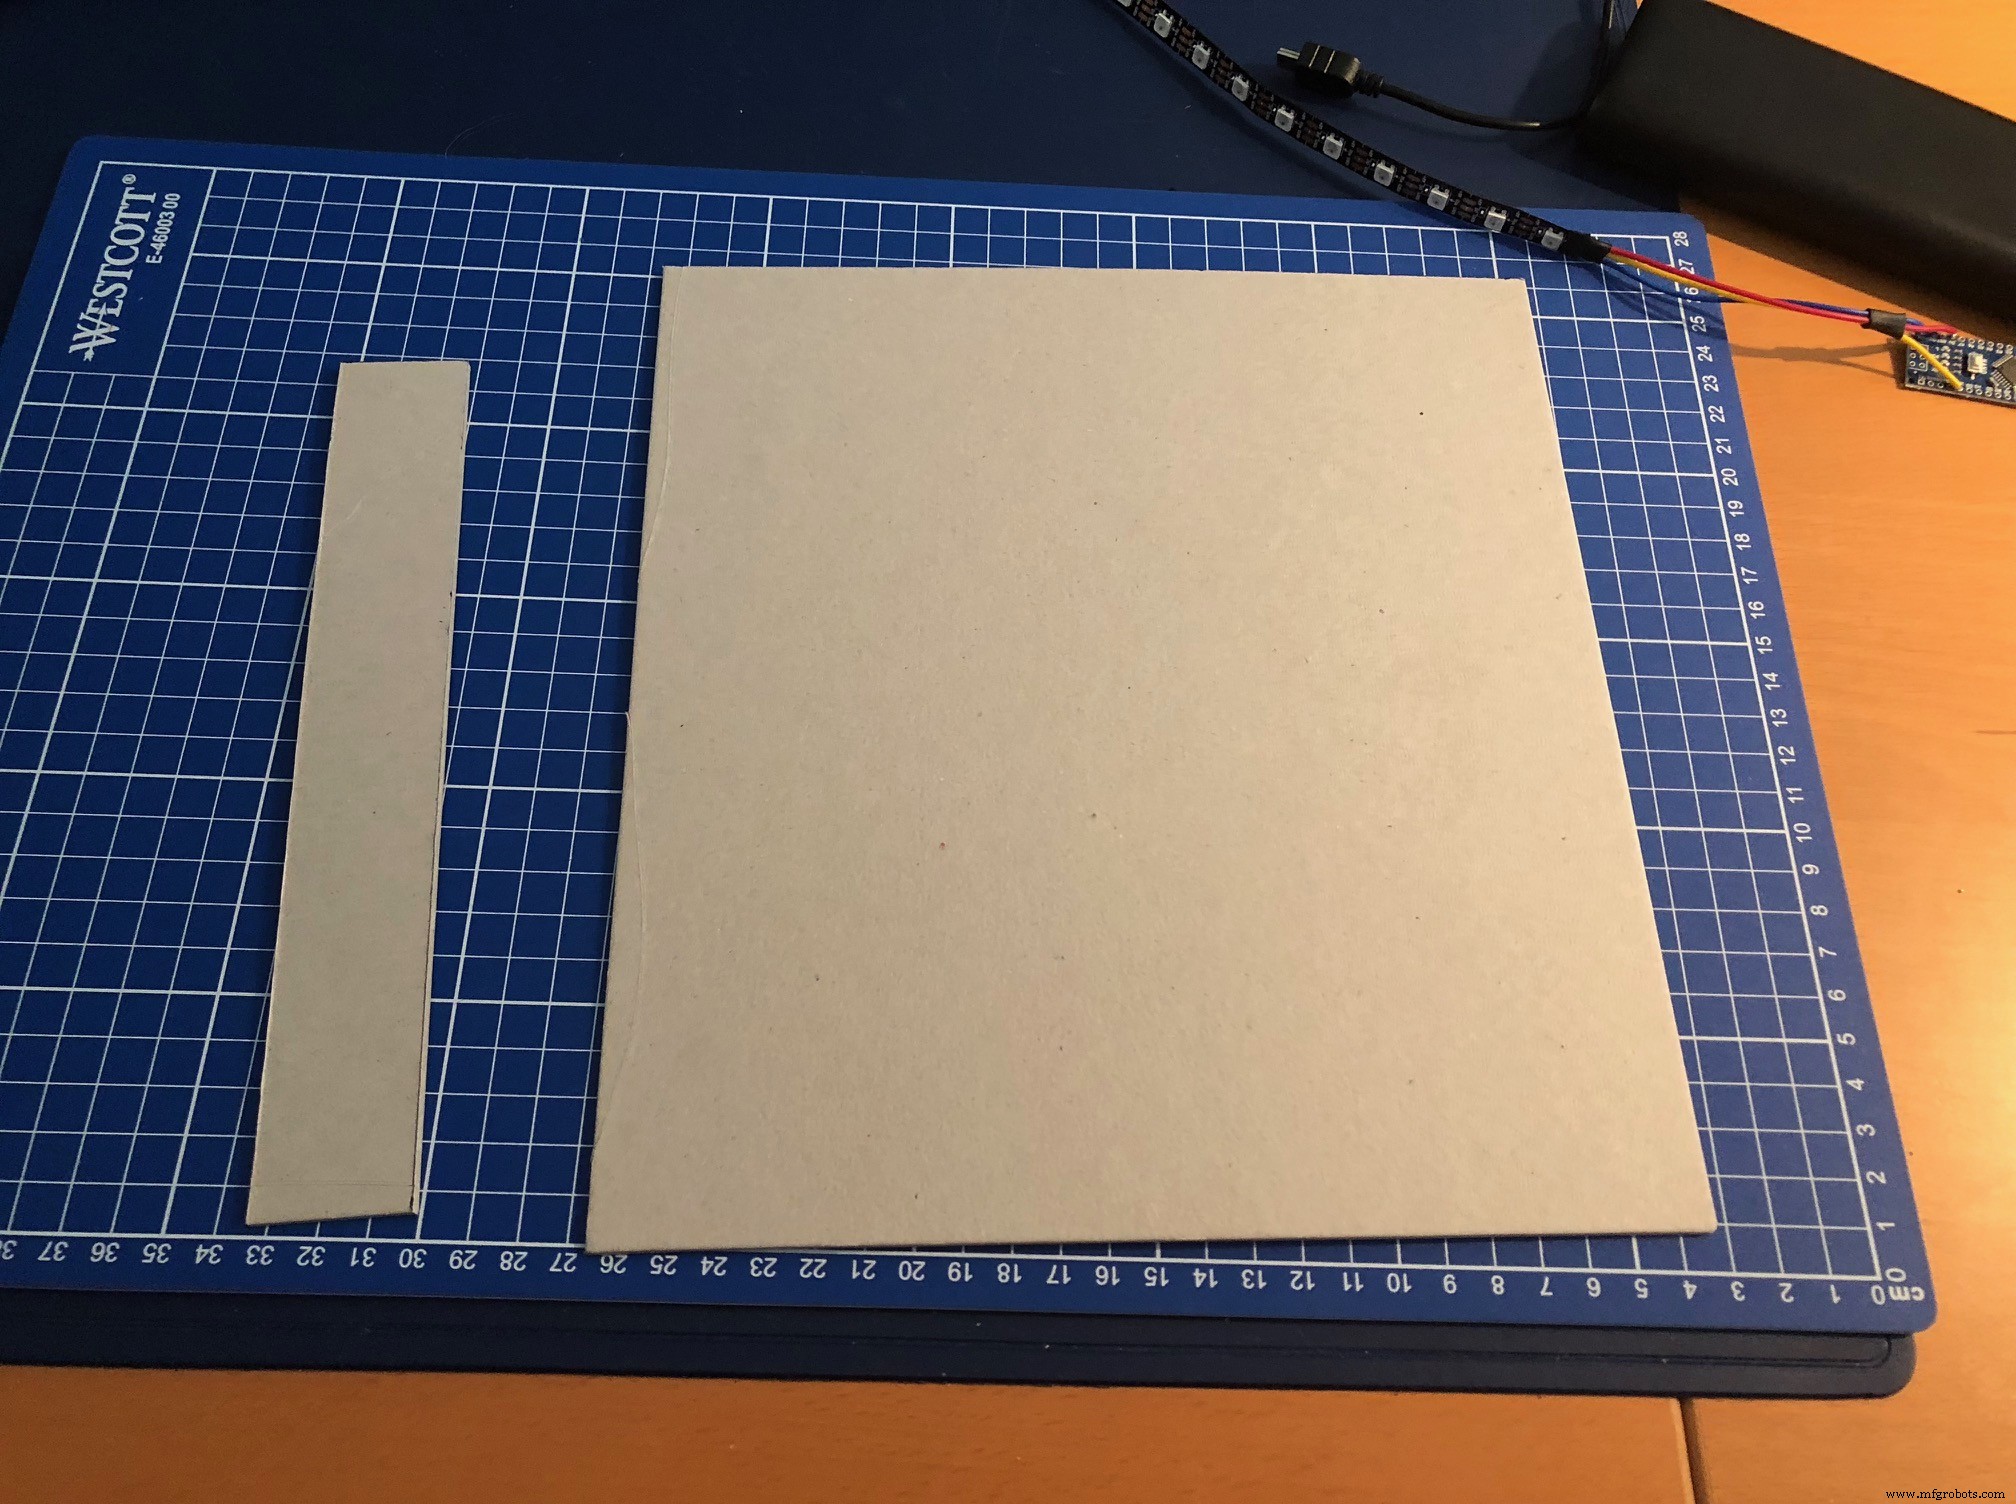
The build: I cut 2 pieces of cardboard which fit snugly in my cabinet. One piece is used as the background to glue the neopixel strip on. The other strip is placed flat behind the bottom of the marquee to prevent light from the neopixels shining down directly. Afterward I had to cut off some small edges to make it fit my cabinet.
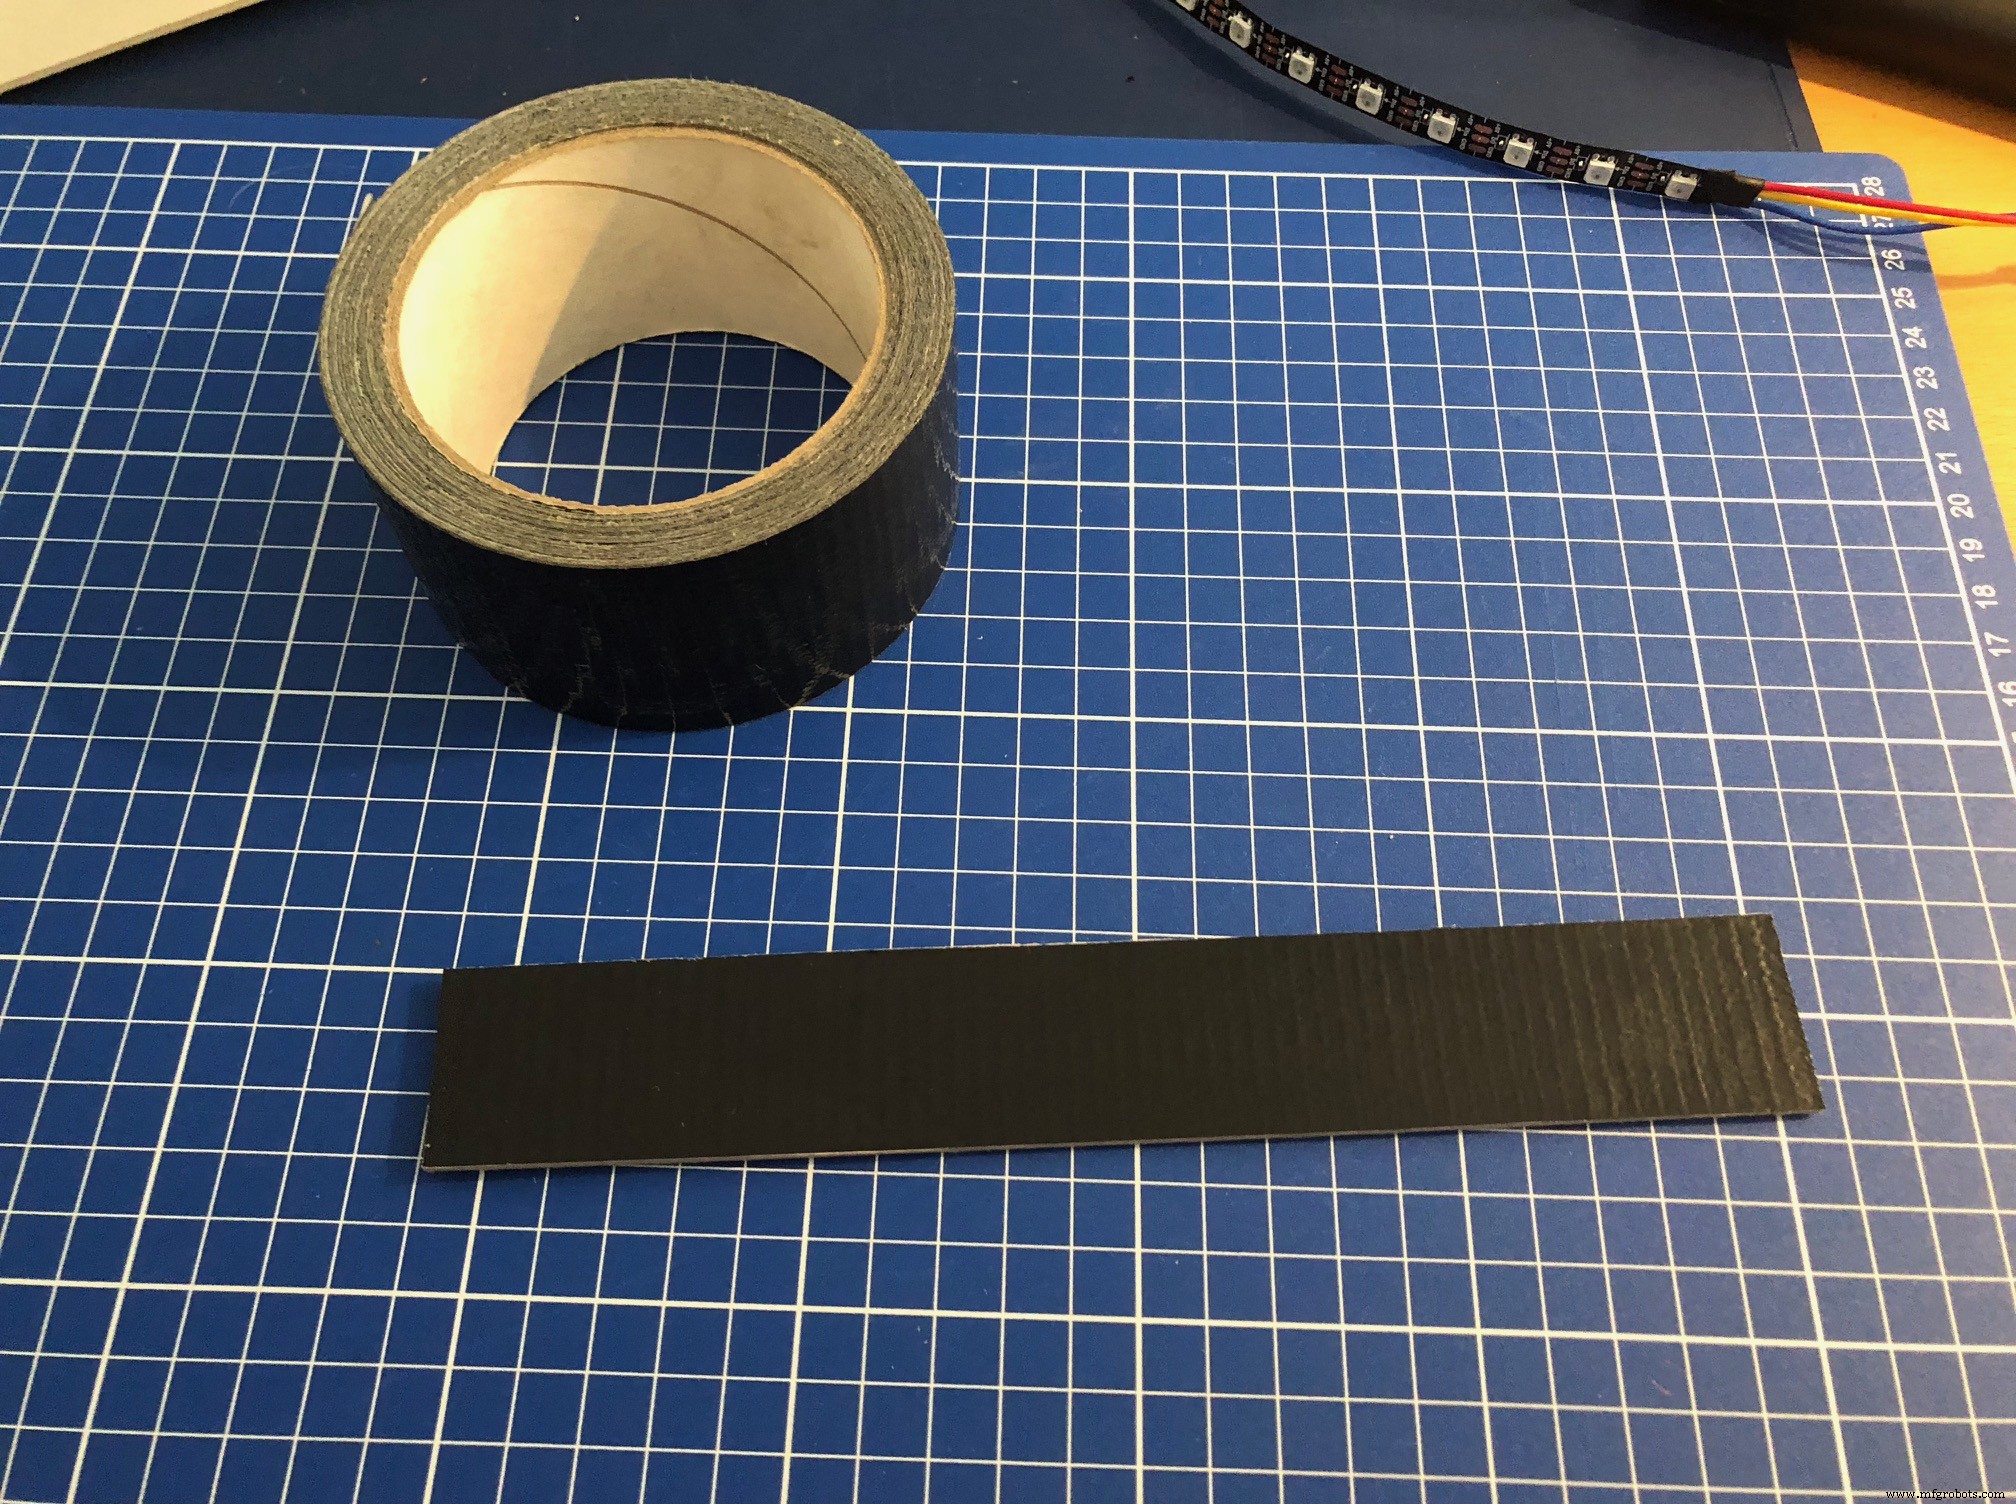
I put a few pieces of gaffa tape on the cardboard to make them black. I glued the neopixel strip on the cardboard and taped the wires and nano to the back of the cardboard.

Put the 2 parts in the cabinet and attach a USB cable from the nano to a 5V power source. In my cabinet it is connected to a USB port of a Raspberry Pi.
Then place the stock marquee back or create your own to customize your build. I created a simple one, printed it on photo paper and cut it to fit the marquee.
Tip: The end result will be even better if you have your design printed on film by a professional printing company.
The sketch needs one library:
- Adafruit NeoPixel library
Parts of the sketch were found on the internet, all credit goes to the creators. Feel free to use the code for your personal use, not for commercial purposes. You can contact me at ericBcreator@gmail.com.
Code
- Animated marquee light code
Animated marquee light codeArduino
/*
**********************************************************************
* Marquee lighting with Neopixels by ericBcreator
* simple script for lighting an (arcade) marquee
**********************************************************************
* last update 20181021 by ericBcreator
*
* Inspired by an article by sandyjmacdonald
* https://sandyjmacdonald.github.io/2015/12/02/picade-errata/
*
* components:
* - Neopixel strip
* - Arduino Nano
*
* This code is free for personal use, not for commercial purposes.
* Please leave this header intact.
*
* contact: ericBcreator@gmail.com
**********************************************************************
*/

//
// include the libraries
//

#include <Adafruit_NeoPixel.h>

#define PIN 2																	// define the pin the strip is connected to

//
// setup variables and initialize the neopixel strip
//

int numOfLeds = 11;														// the numbers of leds on the strip
int minBrightness = 80;												// the minimum brightness of the pulsing and flashing (0-255)
int maxBrightness = 255;											// the maximum brightness of the pulsing and flashing (0-255)
int walkingLedsDelay = 250;										// the delay in ms for the walking leds
int flashDelay = 250;													// the delay in ms for the flashing leds
int numOfFlashLoops = 3;											// the number of times the leds flash
int numOfPulseLoops = 10;											// the number of times the leds puls from min to max
int pulseDelay = 20;													// the delay in ms when pulsing from min to max and vice verse

Adafruit_NeoPixel strip = Adafruit_NeoPixel(numOfLeds, PIN);

//
// setup
//

void setup() {
  strip.begin();
}

//
// main loop
//

void loop() {
  walkingLeds();															// show the walking leds
  flashLeds();																// flash the leds

  for (int i = 0; i < numOfPulseLoops; i++)		// puls the leds
    pulseBrightness();
}

//
// functions
//

void walkingLeds() {
  setLedColorsToZero();
  strip.setBrightness(maxBrightness);
  strip.show();

  for (int x = numOfLeds; x > 0; x--) {
    strip.setPixelColor(x, strip.Color(255, 255, 255));
    strip.show();
    delay(walkingLedsDelay );
    strip.setPixelColor(x, 0);
    strip.show();
  }
}

void flashLeds() {
  setLedColors();

  for (int i = 0; i < numOfFlashLoops; i++) {
    strip.setBrightness(maxBrightness);
    strip.show();
    delay(flashDelay );

    strip.setBrightness(minBrightness);
    strip.show();
    delay(flashDelay );
  }
}

void pulseBrightness() {
  setLedColors();

  for (int i = minBrightness; i < maxBrightness; i++) {
    strip.setBrightness(i);
    strip.show();
    delay(pulseDelay);
  }

  for (int i = maxBrightness; i > minBrightness; i--) {
    strip.setBrightness(i);
    strip.show();
    delay(pulseDelay);
  }
}

void setLedColors() {
  for (int x = 0; x < numOfLeds; x++)
    strip.setPixelColor(x, strip.Color(255, 255, 255));
}

void setLedColorsToZero() {
  for (int x = 0; x < numOfLeds; x++)
    strip.setPixelColor(x, strip.Color(0, 0, 0));
}
Schematics
Manufacturing process
- Build an Affordable Wireless Sensor Network for Your Home
- Control Your Ceiling Fan with Alexa: A Step-by-Step Guide
- Seamlessly Integrate Your Central Heating with Arduino for Smart Control
- ThimbleKrox: Finger-Mounted Mouse Control Using Arduino Micro & MPU-6050
- Automate Home Power Outlets with Windows 10 IoT Core, Raspberry Pi, and Arduino
- Smart LED Stairs Lighting Shield for Arduino Nano – 24-Step, PWM Fade, Wireless Home Automation
- Control 65,280 Relays with Arduino: Expandable IO & Relay Solutions
- Control Your Robot with Brainwaves: A Comprehensive Arduino Project
- Capture & Visualize Environmental Data with Arduino MKR WiFi 1010 on IoT Cloud
- Build a Reliable Arduino RC Receiver for Models & Projects