


Smart 3D Sensor: Voice-Activated Lamp Control for Amazon Echo
Components and supplies
 |
| × | 1 | |||
 |
| × | 1 | |||
 |
| × | 1 | |||
| × | 2 | ||||
 |
| × | 1 | |||
 |
| × | 1 | |||
| × | 2 |
About this project
IntroductionIf you've owned an Alexa or any smart speaker and have Smart Home integration, you've experienced this issue where you have to remember the name of the device to control. I have lots of smart home devices and sometimes remembering names of each one is tricky.
Sometimes I would say:
3 things will either happen:
- Ended up confusing Alexa, turning on a different smart device.
- Cursing at Alexa (you know what I'm talking about, admit it)
- Or giving up, getting frustrated and saying to her: 'Forget it Alexa, I'll do it myself'... grudgingly walking toward the switch.
My kids usually enjoy this command: "Alexa, turn on ALL the lights". And of course, the whole house will be lit up like a Christmas Tree. It's no fun when someone does that in the middle of the night!
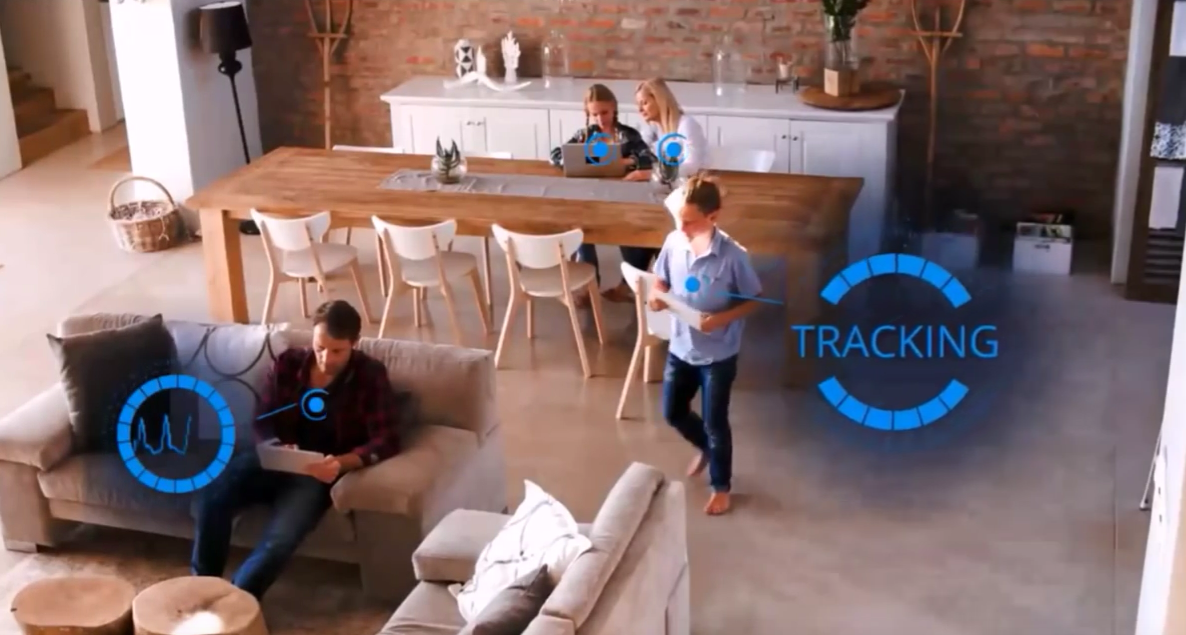
How to do itWhat if I can just say: Alexa, turn on this lamp?

Have Alexa detect where I'm at in proximity to the device. And it knows what I'm talking about... wouldn't this be a great idea?
Well, one possible solution is to mount a camera into my room and monitor movements and such. But that would be TOO CREEPY. I don't want cameras inside my home and do image recognition.
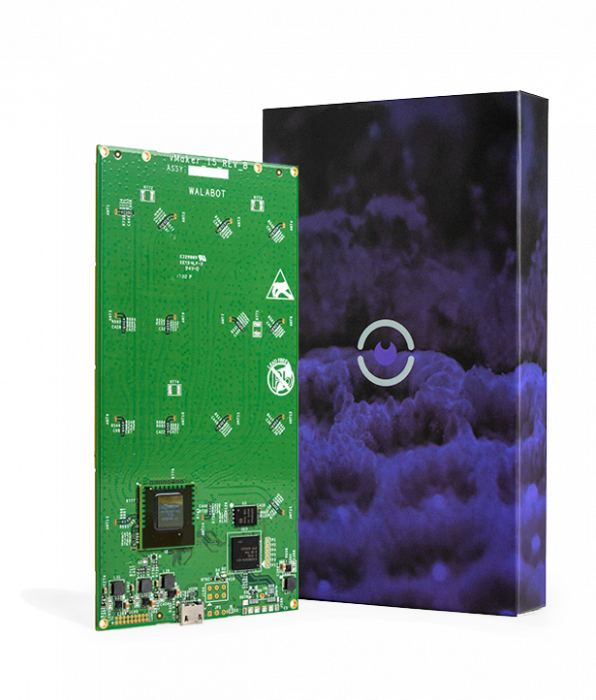
That's where Walabot comes in:WalabotWhat is a Walabot?
Walabot is a programmable 3d sensor perfect for DIY electronics projects. Walabot is a new kind of 3D imaging sensor. It uses radio frequency (RFID) and will reveal all kinds of things hidden in the world around you. It is handheld, programmable and our SDK (software development kit) It contains a variety of imaging capabilities & our API will enable you to build your own custom applications for it.
It can keep track of movements using RFID.
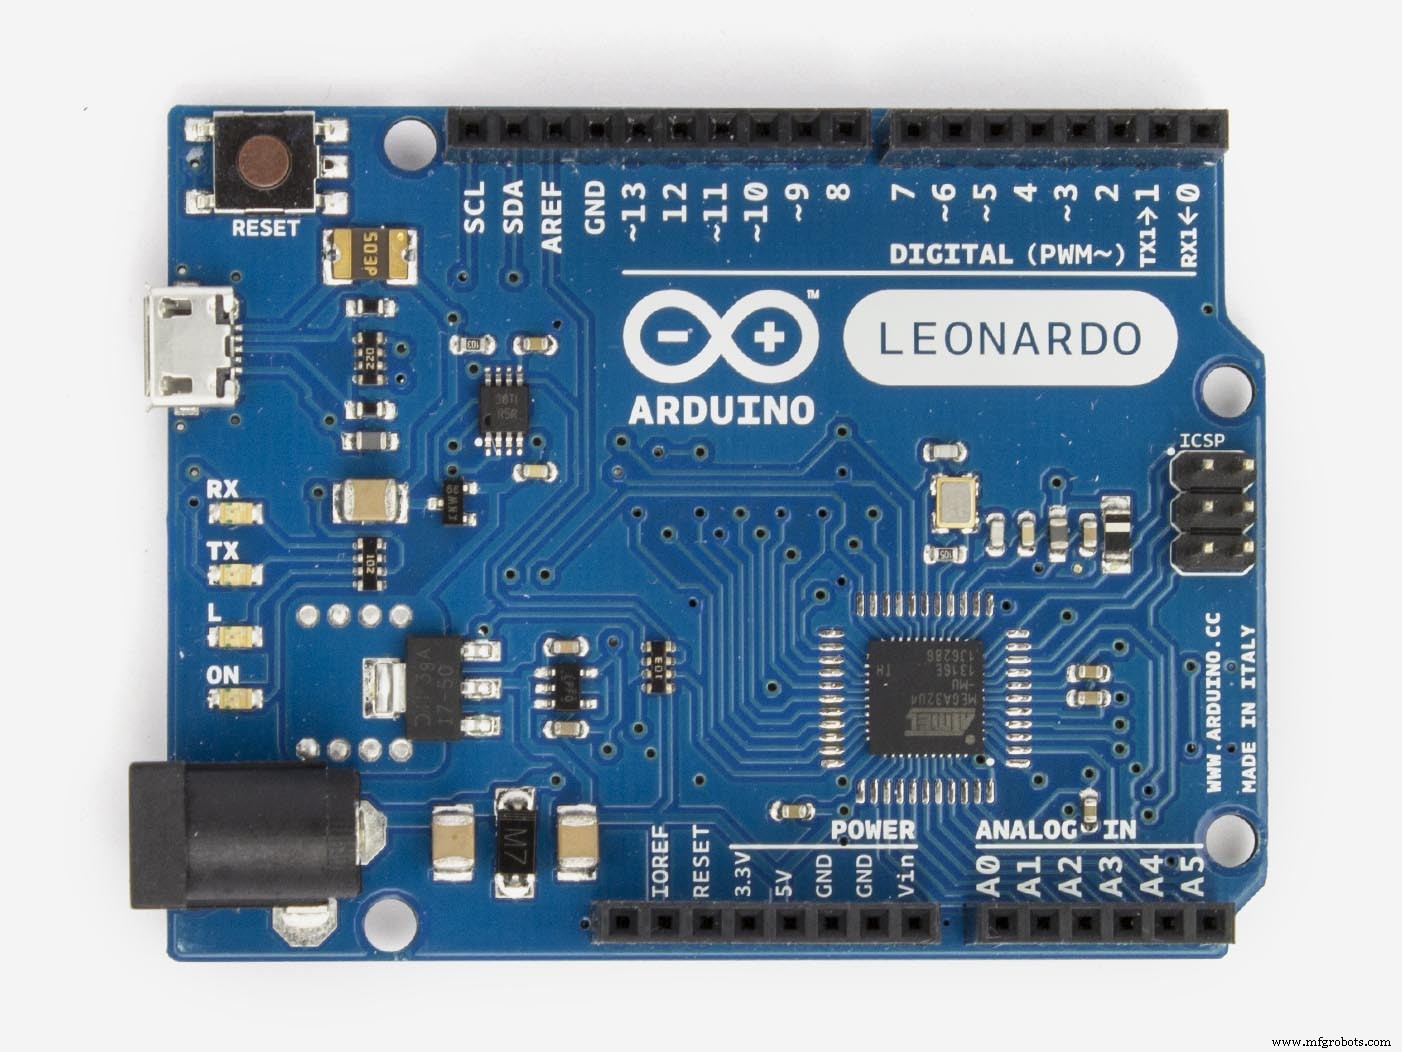
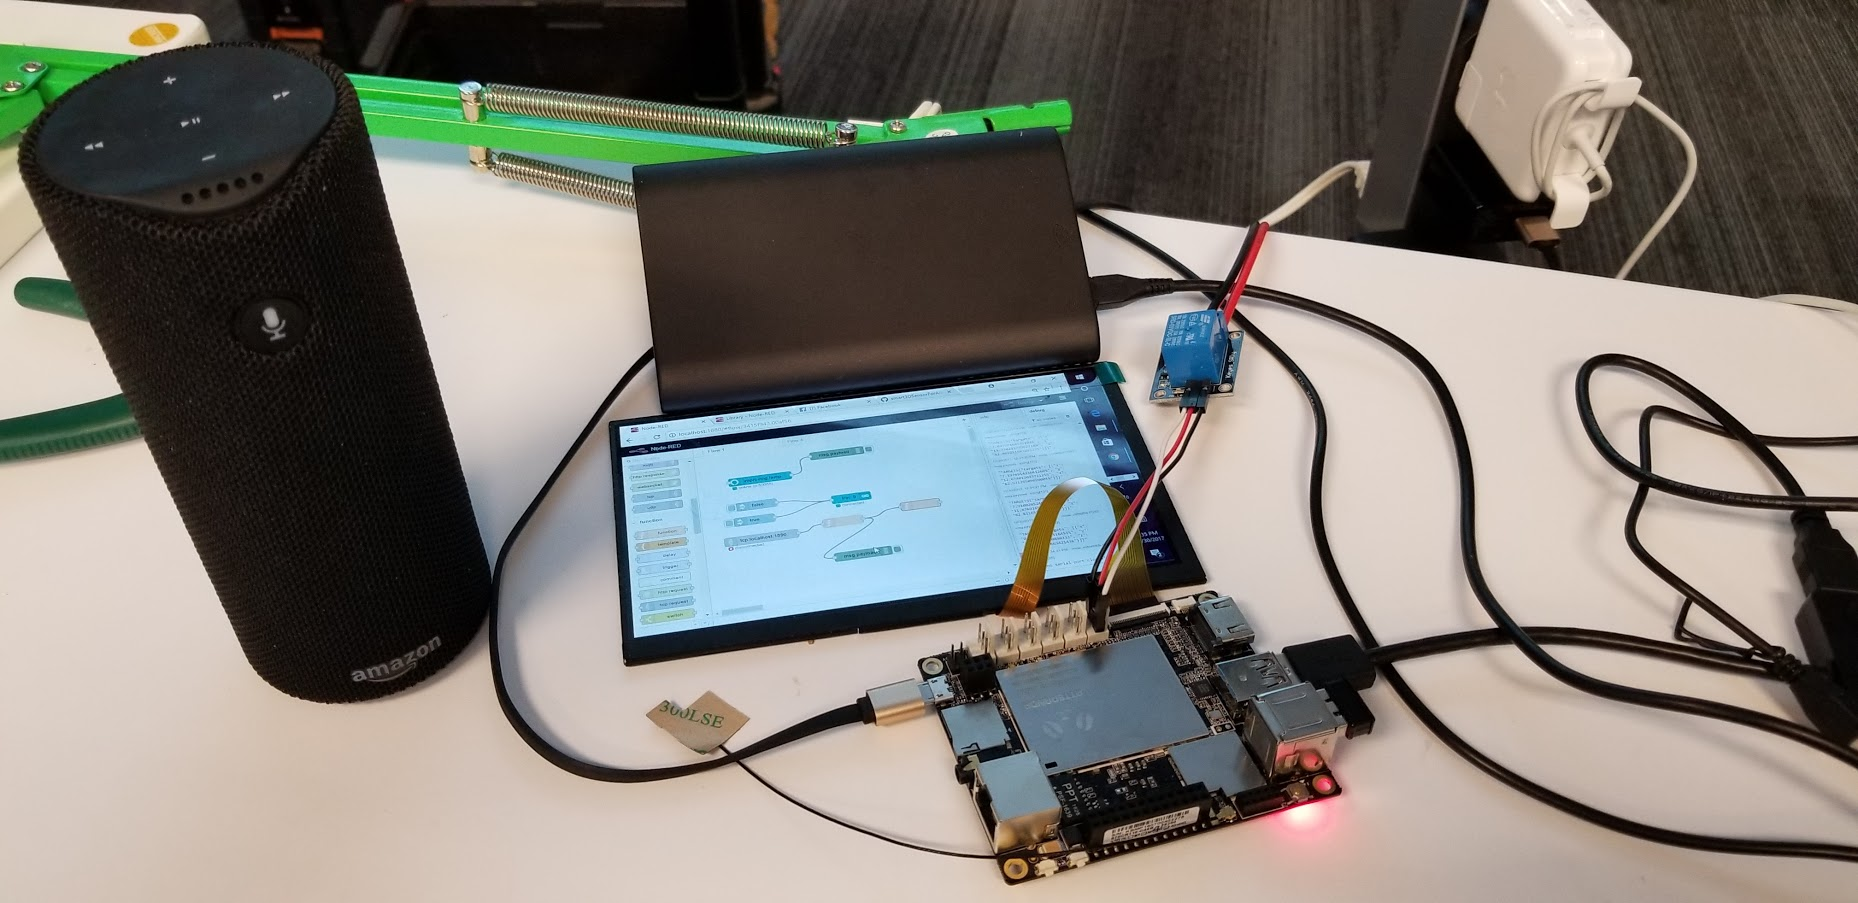
LattePanda is an x86/x64 SBC with a quad-core Intel Atom x8300 “Cherrytrail” processor that can run Windows 10. It includes either 2GB or 4GB of RAM with integrated Bluetooth 4.0 and 802.11 n WiFi, 1 x USB 3.0, 2 x USB 2.0, HDMI out and an integrated ATMega32u4 co-processor - like you would find in an Arduino Leonardo - with accompanying GPIO - all on one palm-sized board!
This setup makes LattePanda ideal for a number of scenarios. In this tutorial will focus on the advantages of LattePanda’s integrated microcontroller. When this microcontroller is used in conjunction with the Intel Atom processor, you can connect the walabot and arduino together.
Node-Red is a browser based tool to let you quickly and easily construct your own logic of handling various IoT devices, including subscribing the TCP messages, listening to Alexa requests, reading and writing to Databases, publishing to MQTT brokers and responding to HTTP requests. It also allows you to define specific functions written in JavaScript to provide complex logic operations, while using a visual, easy to use, drag-and-drop user interface to link different components and logic together.
Node-Red is a very light weighted run time built on top of Node.js, taking full advantage of its event-driven, non-blocking model of operation.
If we can have Walabot data plug into Node-Red, it opens up a lot of things we can do especially in Home Automation. There are few packages I used to connect Alexa and Arduino:
- node-red-contrib-alexa-local: a dead-simple node for adding Alexa capability to your NodeRED flow.
- node-red-node-arduino: A Node-RED node to talk to an Arduino
Here are some documentation you can use to setup firmata: https://nodered.org/docs/hardware/arduino.html
How it works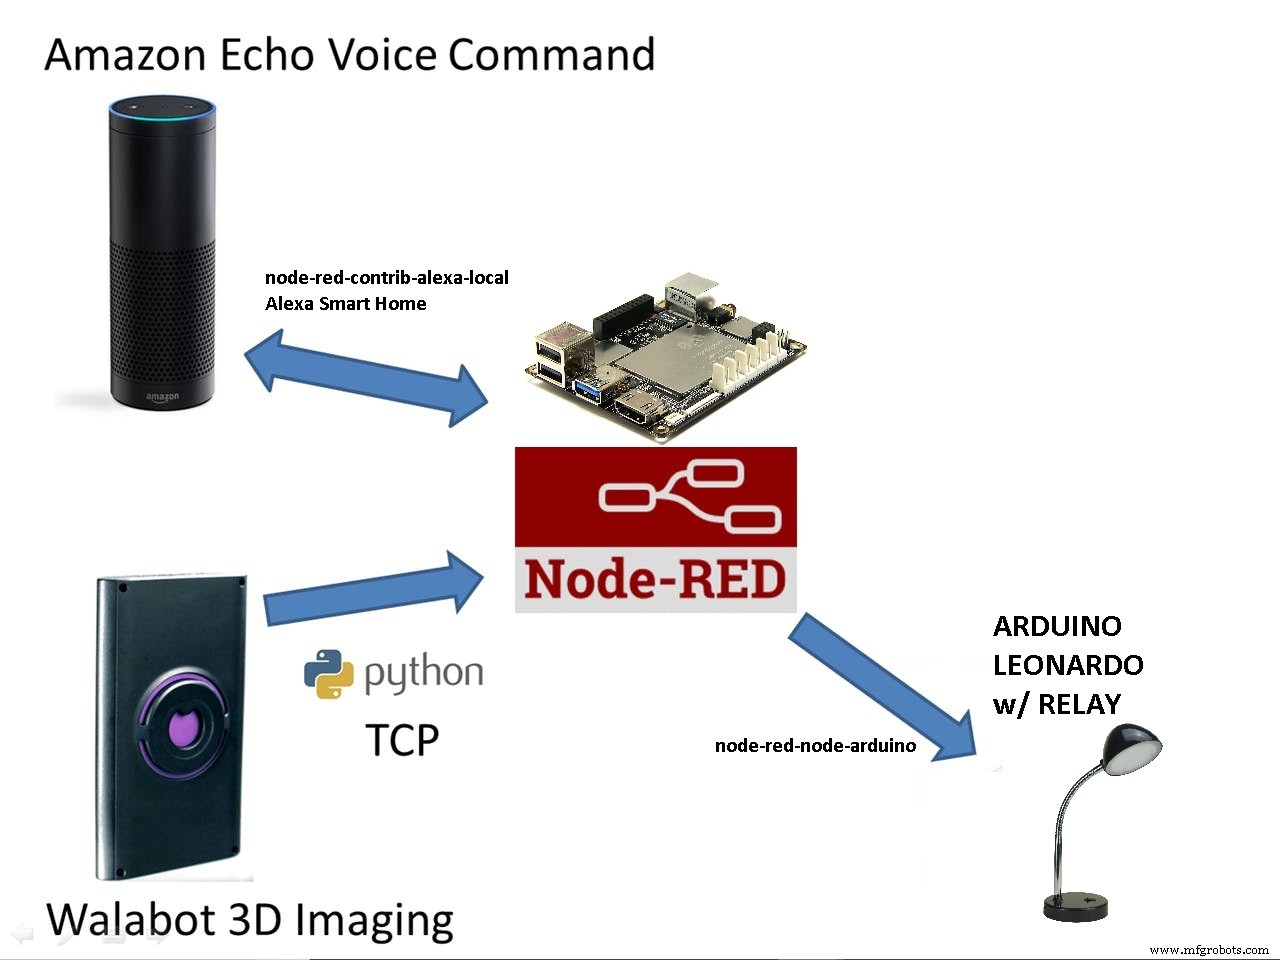
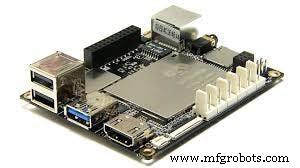
- LattePanda
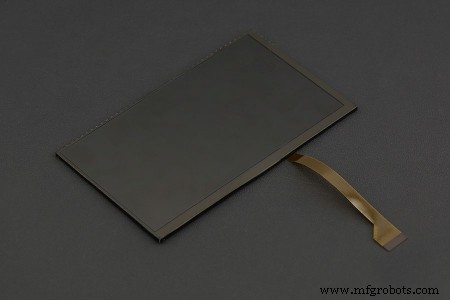
- 7-inch 1024x600 IPS Display for LattePanda
- USB wireless keyboard and mouse
- Walabot
- USB Powered Hub
- Relays
- Lamp
Step 1. Walabot SDK
Download the SDK and install it: https://walabot.com/getting-started
Step 2. Setup Arduino on Walabot
http://docs.lattepanda.com/content/hardware/accessPinoutsFromVS/
1. Enable developer mode on your operating system


Step 3. Set up the Arduino
1. Open Arduino. And select the “StandardFirmata”
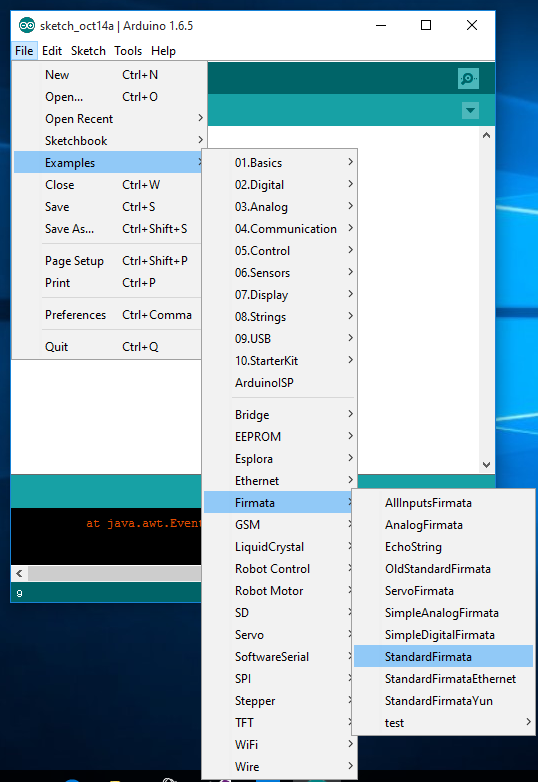
2. Select “Arduino Leonardo”
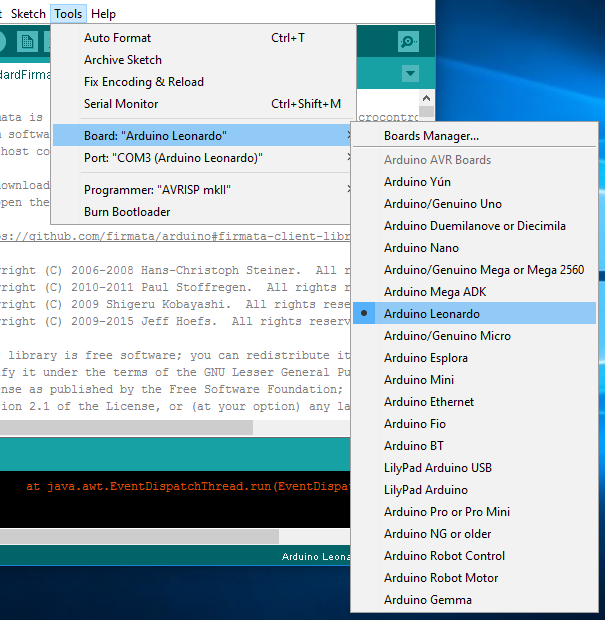
3. Select your COM port

4. Upload the sketch
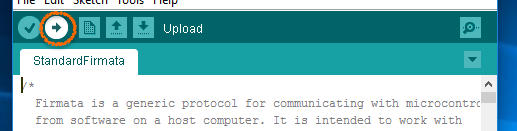
5. Upload Done!

Connect the relays to the LattePanda.
Step 4. Install and download NodeJS and Node-Red
If you're not familiar with NodeJS and node-red here are some links:
- https://nodejs.org/en/
- http://docs.lattepanda.com/content/projects/NodeRED/
- https://nodered.org/docs/getting-started/installation
Step 5. Download Python3 and install

Step 6. Here's the repository for the project: https://github.com/rondagdag/smart3DSensorForAlexa
Download and Extract the zip file:
> npm install
> npm start
Step 7. Make sure that you're on the same wifi and enabled the Smart Home Skills on your Alexa App. Say: 'Alexa, discover devices'. Alexa would find the Lamp. If you want to see the Node-Red flows and modify it: http://localhost:8080/red/
You can now connect it to different pin on Arduino Pins in LattePanda. Or connect it with MQTT or other Node-Red modules.
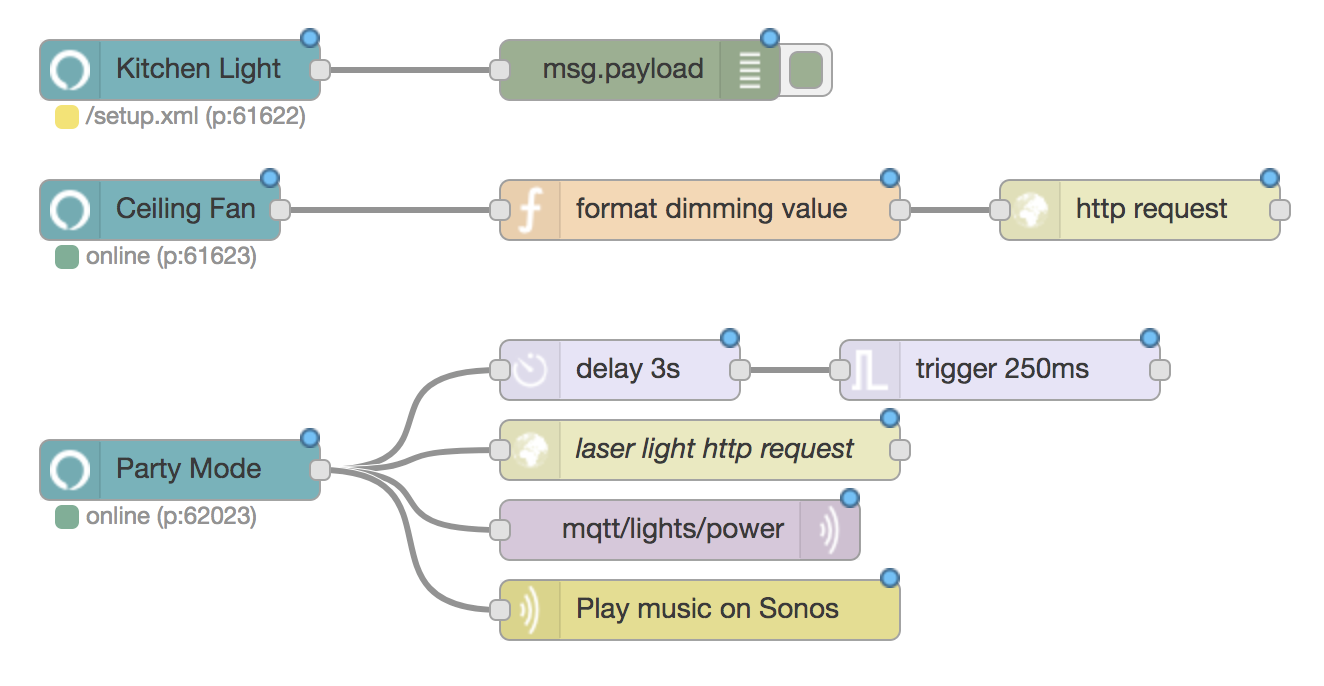
The whole flow looks like this...
3 Steps:
- Handle Walabot Service : a python program that reads data from walabot sensor and streams data to a tcp port 1890
- Get and save Walabot object data : reads data from walabot service via port 1890 and stores the last known detected object location
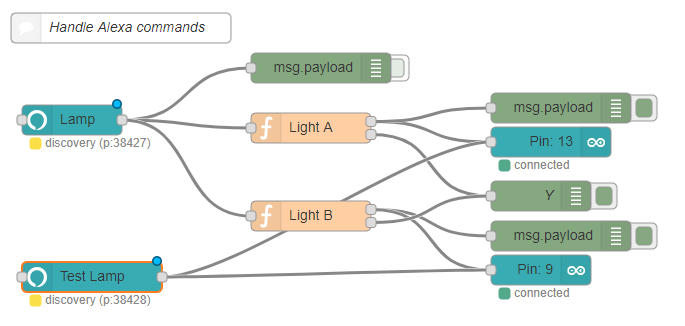
- Handle Alexa Commands : runs when a command is received from Alexa, and based from the last known location, determine the Arduino pin to switch connected to a relay.
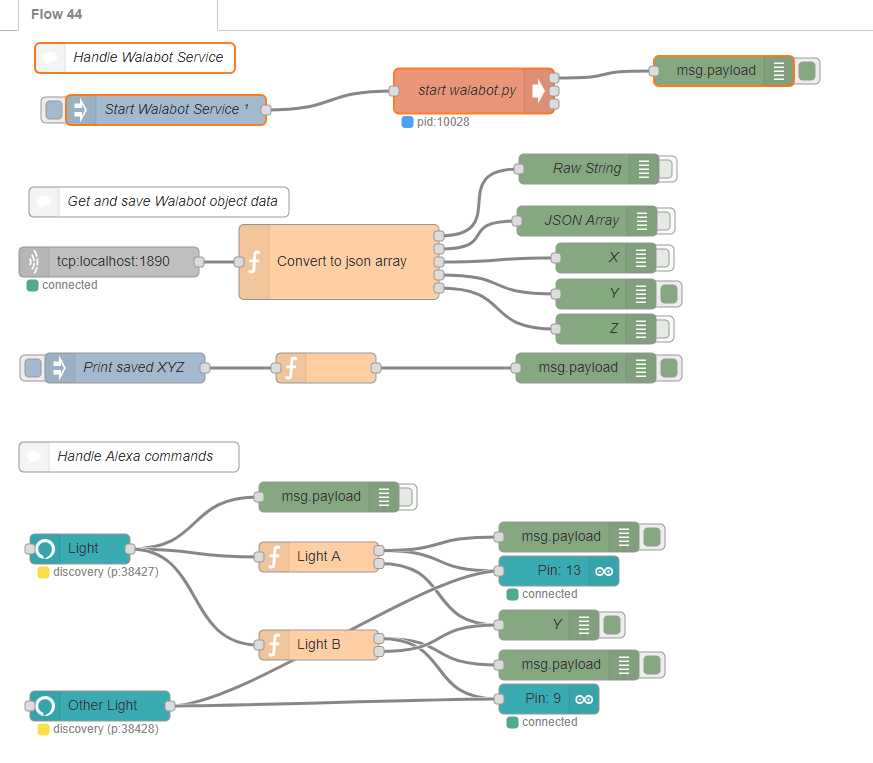
- Handle Walabot Service

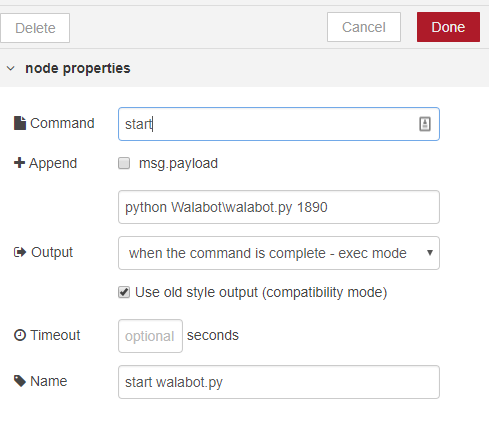
Here's the Walabot Python code. It reads the data from Walabot and streams a JSON string via TCP.
from __future__ import print_function
from sys import platform
from os import system
from imp import load_source
WalabotAPI = load_source('WalabotAPI', 'C:\\Program Files\\Walabot\\WalabotSDK\\python\\WalabotAPI.py')
import socket, sys
if __name__ == '__main__':
    WalabotAPI.Init()  # load the WalabotSDK to the Python wrapper
    WalabotAPI.SetSettingsFolder()  # set the path to the essetial database files
    WalabotAPI.ConnectAny()  # establishes communication with the Walabot
    WalabotAPI.SetProfile(WalabotAPI.PROF_SENSOR)  # set scan profile out of the possibilities
    WalabotAPI.SetThreshold(35)
    WalabotAPI.SetArenaR(50,400,4)
    WalabotAPI.SetArenaPhi(-45,45,2)
    WalabotAPI.SetArenaTheta(-20,20,10)
    WalabotAPI.SetDynamicImageFilter(WalabotAPI.FILTER_TYPE_MTI)  # specify filter to use
    WalabotAPI.Start()  # starts Walabot in preparation for scanning
    system('cls' if platform == 'win32' else 'clear')  # clear the terminal
    numOfTargetsToDisplay = 1
 if len(sys.argv) == 2:
        TCP_IP = '127.0.0.1'
        TCP_PORT = int(sys.argv[1])
        s = socket.socket(socket.AF_INET, socket.SOCK_STREAM)
        s.bind((TCP_IP, TCP_PORT))
        s.listen(1)
        conn, addr = s.accept()
 while True:
            WalabotAPI.Trigger()  # initiates a scan and records signals
            targets = WalabotAPI.GetSensorTargets()  # provides a list of identified targets
            finds = '{"targets": ['
            index = 0
 for i, t in enumerate(targets):
 if i < numOfTargetsToDisplay:
                    index += 1
 print('Target {}\nx = {}\ny = {}\nz = {}\n'.format(i+1, t.xPosCm, t.yPosCm, t.zPosCm))
                    finds += '{"x": "%s", "y": "%s", "z": "%s"}' % (t.xPosCm, t.yPosCm, t.zPosCm)
 #if index < len(targets):
 #   finds += ','
            finds += ']}'
            conn.sendall(str.encode(finds))
        conn.close()
        WalabotAPI.Stop()  # stops Walabot when finished scanning
        WalabotAPI.Disconnect()  # stops communication with Walabot
- Get and save Walabot object data
This will receive data from port 1890, parse the json data to set global variables accordingly.
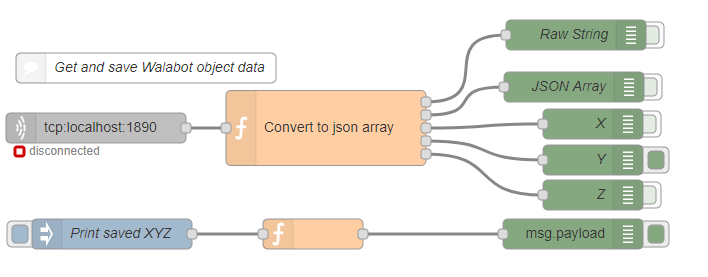
Here's the code to convert to json array
raw = msg.payload.toString('UTF-8')
j = JSON.parse(raw);
var msg1 = { payload: raw };
var msg2 = { payload: j };
if (raw.length > 20)
{
   X = msg2.payload.targets[0].x;
   Y = msg2.payload.targets[0].y;
   Z = msg2.payload.targets[0].z;
   global.set("X", X);
   global.set("Y", Y);
   global.set("Z", Z);
   var msg3 = { payload: X };
   var msg4 = { payload: Y };
   var msg5 = { payload: Z };
}
return [  msg1, msg2, msg3, msg4, msg5];
- Handle Alexa Commands
In order to handle Alexa commands, we're using the node-red-contrib-alexa-local. Then we would detect on this logic which one to route command based from last known position of the person.
If this project made you interested in learning more about Amazon Echo, Walabot, LattePanda, Node-Red, Python, or you're just having an awesome day, just click the 'Respect project' button and follow me. if this helped you build a project, leave a message and give us feedback. I want to hear how this project helped you.
Note that there is no actual custom Alexa Skill being used for this project, it uses the built in Amazon Echo smart home functionality which out of the box controls Phillips Hue bulbs. The node-red-contrib-alexa-local node in Node-Red just spoofs any custom "Bulbs" you want to control with Alexa!
Code
Smart 3D Sensor for Alexa
https://github.com/rondagdag/smart3DSensorForAlexaManufacturing process
- Control Your Chromecast with Amazon Alexa Using a Raspberry Pi and Python
- Smart Traffic Light: Adaptive Street Lighting Powered by IoT
- Heated Apparel: The Leading Smart Textile Innovation, Experts Reveal
- Smart Temperature Monitoring System for Schools: Accurate, Real‑Time, and Secure
- Advanced Smart Basketball Scoreboard with Bluetooth, Sensors & Real‑Time Updates
- Arduino‑Powered Smart Irrigation Controller – Auto‑Watering with Weather & Light Sensors
- Smart Home Monitoring Powered by Alexa
- Complete Arduino & Intel Edison Starter Kit with Sensors, Webcam, and Essential Accessories
- Revolutionary Ultra‑Sensitive, Durable Strain Sensor for Smart Textiles
- Revolutionary Ultra-Thin Sensor Enhances Smart Contact Lens Functionality