


Morse Code Communication with Laser Module – Dual‑Side Arduino Project
Components and supplies
 |
| × | 2 | |||
 |
| × | 2 | |||
| × | 1 | ||||
 |
| × | 1 | |||
 |
| × | 1 |
Apps and online services
 |
|
About this project
Morse CodeMorse Code means converting the alpha numeric symbols (i.e. alphabets and numbers) into dots and dashes. Each symbol has different arrangement of dots and dashes which make them unique. Morse Code is use to send the secret data or the coded data. In this project, I have created the transmitter and the receiver section of the Morse Code Communication. The uniqueness in this project from different Morse code communication projects is that the algorithm of the receiver section is really simple than any other algorithm.
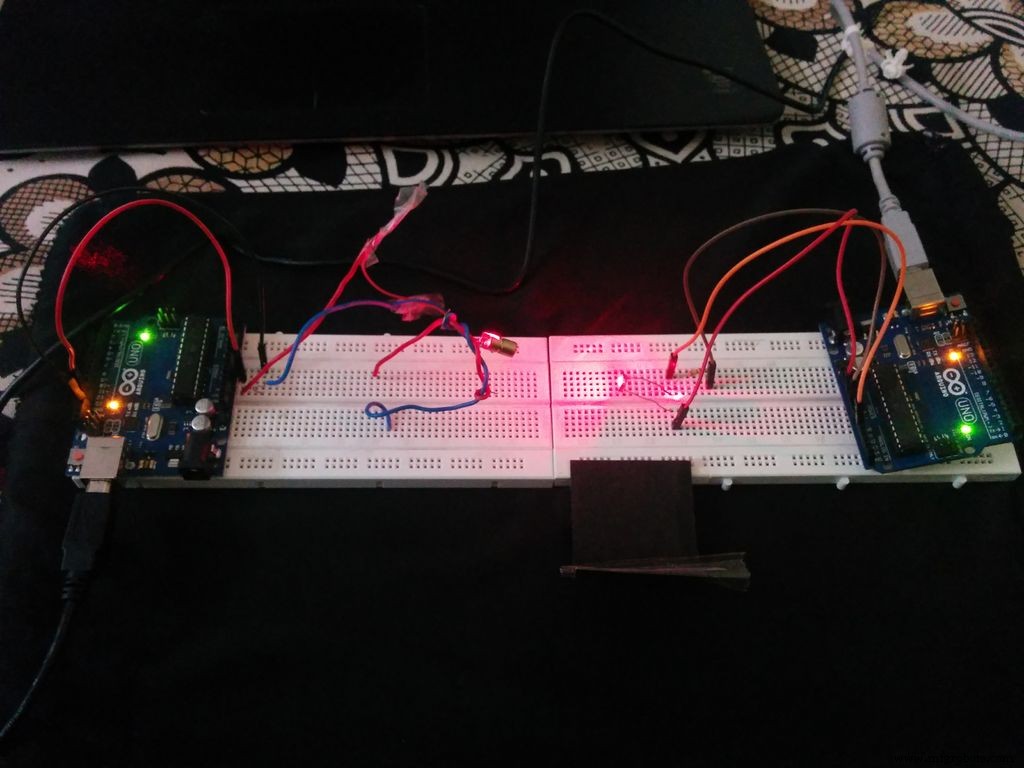
The Transmitter Section is used to send the input data through LASER.
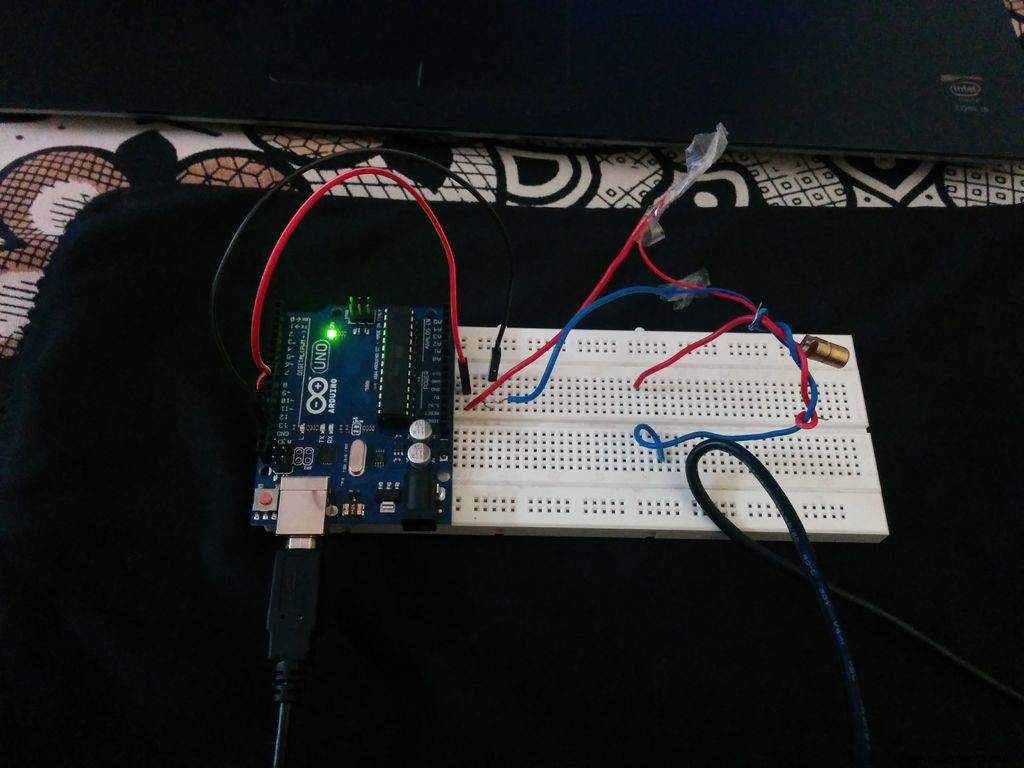
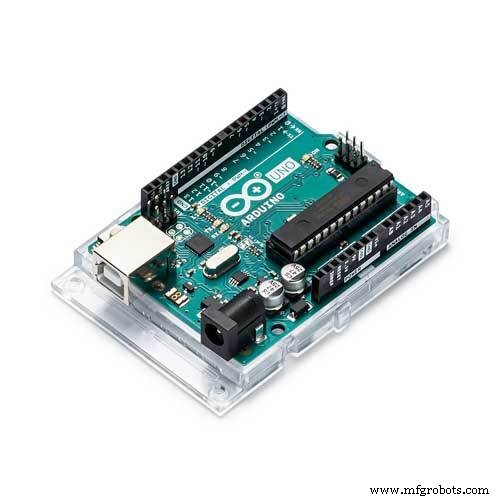
- Arduino Uno
- LASER tTransmitter
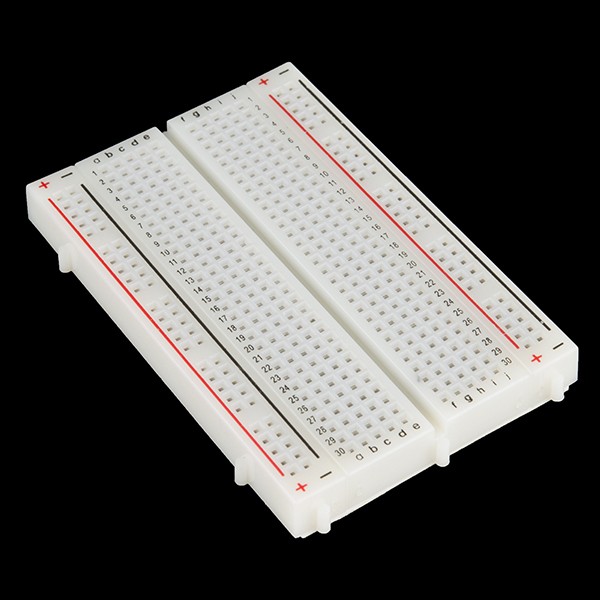
- Breadboard
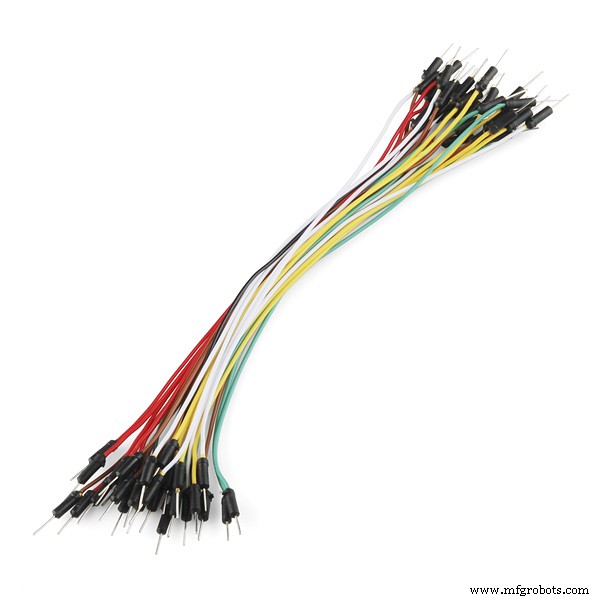
- Jumper Wires
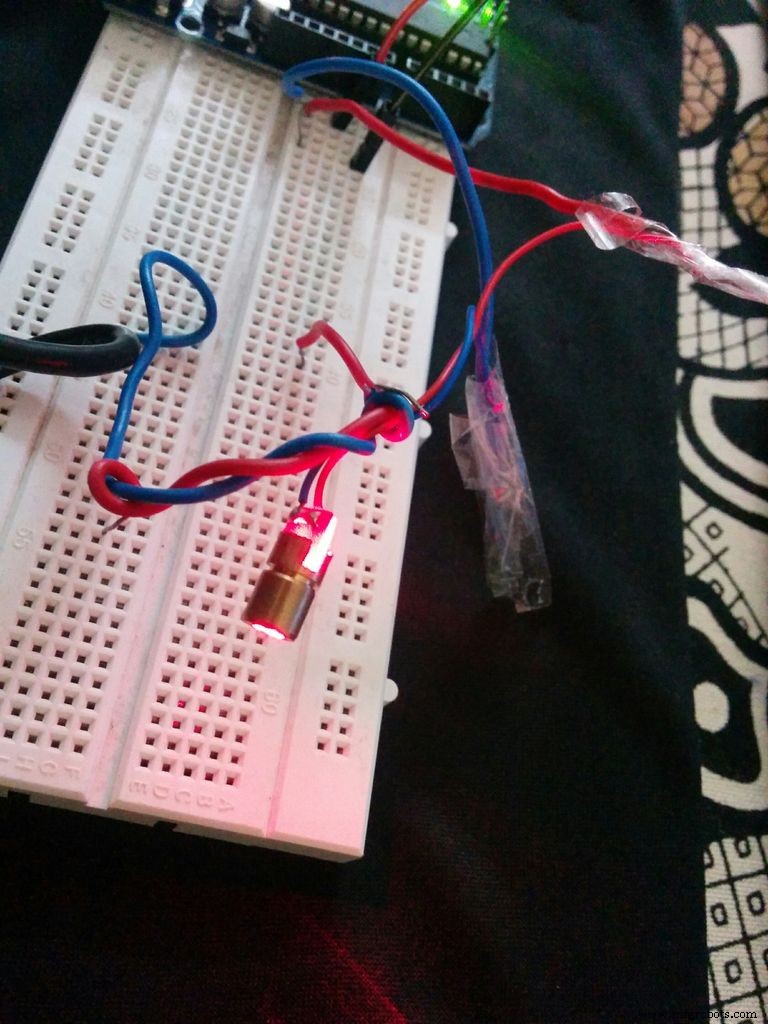
Connect the positive pin of LASER with the 13th pin of Digital Input in Arduino(As programmed in the code). Connect the GND of LASER with the GND of Arduino.
Program:-The Algorithm of the Code is as followed:-
- 1. The data which has to be transmitted is kept as input and it is stored by an array of char.
- 2. The LED pin which has to be transmitted is defined.
- 3. Speed of the Morse Code is set.
- 4. Dots and Dashes are defined.
- 5. The inputted character is checked through switch case and the corresponding HIGH and LOW of the LASER is transmitted.
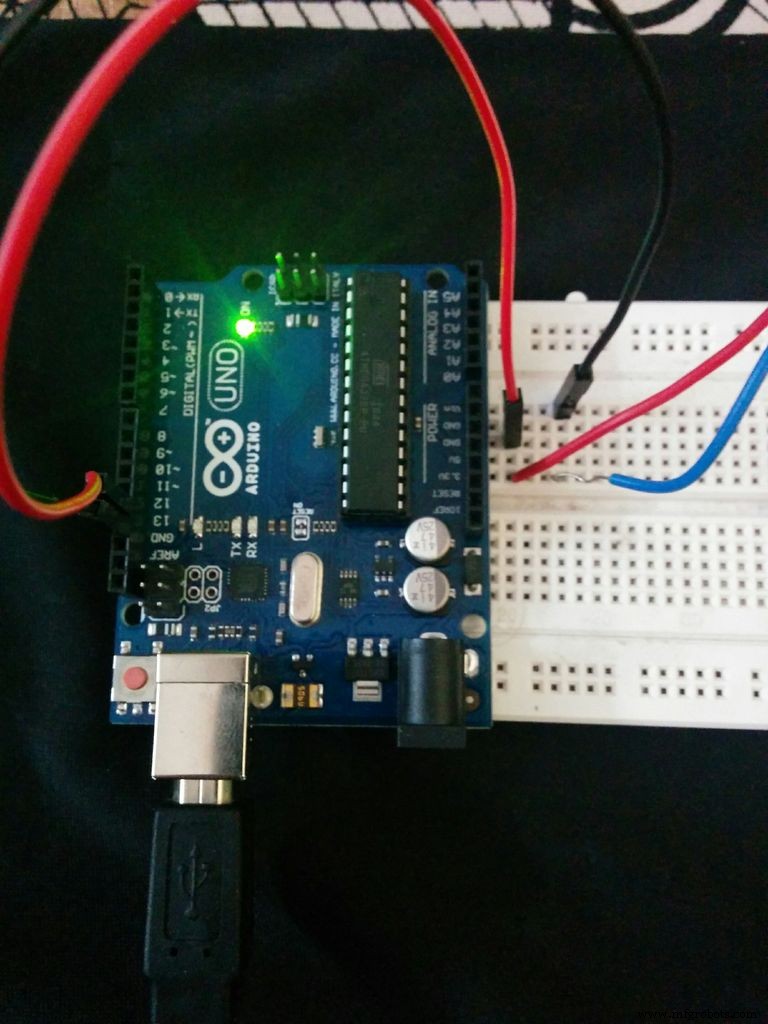
The coded data which is sent by the transmitter is received and processed, after then it is displayed on Serial Monitor.
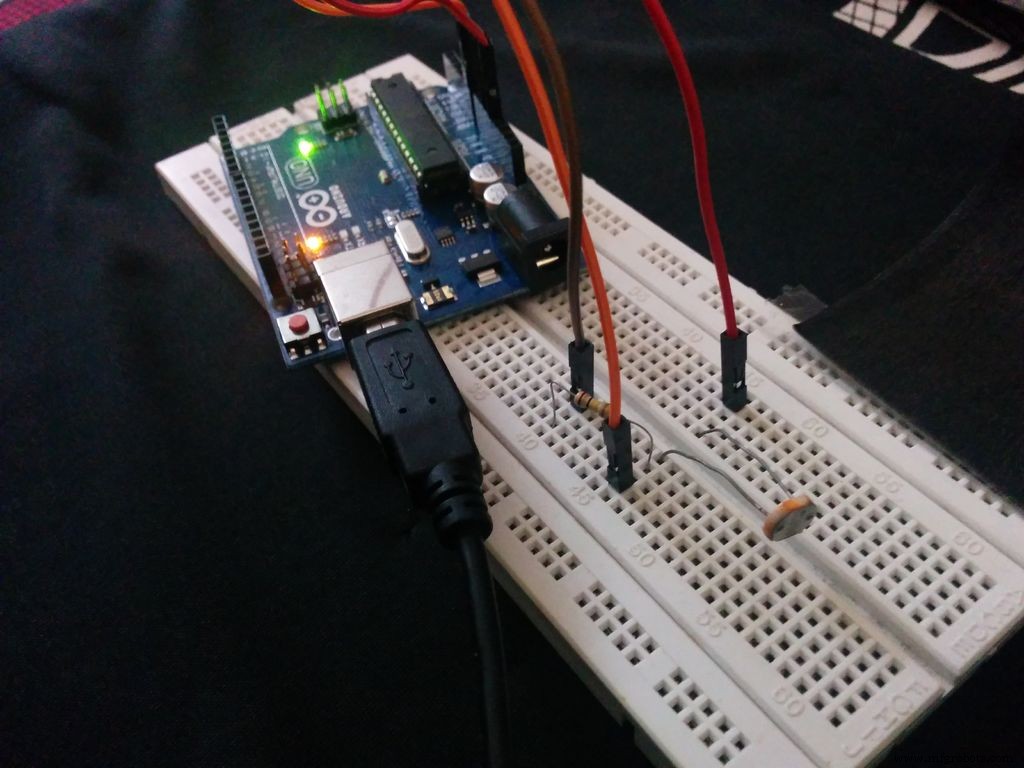
- 1. Arduino Uno
- 2. LDR
- 3. Resistor - 10 K ohm
- 4. Bread Board
- 5. Jumper Wires
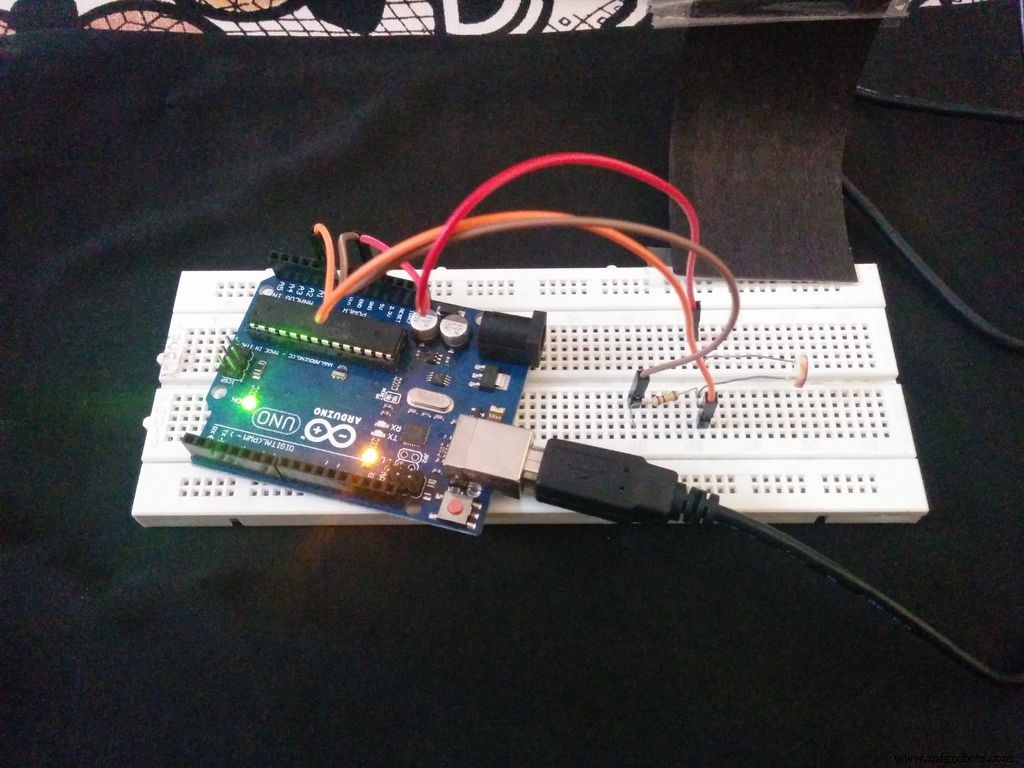
Connect one end of the LDR with 5V of Arduino supply. Connect other end of the LDR with 10K ohm resistor as well as with analog input A0. Connect the other end of resistor with GND of the Arduino.
Program:-The algorithm used in receiver section is the easiest algorithm than any other available on internet. This algorithm is full of observations.
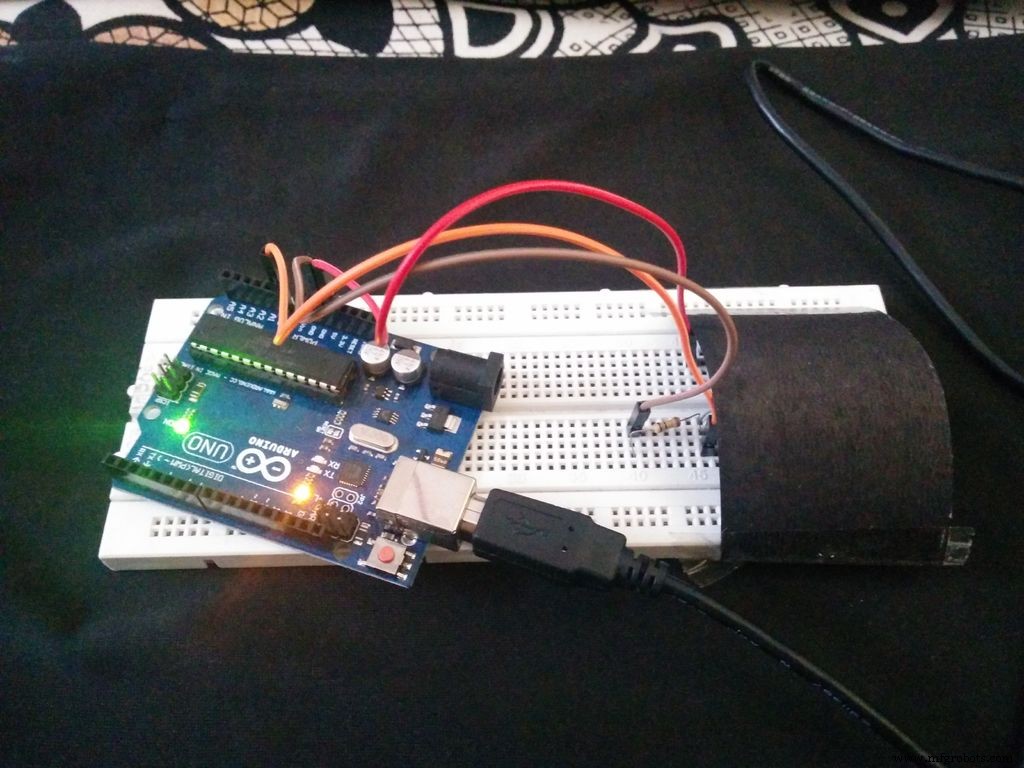
- 1. When there is no LASER falling on the LDR, then the value of LDR will be less than 1000. If the value is coming beyond 1000 even if the LASER is on glowing on the LDR, then you need to cover the LDR to protect from extra light entering into it. Here, the LDR is covered with a dome made of black chart paper.
- 2. When the LASER falls on the LDR, the value goes beyond 1000, and then it will enter into a loop.
- 3. Now quantize the values i.e. if the value goes beyond 1000, then assign it as '1', otherwise assign it as '0'.
- 4. Inside a loop, calculate the number of '1's and '0's. Set the counters 'a' and 'f'. Count the number of '1's and store it in 'a' and similarly count the number of '0's and store it in 'f' respectively.
- 5. Now check the specific values of 'a' and 'f' respectively. Each character will have different set of 'a' and 'f'. The matching value will be displayed.
The program which is attached to the code is used to print the specific characters. You can enhance the code further by the use of Combinations and display all set of characters. The main objective of the code is to make you understand the algorithm and working.
Code
- CODE-1- FOR CONTROLLING THE LASER EMITTER
- CODE-2 - FOR THE RECEIVER END
CODE-1- FOR CONTROLLING THE LASER EMITTERArduino
int led13 = 13;      // blink an led on output 13

/*
  Set the speed of your morse code
  Here are the ratios code elements:
    Dash length = Dot length x 3
    Pause between elements = Dot length
*/
int dotLen = 200;     // length of the morse code 'dot'
int dashLen = dotLen * 3;    // length of the morse code 'dash'
int elemPause = dotLen;// length of the pause between elements of a character
int Spaces = dotLen * 3;     // length of the spaces between characters
int wordPause = dotLen * 7;  // length of the pause between words

void setup() {
  // initialize the digital pin as an output for LED lights.
  pinMode(led13, OUTPUT);
}

// Create a loop of the letters/words you want to output in morse code (defined in string at top of code)
void loop()
{

  // Loop through the string and get each character one at a time until the end is reached
  for (int i = 0; i < sizeof(stringToMorseCode) - 1; i++)
  {
    // Get the character in the current position
  char tmpChar = stringToMorseCode[i];
  // Set the case to lower case
  tmpChar = toLowerCase(tmpChar);
  // Call the subroutine to get the morse code equivalent for this character
  GetChar(tmpChar);
  }

  // At the end of the string long pause before looping and starting again
  LightsOff(8000);
}

// DOT
void MorseDot()
{
  digitalWrite(led13, HIGH);    // turn the LED on
  delay(dotLen);              // hold in this position
}

// DASH
void MorseDash()
{
  digitalWrite(led13, HIGH);    // turn the LED on
  delay(dashLen);               // hold in this position
}

// Turn Off
void LightsOff(int delayTime)
{
  digitalWrite(led13, LOW);     // turn the LED off
  delay(delayTime);             // hold in this position
}

// *** Characters to Morse Code Conversion *** //
void GetChar(char tmpChar)
{
  // Take the passed character and use a switch case to find the morse code for that character
  switch (tmpChar) {
    case 'a':
    MorseDot();
    LightsOff(elemPause);
    MorseDash();
    LightsOff(elemPause);
    break;
    case 'b':
    MorseDash();
    LightsOff(elemPause);
    MorseDot();
    LightsOff(elemPause);
    MorseDot();
    LightsOff(elemPause);
    MorseDot();
    LightsOff(elemPause);
    break;
    case 'c':
      MorseDash();
    LightsOff(elemPause);
    MorseDot();
    LightsOff(elemPause);
    MorseDash();
    LightsOff(elemPause);
    MorseDot();
    LightsOff(elemPause);
    break;
    case 'd':
    MorseDash();
    LightsOff(elemPause);
    MorseDash();
    LightsOff(elemPause);
    MorseDot();
    LightsOff(elemPause);
    break;
    case 'e':
    MorseDot();
    LightsOff(elemPause);
    break;
    case 'f':
      MorseDot();
    LightsOff(elemPause);
    MorseDot();
    LightsOff(elemPause);
    MorseDash();
    LightsOff(elemPause);
    MorseDot();
    LightsOff(elemPause);
    break;
    case 'g':
    MorseDash();
    LightsOff(elemPause);
    MorseDash();
    LightsOff(elemPause);
    MorseDot();
    LightsOff(elemPause);
    break;
    case 'h':
      MorseDot();
    LightsOff(elemPause);
    MorseDot();
    LightsOff(elemPause);
    MorseDot();
    LightsOff(elemPause);
    MorseDot();
    LightsOff(elemPause);
    break;
    case 'i':
      MorseDot();
    LightsOff(elemPause);
    MorseDot();
    LightsOff(elemPause);
    break;
    case 'j':
      MorseDot();
    LightsOff(elemPause);
    MorseDash();
    LightsOff(elemPause);
    MorseDash();
    LightsOff(elemPause);
    MorseDash();
    LightsOff(elemPause);
    break;
      case 'k':
      MorseDash();
    LightsOff(elemPause);
    MorseDot();
    LightsOff(elemPause);
    MorseDash();
    LightsOff(elemPause);
    break;
    case 'l':
      MorseDot();
    LightsOff(elemPause);
    MorseDash();
    LightsOff(elemPause);
    MorseDot();
    LightsOff(elemPause);
    MorseDot();
    LightsOff(elemPause);
    break;
      case 'm':
      MorseDash();
    LightsOff(elemPause);
    MorseDash();
    LightsOff(elemPause);
    break;
    case 'n':
      MorseDash();
    LightsOff(elemPause);
    MorseDot();
    LightsOff(elemPause);
    break;
    case 'o':
      MorseDash();
    LightsOff(elemPause);
    MorseDash();
    LightsOff(elemPause);
    MorseDash();
    LightsOff(elemPause);
    break;
    case 'p':
      MorseDot();
    LightsOff(elemPause);
    MorseDash();
    LightsOff(elemPause);
    MorseDash();
    LightsOff(elemPause);
    MorseDot();
    LightsOff(elemPause);
    break;
    case 'q':
      MorseDash();
    LightsOff(elemPause);
    MorseDash();
    LightsOff(elemPause);
    MorseDot();
    LightsOff(elemPause);
    MorseDash();
    LightsOff(elemPause);
    break;
    case 'r':
      MorseDot();
    LightsOff(elemPause);
    MorseDash();
    LightsOff(elemPause);
    MorseDot();
    LightsOff(elemPause);
    break;
    case 's':
      MorseDot();
    LightsOff(elemPause);
    MorseDot();
    LightsOff(elemPause);
    MorseDot();
    LightsOff(elemPause);
    break;
    case 't':
      MorseDash();
    LightsOff(elemPause);
    break;
    case 'u':
      MorseDot();
    LightsOff(elemPause);
    MorseDot();
    LightsOff(elemPause);
    MorseDash();
    LightsOff(elemPause);
    break;
    case 'v':
      MorseDot();
    LightsOff(elemPause);
    MorseDot();
    LightsOff(elemPause);
    MorseDot();
    LightsOff(elemPause);
    MorseDash();
    LightsOff(elemPause);
    break;
    case 'w':
      MorseDot();
    LightsOff(elemPause);
    MorseDash();
    LightsOff(elemPause);
    MorseDash();
    LightsOff(elemPause);
    break;
    case 'x':
      MorseDash();
    LightsOff(elemPause);
    MorseDot();
    LightsOff(elemPause);
    MorseDot();
    LightsOff(elemPause);
    MorseDash();
    LightsOff(elemPause);
    break;
    case 'y':
      MorseDash();
    LightsOff(elemPause);
    MorseDot();
    LightsOff(elemPause);
    MorseDash();
    LightsOff(elemPause);
    MorseDash();
    LightsOff(elemPause);
    break;
    case 'z':
      MorseDash();
    LightsOff(elemPause);
    MorseDash();
    LightsOff(elemPause);
    MorseDot();
    LightsOff(elemPause);
    MorseDot();
    LightsOff(elemPause);
    break;
    default:
    // If a matching character was not found it will default to a blank space
    LightsOff(Spaces);
  }
}
CODE-2 - FOR THE RECEIVER ENDArduino
int sensorPin = 0; // select the input pin for ldr
int sensorValue = 0; // variable to store the value coming from the sensor
int a, f; // flags
void setup() {
Serial.begin(9600); //sets serial port for communication
}
void loop() {

sensorValue = analogRead(sensorPin); // read the value from the sensor
//Serial.println(sensorValue);
if(sensorValue>1000)// calculating the number of dots and dashes
{
  for(int i=0;i<=13;i++)
  {
    sensorValue=analogRead(sensorPin);
    if(sensorValue>1000)
    {
      a++; //calculating the number of dots and dashes in the character
     delay(200);
    }
  else
  {
    f++; // calculating the number of spaces in dots and dashes
   delay(200);
  }

  }
}
//Serial.print("a= "+a);
//Serial.println("f= "+f);
//Serial.println();
/*
 * Checking the set of dots, dashes and spaces
 */

if(a==4 && f==10)
{
  Serial.print("a");
}
if(a==6 && f==8)
{
  Serial.print("b");
}
if(a==8 && f==6)
{
  Serial.print("c");
}
if(a==1 && f==13)
{
  Serial.print("e");
}
if(a==2 && f==12)
{
  Serial.print("i");
}
if(a==10 && f==4)
{
  Serial.print("j");
}
if(a==7 && f==7)
{
  Serial.print("g");
}
if(a==9 && f==5)
{
  Serial.print("o");
}
if(a==3 && f==11)
{
  Serial.print("s");
}
f=a=0;
delay(200);

}
Custom parts and enclosures

Schematics

Manufacturing process
- Building an Interactive Laser Projector with Zigbee Sensors and Gravio Edge Platform
- Gesture‑Controlled Robot Powered by Raspberry Pi
- Build a DTMF Decoder Using Only an Arduino – No Extra ICs Needed
- Python 3 to Arduino UNO: Easy Command Control and LED Demo
- AI-Powered Maze-Solving Robot Using Arduino and Bluetooth
- Smartphone G‑Sensor Controlled Robot Car with Arduino and Bluetooth
- Build a Morse Code Transceiver with Arduino UNO – Hands‑On Communication Project
- Precision Liquid Level Detection with VL53L0X Laser ToF Sensor on Arduino
- Build a Morse Code Transmitter with Arduino – Easy DIY Guide
- HC-12 Serial Communication Module: Setup, Features & Remote Data Transfer