


Build a Morse Code Transmitter with Arduino – Easy DIY Guide
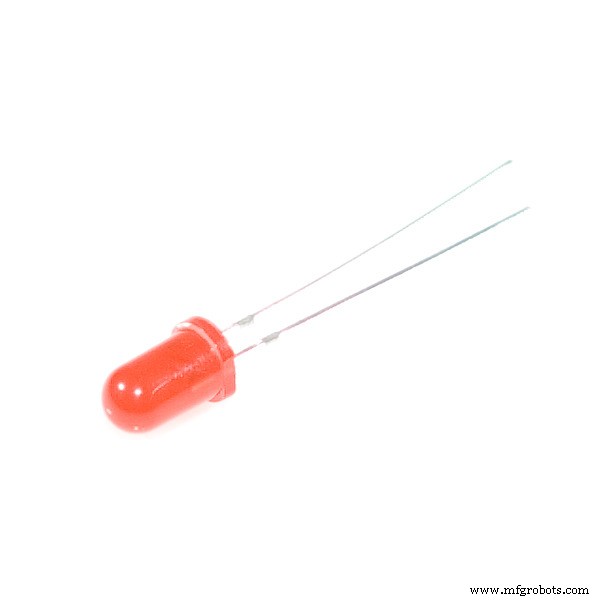
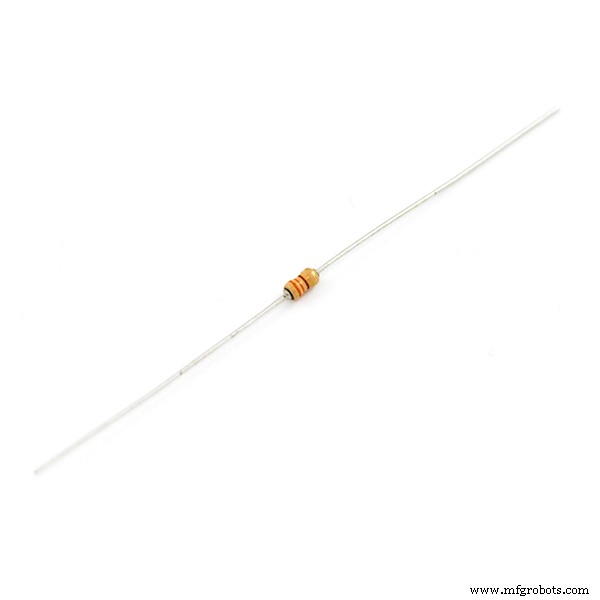
Components and supplies
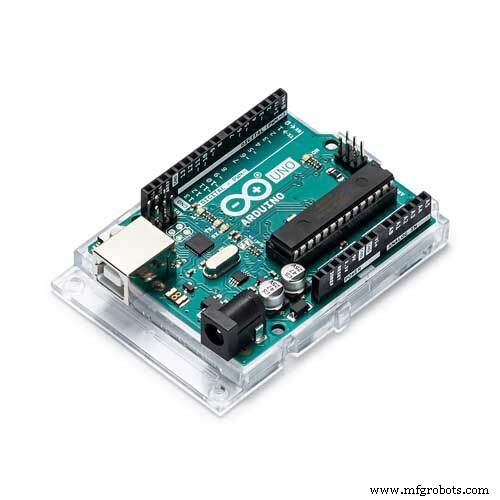 |
| × | 1 | |||
 |
| × | 2 | |||
 |
| × | 1 | |||
 |
| × | 1 | |||
 |
| × | 4 | |||
 |
| × | 1 | |||
 |
| × | 10 |
Apps and online services
 |
|
About this project
IDEA DescriptionWe all communicate with each other through our natural Sensors (tongue, Gesture...etc). The Exciting part starts when you want to share secret information to someone. Question is How to do it ?
So the answer lies in how you transmit information in such a way that even if a third Person looks at message he won't be able to understand Until and Unless he finds a key. For this purpose I used Morse Code Communication you can also use another way to accomplish this task.
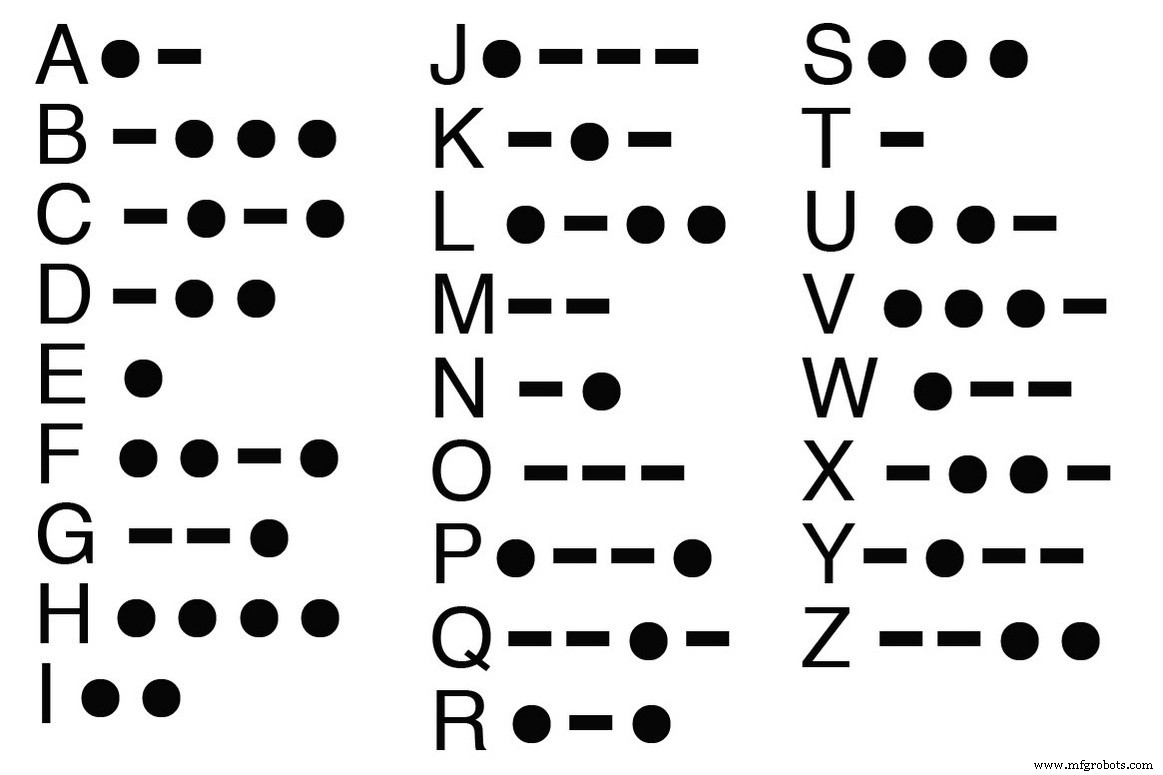
What is Morse Code ?Morse Code is a way of communication to pass information which is done by representing original letters to combination of dot. and dashes - Like A ->.- and B-> -...
For more information on Morse code click the link below
http://wrvmuseum.org/morsecodehistory.htm
The Reason is Simple recently I watched a movie in which agent was passing information by clicking a button and at the receiving end other people were disclosing it. So I thought to make this with using Arduino and simple basic components.
How this Project Works ?It is very Simple When you done making circuit on breadboard and uploaded Sketch. Click Serial Monitor and you will see it like below image
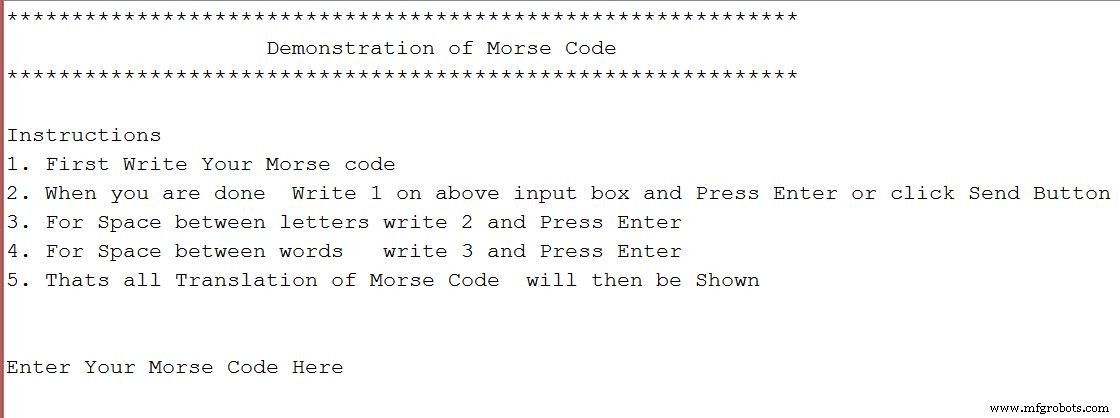
Follow the instructions and You are Ready to go
If you have any confusion Simply watch the demonstration video
Code
- Morse Code Source CODE
Morse Code Source CODEC/C++
Now you ready to upload SketchSimply Open Your Arduino IDE and go to toolbar File->Open->MorseCode.io and click upload button
/*
  This Program is for demonstration of MORSE CODE Communication
  which was use to send information secretly using codes of combinations dots .  and dashes -
  Thanks to open source community

  By Jalal Mansoori
*/


#define SIZE 26
const int ledPin=8;
const int speakerPin=12;
const int dotButton=2;
const int dashButton=7;

String morseCode="";
String text="";
int characterAscii=0;
int startPos=0, endPos=0;
int startPos1=0, endPos1=0;
String characterCode="";
int dashButtonState=0;
int dotButtonState=0;


//Array of MorseCode for letters of English Language A to Z
String letters[SIZE]={

// A to I
".-", "-...", "-.-.", "-..", ".", "..-.", "--.", "....", "..",
// J to R
".---", "-.-", ".-..", "--", "-.", "---", ".--.", "--.-", ".-.",
// S to Z
"...", "-", "..-", "...-", ".--", "-..-", "-.--", "--.."
};


void setup() {
  // put your setup code here, to run once:
//Getting things Ready
pinMode(ledPin, OUTPUT);
pinMode(dotButton, INPUT);
pinMode(dashButton, INPUT);
Serial.begin(9600);

Serial.println("*************************************************************");
Serial.println("                    Demonstration of Morse Code              ");
Serial.println("************************************************************* ");
Serial.println("\nInstructions");
Serial.println("1. First Write Your Morse code");
Serial.println("2. When you are done  Write 1 on above input box and Press Enter or click Send Button ");
Serial.println("3. For Space between letters write 2 and Press Enter ");
Serial.println("4. For Space between words   write 3 and Press Enter ");

Serial.println("5. Thats all Translation of Morse Code  will then be Shown ");

Serial.println("\n\nEnter Your Morse Code Here  ");

}


void loop() {
  // put your main code here, to run repeatedly:

while(Serial.available() > 0 )
{
      int ascii=Serial.read();

      switch(ascii)
      {
        case 49: // 49 is Ascii value of 1

        Serial.print("\n");
        morseCode.concat('#');// Placeing # at the end of morseCode to simplify further processing

         Serial.print("\nYour Morse code Translation :  ");

        endPos1=morseCode.indexOf('#');

        while(endPos1 < morseCode.length() )
        {
            extractLetters(morseCode.substring(startPos1, endPos1)); // This function would extract Letter as name suggest and would convert  code to text SIMPLE!
           startPos1=endPos1+1;
           if(startPos1 == morseCode.length() )
           {
              break;
           }
           endPos1= morseCode.indexOf('#', startPos1);
        }
        startPos1=0;
        endPos1=0;

        text=""; //  For New Translation
        morseCode="";
        Serial.println("\n\nEnter Your Morse Code Here ");


        break;

        case 50: // 50 is Ascii value of 2

        morseCode.concat("@");
        Serial.print("@");
        delay(200);

        break;

        case 51: // 51 is Ascii value of 3

        morseCode.concat("#");
        Serial.print("#");
        delay(200);

        break;

      }

}

process();

}

void turnONLedSpeaker()
{
  //Turn ON LED
  digitalWrite(ledPin, HIGH);
  tone(speakerPin, 4699, 300); // tone(speakerPin, frequency, duration in milliSec)

}

void process()
{

  dotButtonState=digitalRead(dotButton);
dashButtonState=digitalRead(dashButton);


  if(dashButtonState == HIGH)
  {
    turnONLedSpeaker();

    morseCode.concat("-"); // Storing code in variable morseCode with the help of concatenation function
    Serial.print("-");//Prints User entered Code
    delay(200);
  }
  else if(dotButtonState == HIGH)
  {
   turnONLedSpeaker();

   morseCode.concat(".");
   Serial.print(".");
   delay(200);

  }
  else
  {
    //Turn OFF LED
    digitalWrite(ledPin, LOW);

  }

}

char convertIntoText(String characterCode)
{
  characterAscii=65;

  for(int index=0; index<SIZE; index++)
  {
    if(characterCode == letters[index])
    {
      return characterAscii;
    }
    characterAscii++;
  }

}

void extractLetters(String words)
{
        words.concat('@'); // Placeing @ at the end of word to simplify further processing

        endPos=words.indexOf('@');


        //Loop to extracting single character morse Code from string of word
        while( endPos<words.length() )
       {
         characterCode=words.substring(startPos, endPos);

         //Now CharacterCode will now convert in text

         text.concat(convertIntoText(characterCode));

         startPos=endPos+1;
         characterCode="";

          // if condition is just to terminate loop when our extracting single character code is complete thats all
         if(startPos == words.length() )
         {
           break;
         }

         endPos=words.indexOf('@', startPos);

       }


        Serial.print(text);
        Serial.print(" ");
        startPos=0;
        endPos=0;
        text="";

}
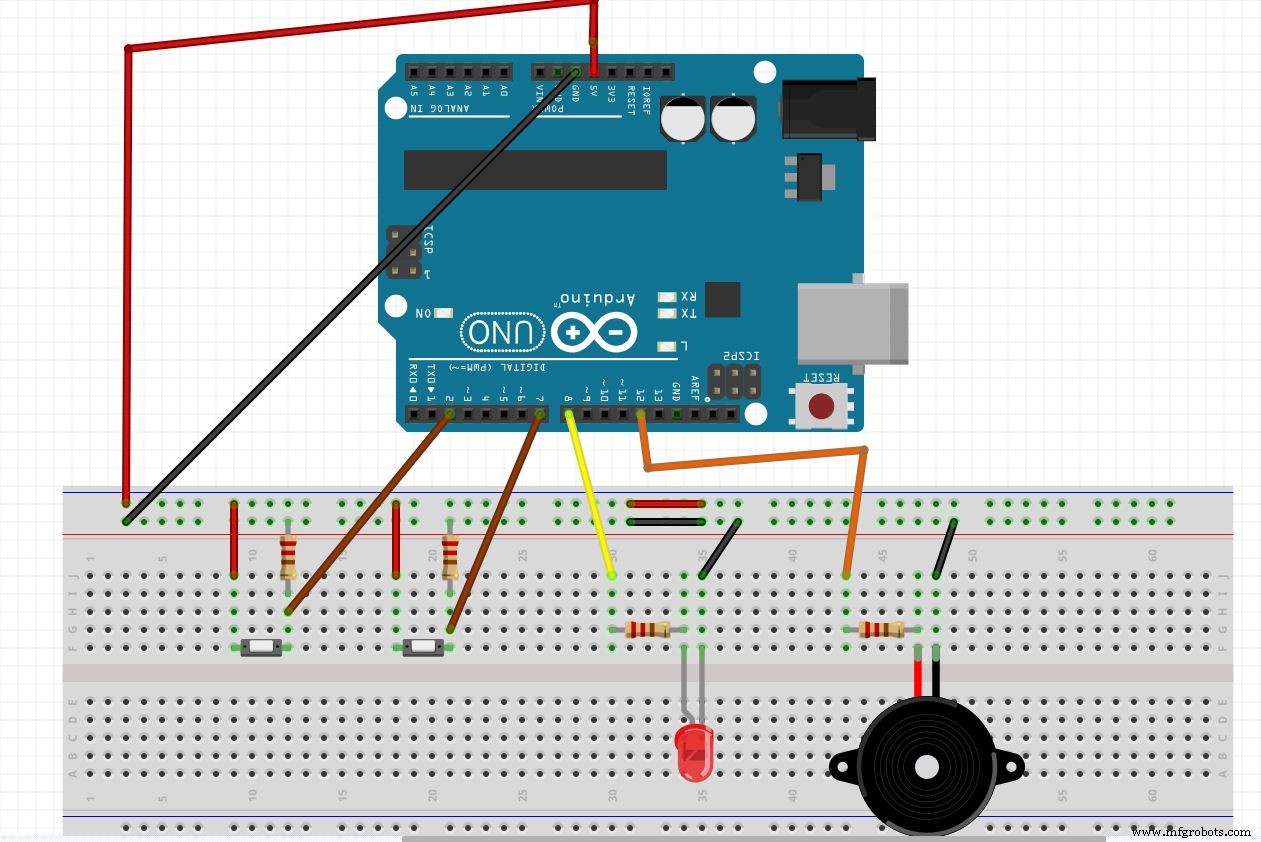
Schematics
Instructions for Digital Pins From Arduino to breadboard:-> pin D2 is connected to one leg of pushButton1 .
-> pin D7 is connected to one leg of pushButton2.
-> pin D8 is connected to +ive terminal leg LED through resistor
-> And Finally pin D12 is connected to +ive terminal leg Buzzer through resistor
And other Connection Look at Schematic Picture and YOU ARE DONE !
Manufacturing process
- Build a DTMF Decoder Using Only an Arduino – No Extra ICs Needed
- Build an Ultrasonic Levitation Device with Arduino – Step‑by‑Step Guide
- Morse Code Communication with Laser Module – Dual‑Side Arduino Project
- Find Me: Smart Item Locator with Arduino and Bluetooth
- Smart Parking Counter: Real‑Time Vehicle Tracking with Arduino, Processing, and PHP
- Python 3 to Arduino UNO: Easy Command Control and LED Demo
- Build a Custom Arduino Joystick Steering Wheel for Gaming
- PhoneLocator: Securely Locate Your Phone Anywhere
- Smartphone G‑Sensor Controlled Robot Car with Arduino and Bluetooth
- Building an IoT Device with ESP8266‑01 and Arduino Nano: A Complete Guide