


Build a Smart IoT Jar with ESP8266, Arduino & Ultrasonic Sensor – Real‑Time Monitoring
Components and supplies
 |
| × | 1 | |||
 |
| × | 1 | |||
 |
| × | 1 | |||
 |
| × | 4 | |||
 |
| × | 1 | |||
 |
| × | 15 |
Apps and online services
 |
|
About this project
Make your kitchen look awesome! Make this project to give to your mom the real-time data values of her secret recipes.
Hello to all! Thanks for viewing our tutorial. In this tutorial, we will show you the steps for making a prototype like this. Here we are creating a database in a localhost server. A link is made to communicate the ESP8266 to the DB through PHP script. And the details are displayed in another PHP script. Please download the images and view it properly, because we have provided photos so you can see it offline, too. Happy learning!
Step 1:Things Needed For Making a Smart Jar
As explained in the introduction, this product is a basic prototype. It doesn't require costly elements. The following are the things and software needed to make this! Happy DIYing !
Components:
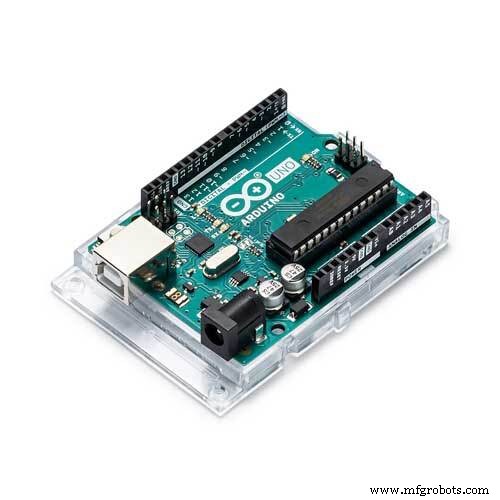
- Arduino UNO
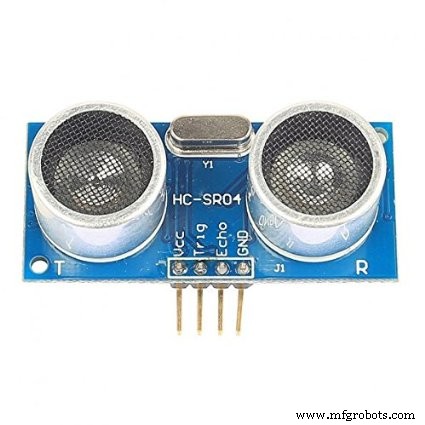
- Ultrasonic sensor
- An empty jar (plastic or transparent is recommended)
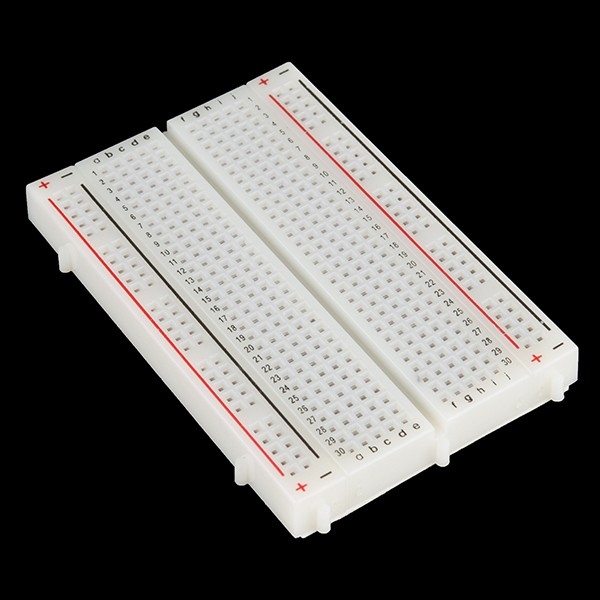
- Breadboard
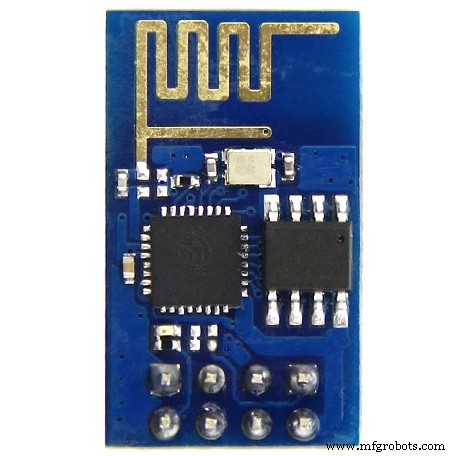
- The main guy - ESP8266 (WiFi module)
- Jumper wires (~15 - 20)
- Program loading cable
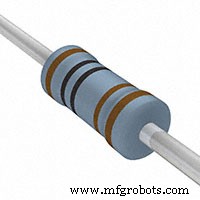
- Resistors (2K) - 2 Nos
Software:
- Arduino IDE
- Sublime Text or Notepad ++
- Apache Server or any hosted server
- MYSQL Database
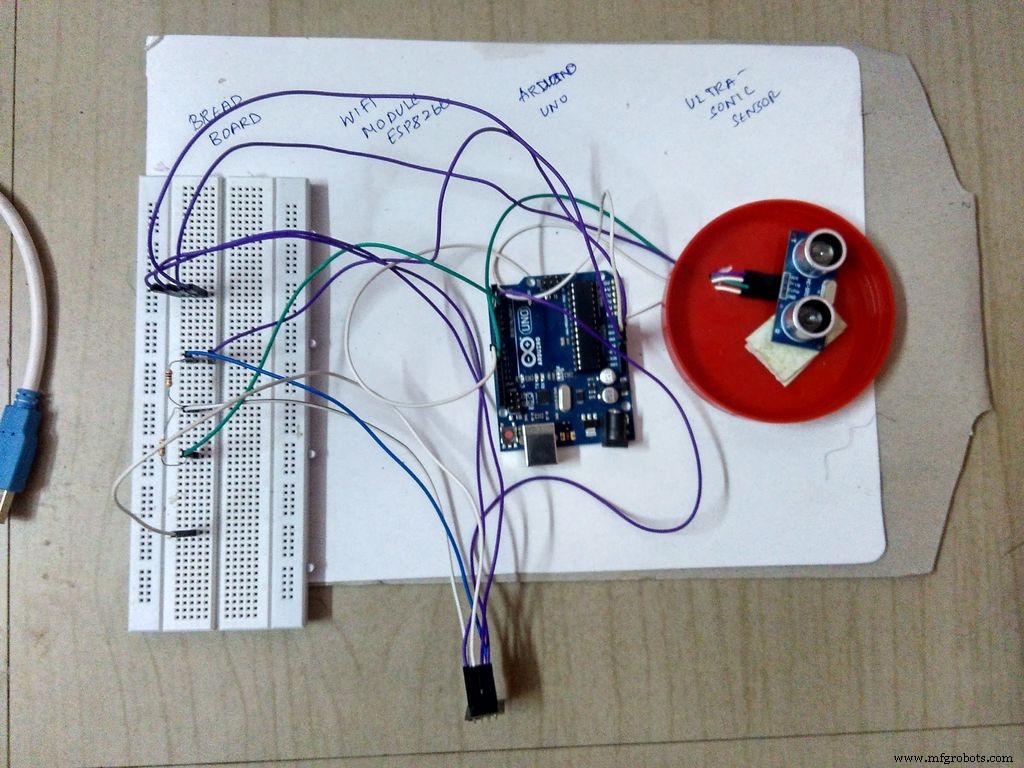
ESP 8266 and Ultrasonic Sensor Connection
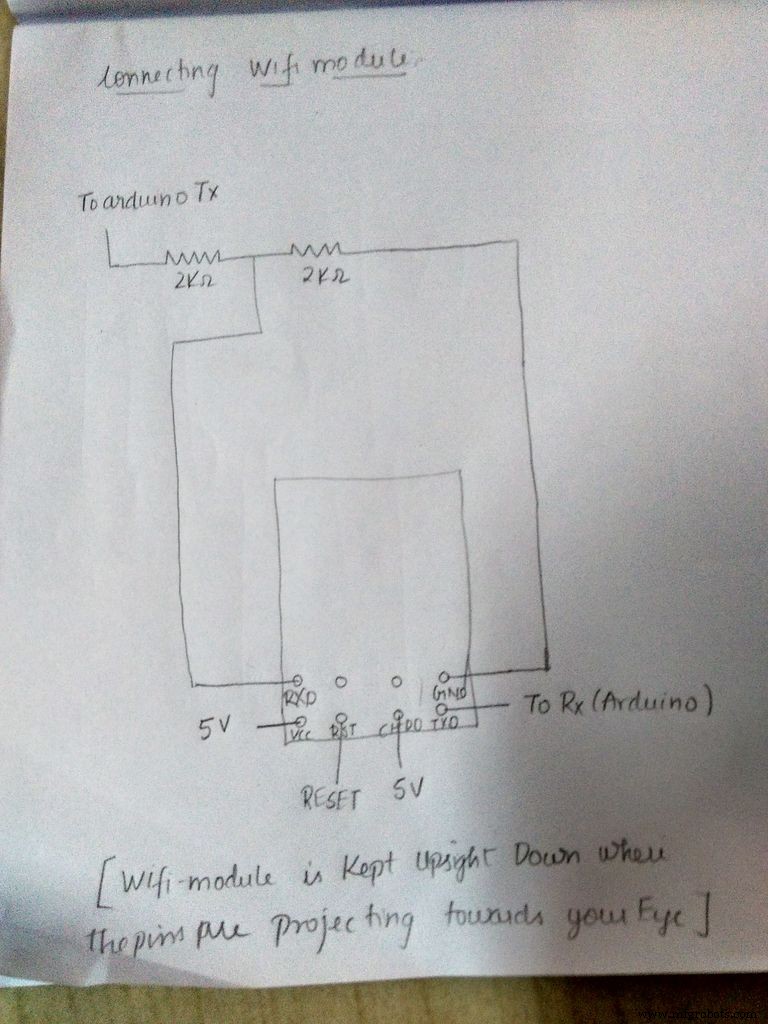
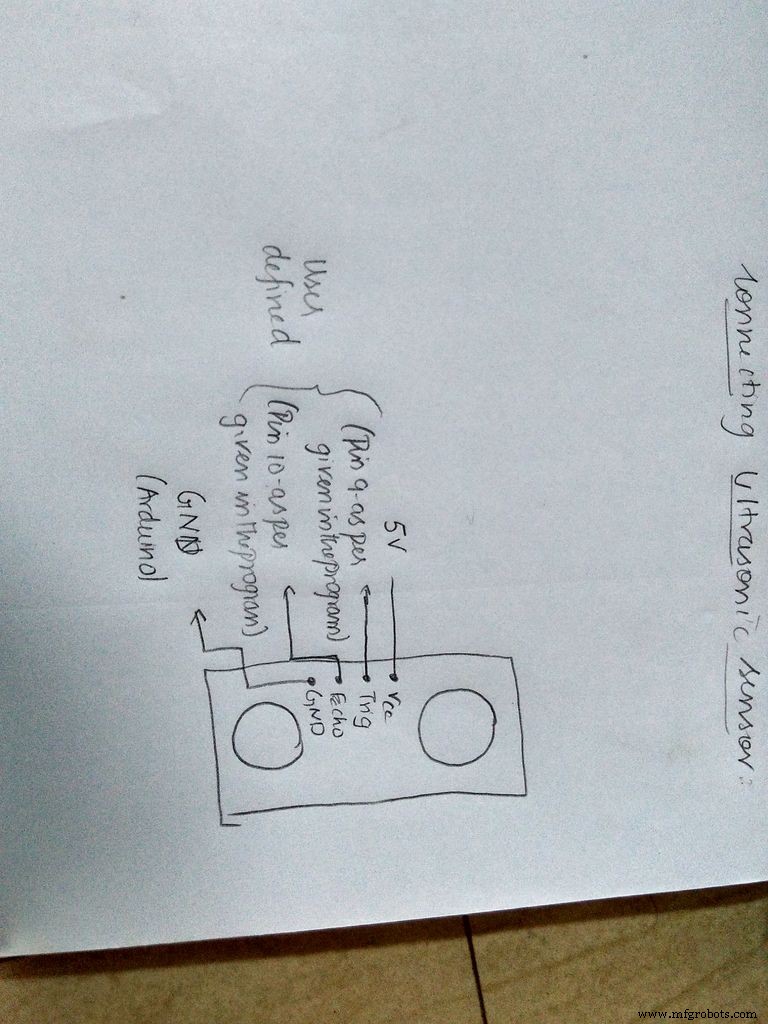
The above image will clearly explain the connections for the ESP8266 and ultrasonic sensor with Arduino .
Step 3:Programming Arduino For ESP and Bluetooth
- Github Link
Softwares Used
- Notepad++
- XAMPP Server
- Arduino IDE
#include <SoftwareSerial.h>
SoftwareSerial esp(2, 3);
long duration ;
int distance;
void setup() {
// put your setup code here, to run once:
Serial.begin(9600);
esp.begin(9600);
esp.println("AT");
response(3000);
esp.println("AT+CIOBAUD=9600");
response(1000);
esp.println("AT+CWMODE=1");
response(2000);
esp.println("AT+CWJAP=\"Wifi Name SSID \",\"Wifi Password\"");
response(10000);
pinMode(9,OUTPUT);
pinMode(10,INPUT);
}
void loop() {
// put your main code here, to run repeatedly:
digitalWrite(9,LOW);
delayMicroseconds(2);
digitalWrite(9,HIGH);
delayMicroseconds(10);
digitalWrite(9,LOW);
duration = pulseIn(10,HIGH);
distance = duration*0.034/2;
esp.println("AT+CIPSTART=\"TCP\",\"Your IP Address\",80");
response(5000);
esp.println("AT+CIPSEND=80");
response(2000);
esp.print("GET Your Link with the IP address You Used ");
esp.print(distance);
esp.println("\r\nabcd1234");
response(5000);
}
void response(int waitTime) {
for (int i = 0 ; i < waitTime; i++)
{     if (esp.available() > 0)
{       char x = esp.read();
Serial.print(x);
}
delay(1);
} }
Website Programming - Inserting Data
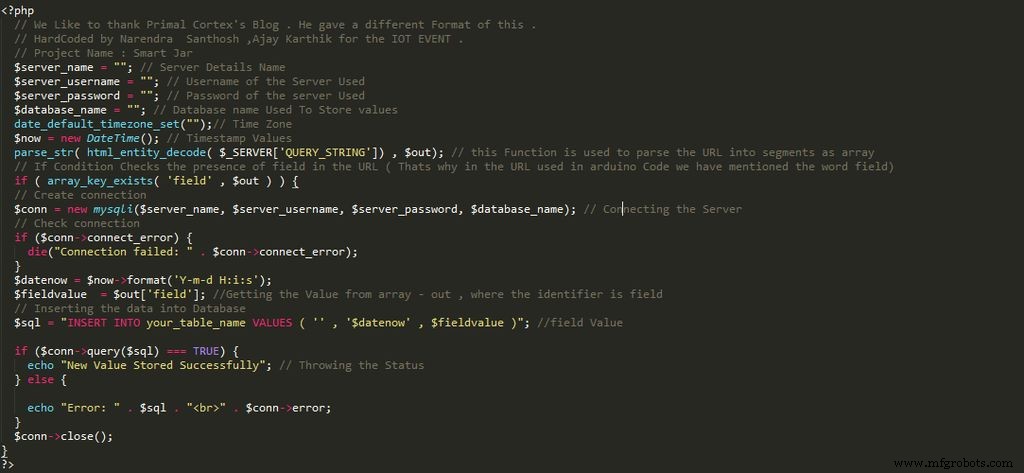
The above code is to be typed in Text Editor. It is the code for inserting data into the database.
Step 5:Website Programming - Displaying Data

Please refer to the image for the code of displaying values.
Step 6:Setting Up the Database - I have Used PHPMyAdmin Panel
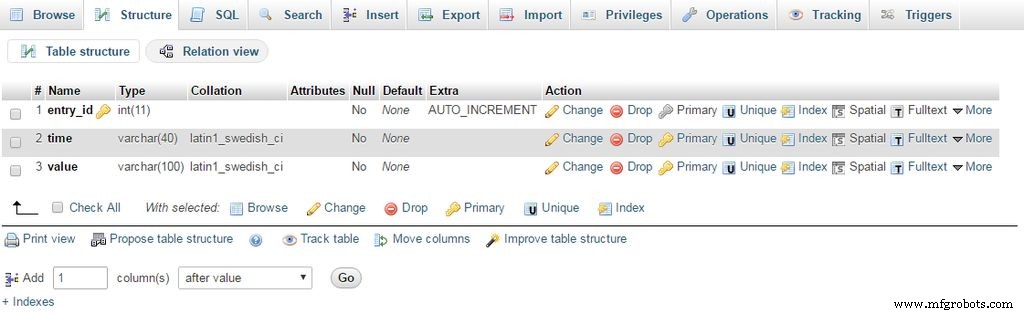
This is a general GUI. If you have doubts in SQL, feel free to email us at santhoshnarendra@gmail.com with subject "Tutorial - Smart Jar".
Step 7:Done! Time to Test
Please make sure you use the correct baud rate. If ESP8266 gives an error, we recommend you reset the baud rate properly. For any further inquiries, don't hesitate to email us. Thanks for following the steps. By the end of Feb 2017, we will put up a code for Android support, also a web Graphical UI! Stay Tuned! Hack a lot!
Project made by
- Narendra Santhosh N <santhoshnarendra@gmail.com>
- Ajay Karthik K <ajaykarthikkasinaathan14@gmail.com>
- Subash C
Code
IOT Smart Jar Code Files
It is a Github Link ! Please follow the instructions given in the readme file of the repo .https://github.com/santynaren/iotsmartjarManufacturing process
- DHT11 Temperature & Humidity Sensor Project with LED Indicators and Piezo Speaker
- Build an Ultrasonic Levitation Device with Arduino – Step‑by‑Step Guide
- Real-Time Distance Measurement with Arduino Sonar & Processing Visualization
- Build a Smart Arduino‑Controlled Robotic Arm: Easy DIY Tutorial
- Control Your TV with Alexa via Arduino IoT Cloud – Step‑by‑Step Guide
- Build a WiFi Weather Station with ESP8266 and DHT22 Temperature Sensor
- WiFi‑Enabled Smart Door Lock with Arduino & ESP8266 – Unlock via Phone
- Building an IoT Device with ESP8266‑01 and Arduino Nano: A Complete Guide
- Mastering the HC‑SR04 Ultrasonic Sensor with Arduino: A Complete Tutorial
- Precise Ultrasonic Distance Sensing with Arduino – Step‑by‑Step Guide