


Capacitive Touch LED Switch with Arduino UNO – Easy DIY Project
Components and supplies
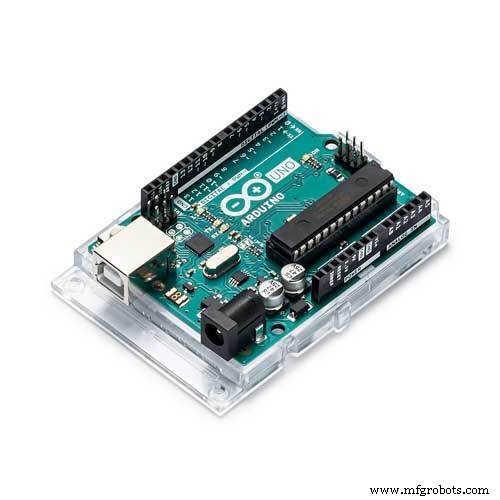 |
| × | 1 | |||
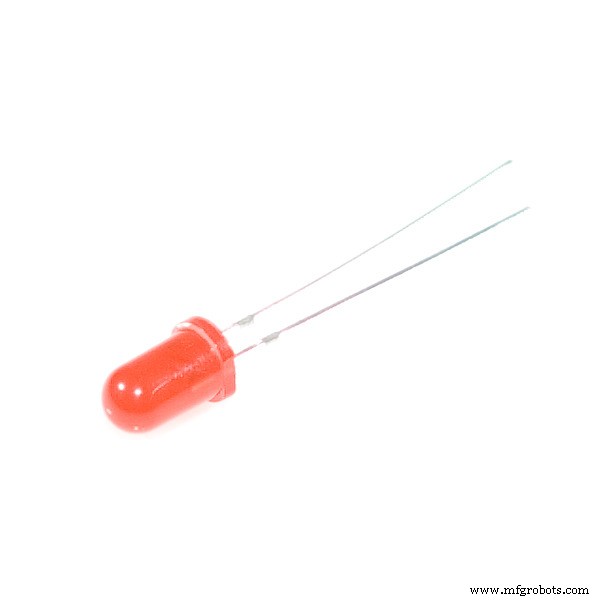 |
| × | 1 | |||
 |
| × | 4 | |||
| × | 1 | ||||
| × | 1 |
Apps and online services
 |
|
About this project
In this project I made a touch sensor using a coin that works based on arduino Capacitive Sensing Library. I used this sensor to turn on and turn off LED by touching on it. Capacitive sensors can detect anything that is conductive or that has a significantly different permitivity than air, like a human body or hand.
The capacitive Sensor library turns two or more Arduino pins into a capacitive sensor, which can sense the electrical capacitance of the human body. All the sensor setup requires is a medium to high value resistor and a piece of wire and a small (to large) piece of aluminum foil on the end. At its most sensitive, the sensor will start to sense a hand or body inches away from the sensor.
It's a simple RC circuit (Resistor-Capacitor). By measuring the time it takes to go form one state to the other, you get an approximation of distance (we know the general capacitance of the human body, the high value resistor, and the general capacitance of the sensor material) . The high value resistor is to provide a significantly low drain time.
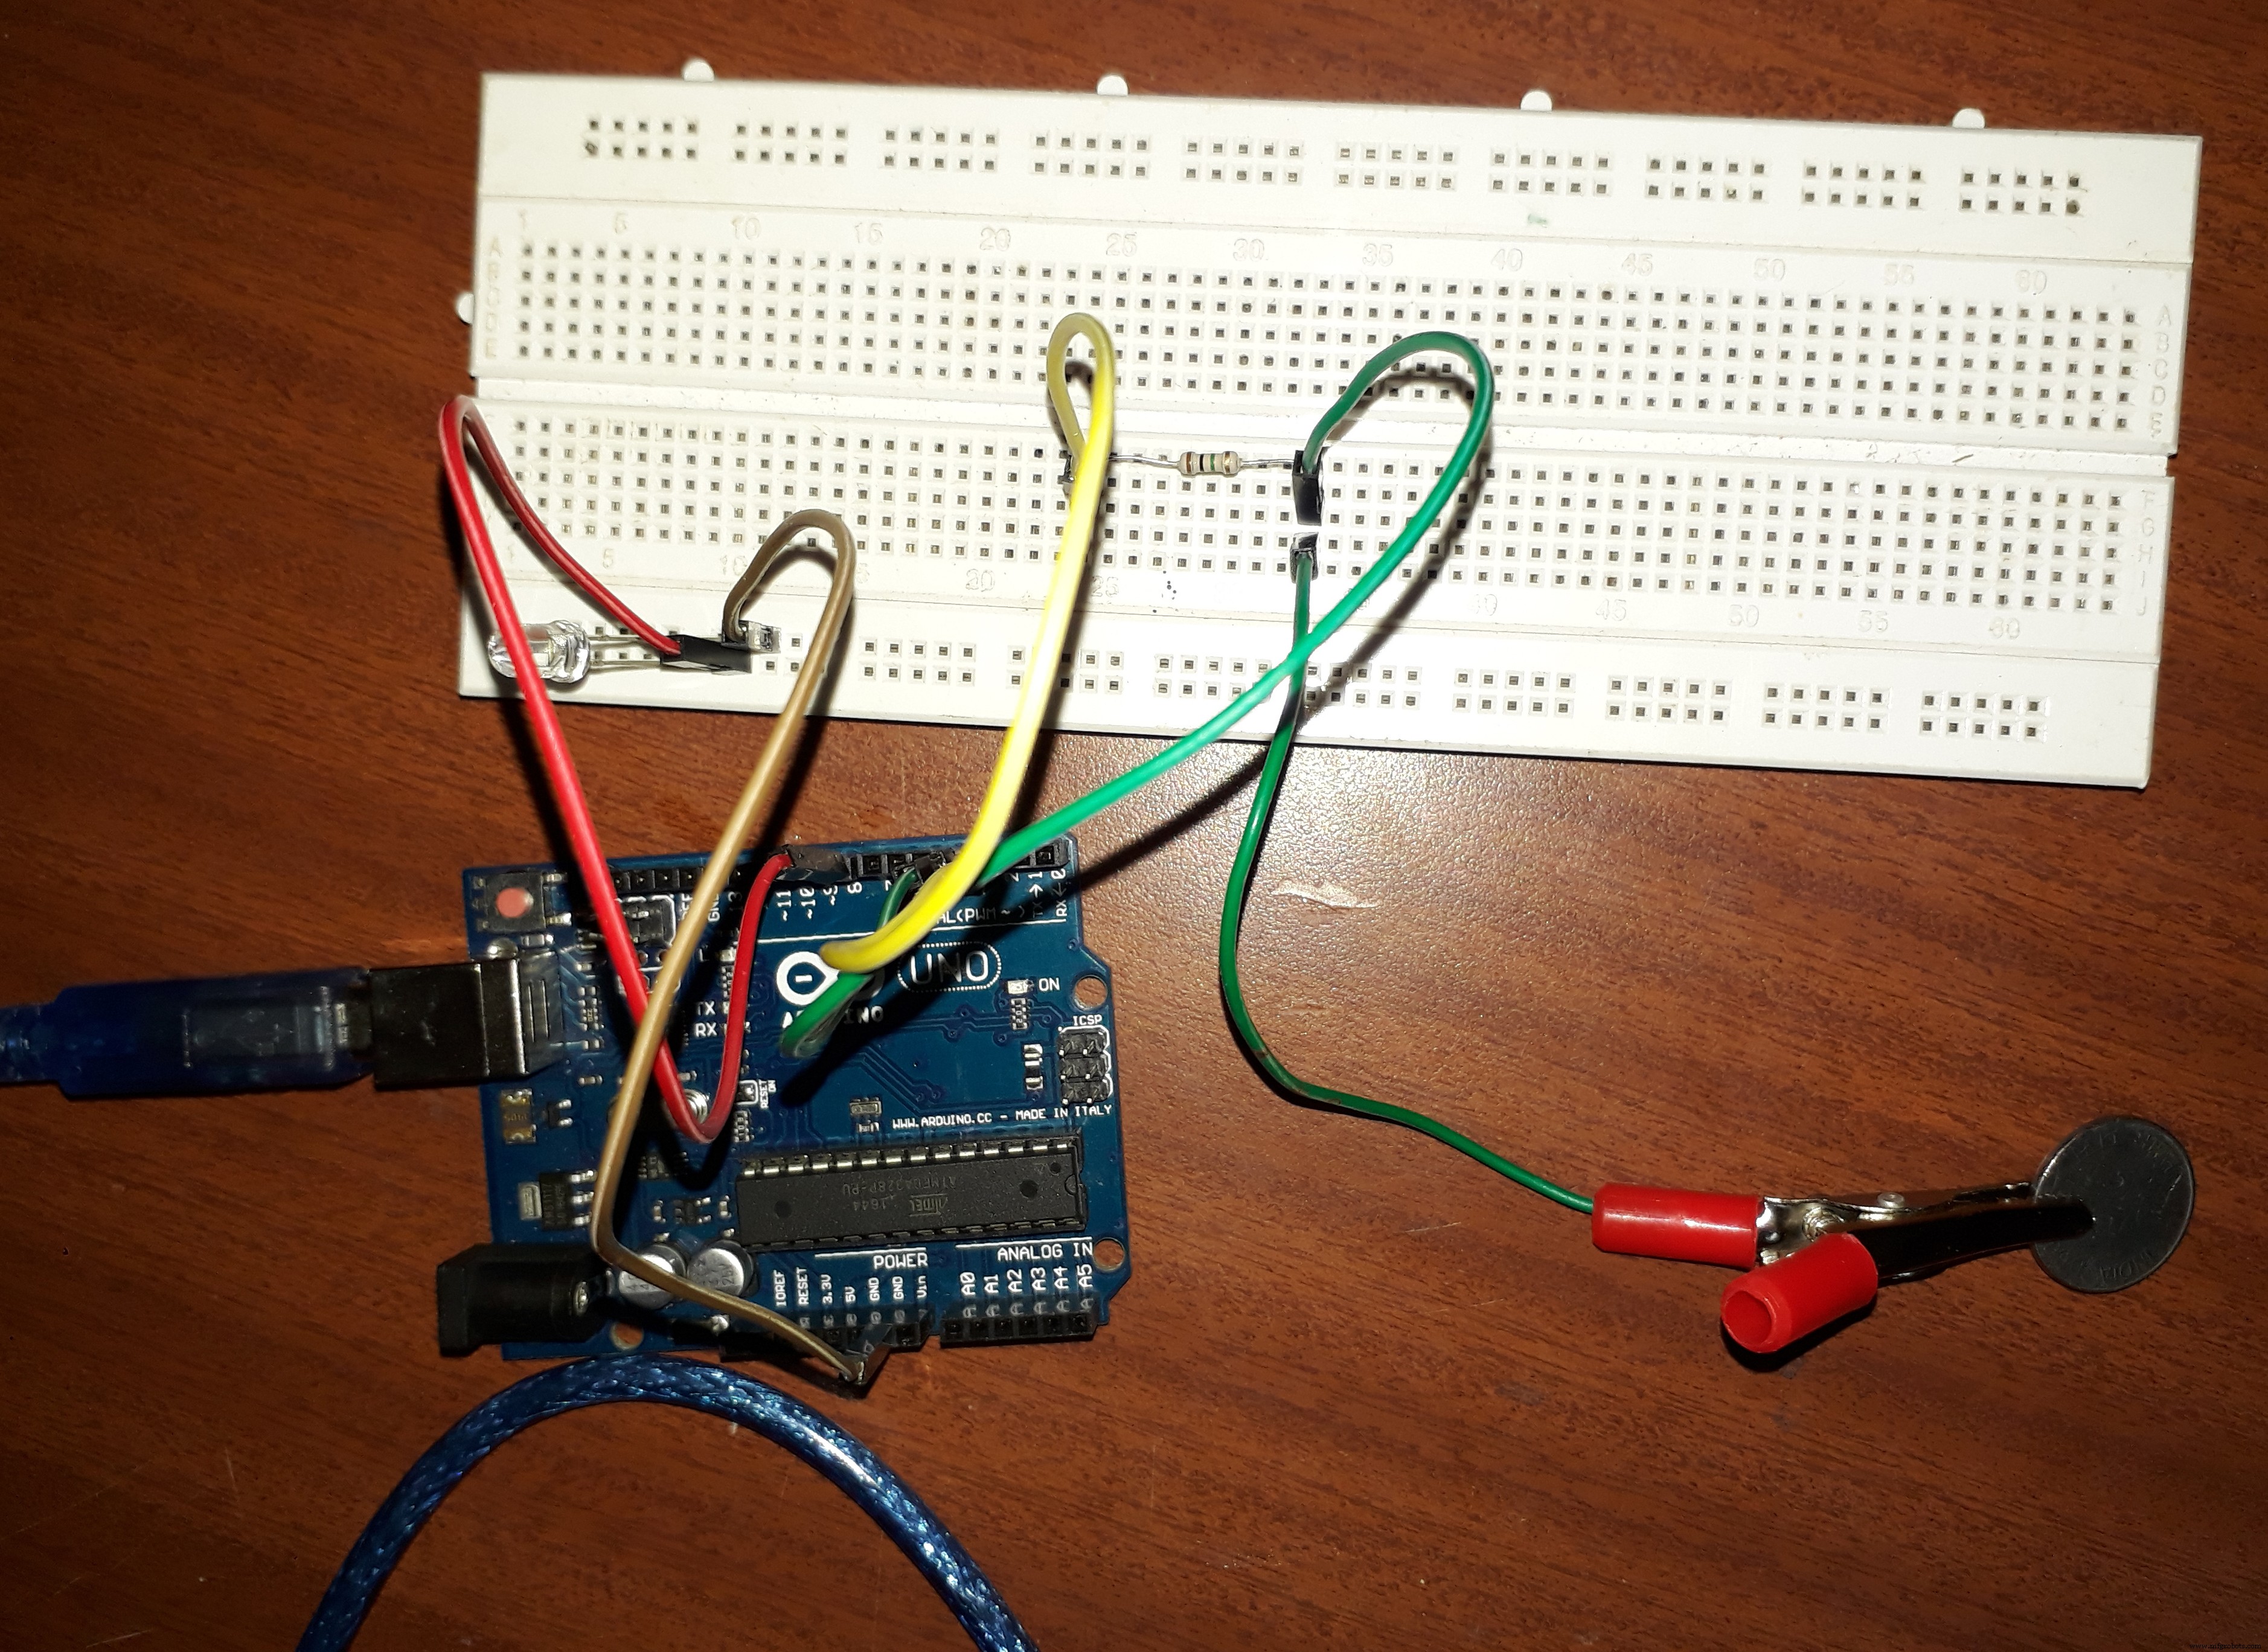
In this Project you can use sensor material as any metallic objects such as coin or aluminium foil etc.

On/Off function oflight through touch is controlled by software program loaded in the arduinoboard. Note that before uploading the code into the arduino you need to installCapacitive Sensor Library from the arduino website.
Capacitive SensorLibrary Link: https://github.com/arduino-libraries/CapacitiveSensor/zipball/master
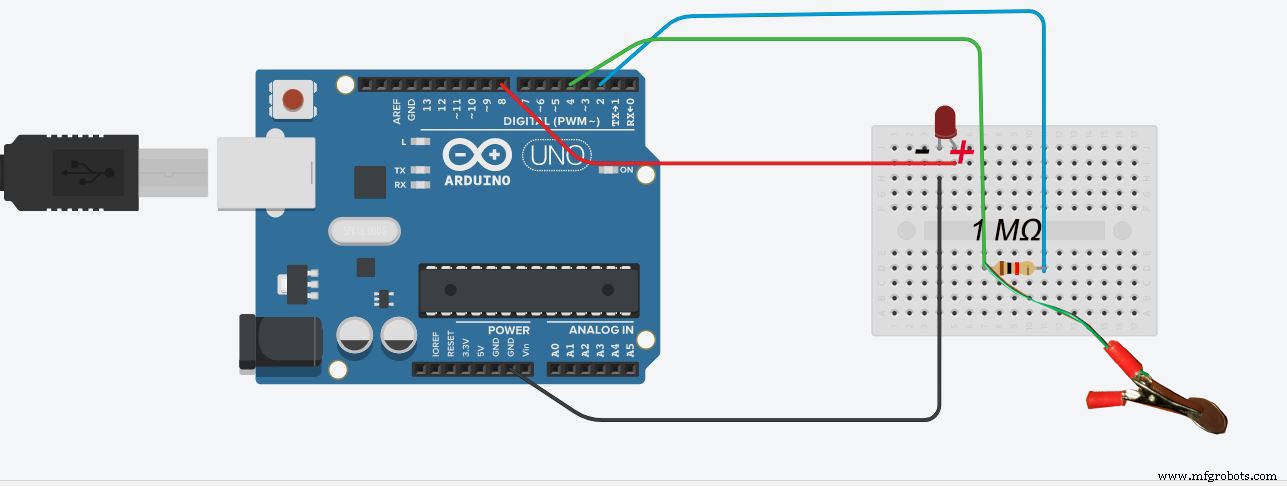
Hardware Setup:Insert the high value resistor (1 M Ω) in between 2 and 4th pin of Arduino. As per the program pin 4 is receive pin , so connect the coin(coin act as capacitive sensor) to the receive pin. .Connect Led to in-between GND and 8th pin.
Testing:Whenever you touches the sensor it changes the previous state, that is turning on or off the LED. Larger resistor tend to make the sensor more sensitive and acts like Proximity Sensor.
Thank you.
Code
- Arduino code
Arduino codeArduino
Make Sure that you have installed Capacitive Sensing Library.#include <CapacitiveSensor.h>
CapacitiveSensor cs_2_4 = CapacitiveSensor(2,4); // 1M resistor between pins 2 & 4, pin 4 is sensor pin, add a wire and or foil
int in = 2;
int out = 4;
int state = HIGH;
int r;
int p = LOW;
long time = 0;
long debounce = 200;
void setup()
{
pinMode(4, INPUT);
pinMode(8, OUTPUT);
}
void loop()
{
r = digitalRead(4);
if (r == HIGH && p == LOW && millis() - time > debounce) {
if (state == HIGH)
state = LOW;
else
state = HIGH;
time = millis();
}
digitalWrite(8, state);
p = r;
}
Schematics
Manufacturing process
- Control an LED with a PIR Motion Sensor on Raspberry Pi
- Raspberry Pi–Based Bathroom Occupancy Sensor with Voice & SMS Alerts via Twilio
- Gesture‑Controlled RGB Table Lamp – Interactive, Hands‑Free Lighting
- Arduino Uno-Based Human Detection Robot: Step‑by‑Step Sensor Integration
- Build an Android‑Controlled Remote Vehicle with Raspberry Pi Motor Shield
- Build a PHP‑Based Web Interface to Control Your Arduino Uno
- Smartphone G‑Sensor Controlled Robot Car with Arduino and Bluetooth
- Building an Arduino LIDAR System with VL6180X and Servo Motor
- Build an IR Sensor Project with Arduino UNO – Simple Guide
- SmartAgro: Advanced IoT Solutions for Precision Farming