


Create an Autonomous Line-Following Robot with Arduino UNO
Components and supplies
 |
| × | 1 | |||
| × | 1 | ||||
| × | 1 | ||||
| × | 1 | ||||
 |
| × | 1 | |||
 |
| × | 1 | |||
 |
| × | 1 |
Apps and online services
 |
|
About this project
Let's make a fully autonomous robot using Arduino and IR sensors. It can follow a black line on white surface. Watch video for more!
Components used:- Piece of cardboard/ Acrylic sheet
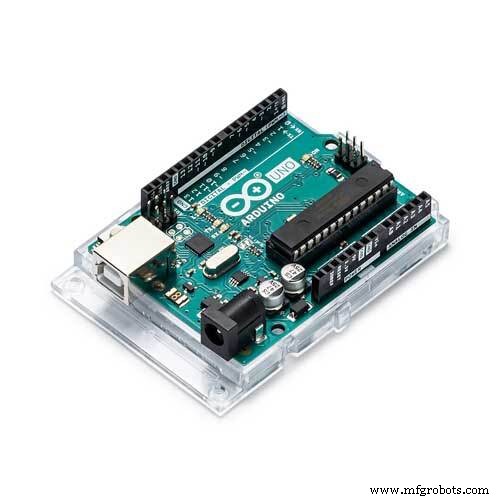
- Arduino Uno
- IR sensor
- BO motor
- Wheels
- Caster wheel
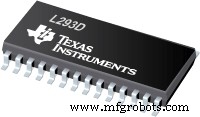
- L293d IC
- PCB
- Flexible wire
- Battery


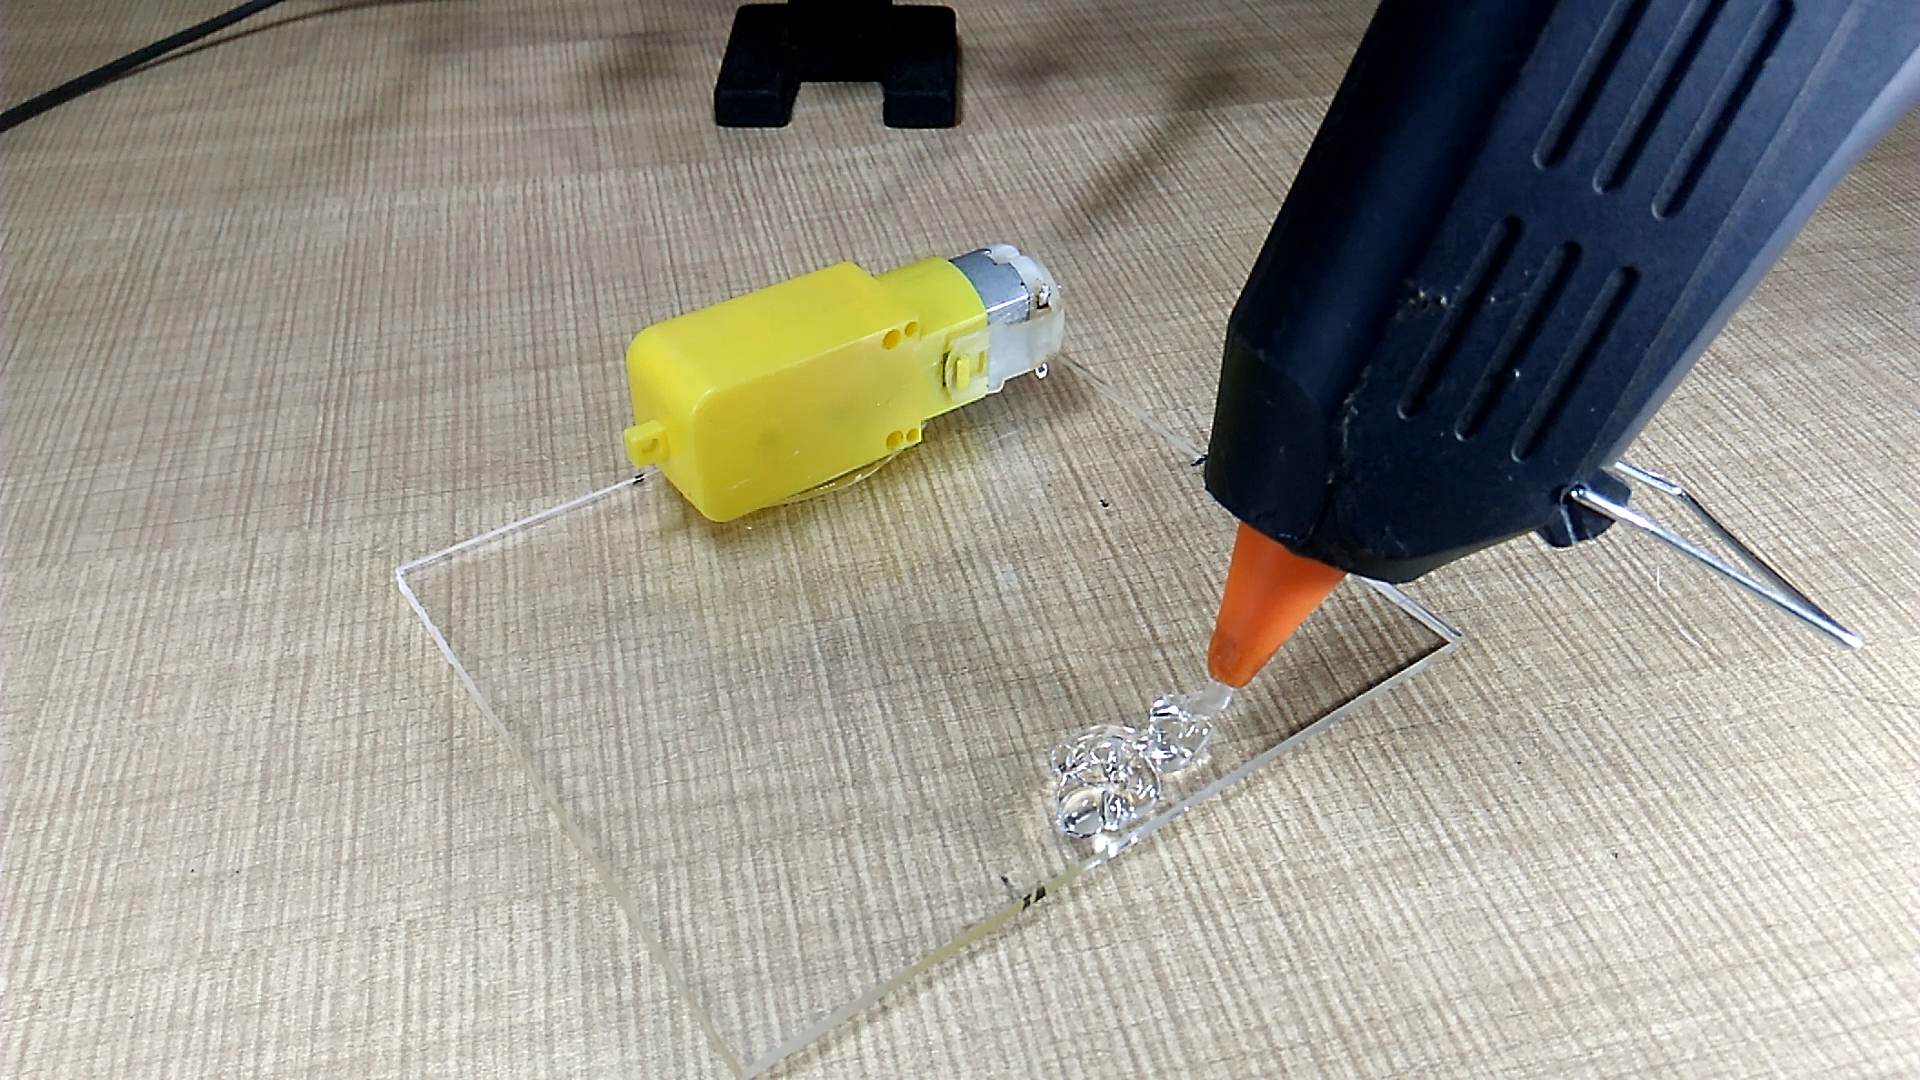
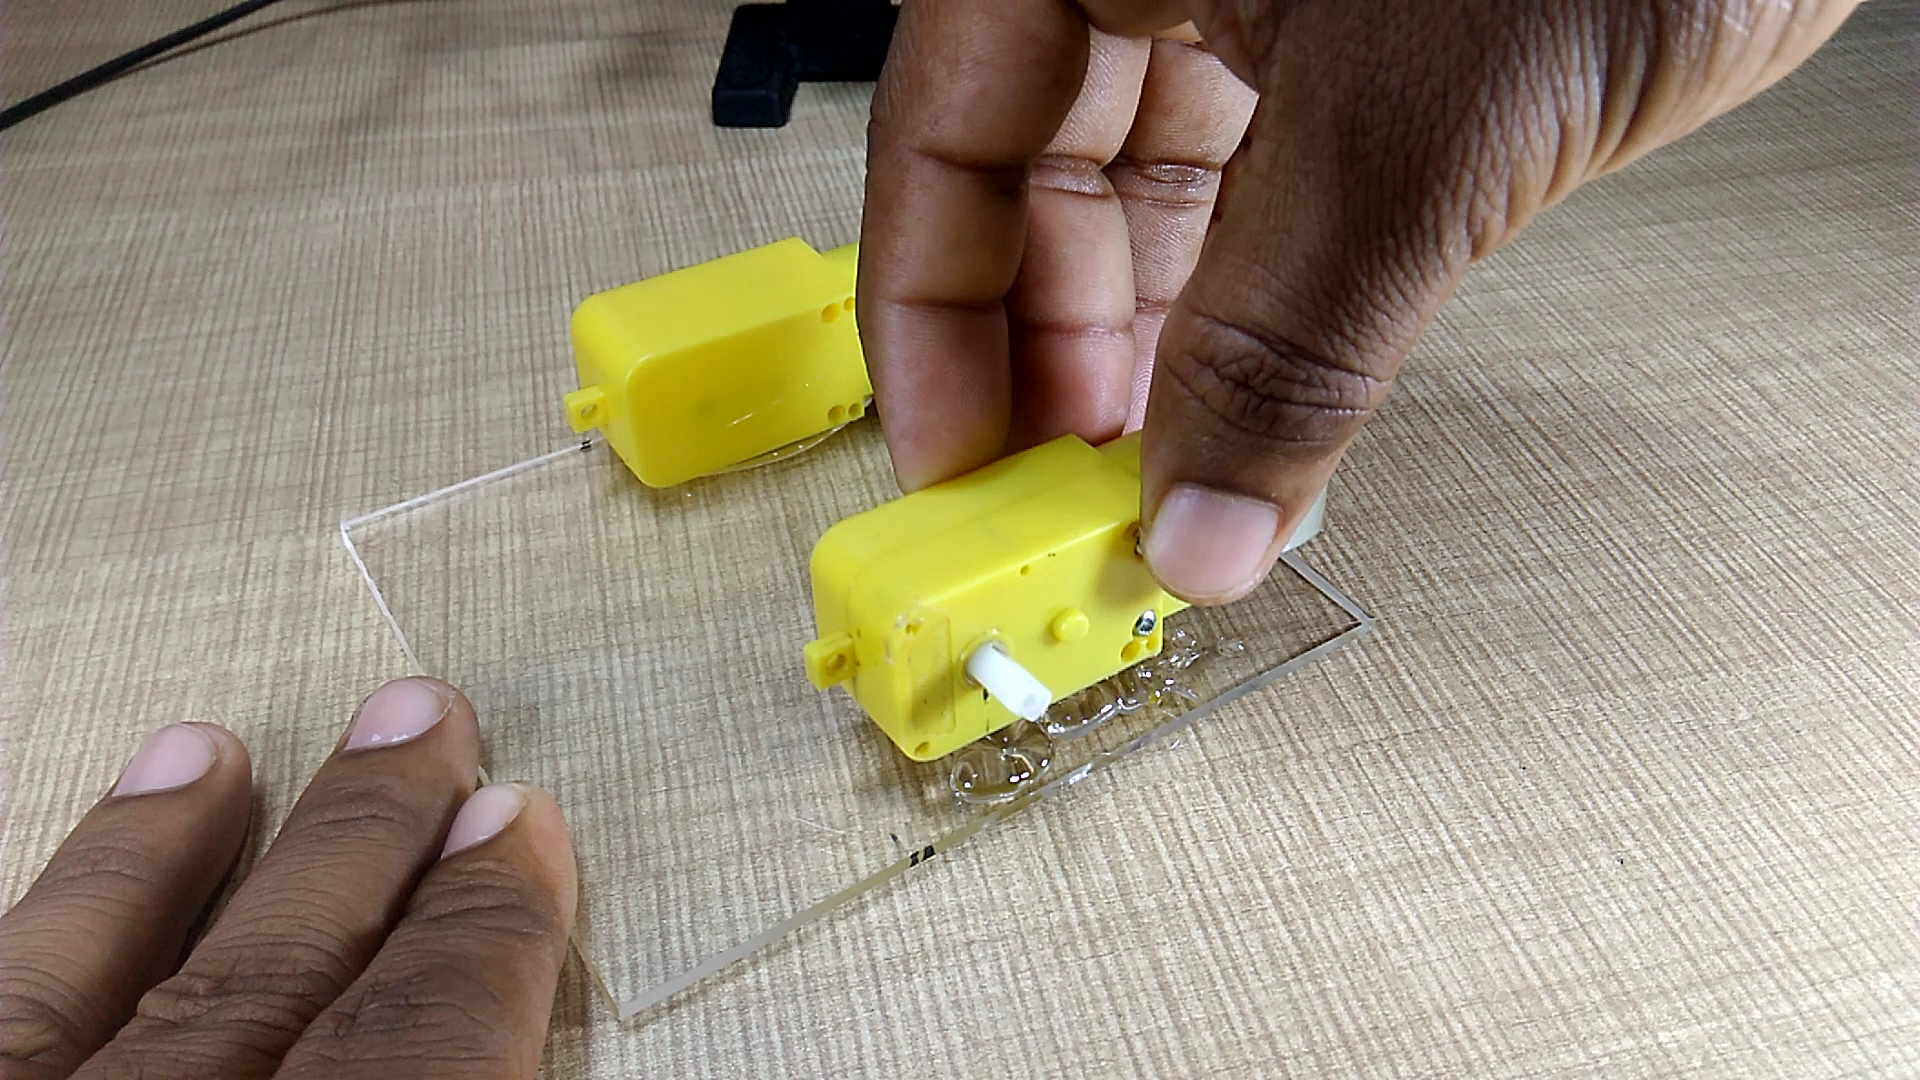

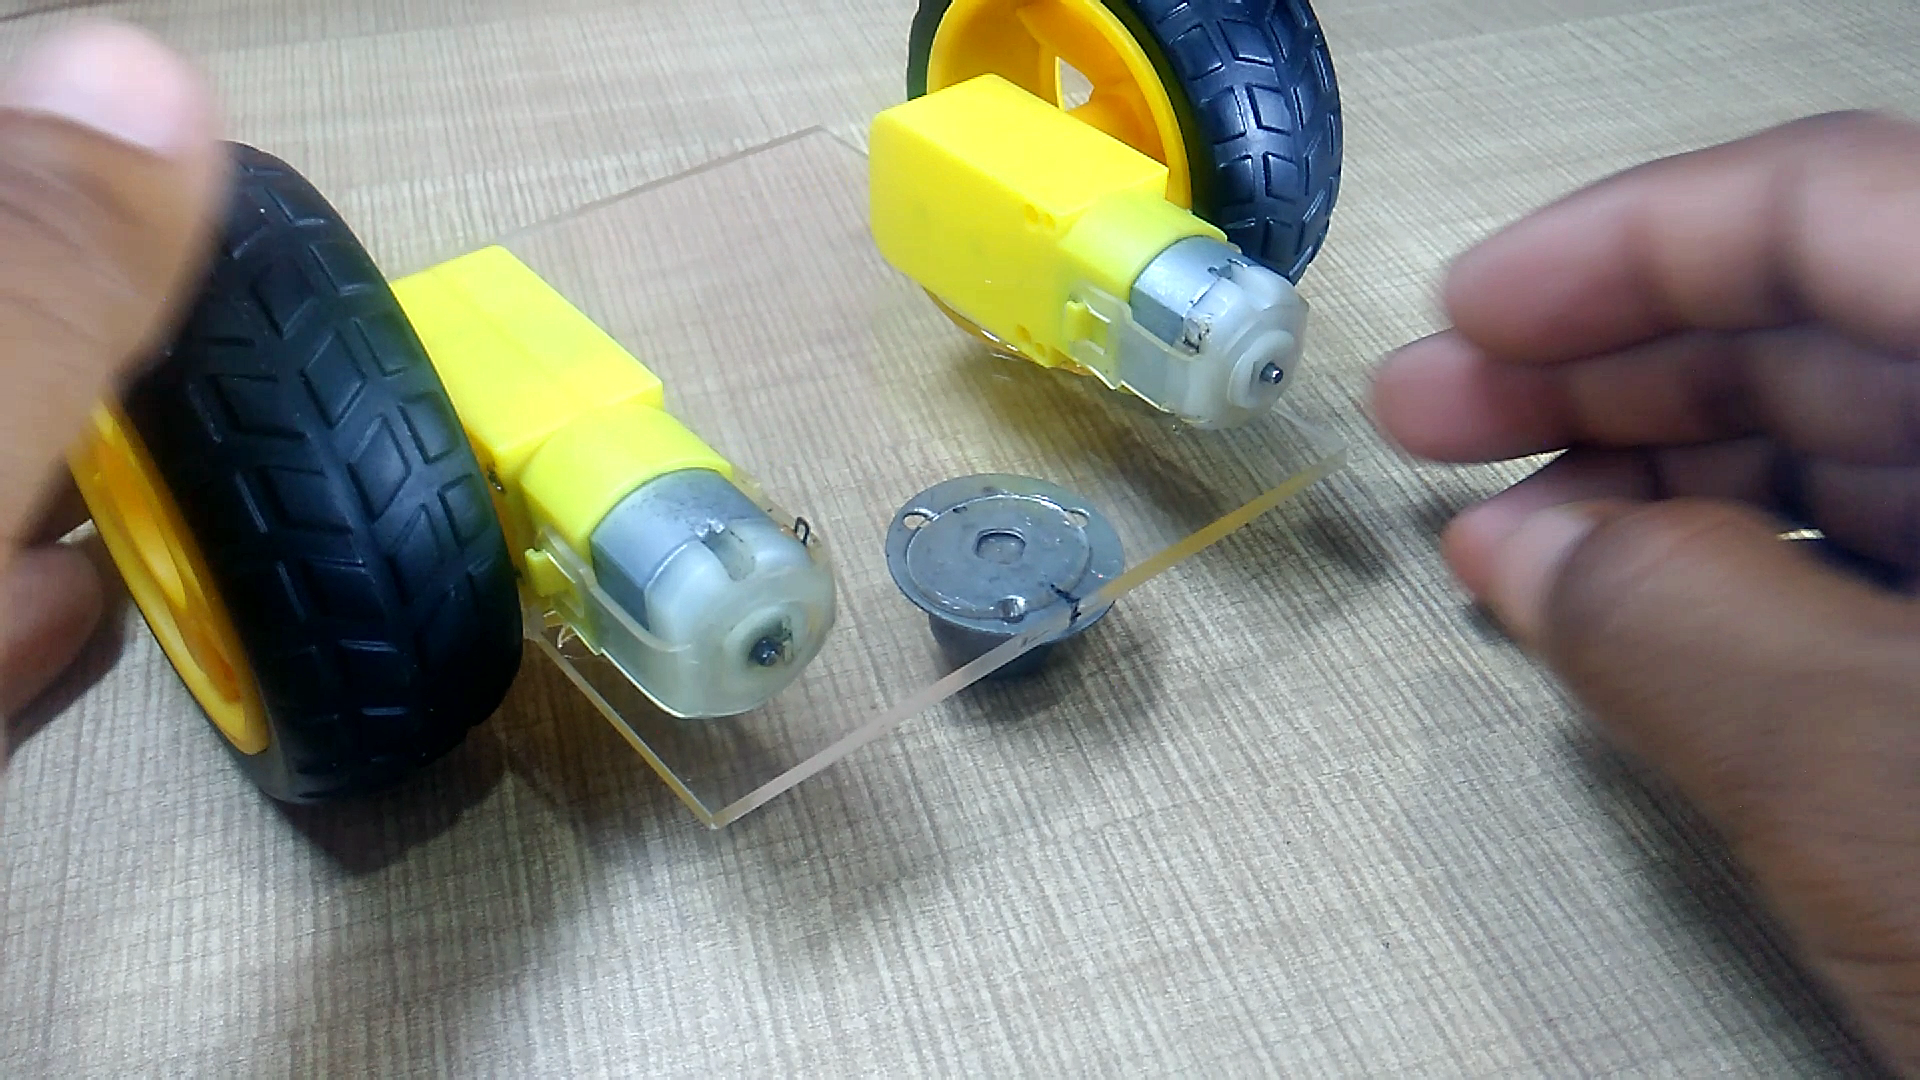
Fix all components on acrylic sheet and make a chassis as shown in pictures.
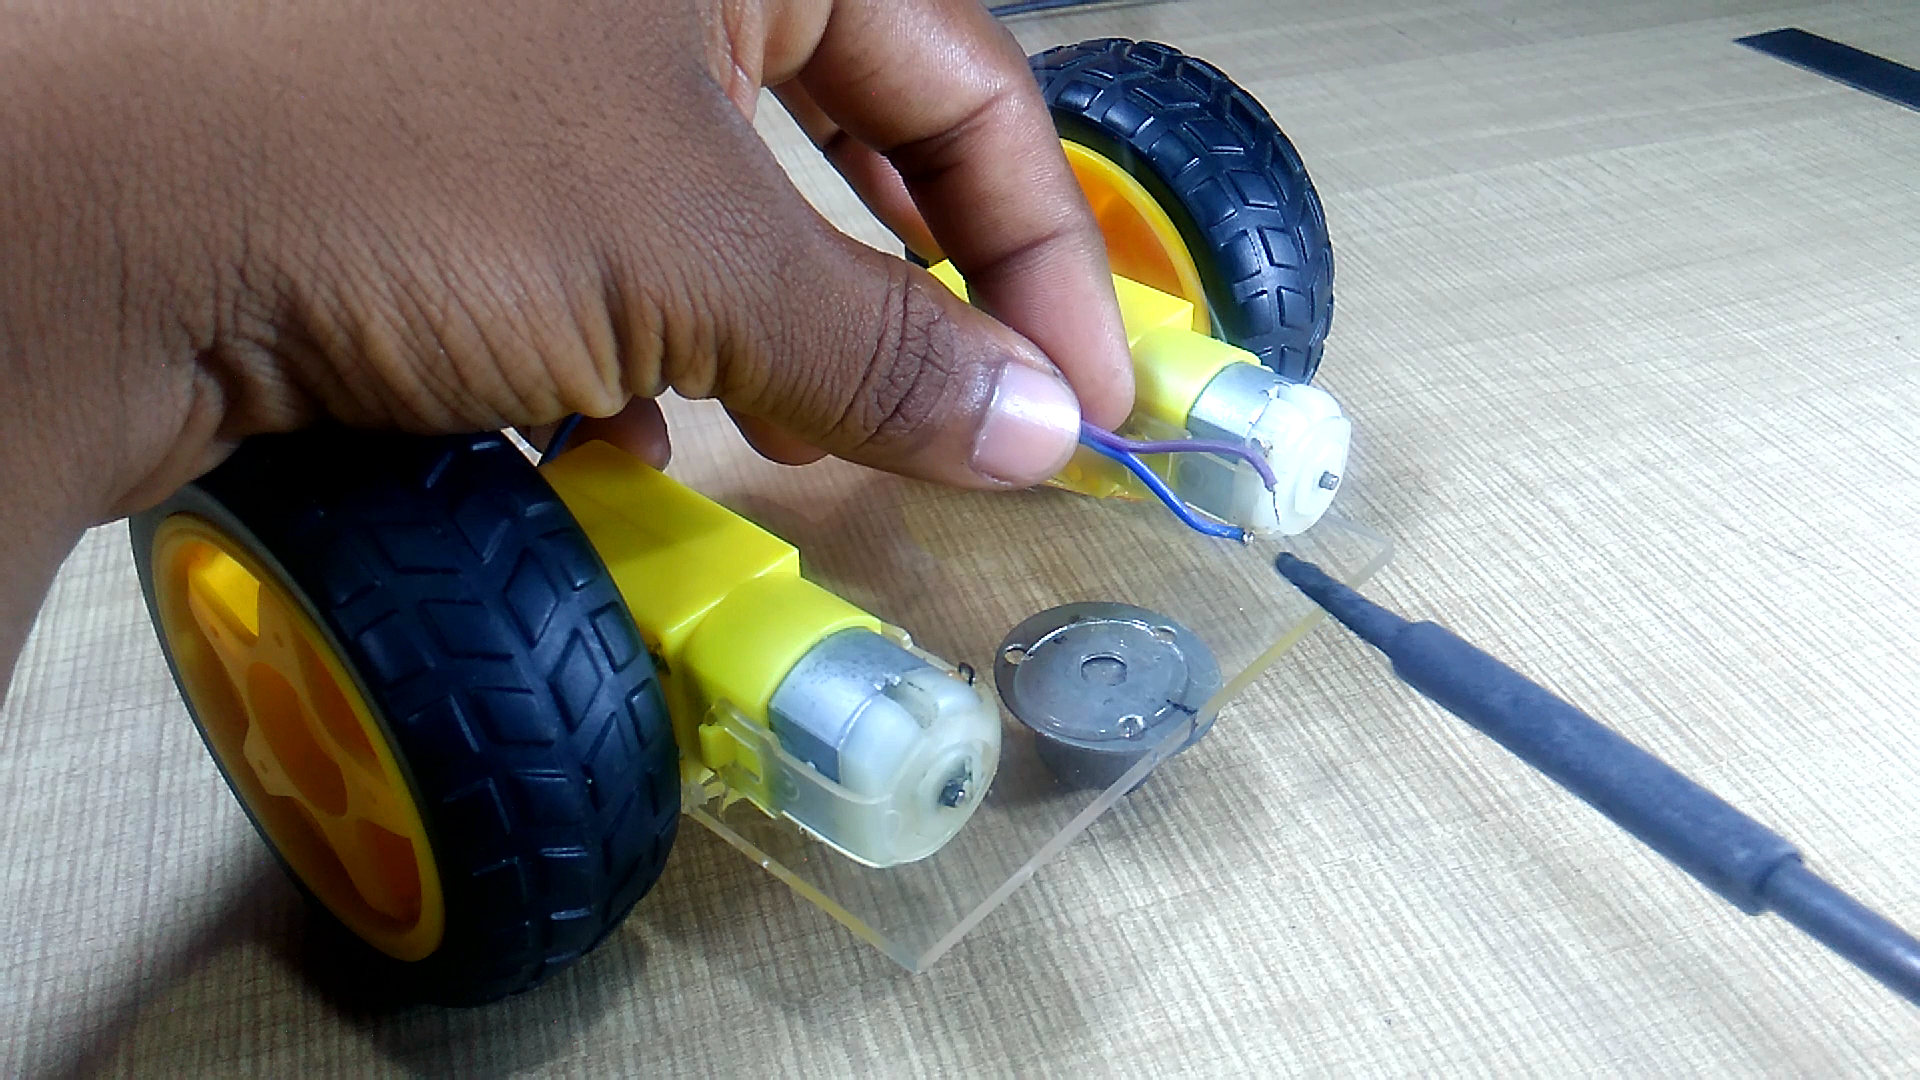
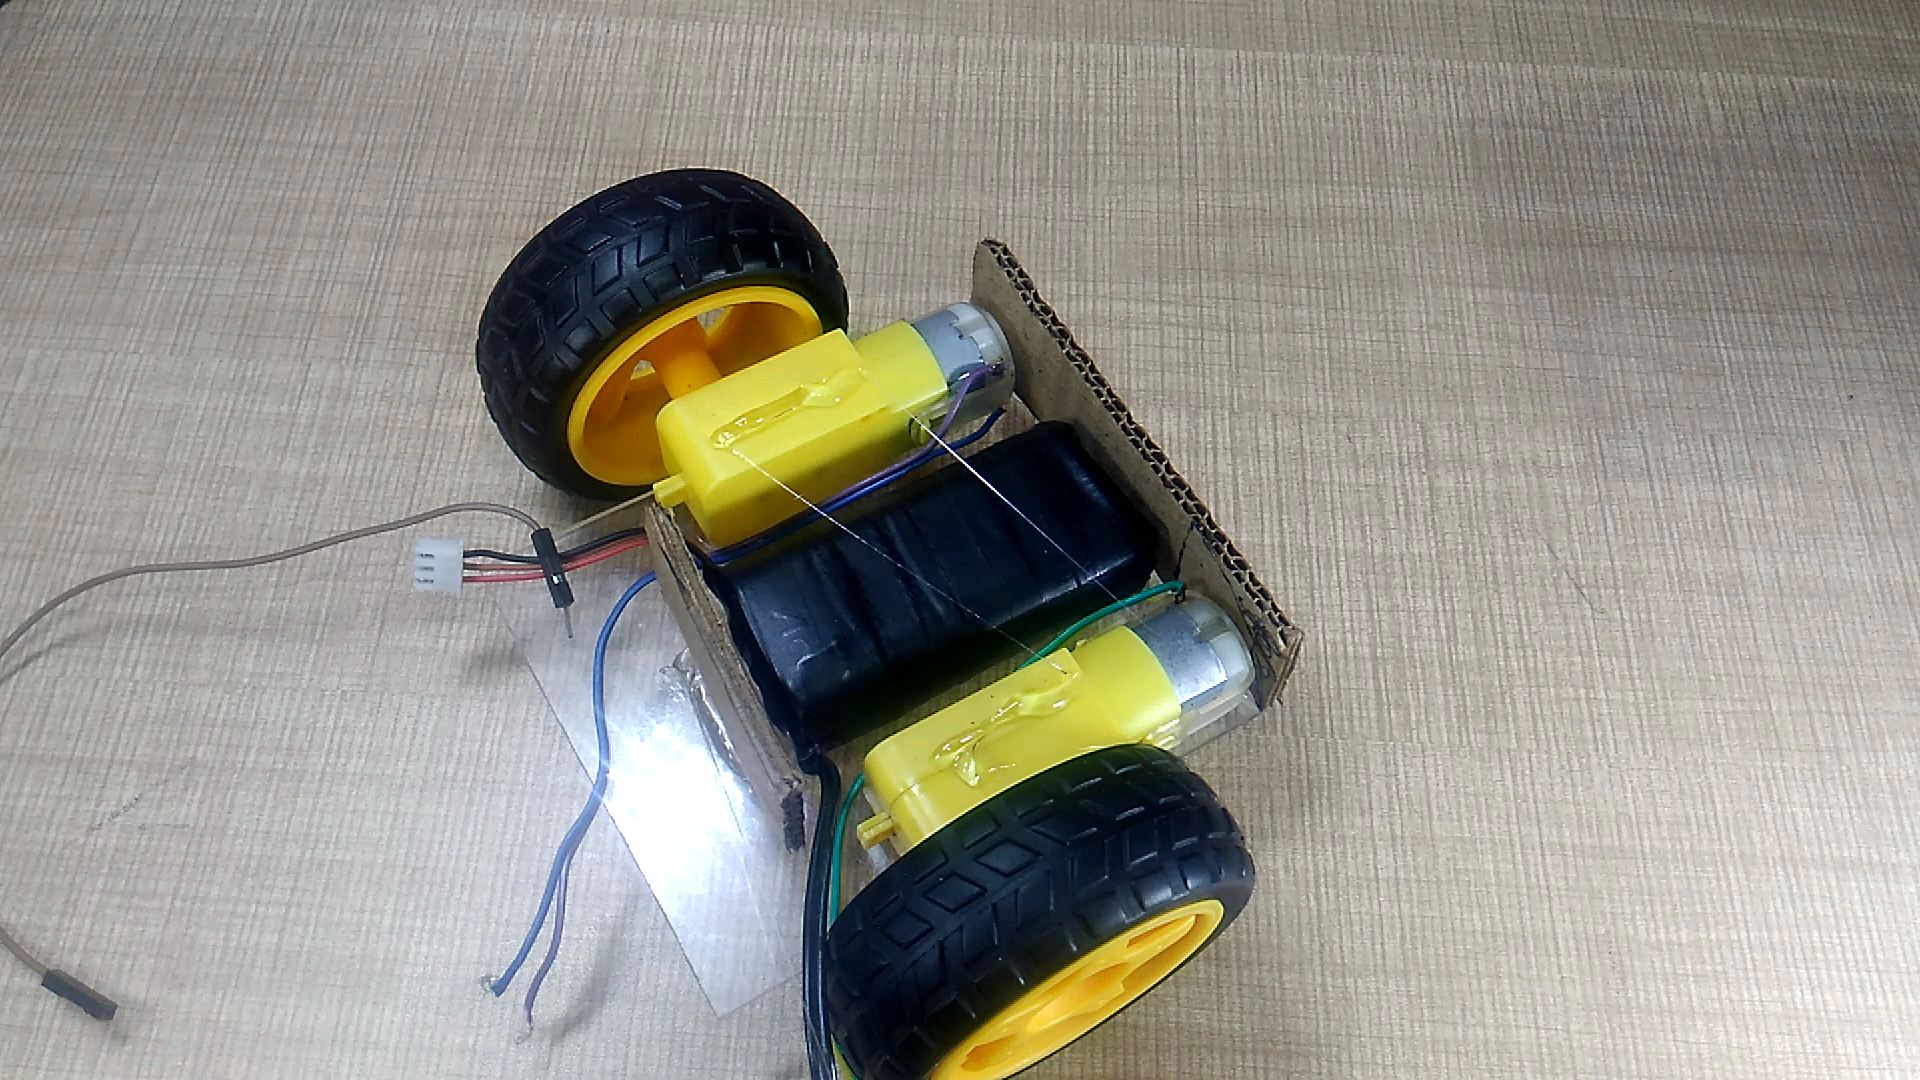
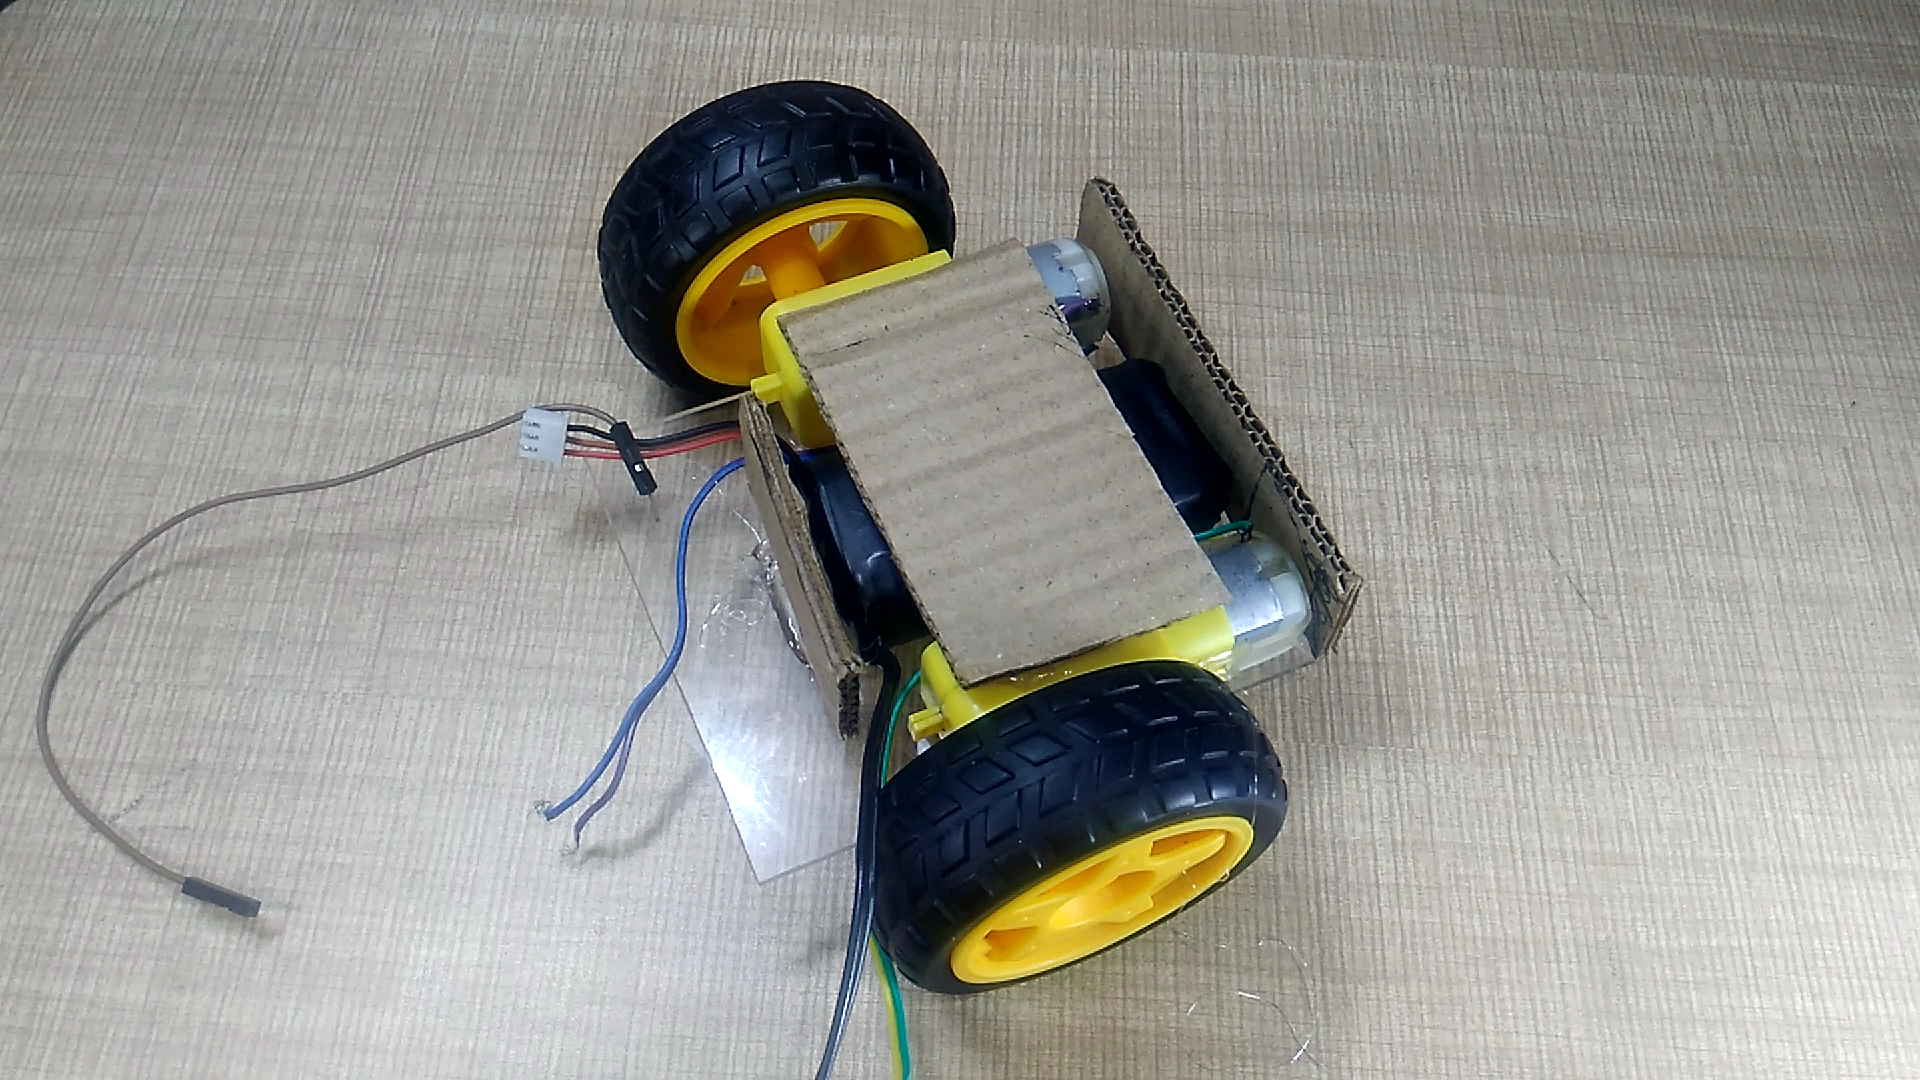
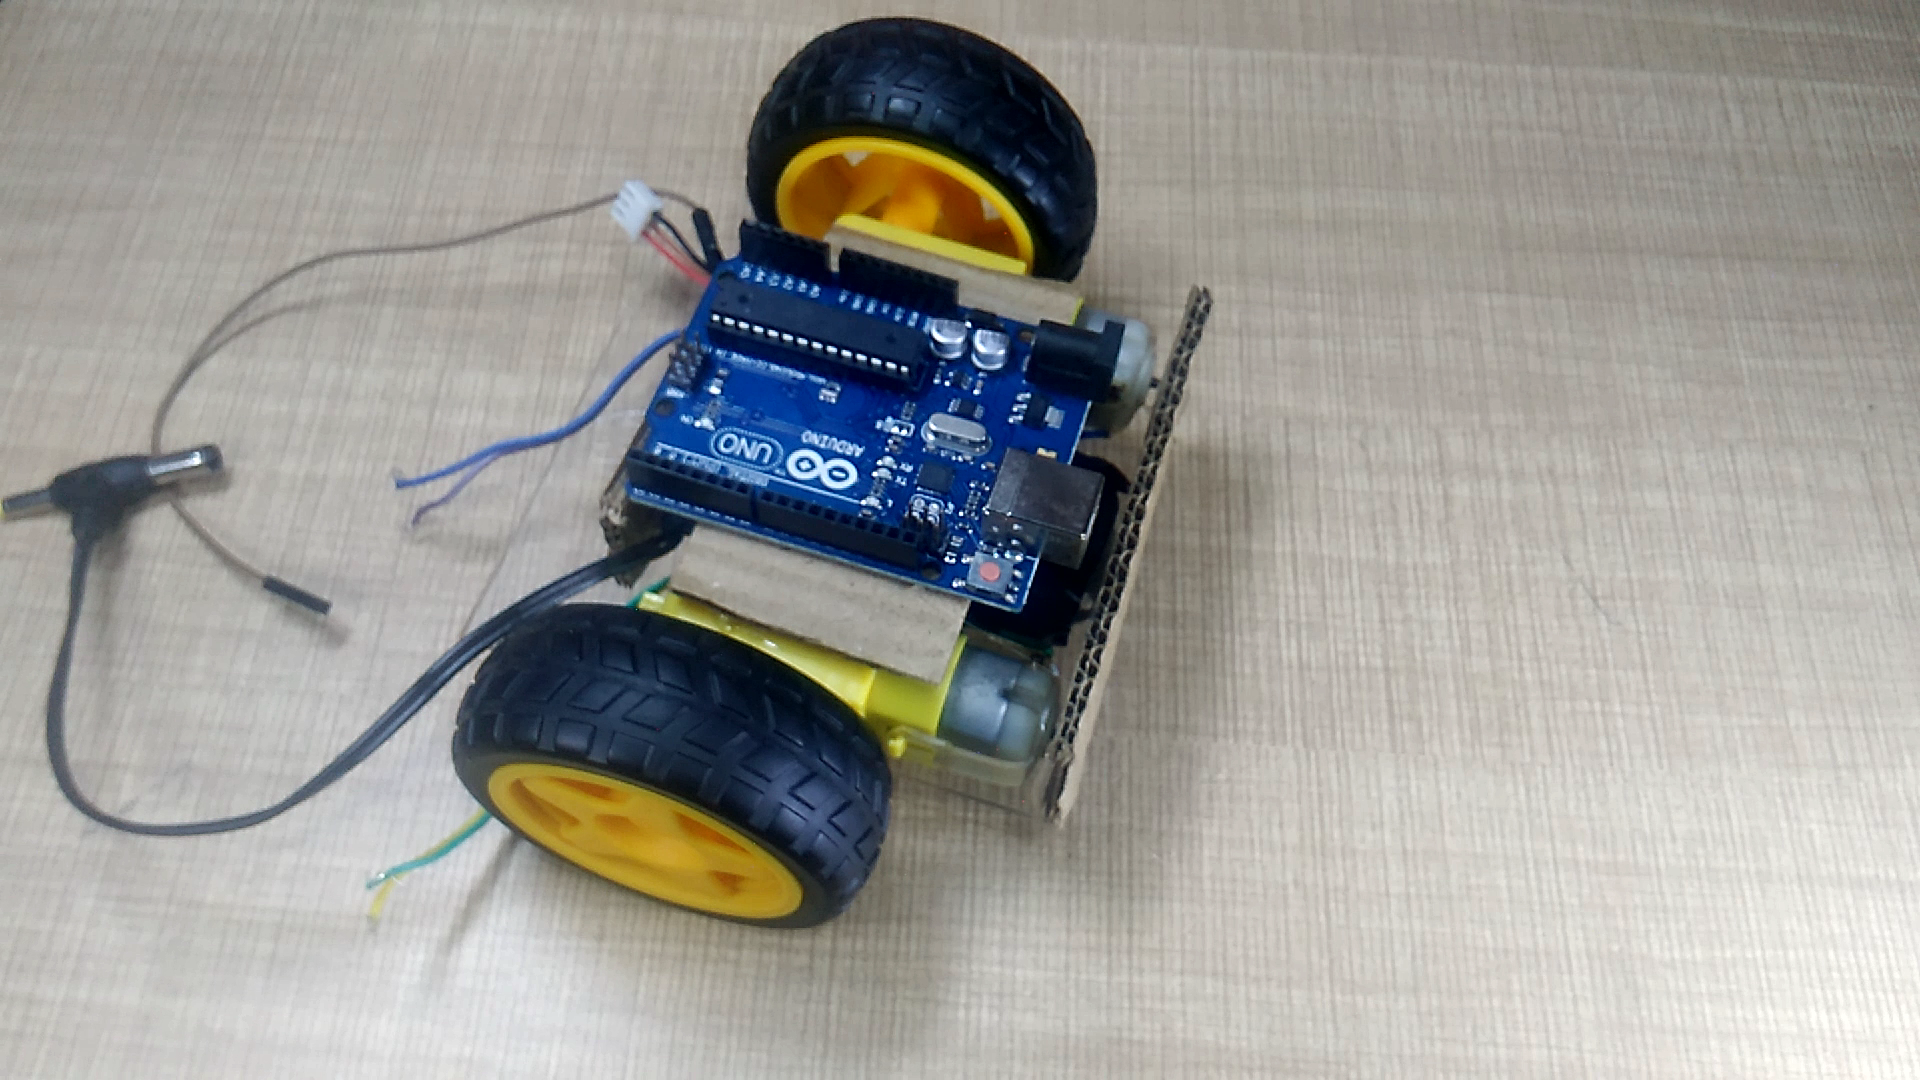
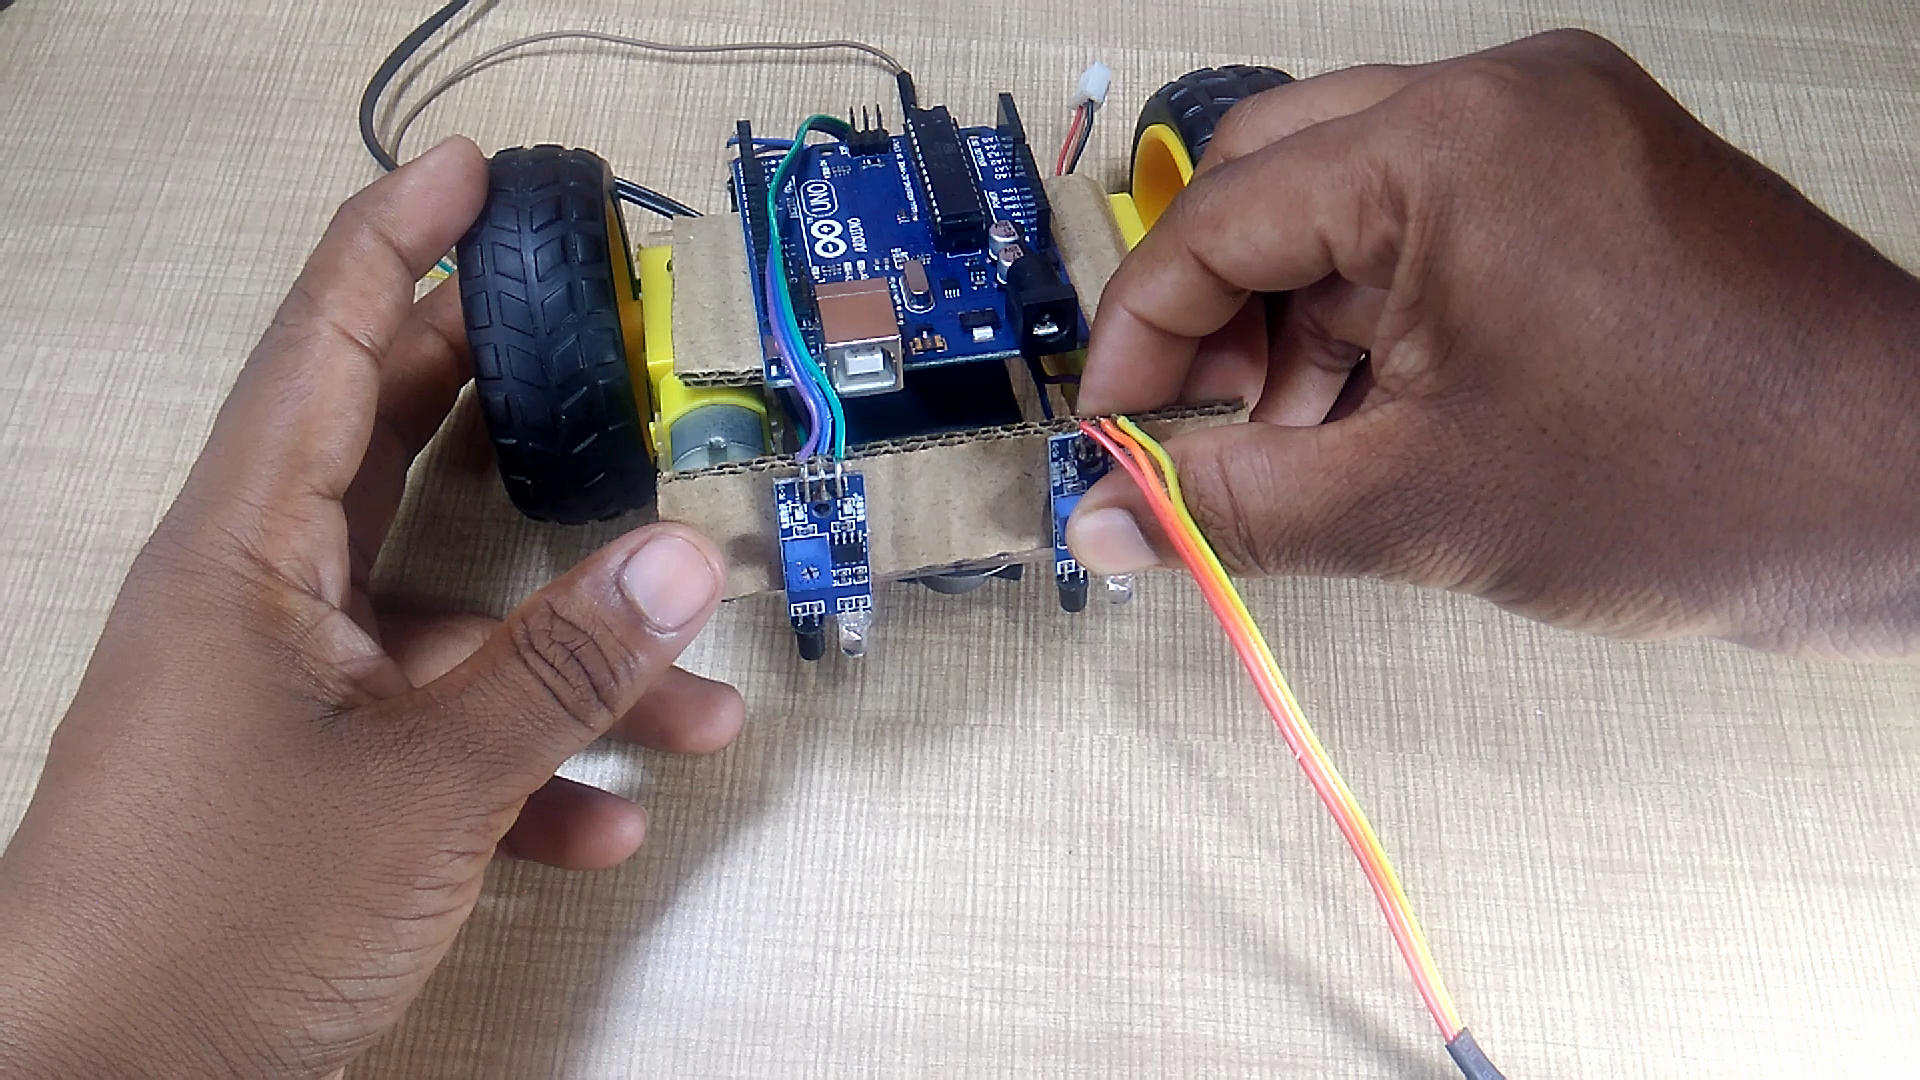
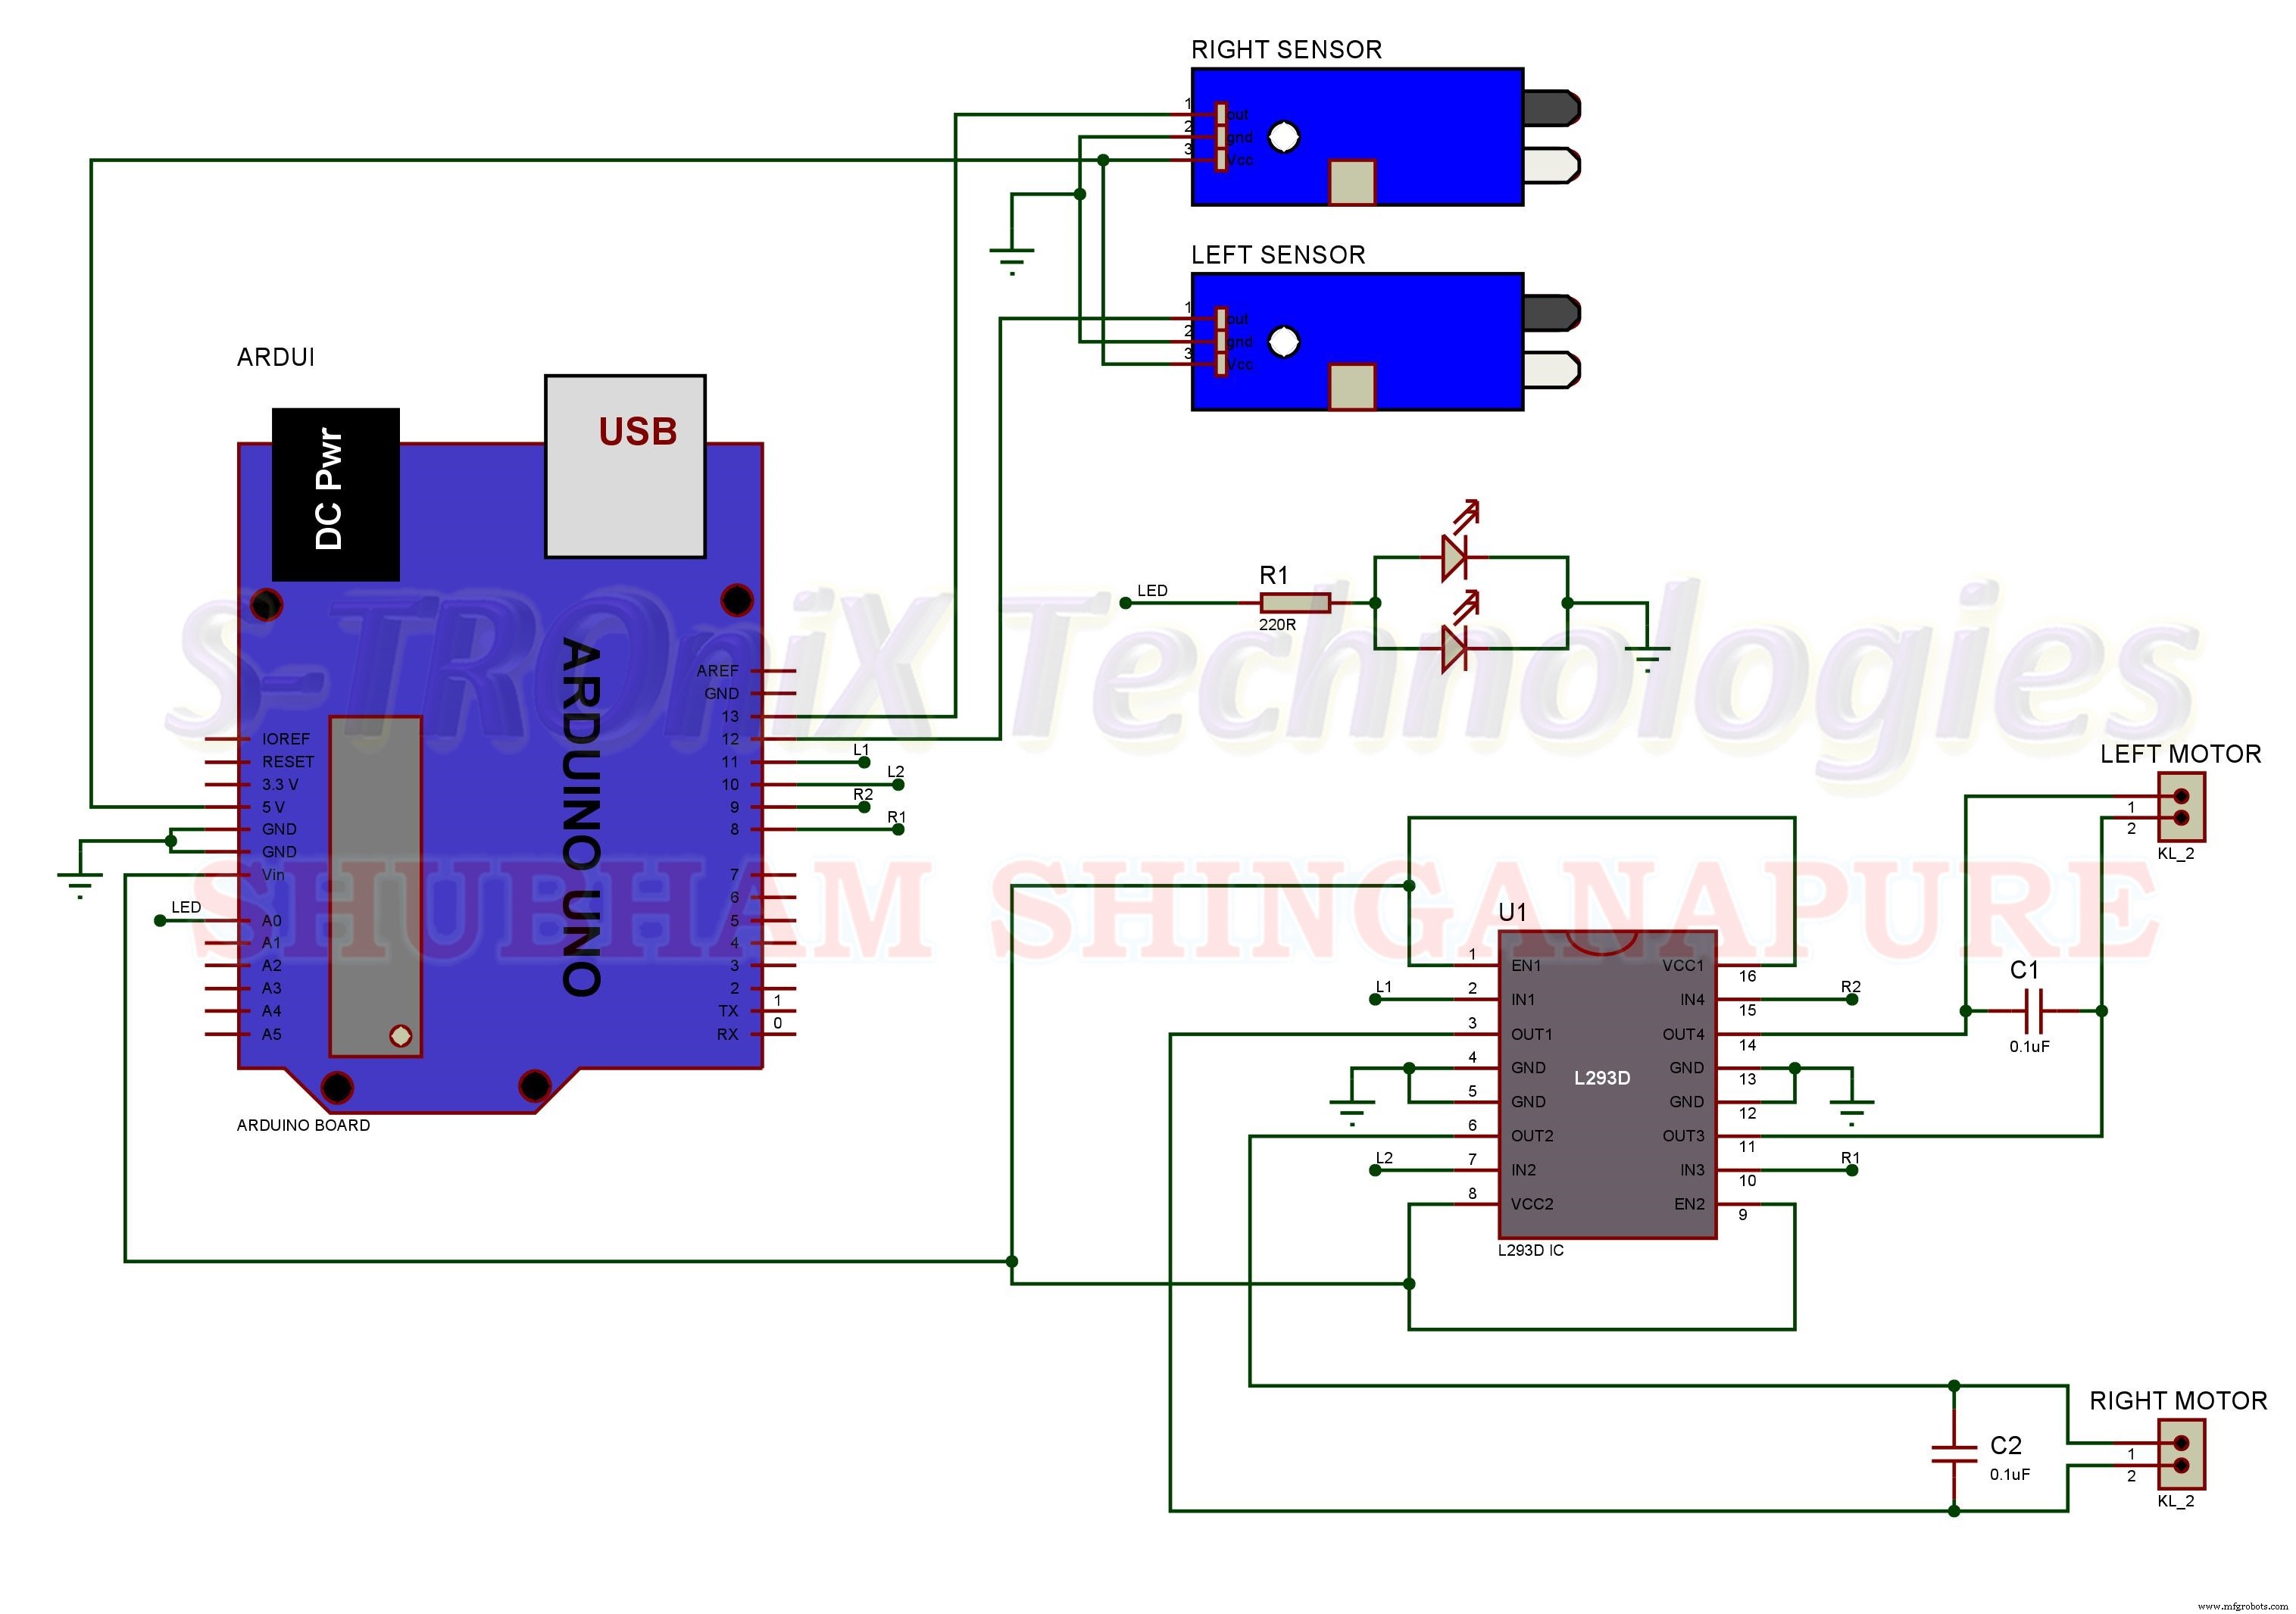
Now make all connection As per the circuit Diagram bellow.
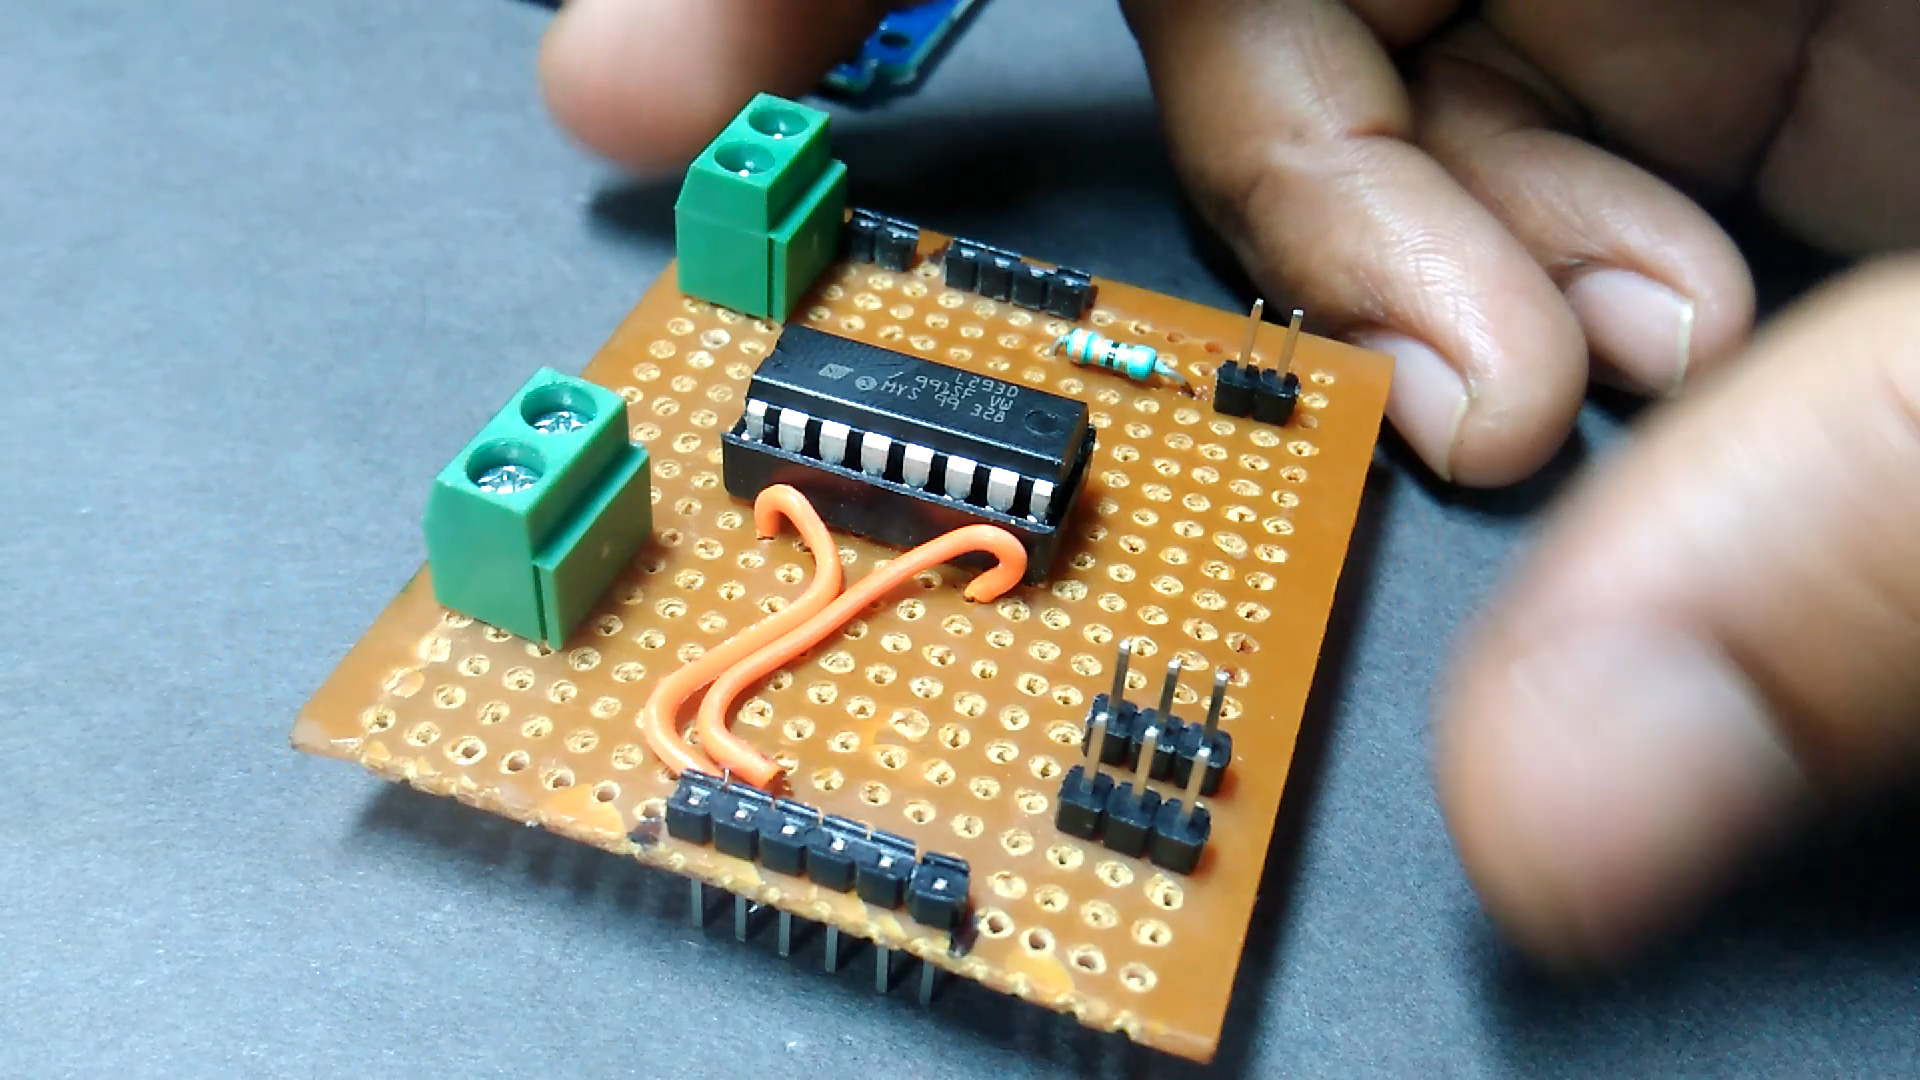
you can make this circuit on dotted pcb like this.
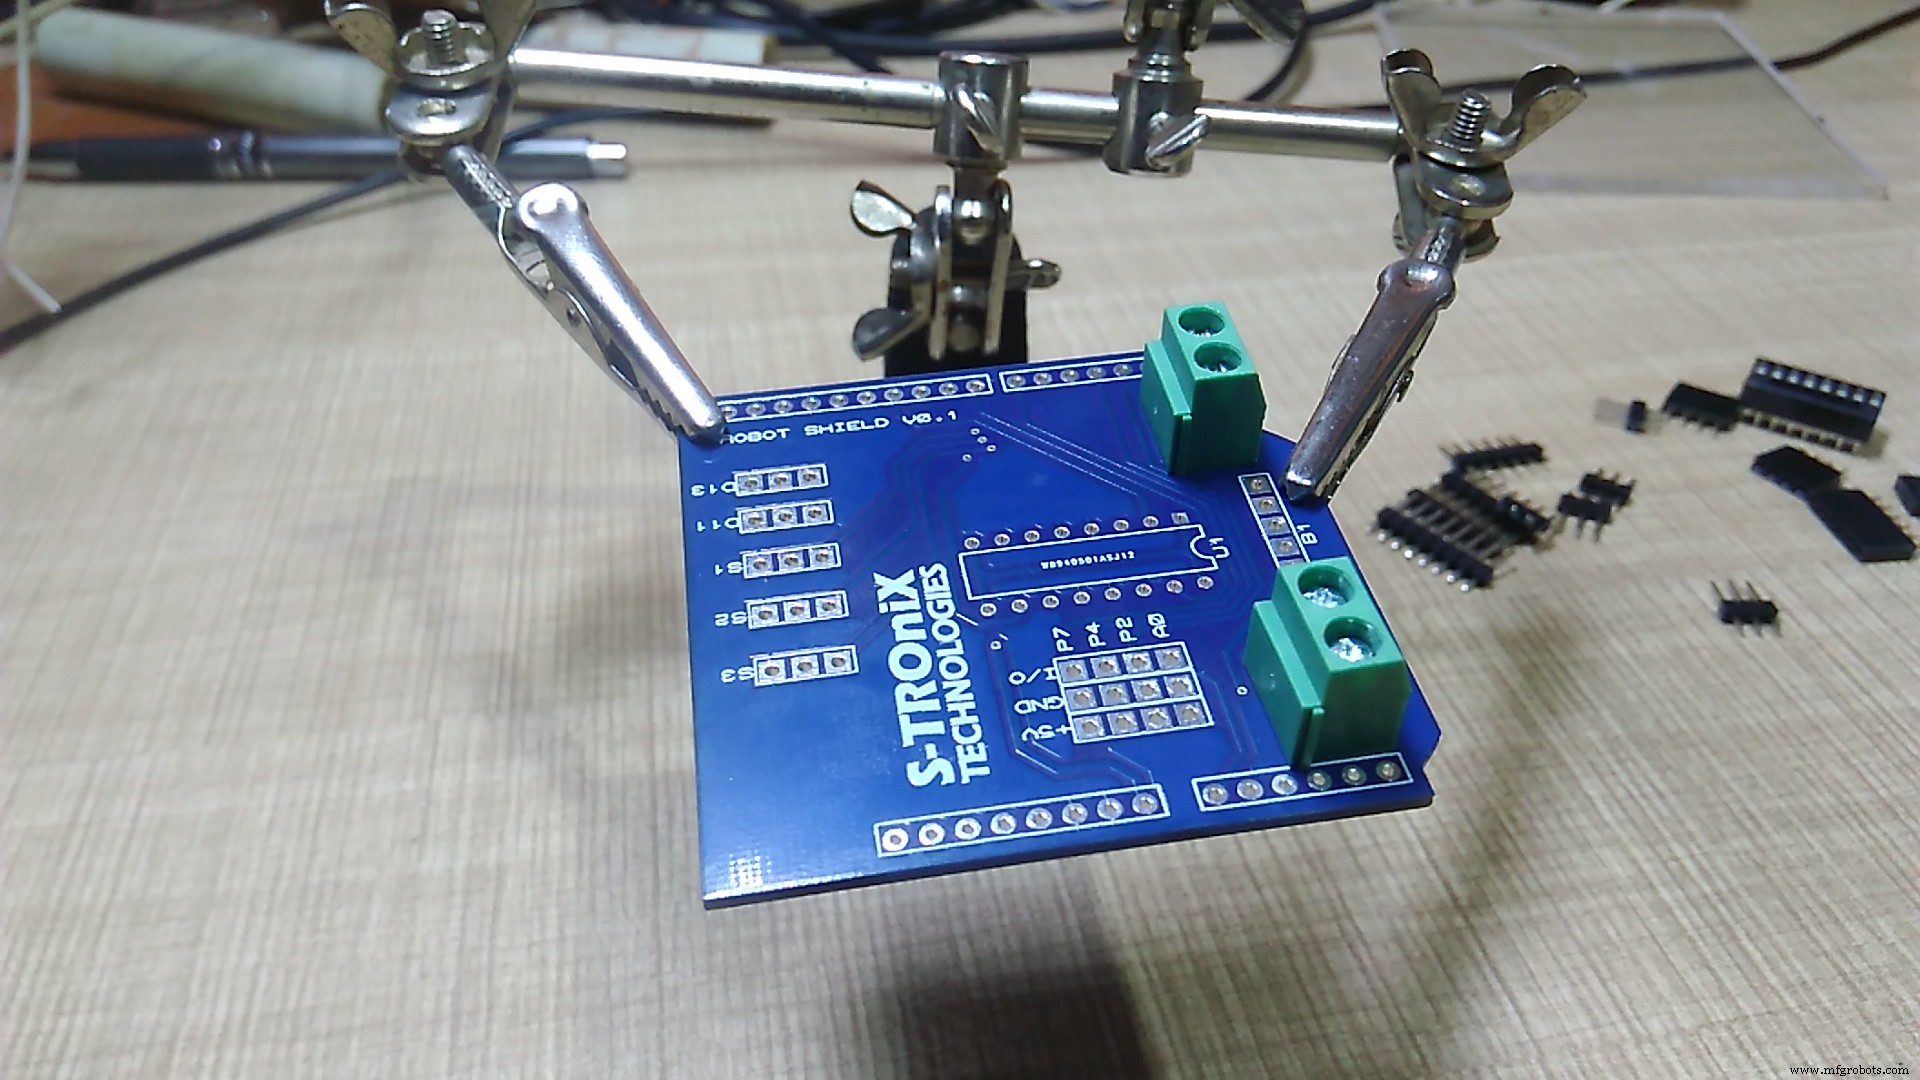
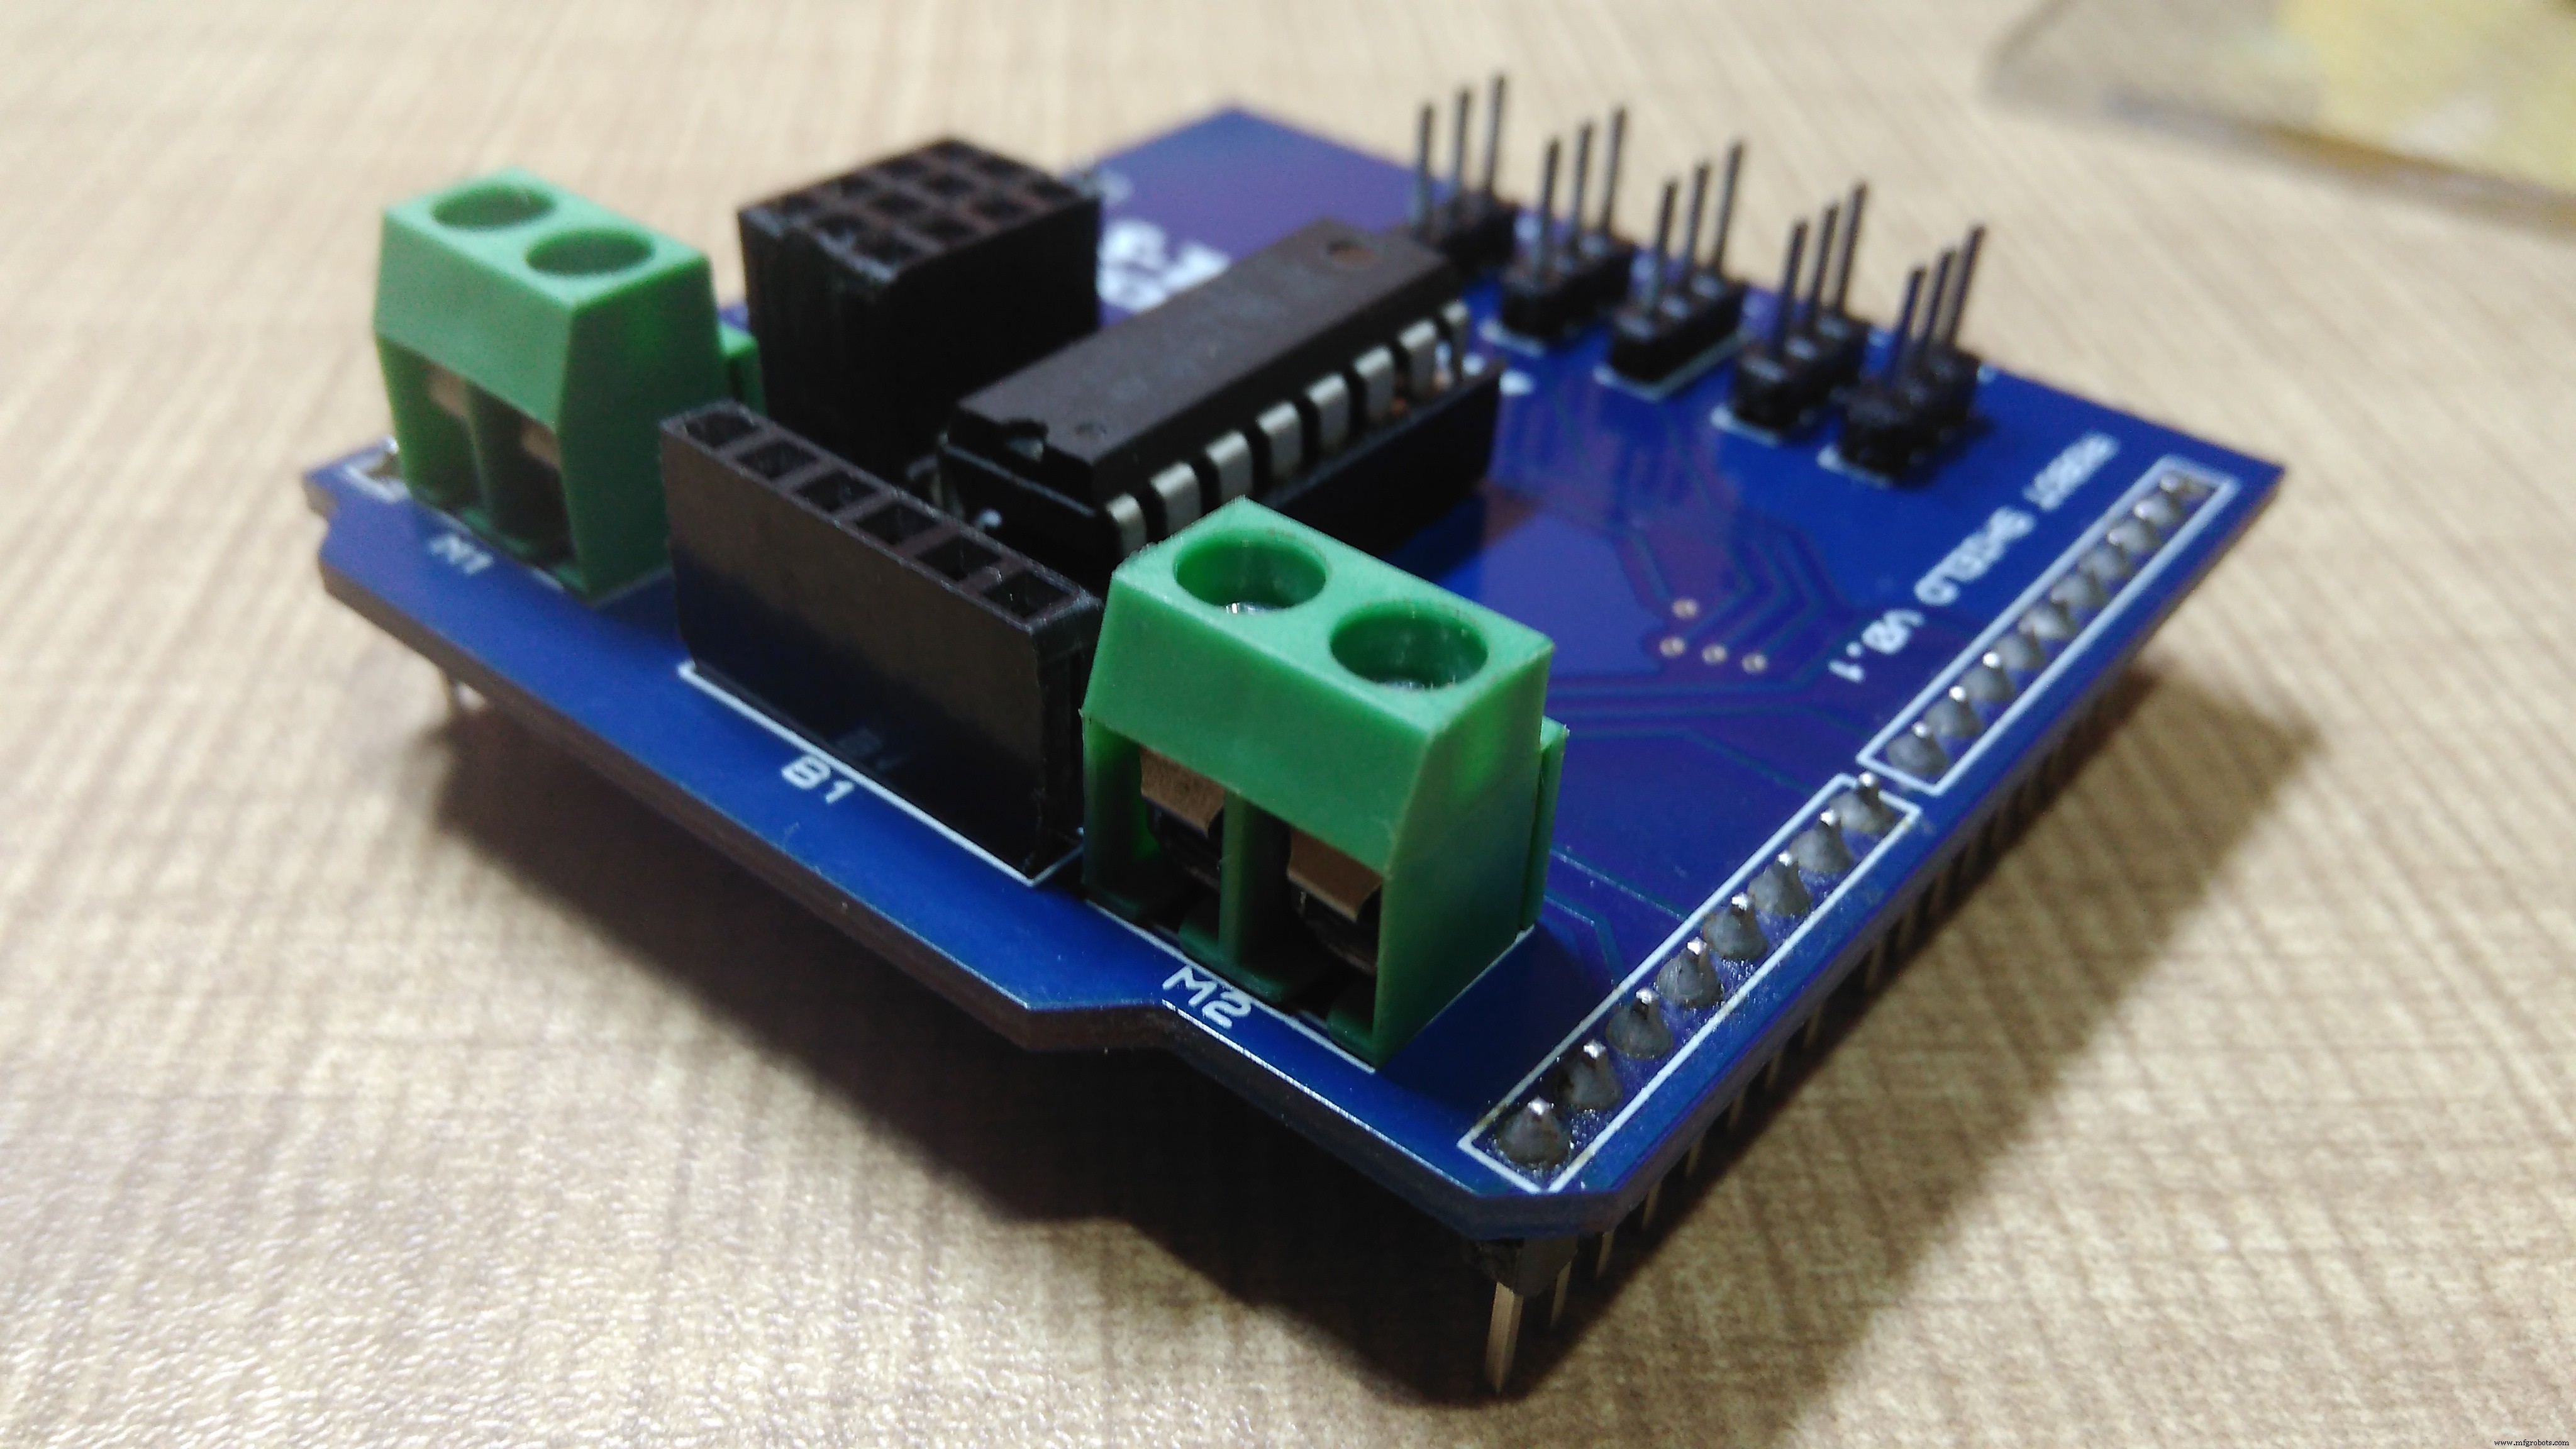
or can use this type of professional looking PCB.
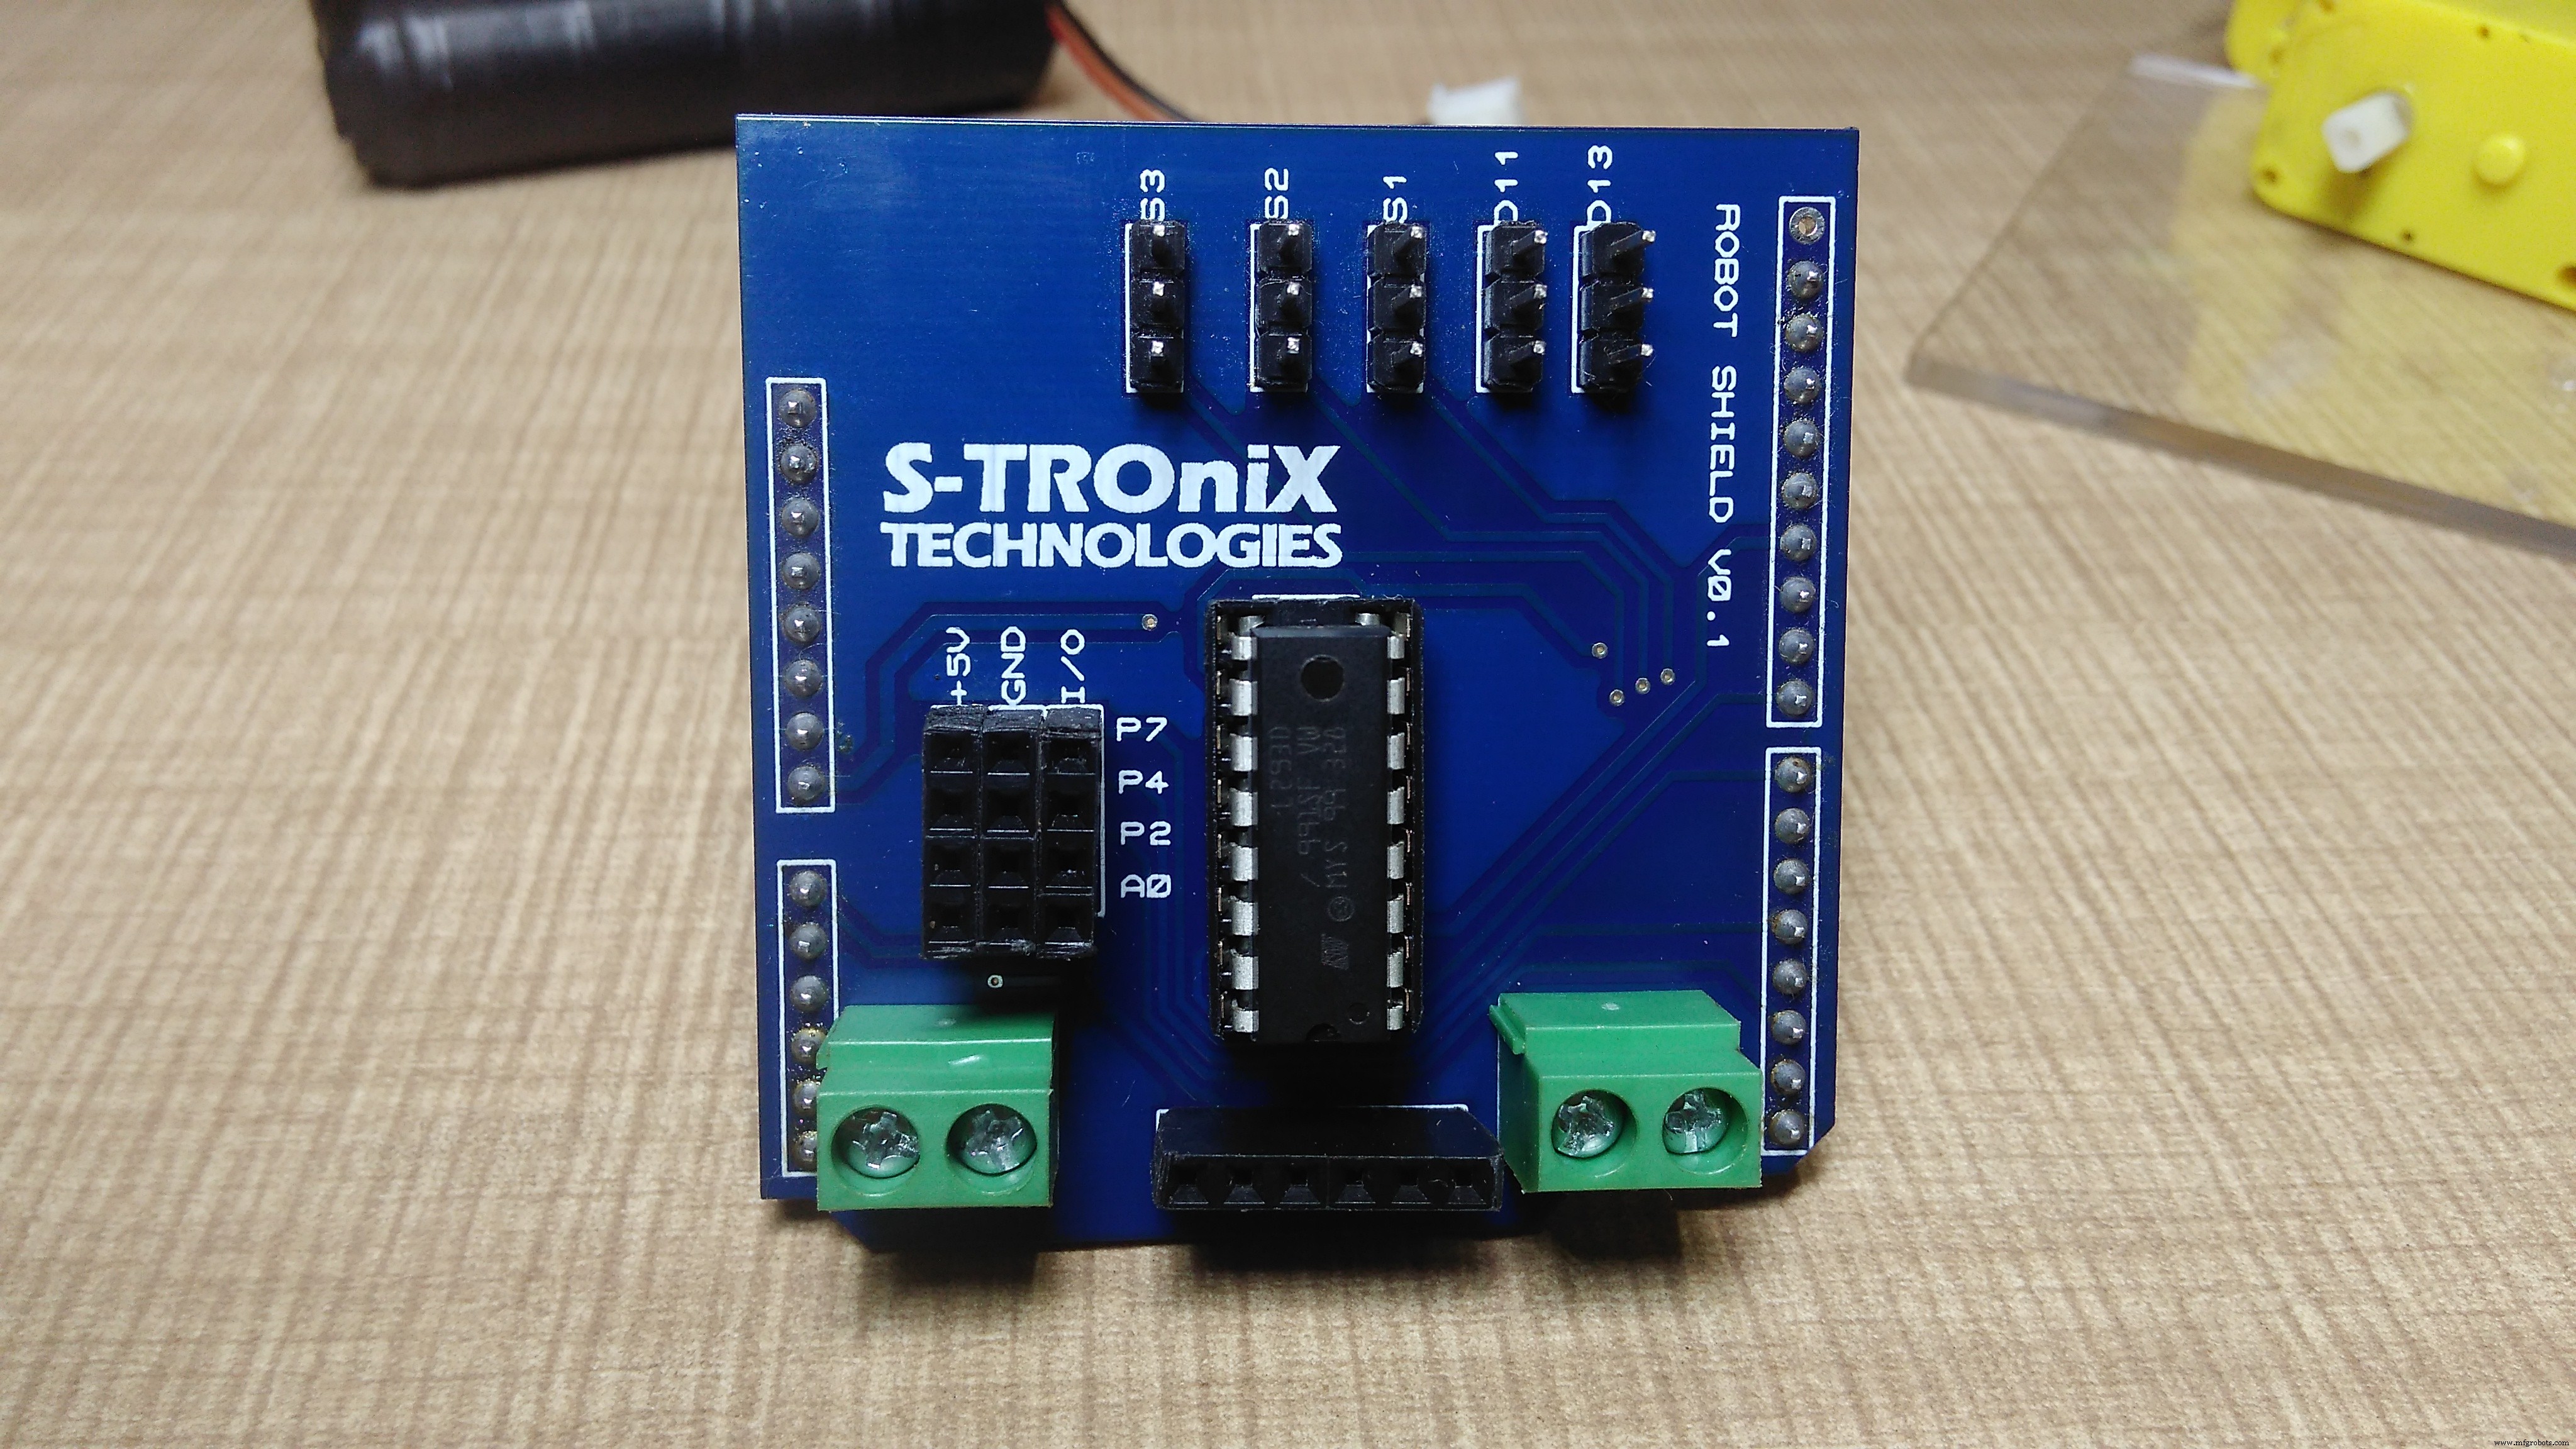
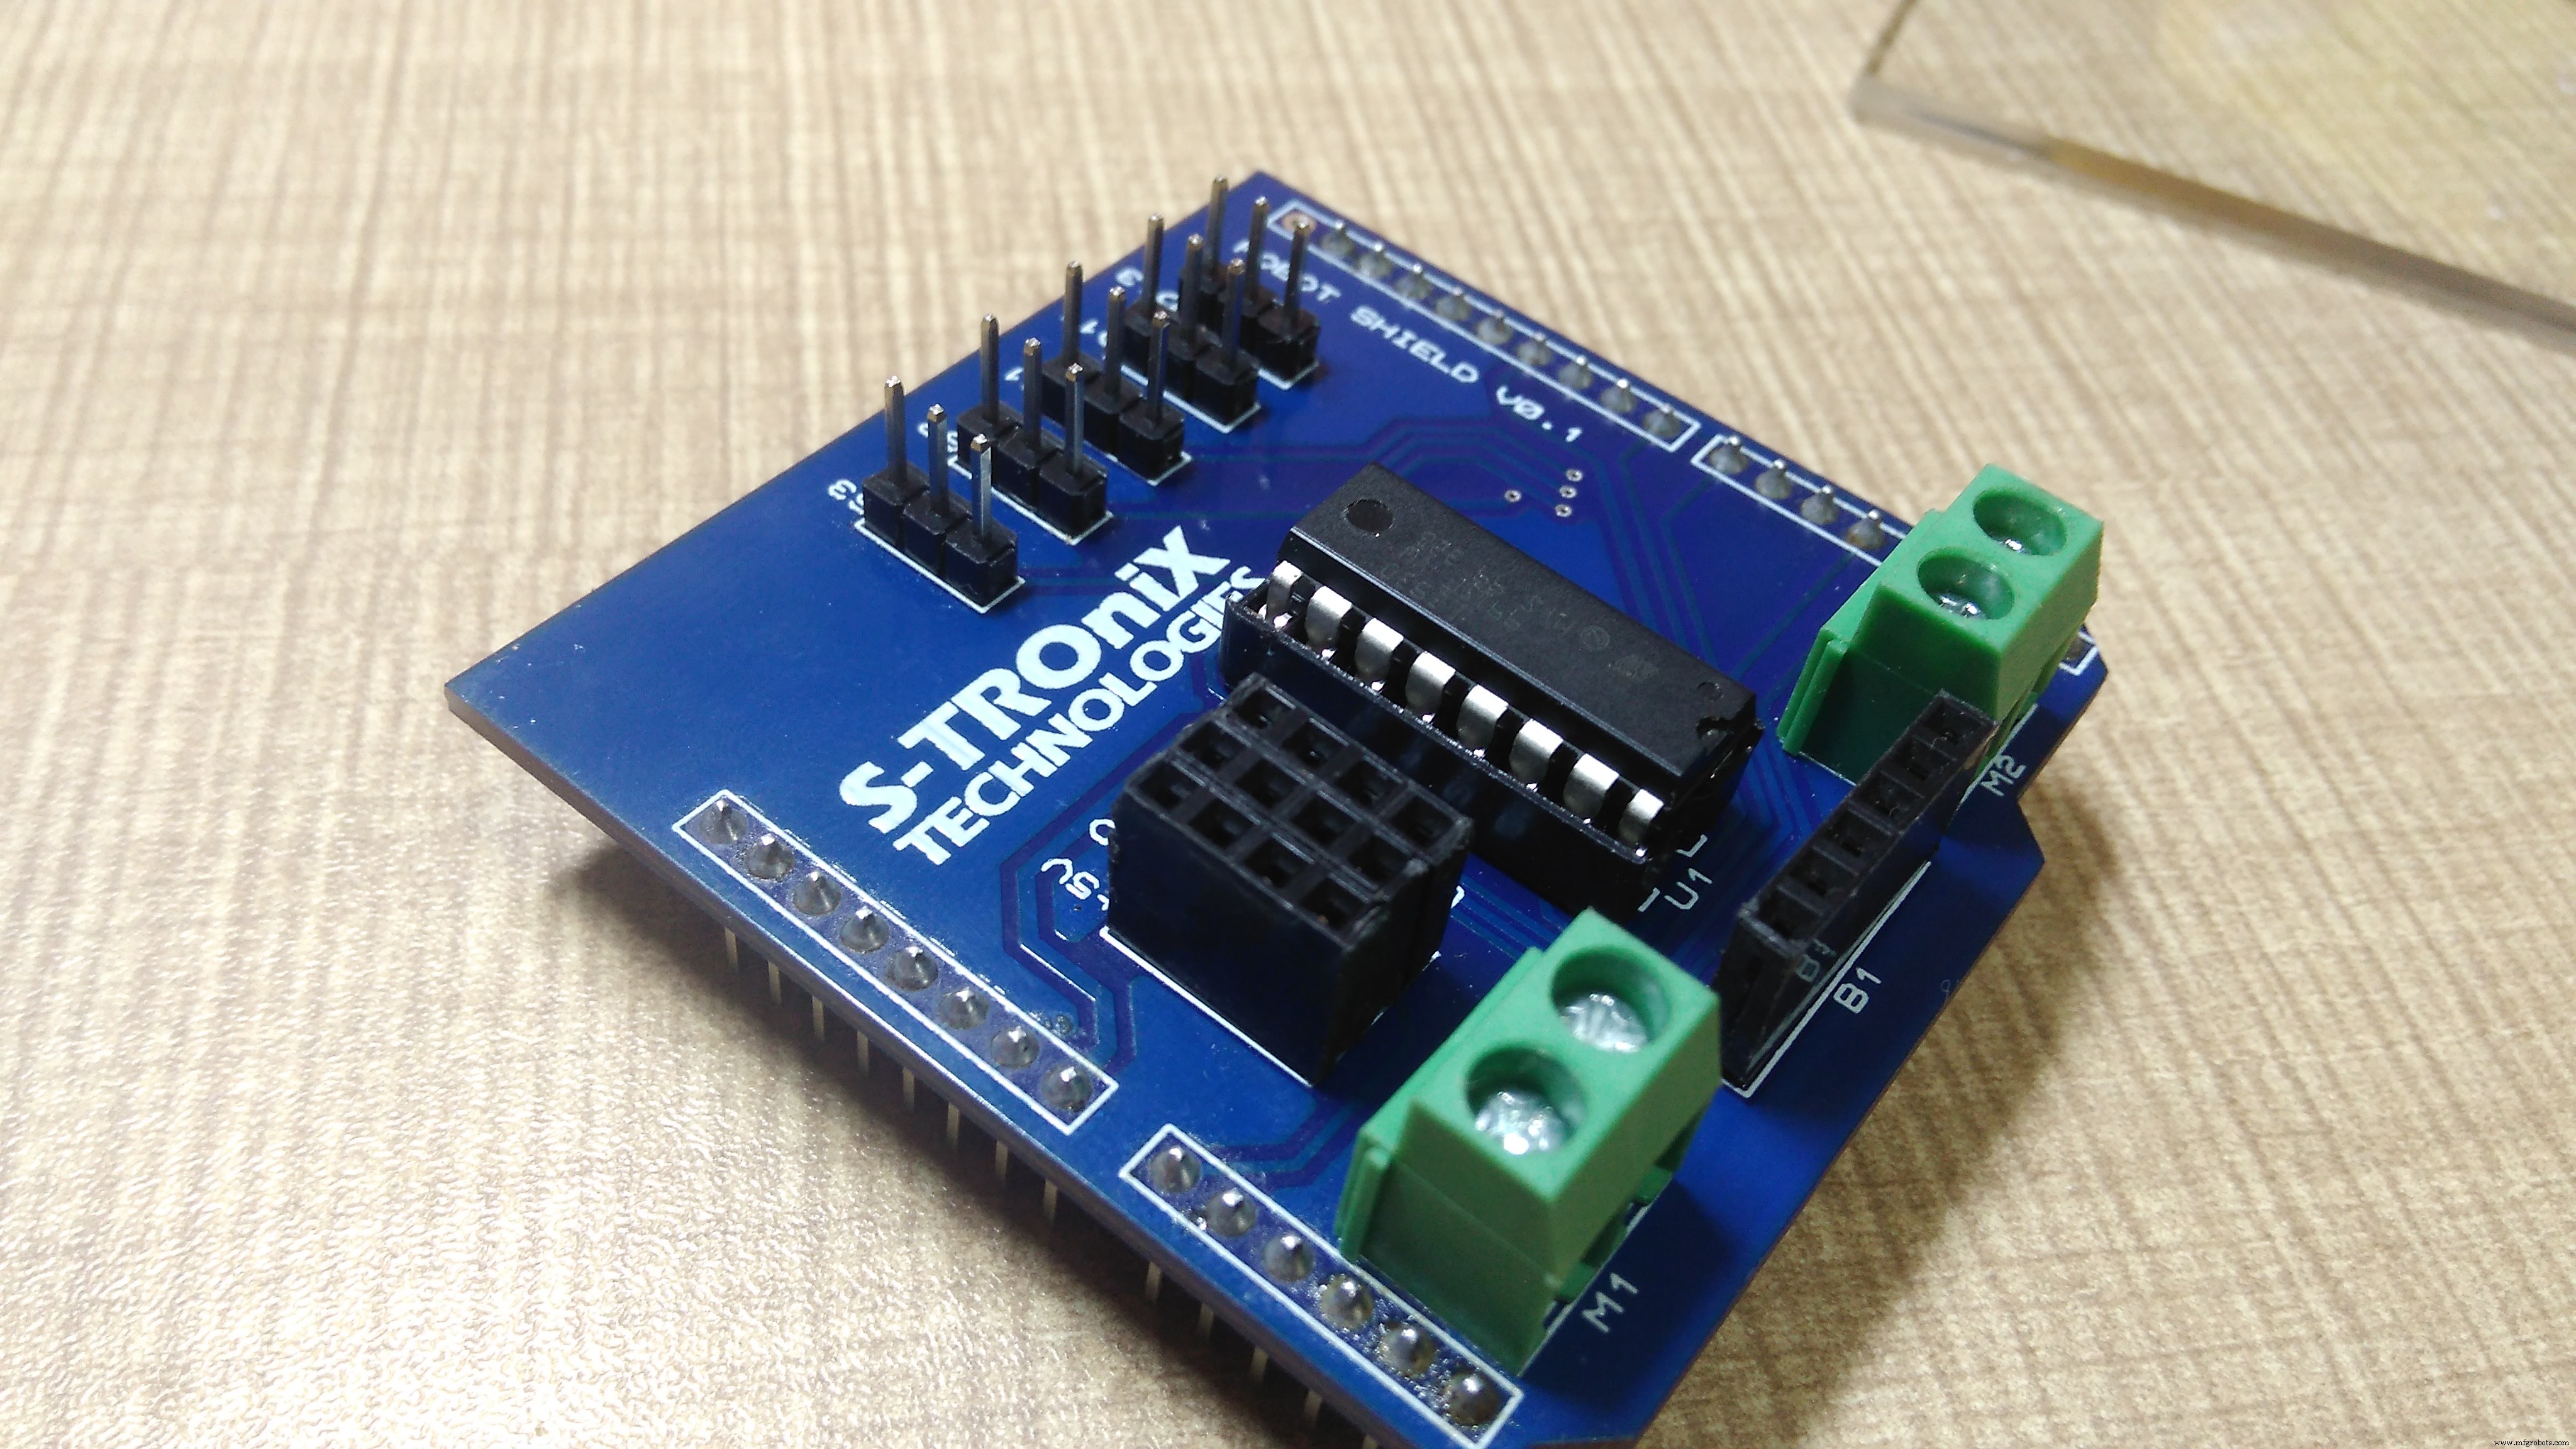
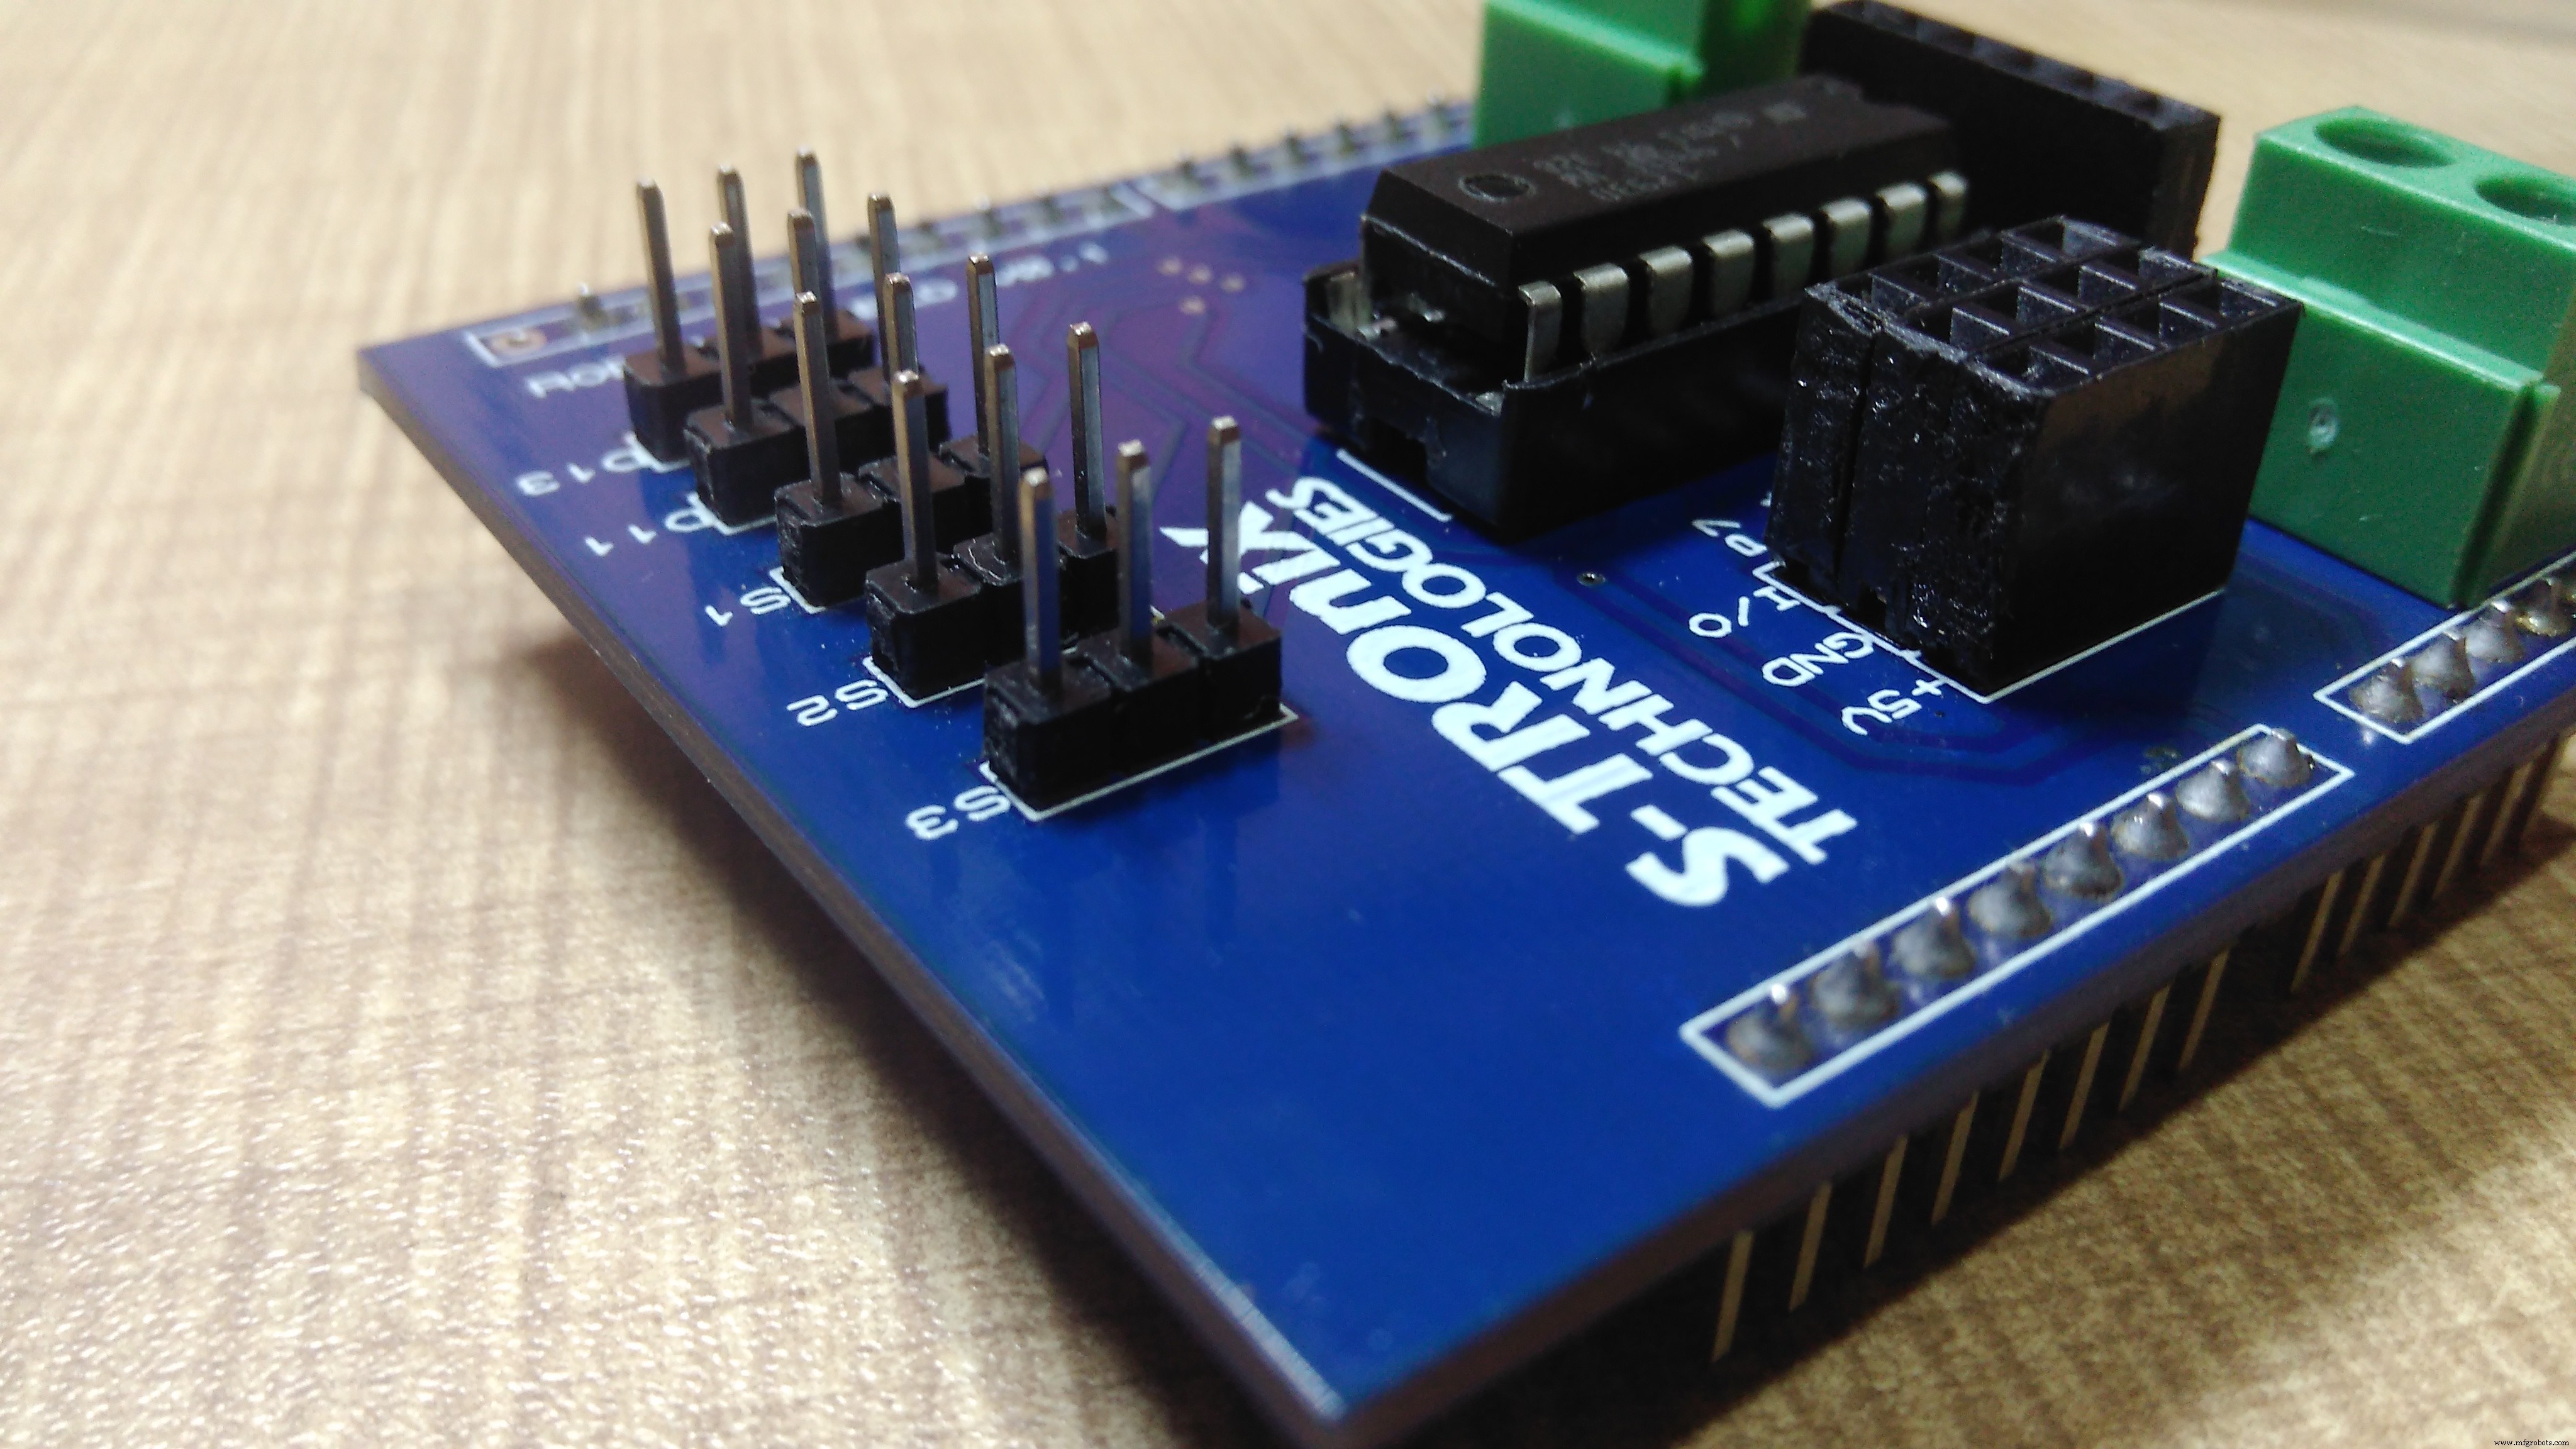
you can order PCB for this Shield from here https://www.pcbway.com/project/shareproject/How_to_Make_Arduino_Based_Edge_Avoiding_Robot.html
or for ready made shield contact us on: https://www.facebook.com/STROniXTechnologies
Now it's time to program this robot. upload this program to arduino and all done.
//program by Shubham Shinganapure on 05-08-2019
//
//for Line Following Robot using 2IR sensors
int lm1=8; //left motor output 1
int lm2=9; //left motor output 2
int rm1=10;  //right motor output 1
int rm2=11;  //right motor output 2
int sl=13;    //sensor 1 input (left)
int sr=12;    //sensor 2 input (right)
int SlV=0;
int SrV=0;
int led=A0;
void setup()
{
 pinMode(lm1,OUTPUT);
 pinMode(lm2,OUTPUT);
 pinMode(rm1,OUTPUT);
 pinMode(rm2,OUTPUT);
 pinMode(led,OUTPUT);
 pinMode(sl,INPUT);
 pinMode(sr,INPUT);
sTOP();
}
void loop()
{
 SlV=digitalRead(sl);
 SrV=digitalRead(sr);
 if(SrV==LOW && SlV== LOW)
 {
  ForWard();
   }
 if(SrV==HIGH && SlV== LOW)
 {
  Left();
   }
 if(SrV==LOW && SlV== HIGH)
 {
 Right();
  }
    if(SrV==HIGH && SlV== HIGH)
 {
  sTOP();
   }
}
void ForWard()
 {
  digitalWrite(lm1,HIGH);
  digitalWrite(lm2,LOW);
  digitalWrite(rm1,HIGH);
  digitalWrite(rm2,LOW);
 }
 void BackWard()
 {
  digitalWrite(lm1,LOW);
  digitalWrite(lm2,HIGH);
  digitalWrite(rm1,LOW);
  digitalWrite(rm2,HIGH);
 }
 void Left()
 {
  digitalWrite(lm1,LOW);
  digitalWrite(lm2,HIGH);
  digitalWrite(rm1,HIGH);
  digitalWrite(rm2,LOW);
 }
 void Right()
 {
  digitalWrite(lm1,HIGH);
  digitalWrite(lm2,LOW);
  digitalWrite(rm1,LOW);
  digitalWrite(rm2,HIGH);
 }
   void sTOP()
 {
  digitalWrite(lm1,LOW);
  digitalWrite(lm2,LOW);
  digitalWrite(rm1,LOW);
  digitalWrite(rm2,LOW);
 }
For more subscribe my youtube channel:
Code
- line follower robot
line follower robotArduino
//program by Shubham Shinganapure on 05-08-2019
//
//for Line Following Robot using 2IR sensors
int lm1=8; //left motor output 1
int lm2=9; //left motor output 2
int rm1=10;  //right motor output 1
int rm2=11;  //right motor output 2
int sl=13;    //sensor 1 input (left)
int sr=12;    //sensor 2 input (right)
int SlV=0;
int SrV=0;
int led=A0;
void setup()
{
 pinMode(lm1,OUTPUT);
 pinMode(lm2,OUTPUT);
 pinMode(rm1,OUTPUT);
 pinMode(rm2,OUTPUT);
 pinMode(led,OUTPUT);
 pinMode(sl,INPUT);
 pinMode(sr,INPUT);
sTOP();
}
void loop()
{
 SlV=digitalRead(sl);
 SrV=digitalRead(sr);
 if(SrV==LOW && SlV== LOW)
 {
  ForWard();
   }
 if(SrV==HIGH && SlV== LOW)
 {
  Left();
   }
 if(SrV==LOW && SlV== HIGH)
 {
 Right();
  }
    if(SrV==HIGH && SlV== HIGH)
 {
  sTOP();
   }
}
void ForWard()
 {
  digitalWrite(lm1,HIGH);
  digitalWrite(lm2,LOW);
  digitalWrite(rm1,HIGH);
  digitalWrite(rm2,LOW);
 }
 void BackWard()
 {
  digitalWrite(lm1,LOW);
  digitalWrite(lm2,HIGH);
  digitalWrite(rm1,LOW);
  digitalWrite(rm2,HIGH);
 }
 void Left()
 {
  digitalWrite(lm1,LOW);
  digitalWrite(lm2,HIGH);
  digitalWrite(rm1,HIGH);
  digitalWrite(rm2,LOW);
 }
 void Right()
 {
  digitalWrite(lm1,HIGH);
  digitalWrite(lm2,LOW);
  digitalWrite(rm1,LOW);
  digitalWrite(rm2,HIGH);
 }
   void sTOP()
 {
  digitalWrite(lm1,LOW);
  digitalWrite(lm2,LOW);
  digitalWrite(rm1,LOW);
  digitalWrite(rm2,LOW);
 }
Schematics

Manufacturing process
- Simple Pi Robot – Build a 2‑WD Autonomous Rover with Raspberry Pi
- Servo‑Driven Obstacle‑Avoiding Robot: Build with Arduino & HC‑SR04
- V4 Speed Line‑Follower Robot – Advanced Arduino Nano System
- Build an Autonomous Home Assistant Robot: Full Parts List & Setup Guide
- PID-Controlled Line-Following Robot Kit – Arduino UNO, IR Sensors, Durable Chassis
- Smart Indoor Navigation Robot Kit for Arduino Projects
- Build a Line-Following Robot with PID Control and Android Integration
- Build the Simplest Arduino Line‑Following Robot with SparkFun L298
- Build a Gesture‑Controlled Robot at Home with Arduino and MPU‑6050
- Remote Control of a 6‑DOF Arduino Robot Arm via Web Interface