


Build Your Own 3D Printed Lunar Phase Clock – Step-by-Step Arduino Guide
Components and supplies
 |
| × | 1 | |||
| × | 1 | ||||
| × | 1 | ||||
 |
| × | 1 | |||
 |
| × | 1 | |||
| × | 1 |
Necessary tools and machines
 |
|
Apps and online services
 |
|
About this project
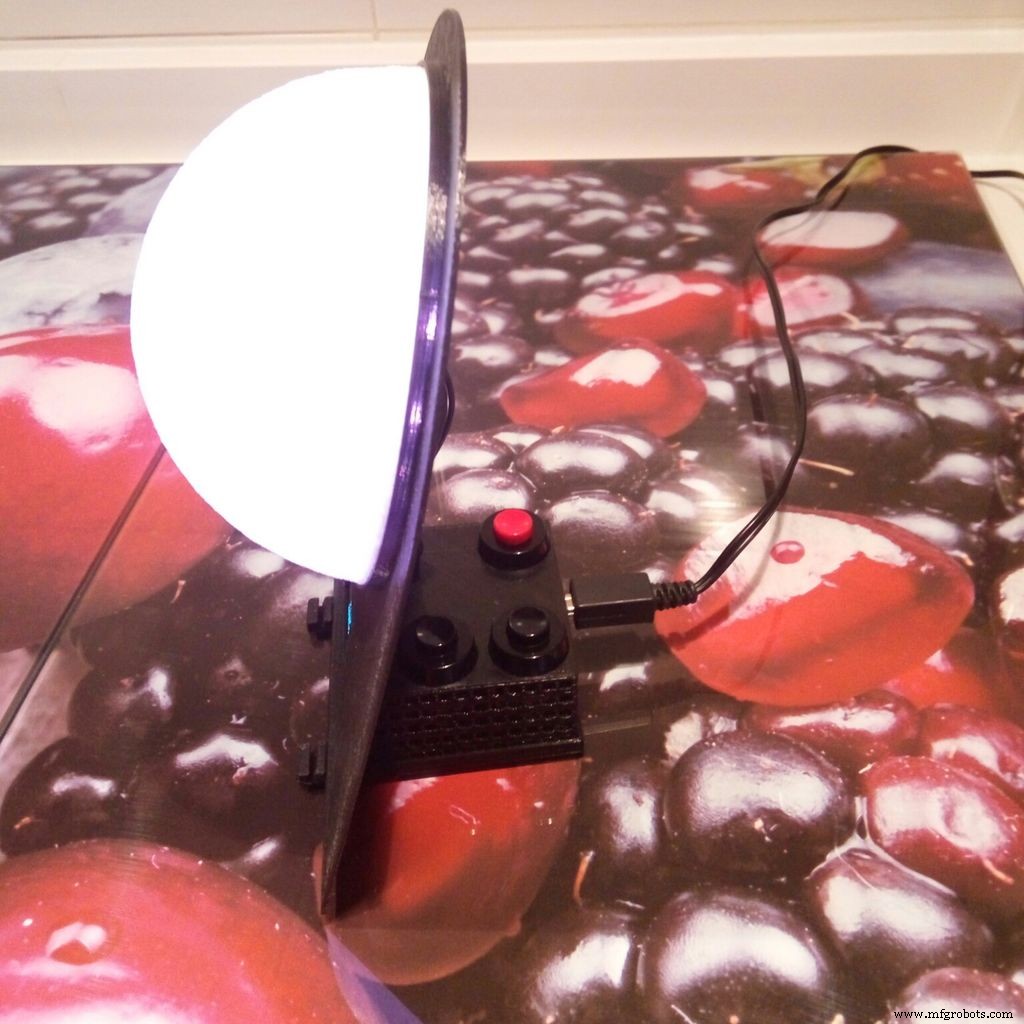
If you don't know what to print with your 3D printer, here you have an easy project. Build a 3D printed Lunar Phase Clock for your desk or your nightstand.
Features:Detailed 3D printed Lunar model by Dexter_New_Materials:
- Open Tools (Ubuntu/FreeCAD/Arduino)
- Open Source/Hardware
- Cheap HW (Arduino, cheap LCD)
- Only 79 grams of filament.
- Precise Lunar Phase Simulation
- Alarm
- Wake-light alarm mode
- Date Thermometer
- Hygrometer
- Lamp mode
- Moon FX modes (Relax, Party)
- Bright control
- Adjustable tilt
Parts List:
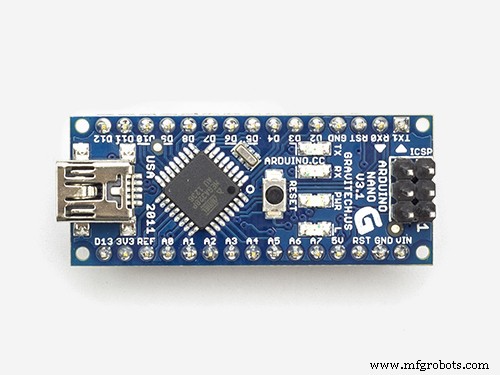
- Arduino compatible Nano (Atmel ATmega328)
- 0,96'' OLED 128x64 with SSD1306 chip (only 4 pins)
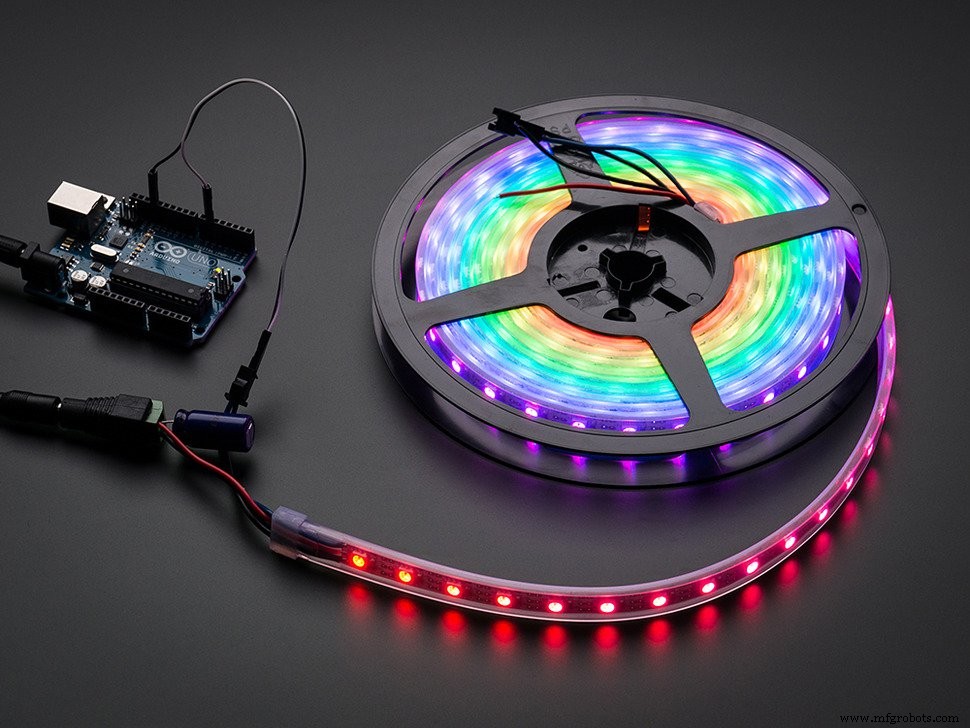
- Neopixel or APA102C (18 LEDs from a 60 pixel per meter strip)
- Tiny RTC (DS1307 real time clock + 24C32 EEPROM)
- DHT11 (if it include the pull-up resistor, much better)
- Buzzer
- 3 Push Buttons (RAFI 1.10.001.001/0104)
Tools:
Computer with Arduino software:
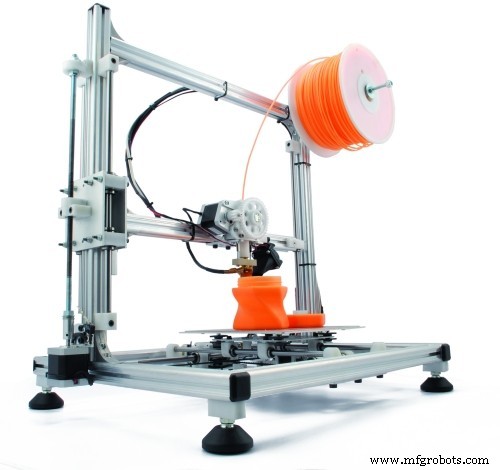
- 3D printer
- Soldering Iron
- Glue Gun
- Wire stripper
- Cutter
- Electrical Tape
- Loose wire
Download parts from Thingiverse or from GitHub.
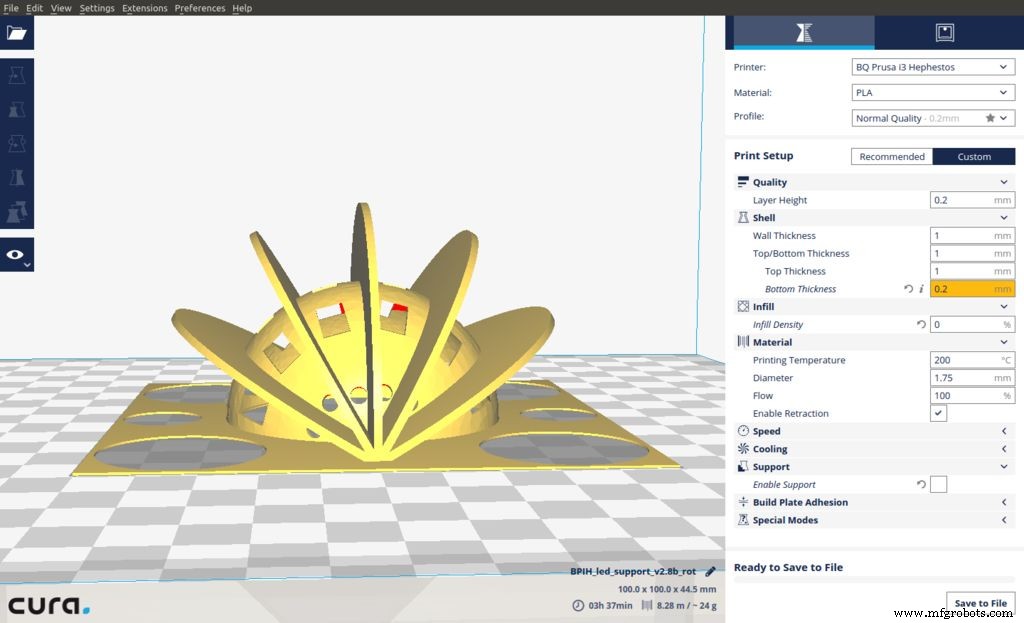
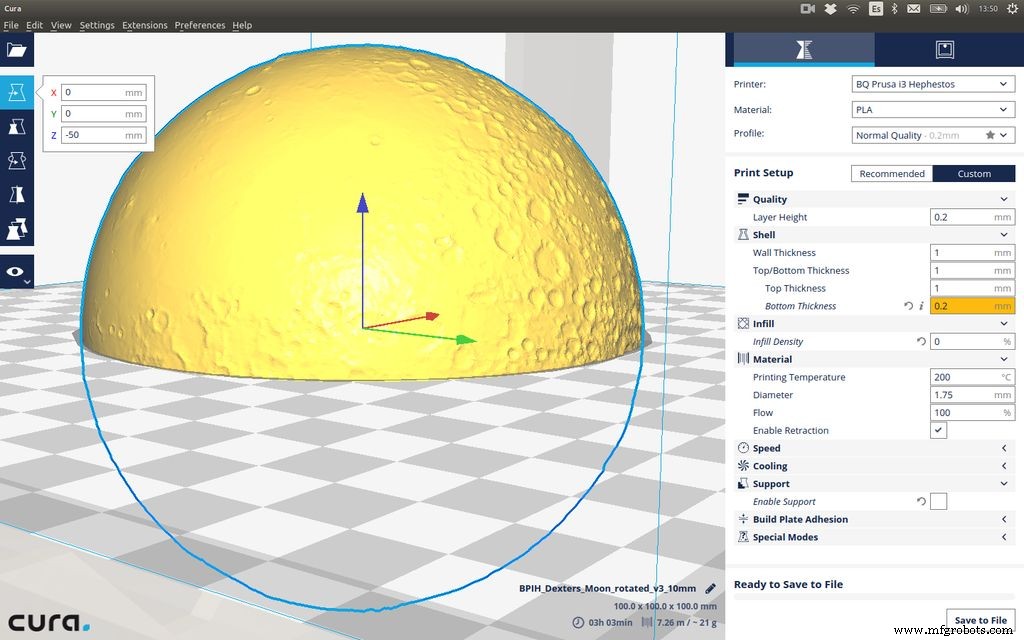
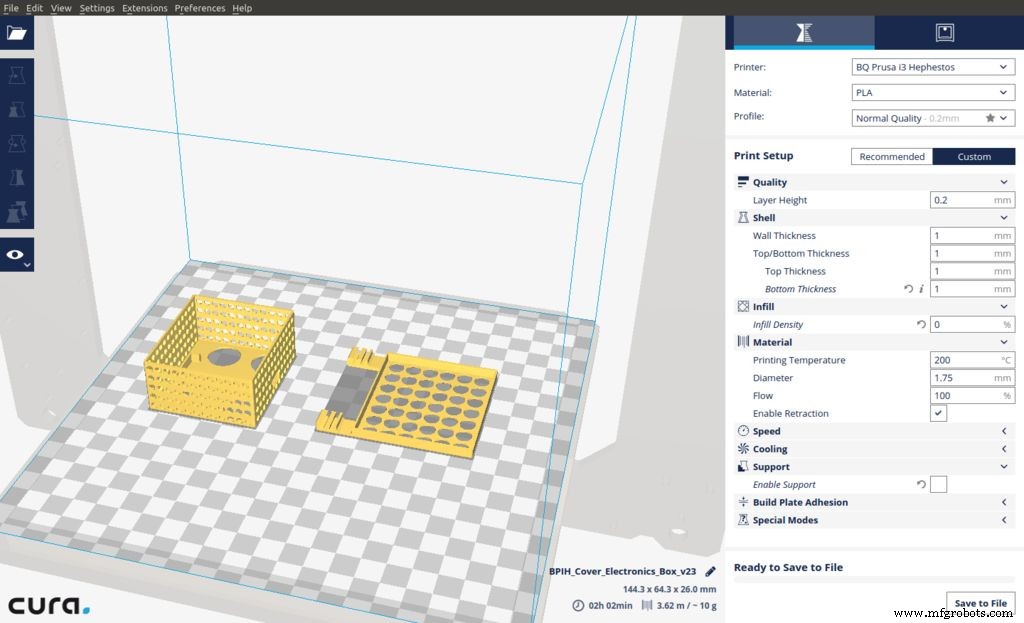
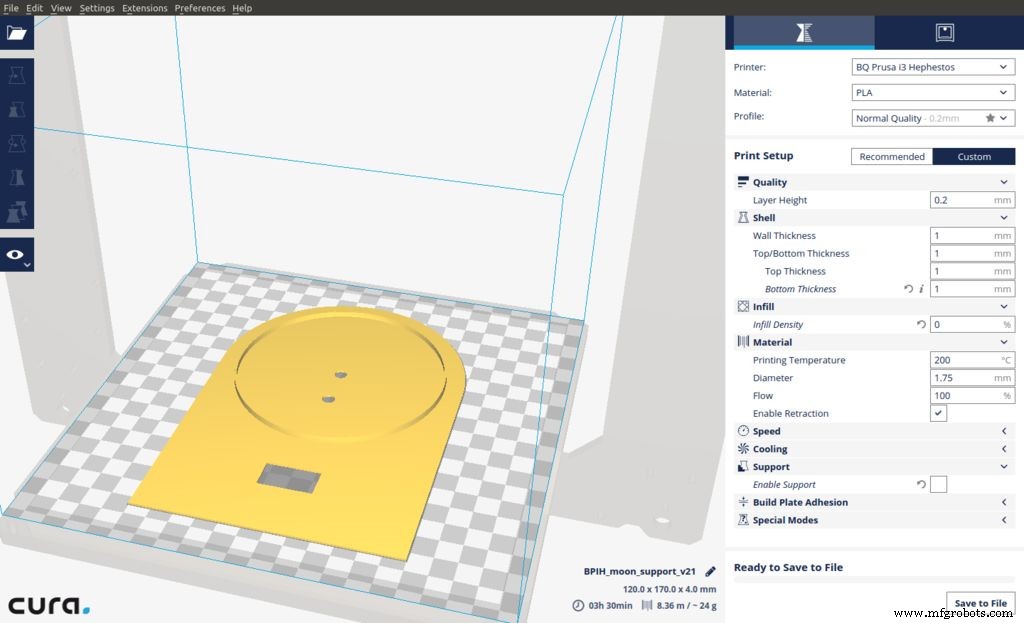
I have printed them using PLA with the (BQ Prusa i3 Hephestos), these are the printer settings:
- Layer Height = 0.2 mm
- Wall Thickness = 1 mm
- Top Thickness = 1 mm (5 layers)
- Bottom Thickness = 0.2 mm (1 layer)
- No need for Rafts or supports.
- For the Moon Infill Density = 0% , for the rest of the parts infill Density = 100%
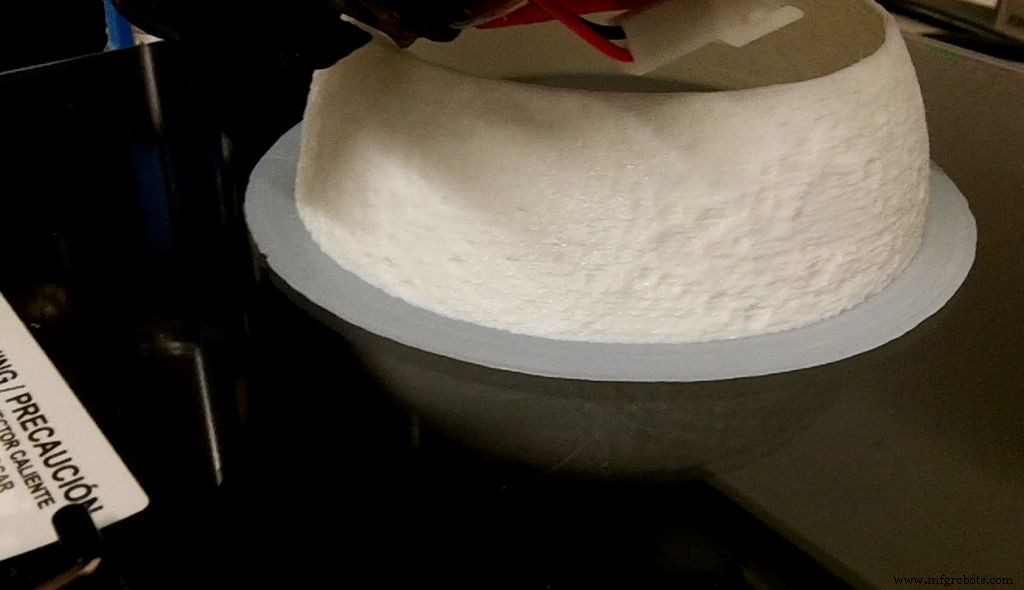
In total, you will use just 79 grams of PLA. Check the screen-shoots of Cura, for further details. Moon is a bit tricky as you have to move on the Z axis down 5 cm. Or just download a cut version that JetGuy "Unknown" has created using Netfabb.
Step 3: LED Support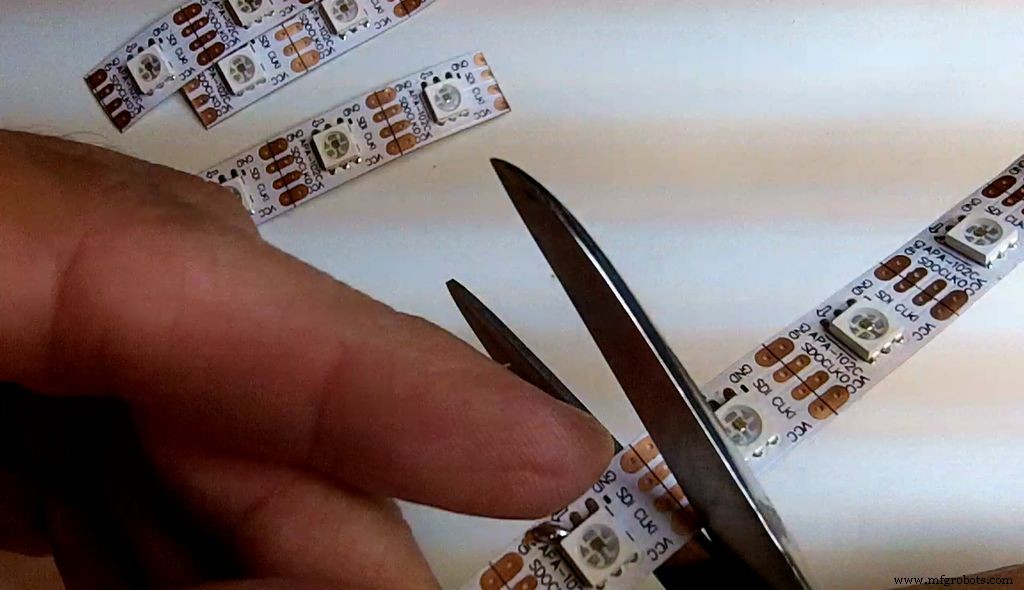
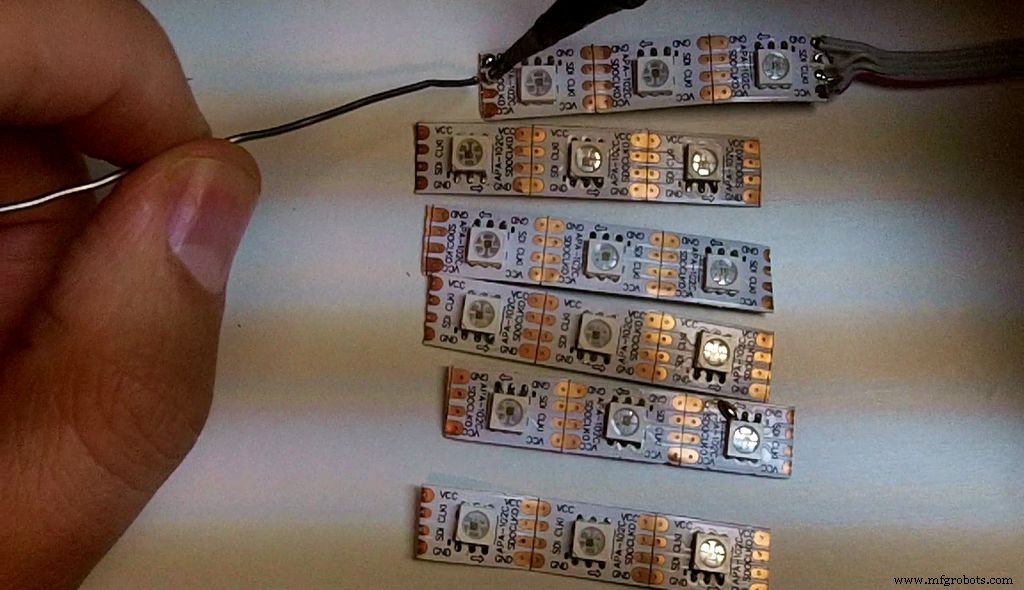
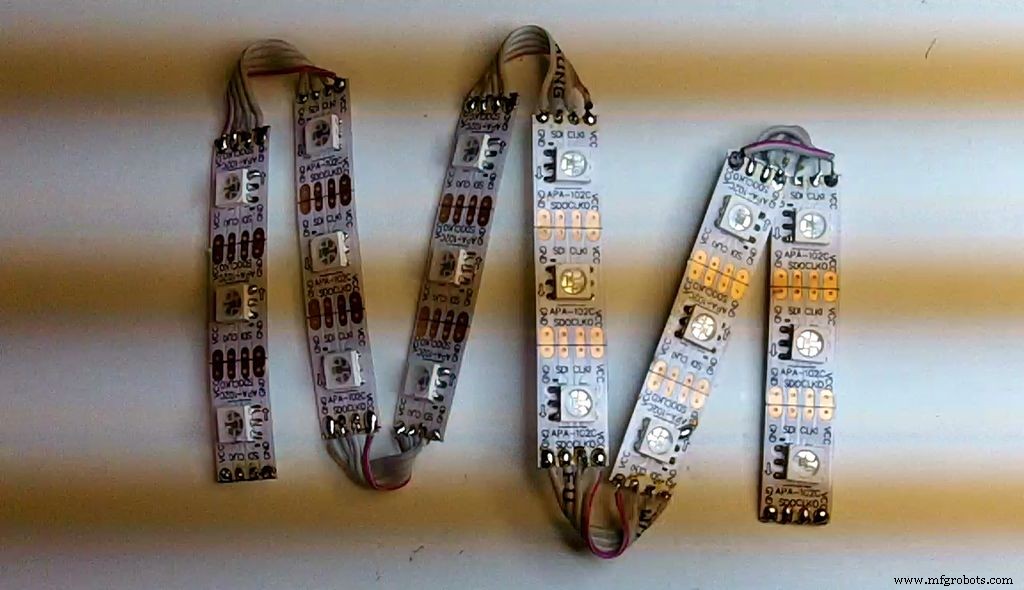
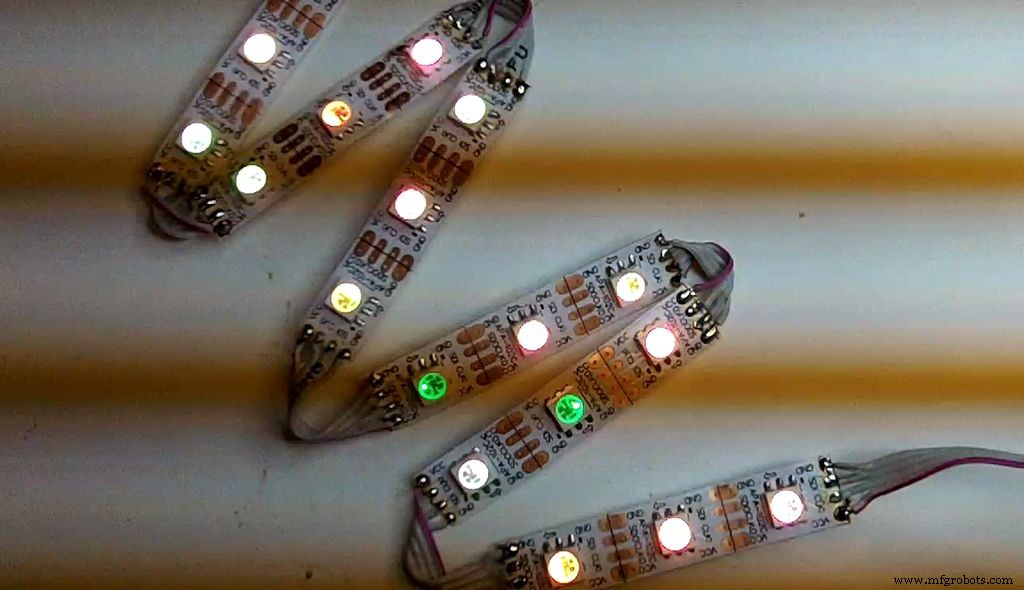
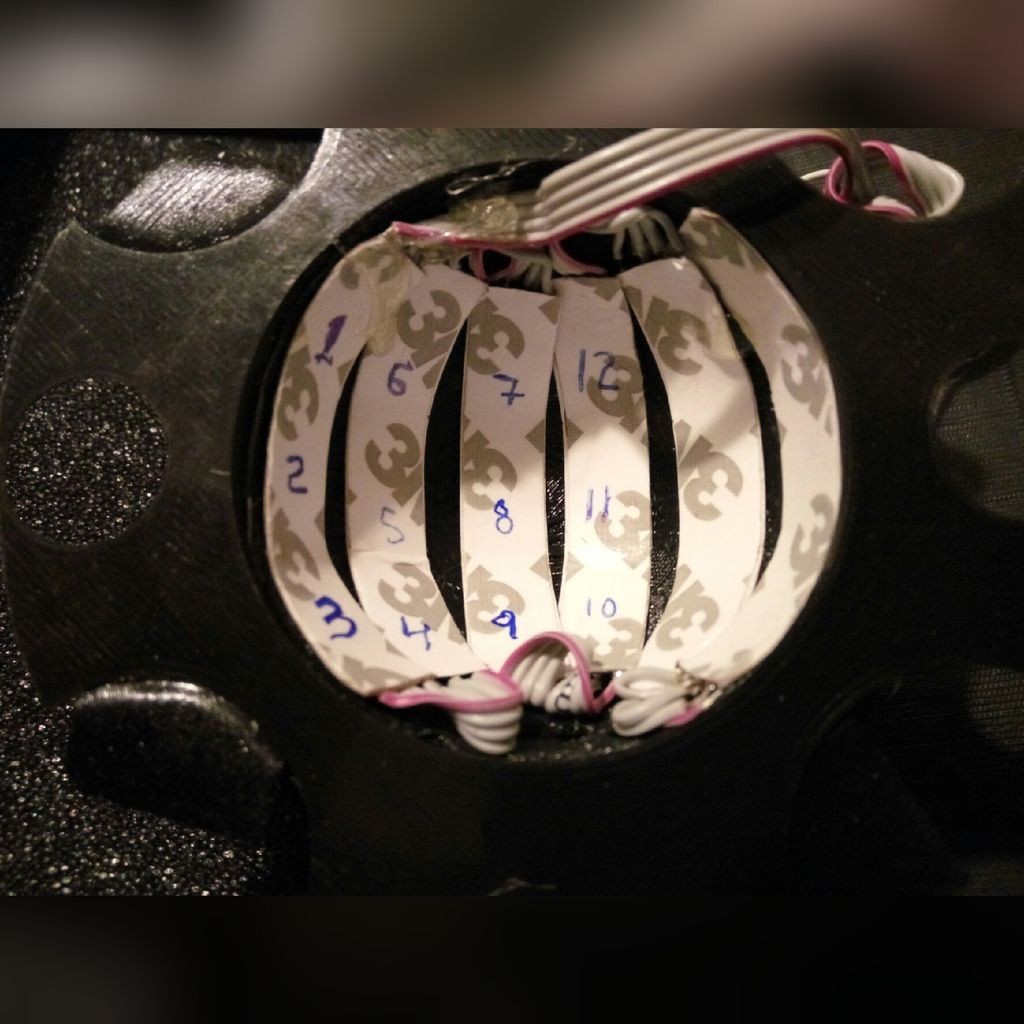
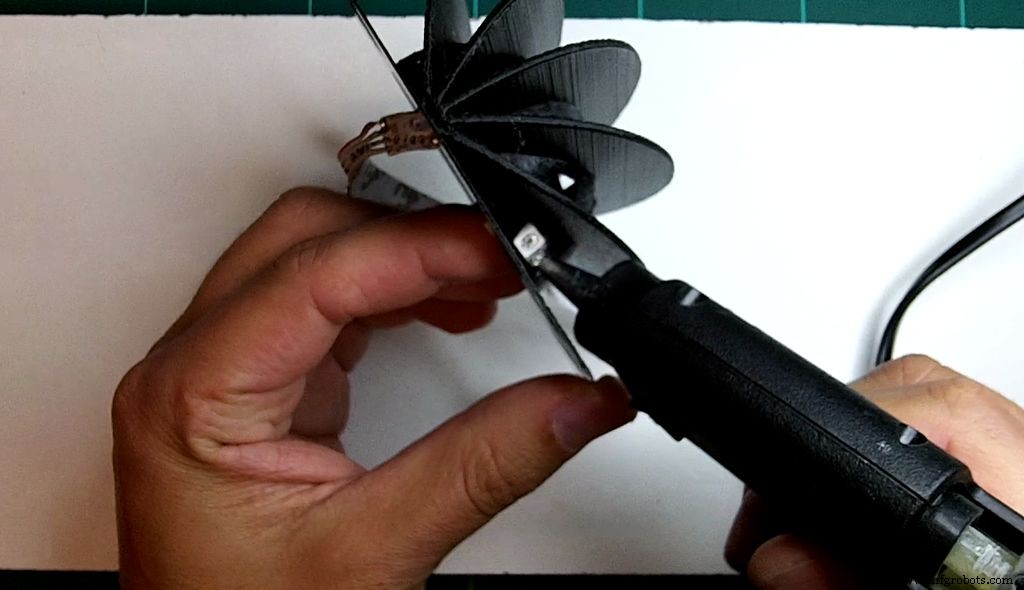
A strip of Neopixel or Dotstar LEDs can be used; it's recommended to use a strip of 60 pixels per meter. Cut the LED strip into six pieces of three LEDs. You must be careful, and follow the arrow. This is the orientation seen from the back of the moon.
|  1  |   6  |  7  |  12  |  13  |  18  |
|  2  |   5  |  8  |  11  |  14  |  17  |
|  3  |   4  |  9  |  10  |  15  |  16  |
Once the strip is placed, to fix it, use a hot glue gun.
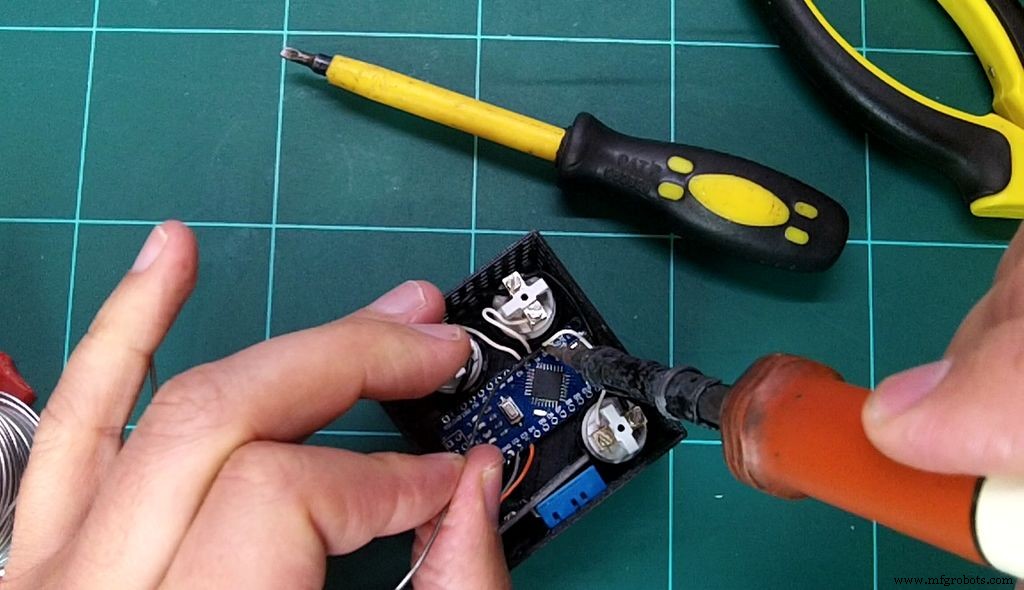
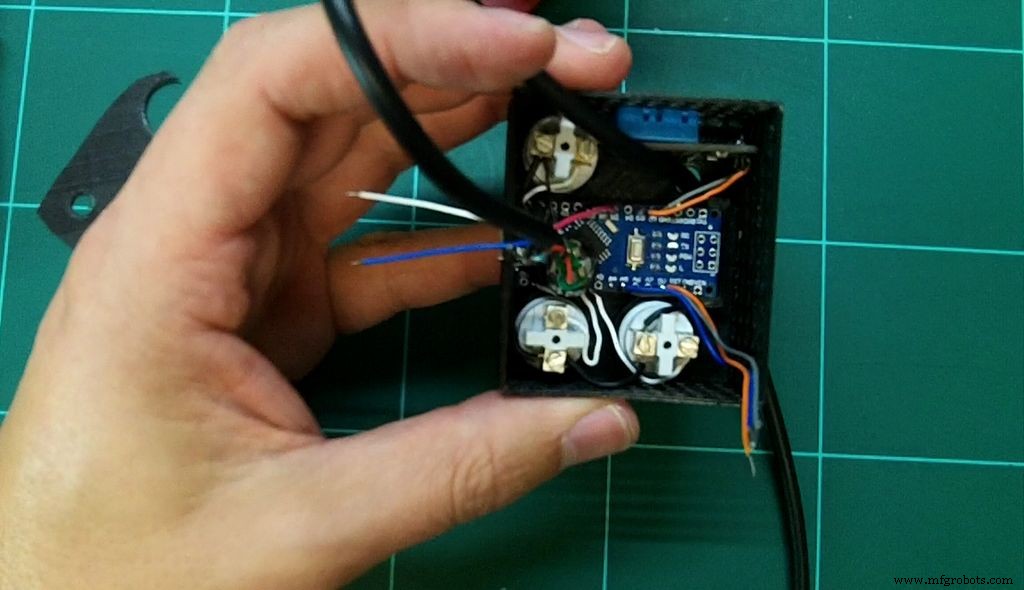
Step 4: Building the Circuit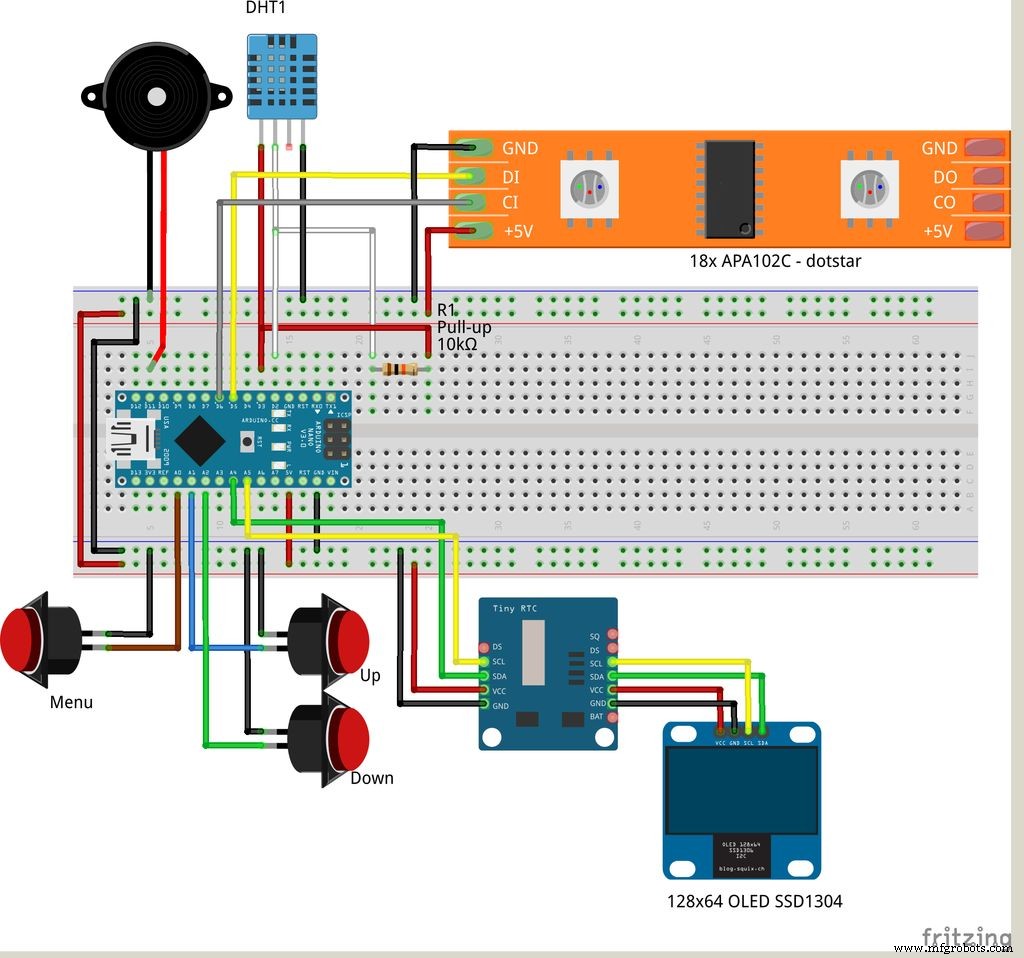
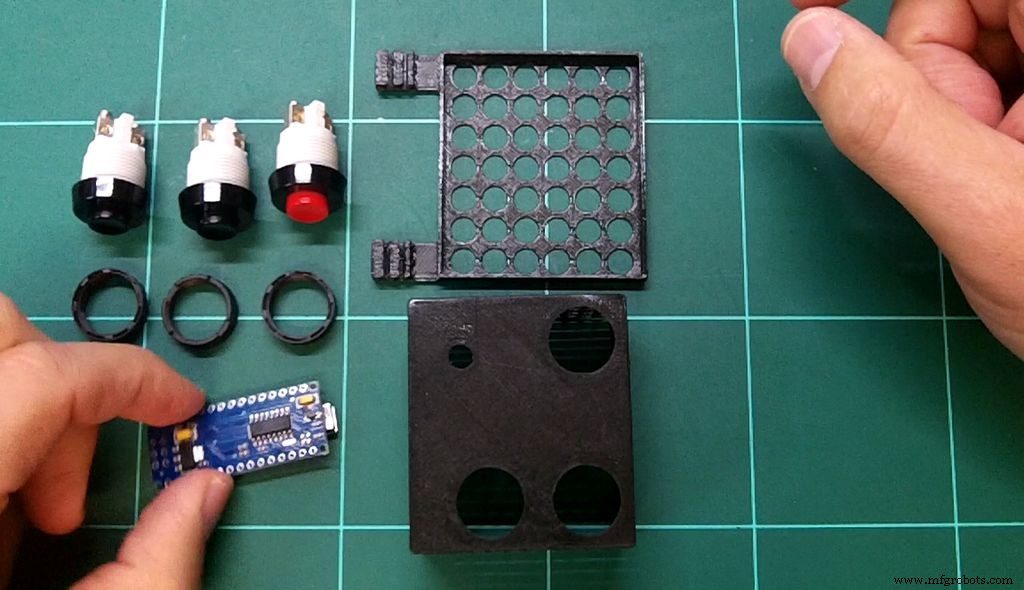


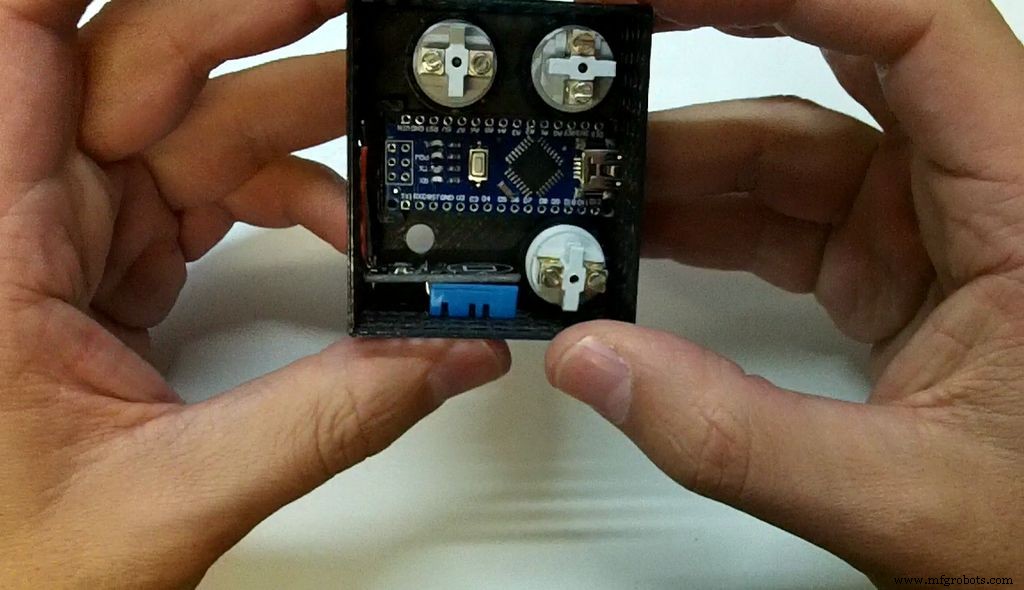
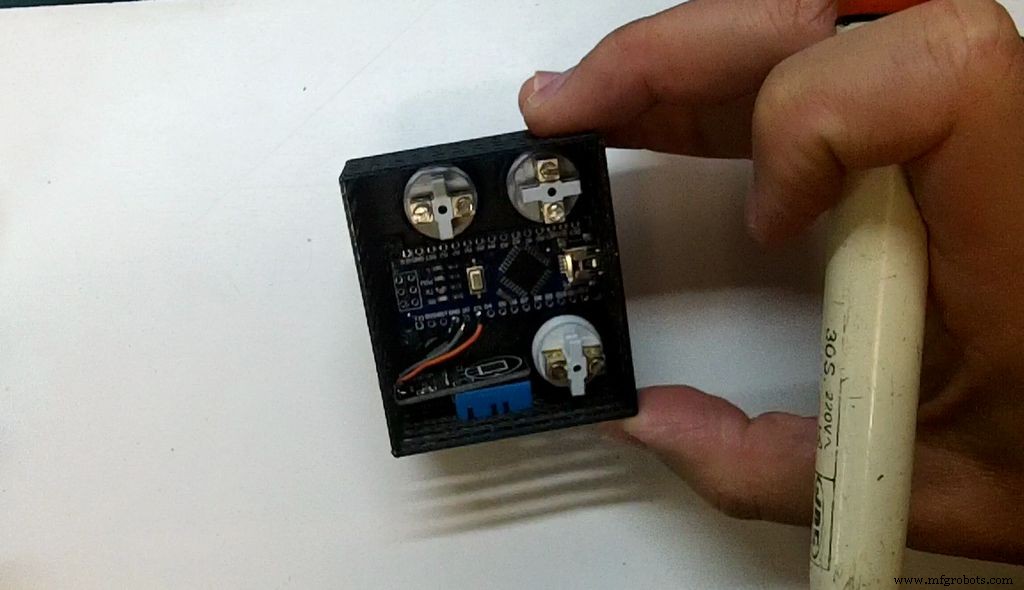
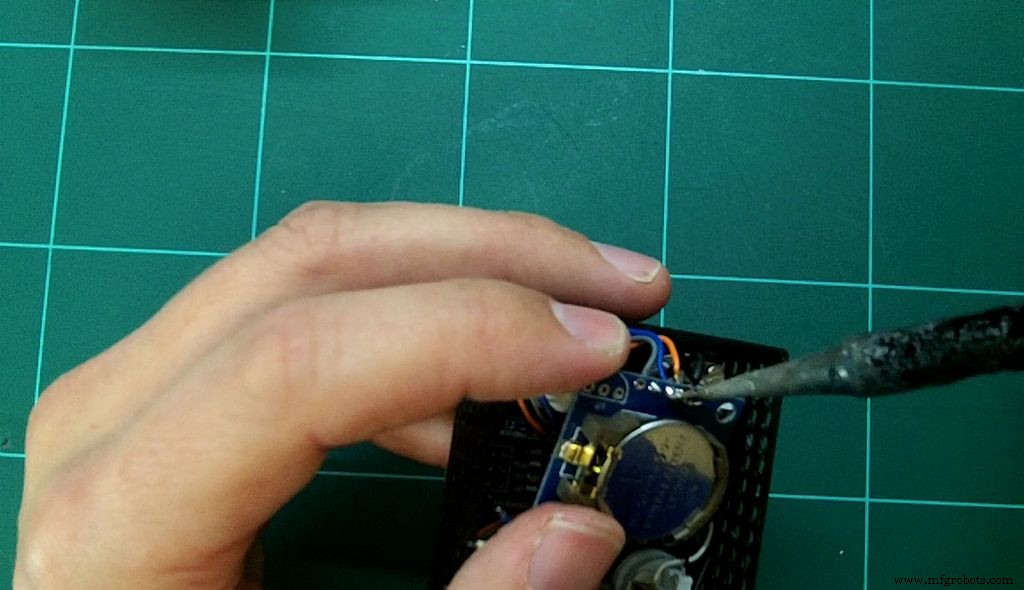
So, now that you have all your parts printed you are ready to build your circuit. First introduce the Arduino, then the buttons to fix the Arduino. Using Double-Sided Bonding Tape fix the DHT11, use one that include already the pull-up resistor.
Then wire the buttons - first of all the GND. Add the Tiny RTC.
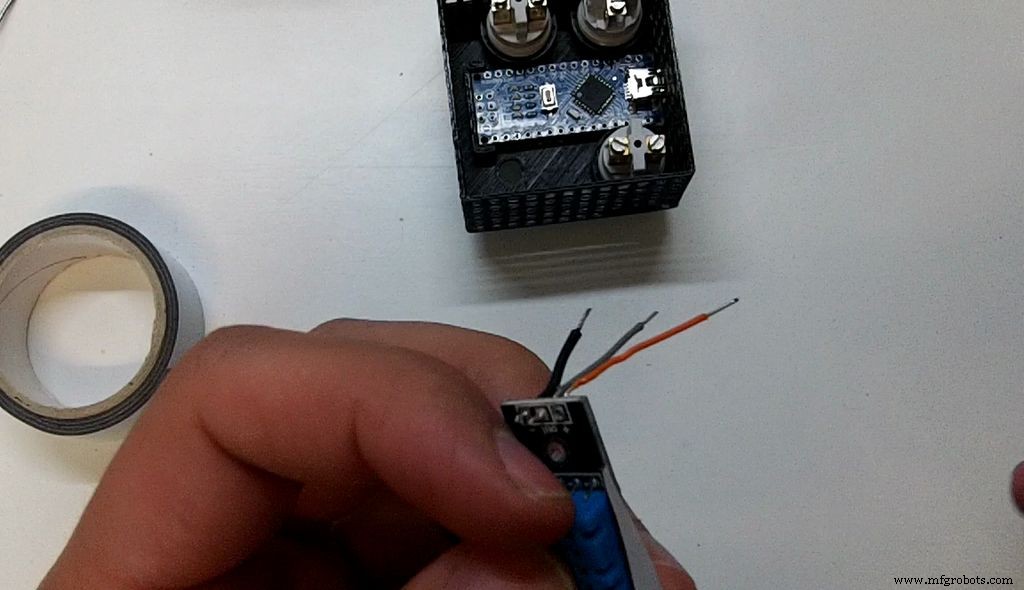
If you have a 3,6V LIR2032 battery, great! You don't need the next step. If it contains a 3V CR2032 battery, be careful you should have made this little modification:
- Introduce the Arduino
- Add the buttons to fix the Arduino
- Add the buzzer (depending of the buzzer, maybe you will need to add a resistor)
- Add the wire that will connect to the LED of the moon
- Add the wires that will connect to the display
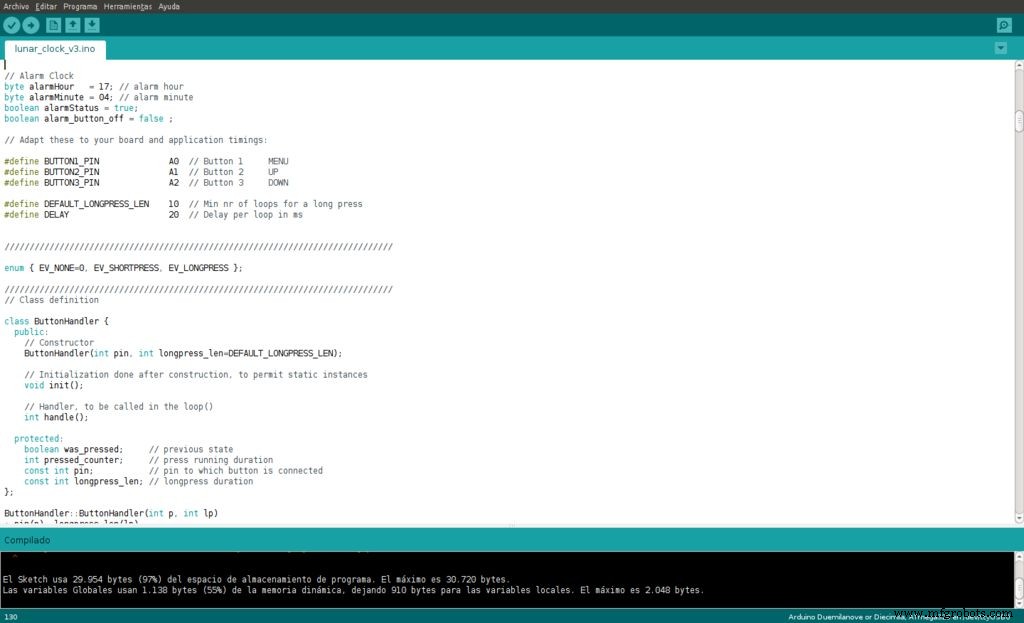
You should have the Arduino IDE installed (I'm using 1.6.12). If so, then the first step is to download the libraries here.
Restart the Arduino IDE and load the software; you will find the latest version here.
Compile it, upload it, and enjoy it! Nice new features will be added soon.
Code
Github
https://github.com/G4lile0/Arduino_3dprinted_Lunar_Phase_Clock/tree/master/codeGithub
https://github.com/G4lile0/Arduino_3dprinted_Lunar_Phase_Clock/tree/master/codeCustom parts and enclosures
Thingiverse
http://www.thingiverse.com/thing:1891599CAD file on thingiverse.comThingiverse
http://www.thingiverse.com/thing:1929844CAD file on thingiverse.comGithub
https://github.com/G4lile0/Arduino_3dprinted_Lunar_Phase_Clock/tree/master/partsSchematics
Github
https://github.com/G4lile0/Arduino_3dprinted_Lunar_Phase_Clock/blob/master/images/Lunar_Phase_clock_circuit.pngManufacturing process
- Cuckoo Clock: History, Craftsmanship, and Modern Evolution
- Integrated Circuits (ICs): Compact, Powerful Chips Powering Modern Electronics
- Printed Circuit Boards: Design, Manufacture, and Future Trends
- Power‑up Phase Determinism: Leveraging Multichip Synchronization in High‑Speed ADC/DAC Platforms
- Build a Retro Numitron Clock with Arduino: Simple, Reliable, and Energy‑Efficient
- MMF #5: Mastering Component Embedding in 3D‑Printed Parts with Markforged Printers
- Arduino Flip Clock with 8×8 LED Matrix – DIY Real‑Time Clock Project
- Build a 1‑D Pong Game with Arduino and WS2812 LED Strip – Step‑by‑Step DIY Tutorial
- Android Things Word Clock – Speak Your Language in Real Time
- Build a Reliable Arduino Clock with Date, Time, and LCD Display