


Arduino POV Clock: Build a Persistance‑of‑Vision LED Display
Components and Supplies
 |
| × | 1 | |||
 |
| × | 1 | |||
 |
| × | 1 | |||
 |
| × | 1 |
Apps and Online Services
 |
|
About This Project
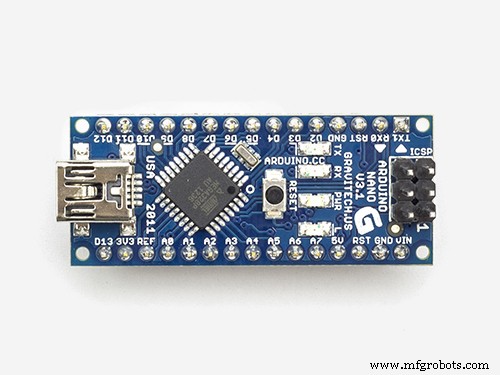
This guide walks you through building a compact Persistance‑of‑Vision (POV) clock using an Arduino Nano, 19 LEDs, a Hall‑effect sensor, and a DC motor. The result is a rotating LED display that creates a floating, time‑displaying image when viewed from the side.
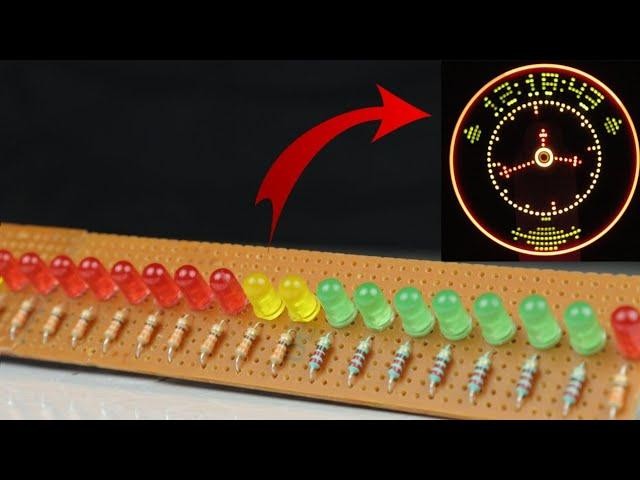
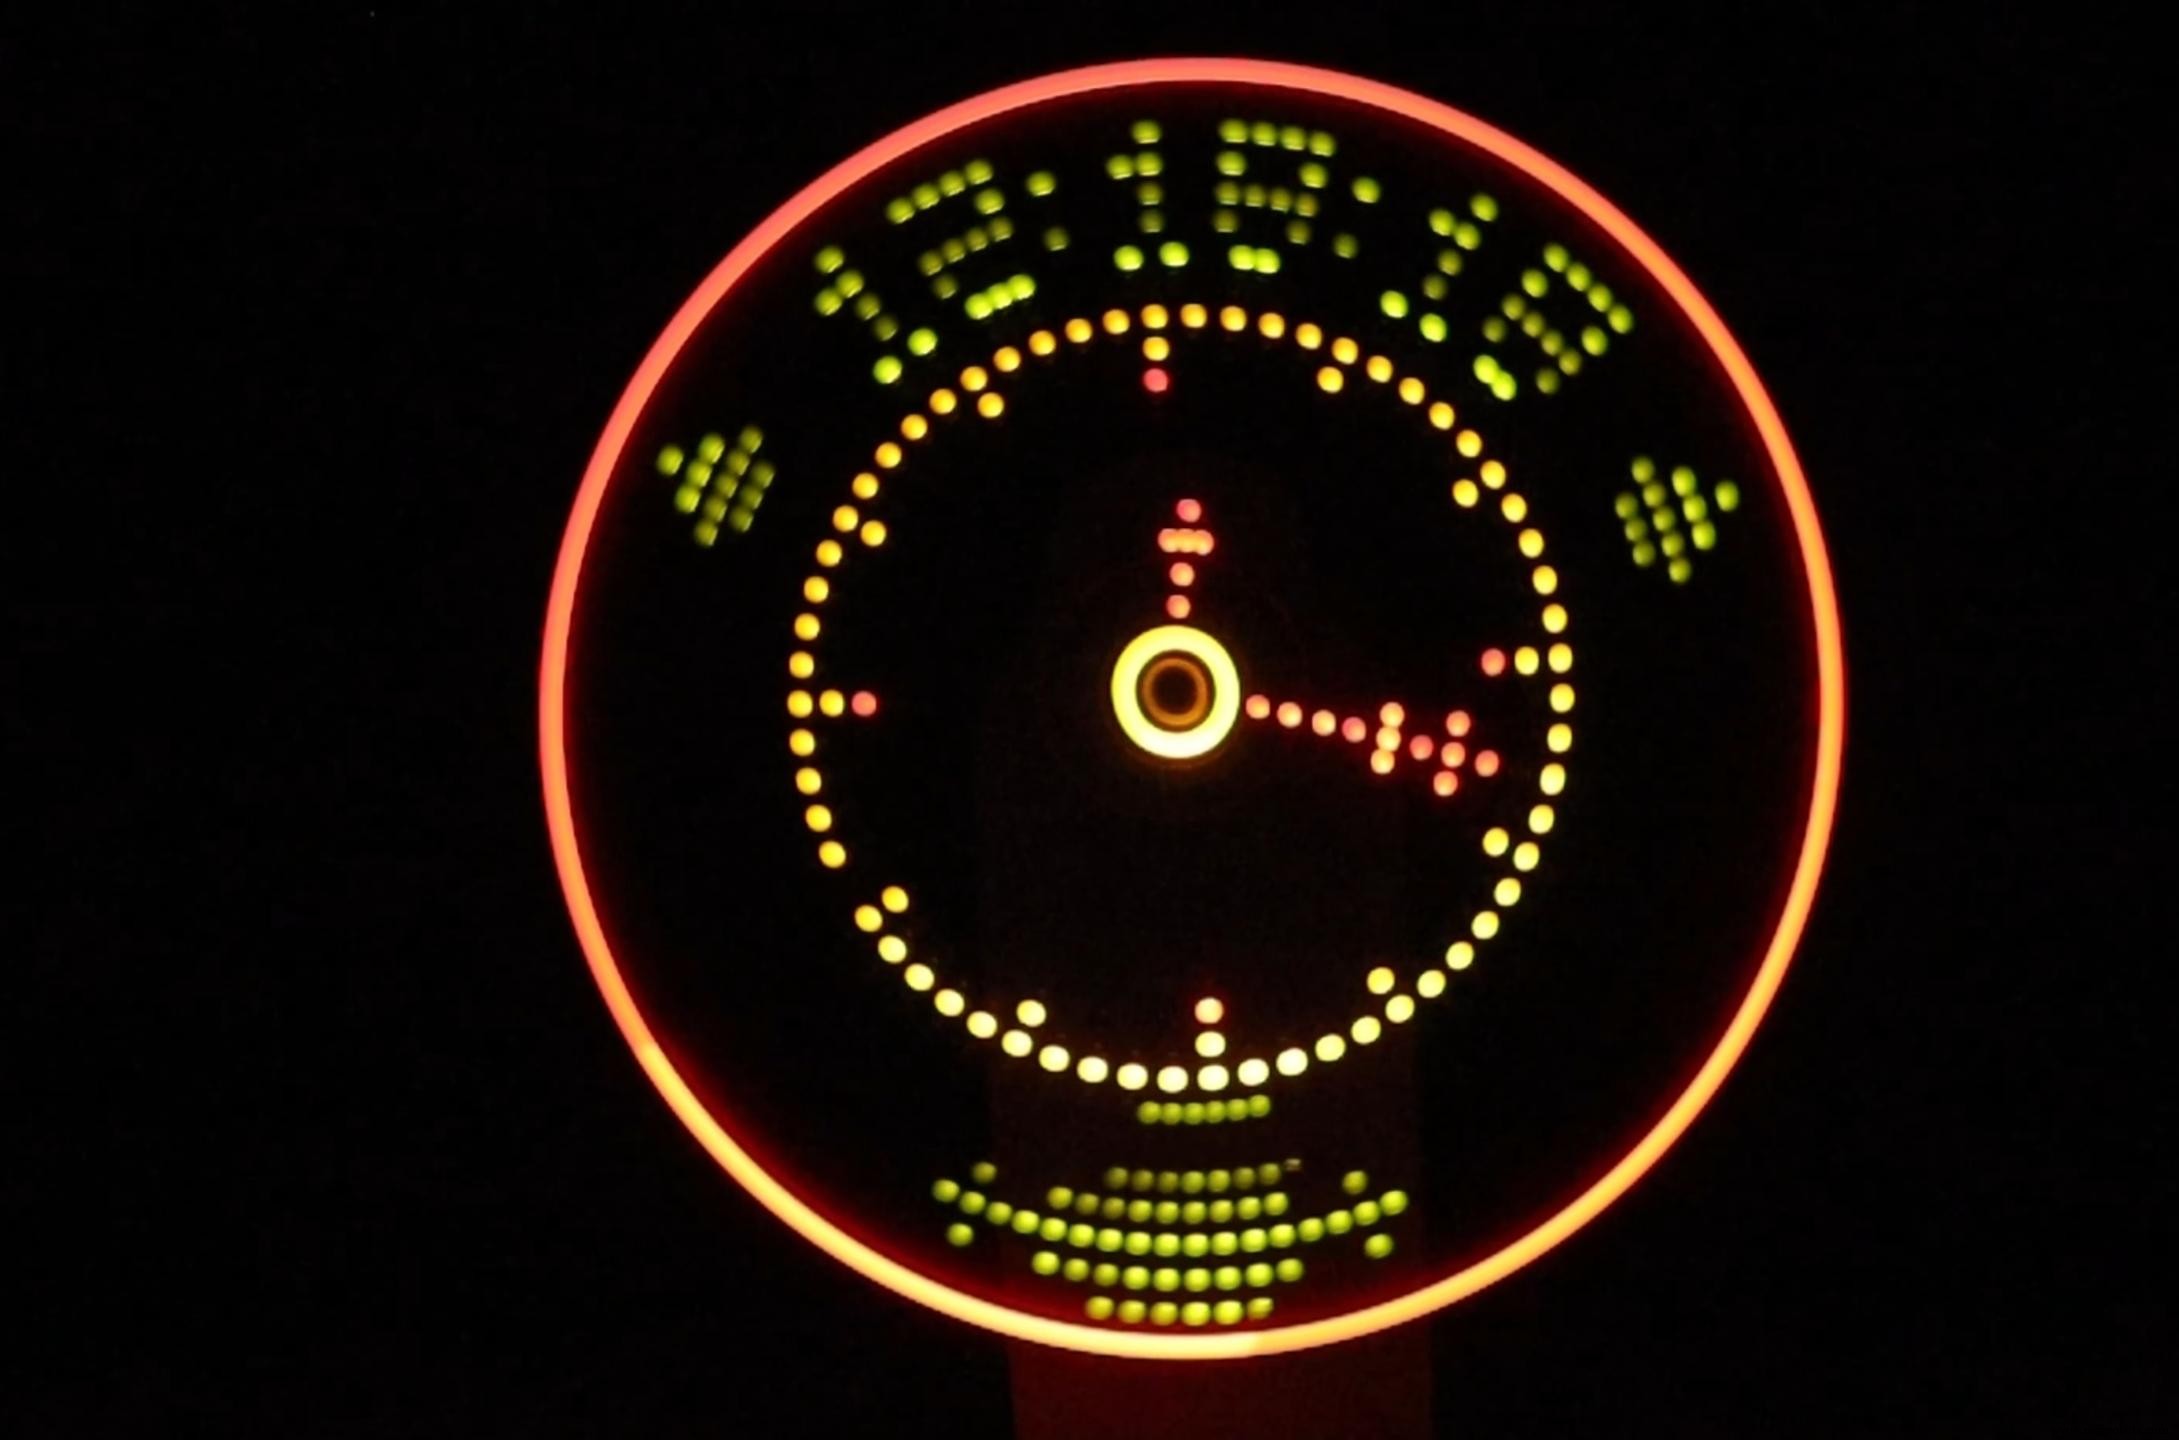
The project uses a lithium‑ion battery coupled with a step‑up converter for a lightweight, portable power supply. With 19 LEDs arranged in a single‑column 19×1 matrix, the clock can display numbers, symbols, or custom patterns.
Special thanks to NextPCB for support and PCB manufacturing services. Use the link below for a $100 coupon and free shipping on PCB prototypes:
Step 1: Required Materials
In addition to the components listed in the table above, you’ll need the following items:
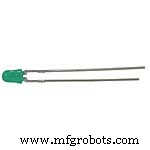
- 19 LEDs (3 mm, green) – arranged in a 19×1 row
- 220 Ω resistor for each LED (except red LEDs)
- 330 Ω resistor for red LEDs if you use any
- DC motor (12 V or 24 V, 500 rpm‑800 rpm)
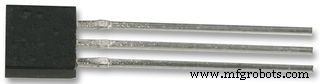
- Magnets for Hall‑effect sensor alignment
- Perfboard or a veroboard for soldering
- Wires, solder, and a small screwdriver
- Lithium‑ion battery and step‑up converter (5 V output)
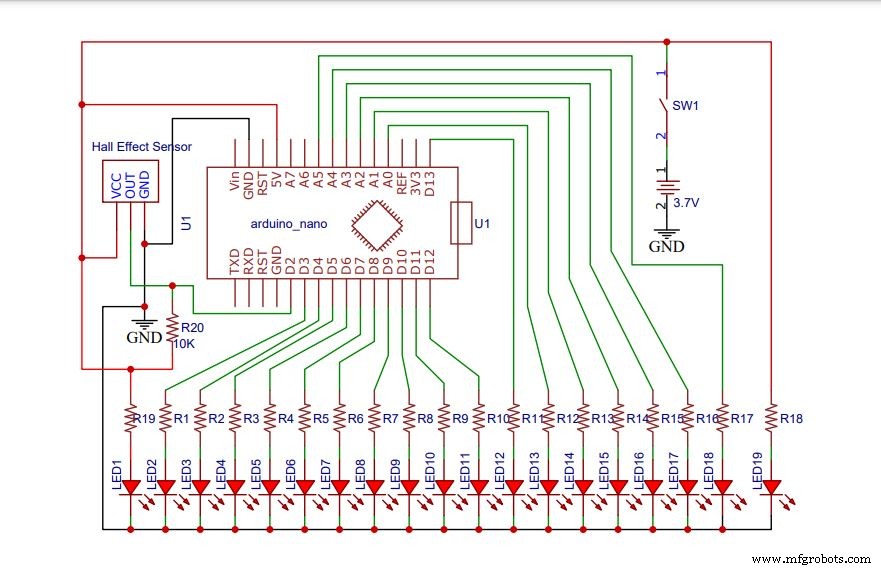
Step 2: Circuit Diagram
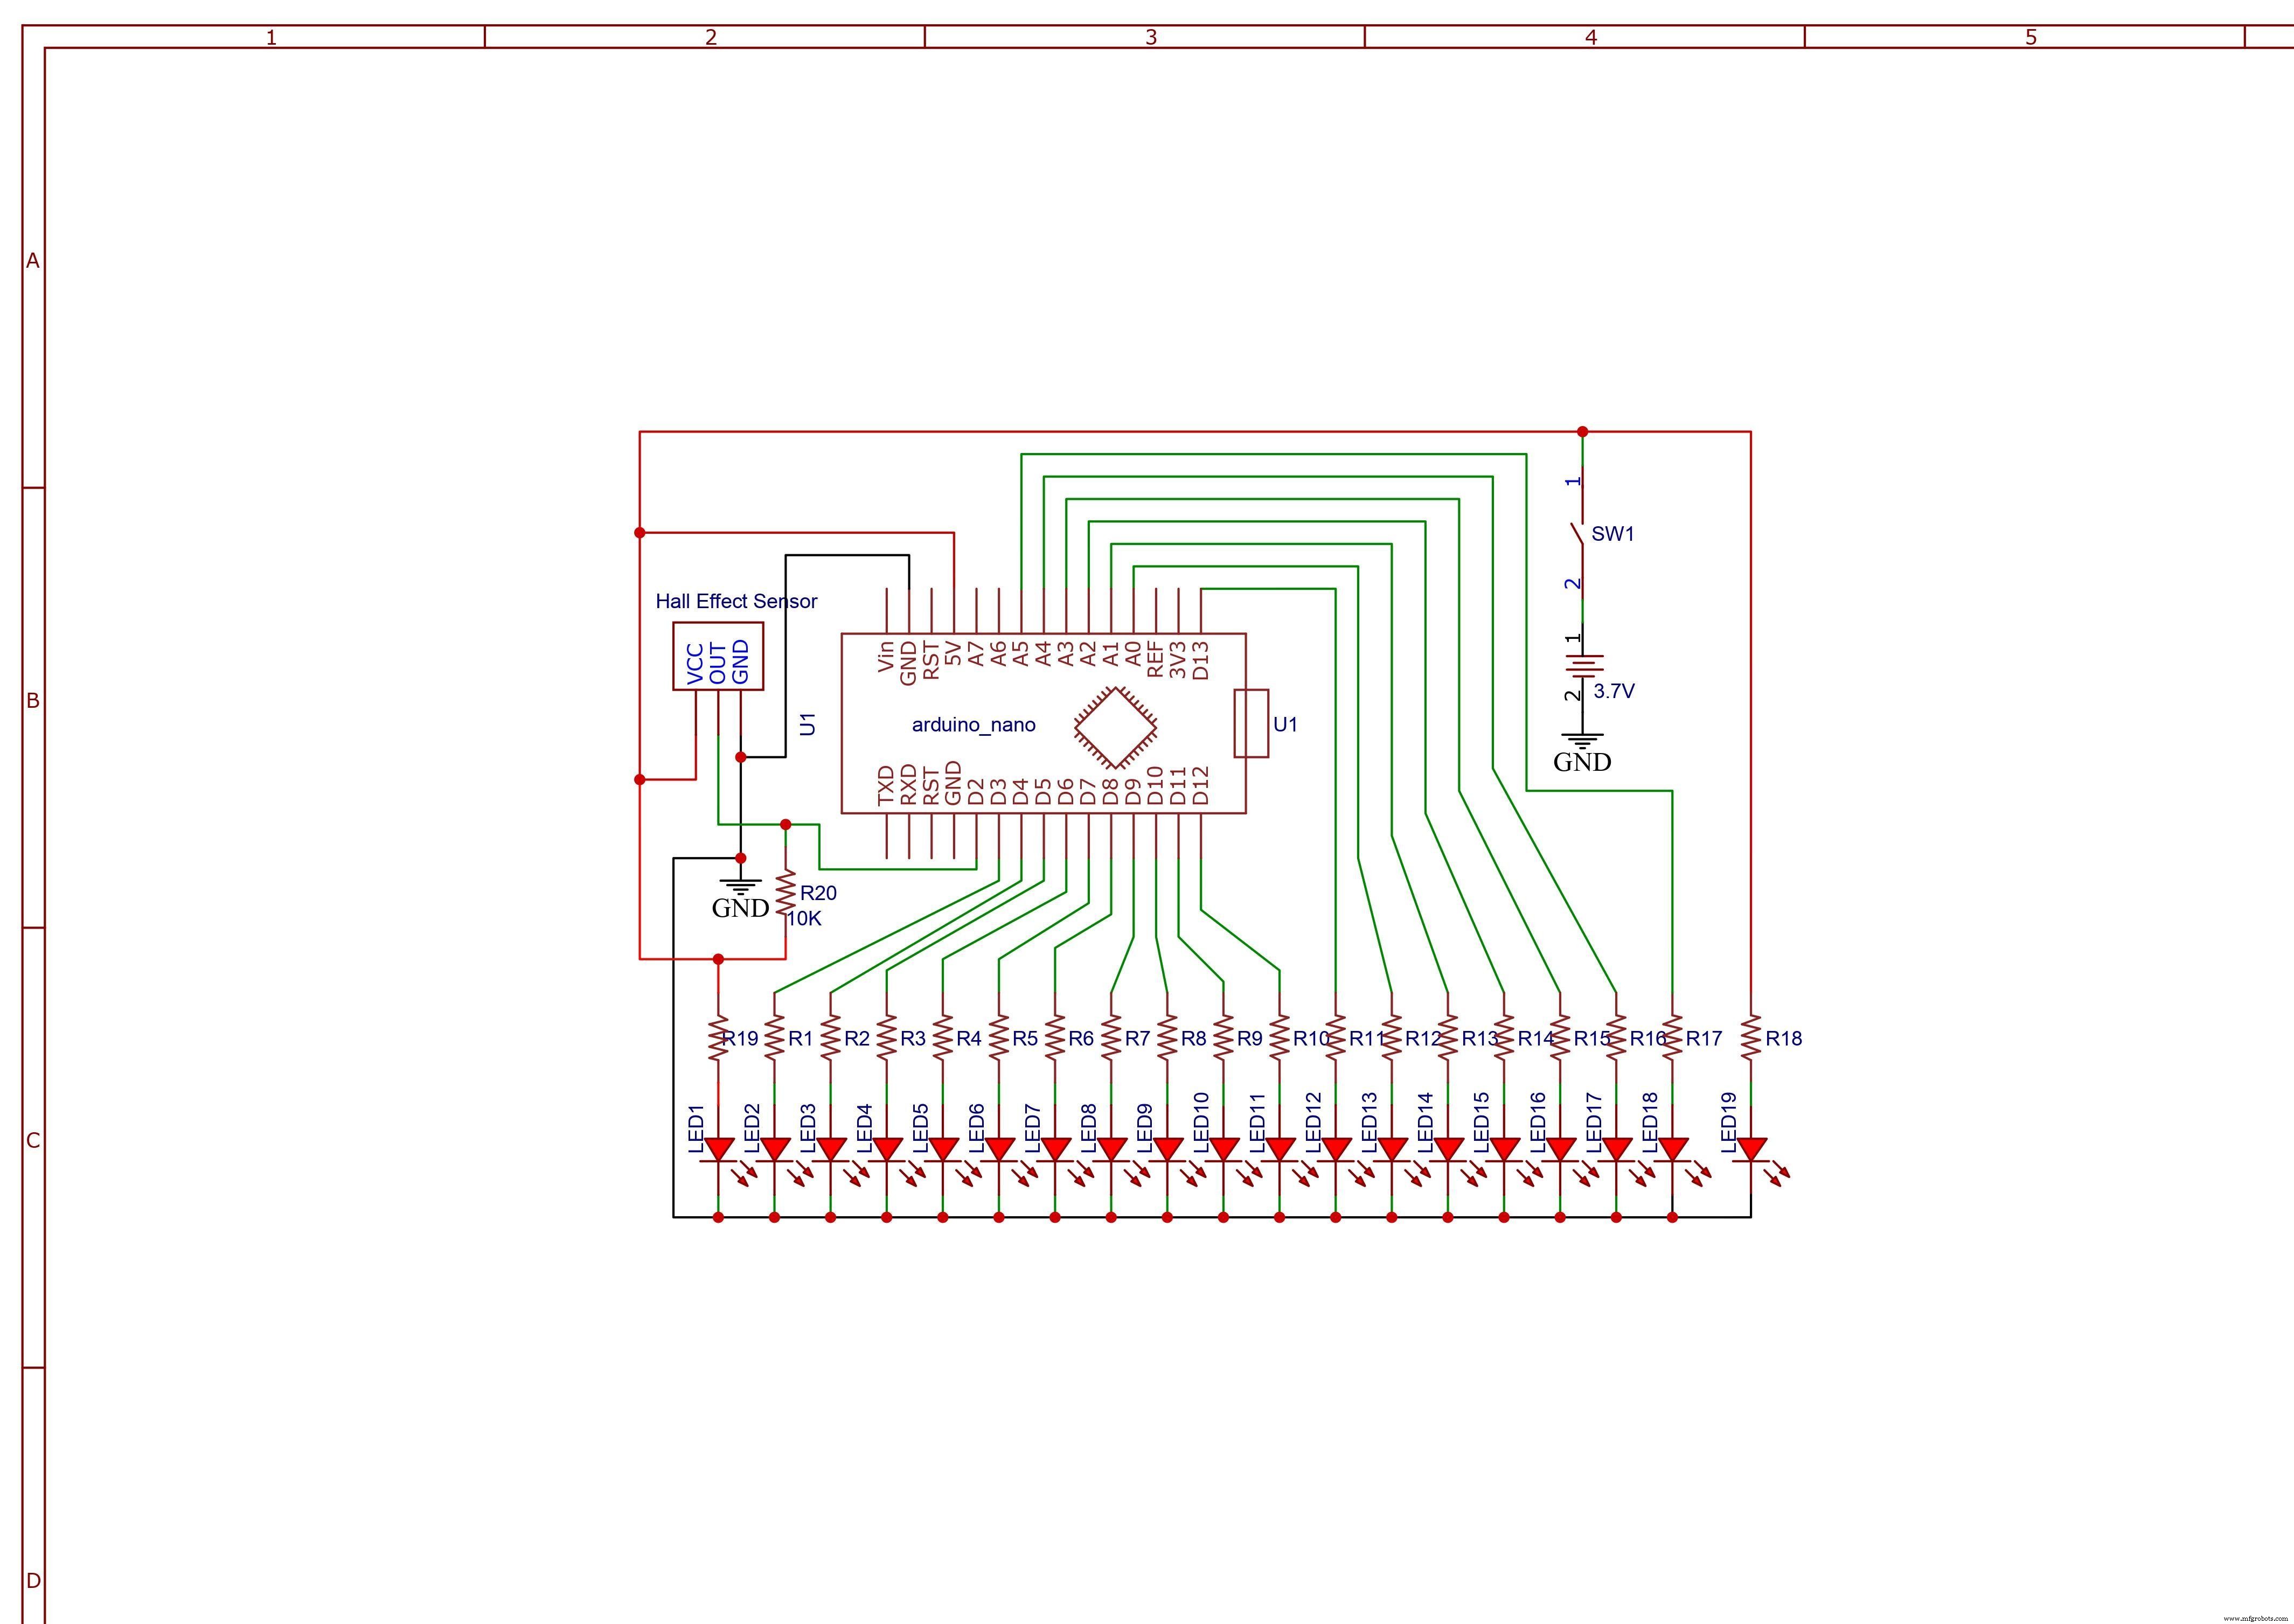
The diagram shows the Arduino Nano connected to the LED row through current‑limiting resistors. All cathodes are tied to a common ground line. The Hall‑effect sensor receives a 5 V logic signal and outputs a pulse when a magnet passes by.
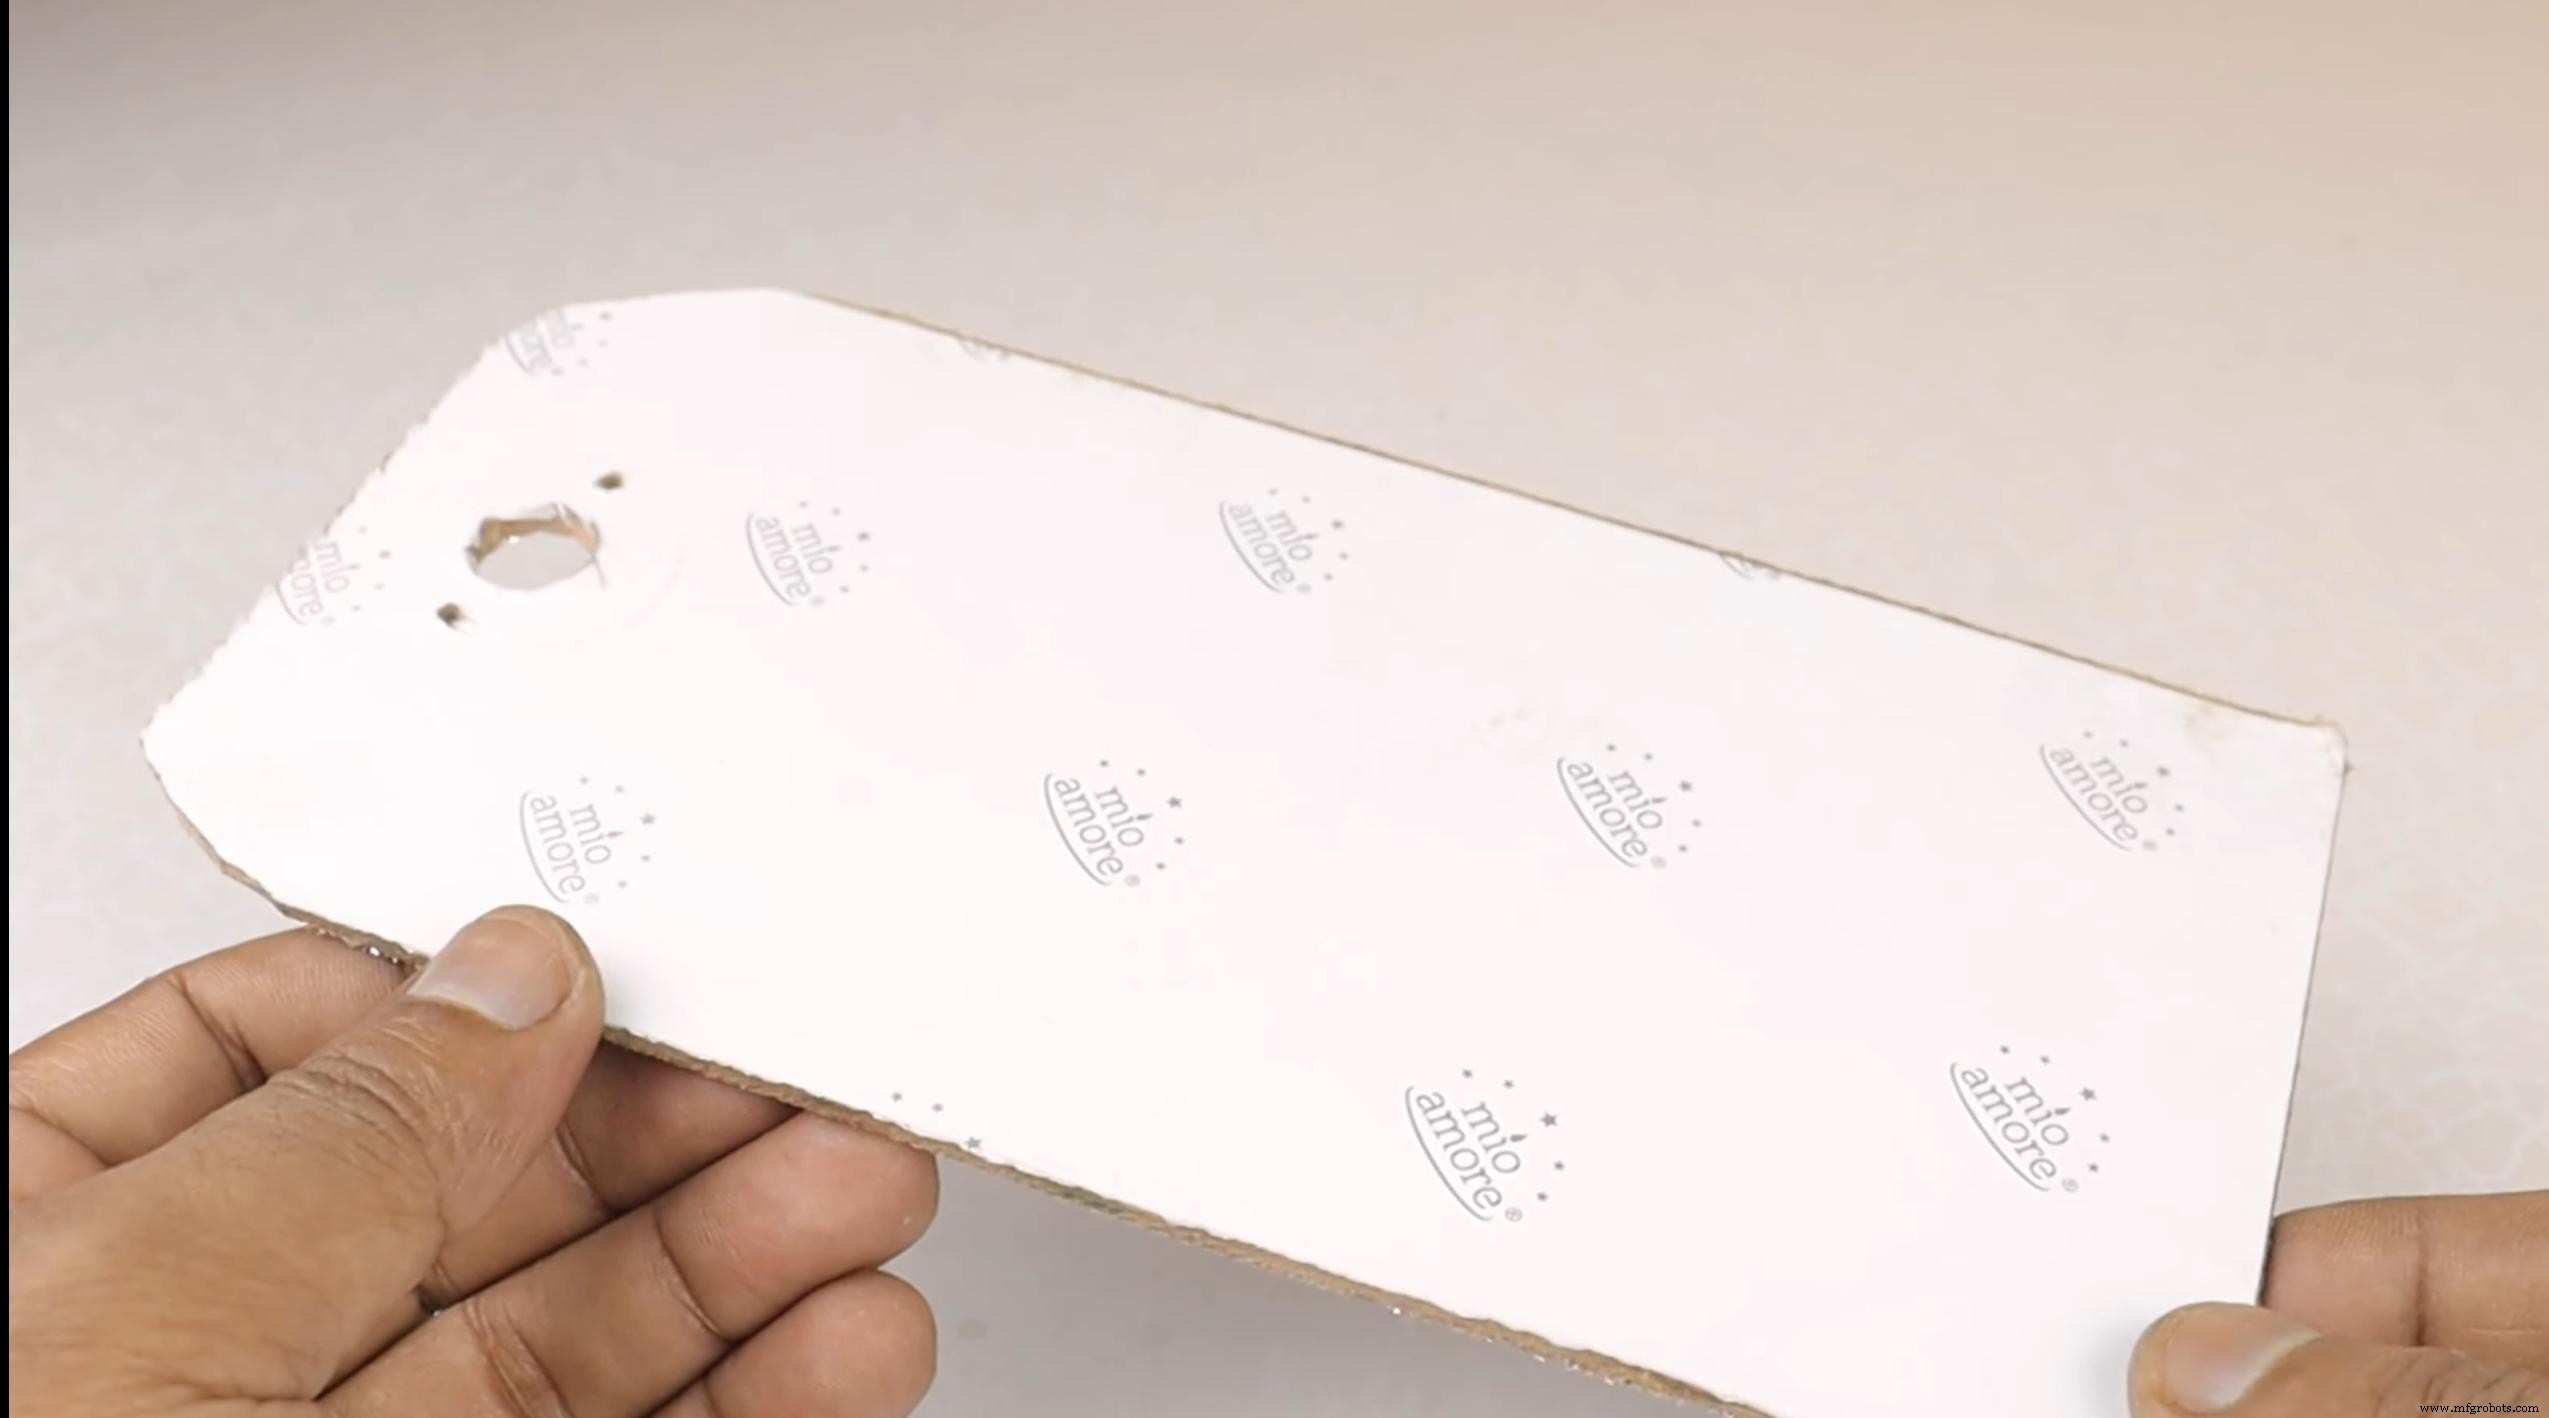
Step 3: Assemble the Motor Base Board
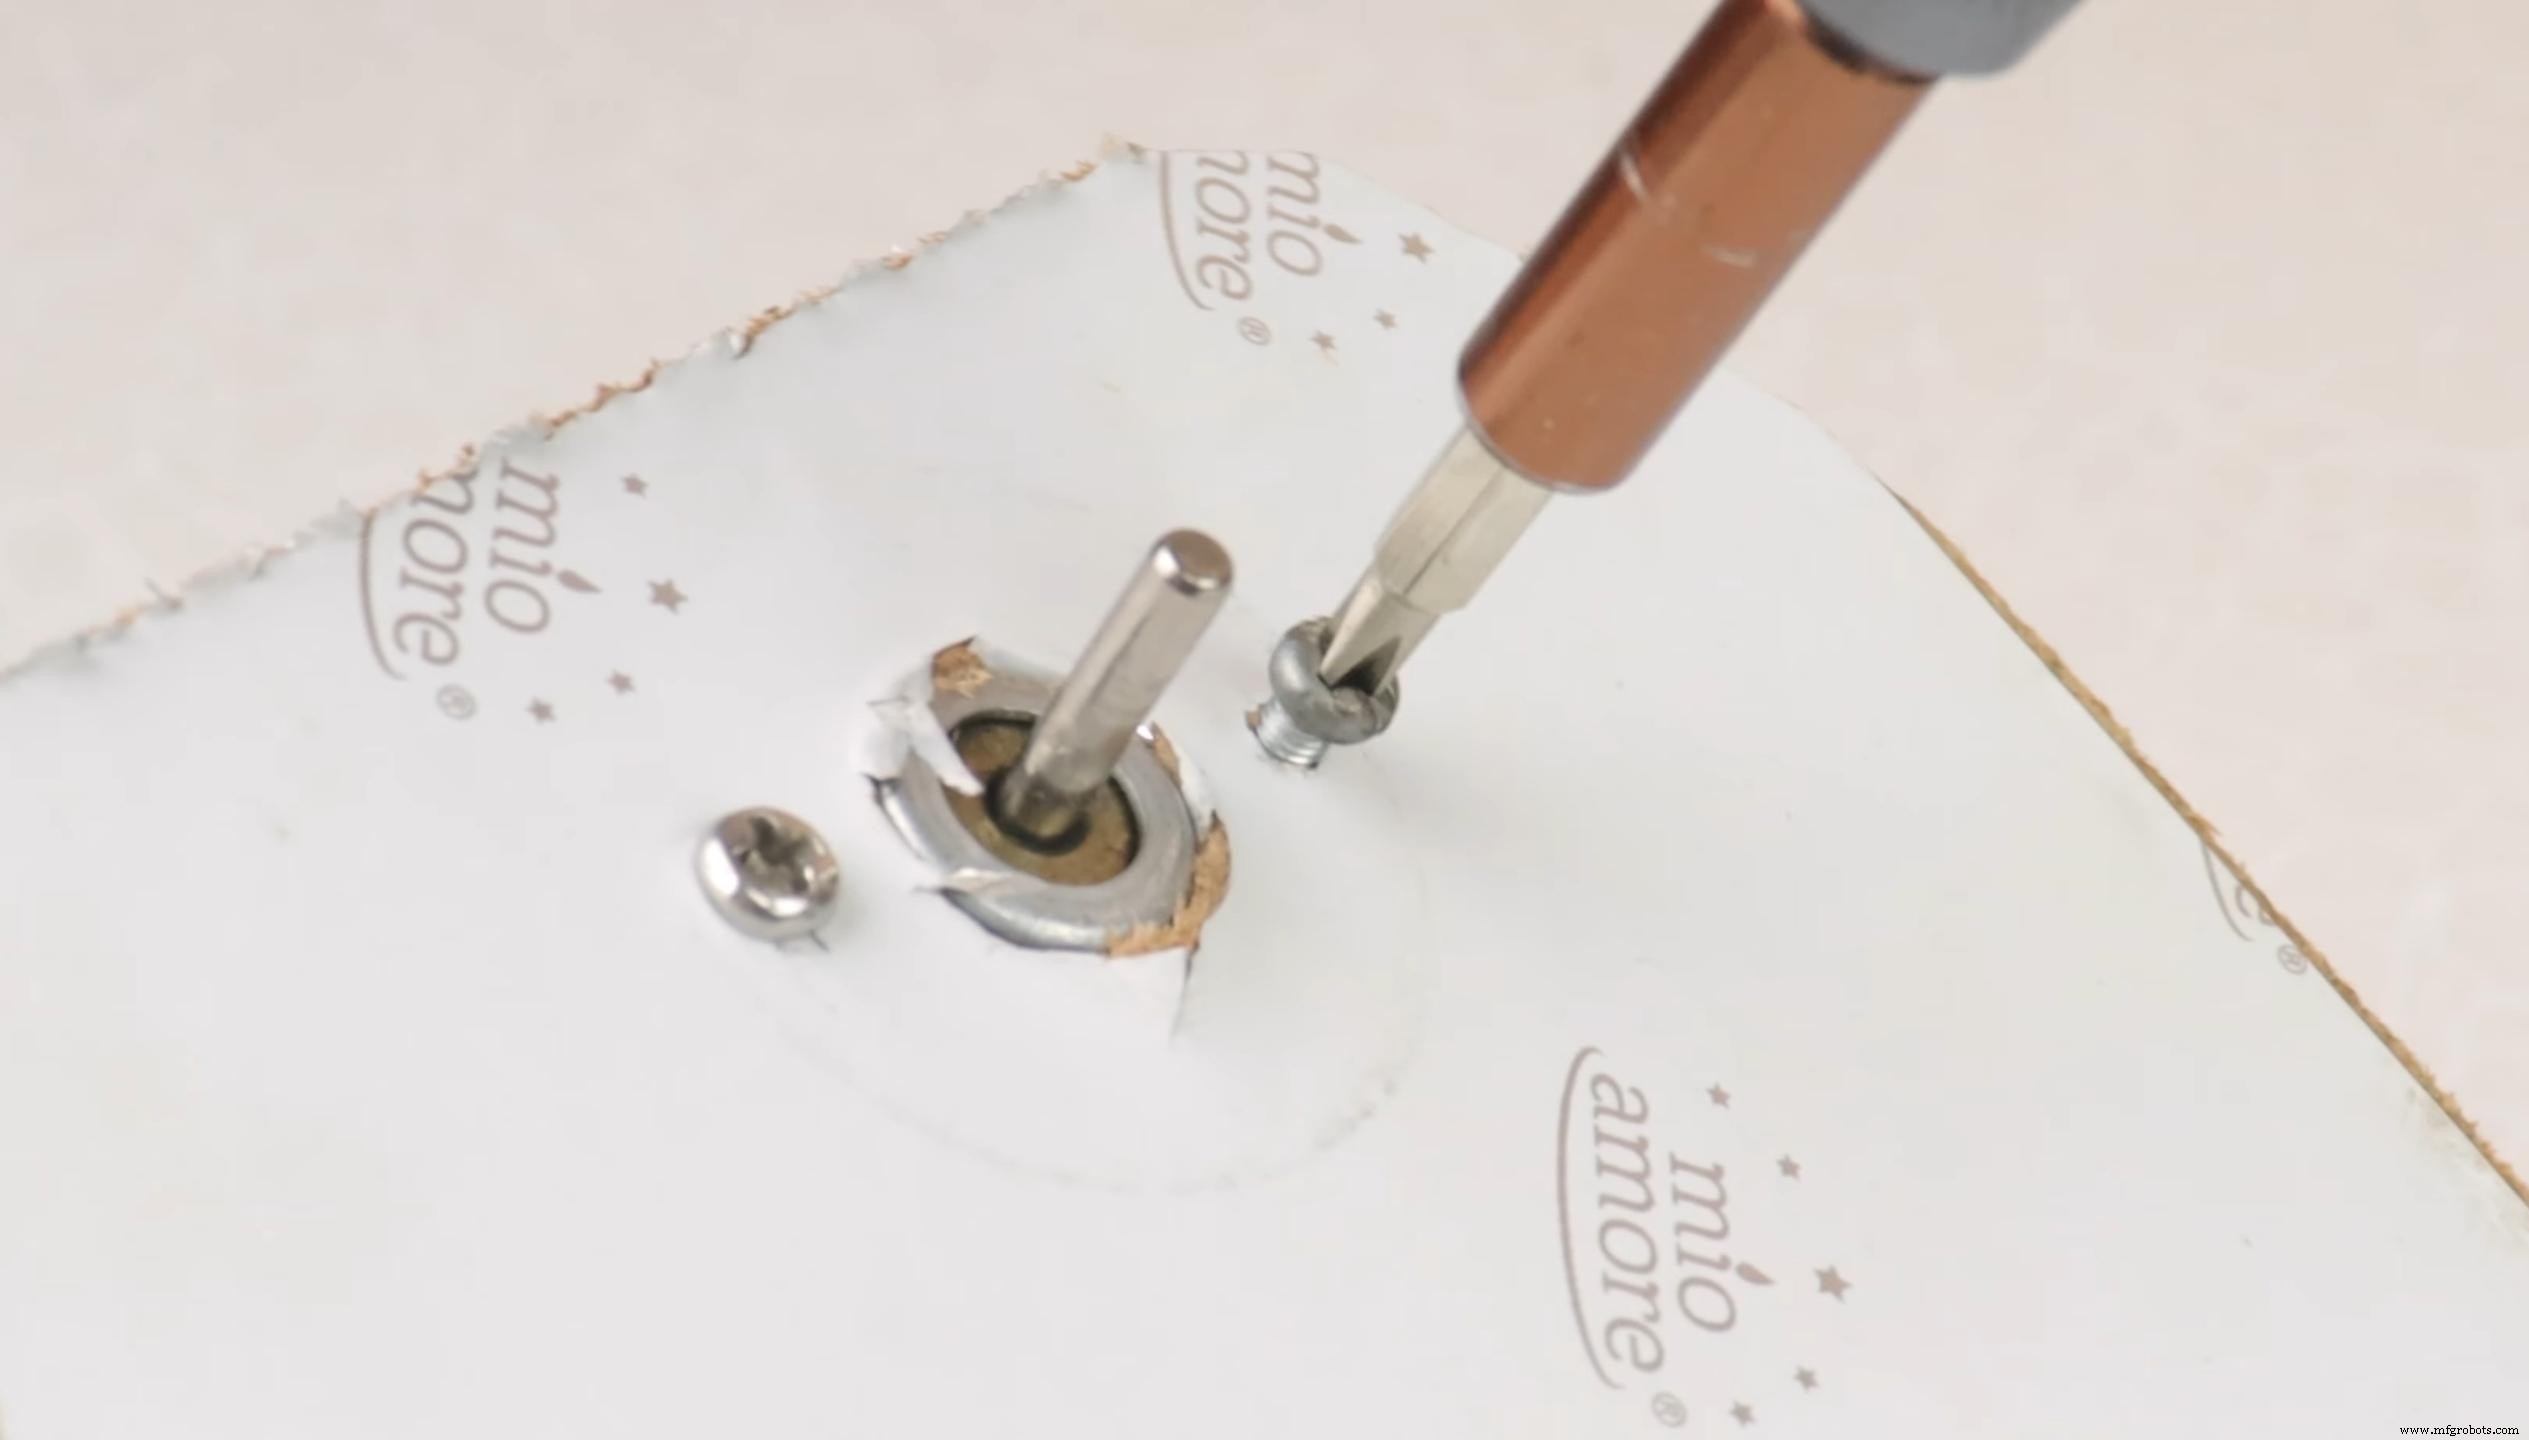
Choose a stable base – a wooden plank, cardboard, or any flat surface will work. Drill a central hole that snugly fits the motor shaft and secure it with a screw to allow free rotation.
Step 4: Assemble the Circuit
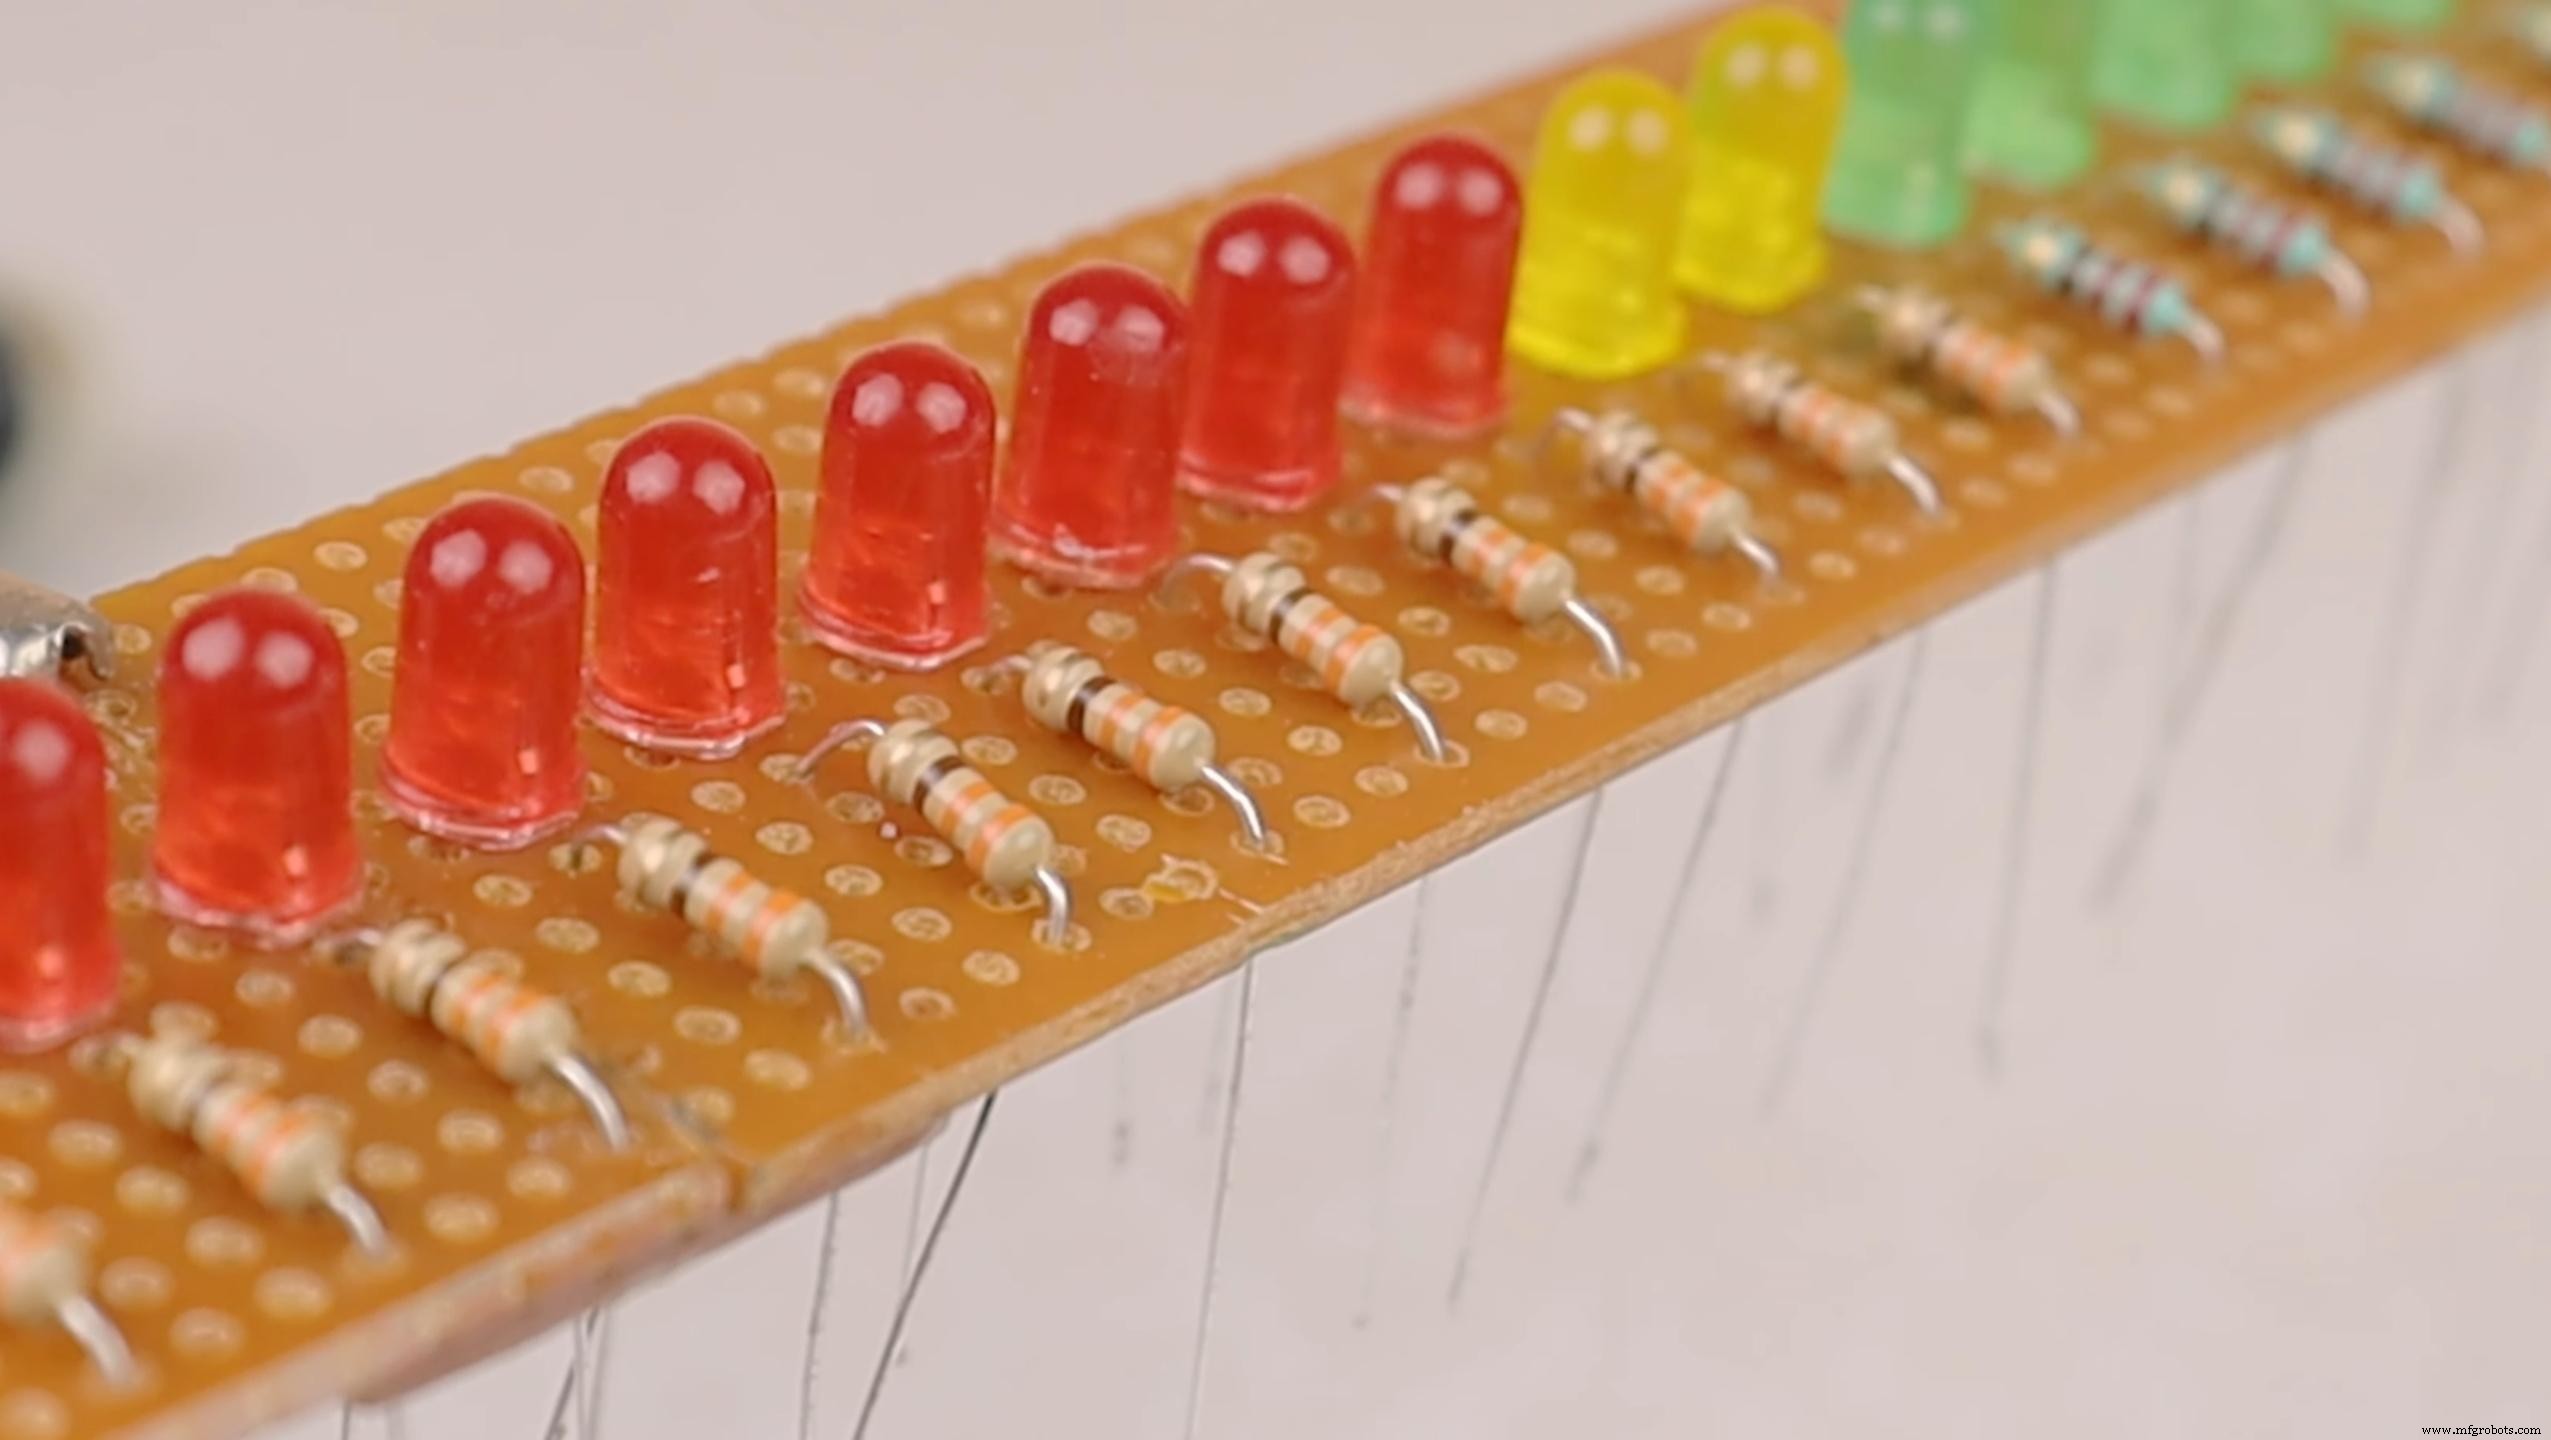
Mount the 19 LEDs in a straight line on the perfboard. Attach the appropriate resistor to each anode and solder them in place. Connect all cathodes to a single ground trace. Once assembled, test each LED with a 3.7 V coin cell to confirm functionality.
Mount the Arduino Nano on the board using two female header strips for a secure connection.
Step 5: Connect LEDs to Arduino
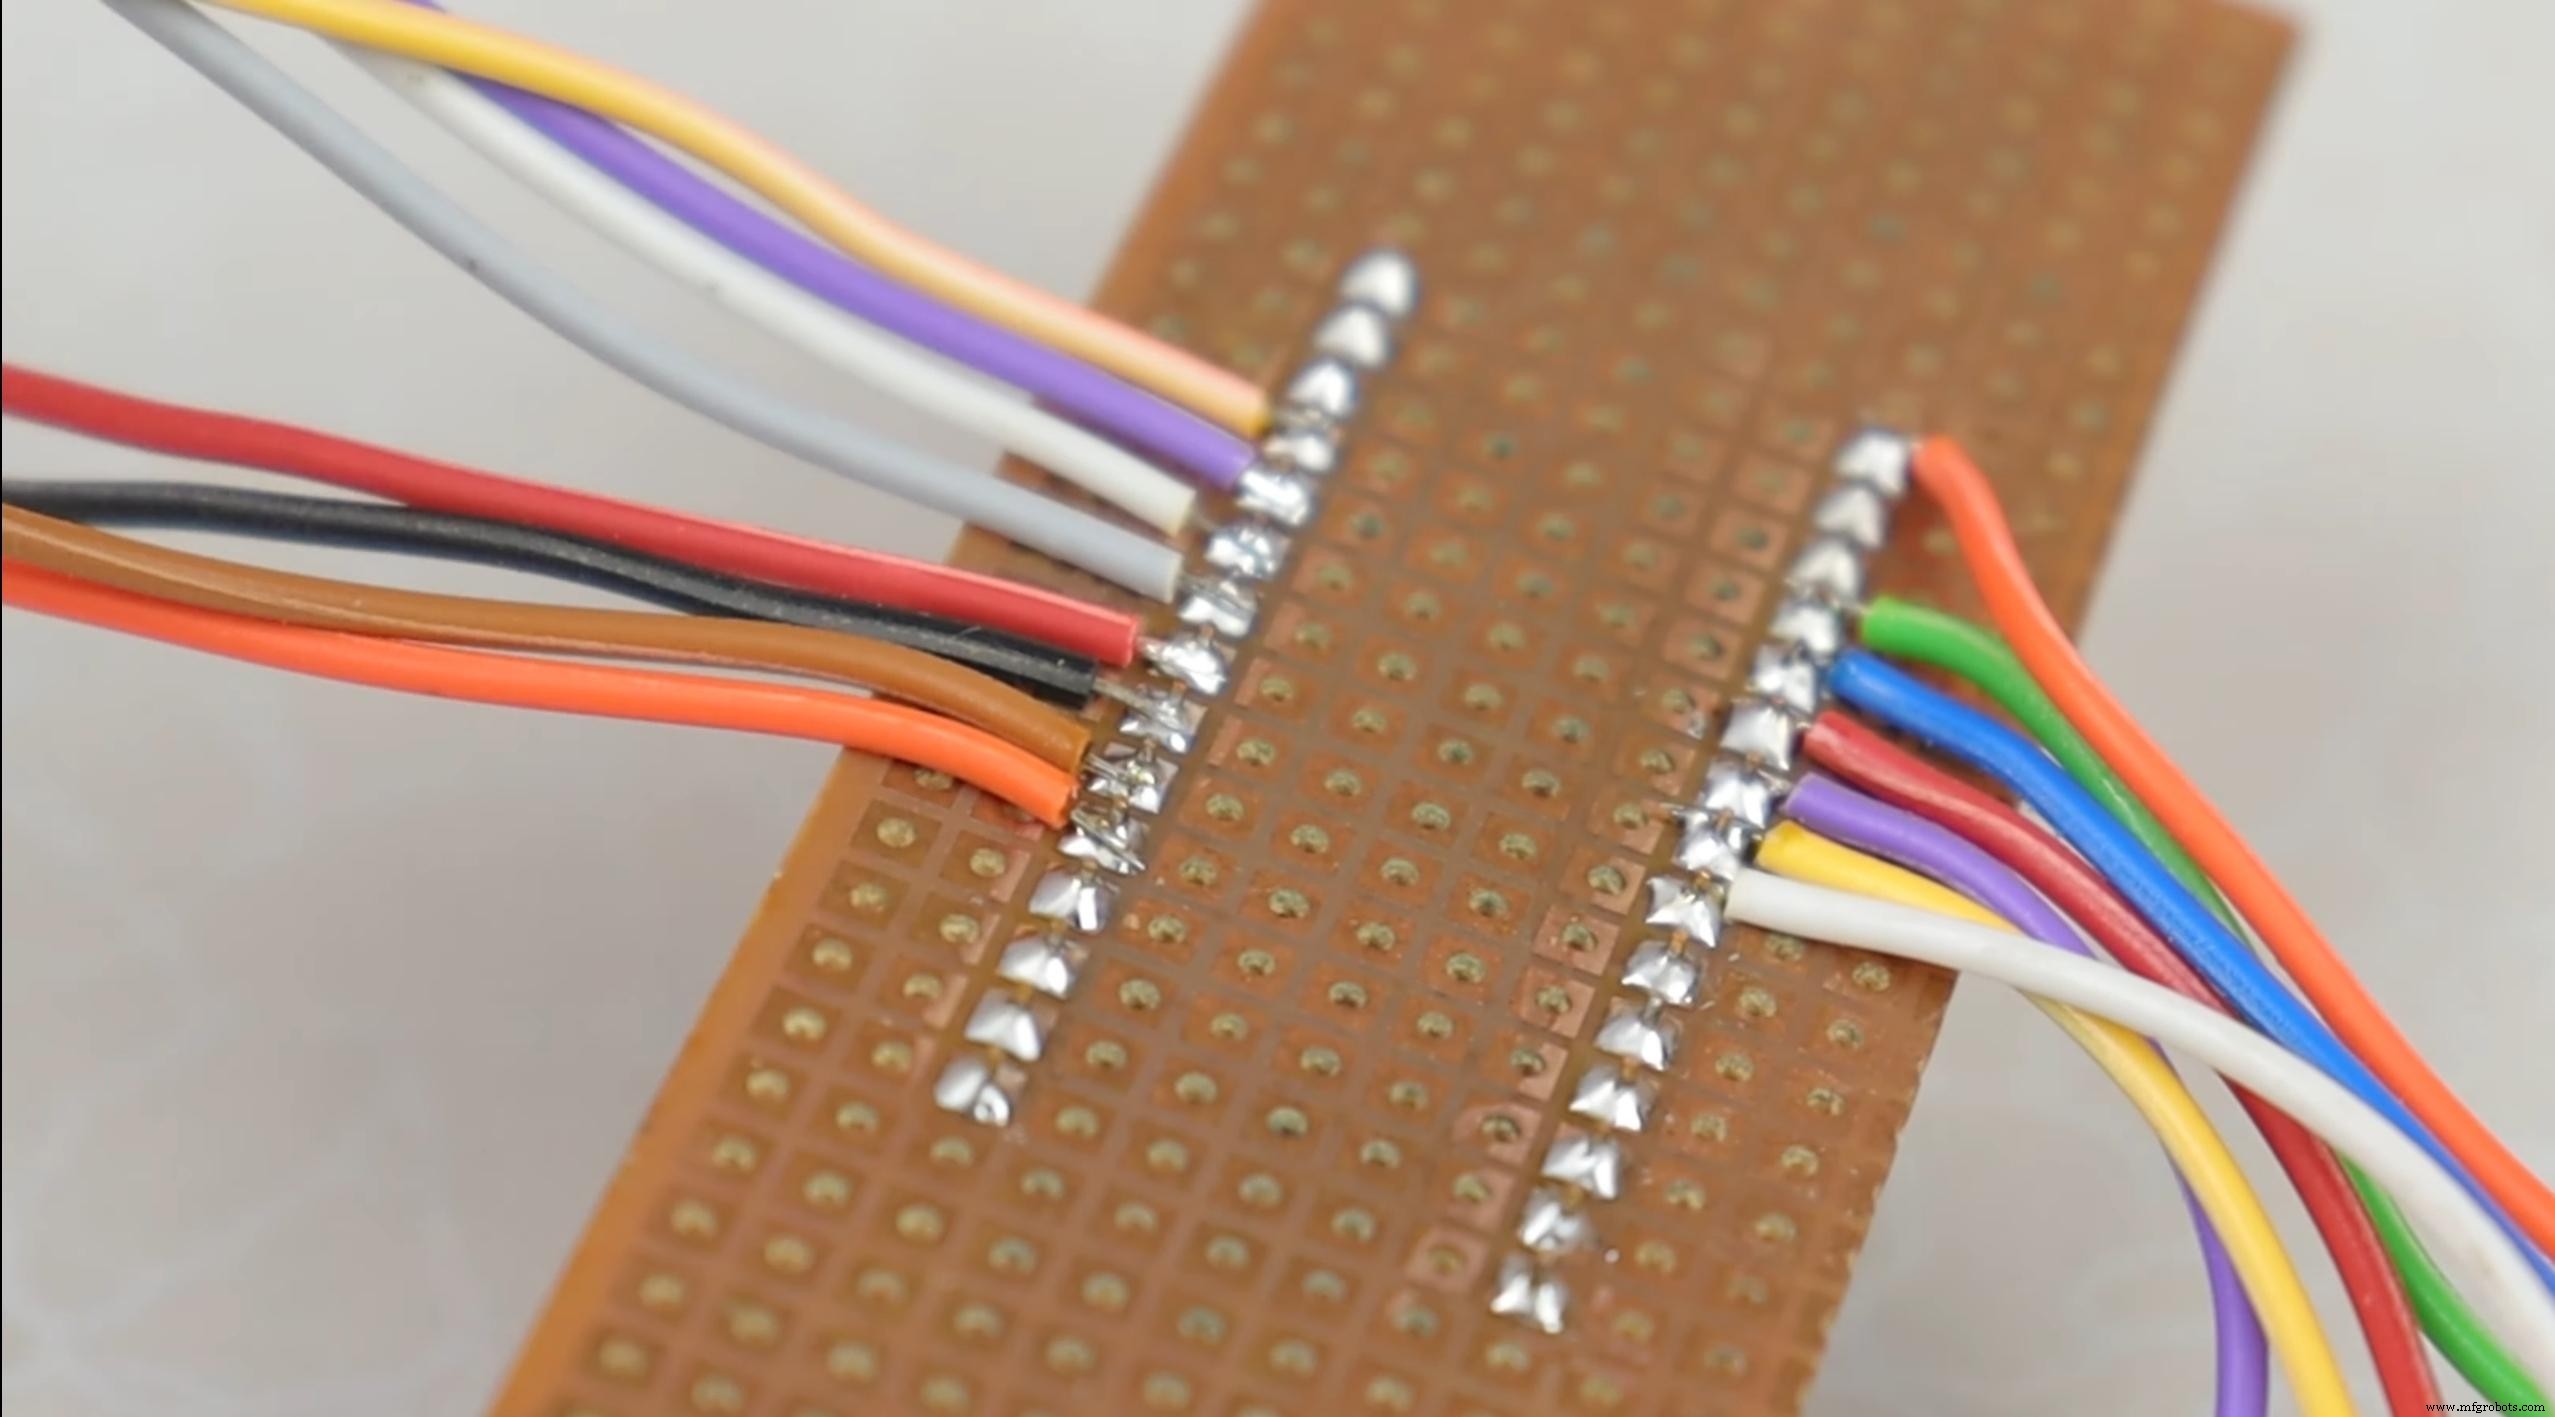
Wire each resistor’s free end to a digital pin on the Arduino Nano (e.g., D2–D20). Use a single jumper wire to connect all LED cathodes to the GND pin. This configuration allows the Arduino to control each LED individually.
Step 6: Mount the Propeller in Motor
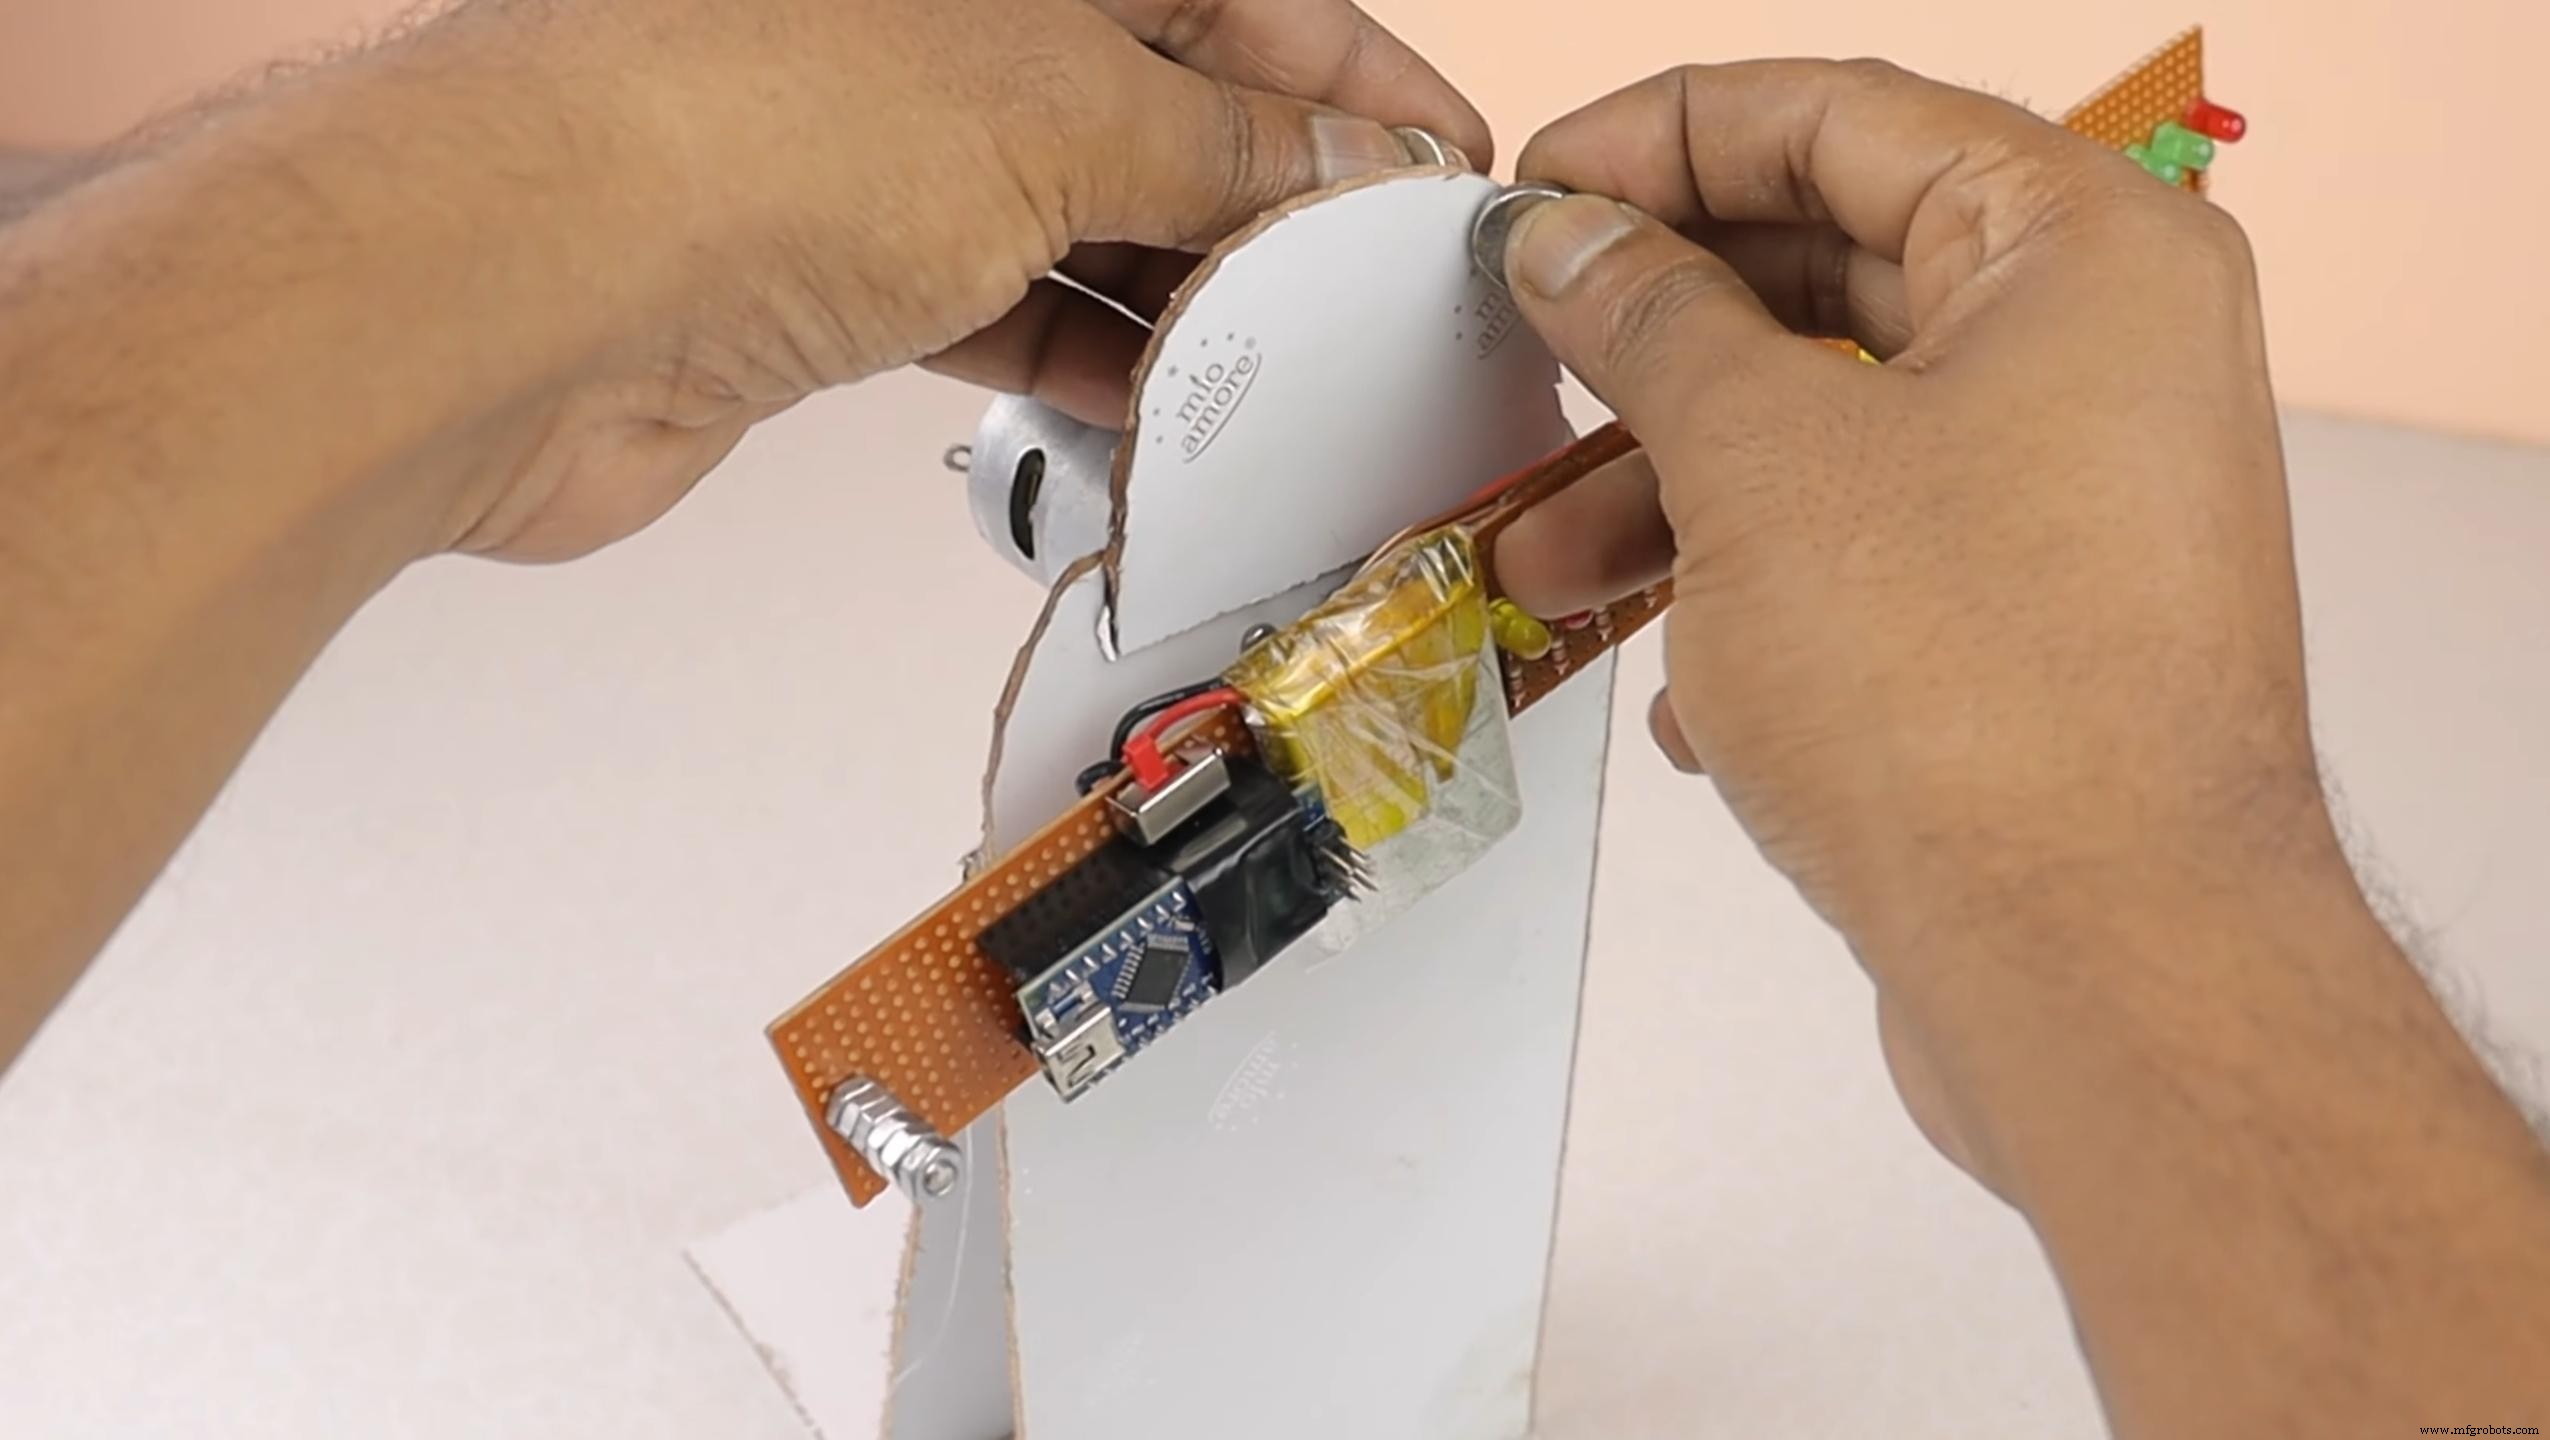
Attach the LED row to the motor shaft, ensuring it is centered and balanced. Place a magnet on the motor’s side so the Hall‑effect sensor on the Arduino can detect each rotation. This pulse triggers the LED pattern to refresh.
Step 7: Programming
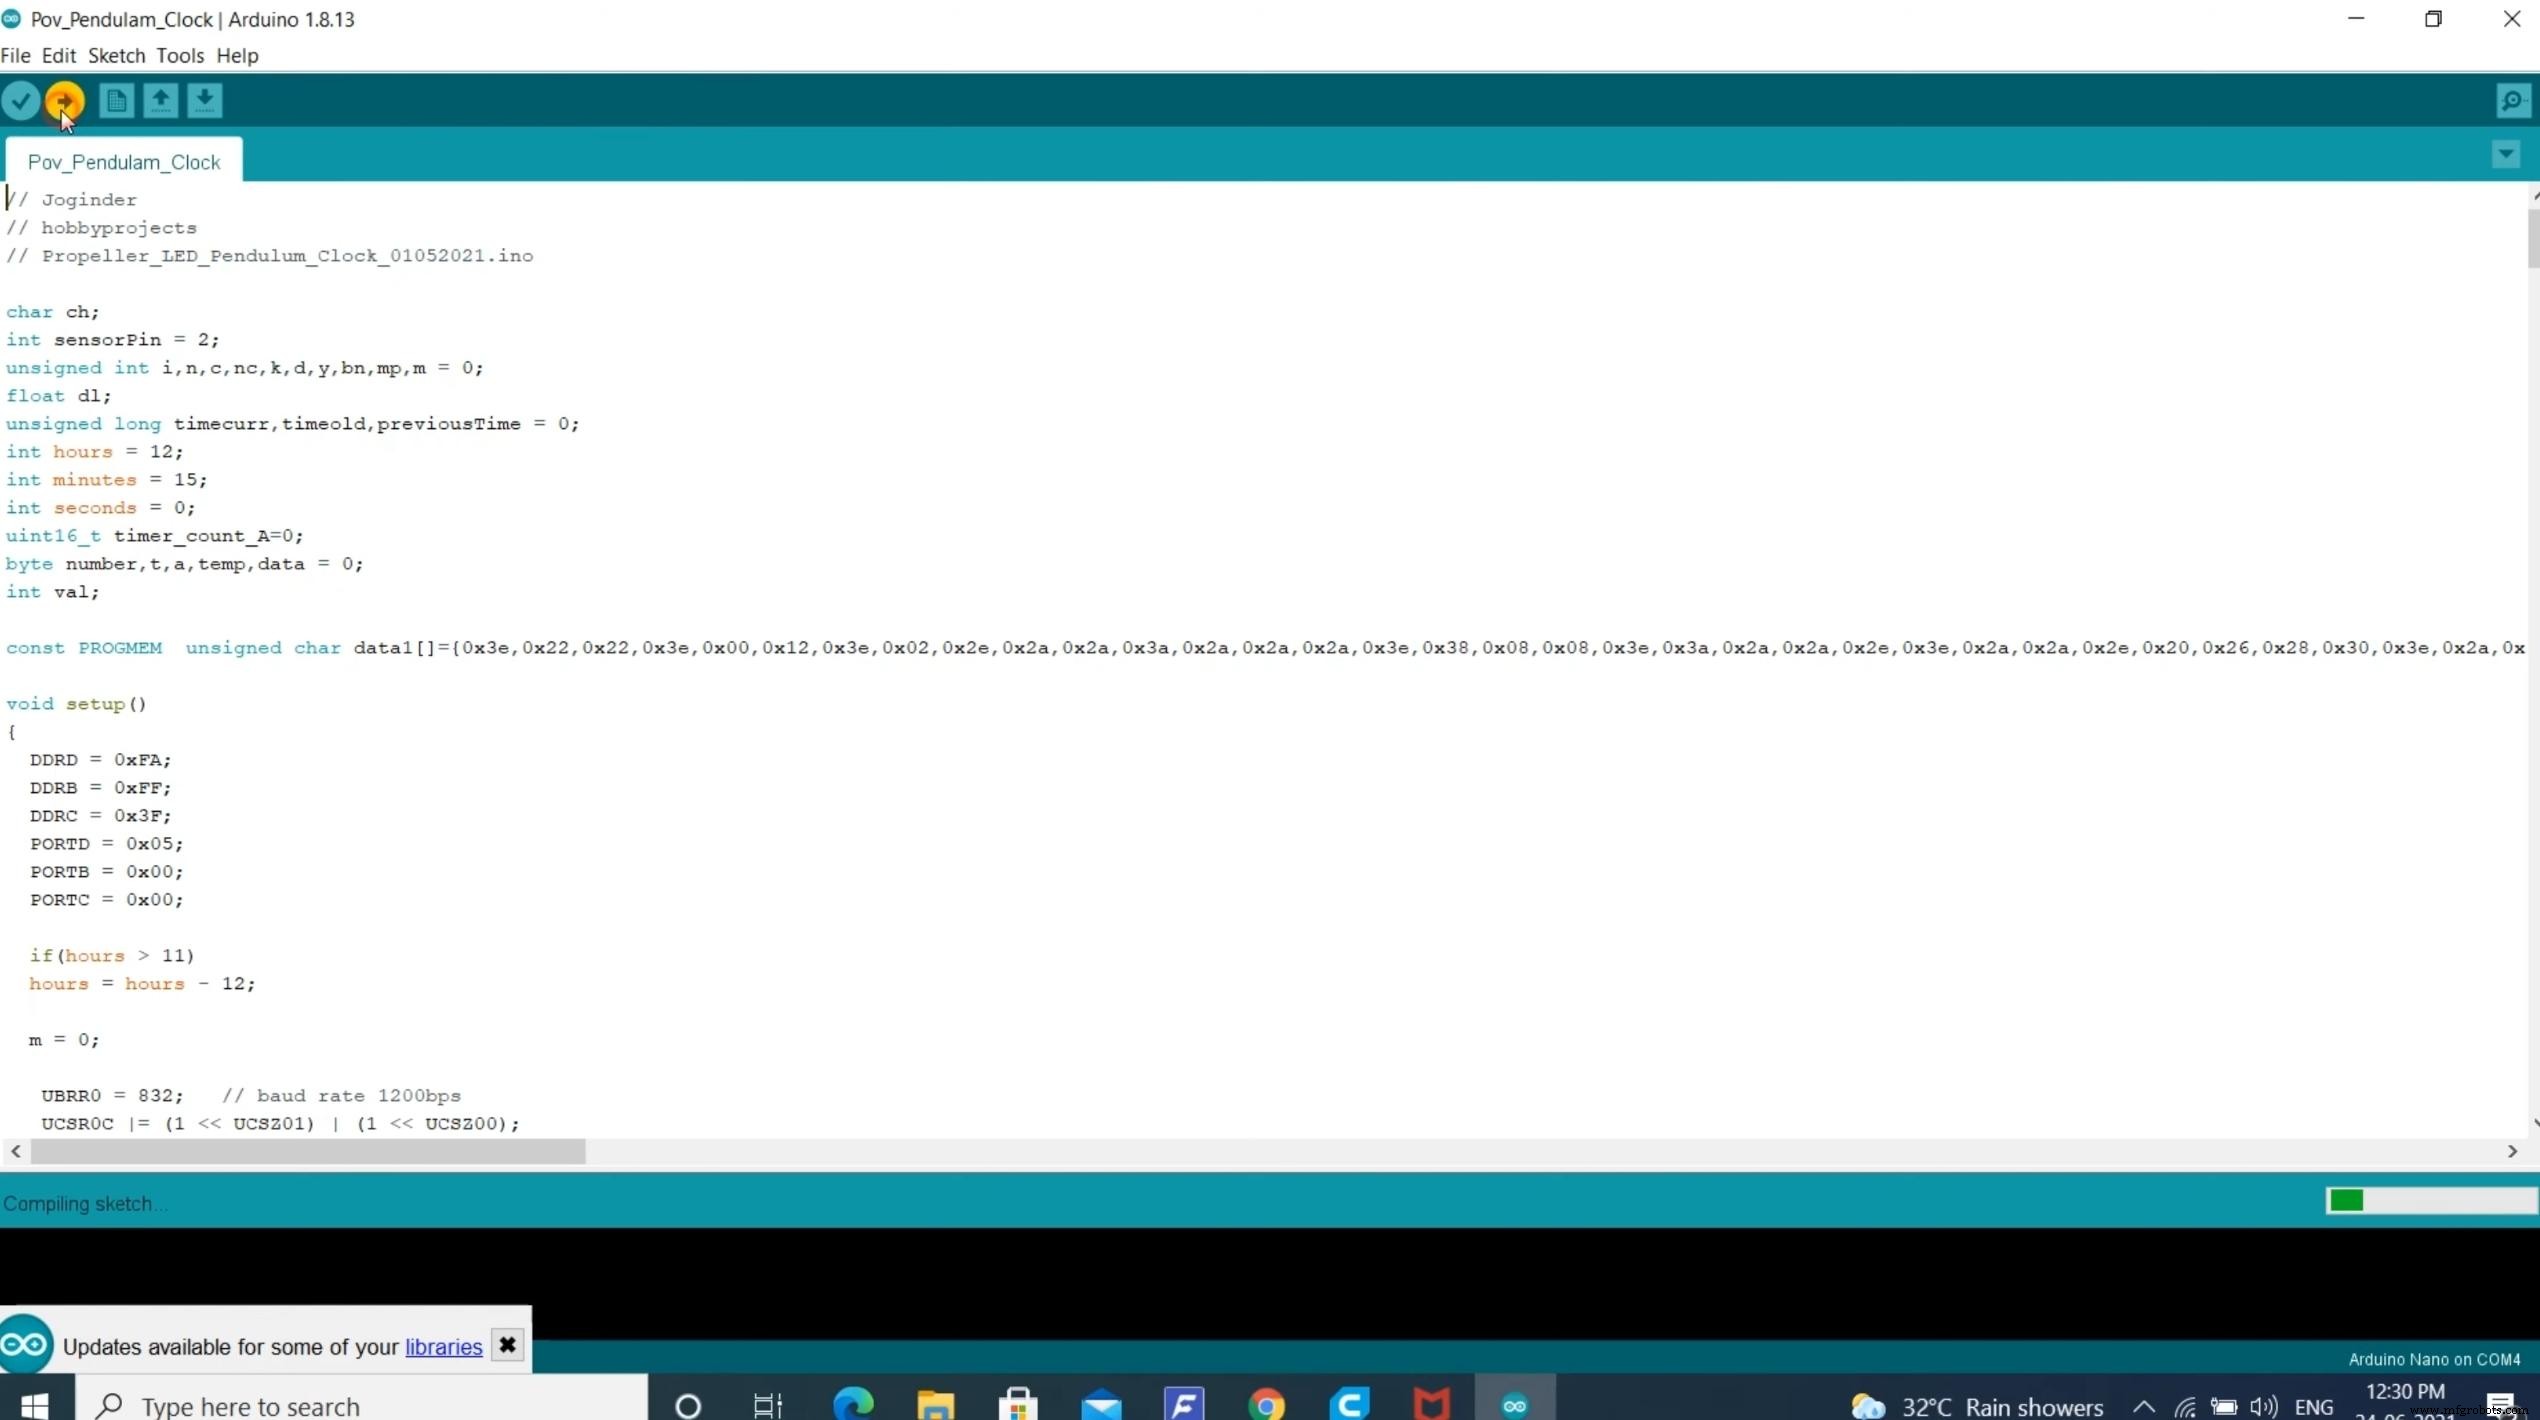
Download the Arduino sketch that controls the POV clock and upload it to your Nano:
The code uses the Hall‑effect sensor’s interrupt to time the LED activation, creating a smooth, floating clock display.
Step 8: Testing
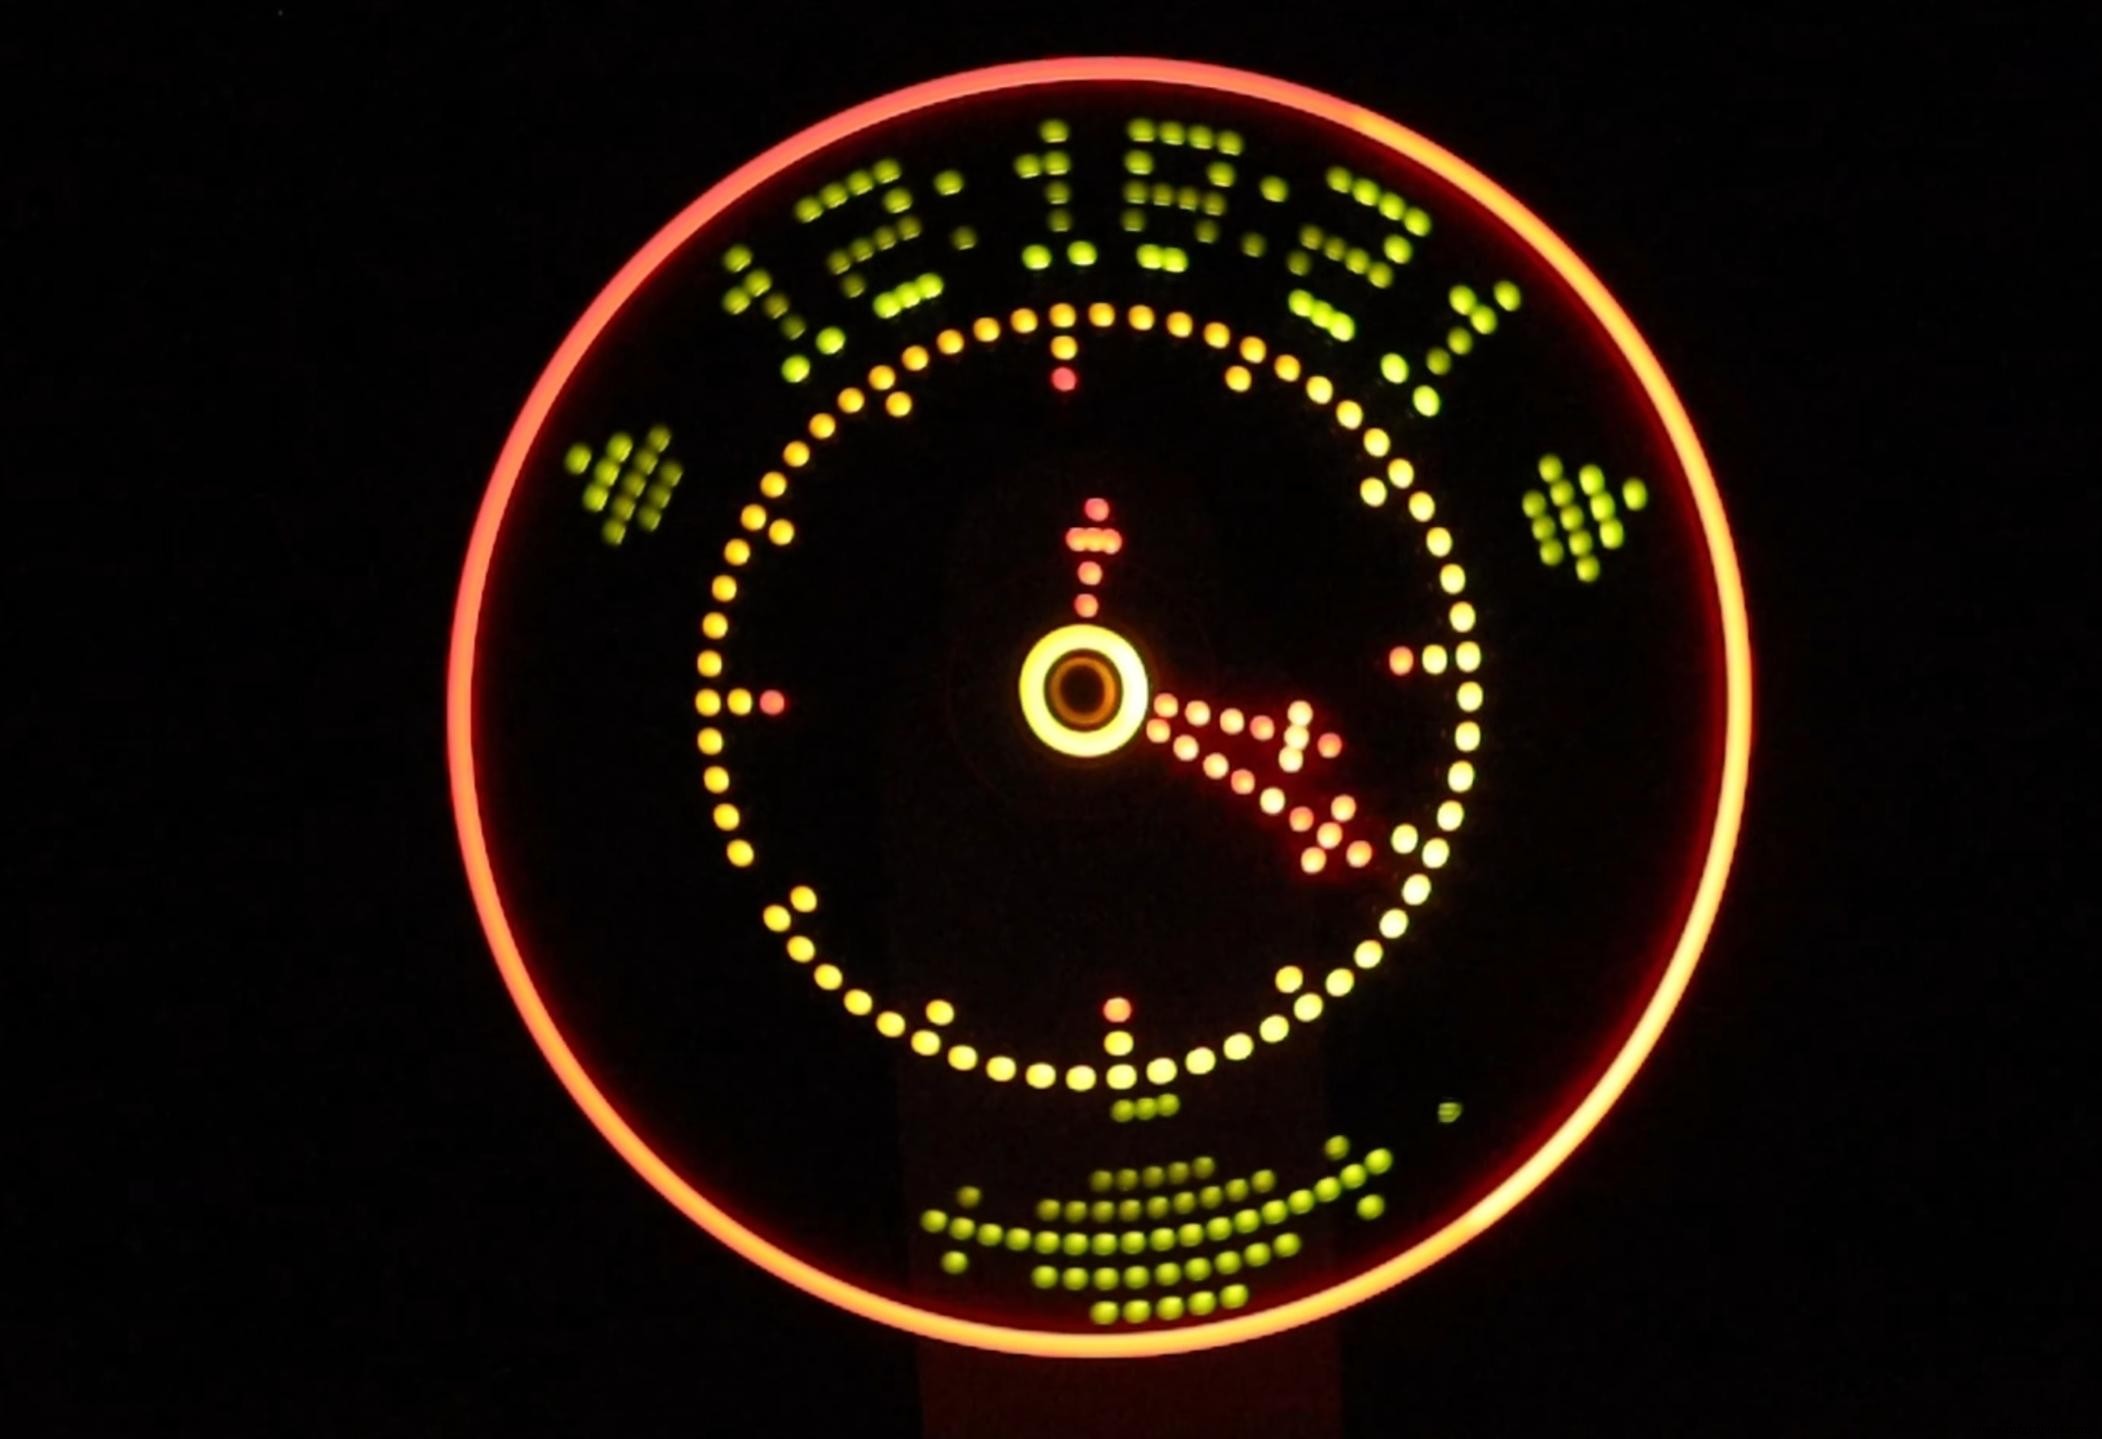
Once powered, the rotating LED row should form a clear, persisting image of the time. Adjust the motor speed if the display flickers or appears blurry. For best results, keep the viewing distance between 30 cm and 60 cm.
Code
Schematics
Manufacturing process
- DIY Arduino Word Clock – Build a Sleek Real-Time Display
- Build a Custom LED Master Clock with Alarm – Viewable from 12 Meters
- Analog-Style LED Persistence‑of‑Vision Clock – DIY Arduino Nano Project
- Build a Portable Persistence of Vision Display with Arduino UNO and ATtiny85
- Build a Precise 7‑Segment Clock with Arduino Pro Mini & DS1302 RTC
- DIY Persistence of Vision (POV) Globe: LED Art with Arduino Mega
- Arduino DCF77 Analyzer Clock MK2 – Accurate 60‑LED Ring Time Code Display
- Arduino Nano Analog Clock with DS3231 RTC & 1mA Ammeter – Precision Wooden Timer
- Build a Precise Clock with Arduino Nano and 16x2 LCD
- DCF77 Radio Clock & Analyzer v2.0 – Arduino Mega/UNO Project