Transfer Temperature & Humidity Data Between Two Arduinos Using Firebase
Components & Supplies
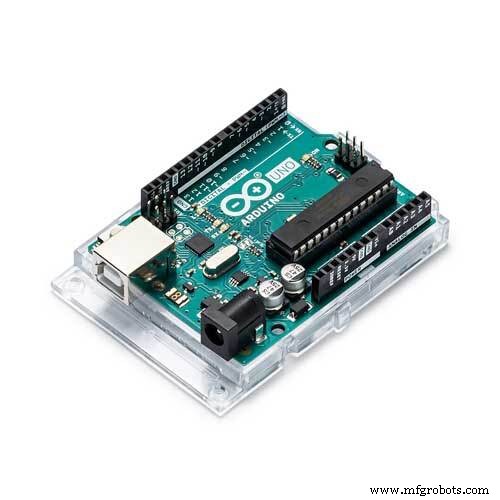 | | × | 2 | |
 | | × | 2 | |
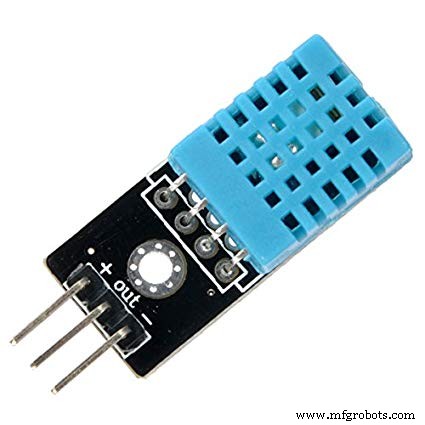 | | DHT11 Temperature & Humidity Sensor (3‑pin) |
| × | 1 | |
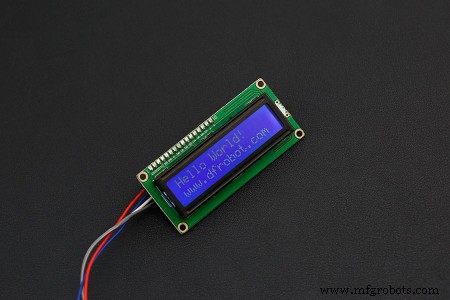
| | DFRobot I2C 16x2 LCD Display |
| × | 1 | |
 | | × | 2 | |
 | | × | 1 | |
Apps & Online Services
Project Overview
In this IoT tutorial, you’ll read temperature and humidity from a DHT11 sensor on one Arduino UNO, push the values to Firebase via an ESP8266, and then pull those readings back on a second Arduino UNO to display them on an I2C LCD. This hands‑on example demonstrates serial communication, Wi‑Fi networking, and cloud data storage—all essential skills for modern embedded developers.
Step 1 – Understand the Role of Each Board
The UNO serves as the sensor interface while the ESP8266 acts as the Wi‑Fi gateway. They communicate over the serial port; the ESP8266 never connects directly to the internet, only the Wi‑Fi module does. Keep the code separate for each board to avoid confusion.
Step 2 – Connect the LCD to the UNO
Use I2C for simplicity and reduced pin usage. The 20x4 LCD example in the DFRobot module works out of the box. If you’re using a 20x4 display, update the constructor to LiquidCrystal_I2C lcd(0x3F, 20, 4);.
Step 3 – Wire the DHT11 to the Second UNO
Follow the official Arduino DHT11 tutorial for wiring and library installation. The sensor requires only a single data pin (A0 in our example).
Step 4 – Set Up the ESP8266 with Firebase
Configure Wi‑Fi credentials and Firebase project details in the sketch. The Firebase Realtime Database provides a simple JSON tree where the ESP8266 writes temperature and humidity nodes. For beginners, the tutorial video covers each step in detail.
Step 5 – Master Serial Communication
When transmitting data over serial, output only the required string. Any additional debugging prints can break the protocol. In our implementation, the sensor UNO sends a comma‑separated string (e.g., 25.3,60.1) to the ESP8266, which parses and forwards each value to Firebase.
Step 6 – Upload and Test
Upload the sensor sketch to the first UNO, the sensor‑ESP8266 sketch to the first ESP8266, and the LCD‑ESP8266 sketch to the second ESP8266. Verify that the LCD updates with fresh readings every few seconds. Always disconnect the Arduino USB cable before unplugging any jumper wires to prevent accidental shorts.
Common Pitfalls & Fixes
- Upload Failure to ESP8266: Select the generic ESP8266 board in the IDE. If the sketch still won’t upload, reset the board, re‑insert the module, and try again.
- Upload Failure to UNO: Ensure the USB cable is connected before launching the uploader. Remove the ESP8266’s GPIO‑0 (IO0) from GND during programming.
- Serial Mismatch: Connect ESP8266 TX to UNO RX and ESP8266 RX to UNO TX (crossed). Do not print any non‑data strings during communication.
- LCD Glitches: Serial delays can cause the LCD to display random characters. Running
lcd.clear() before printing each new set of values resolves most issues.
Code Snippets
- lcd_arduino.ino
- lcd_esp8266.ino
- sensor_arduino.ino
- sensor_esp8266.ino
lcd_arduino.ino (Arduino)
#include <LiquidCrystal_I2C.h>
#include <Wire.h>

LiquidCrystal_I2C lcd(0x3F, 20, 4);
String sensorData;

void setup() {
  Serial.begin(9600);
  lcd.begin(20, 4);
  lcd.init();
  lcd.backlight();
  lcd.setCursor(0, 0); lcd.print("Temperature: ");
  lcd.setCursor(18, 0); lcd.print("C");
  lcd.setCursor(0, 1); lcd.print("Humidity: ");
  lcd.setCursor(15, 1); lcd.print("%");
}

void loop() {
  if (Serial.available()) {
    sensorData = Serial.readString();
    String temp = sensorData.substring(0, sensorData.indexOf(','));
    String hum  = sensorData.substring(sensorData.indexOf(',') + 1);
    lcd.clear();
    lcd.setCursor(13, 0); lcd.print(temp);
    lcd.setCursor(10, 1); lcd.print(hum);
  }
  delay(2000);
}
lcd_esp8266.ino (ESP8266)
#include <ESP8266WiFi.h>
#include <FirebaseArduino.h>

#define FIREBASE_HOST "YOUR_FIREBASE_LINK"
#define FIREBASE_AUTH "YOUR_FIREBASE_TOKEN"
#define WIFI_SSID "YOUR_WIFI_SSID"
#define WIFI_PASSWORD "YOUR_WIFI_PASSWORD"

void setup() {
  Serial.begin(9600);
  WiFi.begin(WIFI_SSID, WIFI_PASSWORD);
  while (WiFi.status() != WL_CONNECTED) delay(500);
  Firebase.begin(FIREBASE_HOST, FIREBASE_AUTH);
}

void loop() {
  String temp = Firebase.getString("temperature");
  String hum  = Firebase.getString("humidity");
  Serial.flush();
  Serial.print(temp + "," + hum);
  delay(2000);
}
sensor_arduino.ino (Arduino)
#include <SoftwareSerial.h>
#include <dht.h>
#define DHT_PIN A0

DHT dht;

void setup() {
  Serial.begin(9600);
}

void loop() {
  dht.read11(DHT_PIN);
  String data = String(dht.temperature) + "," + String(dht.humidity);
  Serial.flush();
  Serial.print(data);
  delay(2000);
}
sensor_esp8266.ino (ESP8266)
#include <ESP8266WiFi.h>
#include <FirebaseArduino.h>

#define FIREBASE_HOST "YOUR_FIREBASE_LINK"
#define FIREBASE_AUTH "YOUR_FIREBASE_TOKEN"
#define WIFI_SSID "YOUR_WIFI_SSID"
#define WIFI_PASSWORD "YOUR_WIFI_PASSWORD"

void setup() {
  WiFi.begin(WIFI_SSID, WIFI_PASSWORD);
  while (WiFi.status() != WL_CONNECTED) delay(500);
  Serial.begin(9600);
  Firebase.begin(FIREBASE_HOST, FIREBASE_AUTH);
}

void loop() {
  if (Serial.available()) {
    String payload = Serial.readString();
    int comma = payload.indexOf(',');
    String temp = payload.substring(0, comma);
    String hum  = payload.substring(comma + 1);
    Firebase.setString("temperature", temp);
    Firebase.setString("humidity", hum);
    if (Firebase.failed()) {
      Serial.println("Failed to write to Firebase");
    }
  }
  delay(2000);
}


