Arduino Nano Analog Clock with DS3231 RTC & 1mA Ammeter – Precision Wooden Timer
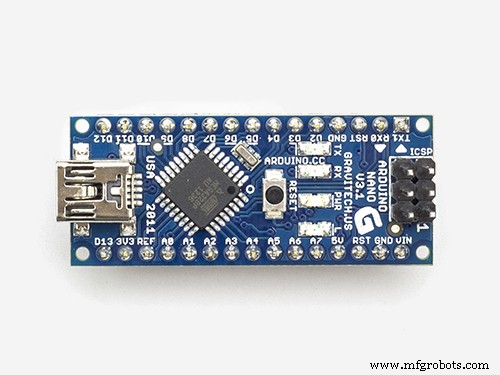
Components and supplies
 | | × | 1 | |
 | | Maxim Integrated DS3231M - ±5ppm, I2C Real-Time Clock |
| × | 1 | |
| | × | 3 | |
| | × | 3 | |
 | | × | 2 | |
 | | SparkFun Pushbutton switch 12mm |
| × | 2 | |
About this project
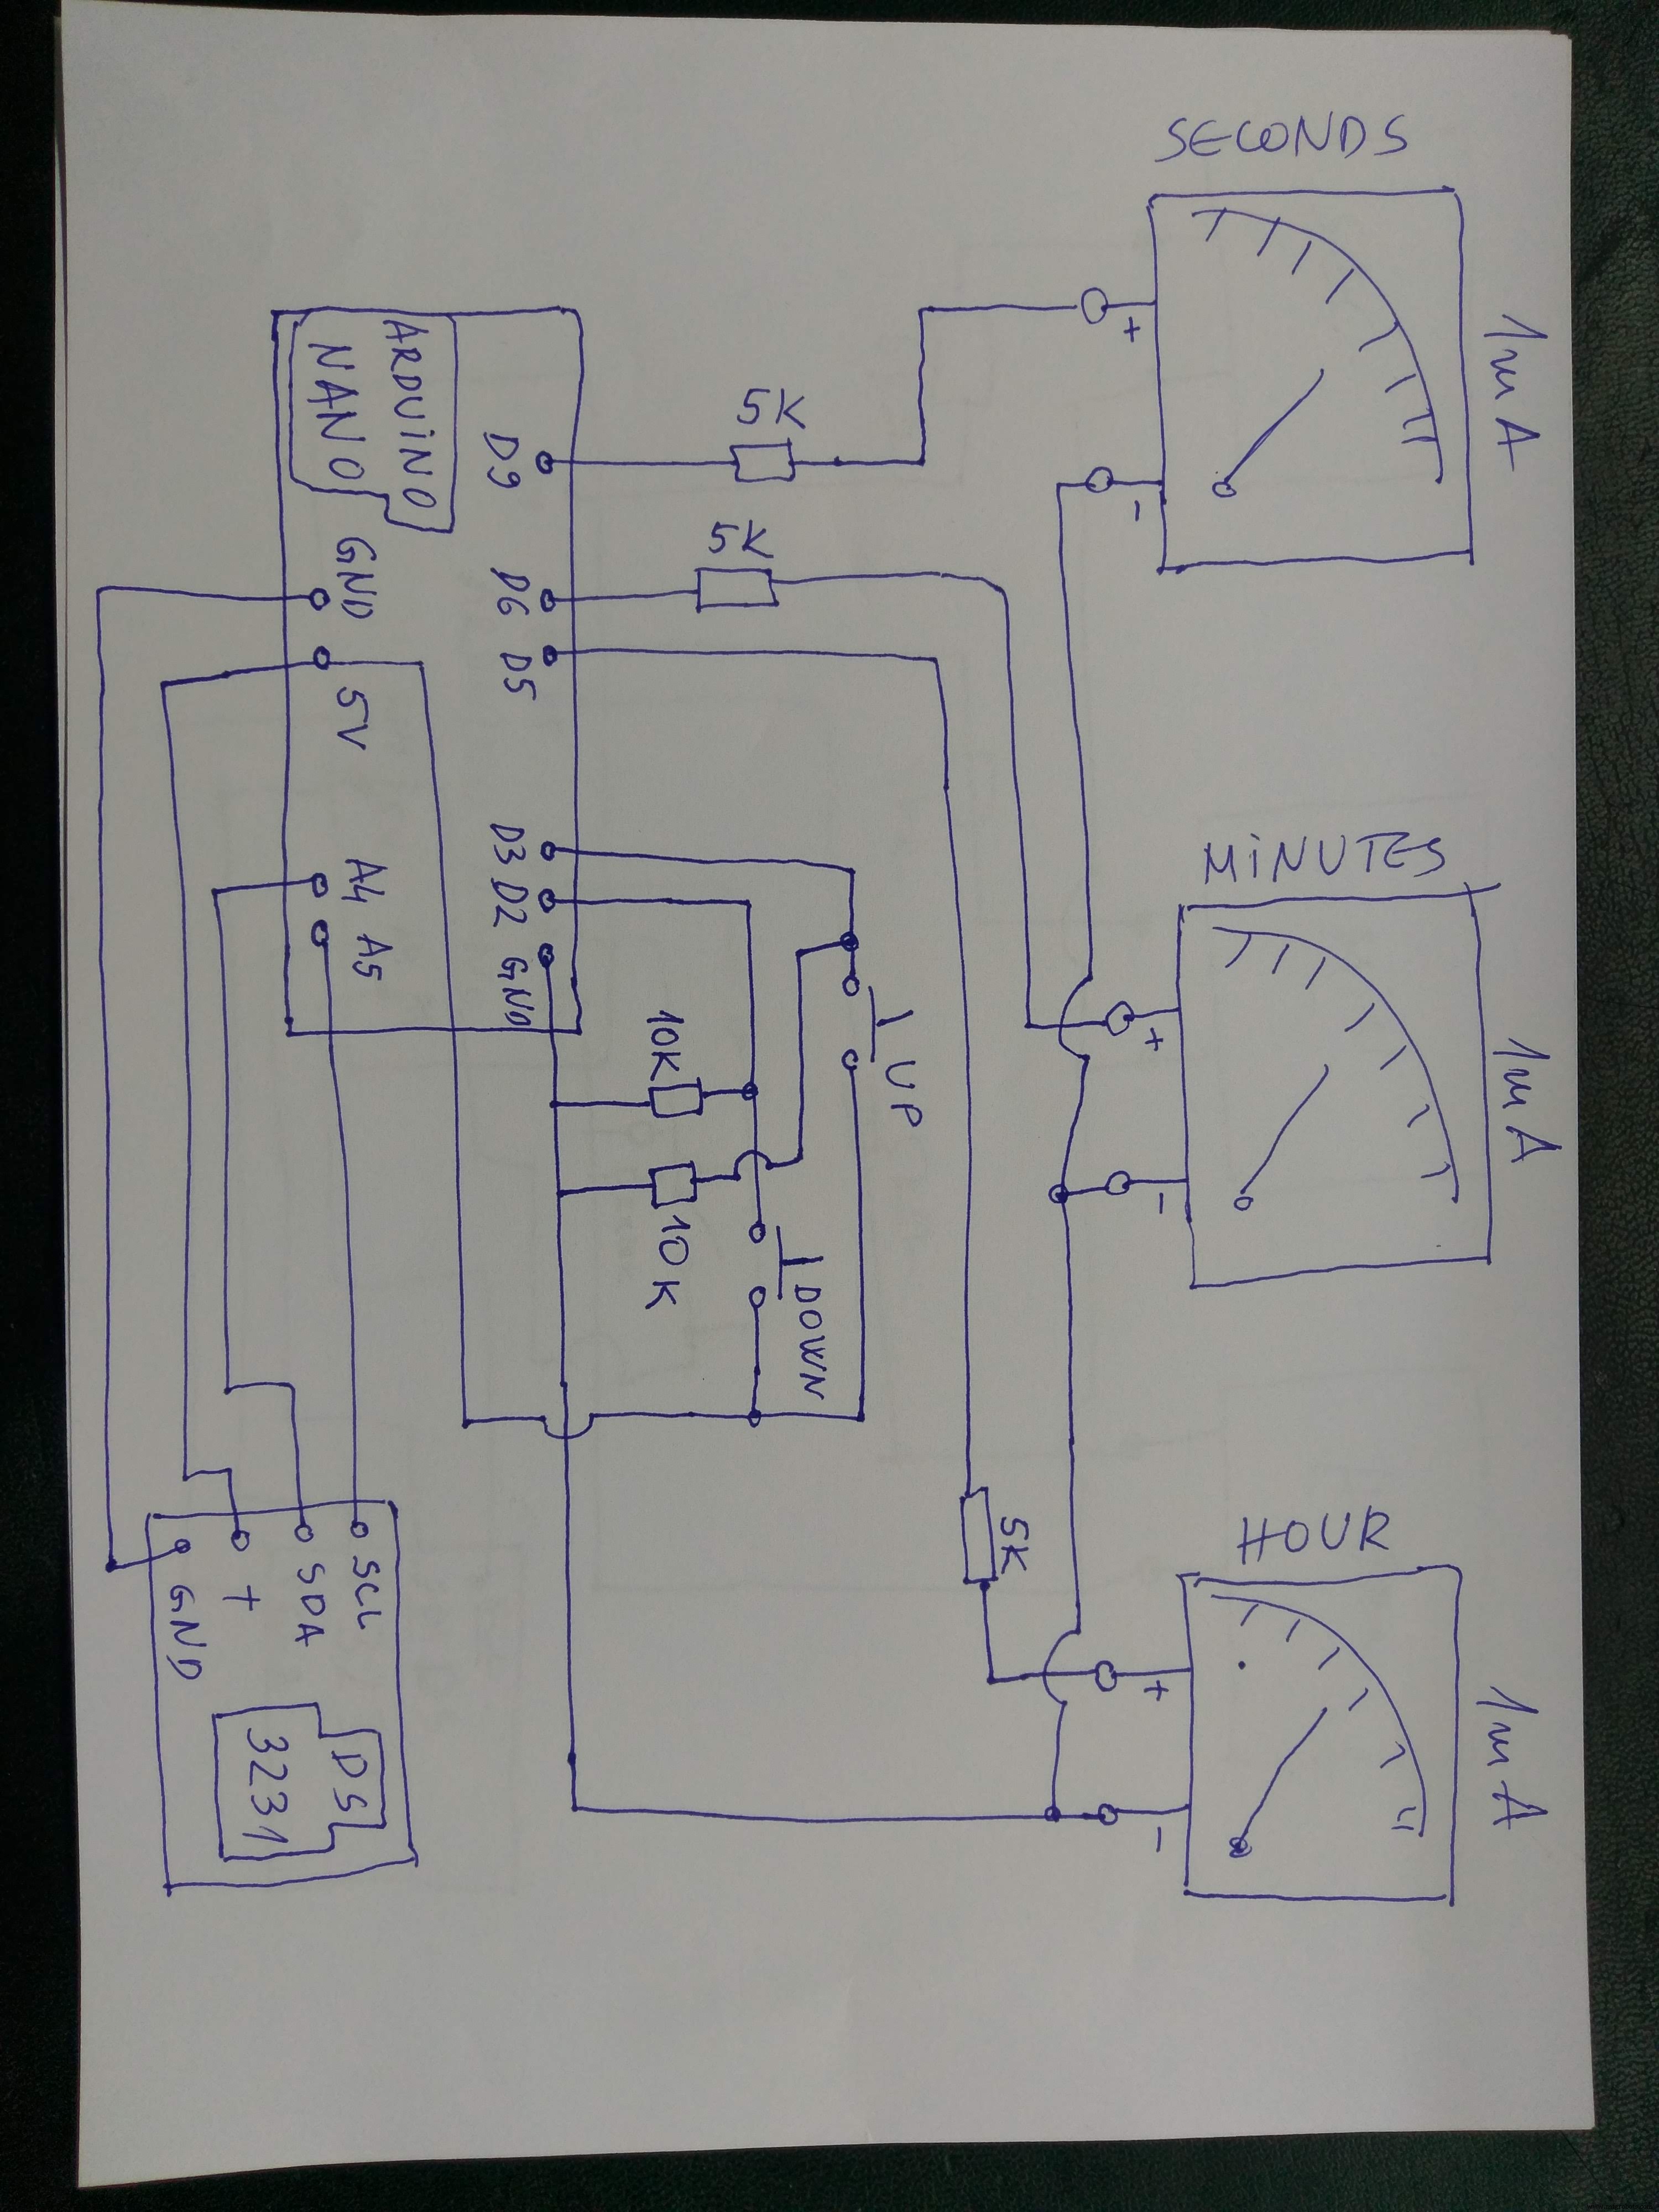
I built this nice-looking wooden analog style clock with an Arduino Nano and 1mA ammeters. I got an idea from here. For displaying the seconds, a part of the code has been added. Also added is a part that, when running, passes through the entire scale from zero to max. value for calibrating purposes. Depending on what ampermeters we use, the value of the 5k resistors can be different. Because all meters are slightly different, the PWM values need to be adjusted based on your design. You will have to change some values because it is set to work specifically with my meters.
Code
codeArduino
/*
 Analog Panel Meter - Clock ONLY Mode

 Instructables Link: http://www.instructables.com/id/Analog-VU-meter-and-Clock-Arduino-Powered/

 Credits:
  bildr - DS1307 RTC code http://bildr.org/2011/03/ds1307-arduino/
 _____________________
 Wiring goes as follows:

 - USB red wire (5v) to VCC
 - USB black wire to GND

 - Buttons - Left/Down to Digital 2  (follow arduino tutorial: http://arduino.cc/en/uploads/Tutorial/button.png )
           - Right/Up to Digital 3

 - DS1307 RTC  - SDA to Analog 4
               - SCL to Analog 5

 - Left Analog Meter to Digital 5 (PWM)
 - Right Analog Meter to Digital 6 (PWM)
_-Seconds Analog meter to Digital 9_(PWM)_____________________

 Note:
  Because all meters are slightly different, the PWM values
  need to be adjusted based on your design. Feel free to use
  my code, but you will have to change some values because
  it is set to work specifically with my meters.

 */

#include "Wire.h"
#define DS1307_ADDRESS 0x68
byte zero = 0x00; //workaround for issue #527

int downButton = 2;    // down push button to adjust time (pin 2)
int upButton = 3;      // up push button to adjust time (pin 3)

int hours = 0;
int minutes = 0;
int seconds = 0;
int lastMinute = 0;
int lastSecond = 0;
int leftMeter = 5;       // left meter (hours) is attached to pin 5
int rightMeter = 6;     // right meter (min) is attached to pin 6
int secMeter=9;         //seconds meter (sec)is attached to pin 9
void setup(){
  Wire.begin();
  Serial.begin(9600); //view time in serial monitor

  pinMode(leftMeter, OUTPUT);      // Initialize Outputs & Inputs
  pinMode(rightMeter, OUTPUT);
  pinMode(secMeter, OUTPUT);

  digitalWrite(leftMeter, HIGH);   // Test meters on startup
  digitalWrite(rightMeter, HIGH);
  digitalWrite(secMeter, HIGH);
  digitalWrite(13, HIGH);
  delay (1000);
  digitalWrite(leftMeter, LOW);
  digitalWrite(rightMeter, LOW);
  digitalWrite(secMeter, LOW);
  digitalWrite(13, LOW);
  delay(1000);
}

void loop(){
  printDate();
  delay(75);

 // Changing the time with buttons
 if (digitalRead(downButton) == HIGH){
 byte second = seconds; // Don't get confused: second is not the same as seconds
 byte minute = minutes; // Don't get confused: minute is not the same as minutes
 byte hour = hours;     // Don't get confused: hour is not the same as hours
if (minutes > 0){
 --minute;
}else{
  minute = 59;
 if (hours > 0){
  -- hour;
 }else{
   hour = 23;
}}
 Wire.beginTransmission(DS1307_ADDRESS);
 Wire.write(zero); //stop Oscillator

  Wire.write(decToBcd(second));
  Wire.write(decToBcd(minute));
  Wire.write(decToBcd(hour));

  Wire.write(zero); //start

  Wire.endTransmission();
}

 if (digitalRead(upButton) == HIGH){
 byte second = 0;
 byte minute = minutes; // Don't get confused: minute is not the same as minutes
 byte hour = hours;     // Don't get confused: hour is not the same as hours
if (minutes < 59){
 ++minute;
}else{
  minute = 0;
 if (hours < 23){
  ++ hour;
 }else{
   hour = 0;
}}
 Wire.beginTransmission(DS1307_ADDRESS);
 Wire.write(zero); //stop Oscillator

  Wire.write(decToBcd(second));
  Wire.write(decToBcd(minute));
  Wire.write(decToBcd(hour));

  Wire.write(zero); //start

  Wire.endTransmission();
}
  }

byte decToBcd(byte val){
// Convert normal decimal numbers to binary coded decimal
  return ( (val/10*16) + (val%10) );
}

byte bcdToDec(byte val)  {
// Convert binary coded decimal to normal decimal numbers
  return ( (val/16*10) + (val%16) );
}

void printDate(){

  // Reset the register pointer
  Wire.beginTransmission(DS1307_ADDRESS);
  Wire.write(zero);
  Wire.endTransmission();

  Wire.requestFrom(DS1307_ADDRESS, 7);

  seconds = bcdToDec(Wire.read());
  minutes = bcdToDec(Wire.read());
  hours = bcdToDec(Wire.read() & 0b111111); //24 hour time

  //print the date
  Serial.print(hours);     // Un-comment to view time in serial monitor
  Serial.print(":");       //
  Serial.println(minutes); // Don't forget to un-comment 'Serial.begin' in 'void setup' above

// Specific meter levels for each hour
// You will likly have to adjust these values.
// Play around with the values until you get what you want.

 if (lastMinute != minutes){
   if (hours == 1 || hours == 13){
     analogWrite(leftMeter, 0); // adjust left (hour) meter level
      }
    if (hours == 2 || hours == 14){
     analogWrite(leftMeter, 29); // adjust left (hour) meter level
      }
      if (hours == 3 || hours == 15){
     analogWrite(leftMeter, 52); // adjust left (hour) meter level
      }
       if (hours == 4 || hours == 16){
     analogWrite(leftMeter, 75); // adjust left (hour) meter level
      }
      if (hours == 5 || hours == 17){
     analogWrite(leftMeter, 98); // adjust left (hour) meter level
      }
       if (hours == 6 || hours == 18){
     analogWrite(leftMeter, 130); // adjust left (hour) meter level
      }
      if (hours == 7 || hours == 19){
     analogWrite(leftMeter, 152); // adjust left (hour) meter level
      }
      if (hours == 8 || hours == 20){
     analogWrite(leftMeter, 172); // adjust left (hour) meter level
      }
      if (hours == 9 || hours == 21){
     analogWrite(leftMeter, 192); // adjust left (hour) meter level
      }
       if (hours == 10 || hours == 22){
     analogWrite(leftMeter, 213); // adjust left (hour) meter level
      }
      if (hours == 11 || hours == 23){
     analogWrite(leftMeter, 234); // adjust left (hour) meter level
      }
       if (hours == 0 || hours == 12){
     analogWrite(leftMeter, 255); // adjust left (hour) meter level
      }

 if (minutes * 4.75 < 255){                  // increase PWM value by 4.75 each minute
  analogWrite(rightMeter, minutes * 4.75);   // I had to use 4.75 on my meter to get 30 minutes to point exactly straight up
 }else{                                      // perfect would be 4.25 because 4.25 * 60 = 255
  analogWrite(rightMeter, 255);
 }
  lastMinute = minutes;

 if (seconds * 4.25 < 255){
   analogWrite(secMeter, seconds *4.25);
 }else{
  analogWrite(secMeter, 255);
 }
  lastSecond = seconds;

   }
}
Schematics