


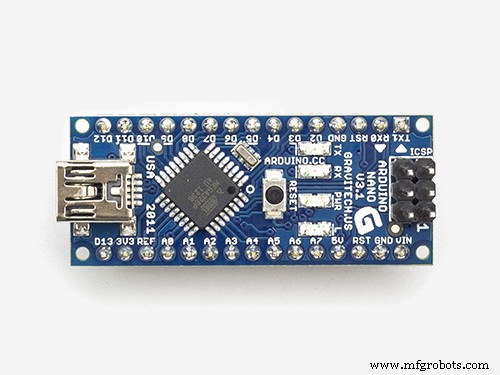
Build a Compact Analog Trim Tab Wheel for FlightGear with Arduino Nano
Components and supplies
 |
| × | 1 | |||
 |
| × | 1 | |||
 |
| × | 1 | |||
| × | 1 | ||||
 |
| × | 1 |
Apps and online services
 |
| |||
| ||||
|
About this project
Connecting Arduino to FlightGear is nothing new, but I've found that wikis are outdated and forums give precious hints where you have to work around.
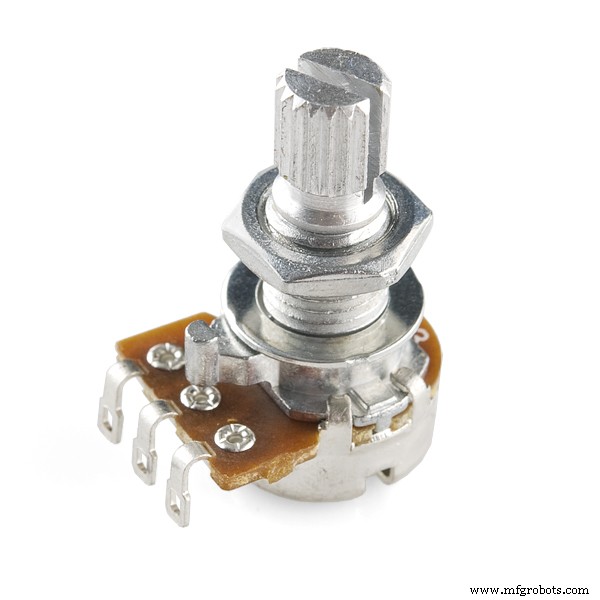
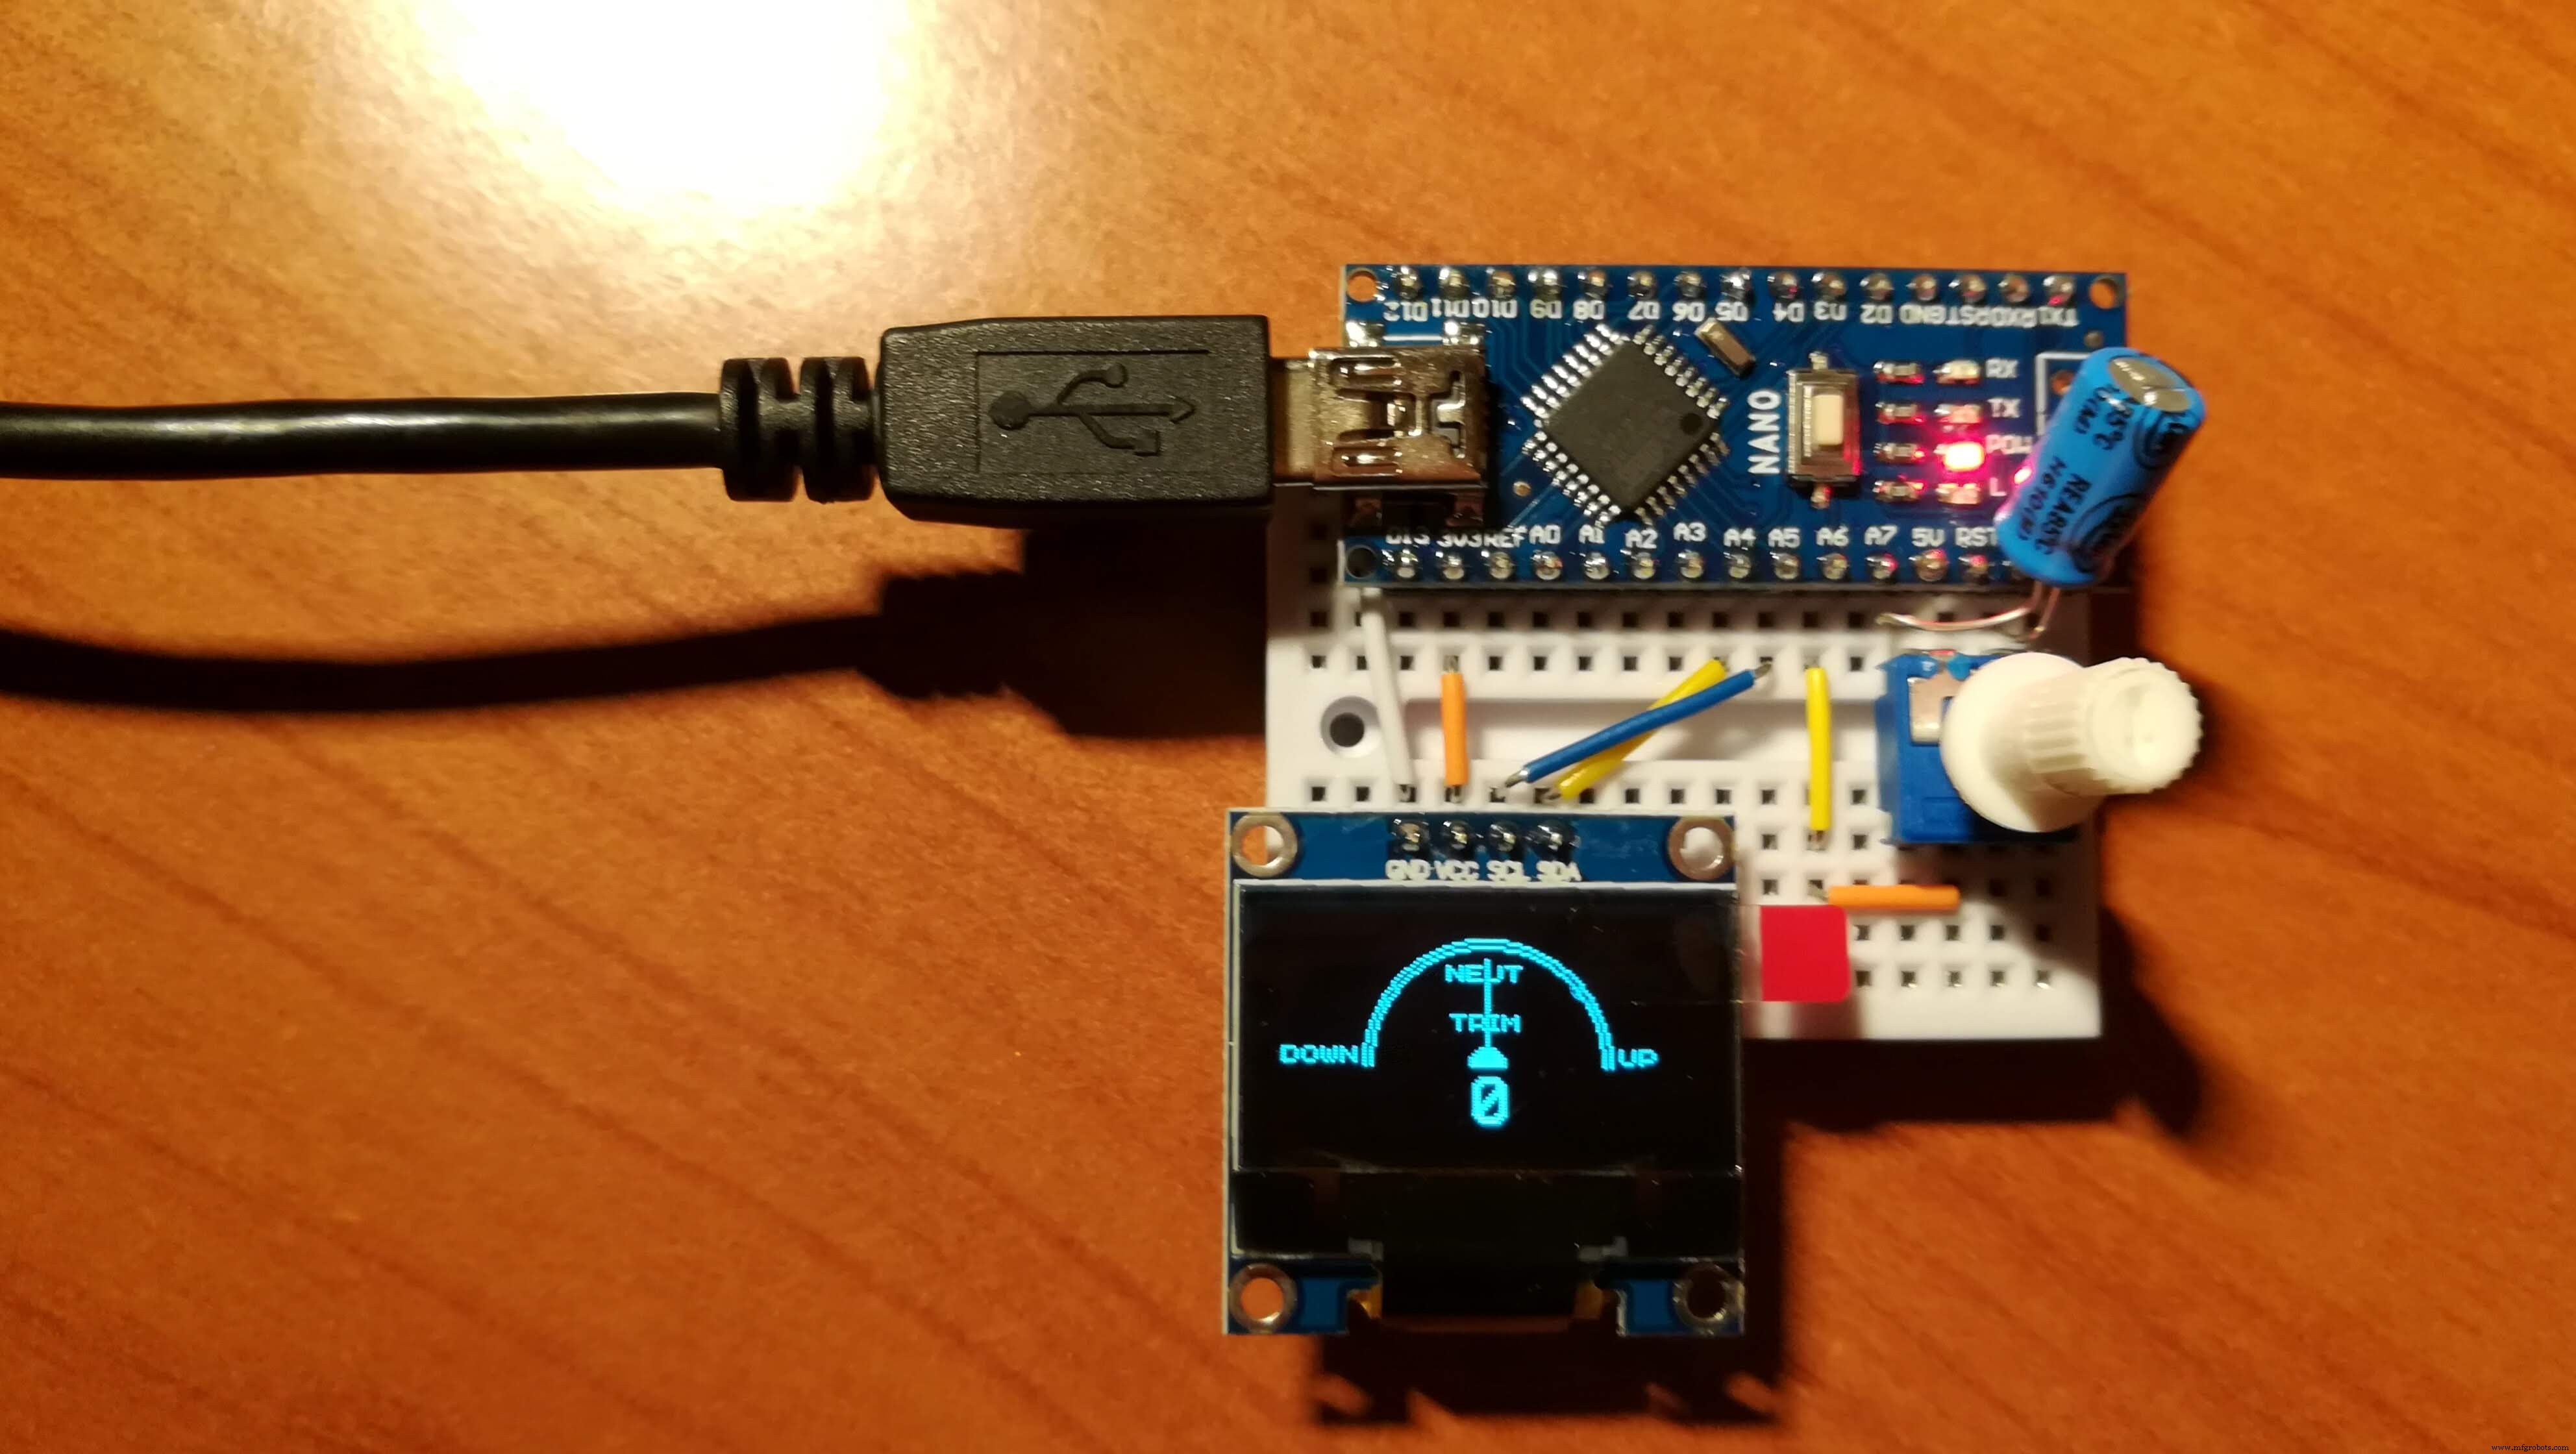
The idea was to have a nice, cheap and compact analog command to control the elevator trim tab wheel of an aircraft in FlightGear. The wiki works until the communication part. Strictly speaking, you cannot directly use serial communication to pass commands from Arduino to FlightGear. You have to workaround with Python to send packets via UDP.
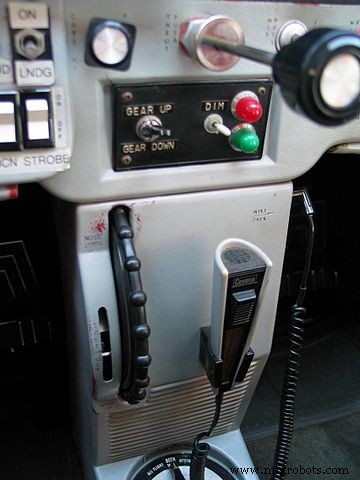
What is a trim wheel? It is an analog device to control the deflection of the trim tab, which is an aerodynamic device to keep a control surface (in this case the elevator controlling the aircraft pitch) in a given position without effort from the pilot. From wikipedia:
Additional requirements for this project: python with the libraries serial, socket, and sys installed. Assuming that Anaconda has been installed, the missing libraries can be retrieved with Anaconda prompt by typing:
>>> conda install -c anaconda pyserial
the same with serial and socket. Search on the internet for an appropriate package, usually the most downloaded for your platform are good. Once you have python with these libraries (and, of course, FlightGear installed) you may move to the next section.
There are three code scripts: an Arduino sketch, a python executable script, and an XML script. The Arduino sketch must be loaded on your board. The python script must be executed to enable communication between Arduino and FlightGear. The XML script is a FlightGear generic protocol that must be moved to <FlightGearRoot>/data/protocol once for all.
The Arduino sketch requires the U8glib library. As mentioned in the comment, adjust the sketch's line 2 with your display:
#include <U8glib.h>
U8GLIB_SSD1306_128X64 u8g(U8G_I2C_OPT_NONE|U8G_I2C_OPT_DEV_0);  // I2C / TWI
See U8glib examples and documentation. The sketch should work even without a display, so you may play without visual feedback from your board.
If you are unhappy with direction of rotation, just switch the position of the last two arguments in the following map instructions
w = map(p,0,1023,100,-100);
m = map(p,0,1023,90,0);
so that the values of the potentiometer go from -100 to 100 and the needle's gauge goes from 0 to 90 (this is a trick to draw the needle in the correct position, try yourself if you are curious).
The python script includes the host address and the serial port number. The host should be "localhost" (if it doesn't work, try with 127.0.0.1), the port any (maybe it is better one not in use by other applications, I don't know), the serial port where your board is connected may be read from the Arduino IDE. In my case, it is "COM4". Note: if you test the Arduino with the serial monitor, you may have to disconnect and re-connect your board before executing the python script in order tomakeit work properly.
host = "localhost"
port = 21567
#buf = 1024
addr = (host,port)
UDPSock = socket(AF_INET,SOCK_DGRAM)
tty="COM4"
print("tty is ", tty)
The python script may be located anywhere. You may execute it from the command line of your operative system. In my case (Windows), I type in the command prompt:
python c:\path\to\file\arduinoElevatorTrim.py
This may be launched before or even after starting FlightGear.
Finally, as previously stated, the XML script must be moved once for all in the protocol folder of your FlightGear installation. Now you are ready to go. Launch FlightGear with your preferred mode (command line or launcher) by adding the following command (no space between chars!):
--generic=socket,in,30,localhost,21567,udp,arduinoElevatorTrim
where we are telling FlightGear to apply a generic protocol via socket, read input 30 times per second, on the address localhost, port 21567, UDP protocol, instructions in the arduinoElevatorTrim.xml file. Enjoy your personal trim wheel!
Code
- arduinoElevatorTrimOLED.ino
- arduinoElevatorTrim.py
- arduinoElevatorTrim.xml
arduinoElevatorTrimOLED.inoArduino
Code to load on the Arduino Nano. Adjust line 2 (type of display) as needed.#include <U8glib.h>
U8GLIB_SSD1306_128X64 u8g(U8G_I2C_OPT_NONE|U8G_I2C_OPT_DEV_0); // I2C / TWI
int xmax = 128;
int ymax = 64;
int xcenter = xmax/2;
int ycenter = ymax/2+10;
int arc = ymax/2;
int angle = 0;
char* label = "TRIM";
int labelXpos = 53;
int p, w, m;
u8g_uint_t xx = 0;
int const potPin = A6;
float potVal;
// Customized function
void gauge(uint8_t angle) {
// draw border of the gauge
u8g.drawCircle(xcenter,ycenter,arc+6, U8G_DRAW_UPPER_RIGHT);
u8g.drawCircle(xcenter,ycenter,arc+4, U8G_DRAW_UPPER_RIGHT);
u8g.drawCircle(xcenter,ycenter,arc+6, U8G_DRAW_UPPER_LEFT);
u8g.drawCircle(xcenter,ycenter,arc+4, U8G_DRAW_UPPER_LEFT);
// draw the needle
float x1 = sin(2*angle*2*3.14/360);
float y1 = cos(2*angle*2*3.14/360);
u8g.drawLine(xcenter, ycenter, xcenter+arc*x1, ycenter-arc*y1);
u8g.drawDisc(xcenter, ycenter, 5, U8G_DRAW_UPPER_LEFT);
u8g.drawDisc(xcenter, ycenter, 5, U8G_DRAW_UPPER_RIGHT);
u8g.setFont(u8g_font_chikita);
// show scale labels
// u8g.drawStr( 10, 42, "-1.0");
// u8g.drawStr( 19, 14, "-0.5");
// u8g.drawStr( 63, 14, "0");
// u8g.drawStr( 92, 14, "0.5");
// u8g.drawStr( 105, 42, "1.0");
u8g.drawStr( 1, 42, "DOWN");
u8g.drawStr( 52, 17 , "NEUT");
u8g.drawStr( 105, 42, "UP");
// show gauge label
u8g.setPrintPos(labelXpos,32);
u8g.print(label);
// show digital value and align its position
u8g.setFont(u8g_font_profont22);
if (w >= 99) {
u8g.setPrintPos(47,60);
}
if (w >= 10 && w < 99) {
u8g.setPrintPos(54,60);
}
if (w >= 0 && w < 9) {
u8g.setPrintPos(60,60);
}
if (w >= -9 && w < 0) {
u8g.setPrintPos(48,60);
}
if (w >= -99 && w < -9) {
u8g.setPrintPos(42,60);
}
if (w < -99) {
u8g.setPrintPos(35,60);
}
u8g.print(w);
}
void setup() {
Serial.begin(9600);
u8g.setFont(u8g_font_chikita);
u8g.setColorIndex(1);
// assign default color value
if ( u8g.getMode() == U8G_MODE_R3G3B2 ) {
u8g.setColorIndex(255);
}
else if ( u8g.getMode() == U8G_MODE_GRAY2BIT ) {
u8g.setColorIndex(3);
}
else if ( u8g.getMode() == U8G_MODE_BW ) {
u8g.setColorIndex(1);
}
else if ( u8g.getMode() == U8G_MODE_HICOLOR ) {
u8g.setHiColorByRGB(255,255,255);
}
}
void loop() {
potVal = analogRead(potPin);
potVal = (potVal - 512.0)/512.0;
Serial.print(potVal);
Serial.print("\n");
// p is the same as potVal, but it is an integer
p = analogRead(potPin);
w = map(p,0,1023,100,-100);
m = map(p,0,1023,90,0);
// show needle and dial
xx = m;
if (xx < 45){
xx = xx + 135;
}
else {
xx = xx - 45;
}
// picture loop
{
u8g.firstPage();
do {
gauge(xx);
}
while( u8g.nextPage() );
}
delay(10);
}
arduinoElevatorTrim.pyPython
Script to be executed along with FlightGear to "translate" serial communication into UDP packets. You need Python installed in order to execute this script. Modify line 14 (USB port where the Arduino is connected) as needed.#!/usr/bin/python
import sys
import serial
from socket import *
host = "localhost"
port = 21567
#buf = 1024
addr = (host,port)
UDPSock = socket(AF_INET,SOCK_DGRAM)
tty="COM4"
print("tty is ", tty)
try:
ser = serial.Serial(tty,9600)
except:
print("Error connecting to " , tty)
prevline=""
while 1:
outline=''
line=ser.readline()
if line != prevline: #some value changed
print(line)
outline=line
UDPSock.sendto(outline,addr)
prevline=line
arduinoElevatorTrim.xmlXML
Script to be added in the folder <FlightGearRoot>/data/Protocol. Do this once for all.<?xml version="1.0"?>
<PropertyList>
<generic>
<input>
<line_separator>\n</line_separator>
<var_separator>,</var_separator>
<chunk>
<name>Elevator trim</name>
<node>/controls/flight/elevator-trim</node>
<type>float</type>
</chunk>
</input>
</generic>
</PropertyList>
Github
Online repository on Githubhttps://github.com/dciliberti/arduinoElevatorTrimOLEDSchematics
In Fritzing it is not possible to pass wires below components. The ground wire of the display may go under the Arduino Nano.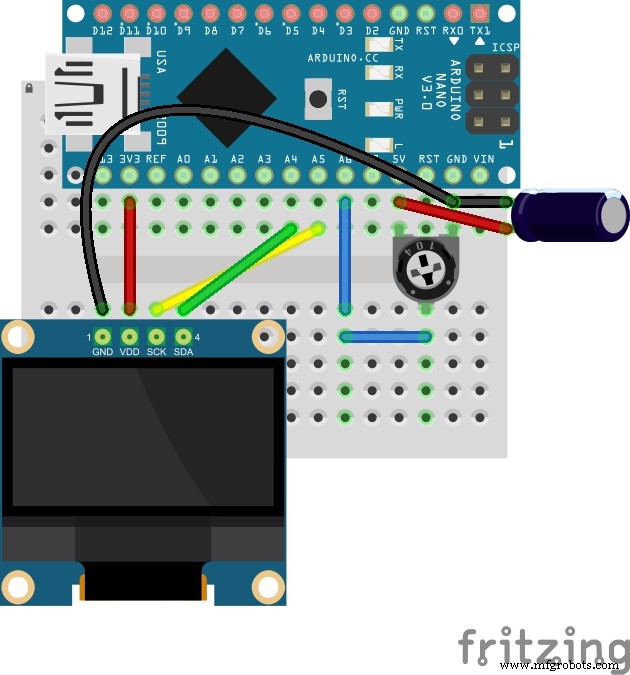
Manufacturing process
- Build an Arduino Iron Man: Components, Sensors, and Step‑by‑Step Guide
- Find Me: Smart Item Locator with Arduino and Bluetooth
- DIY Arduino Humidifier Controller with Relay – Safe High‑Voltage Setup
- Build a Custom Arduino Joystick Steering Wheel for Gaming
- Arduino 101: Build a Pedometer with DHT11 Sensor & LCD Display
- Build an Arduino RGB Color Mixer – Step‑by‑Step Tutorial
- Build a Custom Throttle Quadrant & Trim Wheel for MS Flight Simulator with Arduino Leonardo & 3D Printing
- PhoneLocator: Securely Locate Your Phone Anywhere
- Arduino LED Bar Graph Controlled by Potentiometer
- Custom Arduino MIDI Arpeggiator – Modular Firmware & Euclidean Rhythms