


Arduino Light & Sound Display: US National Anthem
Components and supplies
 |
| × | 1 | |||
 |
| × | 1 | |||
 |
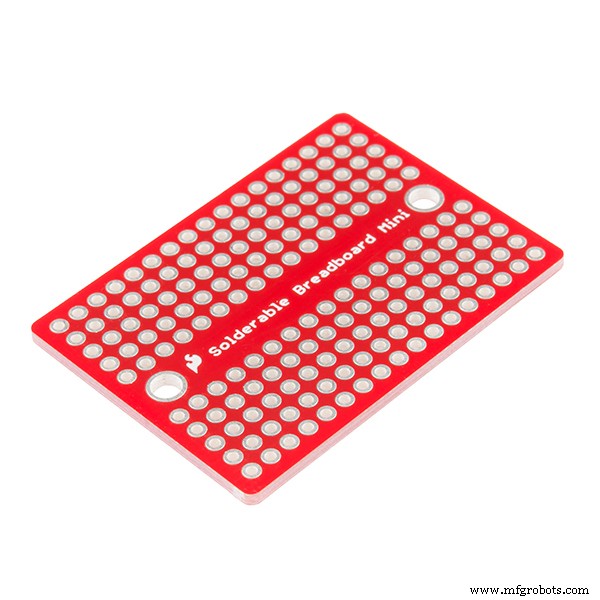
| × | 2 | |||
| × | 1 | ||||
 |
| × | 3 | |||
 |
| × | 6 | |||
 |
| × | 1 | |||
 |
| × | 1 |
Necessary tools and machines
 |
|
About this project
I've started over the past year doing programming for an eventual Christmas lights and music project. This is a side project someone asked me to do and thought it would be fun. Initially this was just going to be just one song with lights but that's just lame.
Here's a link in case you had issues with the video:
https://youtu.be/C2jyn80Mjus
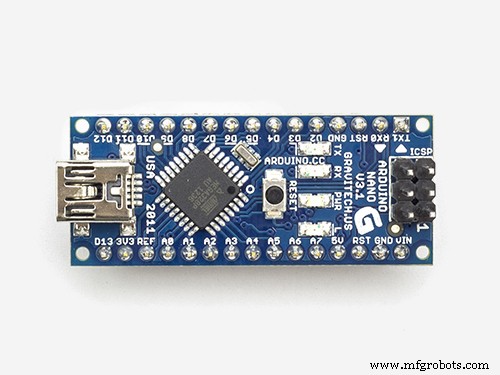
This project uses an Arduino Nano. In this project I utilize two different push buttons to do two different songs using the Tone() function. One is the 'charge' sound and the other is the 'US National Anthem'. Until the buttons are pushed it does some just random lighting for effects.
In this sketch I make heavy use of functions to simplify my writing process of the functions but maintain full control of the lighting/sound process so I can make small tweaks if I don't like what I'm hearing/seeing with very little difficulty.
My goal of posting this project is to share some of the things I've learned in design/coding so that if you are doing something similar this can help.
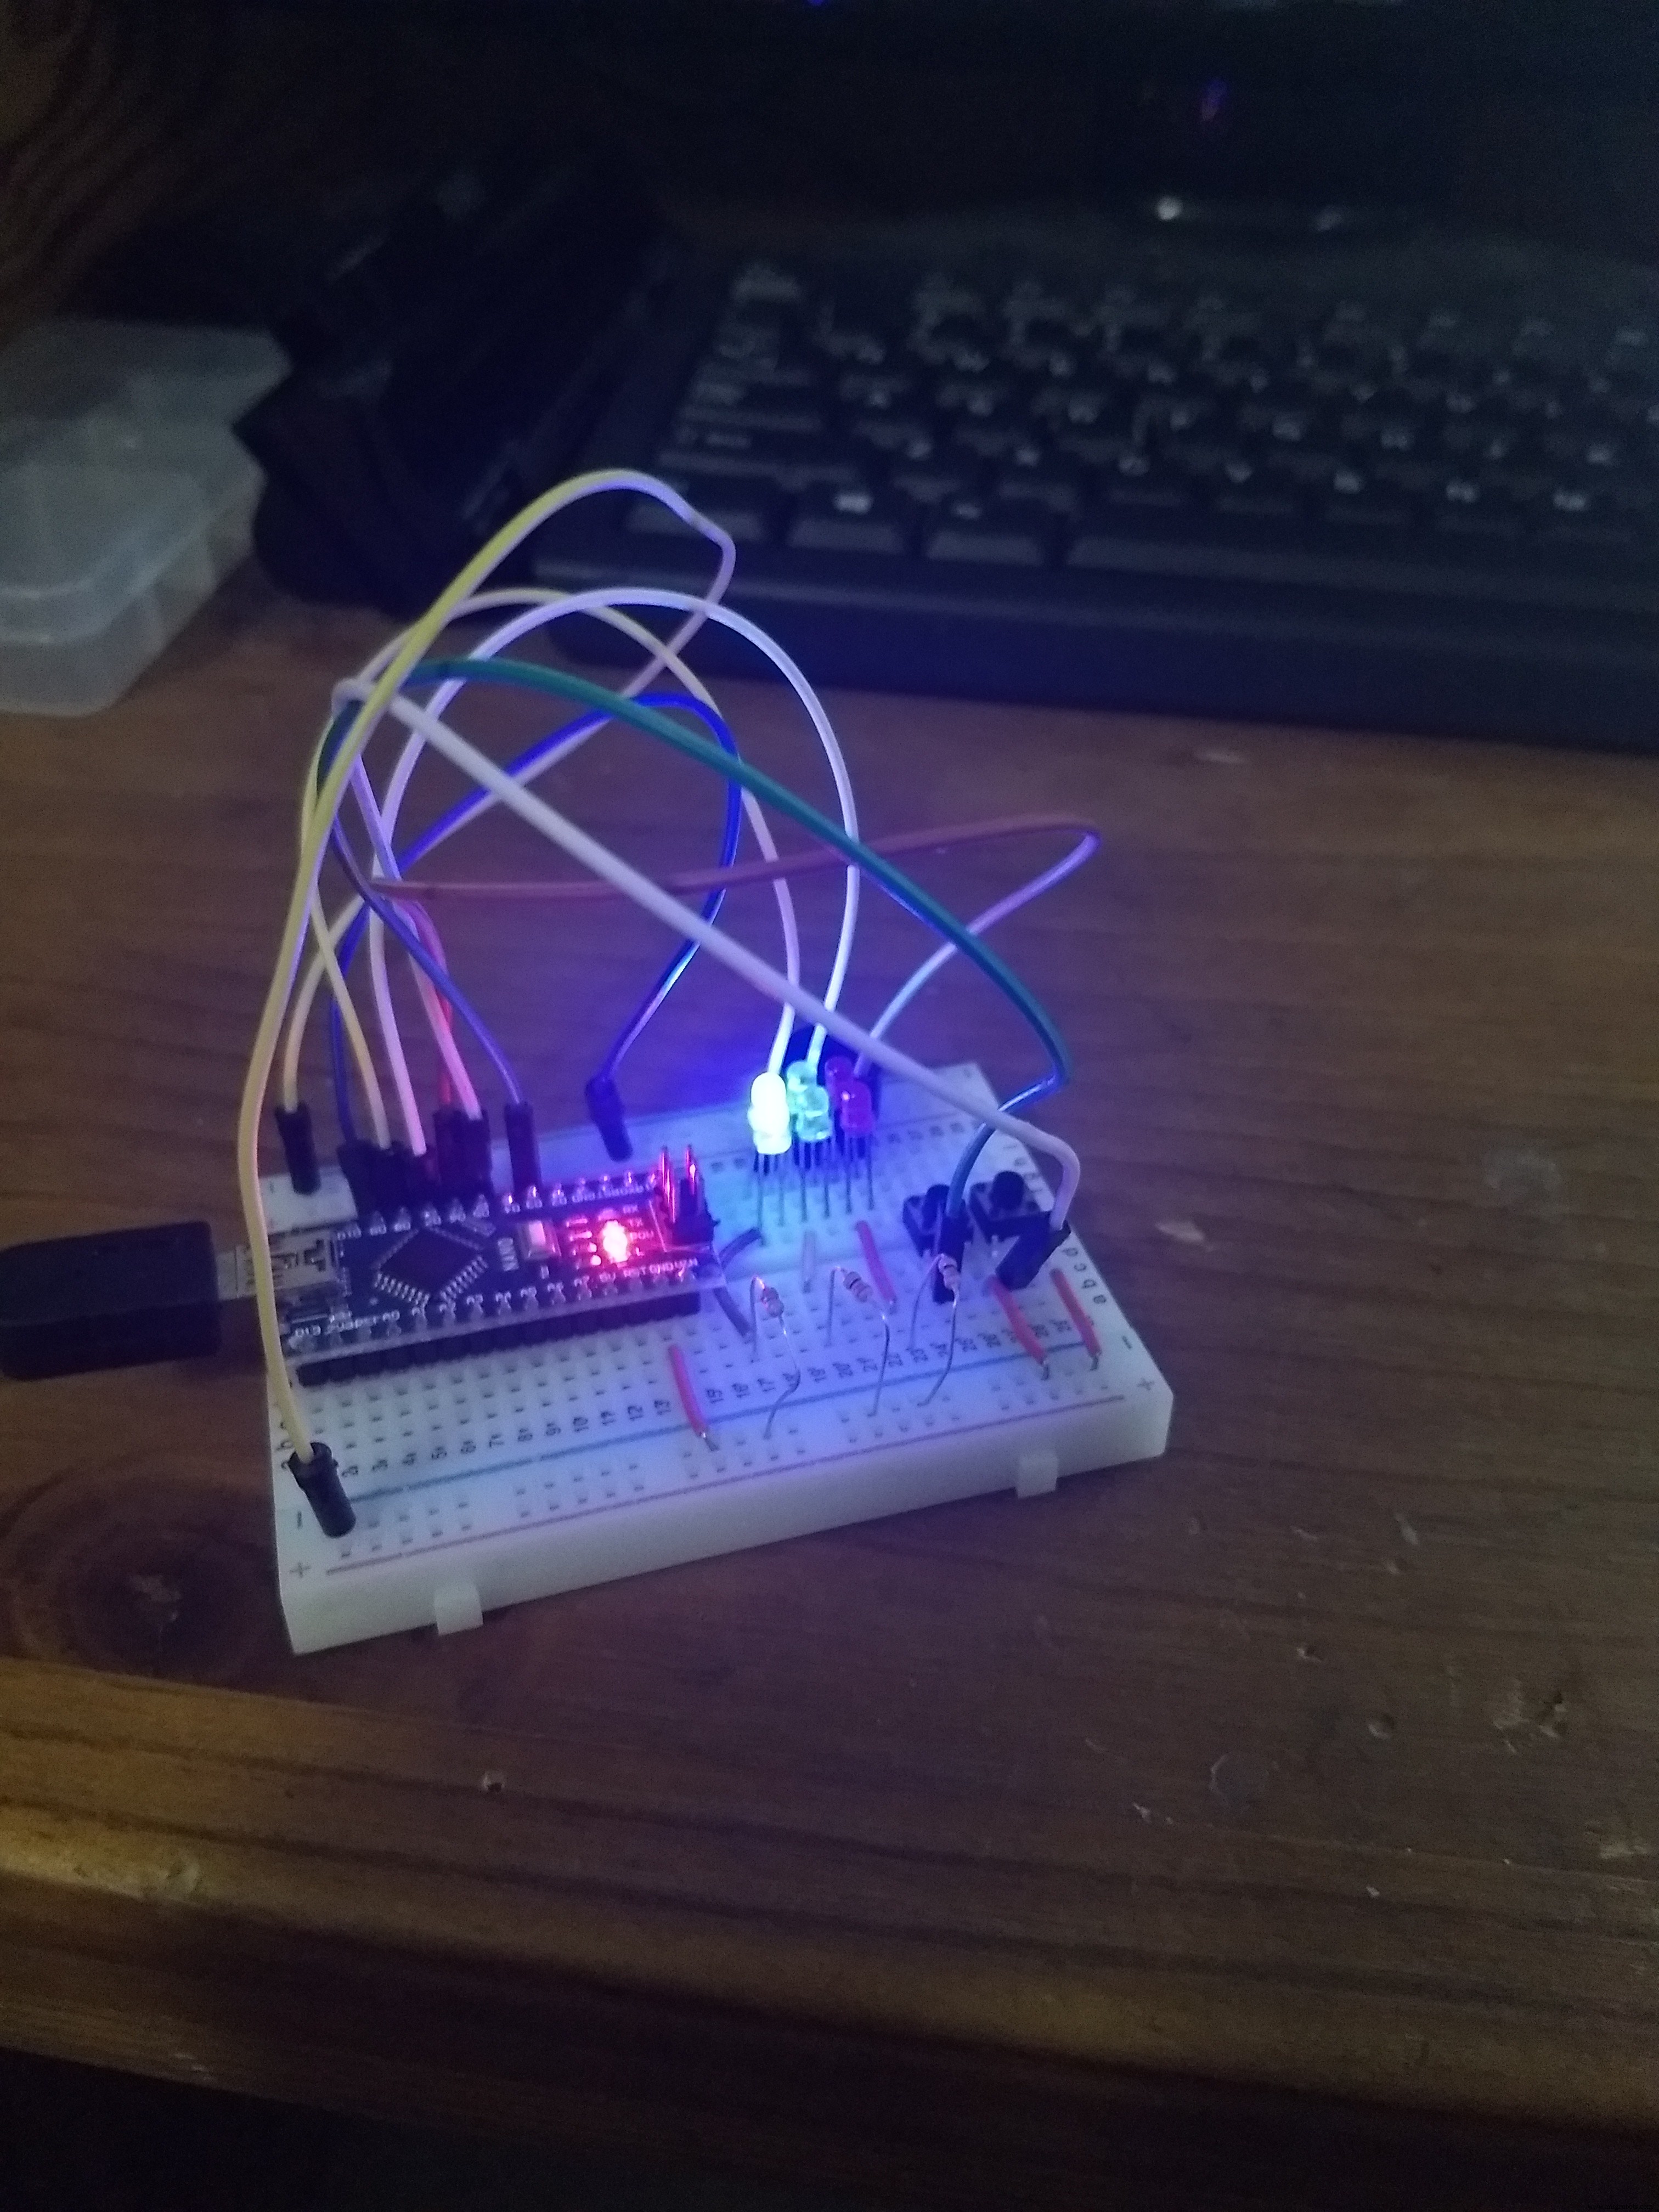
Here is what the initial design looked like on the breadboard as I was testing the system and code.
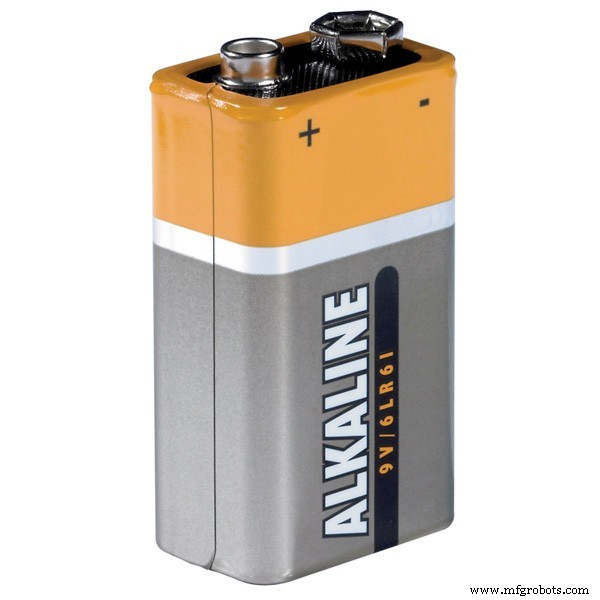
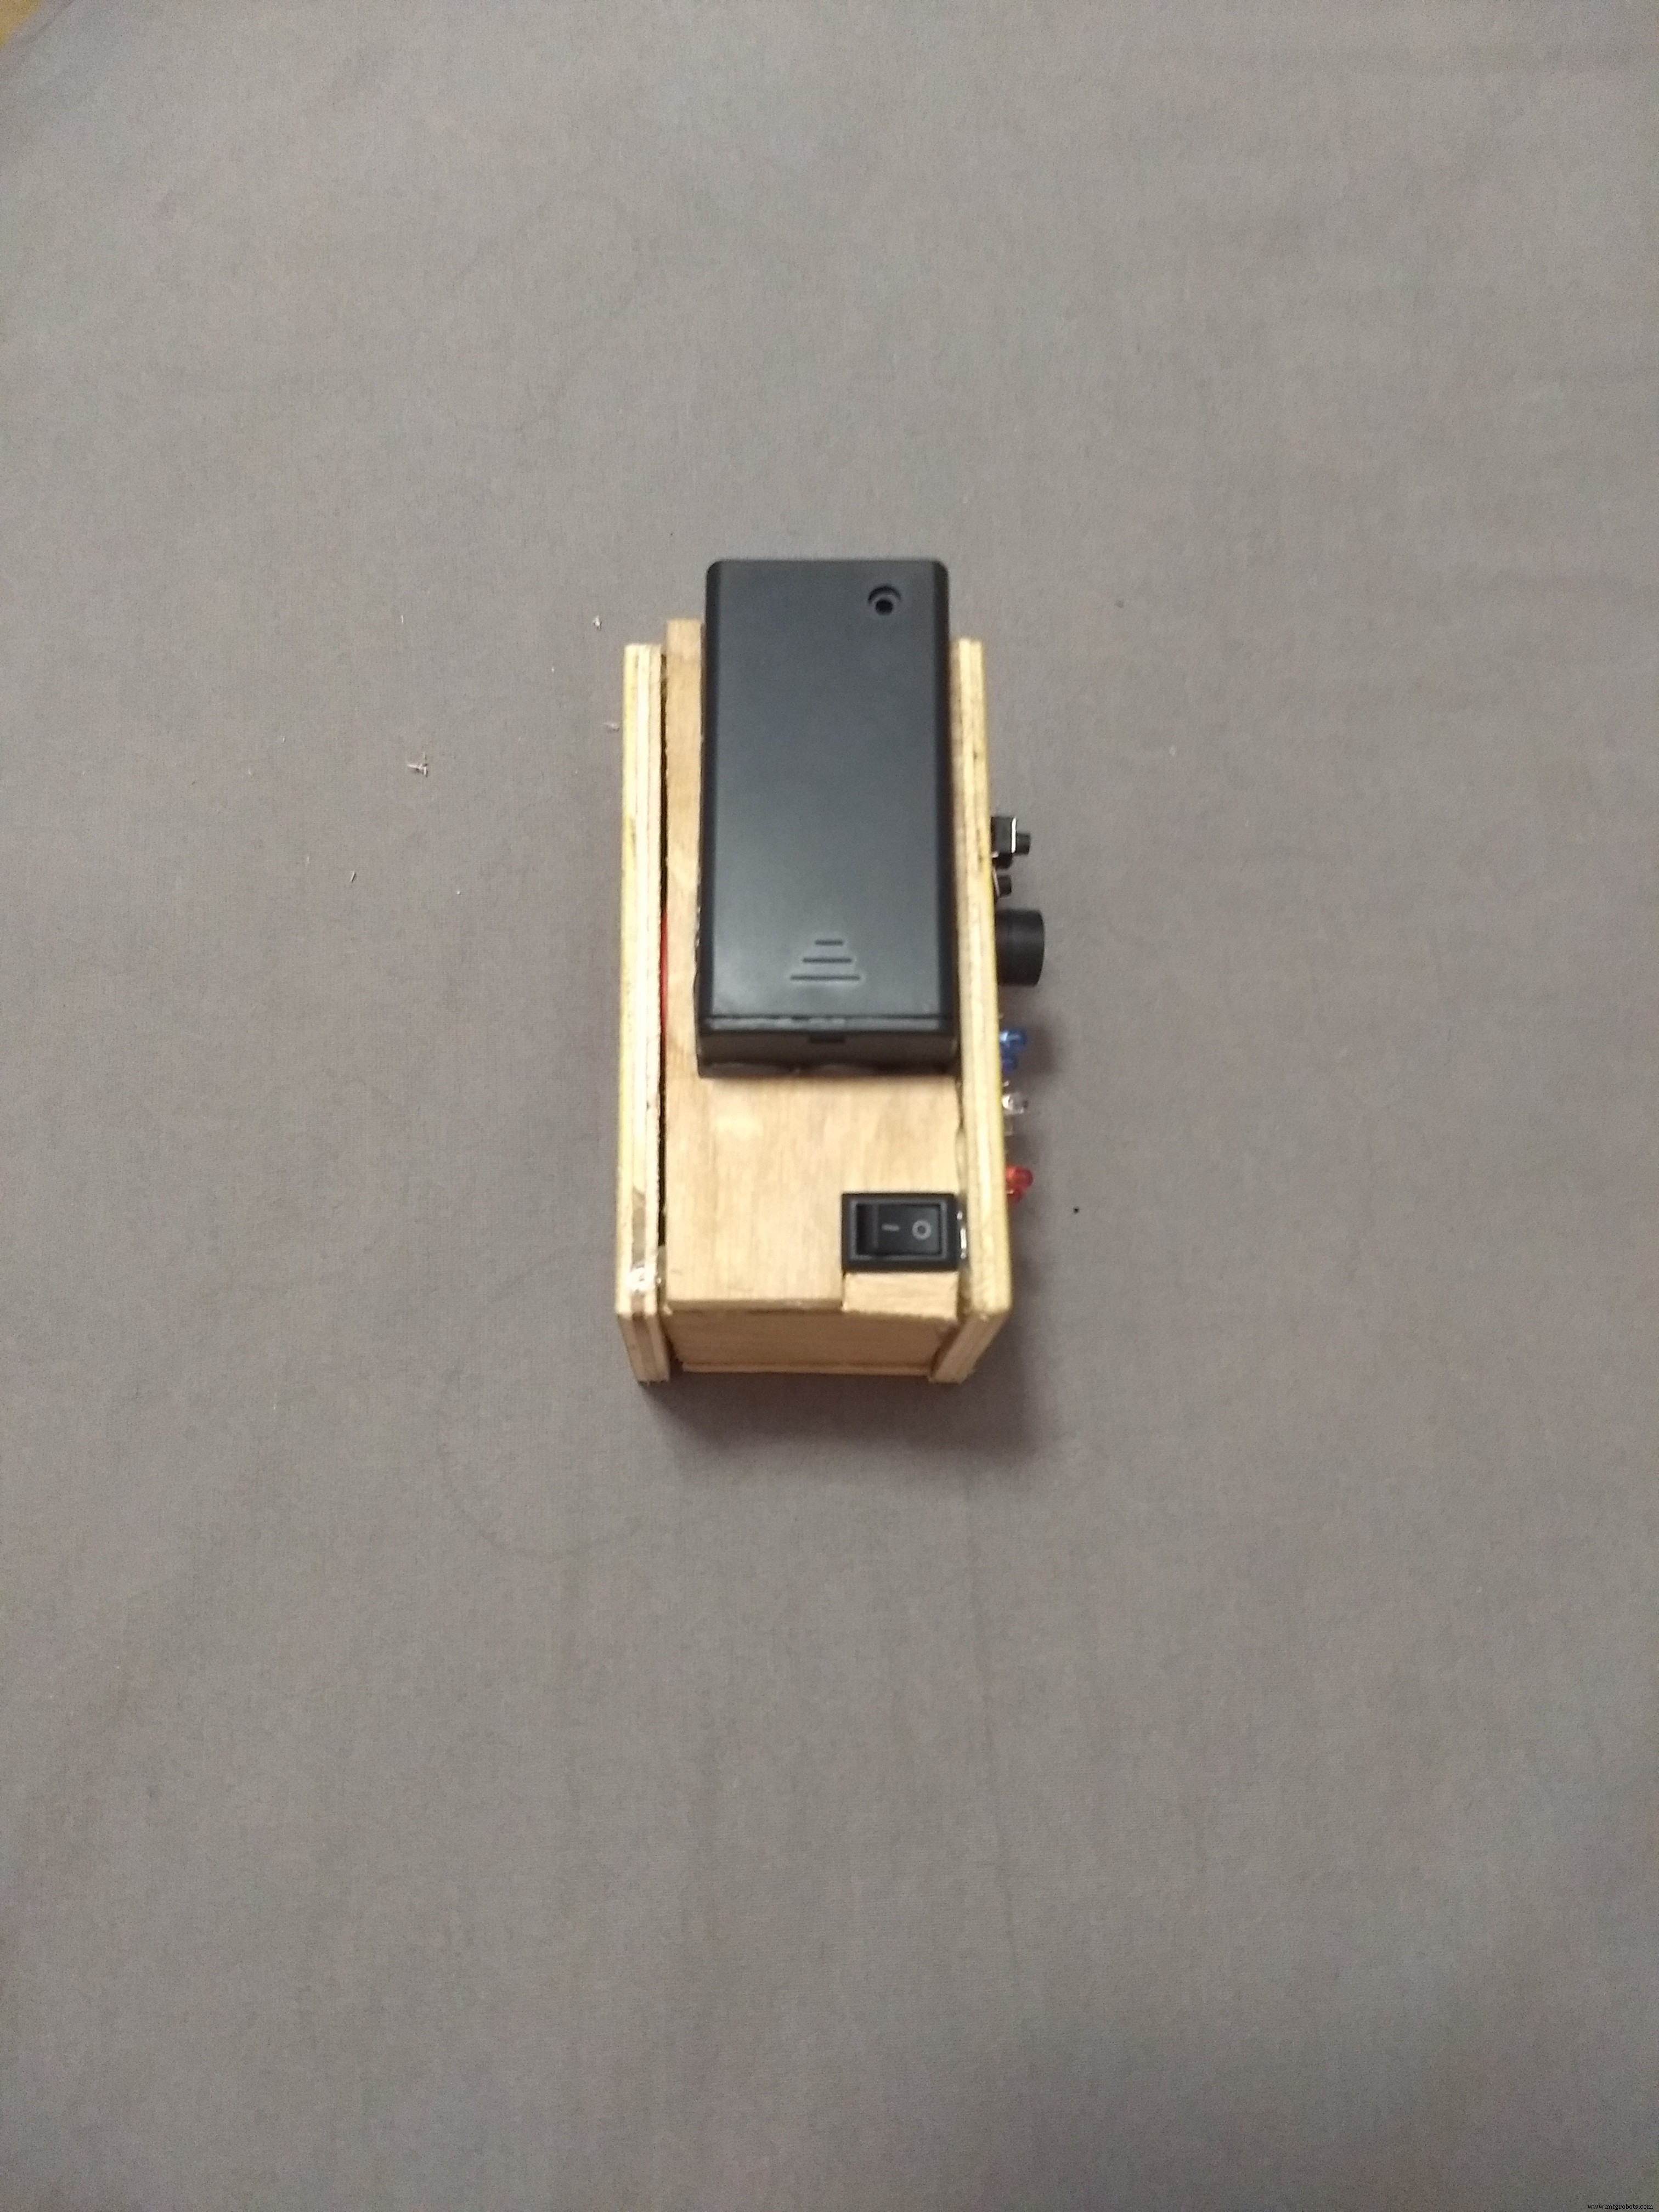
Here is what the power system setup is. I choose a 9Volt battery for size and not reliant upon a USB wall or computer power.
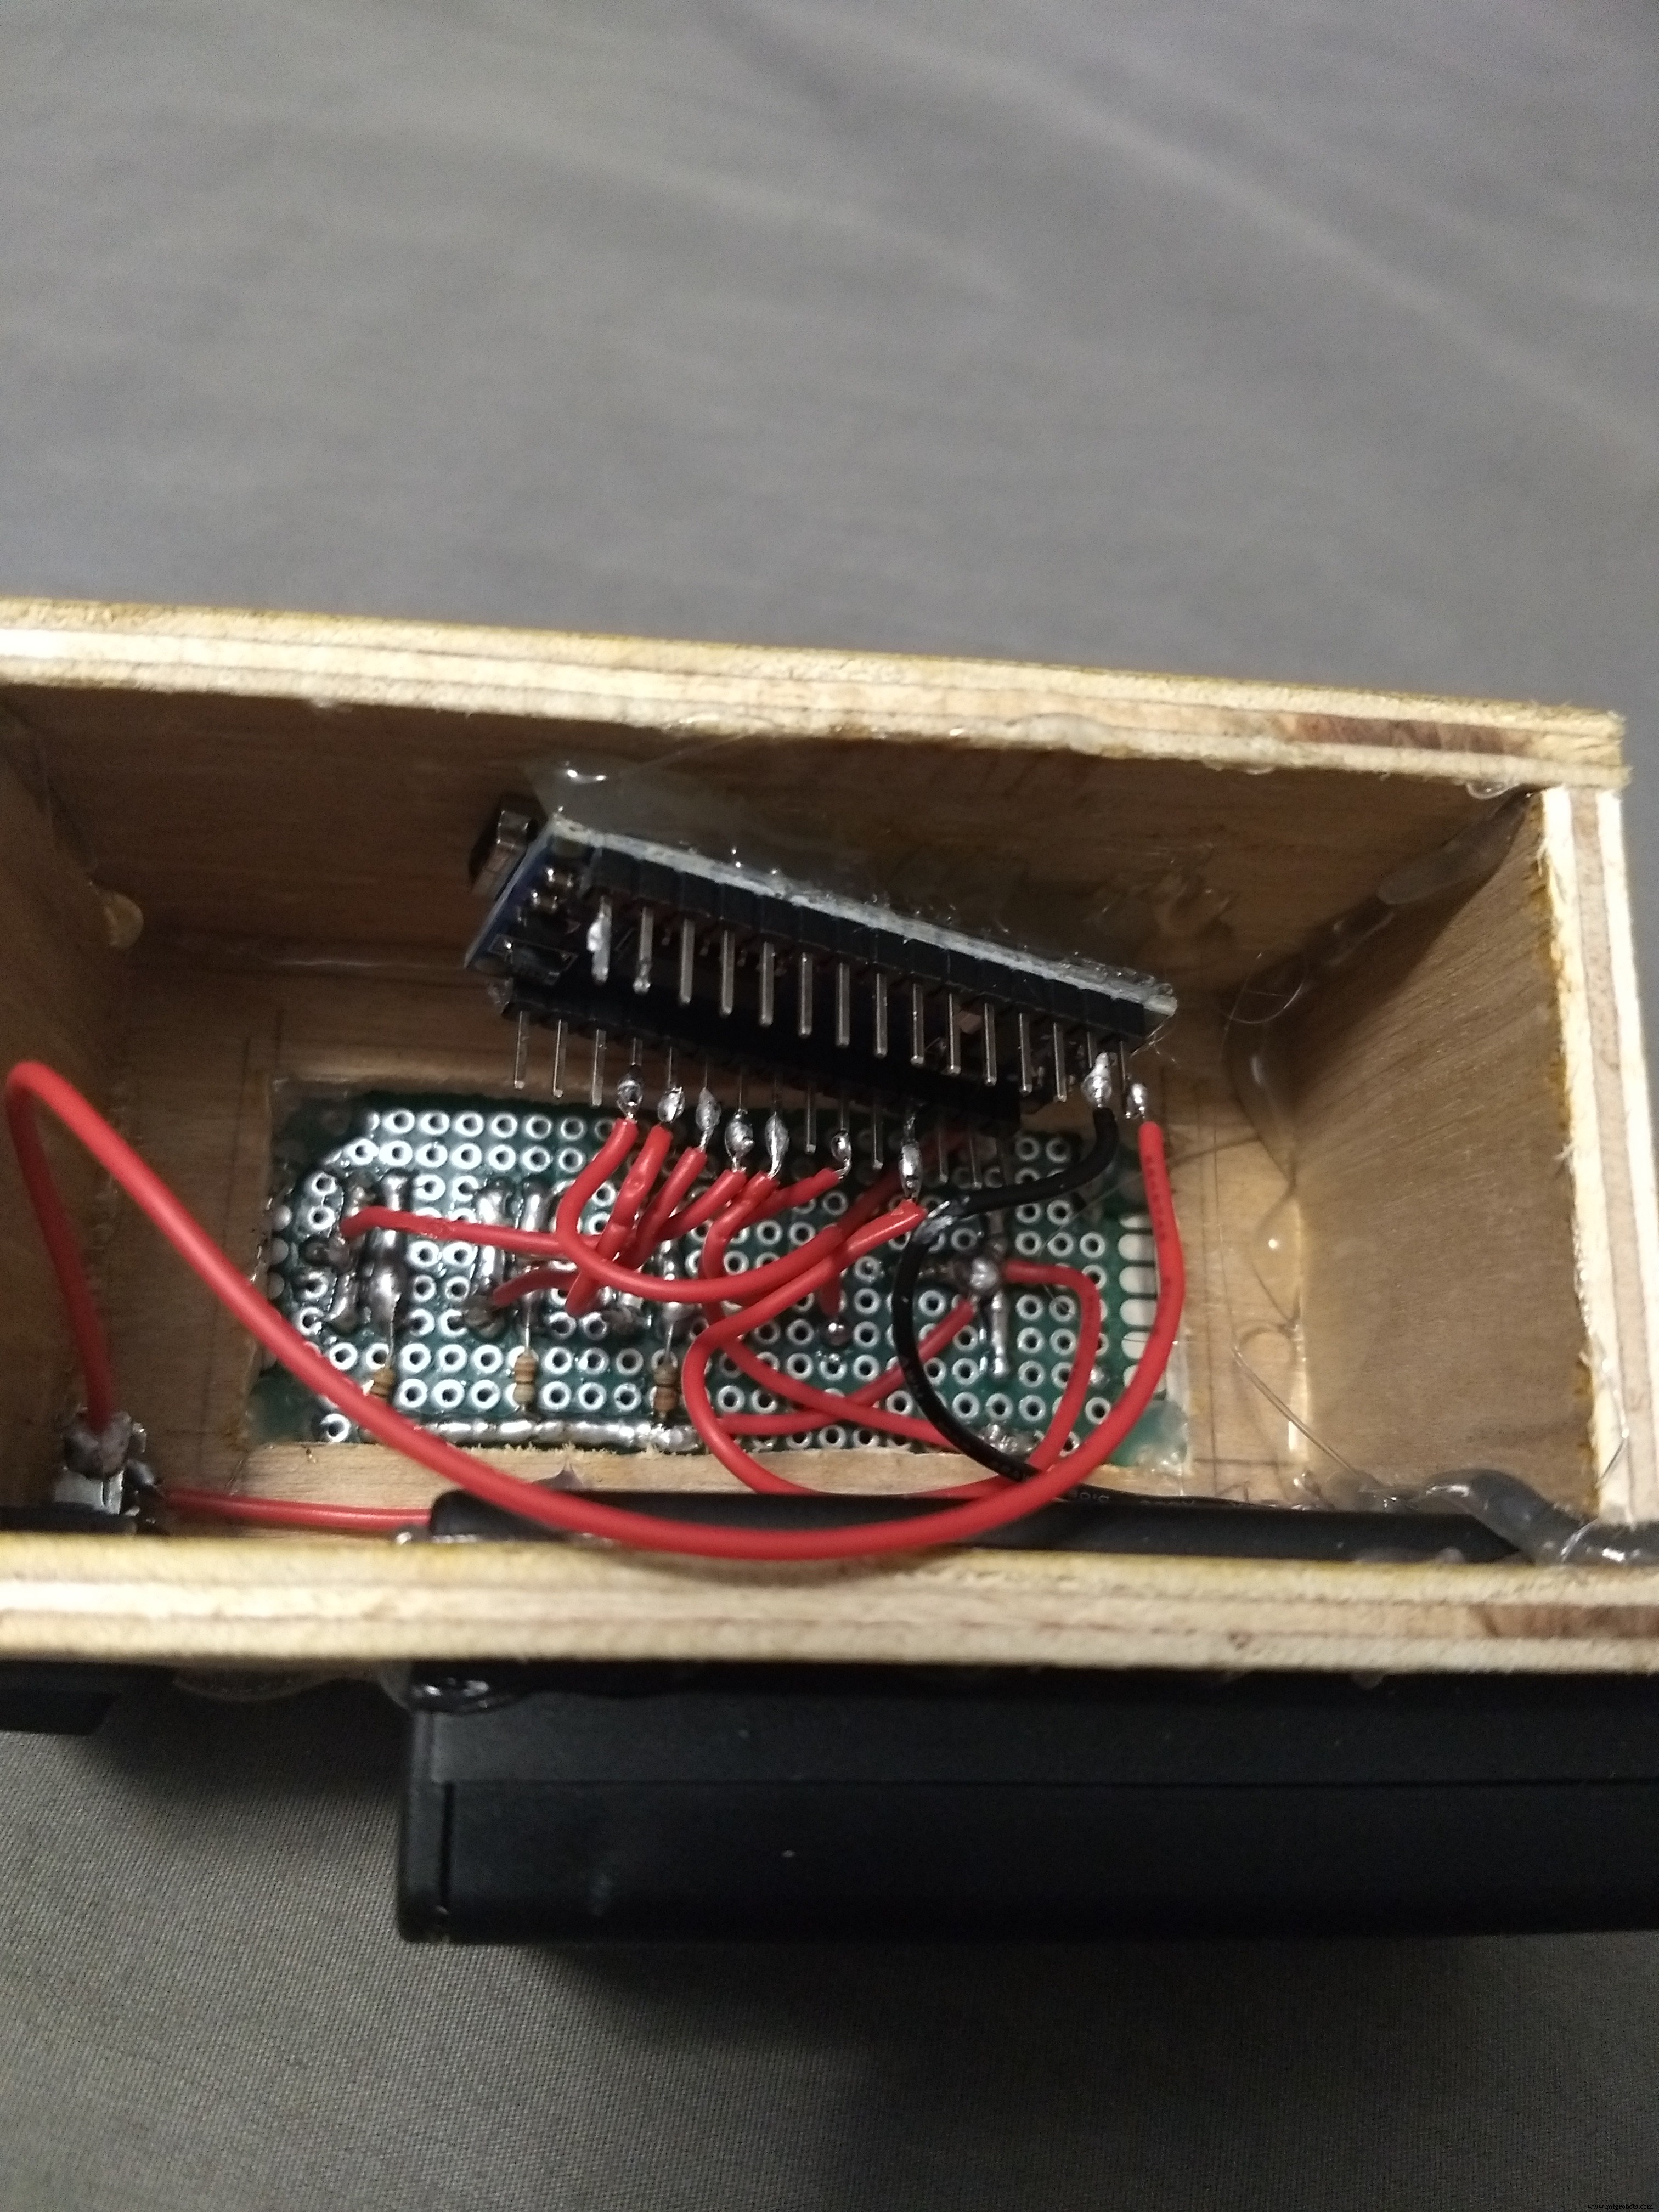
This is what it looks like once everything is soldered from the inside. Highly recommend soldering with just the top cover then adding the sides later
Code
- USA_ANTHEM_Updated.ino
USA_ANTHEM_Updated.inoArduino
The Star Spangled Banner with LEDs, Charge, tone, all functions. Just copy and paste./*Star Spangled Banner with LEDs
Created by Ryan Aebi June 2018
Code Structure
-Basic Loop to refernce other functions
-Push buttons do either Star Spangled Banner or Charge sounds with lights
Star Spangled Banner Notes
-Funtion has note assigned by integer for Frequncy(Hz), & duration(time in n)
-LED is choosen by myself semi-randomly when writing function
-Function is built to increase in pitch with each play (resets to normal pitch on startup/hardware reset)
-Pitch calculated is 1/12 of a whole or .06
Button Design/wiring
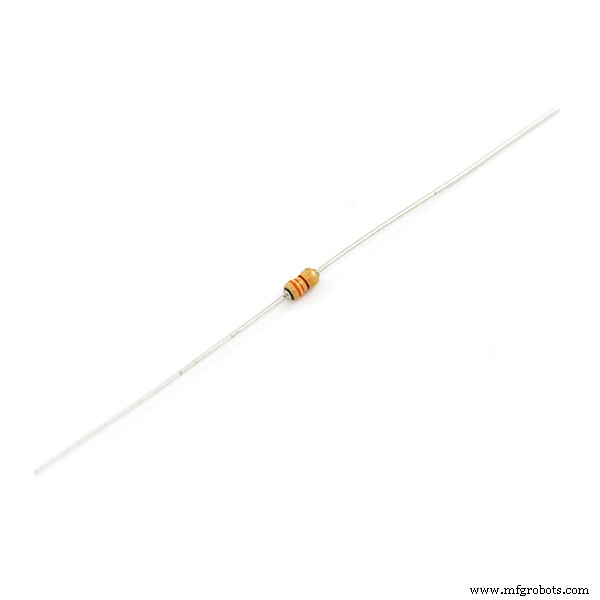
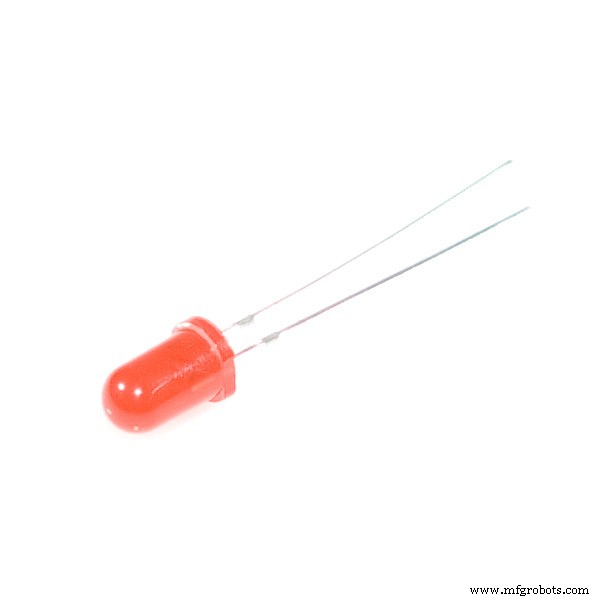
-3 LED sets of Red, Blue & Green on each channel including 2 of each in parallel.
-External reset button
-start button for song
-interrupt song for charge
*/
//**************************************************************Declared Integers
const int ChargeButton=3; //(Nano D3) uno pin 2 should be an interupt pin
const int StartButton=5; //(Nano D5) uno pin 4
const int BuzzerPin=9; //(Nano D9) uno pin 9
const int RedLED=6; //(Nano D6) uno pin 6
const int WhiteLED=7; //(Nano D7) uno pin 7
const int BlueLED=8; //(Nano D8) uno pin 8
int n=1000; //declaring the integer this value will change with each song
int DurationOn=n; //declaing integer for later on will be used in stacatto calculations
int DurationRest=n; //declaing integer for later on will be used in stacatto calculations
//sum of x & y should be 1 I have more notes on this later on
float x=.66; //declaring float for time on
float y=.34; //declaring float for time off
//rate at which lights randomly flash while waiting button input
int Twinkle_Rate=250; //note that if increased drastically buttons may not respond 100% of the time
//lower twinkle rate improves button press response
//sets integers for button states
int StartButtonState;
int ChargeButtonState;
//note middle C is 4C (B flats & E flats)
int Note1=233; //3Bb 233Hz
int Note2=294; //4D 294Hz
int Note3=330; //4E 330Hz
int Note4=349; //4F 349Hz
int Note5=392; //4G 392Hz
int Note6=440; //4A 440Hz
int Note7=466; //4Bb 466Hz
int Note8=523; //5C 523Hz
int Note9=587; //5D 587Hz
int Note10=622; //5Eb 622Hz
int Note11=698; //5F 698Hz
//**************************************************************Charge Function/Song
void Charge(){
n=600; //rate at which song progresses
//Format: write pin(s) on, tone at specific frequency (this way its not subject to
//changes at end of National Anthem, more on this later on), delay for same time as tone to sync up music,
//write pin(s) off that were on and delay for a rest
digitalWrite(RedLED, HIGH);
tone(BuzzerPin, 392, n/3);
delay(n/3);
digitalWrite(RedLED, LOW);
delay(70);
digitalWrite(WhiteLED, HIGH);
tone(BuzzerPin, 523, n/3);
delay(n/3);
digitalWrite(WhiteLED, LOW);
delay(70);
digitalWrite(BlueLED, HIGH);
tone(BuzzerPin, 659, n/3);
delay(n/3);
digitalWrite(BlueLED, LOW);
delay(70);
digitalWrite(RedLED, HIGH);
digitalWrite(WhiteLED, HIGH);
digitalWrite(BlueLED, HIGH);
tone(BuzzerPin, 784, n*3/4);
delay(n*3/4);
digitalWrite(BlueLED, LOW);
digitalWrite(RedLED, LOW);
digitalWrite(WhiteLED, LOW);
delay(70);
digitalWrite(BlueLED, HIGH);
tone(BuzzerPin, 659, n/4);
delay(n/4);
digitalWrite(BlueLED, LOW);
delay(70);
digitalWrite(RedLED, HIGH);
digitalWrite(WhiteLED, HIGH);
digitalWrite(BlueLED, HIGH);
tone(BuzzerPin, 784, n*2);
delay(n*2);
digitalWrite(BlueLED, LOW);
digitalWrite(RedLED, LOW);
digitalWrite(WhiteLED, LOW);
delay(70);
}
//**************************************************************SingleDW function
void SingleDWwithNote(int HZ, int TurnOn, int Duration, int Staccato){
//Hertz at which note is (references Note#)
//turn on= pin (red/white/blue LED) that will be tuned on
//duration is for how long
//Staccato 1=yes, 0=no results in slightly shortened note, or a high int x value as just a brief pause
if (Staccato==1){DurationOn=Duration*x;} //how long tone & lights are on is DurationShort
else if (Staccato==0){DurationOn=Duration;}
digitalWrite(TurnOn, HIGH);
tone(BuzzerPin, HZ, DurationOn);
delay(DurationOn);
digitalWrite(TurnOn, LOW);
if (Staccato==1) {
DurationRest=Duration*y;
delay(DurationRest);
}
}
//**************************************************************USA National Anthem Function/Song
void USNationalAnthem(){
n=577; //rate at which sound plays calulated from: 60,000 (ms/BPM factor) / 104 BPM = 577 ms
/*
quarter note value is n
half note value in n*2
eighth notes it n/2
dotted eights note is n*3/4
*/
//x & y integers are for staccato/adding rest after a note
//note that x+y must =1 or the int. n rate will be thrown off
//decrease x and increase y though to make the notes more pronouced and jumpy/upbeat
x=.92; //true stacatio is about 1/2 or 2/3 value so x value around .5 to .7 for a true staccato
y=.08; //1.00-.92(x value) =.08
//bars 1-5, lines 1
SingleDWwithNote(Note4, RedLED, n*3/4, 1);
SingleDWwithNote(Note2, WhiteLED, n/4, 1);
SingleDWwithNote(Note1, RedLED, n, 1);
SingleDWwithNote(Note2, WhiteLED, n, 1);
SingleDWwithNote(Note4, RedLED, n, 1);
SingleDWwithNote(Note7, WhiteLED, n*2, 1);
SingleDWwithNote(Note9, BlueLED, n*3/4, 1);
SingleDWwithNote(Note8, WhiteLED, n/4, 1);
SingleDWwithNote(Note7, RedLED, n, 1);
SingleDWwithNote(Note2, WhiteLED, n, 1);
SingleDWwithNote(Note3, BlueLED, n, 1);
SingleDWwithNote(Note4, RedLED, n*2, 1);
SingleDWwithNote(Note4, RedLED, n/2, 1);
SingleDWwithNote(Note4, RedLED, n/2, 1);
//bar6-9 line 2
SingleDWwithNote(Note9, BlueLED, n*3/2, 1);
SingleDWwithNote(Note8, WhiteLED, n/2, 1);
SingleDWwithNote(Note7, RedLED, n, 1);
SingleDWwithNote(Note6, BlueLED, n*2, 1);
SingleDWwithNote(Note5, WhiteLED, n/2, 1);
SingleDWwithNote(Note6, BlueLED, n/2, 1);
SingleDWwithNote(Note7, RedLED, n, 1);
SingleDWwithNote(Note7, RedLED, n, 1);
SingleDWwithNote(Note4, BlueLED, n, 1);
SingleDWwithNote(Note2, WhiteLED, n, 1);
SingleDWwithNote(Note1, BlueLED, n, 1);
SingleDWwithNote(Note4, RedLED, n*3/4, 1);
SingleDWwithNote(Note2, WhiteLED, n/4, 1);
//bars 10-13 line 3
SingleDWwithNote(Note1, RedLED, n, 1);
SingleDWwithNote(Note2, WhiteLED, n, 1);
SingleDWwithNote(Note4, RedLED, n, 1);
SingleDWwithNote(Note7, WhiteLED, n*2, 1);
SingleDWwithNote(Note9, BlueLED, n*3/4, 1);
SingleDWwithNote(Note8, WhiteLED, n/4, 1);
SingleDWwithNote(Note7, RedLED, n, 1);
SingleDWwithNote(Note2, WhiteLED, n, 1);
SingleDWwithNote(Note3, BlueLED, n, 1);
SingleDWwithNote(Note4, RedLED, n*2, 1);
SingleDWwithNote(Note4, RedLED, n/2, 1);
SingleDWwithNote(Note4, RedLED, n/2, 1);
//bar 14-17, line 4, end of page 1
SingleDWwithNote(Note9, BlueLED, n*3/2, 1);
SingleDWwithNote(Note8, WhiteLED, n/2, 1);
SingleDWwithNote(Note7, RedLED, n, 1);
SingleDWwithNote(Note6, BlueLED, n*2, 1);
SingleDWwithNote(Note5, WhiteLED, n/2, 1);
SingleDWwithNote(Note6, BlueLED, n/2, 1);
SingleDWwithNote(Note7, RedLED, n, 1);
SingleDWwithNote(Note7, RedLED, n, 1);
SingleDWwithNote(Note4, BlueLED, n, 1);
SingleDWwithNote(Note2, WhiteLED, n, 1);
SingleDWwithNote(Note1, RedLED, n, 1);
SingleDWwithNote(Note9, BlueLED, n/2, 1);
SingleDWwithNote(Note9, BlueLED, n/2, 1);
//bars 18-21, line 5, start of page 2
SingleDWwithNote(Note9, BlueLED, n, 1);
SingleDWwithNote(Note10, RedLED, n, 1);
SingleDWwithNote(Note11, WhiteLED, n, 1);
SingleDWwithNote(Note11, WhiteLED, n*2, 1);
SingleDWwithNote(Note10, RedLED, n/2, 1);
SingleDWwithNote(Note9, BlueLED, n/2, 1);
SingleDWwithNote(Note8, WhiteLED, n, 1);
SingleDWwithNote(Note9, BlueLED, n, 1);
SingleDWwithNote(Note10, RedLED, n, 1);
SingleDWwithNote(Note10, RedLED, n*2, 1);
SingleDWwithNote(Note10, RedLED, n, 1);
//bars 22-25, line 6
SingleDWwithNote(Note9, WhiteLED, n*3/2, 1);
SingleDWwithNote(Note8, BlueLED, n/2, 1);
SingleDWwithNote(Note7, WhiteLED, n, 1);
SingleDWwithNote(Note6, RedLED, n*2, 1);
SingleDWwithNote(Note5, BlueLED, n/2, 1);
SingleDWwithNote(Note6, RedLED, n/2, 1);
SingleDWwithNote(Note7, WhiteLED, n, 1);
SingleDWwithNote(Note2, BlueLED, n, 1);
SingleDWwithNote(Note3, RedLED, n, 1);
SingleDWwithNote(Note4, WhiteLED, n*2, 1);
SingleDWwithNote(Note4, RedLED, n, 1);
n=n*1.08; //60,000 / 96 bpm= 625 ms; just a slight retard
//bars 26-28, line 7
SingleDWwithNote(Note7, WhiteLED, n, 1);
SingleDWwithNote(Note7, WhiteLED, n, 1);
SingleDWwithNote(Note7, WhiteLED, n/2, 1);
SingleDWwithNote(Note6, BlueLED, n/2, 1);
SingleDWwithNote(Note5, RedLED, n, 1);
SingleDWwithNote(Note5, RedLED, n, 1);
SingleDWwithNote(Note5, RedLED, n, 1);
SingleDWwithNote(Note8, WhiteLED, n, 1);
SingleDWwithNote(Note10, RedLED, n/2, 1);
SingleDWwithNote(Note9, BlueLED, n/2, 1);
SingleDWwithNote(Note8, WhiteLED, n/2, 1);
SingleDWwithNote(Note7, RedLED, n/2, 1);
//bars 29-30
SingleDWwithNote(Note7, RedLED, n, 1);
SingleDWwithNote(Note6, BlueLED, n*2, 1); //2x for holding
SingleDWwithNote(Note4, RedLED, n/2, 1);
SingleDWwithNote(Note4, RedLED, n/2, 1);
SingleDWwithNote(Note7, BlueLED, n*3/2, 1);
SingleDWwithNote(Note8, WhiteLED, n/2, 1);
SingleDWwithNote(Note9, BlueLED, n/2, 1);
SingleDWwithNote(Note10, RedLED, n/2, 1);
n=n*1.2; //large retard
//bars 31-34 end of song
SingleDWwithNote(Note11, WhiteLED, n*2, 1); //extra hold on free
SingleDWwithNote(Note7, RedLED, n/2, 1);
SingleDWwithNote(Note8, WhiteLED, n/2, 1);
SingleDWwithNote(Note9, BlueLED, n*3/2, 1);
SingleDWwithNote(Note10, RedLED, n/2, 1);
SingleDWwithNote(Note8, WhiteLED, n, 1);
SingleDWwithNote(Note7, RedLED, n*3, 1); //only holding for 3 values
//rasie all notes by 3 steps
//1.06 derived from music theory. Take a note in hertz and then divide by the
//note below it (sharps and flats count as a note) all round to 1.06
//You can delete this next paragraph to avoid frequency changes or change it up if you want
Note1=Note1*1.06*1.06*1.06;
Note2=Note2*1.06*1.06*1.06;
Note3=Note3*1.06*1.06*1.06;
Note4=Note4*1.06*1.06*1.06;
Note5=Note5*1.06*1.06*1.06;
Note6=Note6*1.06*1.06*1.06;
Note7=Note7*1.06*1.06*1.06;
Note8=Note8*1.06*1.06*1.06;
Note9=Note9*1.06*1.06*1.06;
Note10=Note10*1.06*1.06*1.06;
Note11=Note11*1.06*1.06*1.06;
}
//**************************************************************Twinkle
void Twinkle(int Twinkle_Time) //Place a number in () shows how long the twinkle occurs
{
//built this function for another use so it has a bizarre starting unnesseary calculation
//changes time&rate into a smaller number integer, note it front end rounds
Twinkle_Time=Twinkle_Time/Twinkle_Rate; // in this case Tiwkle Time is = to Twinkle Rate so value is 1
for(Twinkle_Time;Twinkle_Time>0;Twinkle_Time--) //since value is 1 only processes once
{
int B= random(1,4); //random integer of 1, 2 or 3
int C= random(1,4); //random integer of 1, 2 or 3
//no issues if both integers are the same, just one LED comes on, adds to randomness
//evaluates each integer to run on a specific color LED
if(B==1){digitalWrite(RedLED, HIGH);}
if(B==2){digitalWrite(WhiteLED, HIGH);}
if(B==3){digitalWrite(BlueLED, HIGH);}
if(C==1){digitalWrite(RedLED, HIGH);}
if(C==2){digitalWrite(WhiteLED, HIGH);}
if(C==3){digitalWrite(BlueLED, HIGH);}
delay(Twinkle_Rate);// keeps LED on for a set period of time
//and then we write corresponding LEDs low. cold possibly simlify and just write all 3 low may speed up timing
if(B==1){digitalWrite(RedLED, LOW);}
if(B==2){digitalWrite(WhiteLED, LOW);}
if(B==3){digitalWrite(BlueLED, LOW);}
if(C==1){digitalWrite(RedLED, LOW);}
if(C==2){digitalWrite(WhiteLED, LOW);}
if(C==3){digitalWrite(BlueLED, LOW);}
}}
//**************************************************************Setup
void setup(){
pinMode(ChargeButton, INPUT_PULLUP); //puts as input and enables internal pull up resistor for button
pinMode(StartButton, INPUT_PULLUP); //puts as input and enables internal pull up resistor for button
pinMode(RedLED, OUTPUT); //LED configured as output
pinMode(WhiteLED, OUTPUT); //LED configured as output
pinMode(BlueLED, OUTPUT); //LED configured as output
pinMode(BuzzerPin, OUTPUT); //Buzzer configured as output
//digitalWrite(ChargeButton, HIGH); not necessary since it is enabled as pullup, its just redundant
//digitalWrite(StartButton, HIGH); not necessary since it is enabled as pullup, its just redundant
//sets all LEDs to LOW to avoid any errors. For my deisgn HIGH=ON, LOW=OFF
digitalWrite(RedLED, LOW);
digitalWrite(WhiteLED, LOW);
digitalWrite(BlueLED, LOW);
}
//**************************************************************Main Loop
void loop(){
//reads button states, pins were hooked to internal resistor configured as high
//pins will be low when pressed
StartButtonState = digitalRead(StartButton); //low=pressed
ChargeButtonState = digitalRead(ChargeButton); //low=pressed
//evalues against integers to do the 1st function pin that was resistered as low
//sampling rate for reading buttons is the int twinkle_rate (.25 seconds)
if (StartButtonState==LOW){USNationalAnthem();}
else if (ChargeButtonState==LOW){Charge();}
else{Twinkle(Twinkle_Rate);} // if no pins pressed then twinkle on! again... and again... and again...
}
Schematics
Shows Electrical connections using breadboard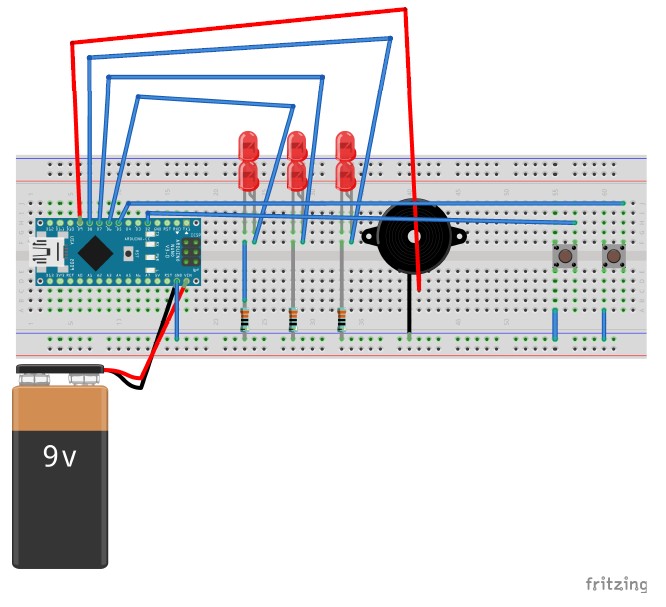 Shows wiring connections without soldering
 Follow the wires!
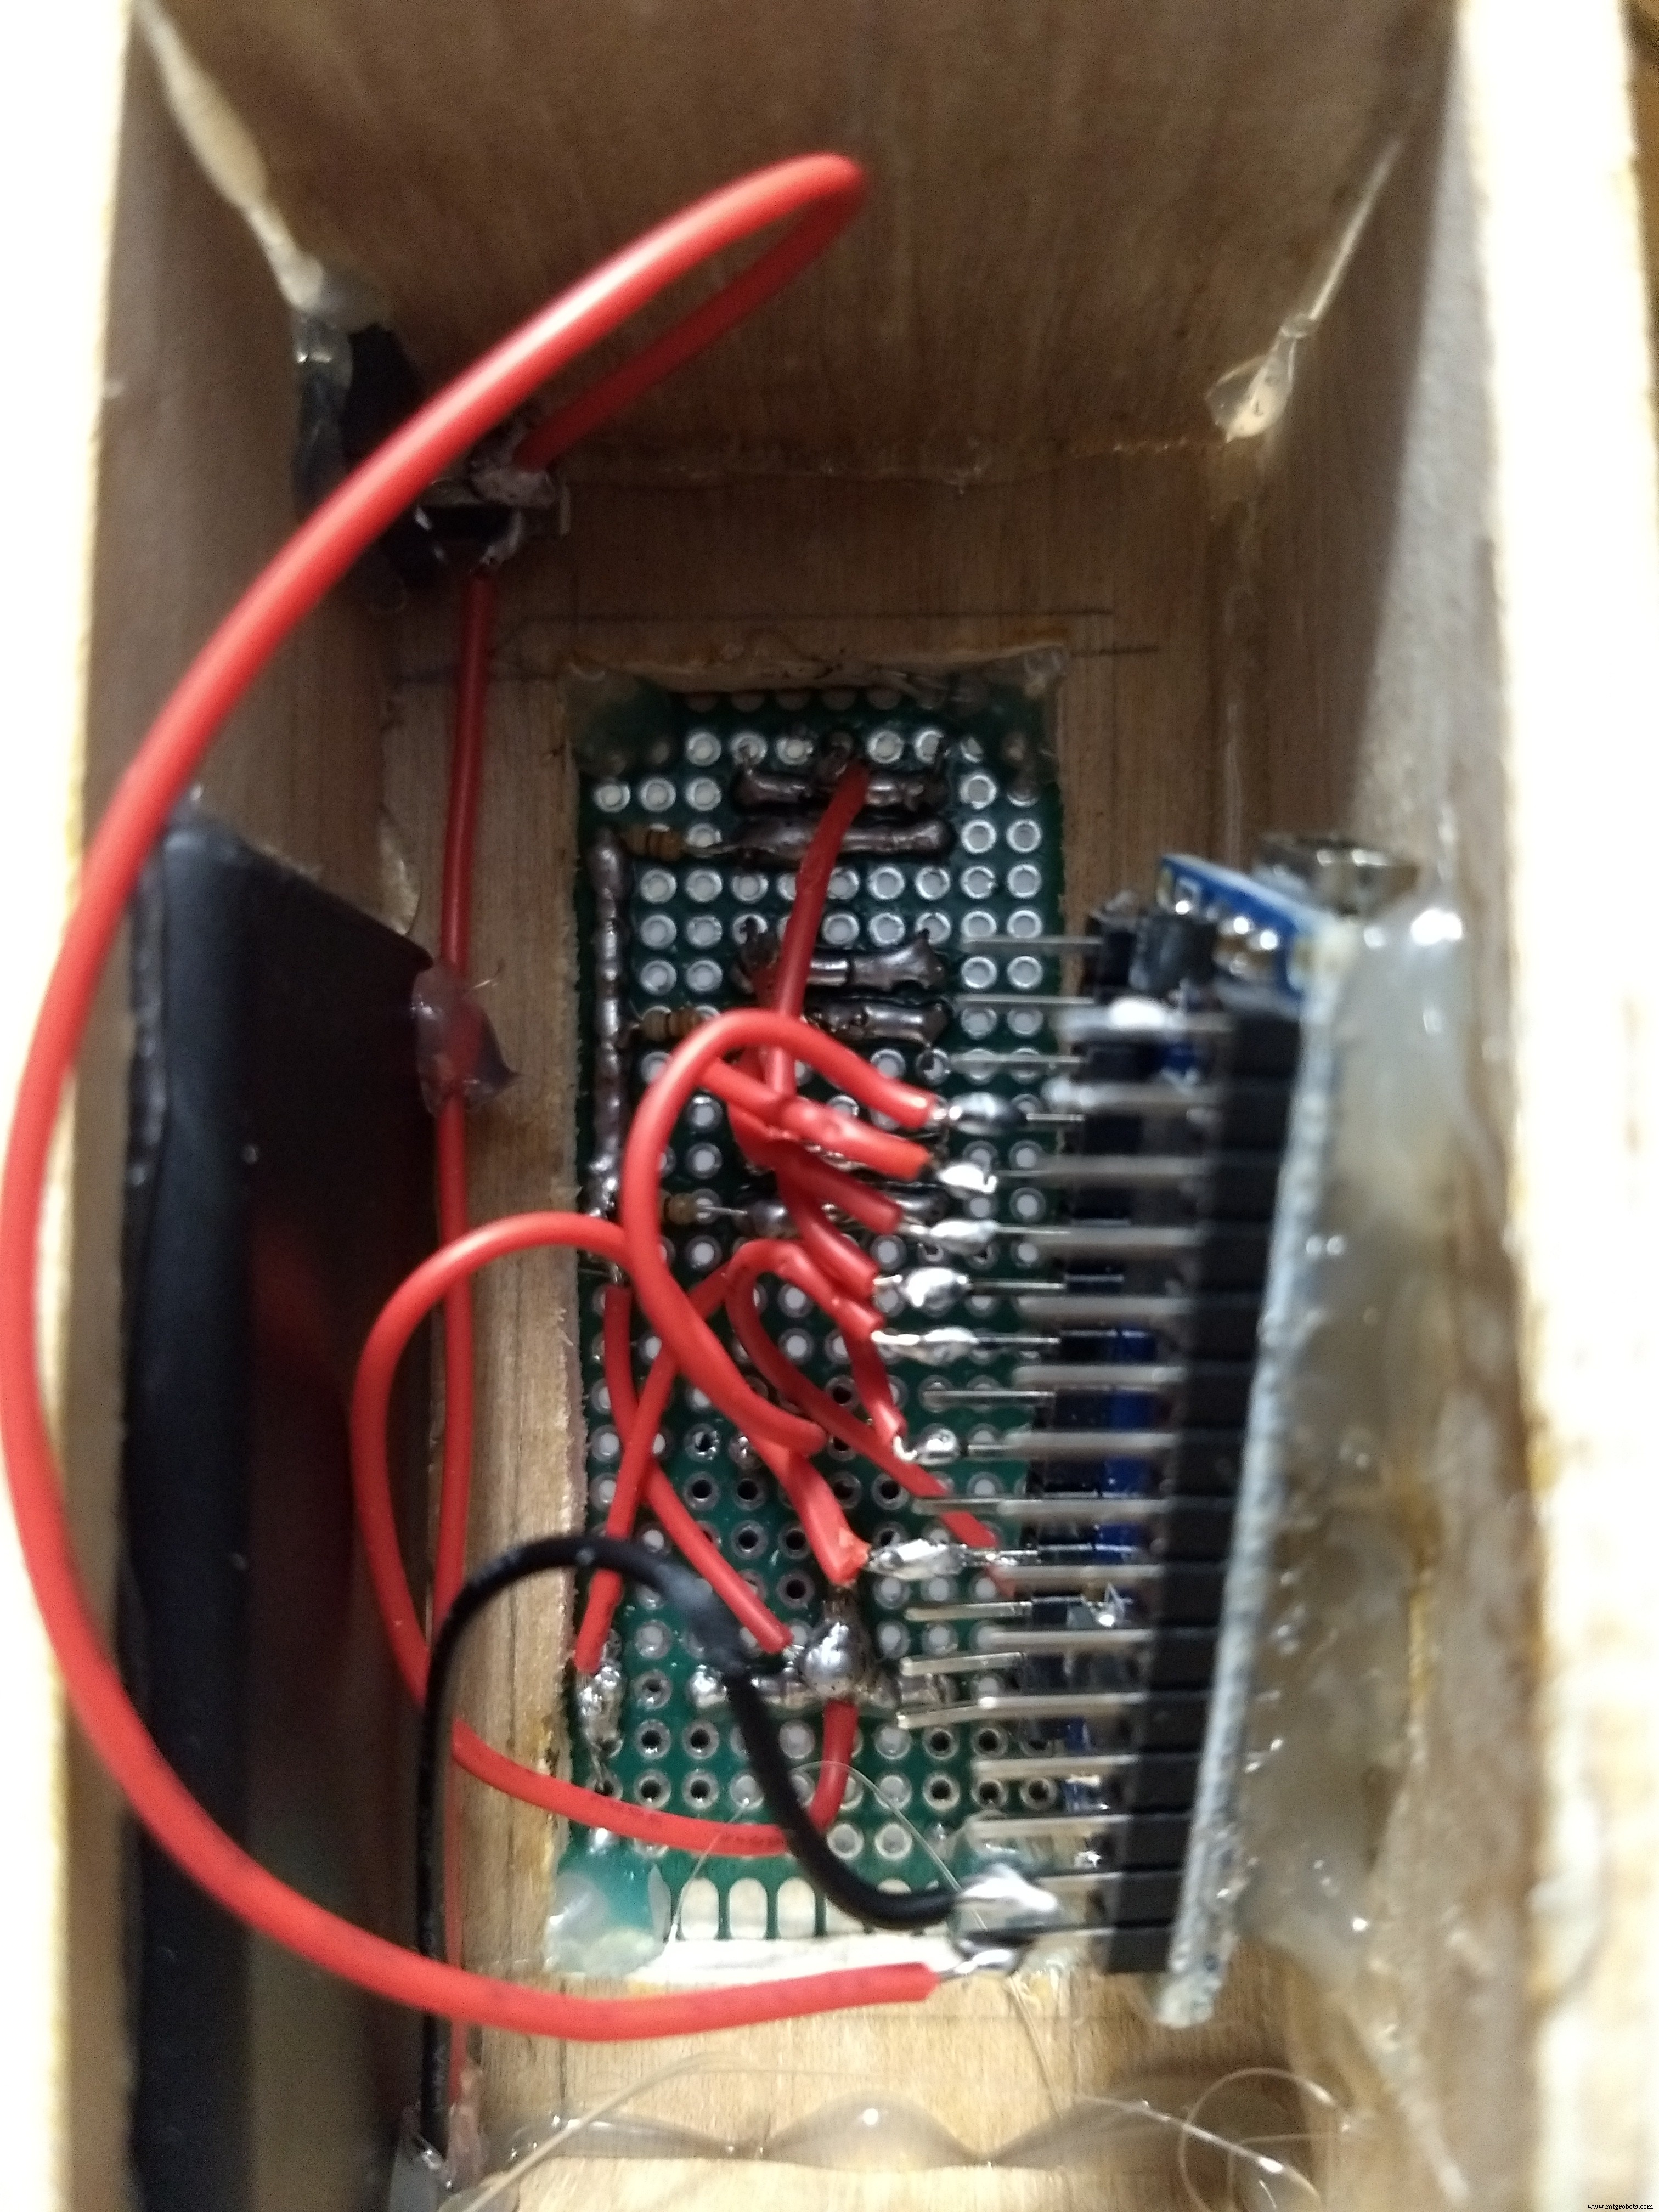 Shows cost of each item , total cost and where bought.
Manufacturing process
- Circuit With a Switch: A Practical Guide to Basic Electrical Circuits
- Arduino‑Based Switch & LED Panel for Microsoft Flight Simulator 2020
- Understanding Switch‑Case in C: Syntax, Examples, and Best Practices
- Control LED Brightness with PWM via Push‑Button on Arduino Mega
- UV Disinfection Robot Powered by Arduino Mega: Remote‑Controlled Germicidal System
- Arduino-Powered Automatic Plant Watering System
- Arduino UNO Plays the Indian National Anthem – Simple Hardware Prototype
- Animate Your Billy Bass Fish with Any Audio Source – Step‑by‑Step Guide
- Accurate AC Current Measurement with the ACS712 Sensor on Arduino
- Control Any Device with Your TV Remote Using Arduino IR – Step-by-Step Tutorial