


Arduino 101: Build a Pedometer with DHT11 Sensor & LCD Display
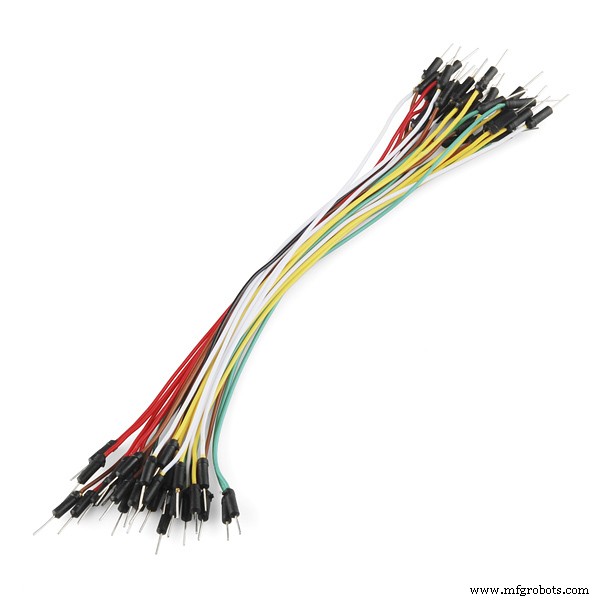
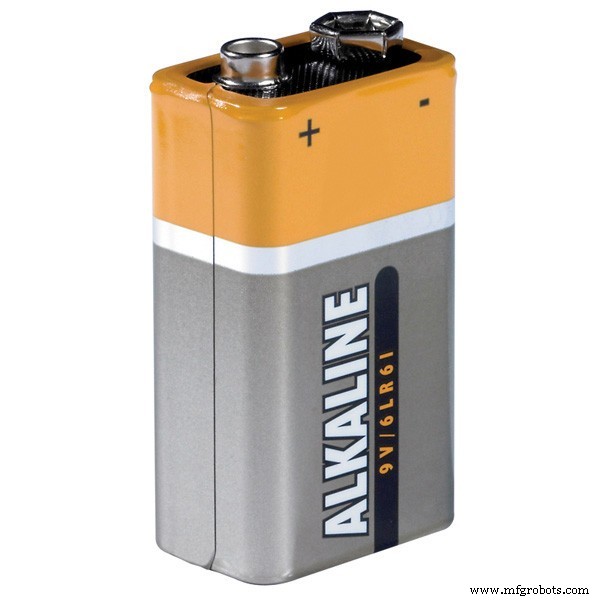
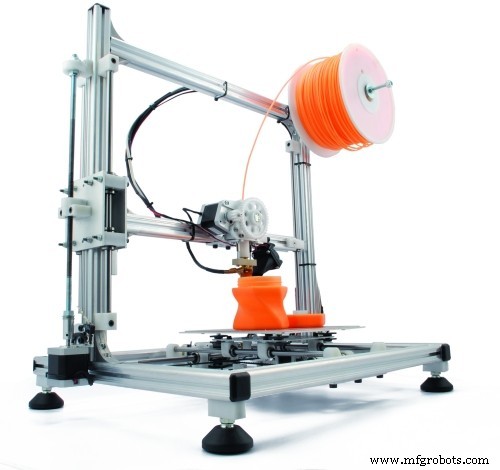
Components and supplies
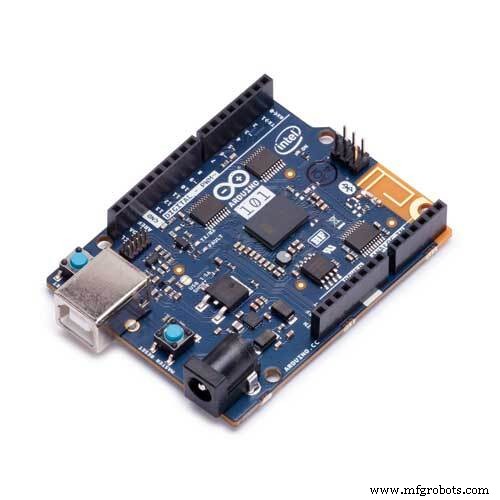 |
| × | 1 | |||
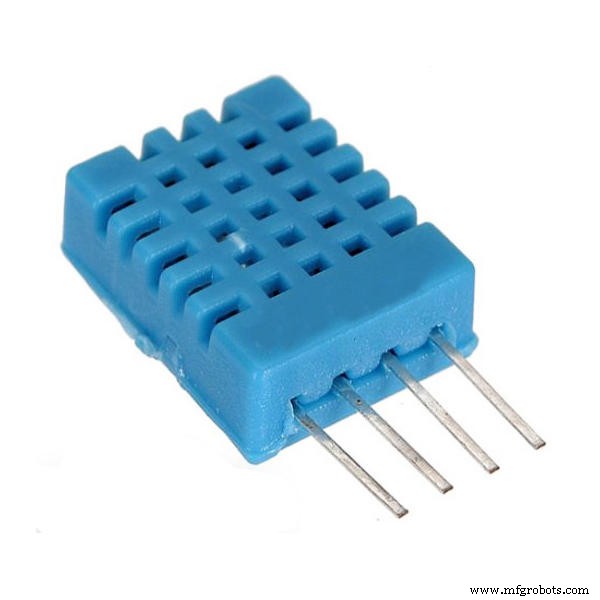 |
| × | 1 | |||
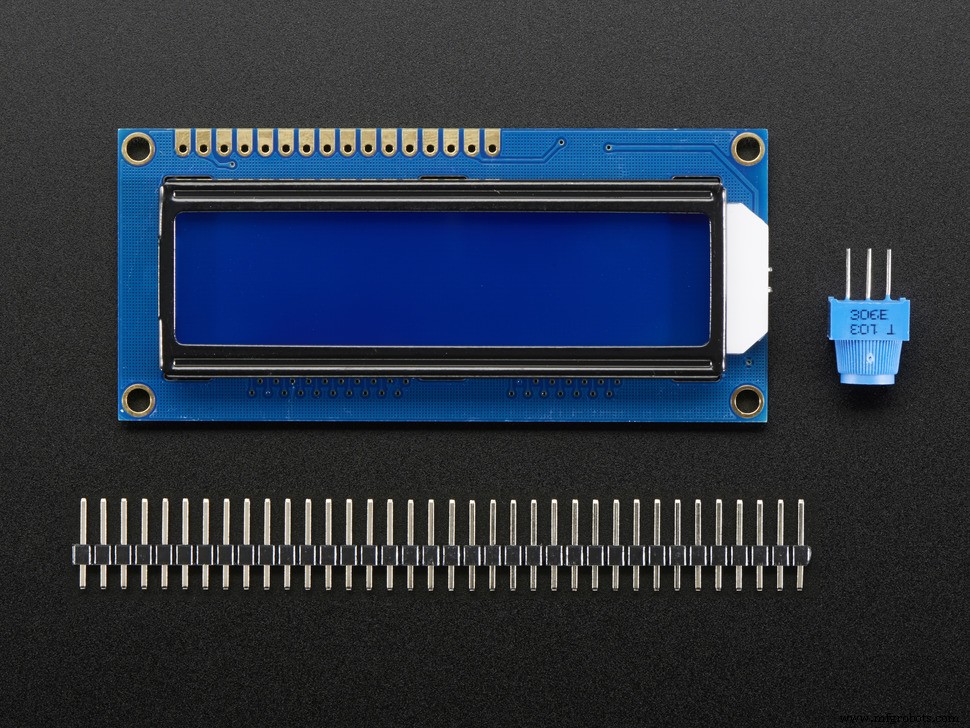 |
| × | 1 | |||
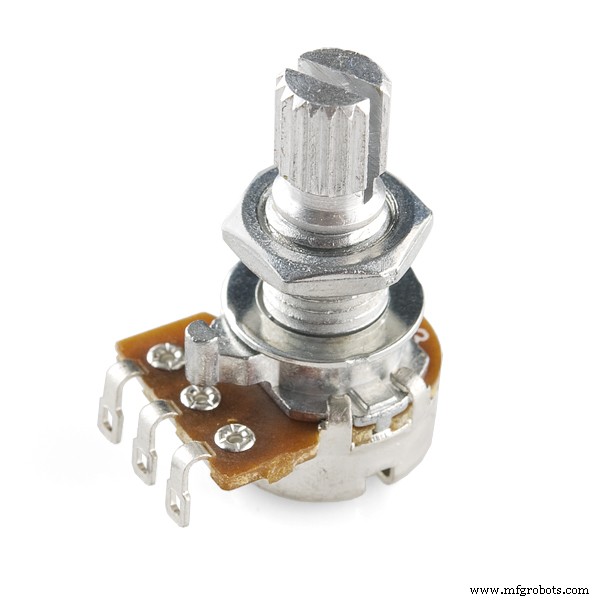 |
| × | 1 | |||
 |
| × | 1 | |||
 |
| × | 1 | |||
 |
| × | 1 |
Necessary tools and machines
 |
|
Apps and online services
 |
|
About this project
This project aimed to meet the requirements of the science fair that happened in my city last year, in which it was "My body, my world".
The main idea was to make a device that measures the physical performance of each individual, where the pedometer at each movement, verifies the distance traveled, the number of steps performed, the calories lost, the ambient temperature and humidity measurement.
Most of the data collected comes properly from the board, since it has a library involving the collection of steps, and to determine the rest, I only use math.
The case was printed on a 3D printer. The pedometer is powered by a 9v battery.
A significant portion of people live in a sedentary way, away from physical activity practices and healthy lifestyle habits.
It is necessary to recognize physical activity as an important element for normal metabolic activities as well as reducing the risks of future diseases.
With this conclusion, I made an prototype device that helps in this matter, collecting data that can be used and analyzed in a more detailed way.
These data, when viewed, start to add to a stimulus to the practice of physical activities, since, the person can monitor their income, understand their body and improve their practice day after day.
If you have any questions regarding this project, please leave a comment below.
You can send me an e-mail message as well.
Code
- Code
CodeC/C++
// Frank, the living dead, made this code.
// Chapecó, Brazil
// This was my first project in 2017, for a science fair.
// 2018
// Thanks to:
// Adafruit
// Intel
// Filipeflop
// Keyes
#include <DHT.h>
#include <DHT_U.h>
#include <LiquidCrystal.h>
#include "CurieIMU.h"
#include <SoftwareSerial.h>
#include <Adafruit_Sensor.h>
#define DHTPIN 8
#define DHTTYPE DHT11
LiquidCrystal lcd(12,10,5,4,3,2);
int state=LOW;
int lastState=LOW;
const int ledPin = 13;
boolean stepEventsEnabeled = true;
long lastStepCount = 0;
boolean blinkState = false;
float comprimento_do_passo;
float calories = 0;
float peso = 57;
float altura = 168;
float calories_lost_per_km;
float calories_burned;
float distance;
float passos_por_milha;
float velocidade;
char option;
float t;
DHT_Unified dht(DHTPIN, DHTTYPE);
uint32_t delayMS;
void setup() {
lcd.begin(16, 2);
dht.begin();
comprimento_do_passo=0.30*altura; // Height in cm
calories_lost_per_km=(0.57*peso*1.6)/0.453; // Weight in kg
passos_por_milha = 160000.0/comprimento_do_passo; // 16000.0 CM = 16 KM
lcd.clear();
lcd.setCursor(0, 0);
lcd.print("Pedometer");
lcd.setCursor(0, 1);
lcd.print("Made by Frank :P");
delay(3000);
// pinMode(13, OUTPUT);
CurieIMU.begin();
CurieIMU.setStepDetectionMode(CURIE_IMU_STEP_MODE_NORMAL);
CurieIMU.setStepCountEnabled(true);
if (stepEventsEnabeled) {
// attach the eventCallback function as the
// step event handler:
CurieIMU.attachInterrupt(eventCallback);
CurieIMU.interrupts(CURIE_IMU_STEP);
}
}
static void updateStepCount() {
// Get the step count:
int stepCount = CurieIMU.getStepCount();
// If the step count has changed, print it:
if (stepCount != lastStepCount) {
// Save the current count for comparison next check:
lastStepCount = stepCount;
}
}
static void eventCallback(void) {
if (CurieIMU.stepsDetected())
updateStepCount();
}
void loop() {
if (!stepEventsEnabeled) {
updateStepCount();
}
//__________________________________//
lcd.clear();
lcd.setCursor(0, 0);
lcd.print("Steps: ");
lcd.setCursor(0, 1);
lcd.print(lastStepCount);
delay(4000);
//__________________________________//
calories_burned = lastStepCount*(lastStepCount/passos_por_milha);
if (option=='c') {
}
lcd.clear();
lcd.setCursor(0, 0);
lcd.print("Calories B.: ");
lcd.setCursor(0, 1);
lcd.print(calories_burned);
lcd.print(" Kcal");
delay(4000);
//__________________________________//
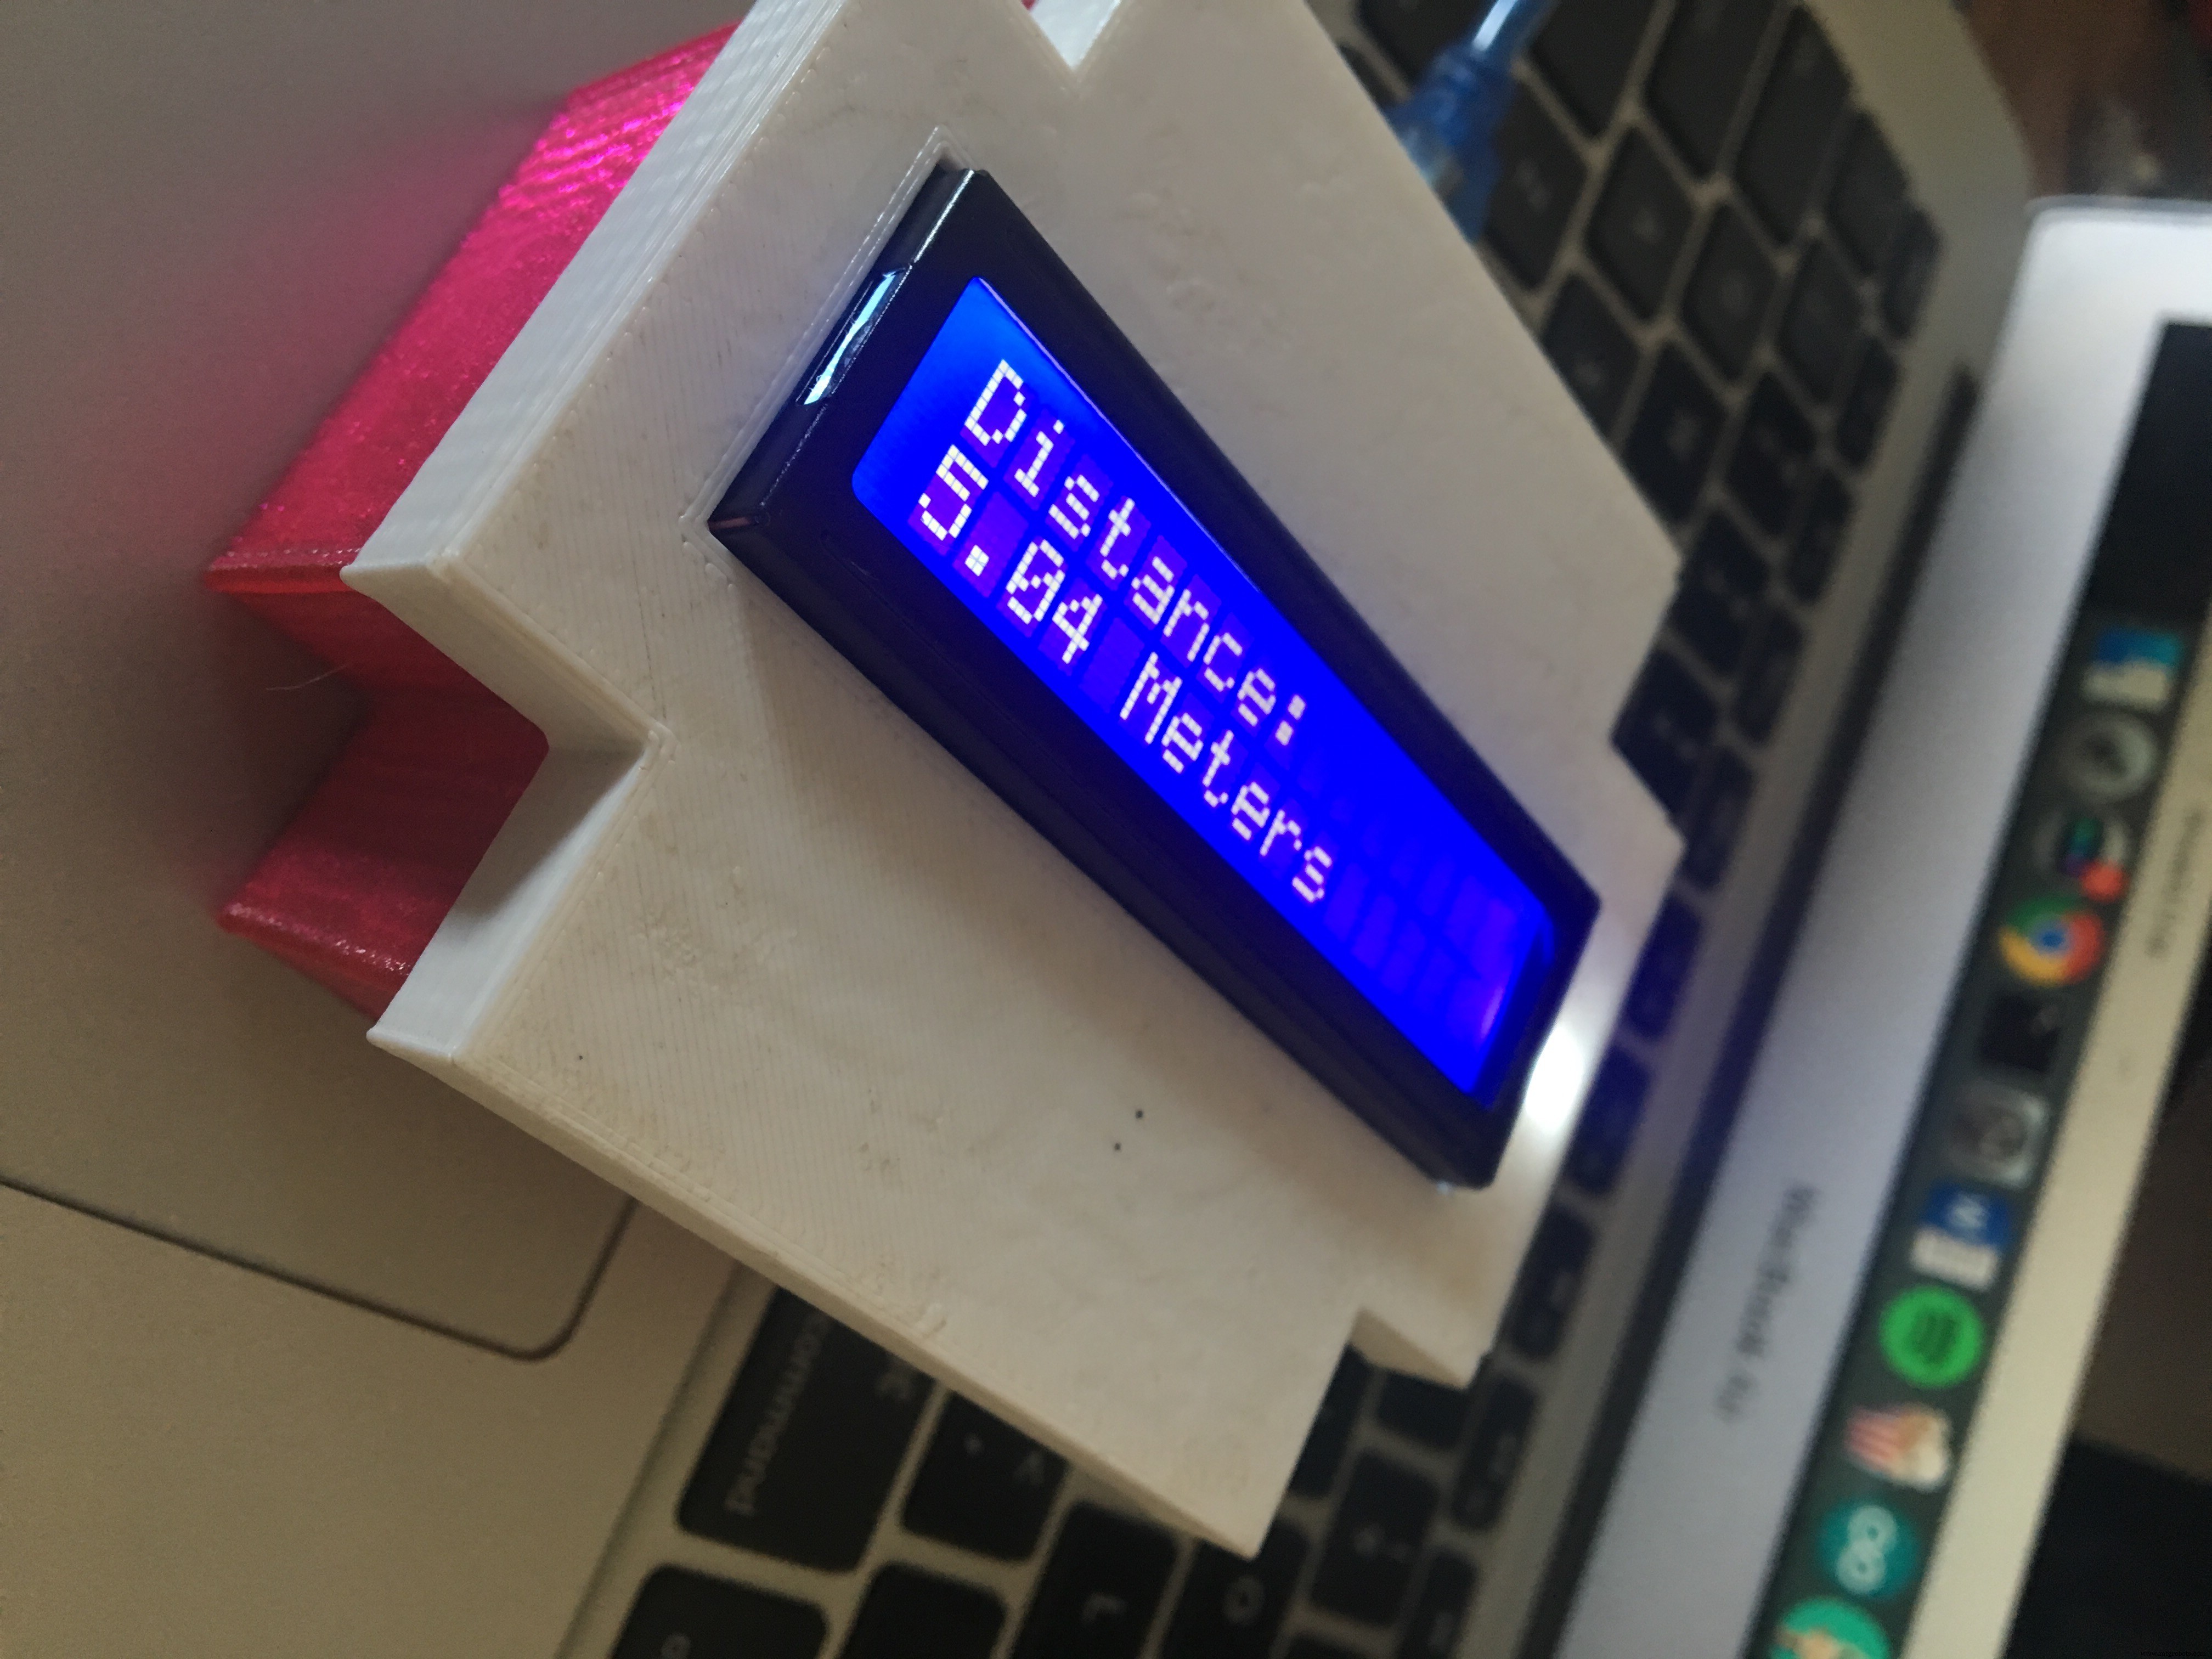
distance = (comprimento_do_passo*lastStepCount)/100; // Distance in meters
if (option=='d') {
}
lcd.clear();
lcd.setCursor(0, 0);
lcd.print("Distance: ");
lcd.setCursor(0, 1);
lcd.print(distance);
lcd.print(" Meters");
delay(4000);
//__________________________________//
// CONECTION IN PIN 8
delay(delayMS);
sensors_event_t event;
dht.temperature().getEvent(&event);
if (isnan(event.temperature)) {
Serial.println("Error - Temp");
}
else {
lcd.clear();
lcd.setCursor(0, 0);
lcd.print("Temperature: ");
lcd.setCursor(0, 1);
lcd.print(event.temperature);
lcd.print(" C*");
delay(3000);
}
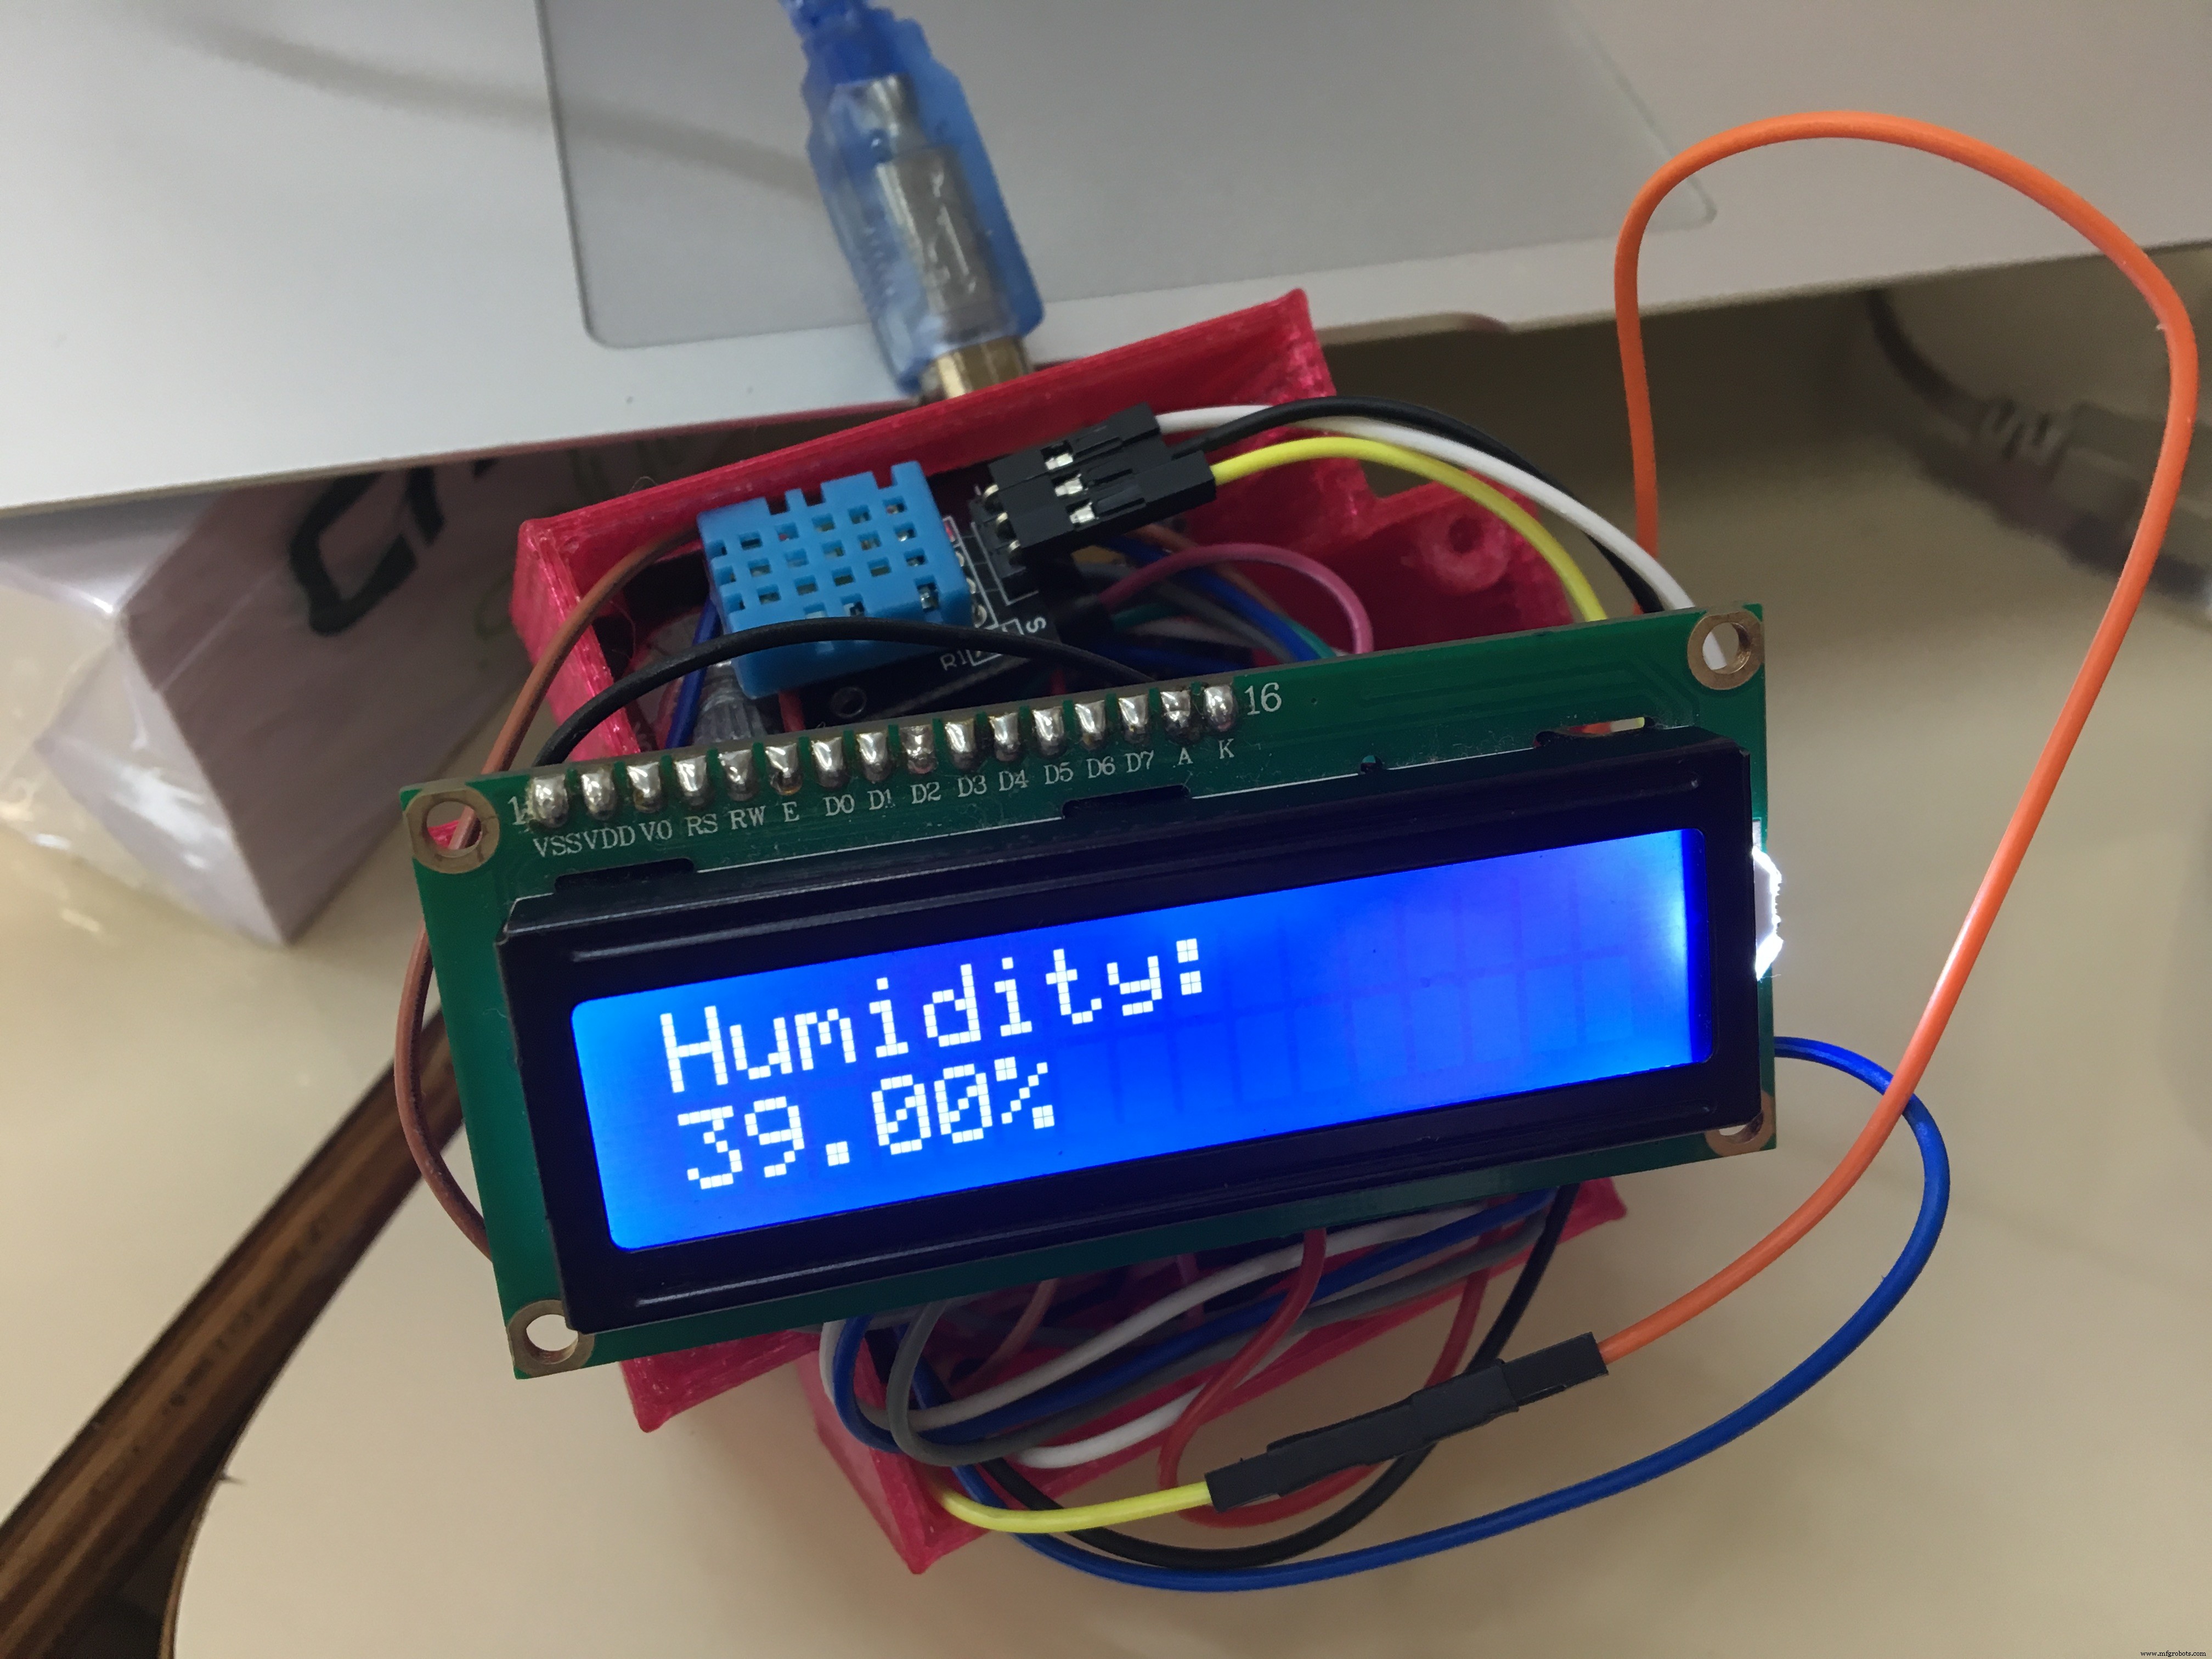
dht.humidity().getEvent(&event);
if (isnan(event.relative_humidity)) {
Serial.println("Error - Humi");
}
else {
lcd.clear();
lcd.setCursor(0, 0);
lcd.print("Humidity: ");
lcd.setCursor(0, 1);
lcd.print(event.relative_humidity);
lcd.print("%");
delay(3000);
}
//__________________________________//
lastState=state;
digitalWrite(13, blinkState);
blinkState = !blinkState;
delay(300);
Schematics
The LCD is easy to set up.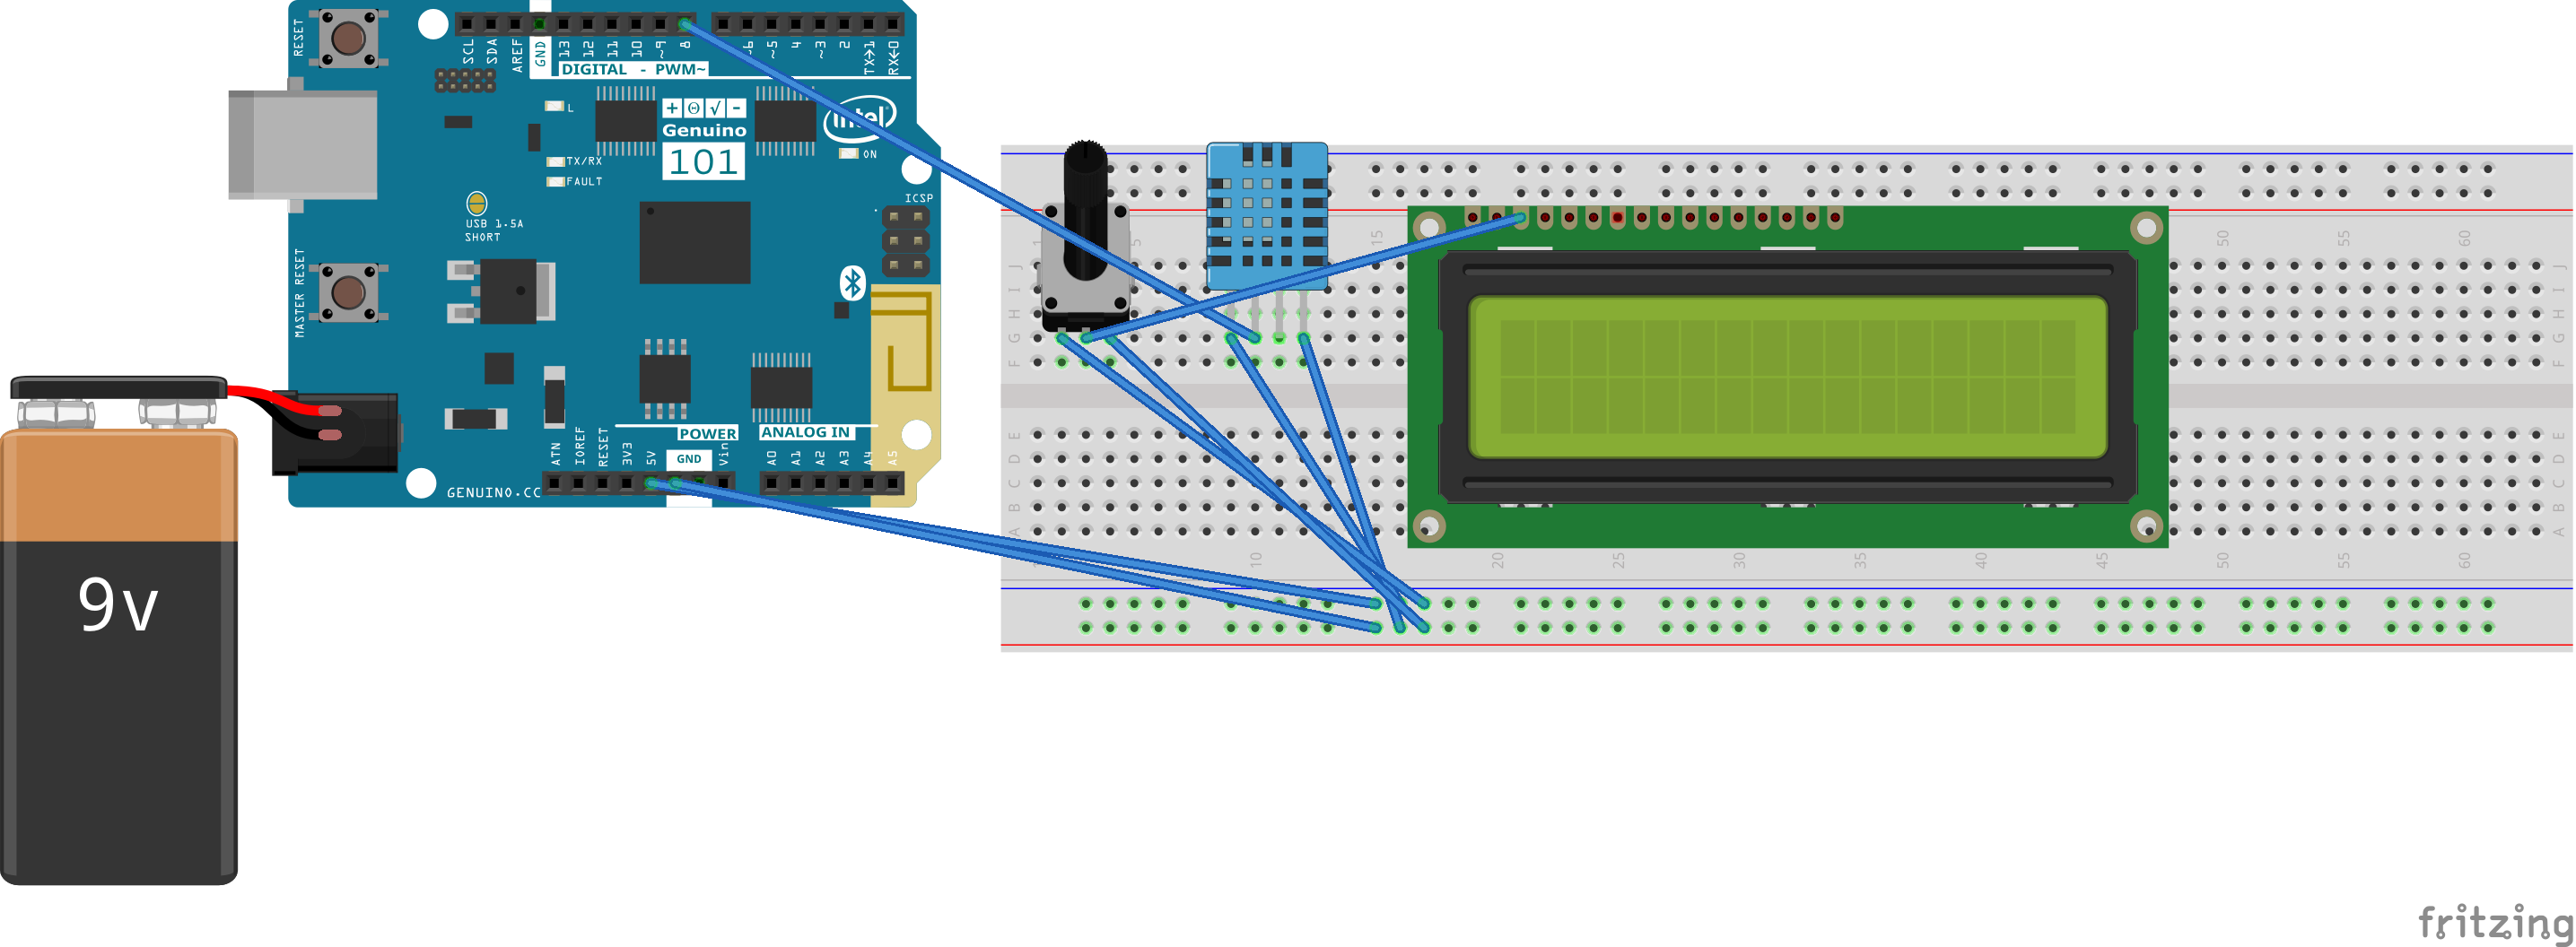
Manufacturing process
- Arduino Digital Dice Project: Build Your Own LCD-based Random Number Generator
- Build an Arduino Iron Man: Components, Sensors, and Step‑by‑Step Guide
- Find Me: Smart Item Locator with Arduino and Bluetooth
- Build a Functional Arduino-Powered 3D‑Printed Robotic Arm – Step‑by‑Step Guide
- DIY Arduino Humidifier Controller with Relay – Safe High‑Voltage Setup
- Build a Custom Arduino Joystick Steering Wheel for Gaming
- Build an Arduino RGB Color Mixer – Step‑by‑Step Tutorial
- PhoneLocator: Securely Locate Your Phone Anywhere
- Arduino LED Bar Graph Controlled by Potentiometer
- Custom Arduino MIDI Arpeggiator – Modular Firmware & Euclidean Rhythms